Trinity Stamps – You’re Totally Amazing

I want to start off with a big Happy Father’s Day to all the amazing dads out there. I’m so lucky to have an incredible dad and my daughter is super lucky to have one too! These men have supported me through thick and thin and I appreciate them more than words!

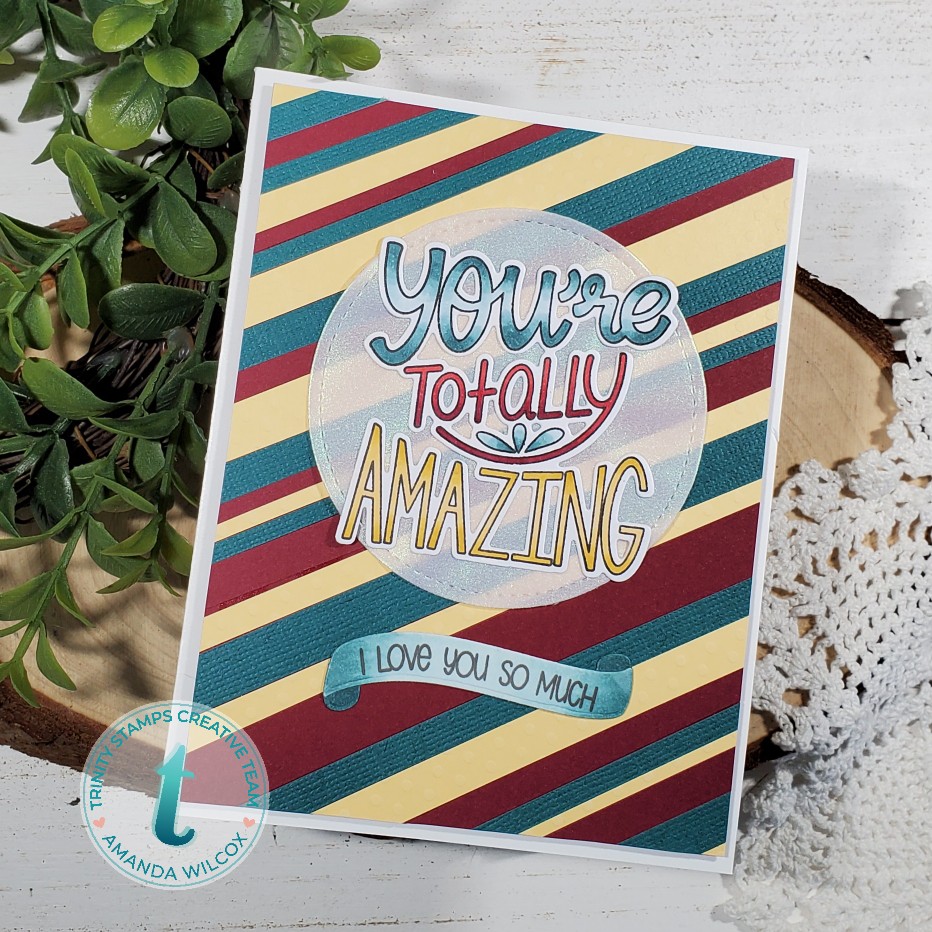
That brings me to my card share today. This is the card I made my husband for Father’s Day.
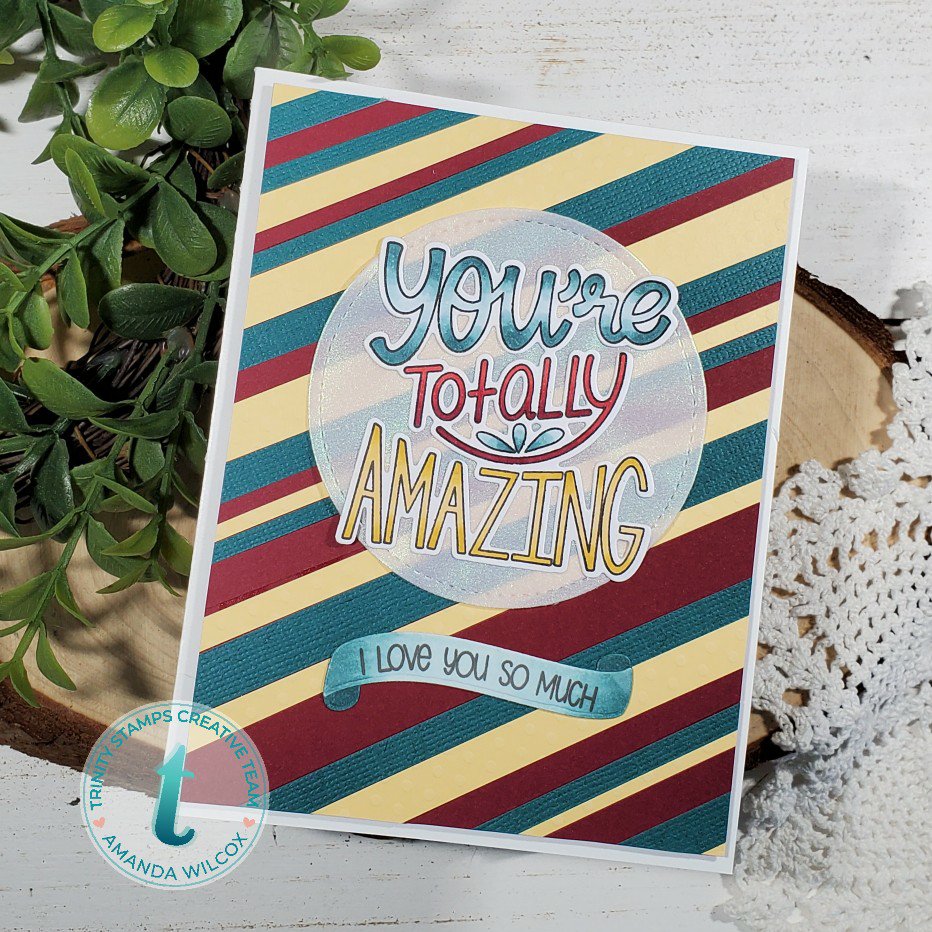
To make this card I started with stamping and coloring my image from Trinity Stamps’ Totally Amazing. I used the coordinating dies to cut it out and found some coordinating cardstock to the markers I used.

I trimmed the cardstock down into thin strips and adhered them to a base. After I filled it up, I trimmed the edges down to 4×5.25. This panel is popped up on a white card base with foam tape.

Then I die cut a stitched circle from iridescent vellum and glued my image to it. Next, I glued it to the card front. I did it in this order so I could hide the glue behind the stamped image.
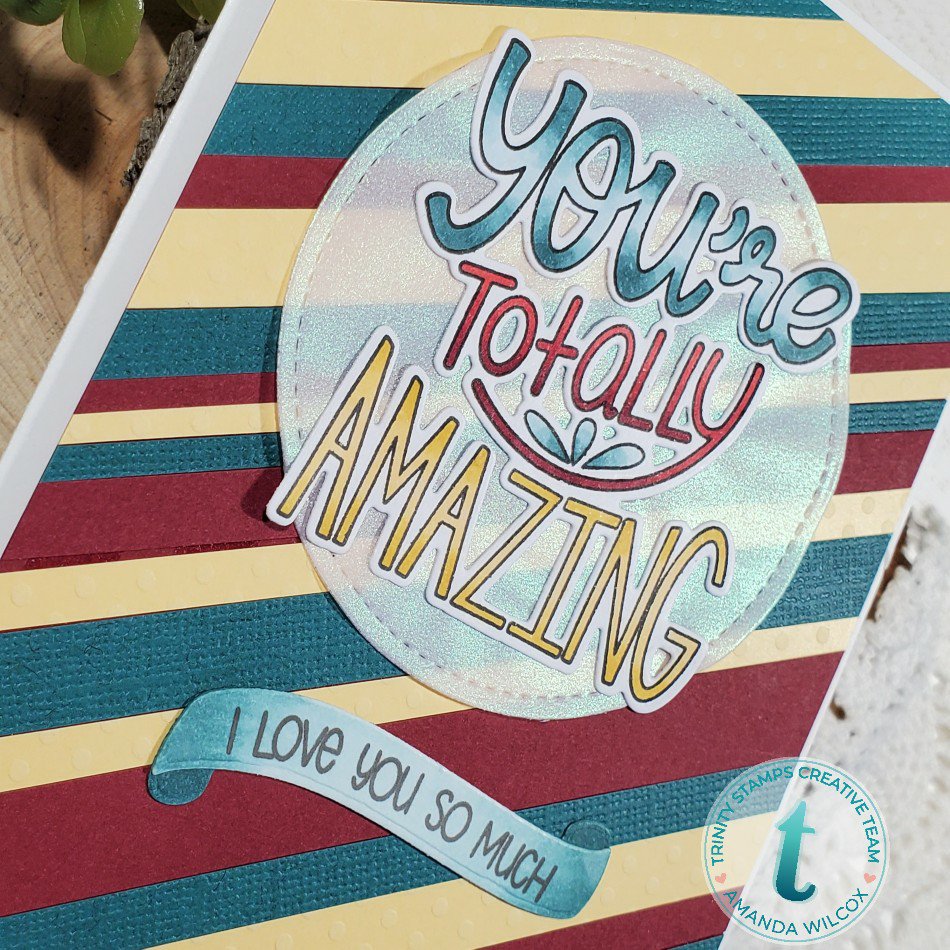
I still thought it needed a little something so I pulled out Trinity Stamps’ So Appreciative and used the banner die with a small sentiment. I colored it with copics, glued it together and then to the card front.

Since this is a masculine card I held off on the glitter but I want you all to know it was painful and against my better judgement. Lol.

I appreciate you sharing your time with me. Have a fabulous day!
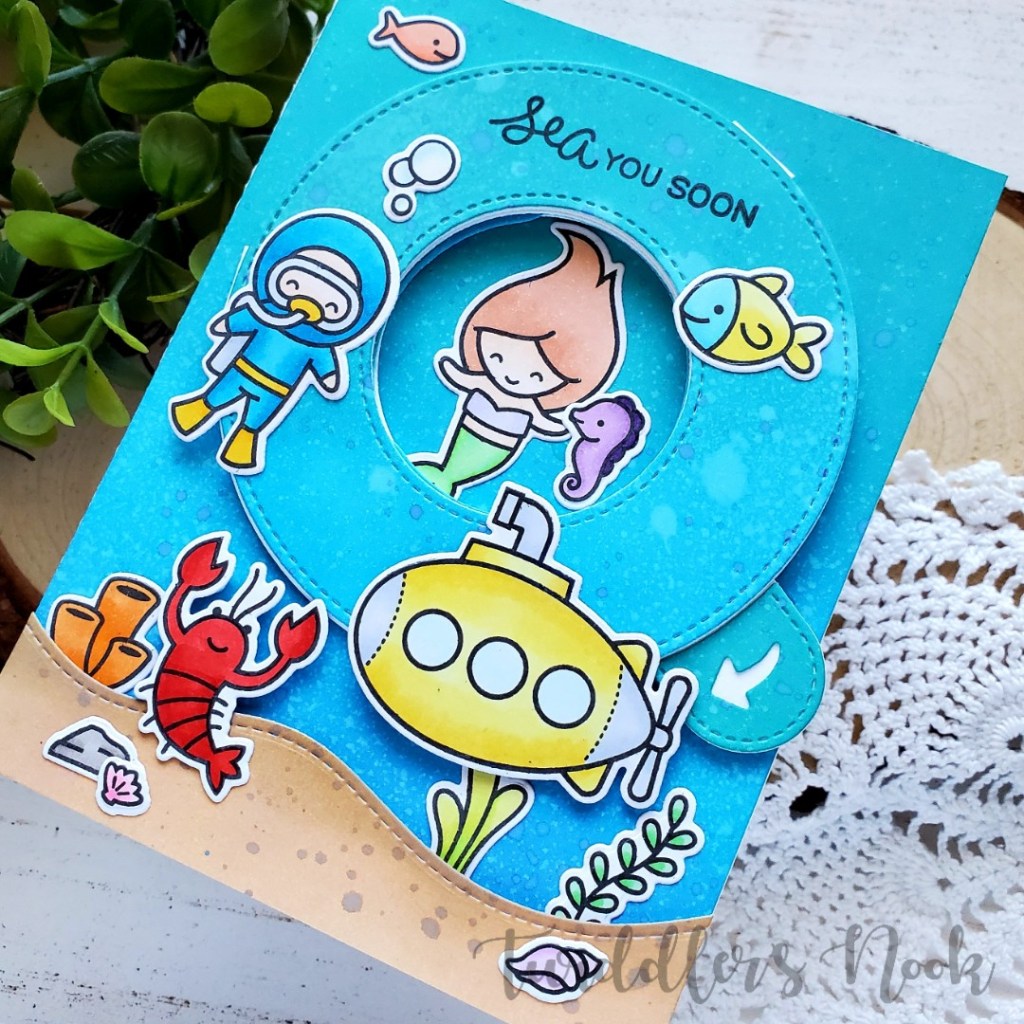
Lawn Fawn – Sea You Soon

Words can’t even begin to express how excited I am that #1 today’s card exists for me to share with you and #2 it was sooooo easy and incredibly fun to assemble!!!

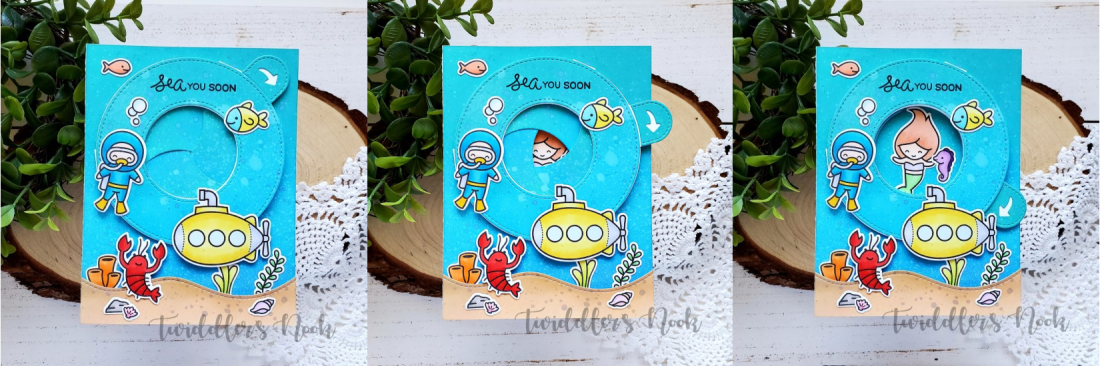
Okay, now to make a little more sense…I recently bought the Lawn Fawn Magic Iris dies from ScrapbookPal. Since it came, I have been researching and watching all the videos from different crafters putting it together. It seemed doable but I was skeptical after another not-so-happy run in I had with a past interactive die of theirs. However, this is the real deal and they totally did an amazing job designing this so you can actually succeed!

To create this awesome underwater scene I started with lots of paper and my distress oxides. I inked up 2 quarter sheets with peacock feathers and mermaid lagoon, splattered them with water and then flicked blueprint sketch on them as well. Then I took the 3 sausage pieces for the iris and inked those up the same way. I took a scrap and inked it with tea dye and gathered twigs and flicked some gathered twigs on it for texture.

Then I moved on to lots of die cutting! To be specific, I cut out all the pieces needed for the magic iris mechanism. Be sure to check out the main Intro to Magic Iris video for assembly instructions. Then I used the stitched hillside borders to cut the brown inked panel for sand.

After everything was die cut, I set it all aside and stamped my images which were from Mermaid for You and You are Sublime. I colored them with my copics and used the coordinating dies to cut them all out.

I started by attaching my background panel to a card base and then the sandy ground to that with foam tape. Then I glued down my magic iris mechanism and started adding images.

I used liquid glue to adhere them all down because I find that works better on the distress oxide panels. Then I popped my whole card in my MISTI and stamped the sentiment at the top of the magic iris frame.

I’m so incredibly excited how this card turned out! I now have a whole list of ideas so I don’t forget them and can’t wait to make more and share them with everyone!!!

My daughter and I can’t stop playing with this one. Seriously, it’s so fun to watch that mermaid appear over and over again! Soooo much fun!

Do you enjoy making interactive cards? If you’re not a crafter, do you enjoy getting them? They are my favorite to create and most of all to give, especially to my non-crafty friends who think I’m some kind of witch when I make paper do fun things. hahaha!

I appreciate you sharing your time with me. Have a fabulous day!
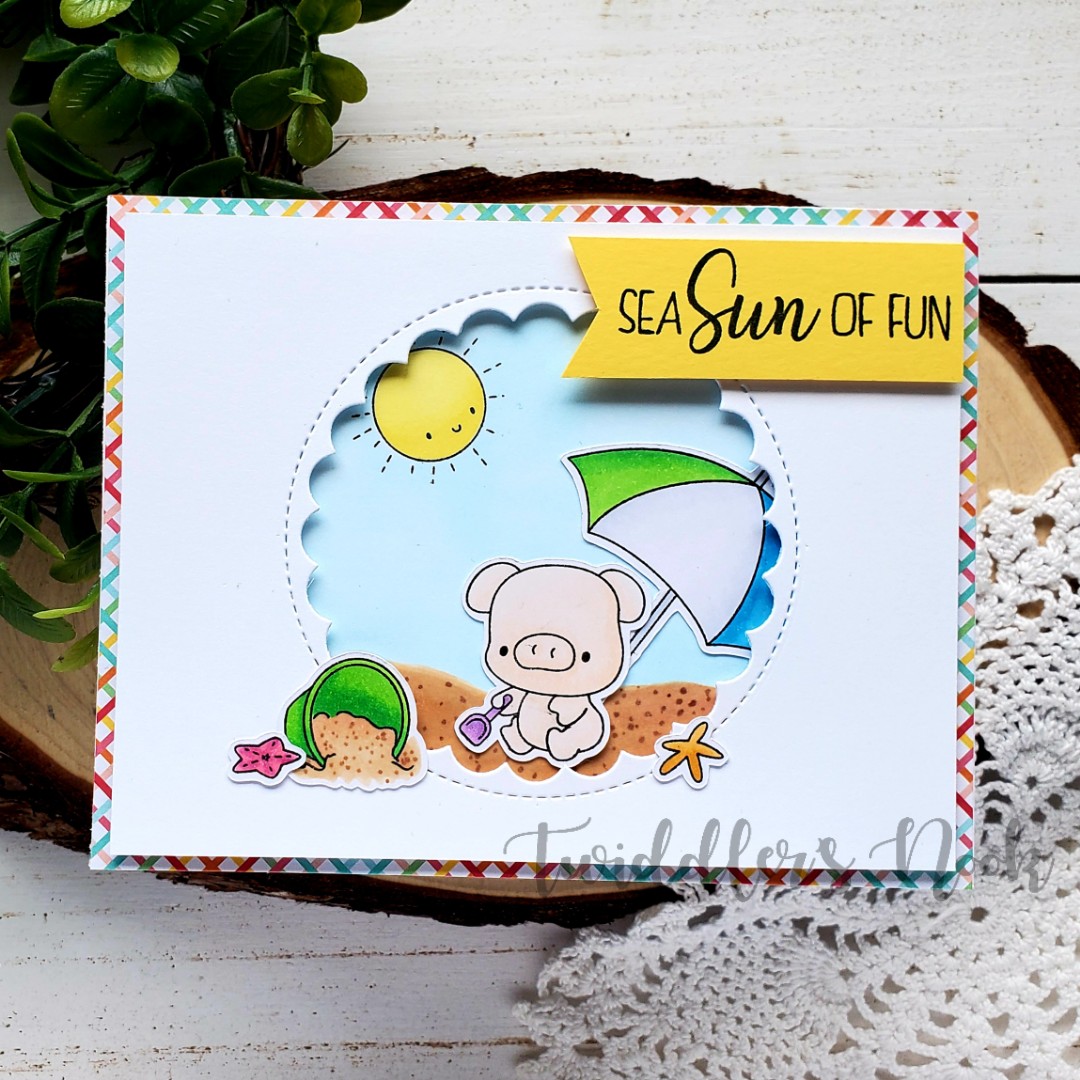
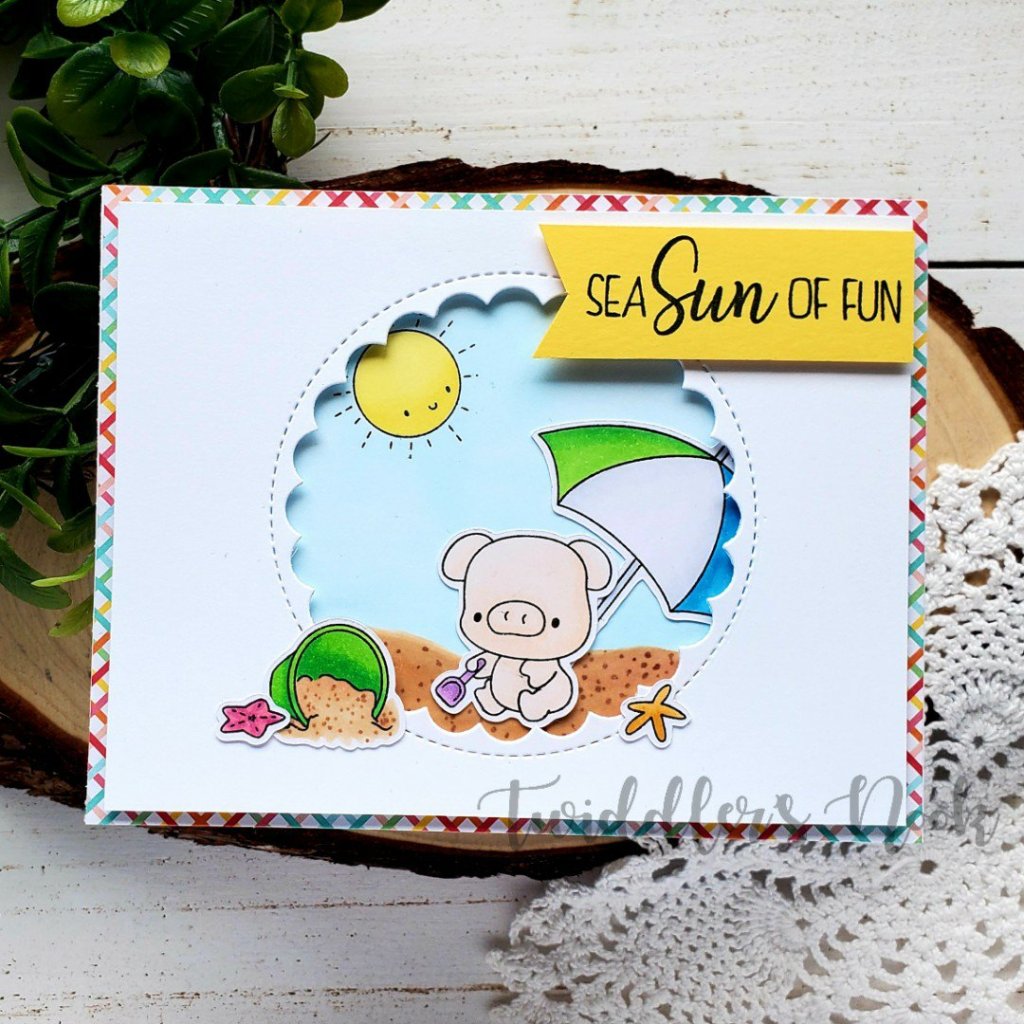
Paperie Ink – SeaSUN of Fun

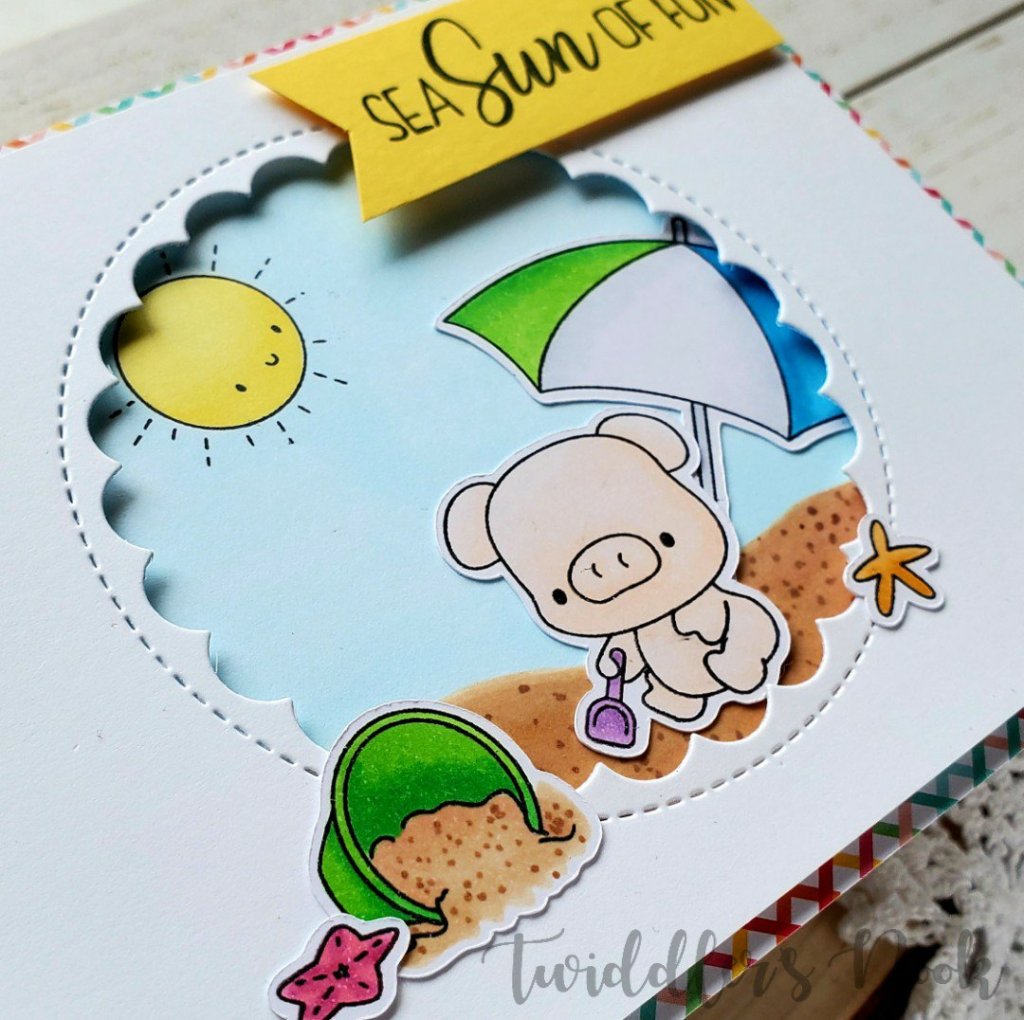
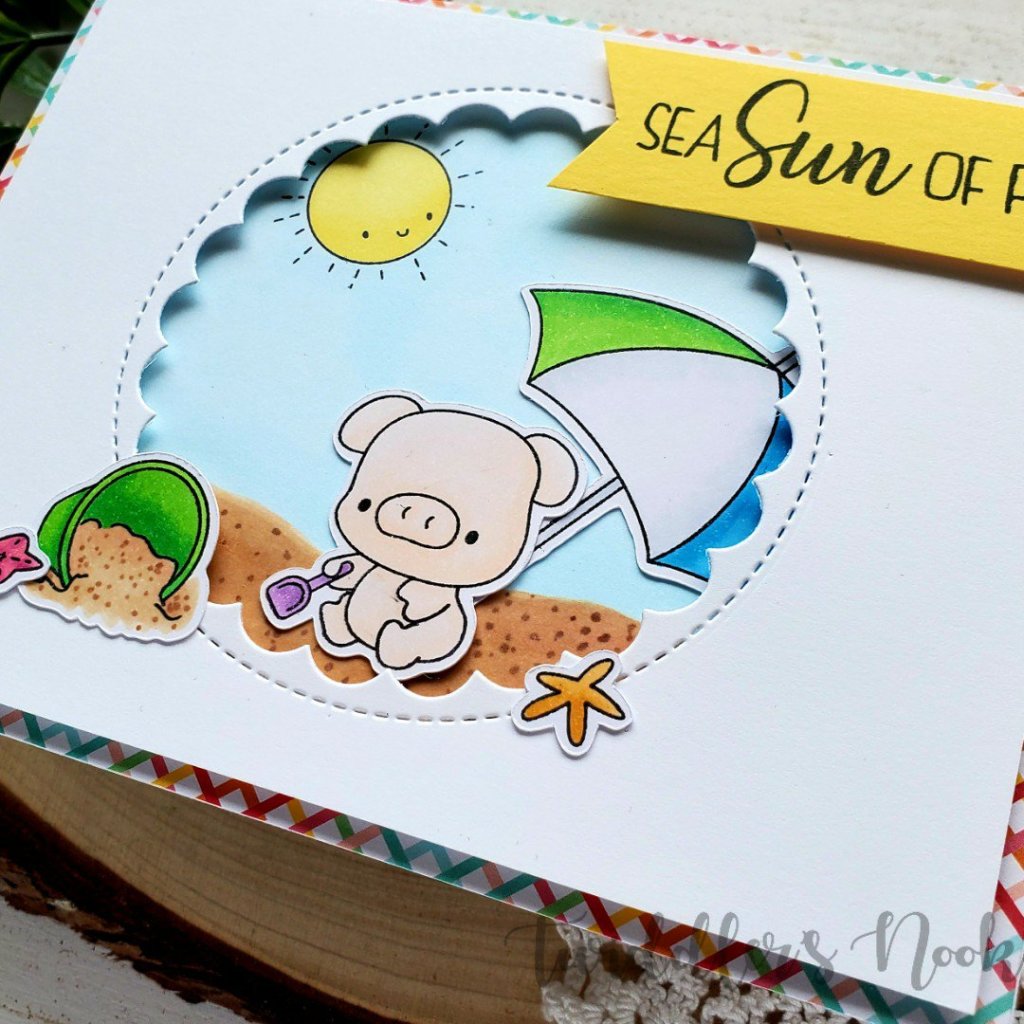
Oh my goodness, the art that Paperie Ink creates just seems to get cuter and cuter with each release! This last time I ordered two new sets. I had a moment to ink up the cute little piggies from Seasun of Fun this week and create a fun, sunshiny card to share with you!

I started this card with a general idea of what I wanted to create so I stamped my images and colored them with my copics. Then I used my scan-n-cut to cut them out. I trimmed down a white panel to 4×5.25 and used the next-to-largest outside in stitched scalloped circle from Lawn Fawn to cut a window. I also trimmed a second panel down smaller than that and stamped the sunshine where I wanted it to peek through the window. I used my copics to color a little sand and sky and started assembling my card.

I trimmed down some patterned paper and adhered it to a card base, then added my scene to that. I put foam tape on the back of the window panel and used it as a guide to line up my images and adhere them. Once those were in place I removed the release paper and put my window panel in place.

Finally I added the couple of images I had left to the front of the window. I just love the way this looks – like the scene is spilling outside of the opening.

Last, I stamped the sentiment on yellow cardstock and trimmed it in to a flag. This was popped up with foam squares and adhered to the upper right of the card.

I could seriously squeal over these piggies! They are just so cute! I can’t wait to ink up the rest of the set, along with the other one I picked up too!

I appreciate you sharing your time with me. Have a fabulous day!

Spellbinders – Oh Happy Day

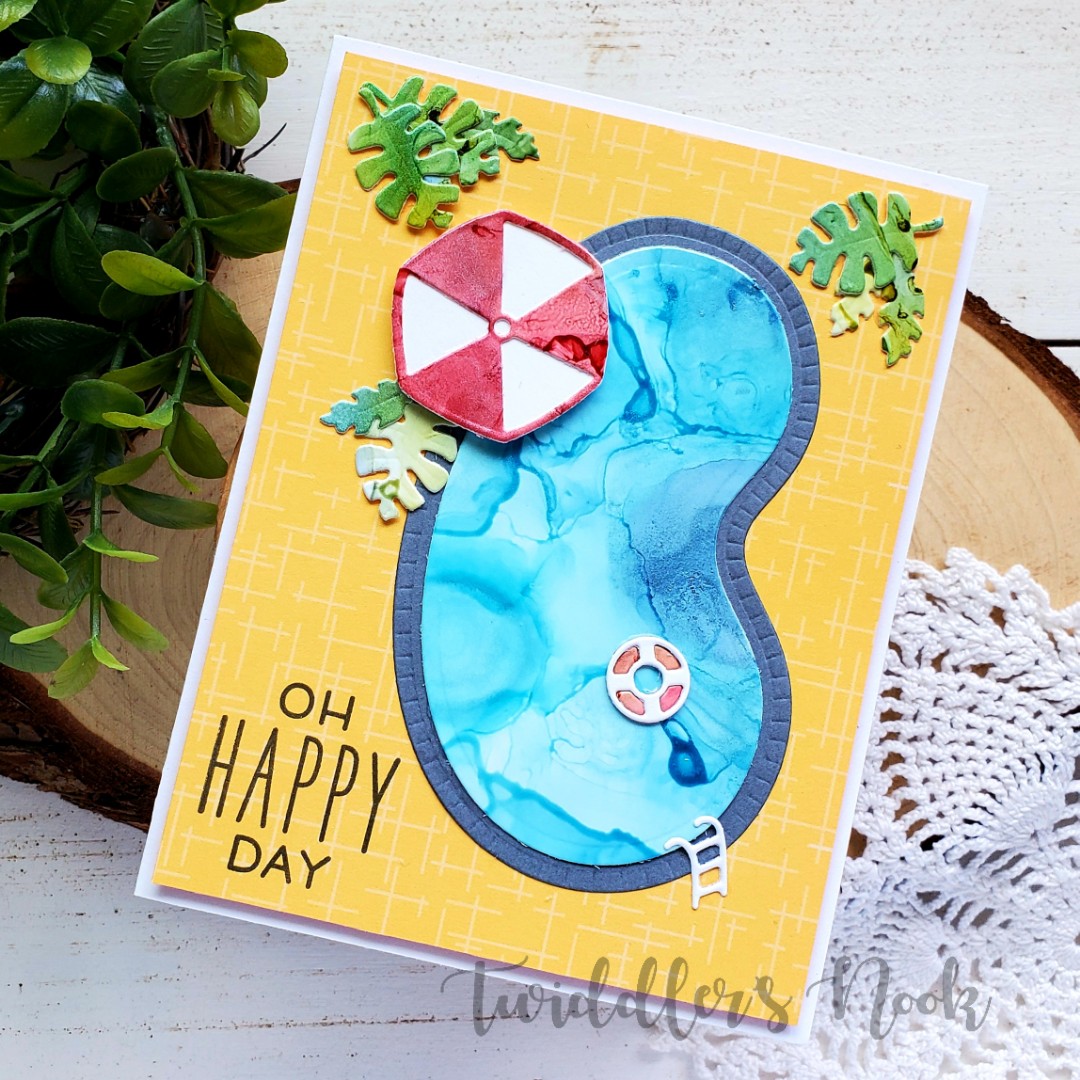
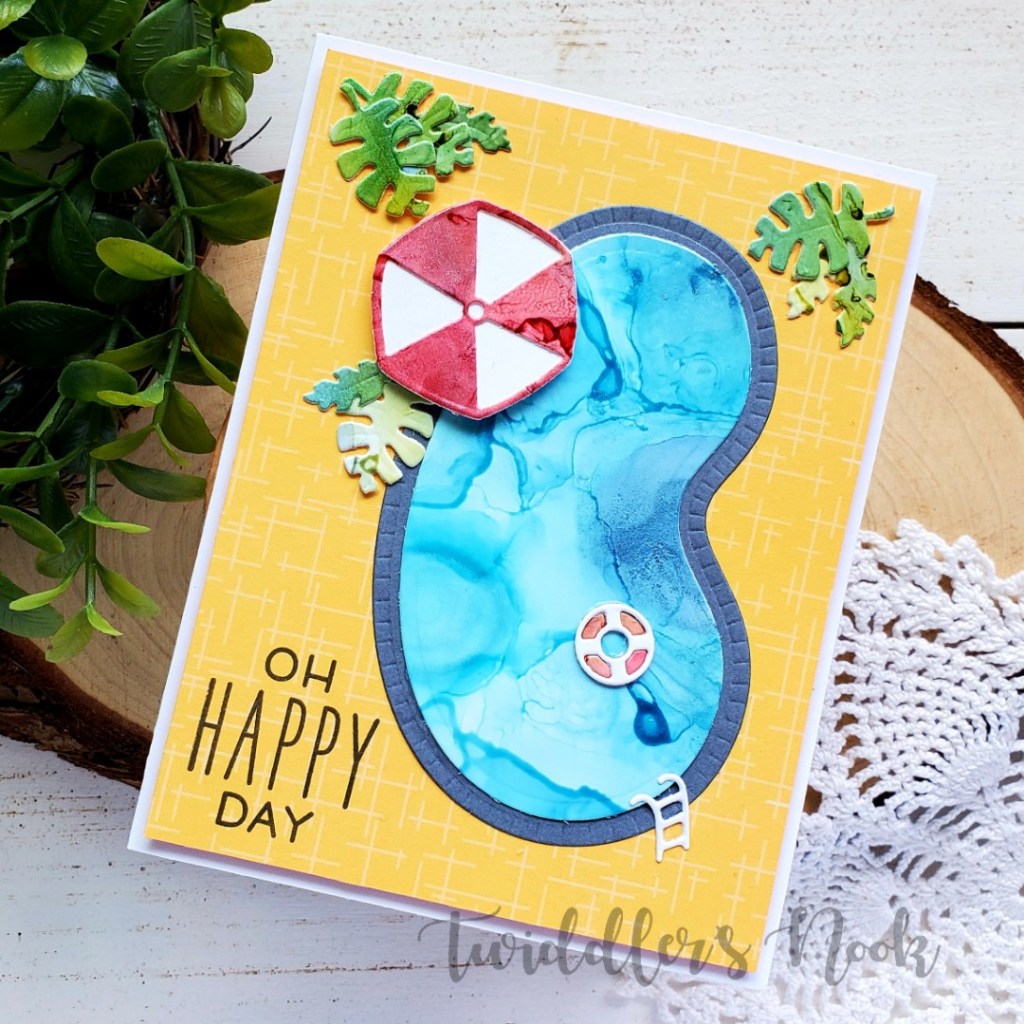
Hello everyone! I recently joined the world of alcohol inks by purchasing a few bottles of the alcohol pearls and couldn’t wait to play! I created a coffee card last week with my first background but who can stop with just one when you’re playing with those inks??? No one, that’s who! So, of course I kept going and then had a fun idea what to do with them…hence today’s card!

I created a few backgrounds with the various colors that I have and then used my new Spellbinders Pool with a View die set to die cut the various pieces. I found this fun yellow Avery Elle patterned paper in my stash and used it for a background for my scene.

The shimmer that the alcohol pearls give is so pretty in the light. I love it! And the different texture they give is so fun too!

I adhered all the pieces together with liquid glue and popped the umbrella up with foam squares for a little dimension. The yellow panel was then popped up with foam tape and put on a white card base.

I pulled out my Hello Sunshine Lawn Fawn set and stamped a sentiment from that on the front as well.

Isn’t this card so happy?!? It has been dreary and rainy at home so this was my bit of sunshine during the storm.

I appreciate you sharing your time with me. Have a fabulous day!

Coffee Loving Cardmakers – Mugs and Kisses

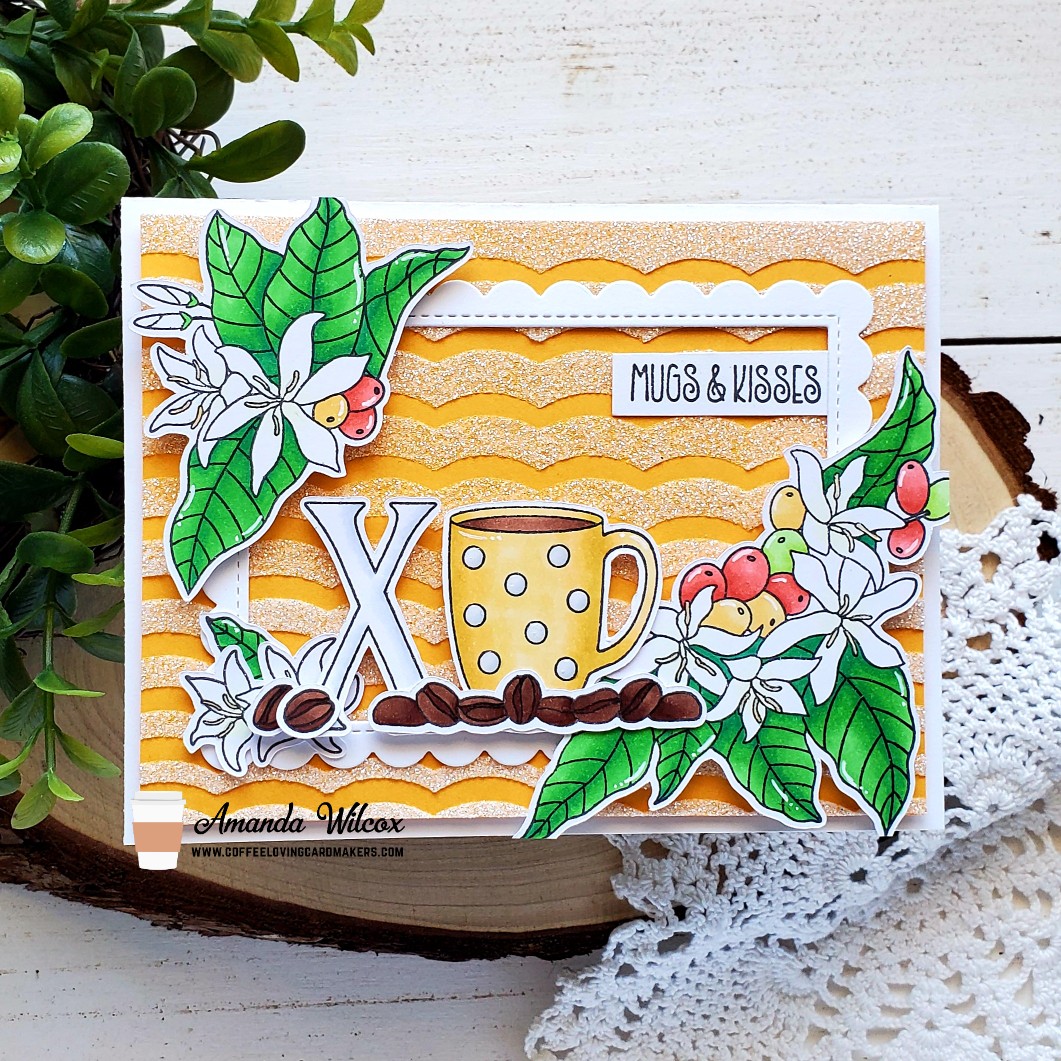
Happy Tuesday everyone! It’s Tuesday Tea with Twiddler’s Nook over on the Coffee Loving Cardmakers blog today and I have a gorgeous, sparkly fun card to share with you! I recently got the amazing Brewtiful stamp set from Miss Ink Stamps and couldn’t wait to ink it up! This set has so many fun images that can be paired in so many combos and will be great to combine with other sets as well.

I create this card, I started by laying my stamps out on an A2 card base to decide if the idea in my head would work. After I figured it out, I stamped and colored my images, then cut it all out with my scan-n-cut. Next, I found a yellow cardstock that matched my mug and used the scallop stencil with some white glitz gel. I left this overnight to dry and came back to assemble everything the next day.

Whenever I stencil a large panel, I always use a piece bigger than what I need so I can trim it down. So, that’s what I did with the yellow panel first – trimmed it down to 4×5.25 and popped it up with foam tape on a white card base. Then I die cut a scalloped frame from Lawn Fawn and adhered it with liquid glue. Because of the glitz gel, I put a few acrylic blocks on top and left it for a little bit to dry before moving on.

I attached most of my images with foam squares, with the exception of the small flowers behind the X and the sentiment strip on the upper right. Those were adhered with liquid glue like the frame.

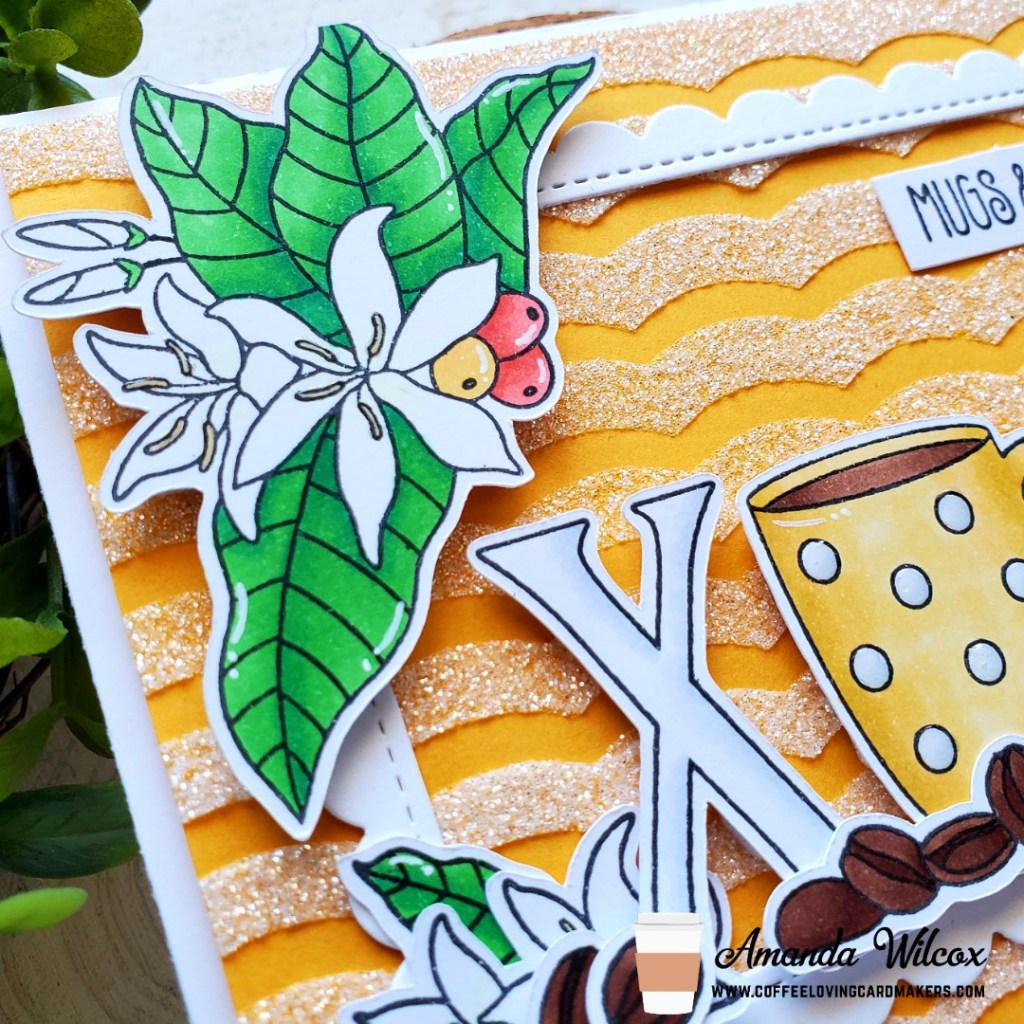
Finally, I moved on to finishing touches. I started with some white gel pen accents to the images and moved on to glossy accents on the mug dots and stamen of the flowers.

I am in love with this card and can’t wait to share it with someone. It’s so bright and cheery and is certain to make someone smile!

I appreciate you sharing your time with me. Have a fabulous day!

Newton’s Nook – Picnic Box Card

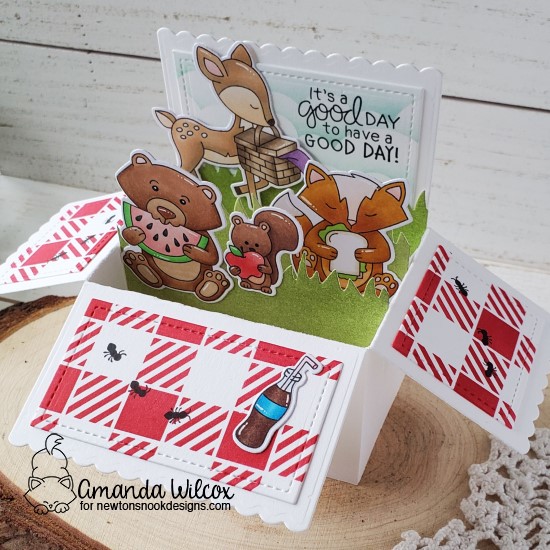
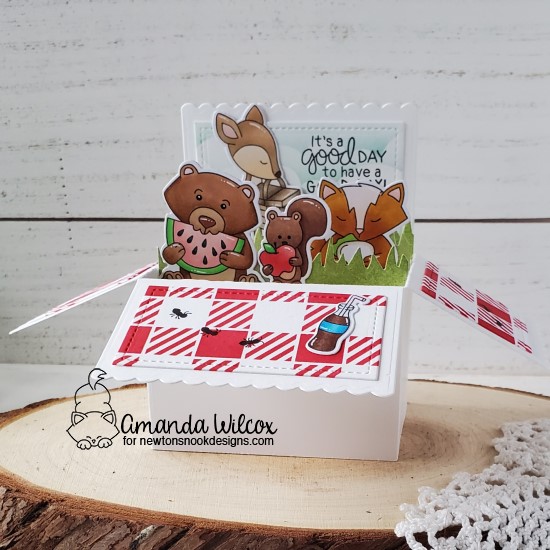
Welcome back! I’m up on the Newton’s Nook blog today with this fun interactive box card. The critters are having a picnic and you’re invited!

I had a blast creating this adorable card! I started by stamping all of the critters and the soda bottle from Woodland Picnic and colored them with copics. I cut them out with the coordinating dies and moved on to creating my box card.

I die cut all of those pieces from the Lawn Fawn Scalloped Box Card from white cardstock. I took three of the panels for decorating the box and used the gingham stencil with red ink and my blending buddy brushes. Then I stamped some of the ants for fun. For the last one I used the clouds stencil and some light blue ink and also stamped my sentiment with black ink. I also used my brushes with green to create some grass for my layers in the box. I die cut these with the land borders grass die. The grass pieces are glued to the actual divider tabs that are part of the Lawn Fawn Scalloped Box Card. With all of the pieces done, I assembled the box card and started adding my critters.

I adhered all of the images with tape runner to the box card and made sure it still closed up properly. I had one too many images to fit in my card so I added the bunny to the back of the card where I’ll write my message to the recipient. It just adds a fun little whimsy to that part too!

I appreciate you sharing your time with me. Have a fabulous day!

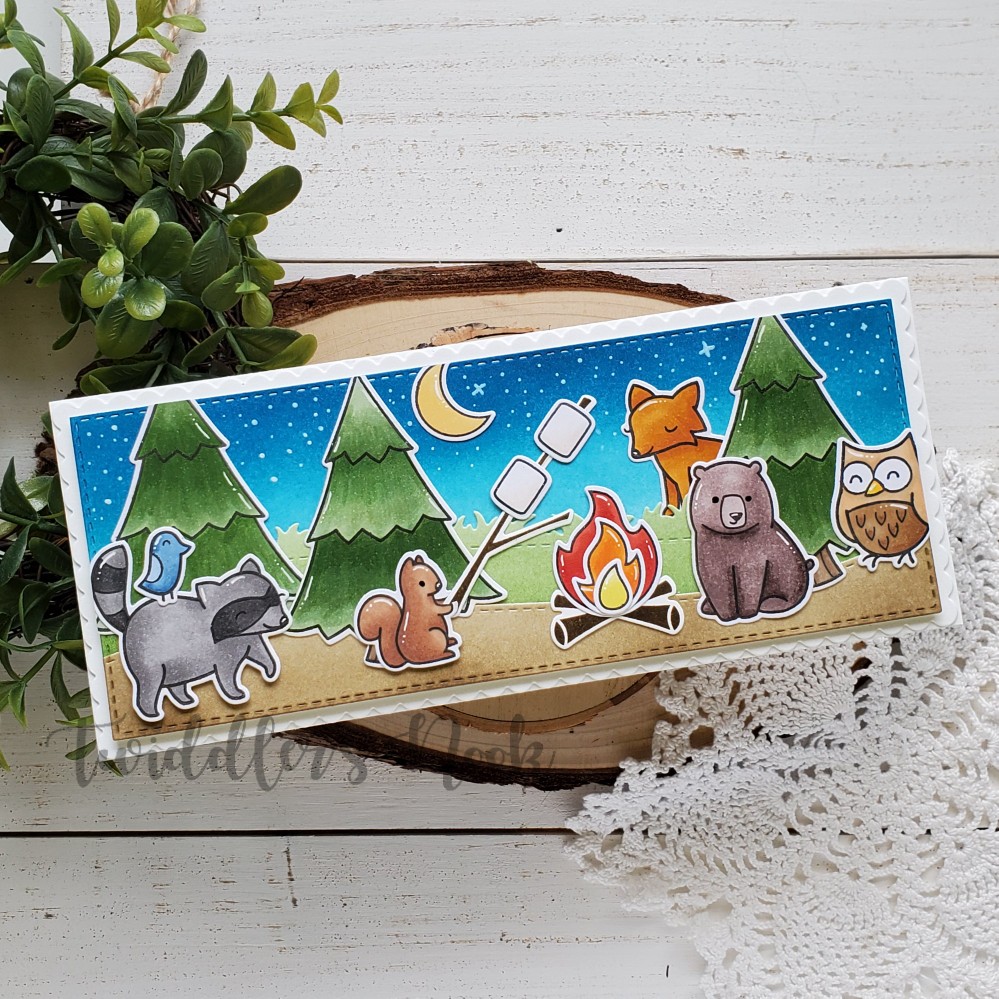
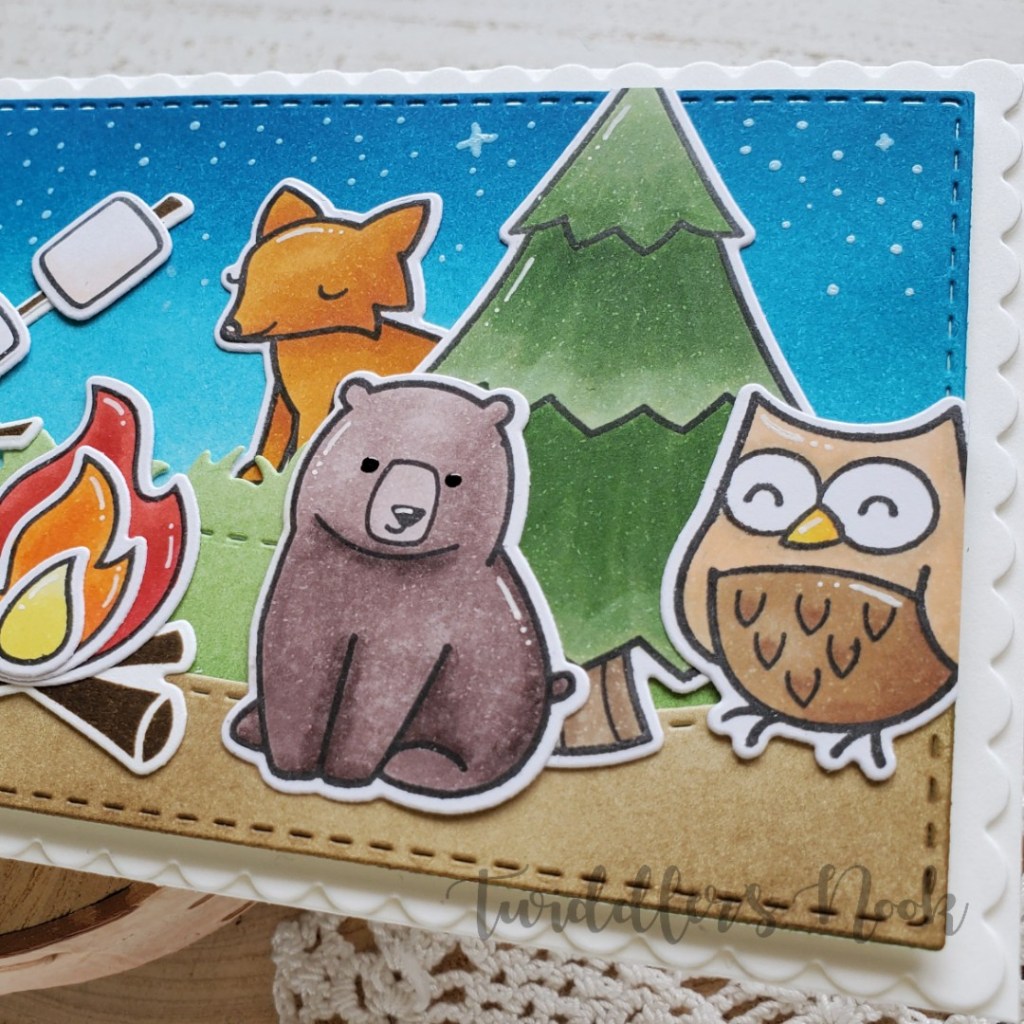
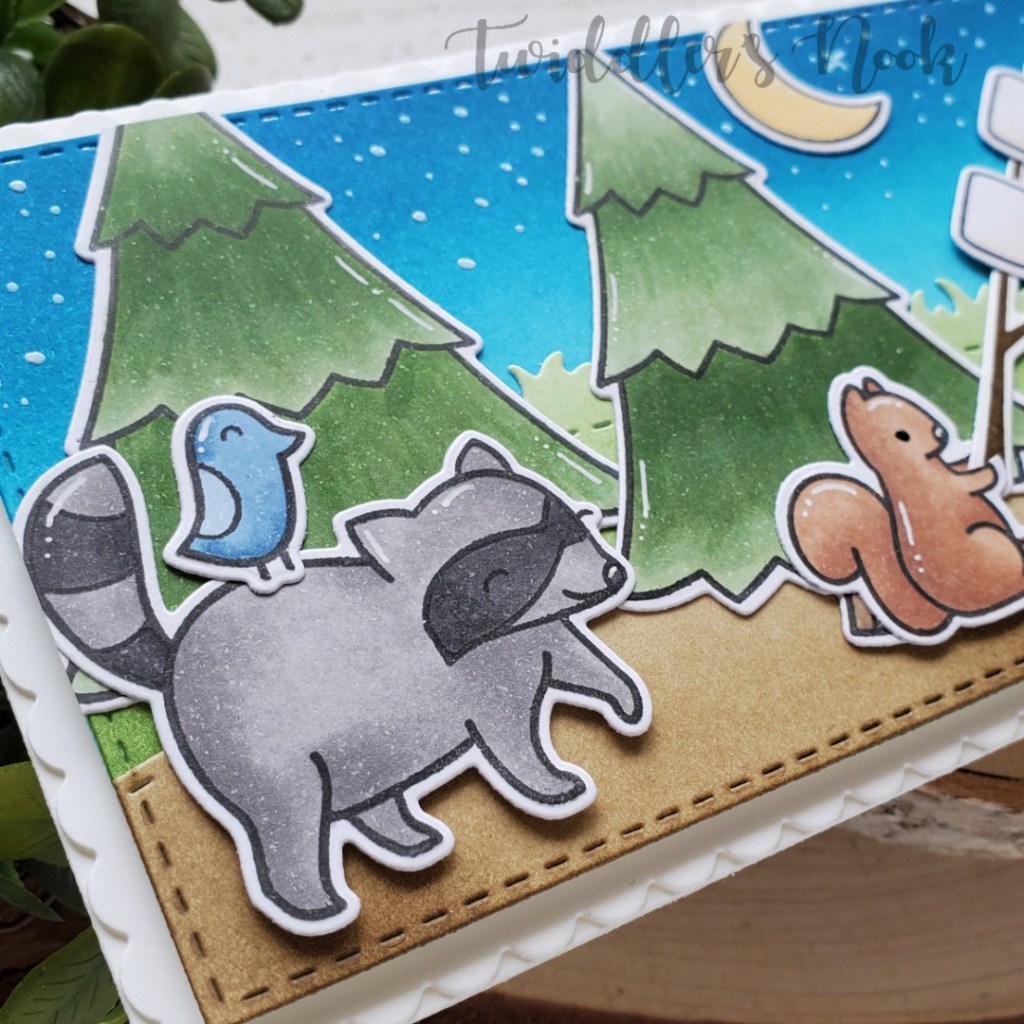
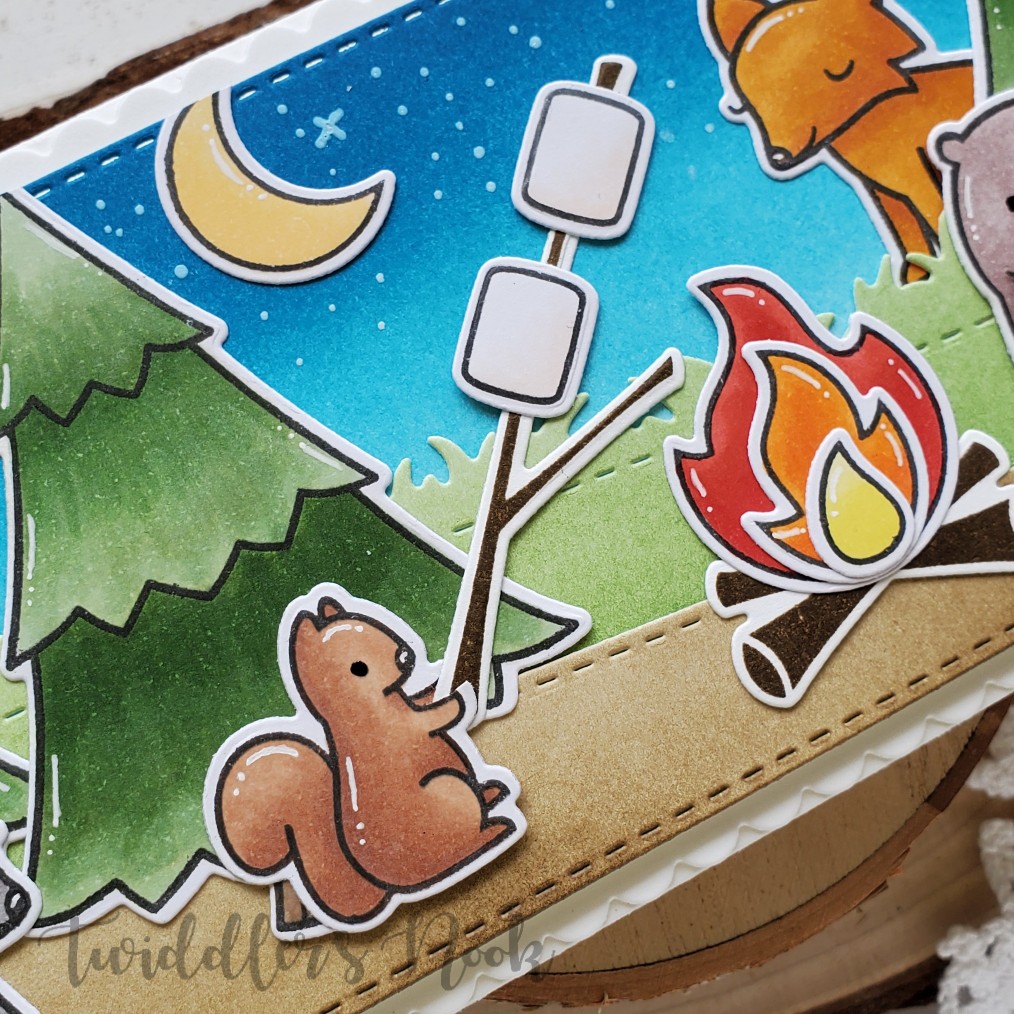
Lawn Fawn – Let’s Go Camping

So, I’ve really been in the mood to go camping lately. I’m ready for summer and the warm sun. As I was perusing my stamps to decide what to play with it hit me and I could make a fun camping scene with some awesome older Lawn Fawn sets that I have. Here’s what I came up with.

I started by stamping so many critters and other images from Love You S’More and Critters in the Forest and colored them with my copic markers. Then I used the coordinating dies to cut them all out. I die cut 2 white panels from my Trinity Stamps Slimline Stitched Panels set – the middle size and ink blended them. The sky is on one whole panel while I split the other panel between grass and dirt and used my Slimline Scenic Border dies to cut them apart.

Then I moved on to assembling everything. I glued all of the scene layers together with tape runner and arranged my images how I wanted them. Once that was decided I glued them in place too. This panel was attached to a Slimline Scalloped Border panel with foam tape and adhered to a white cardbase measuring 3.5×8.5 inches.

For finishing touches on this awesome scene, I added black glaze pen to the critter eyes and white gel pen accents to the images. Then I took a white glaze pen and added starts to the sky. I think the ink colors look like it’s just starting to be dusk when you can just start to see the stars come out.

I’m so ready to make s’mores over a campfire in the middle of nowhere. It’s going to be amazing! Do you like camping?

I appreciate you sharing your time with me. Have a fabulous day!
Neat & Tangled – Puppy’s Favorite Things

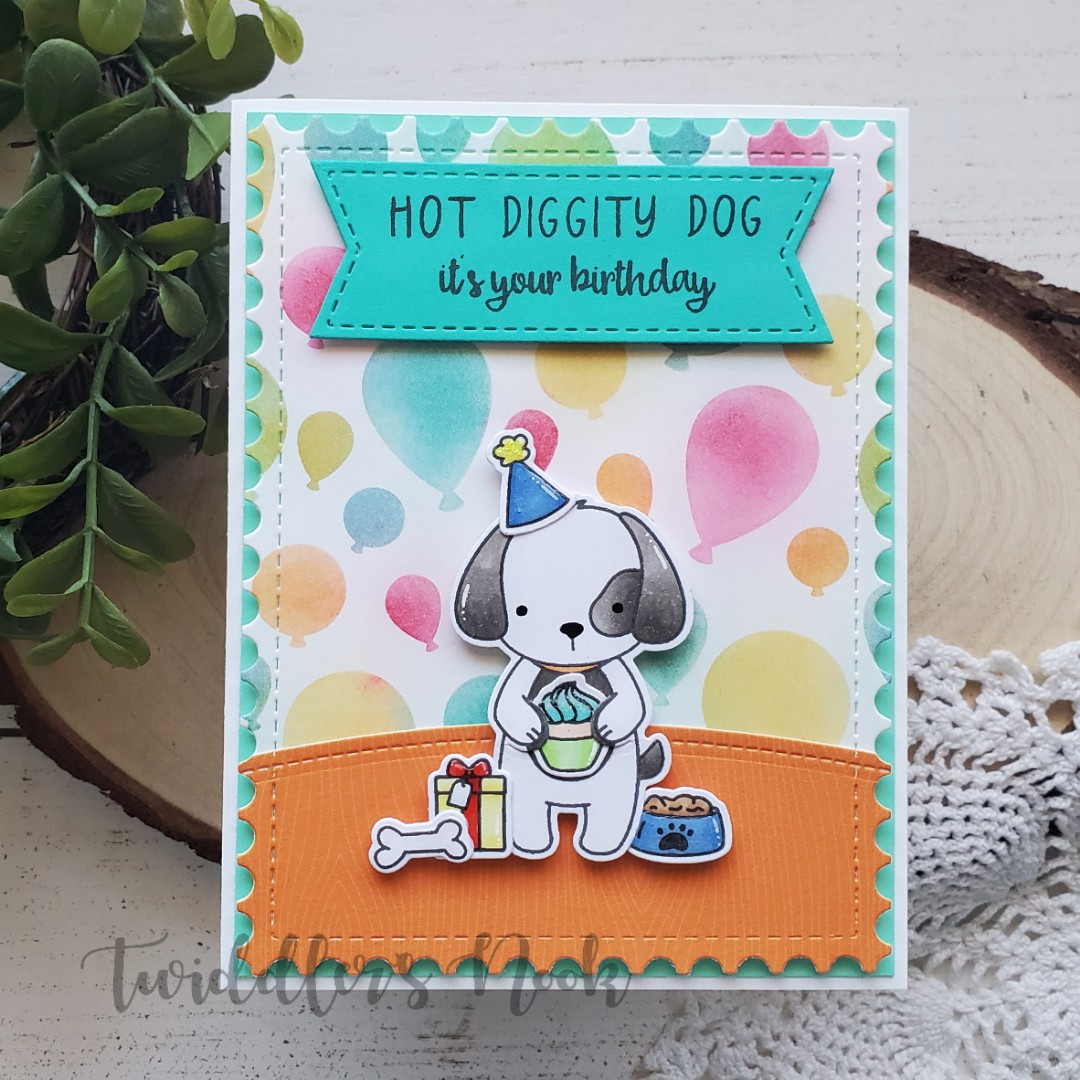
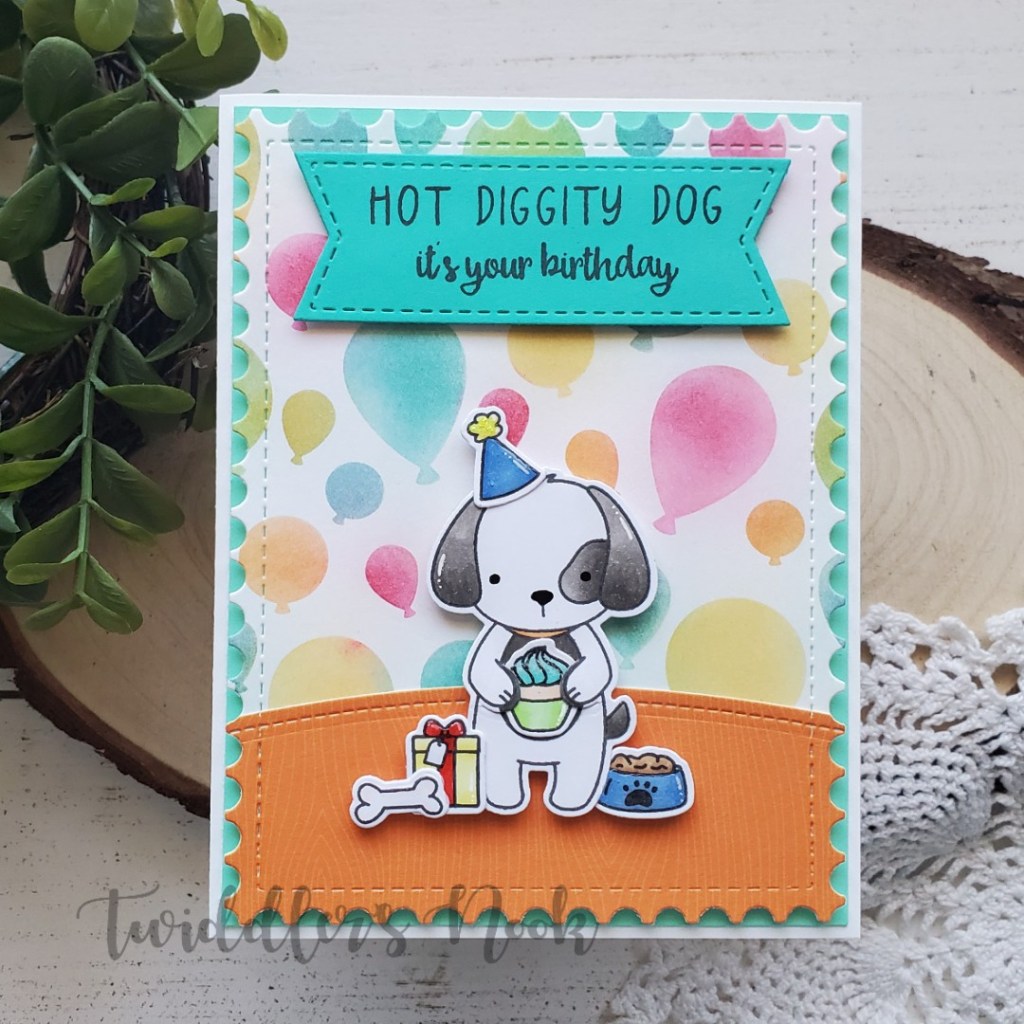
Welcome! I picked this sweet puppy up from Neat & Tangled a while ago and finally had a chance to ink him up. He’s just adorable and so fun to color! I paired him with some fun Newton’s Nook products to create a birthday card for a change of theme these days.

I started by stamping and coloring the images from Puppy’s Favorite Things and then used the coordinating dies to cut them out.

Then I grabbed my Newton’s Nook balloons stencil and my Trinity Stamps blending buddy brushes to ink up the balloons different colors. Then I used the Framework dies from Newton’s Nook to cut the panel out along with an orange woodgrain floor. I trimmed down a teal piece of cardstock to 4 1/8×5 3/8 and popped the stenciled panel on it with foam tape. This is all glued to a white card base.

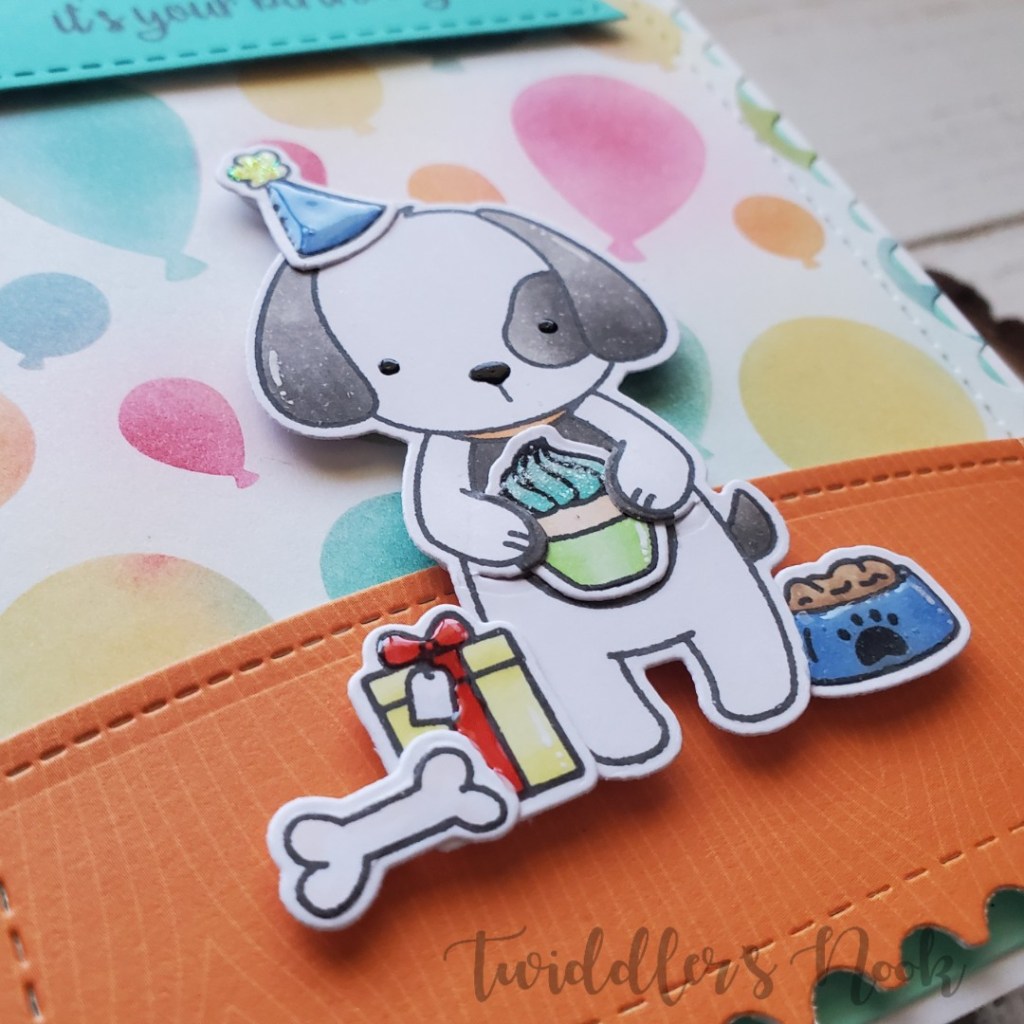
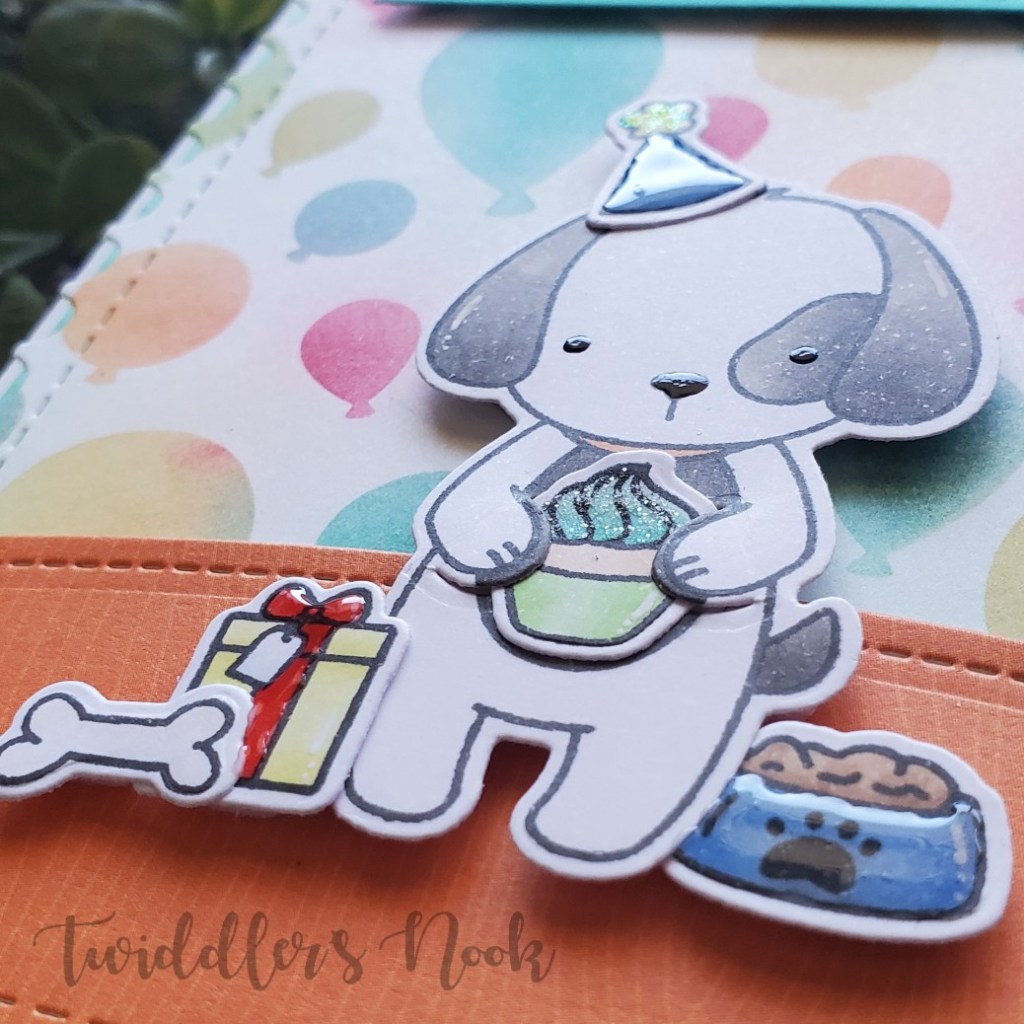
I had used the special die to cut the puppy’s hands out so he could hold the cupcake so I glued that in place. Then I added foam squares to the back of all my images and put them in place. Last, I die cut a banner from the Newton’s Nook Frames and Flags set and stamped my sentiment. This banner is also popped up with foam squares.

For finishing touches I added white gel pen accents throughout the images, black glaze pen to the puppy’s eyes and nose and glossy accents on a few images. I also added sprinkled sugar Stickles to the cupcake frosting and yellow Stickles to the top of the birthday hat.

I appreciate you sharing your time with me. Have a fabulous day!
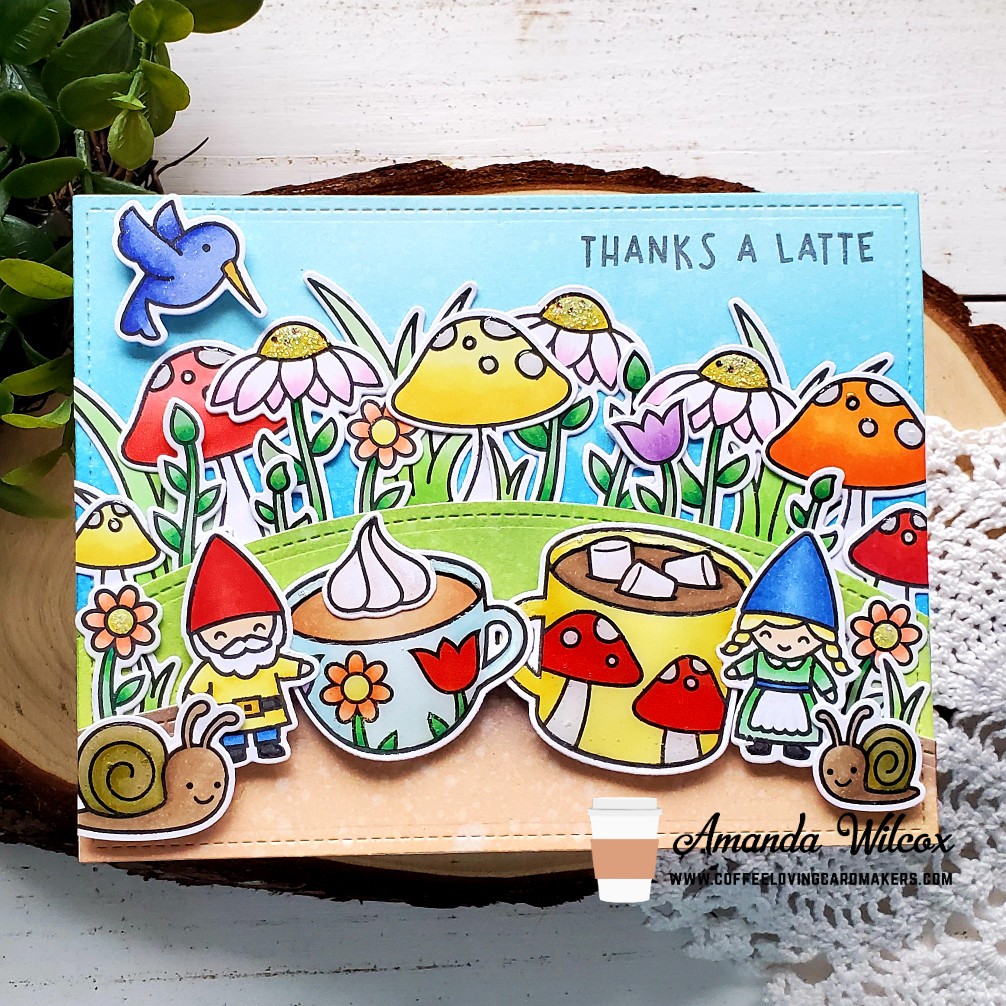
Coffee Loving Cardmakers – Thanks a Latte

Hey all! It’s another Tuesday Tea with Twiddler’s Nook over on the Coffee Loving Cardmakers blog and I’ve got a fantastic card to share with you!

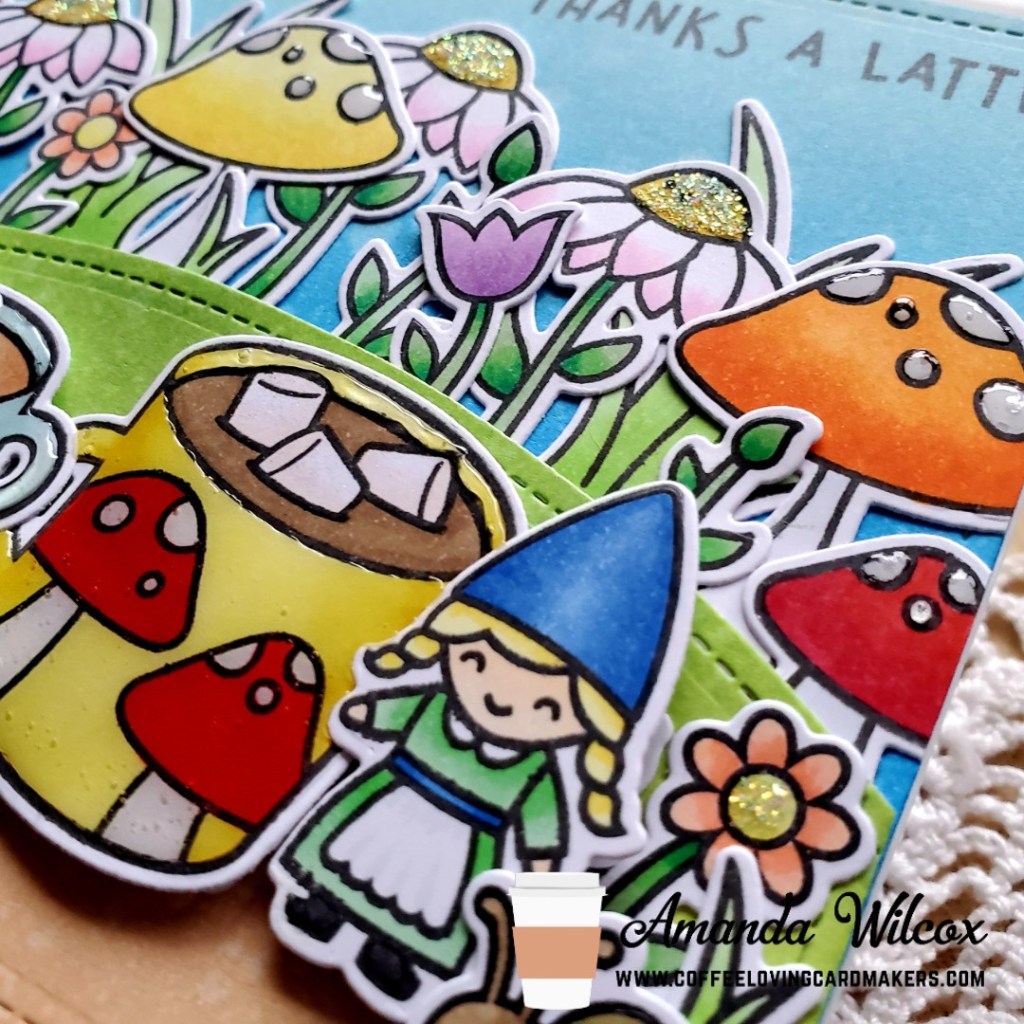
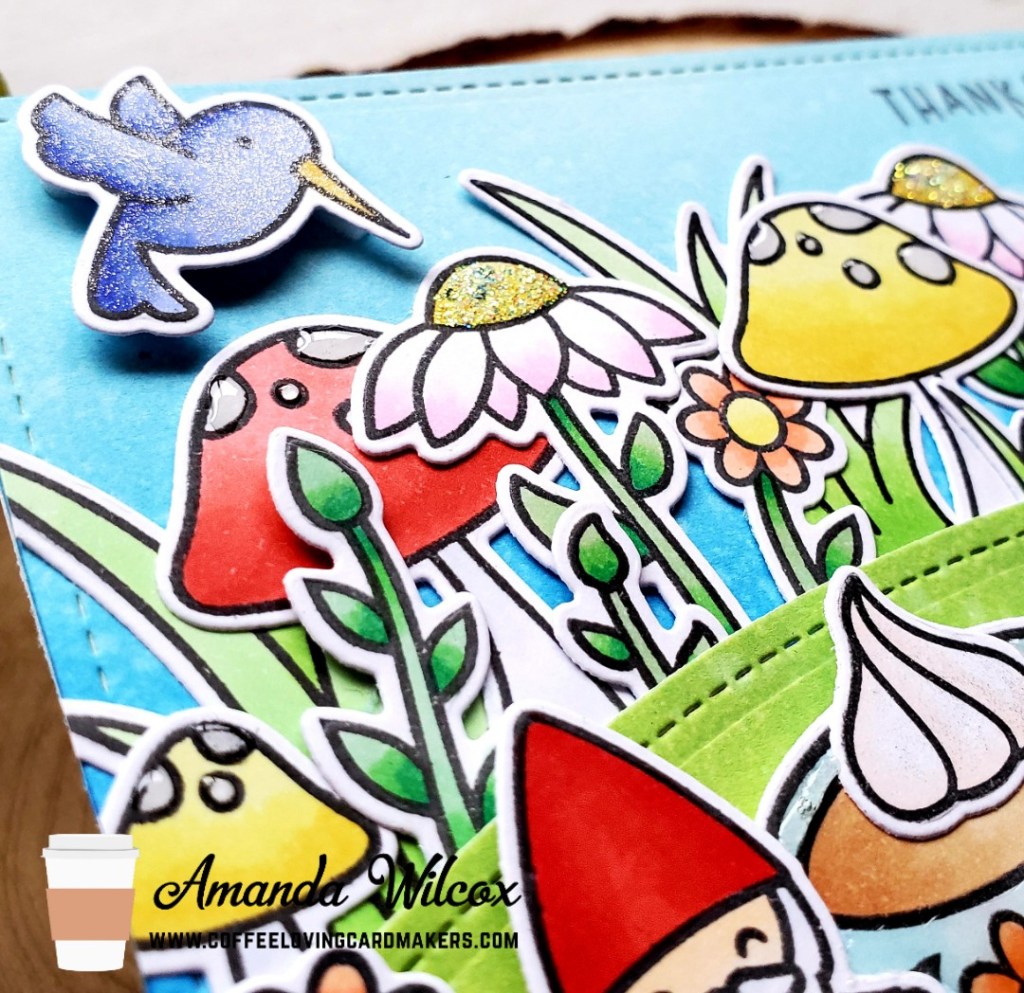
I am so excited with how this fun card turned out. I started by stamping images from Lawn Fawn sets – Thanks a Latte, Oh Gnome and Gleeful Gardens. Then I cut some masking paper for the mugs and stamped the flowers and mushrooms from Oh Gnome on them. I set to work coloring everything with my copic markers and then used the coordinating dies to cut it all out.

I set those aside and started working on my background. I took three white panels and inked them up with distress oxide inks for dirt, grass and sky. I used tea dye and gathered twigs, twisted citron and mowed lawn, and tumbled glass and salty ocean. Then I spritzed the panels with water, blotted them dry and die cut each with the largest stitched rectangle. I glued the blue one to a card base and die cut the other two with hills from the simple stitched hillsides. Then I adhered those as well and started deciding on final placement all of my images.

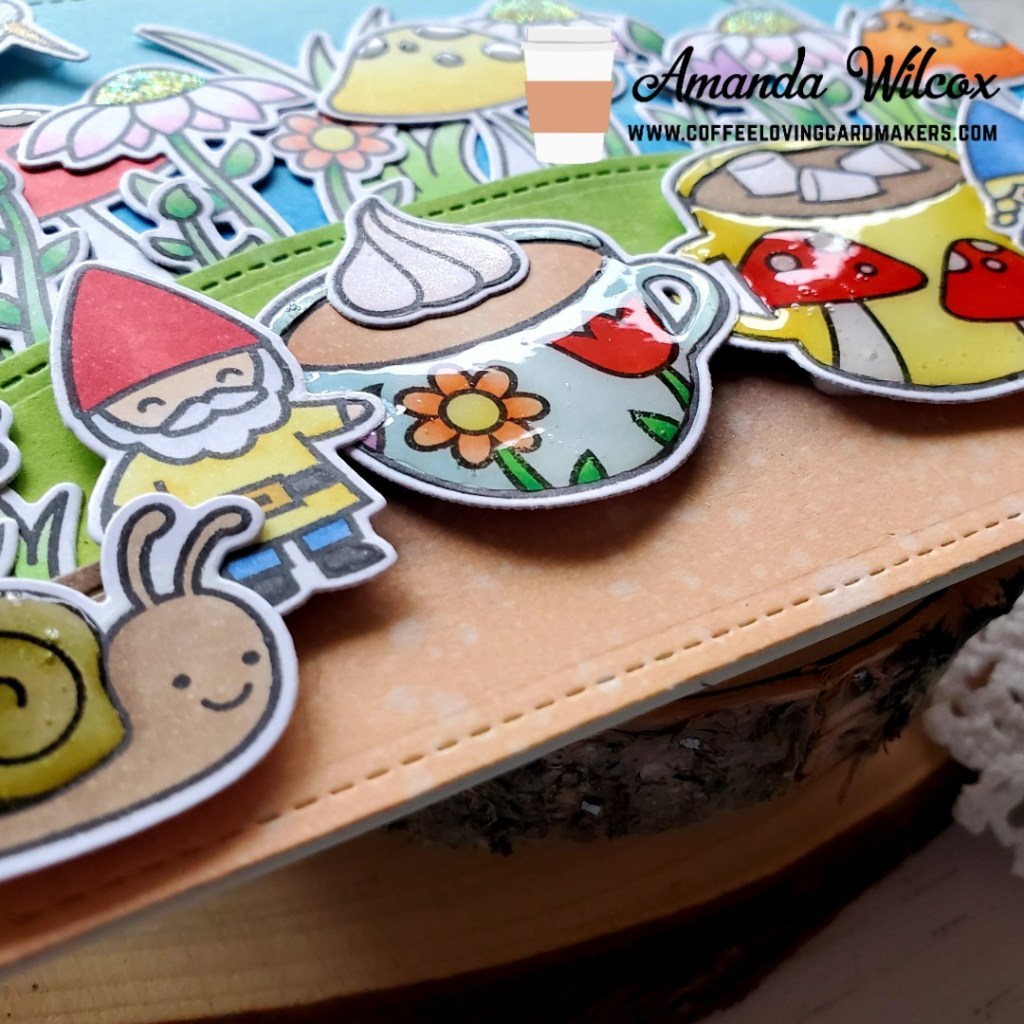
Everything is glued directly to the cardfront, tucked behind the hills with tape runner, with the exception of the hummingbird in the sky, the cups, gnomes and snails on the bottom.

I used my MISTI to stamp a sentiment at the top and moved on to finishing touches. At first I wasn’t going to do much but that went out the window quick. I added unicorn Stickles to the flower centers and glossy accents to the mushroom dots. Then I added Wink of Stella glitter brush pen to the hummingbird. I thought I was done but I was wrong. 😉 I added glossy accents to the snail shells and mugs and then for fun, I added Wink of Stella to the whipped cream and marshmallows too.

It’s a super busy card but I love it! It’s like we’ve discovered a little gnome coffee date in the middle of a flower garden or something.

I appreciate you sharing your time with me. Have a fabulous day!
Lawn Fawn – Star Shape Card Set

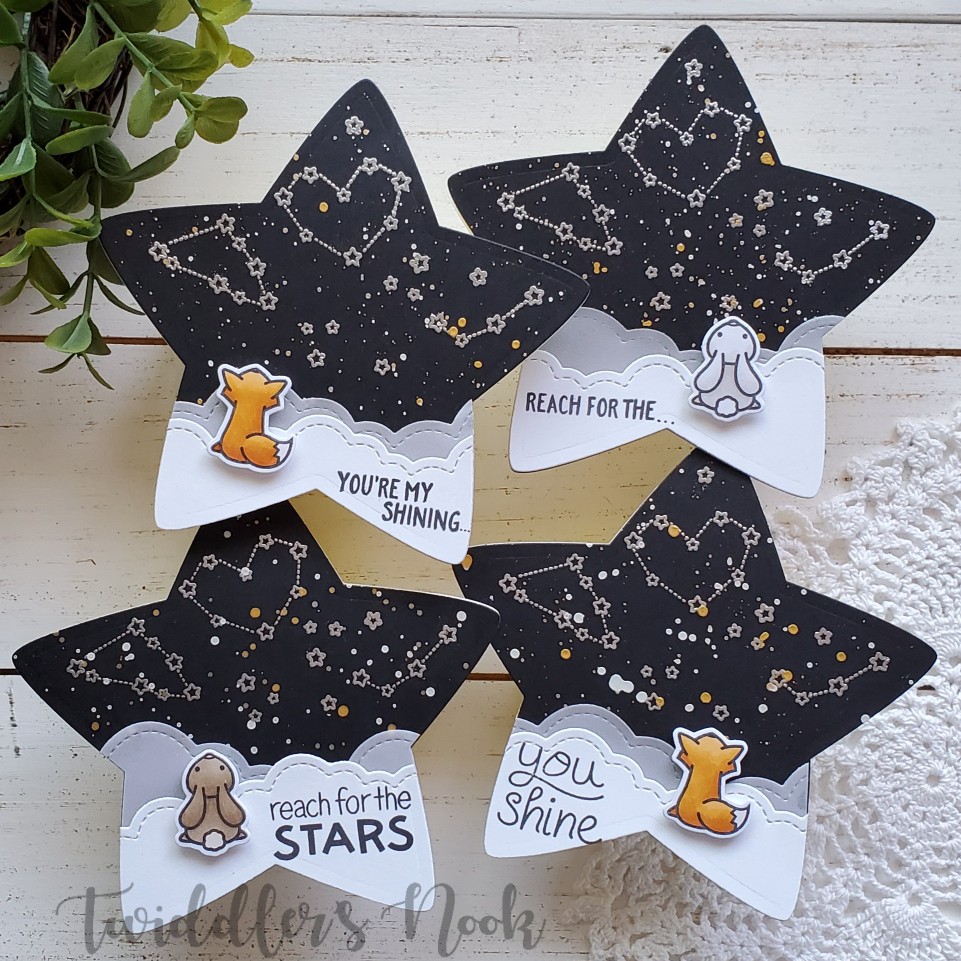
Hey there! Happy weekend everyone! I’m up on the Scrapbookpal.com blog today with this awesome set of cards today that were inspired by my friend, Jenn Bena’s, video a couple weeks ago. Hers were uber fabulous and although I don’t have all the same goodies she does, I dug in my stash and found some fun things to use instead.

To make these cards I started with a ton of die cutting. Here’s a list to get you going:

  • From the largest of the puffy stars
    • 4 black stars
    • 2 white stars
    • 2 iridescent vellum stars
    • 4 white stars folded in half for the card base – crease line about 3/4 inch below the cut line
  • Take your white and vellum stars and use the puffy cloud borders to cut your clouds. You can get 2 from each star.

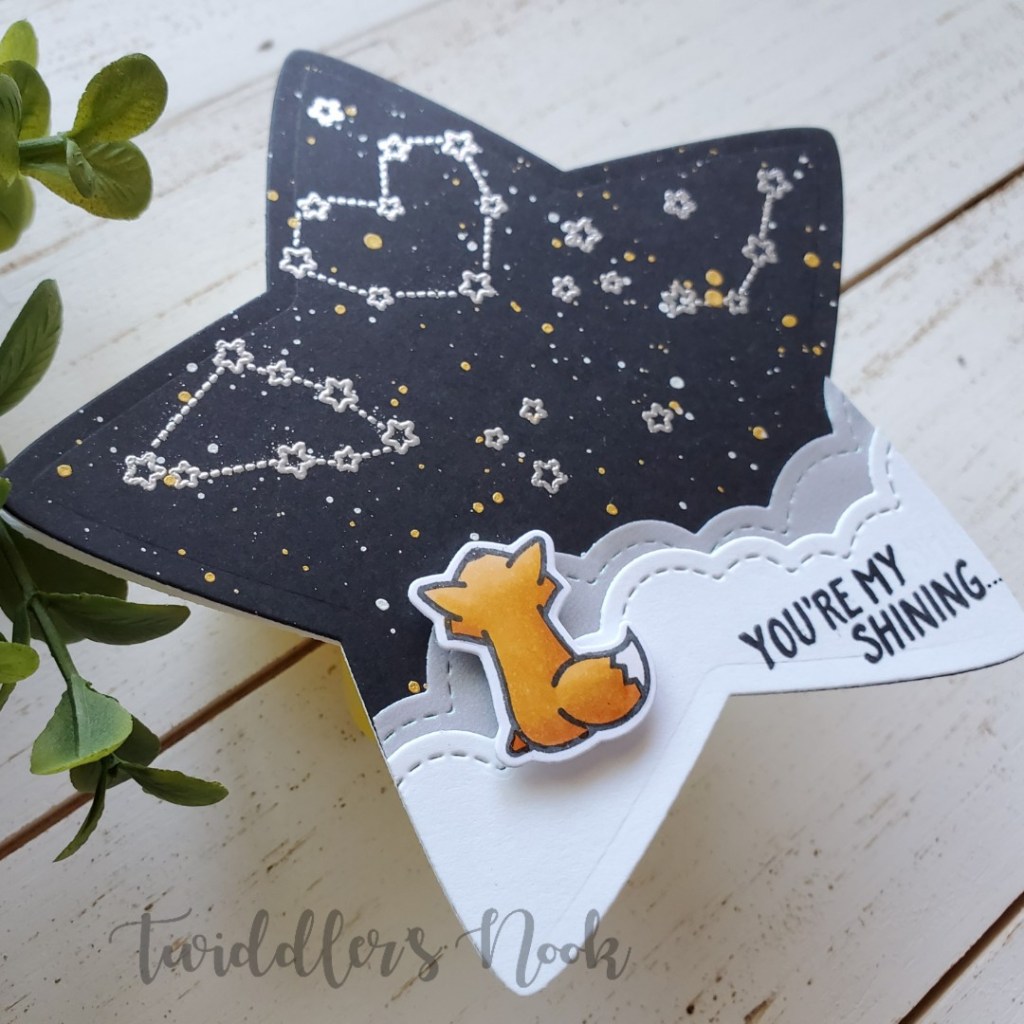
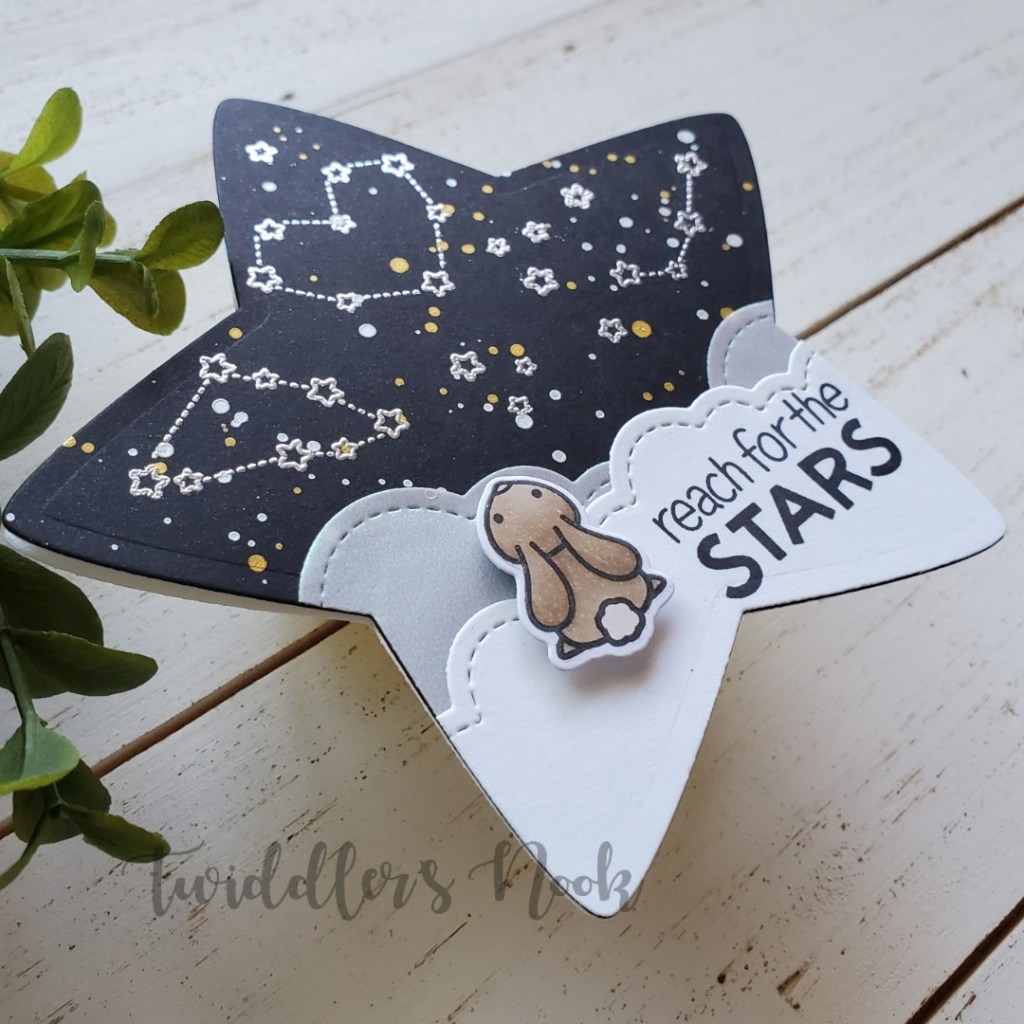
From here I actually adhered everything together then took the stars from Upon a Star and heat embossed them in the sky with silver embossing powder. This looked a little plain so I created a cloud mask and splattered the sky with gold and pearl watercolors. I love this now!!!

I stamped, colored and die cut the small fox and bunny from Upon a Star and popped them up with foam tape on the cloudy ground. Last, I pulled out my Lucky Stars sentiments and stamped them on two cards. Then for the other two I split the sentiments from Upon a Star part on the front and the large word inside the cards.

These cards fit in a standard A2 size envelope and mail with a regular stamp. But how much fun would it be to received these fun shaped cards! Such a small change makes a huge impact on your card.

Do you make shaped cards? Share in the comments. I’d love to know.

I appreciate you sharing your time with me. Have a fabulous day.