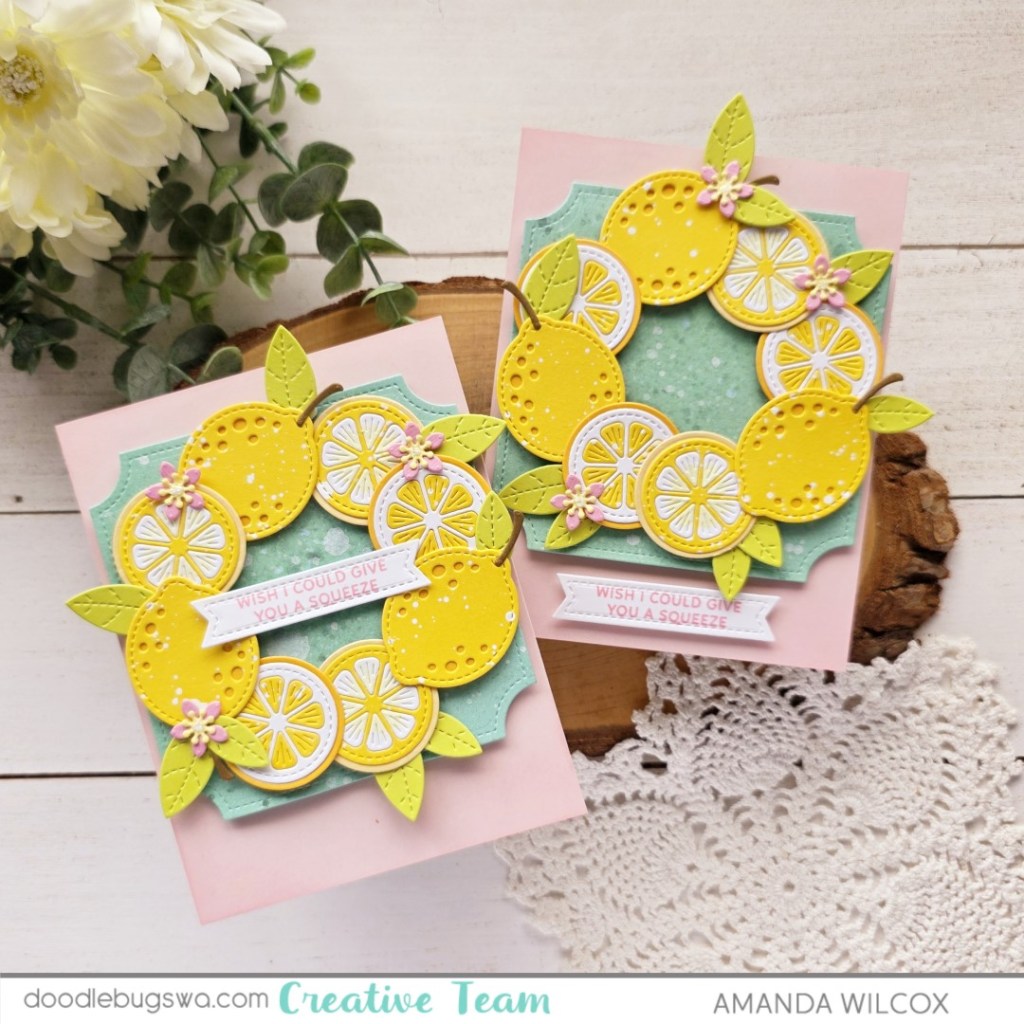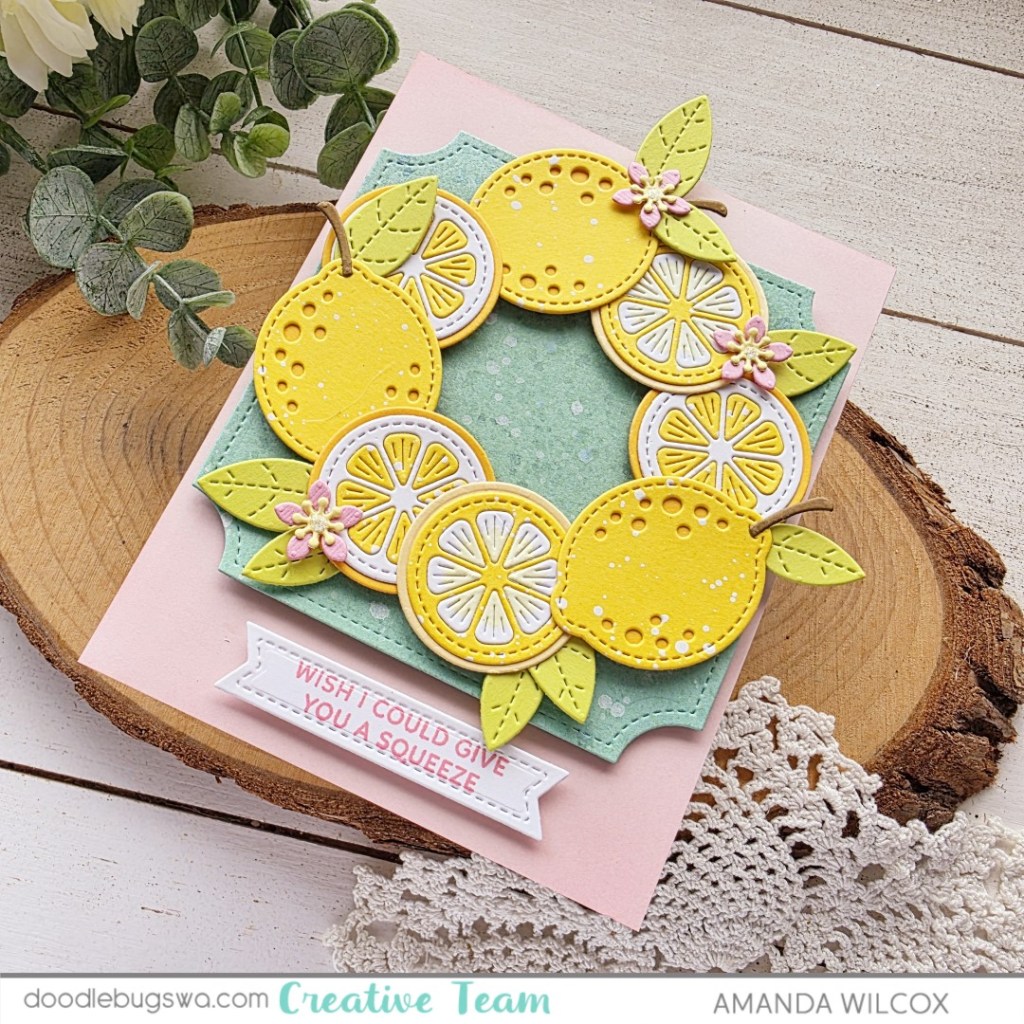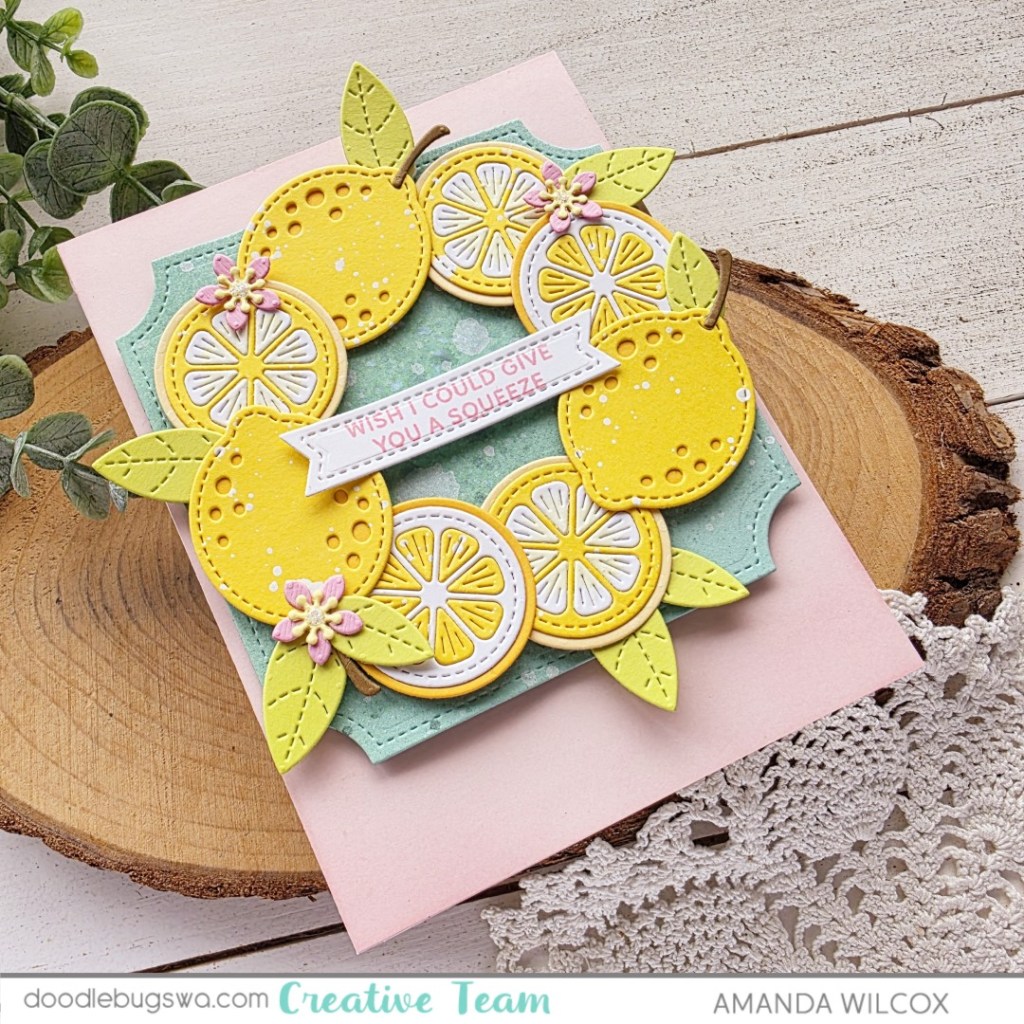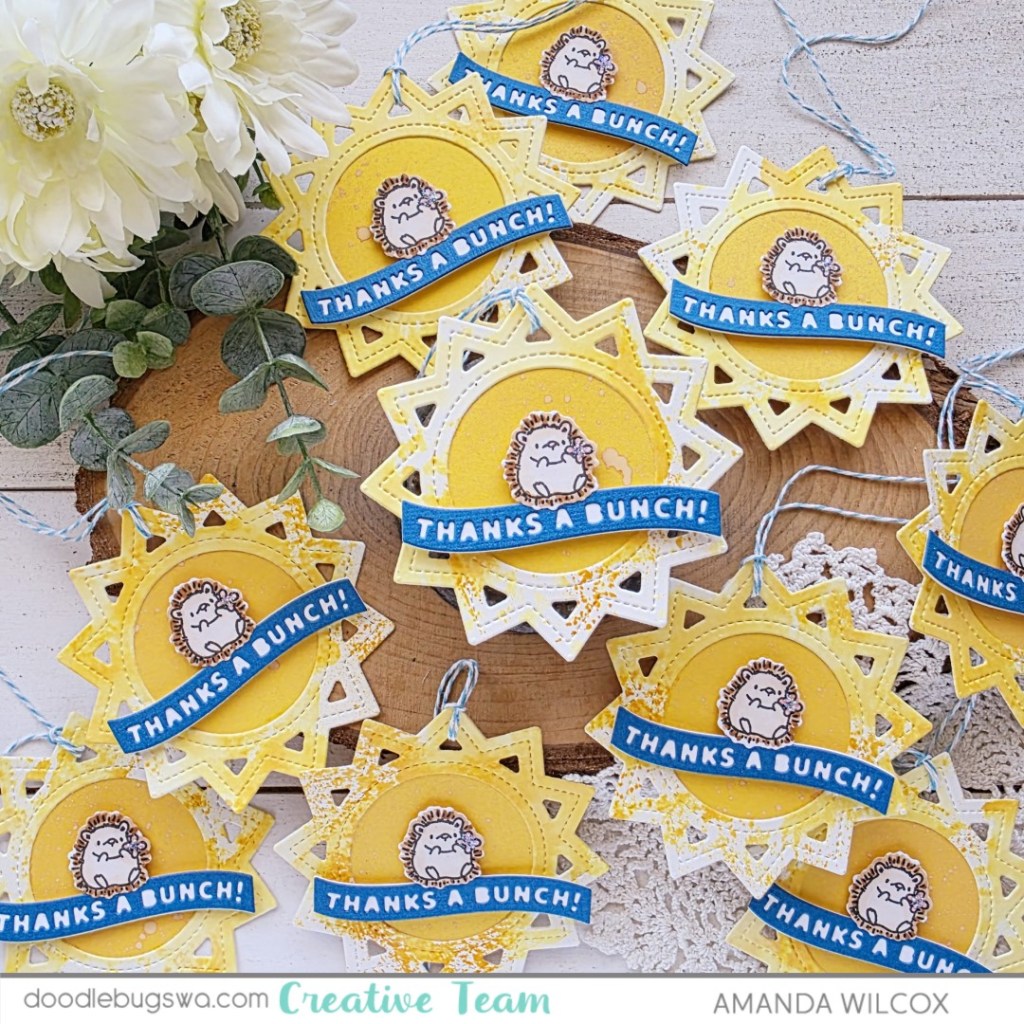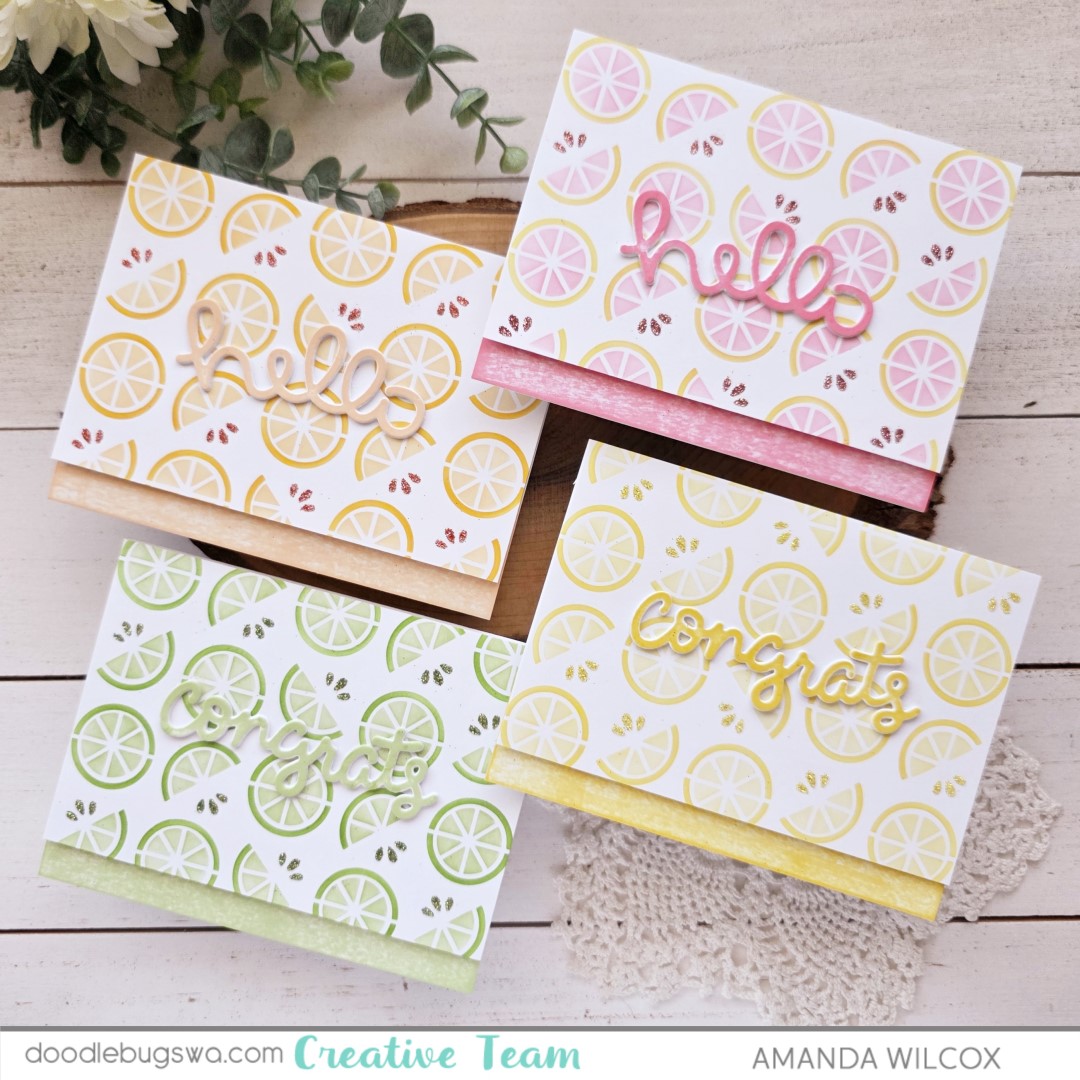
Hey friends! It’s Mix it up Monday on the Doodlebugs blog today! I’m sharing some really fun stenciling in a bunch of color combos because who doesn’t love a good citrus!

I was really in the mood to play with stencils a little bit ago so I went digging through all my layering stencils, finally landing on this fun Pretty Pink Posh Citrus stencil set. I inked it up with the orange combo because it seemed immediately logical but right after that I thought, I want to make lemons and limes and, what about grapefruit too!?! So I did.
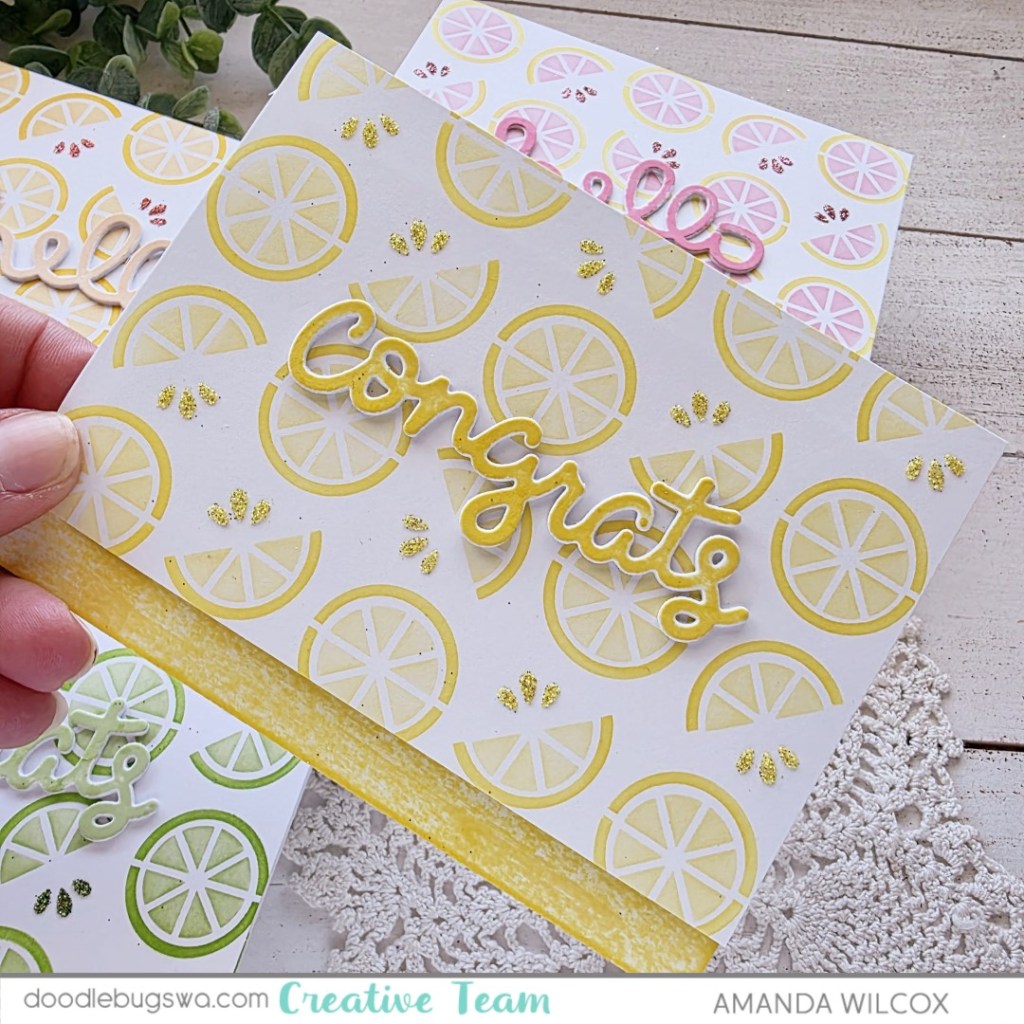
The final layer is the juice splatter so I spread glossy gel through it and sprinkled those with super fine glitter for sparkle. While those were drying I cut some Lawn Fawn scripty sentiments from white cardstock – 3 layers for each card – and glued them together with liquid glue. But I didn’t like the white sentiment so I cut another layer for each card and inked it with the same inks I used on the stenciling.

Once the panels were dry, I trimmed the edge off and lined the back with foam tape. Then I inked the edge of my card base to match each panel and adhered them together. Last, I glued my sentiments in the center and suddenly have an adorable set of 4 cards done!
Products used:
Pretty Pink Posh Citrus
Lawn Fawn Scripty Congrats die
Lawn Fawn Scripty Hello die
Lawn Fawn inks – celery stick, jalapeno, lemonade, sunflower, carrot, peach fuzz, bubblegum
Liquid glue
Foam tape
I appreciate you sharing your time with me. Have a fabulous day!