Hello everyone. I hope your week is chugging along nicely. We have had some wild weather the last few days but it’s so sunny and nice today, it’s hard to believe the hail and downpours we had just yesterday.
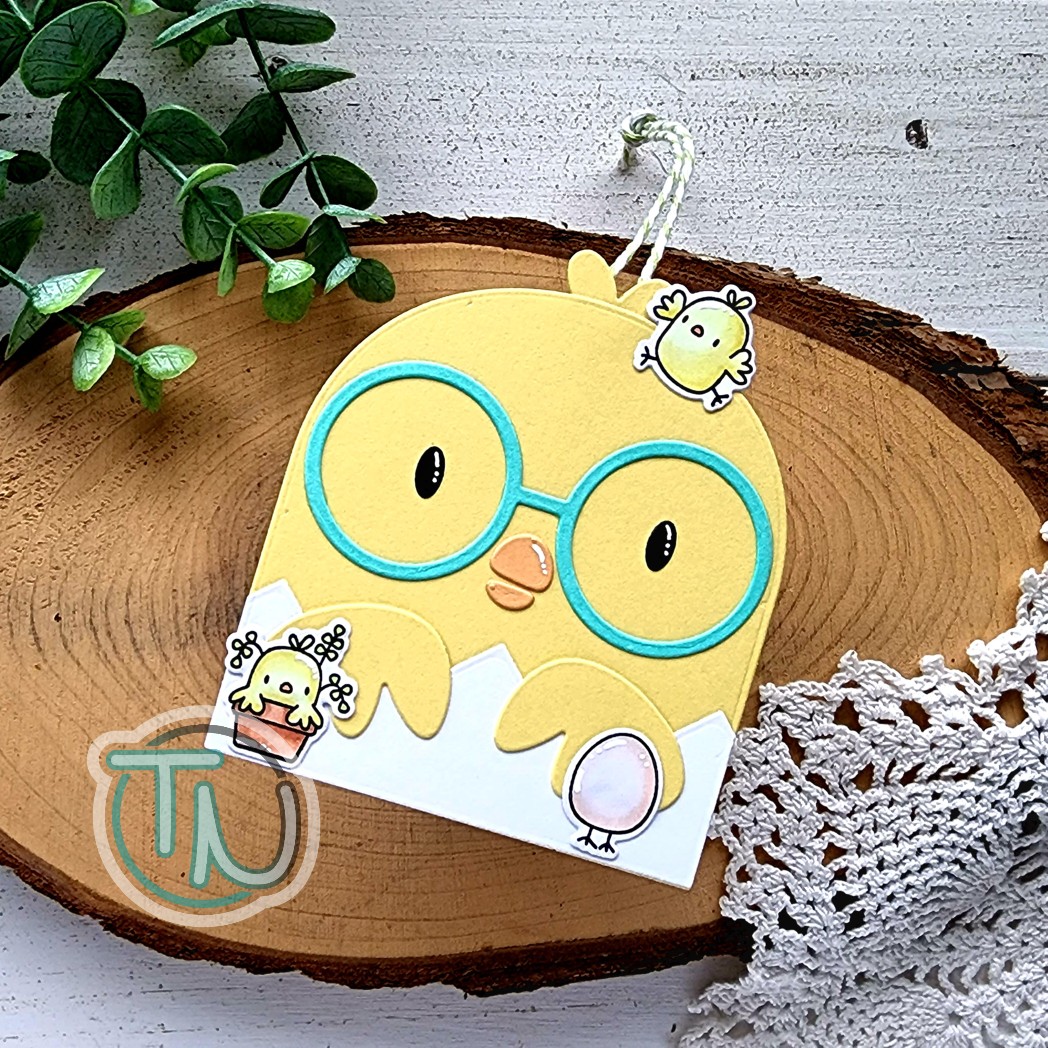
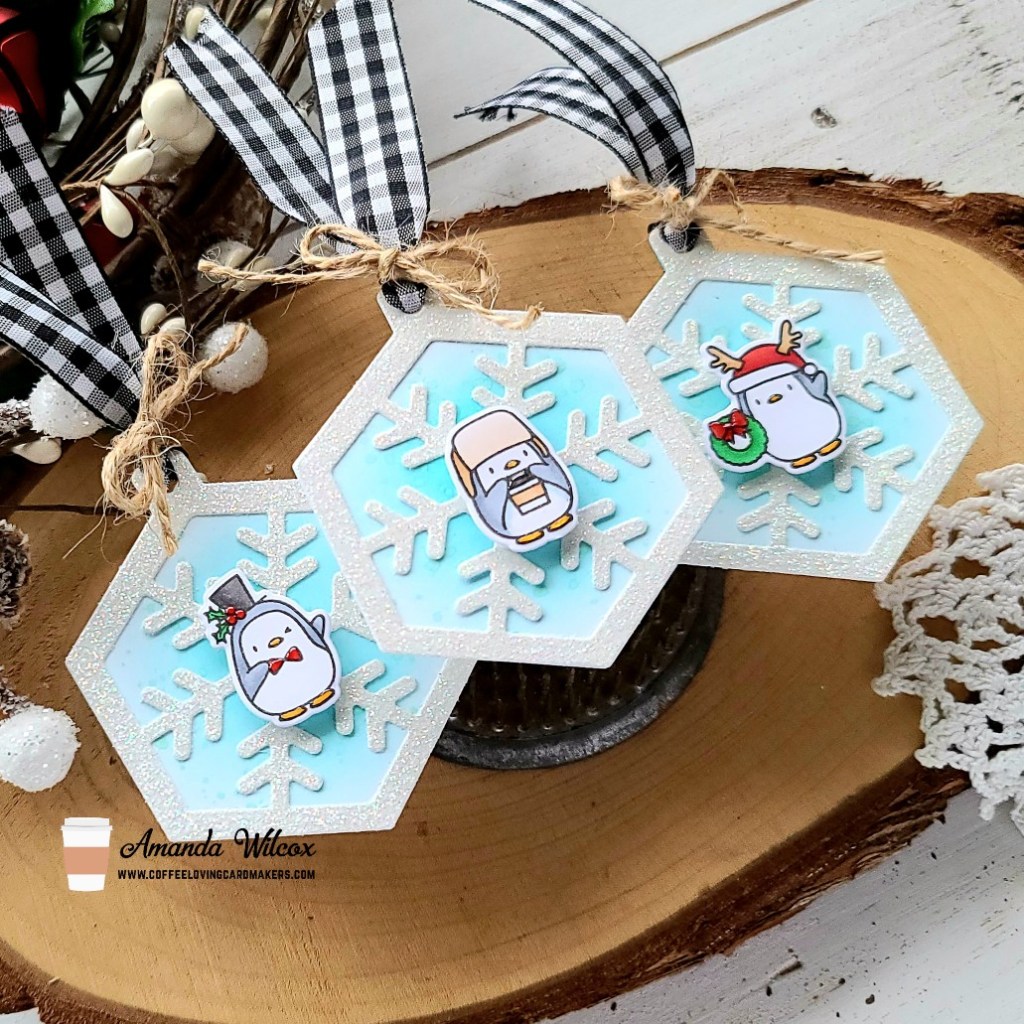
Today I wanted to pop in and share a set of 4 cards I created using the most recent Mama Elephant release paired with shaker bits from the Twiddler’s Nook shop.

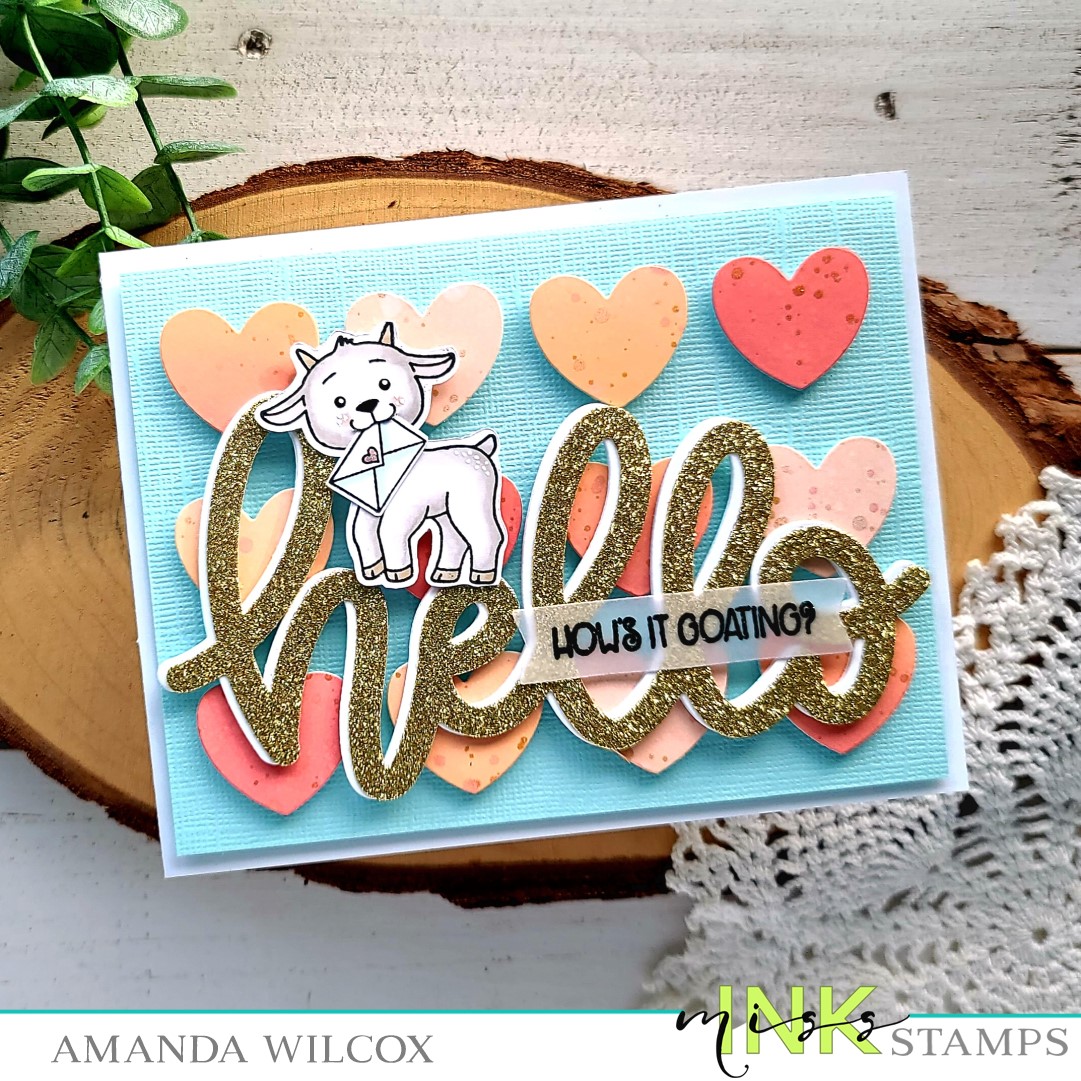
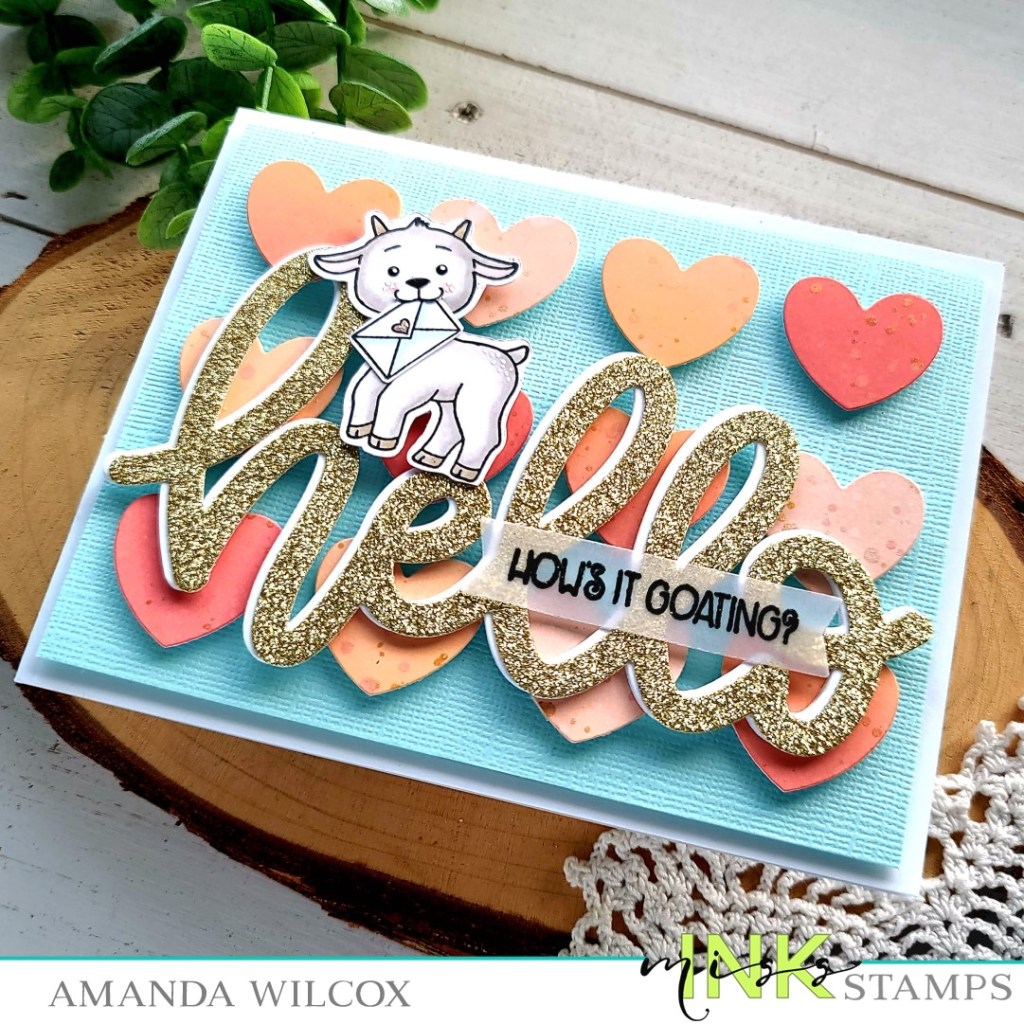
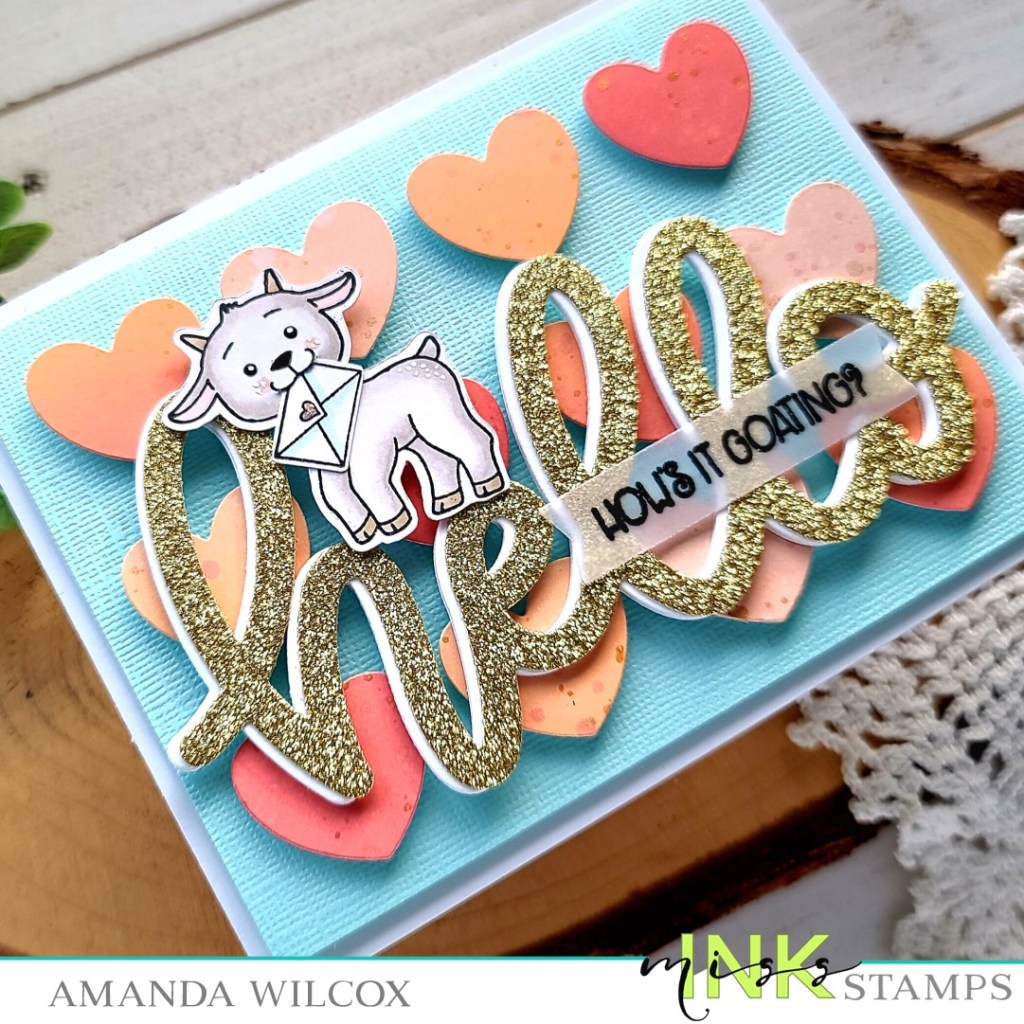
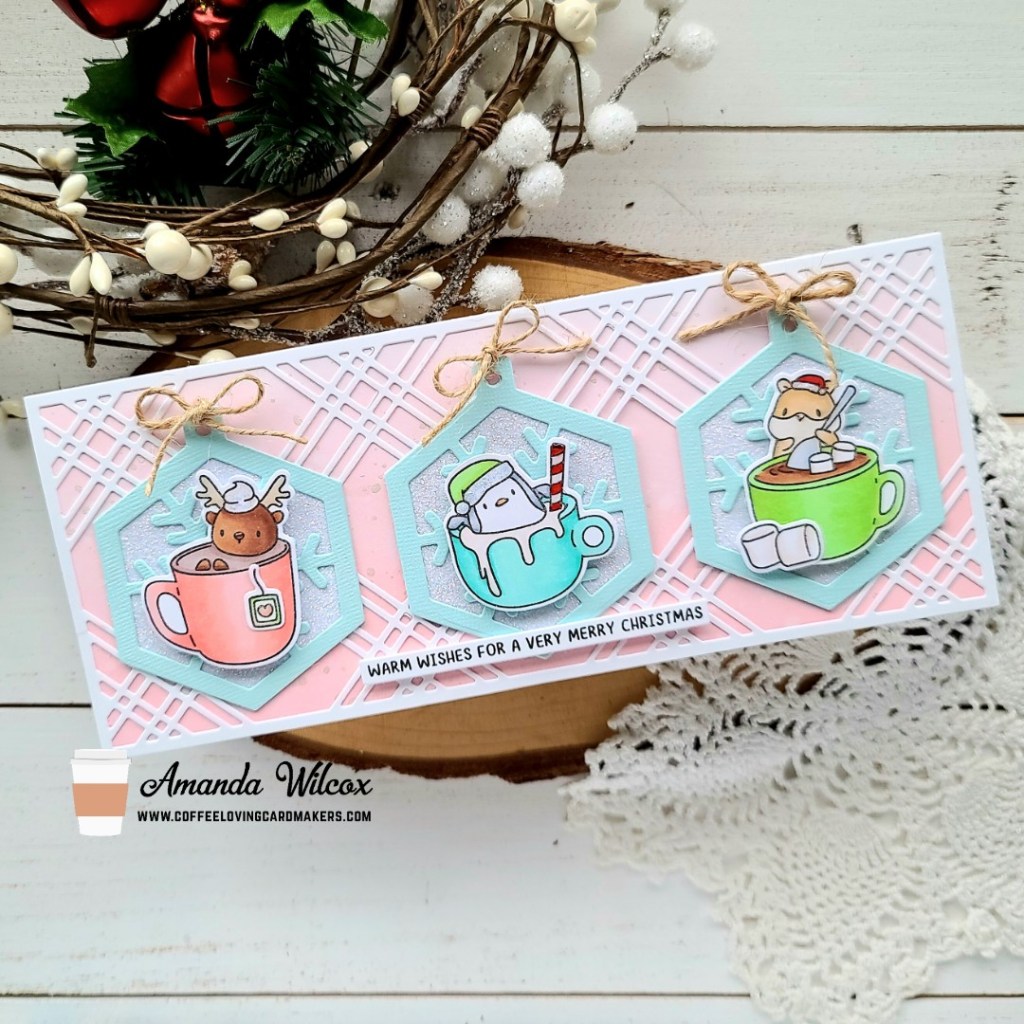
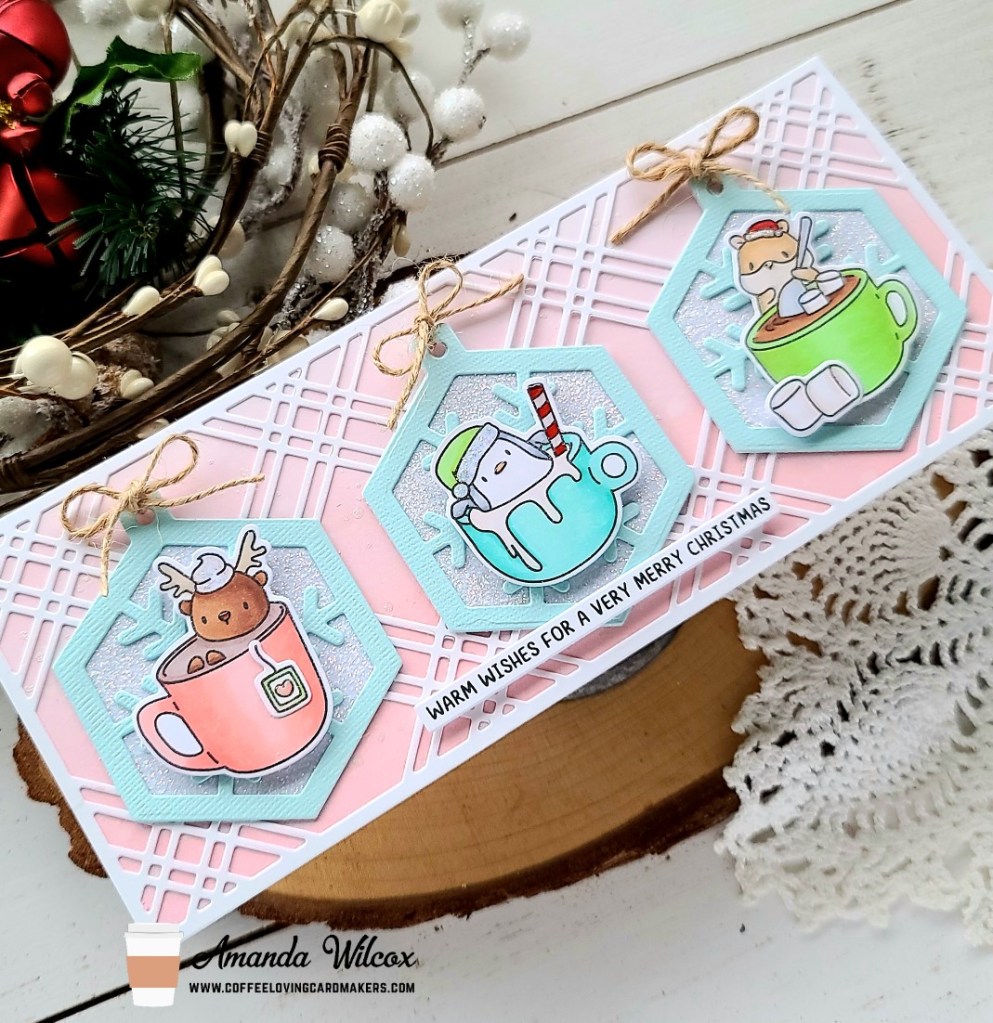
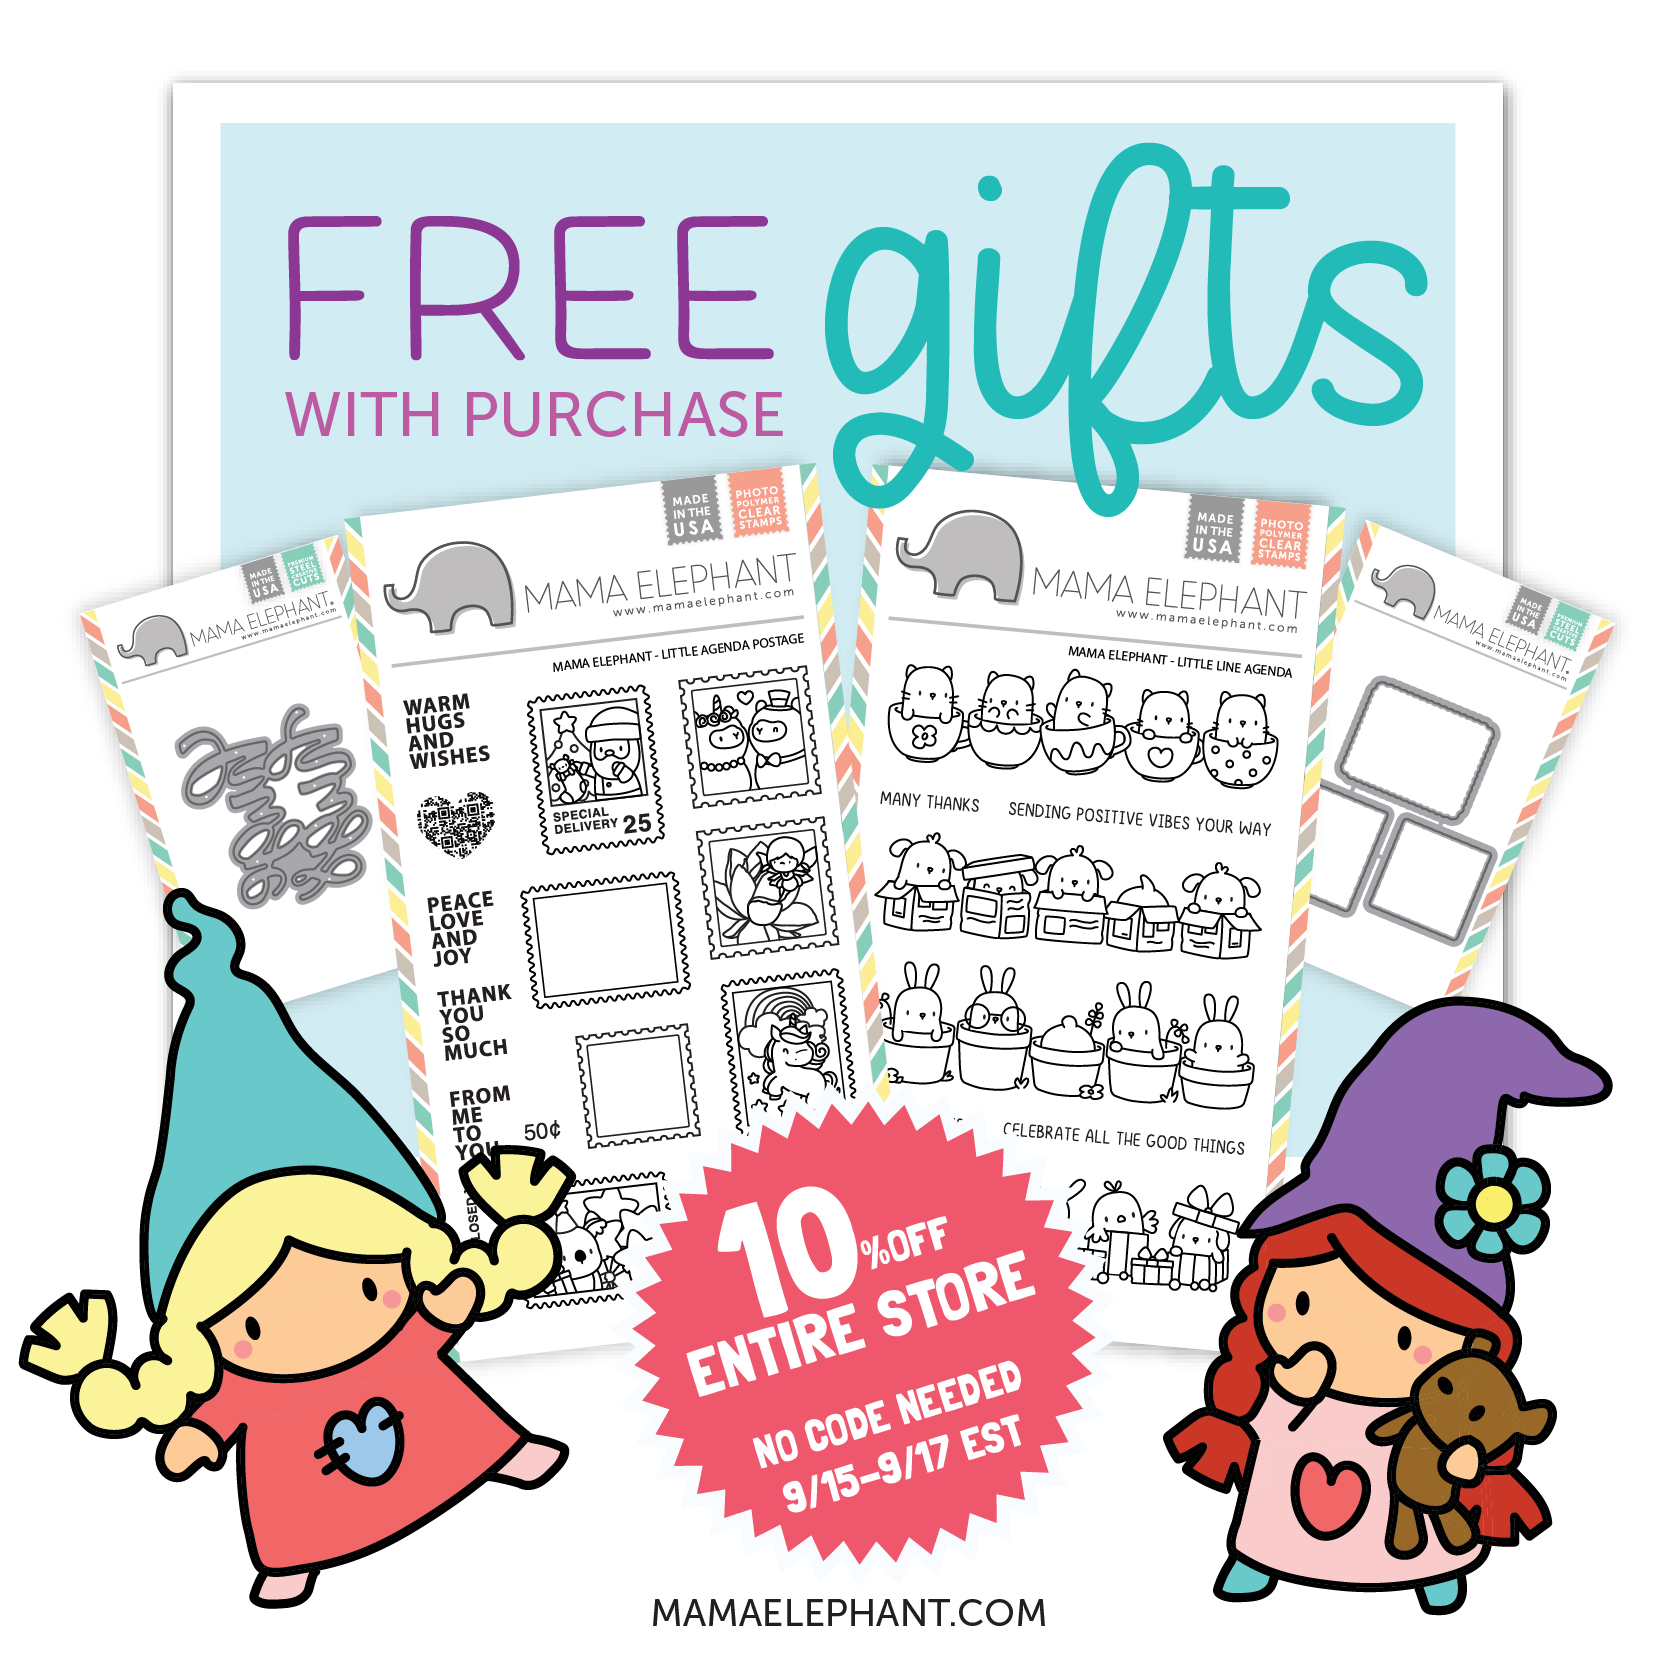
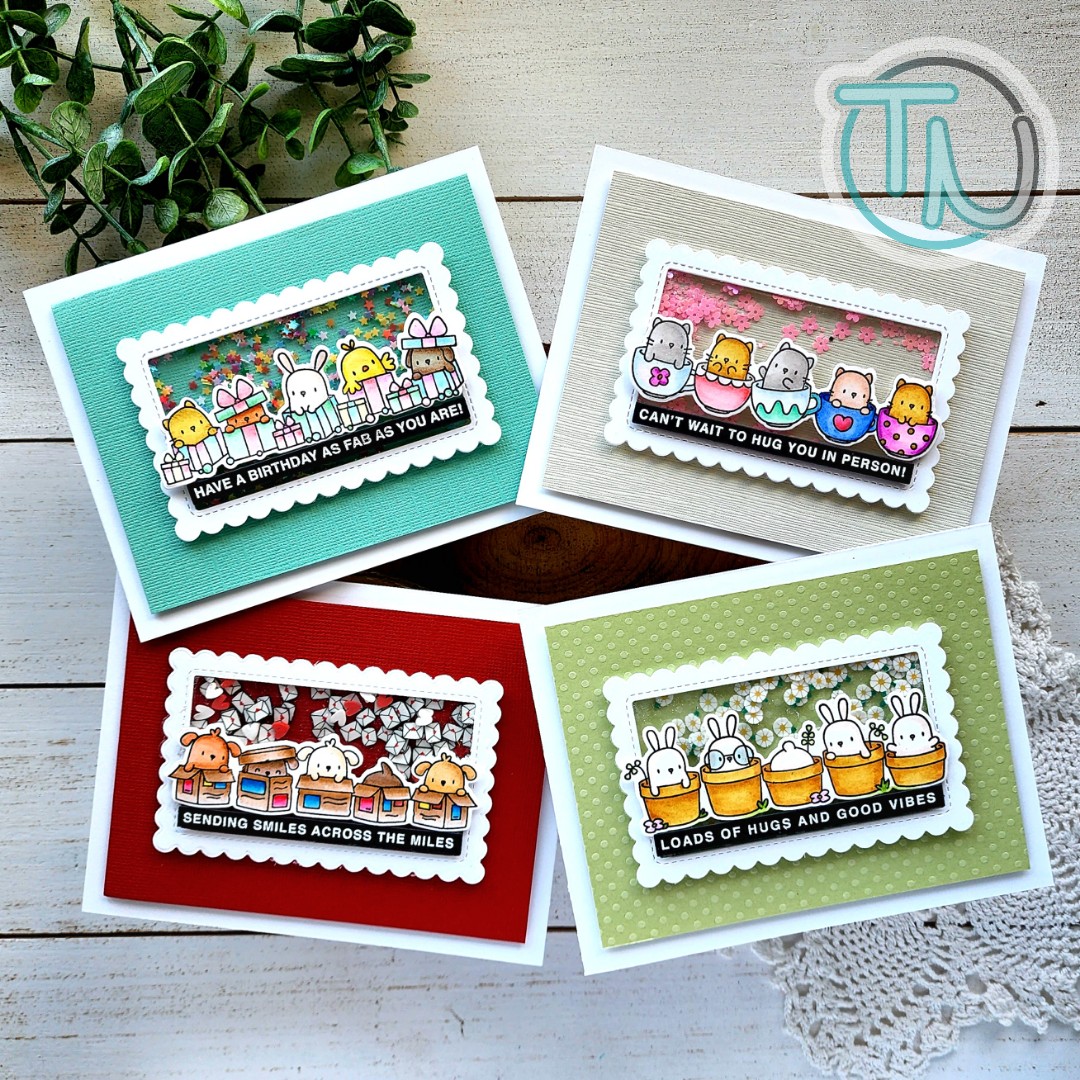
I couldn’t resist this adorable Little Line Agenda set. It was a freebie last year that I missed out on and was ecstatic when they brought it out for regular purchase. These cuties are so fun and these arrangements are great for so many occasions!

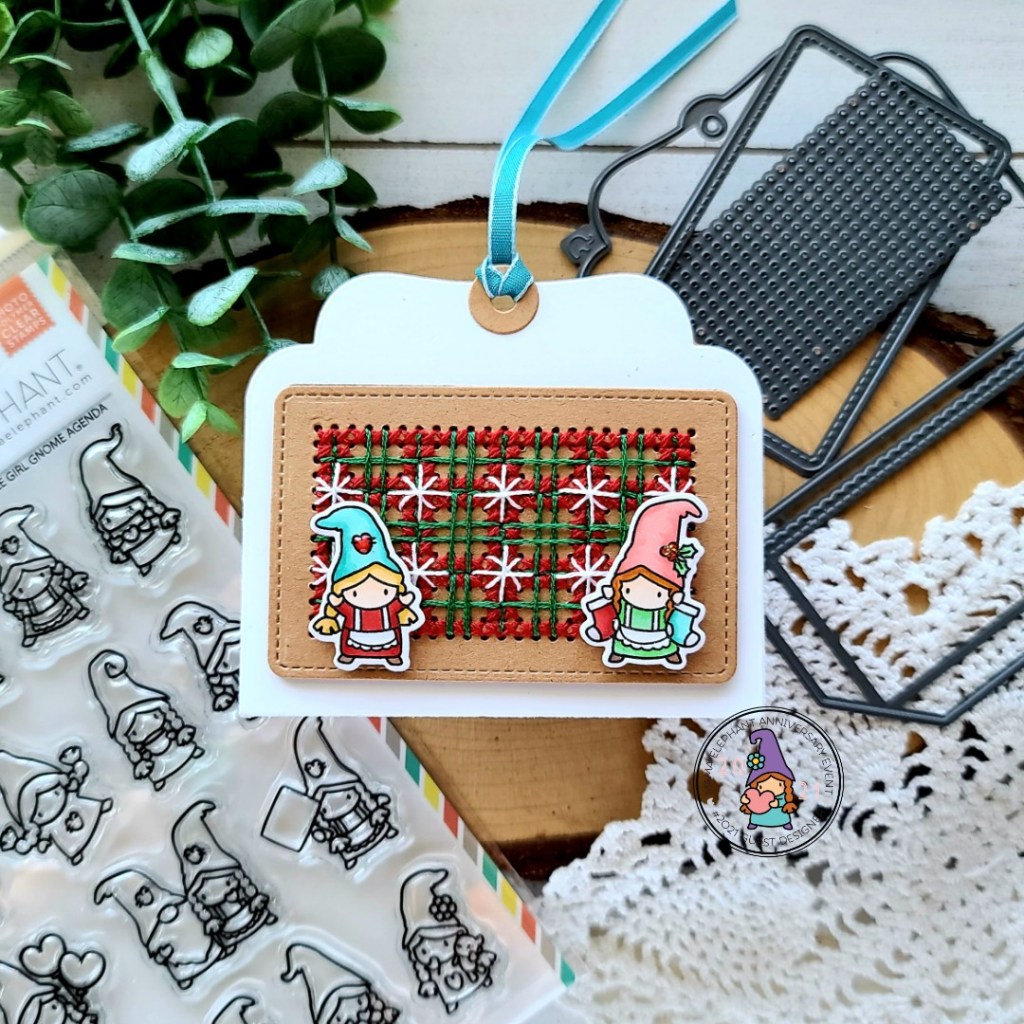
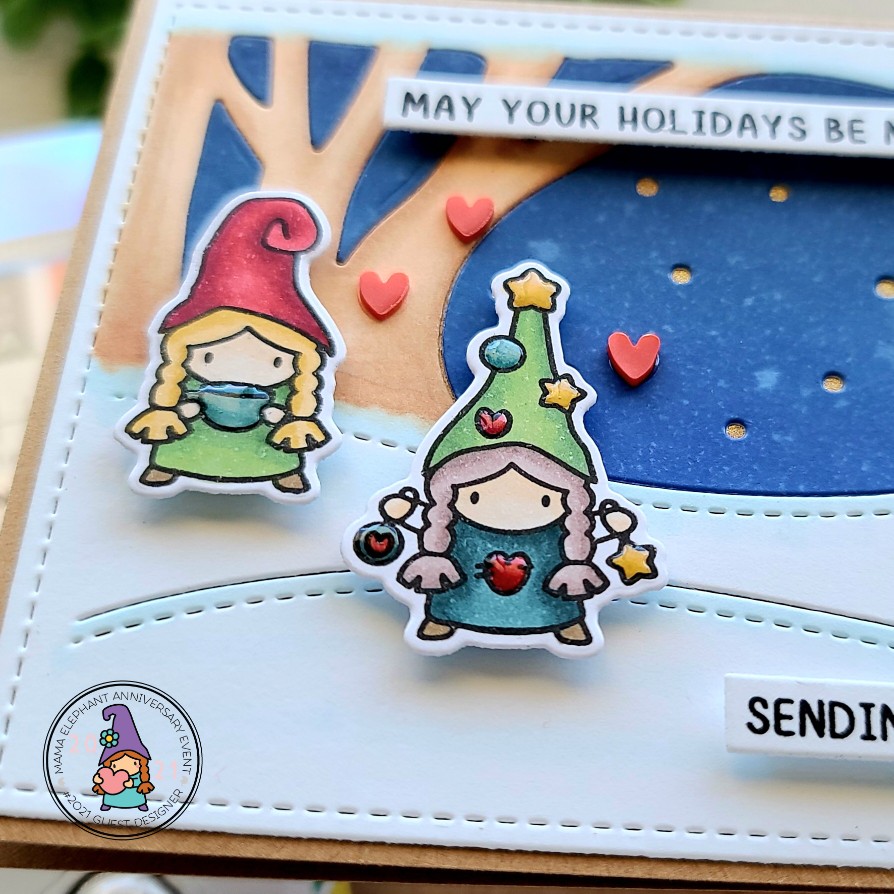
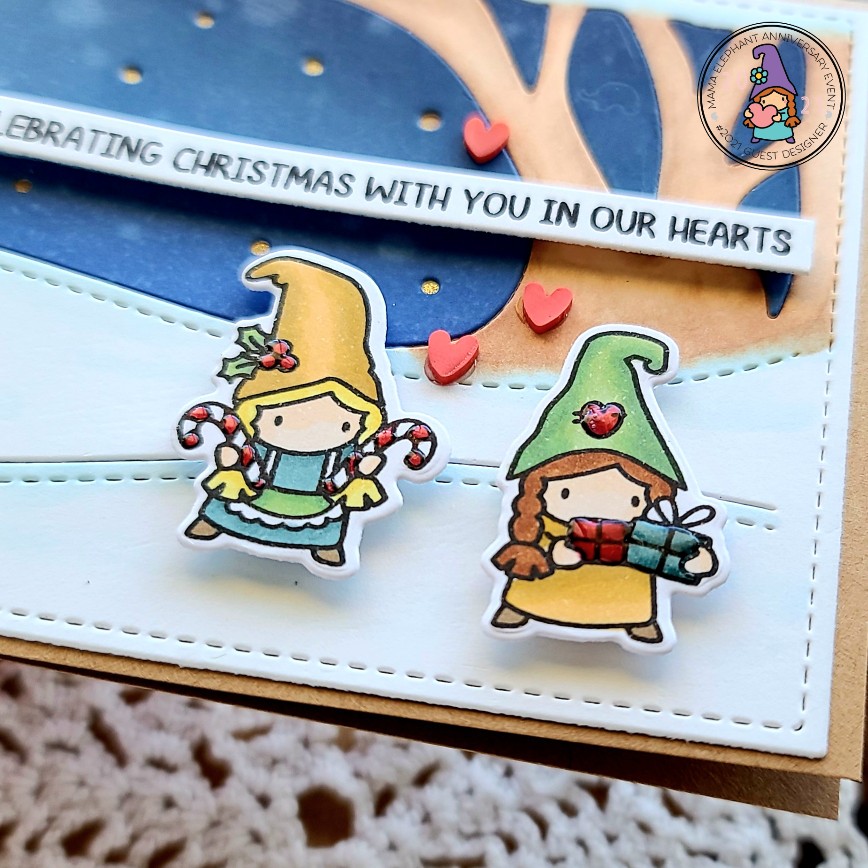
I stamped each of the images on Bristol Smooth cardstock with VersaFine ink and colored them with my Zig Clean Color Real Brush markers. This is not my go-to coloring medium but sometimes a change is just so refreshing. I saw down and colored them all and then assembled them in the same layout for a great set to use or give as a gift.

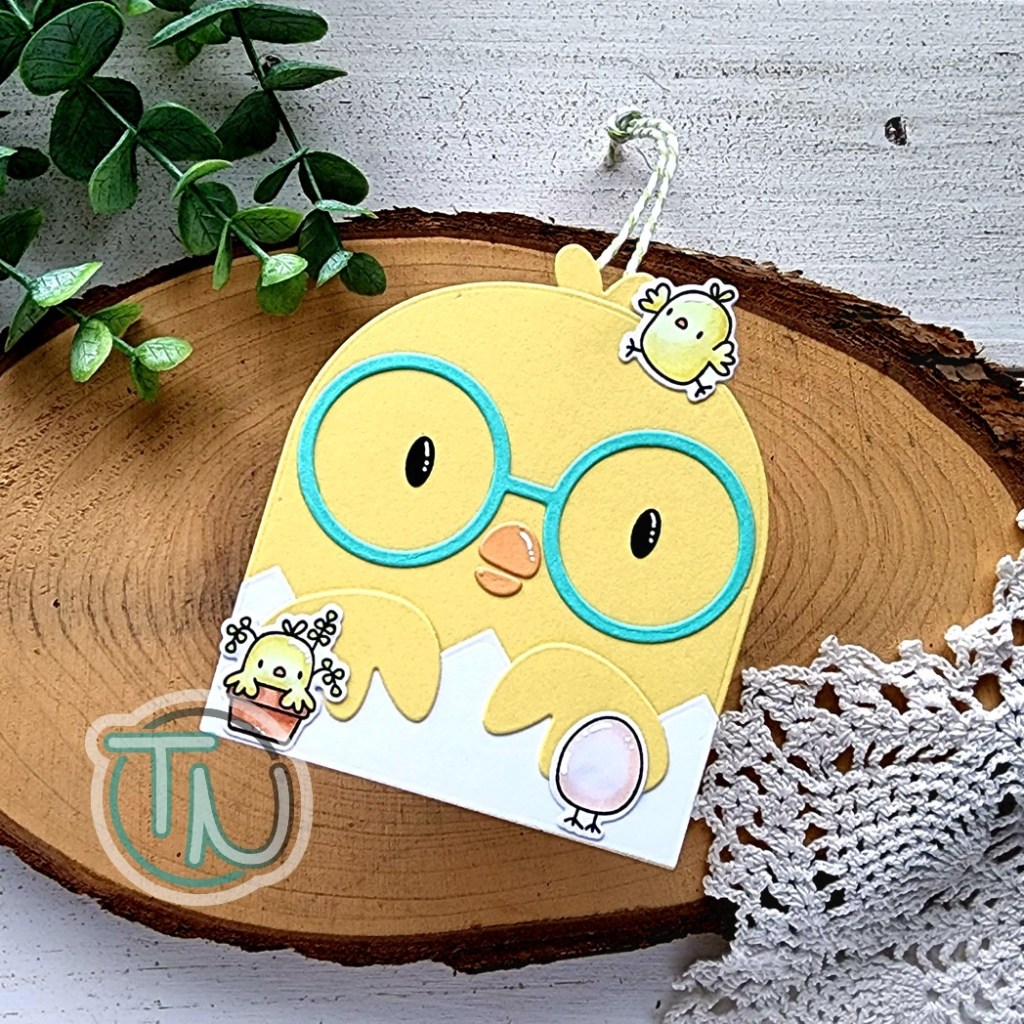
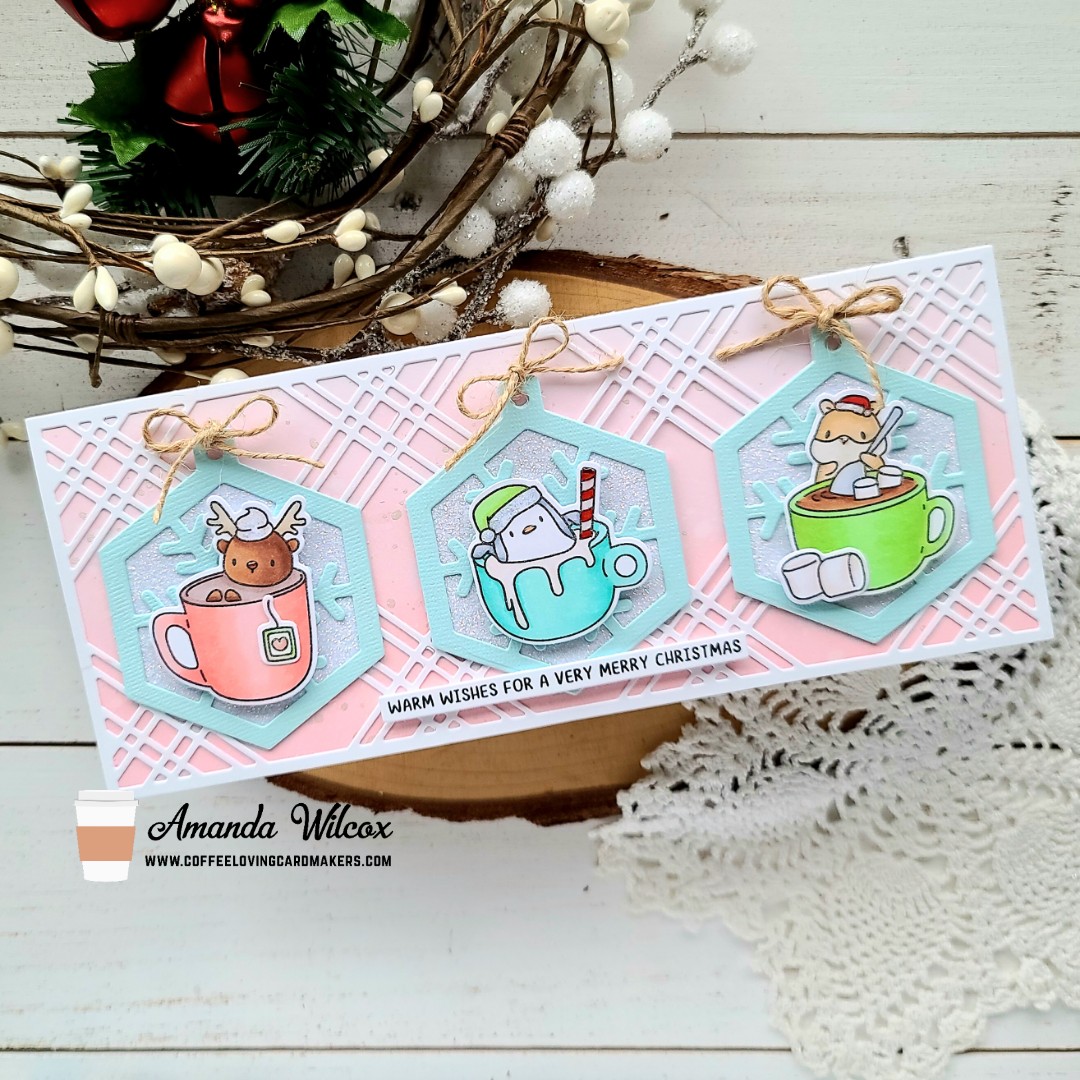
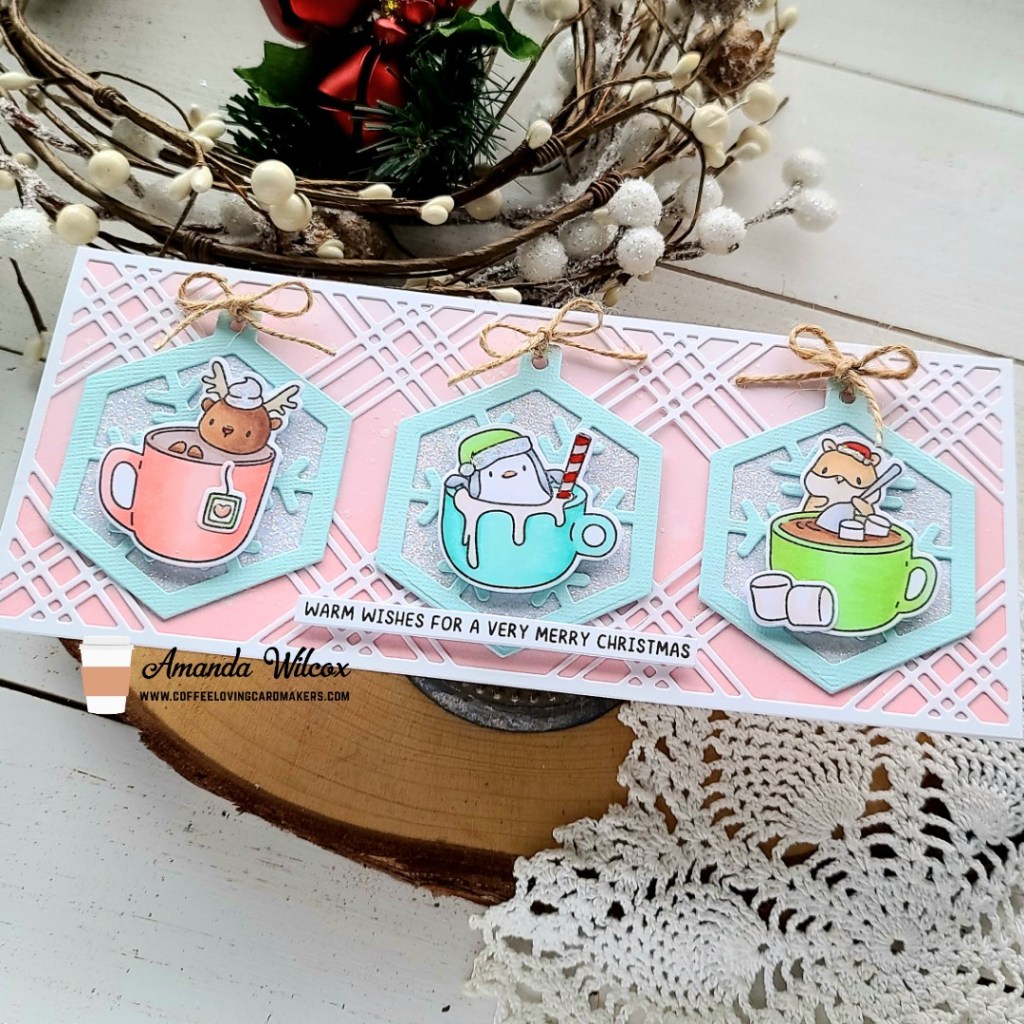
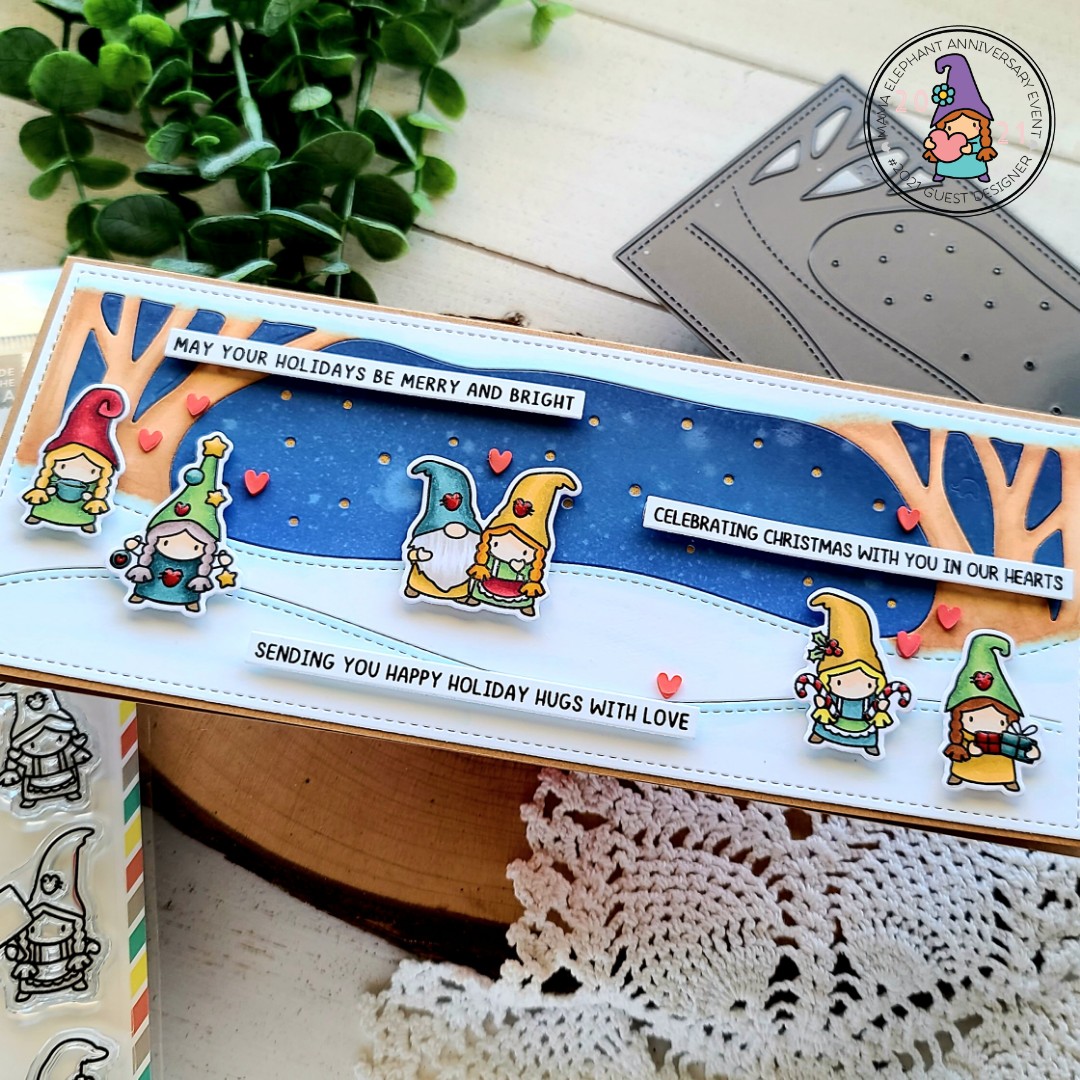
I chose a textured cardstock from my stash for the background of each card, cut to 3.75×5 inches for that extra wide white edge. Then I used the new Two Scallop Frames die set to create the shaker mechanisms.
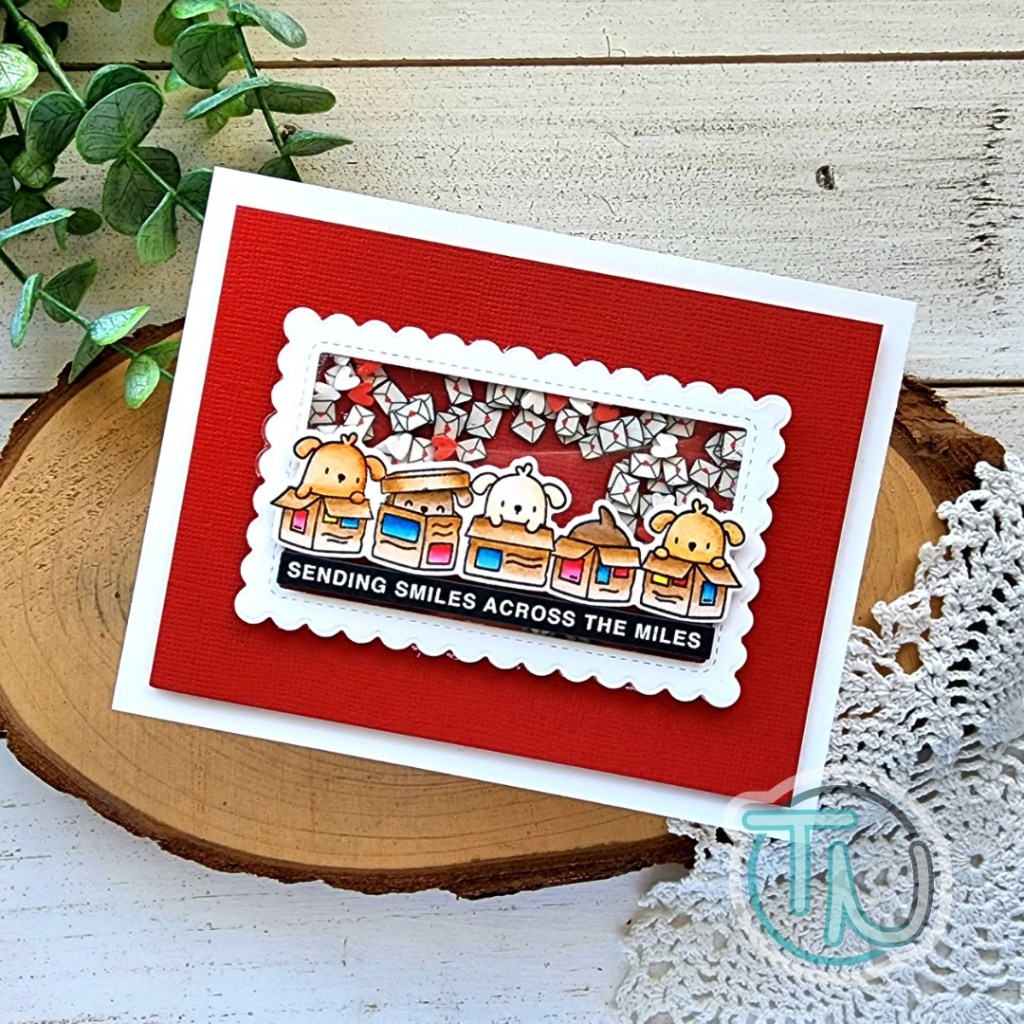
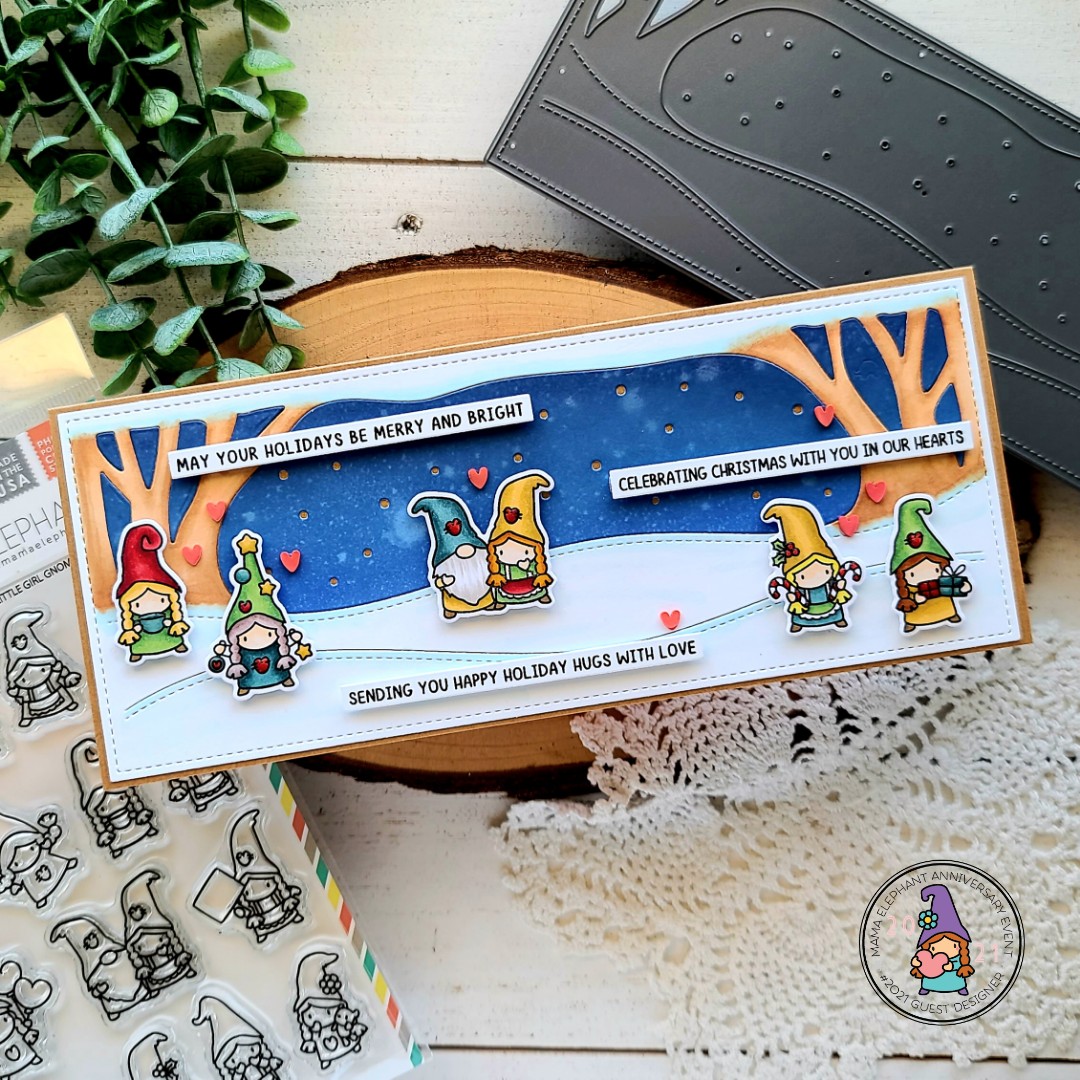
For sentiments on each card, I used the Easy Sentiments stamps and coordinating die. I absolutely love this set and being able to have multiple sentiments at a time is fantastic! I have pre-mades ready to go in white, kraft and black cardstock.
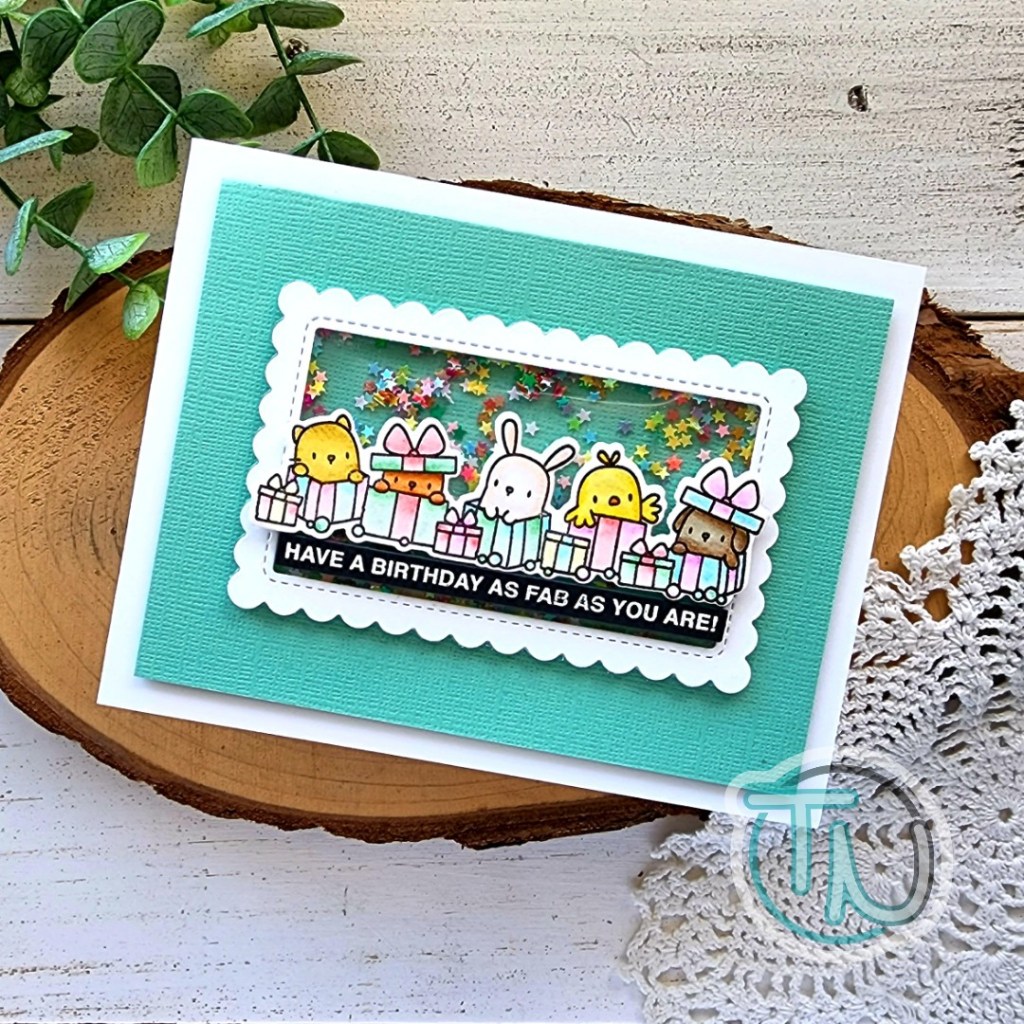
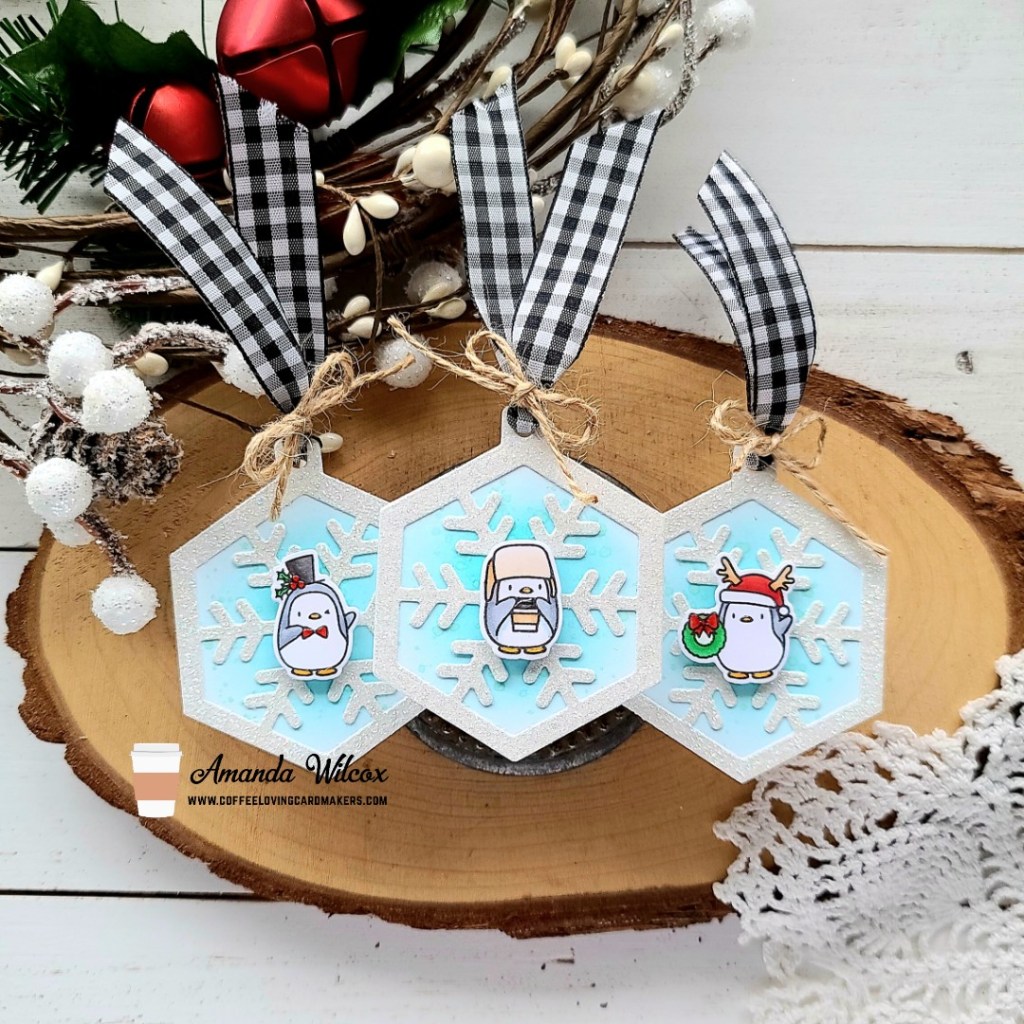
The shaker filler for each of these cards come from the Twiddler’s Nook shop. The kitties at the beginning have pink primrose confetti bits, the bunnies have fresh as a daisy clay bits, the puppies have a combo of love letters and sweethearts clay bits and the last card with the packages has wishing on rainbow stars confetti.
Aren’t these all just the sweetest!?! They have a really clean and simple design but I feel like the shaker adds so much and makes them so fun!
Products used today:
Mama Elephant Little Line Agenda stamps and dies
Mama Elephant Easy Sentiments stamps and dies
Mama Elephant Two Scallop Frames dies
Twiddler’s Nook Wishing on Rainbow Stars confetti
Twiddler’s Nook Fresh as a Daisy clay embellishments
Twiddler’s Nook Sweethearts clay embellishments
Twiddler’s Nook Love Letters clay embellishments
Twiddler’s Nook Primrose confetti – pink
I get all of my Mama Elephant goodies from Doodlebugs. If you’d like a 15% coupon to the shop, click HERE for my referral link.
I appreciate you sharing your time with me. Have a fabulous day!