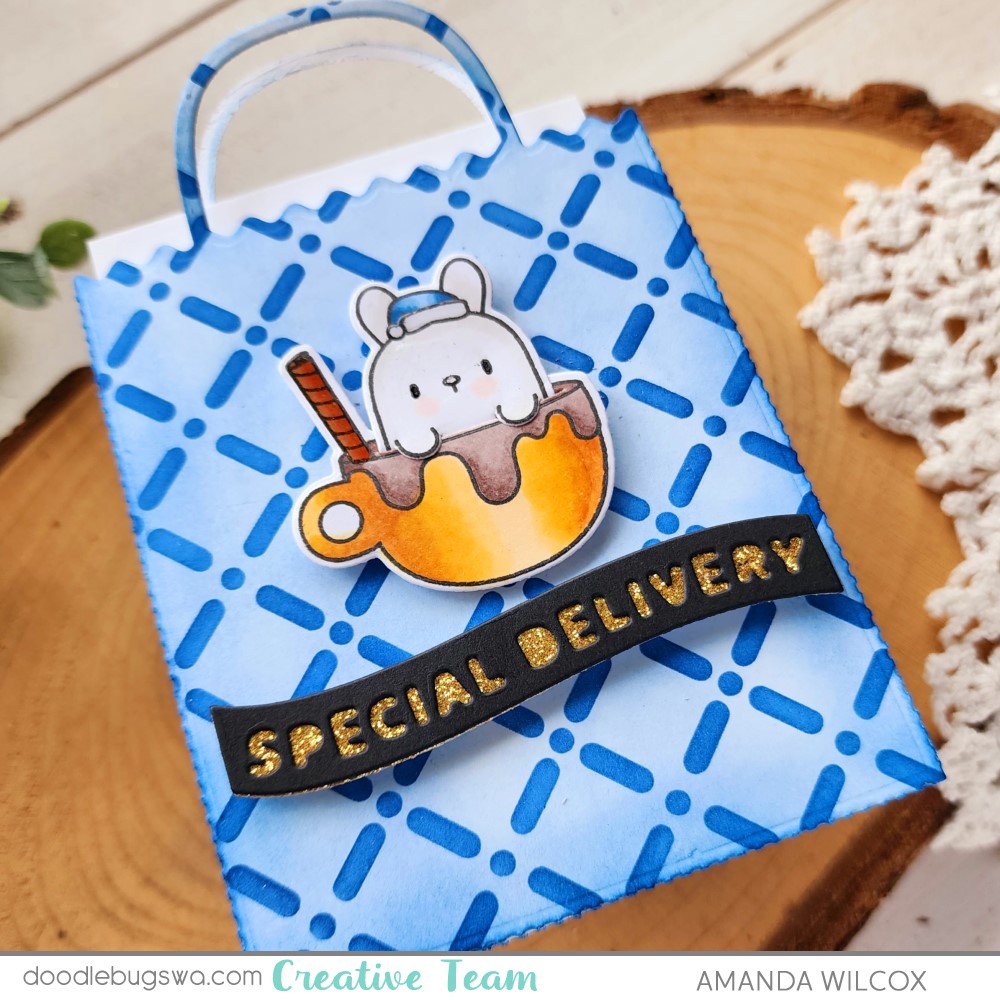
Hello everyone! It’s officially Christmas season and I’m not mad about it one bit! I know we’ve all been holiday crafting for a while in order to get things done by Christmas but there’s something different about feeling no judgement for blasting that holiday music and watching those fabulous movies on repeat that makes things a bit more magical. I wanted to start this season off with a really fun card that came together in my head and uses a bunch of great goodies that were in my stash.
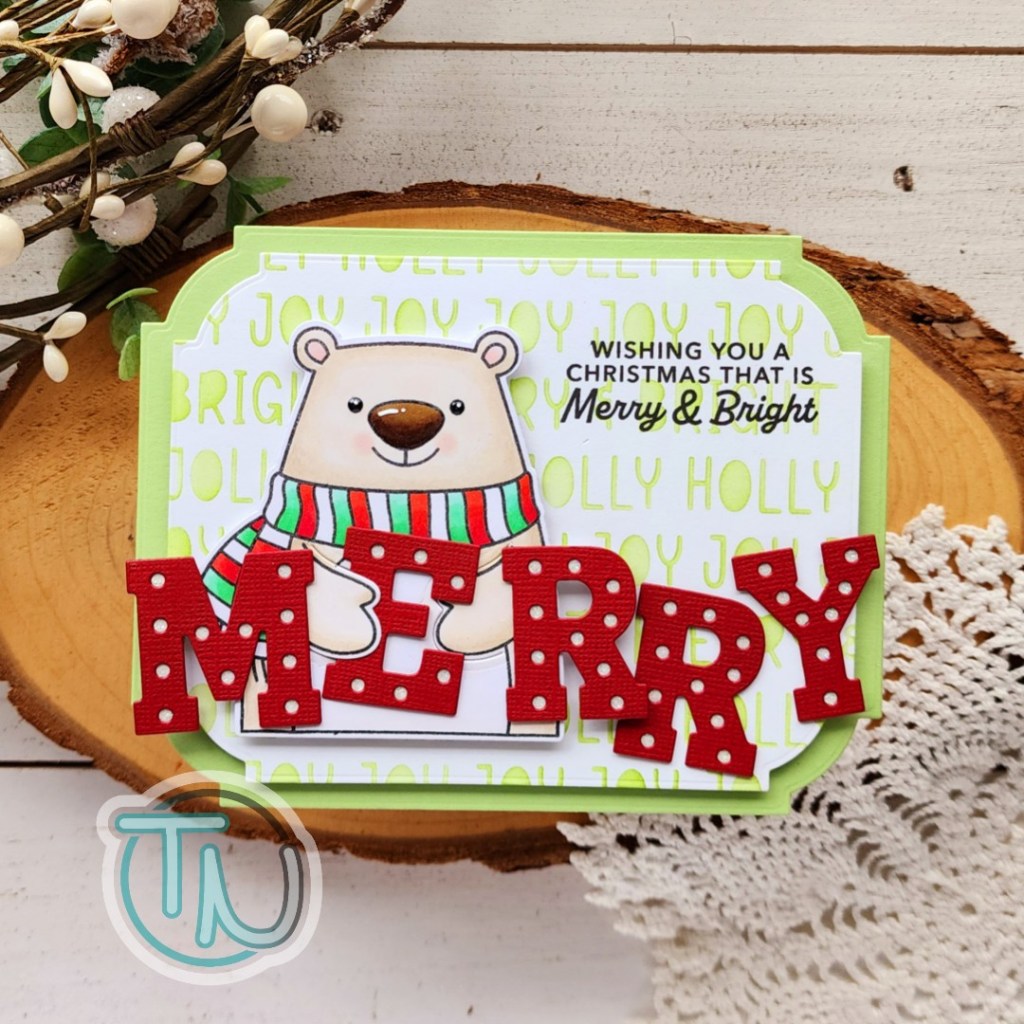
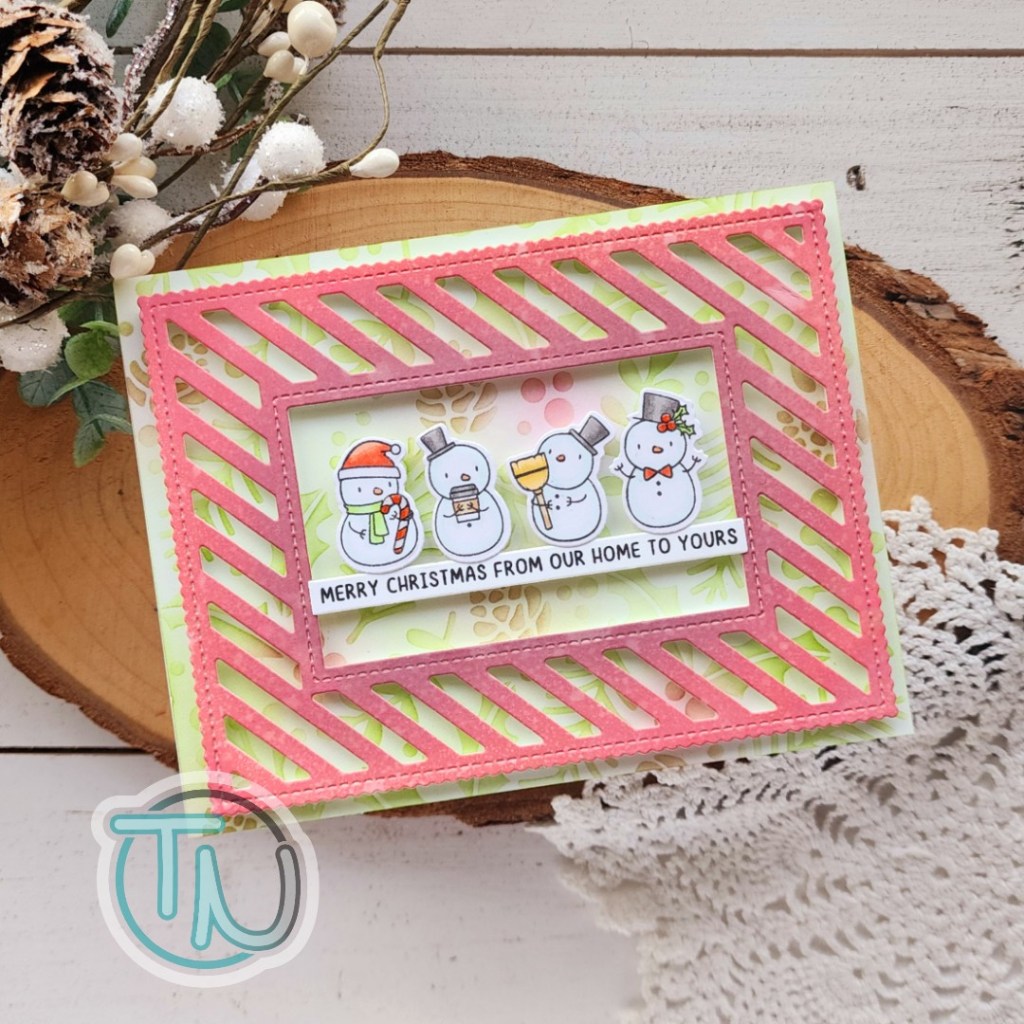
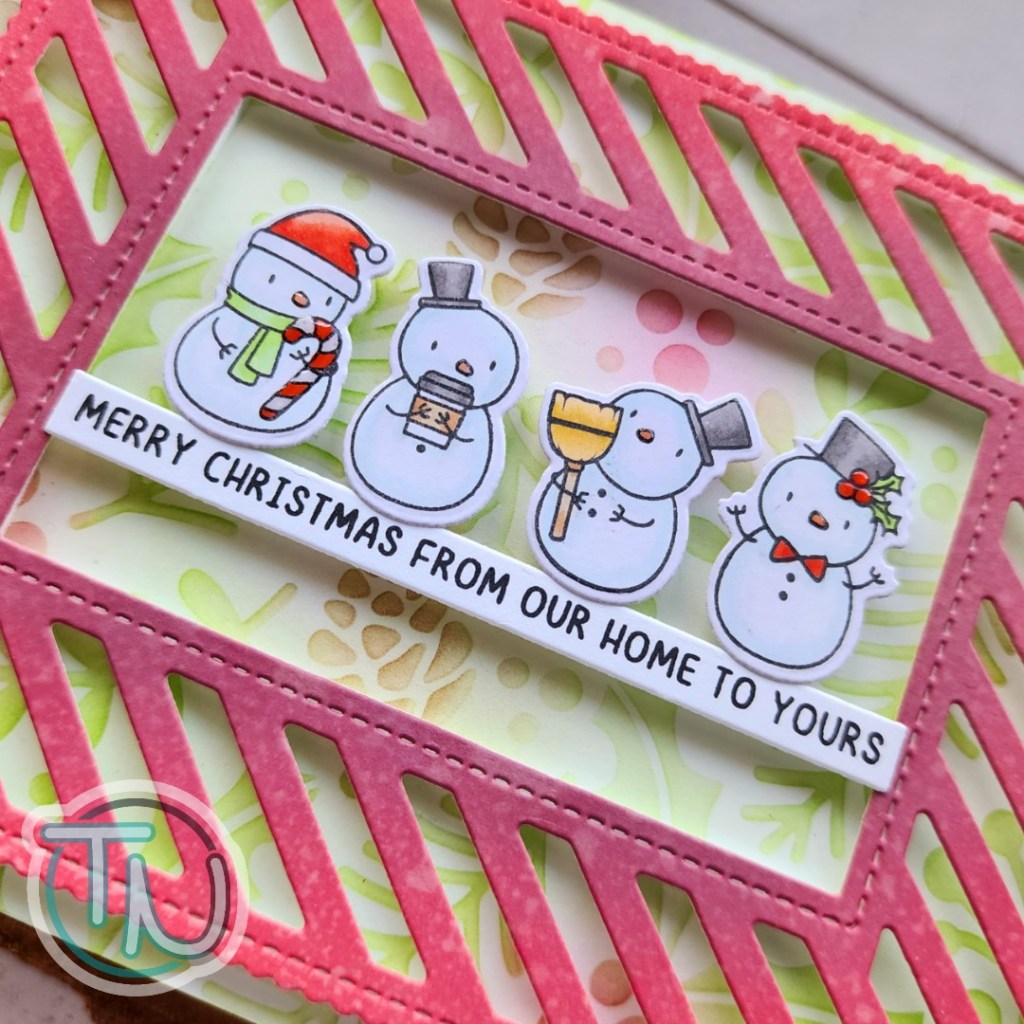
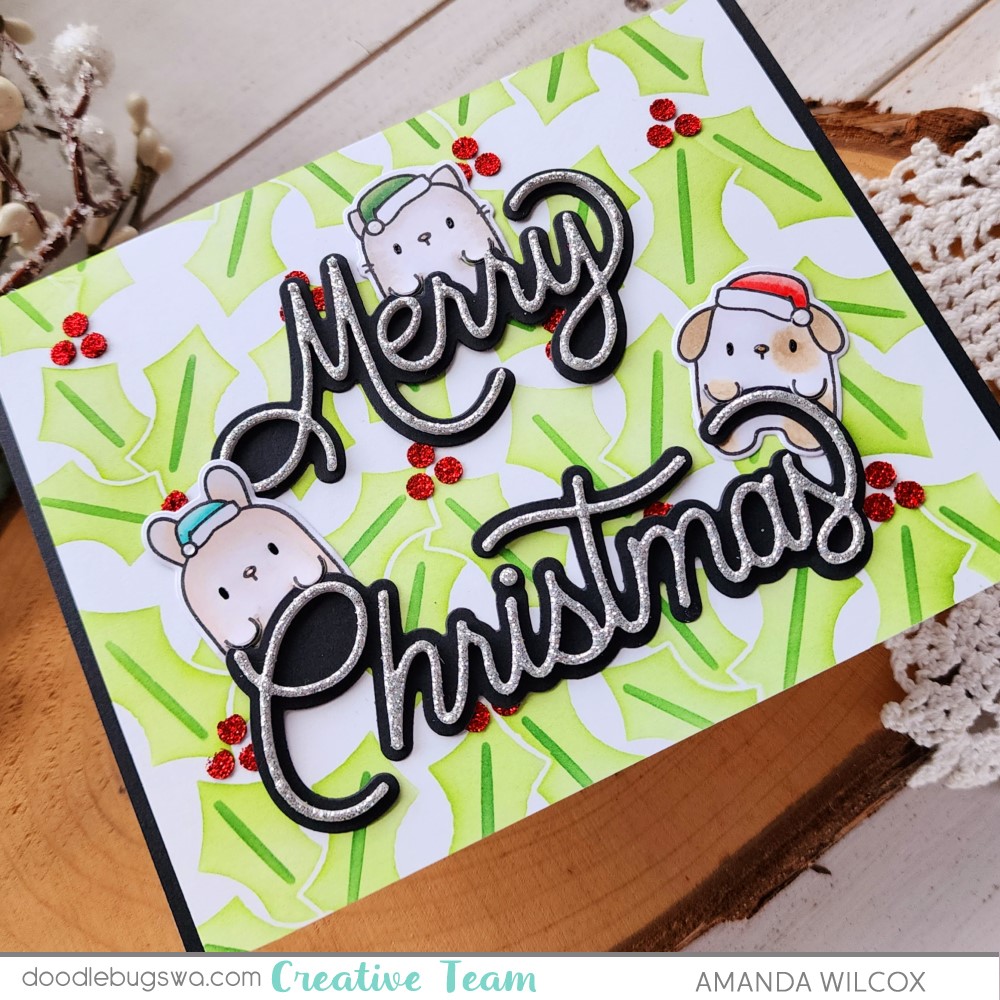
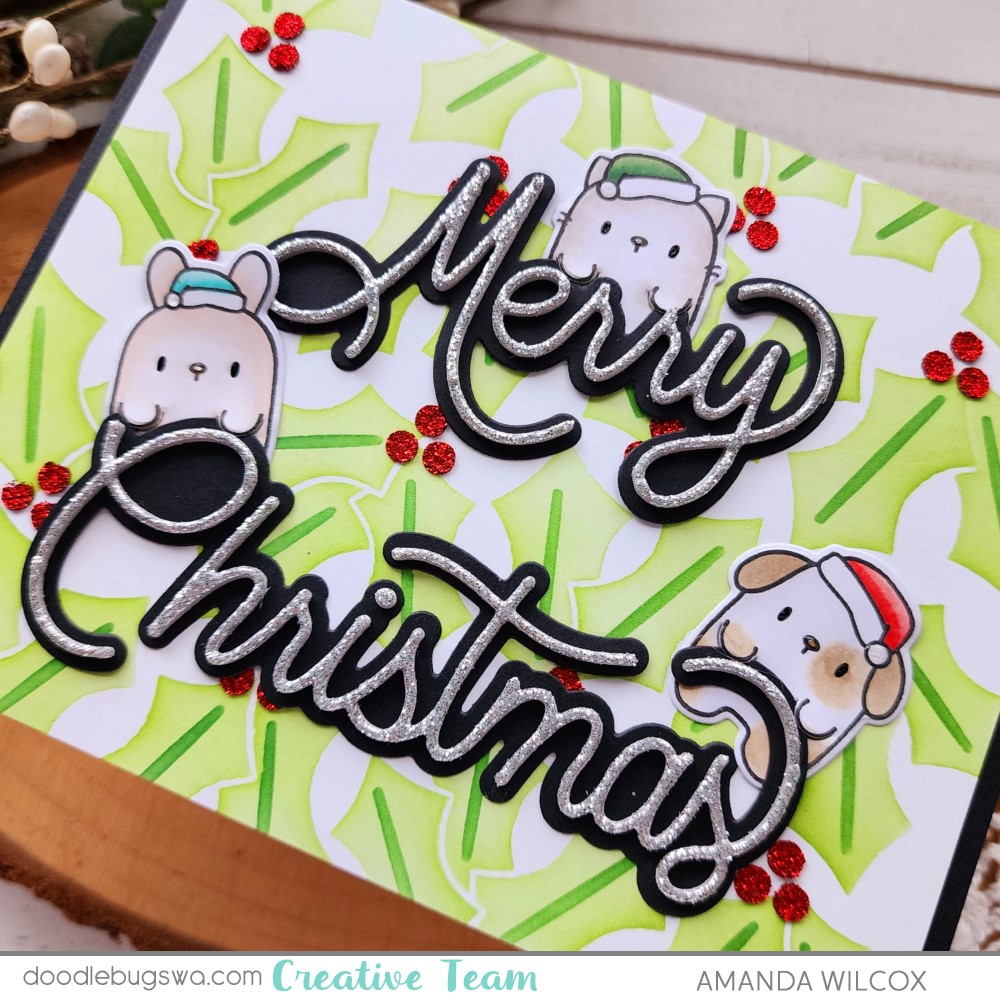
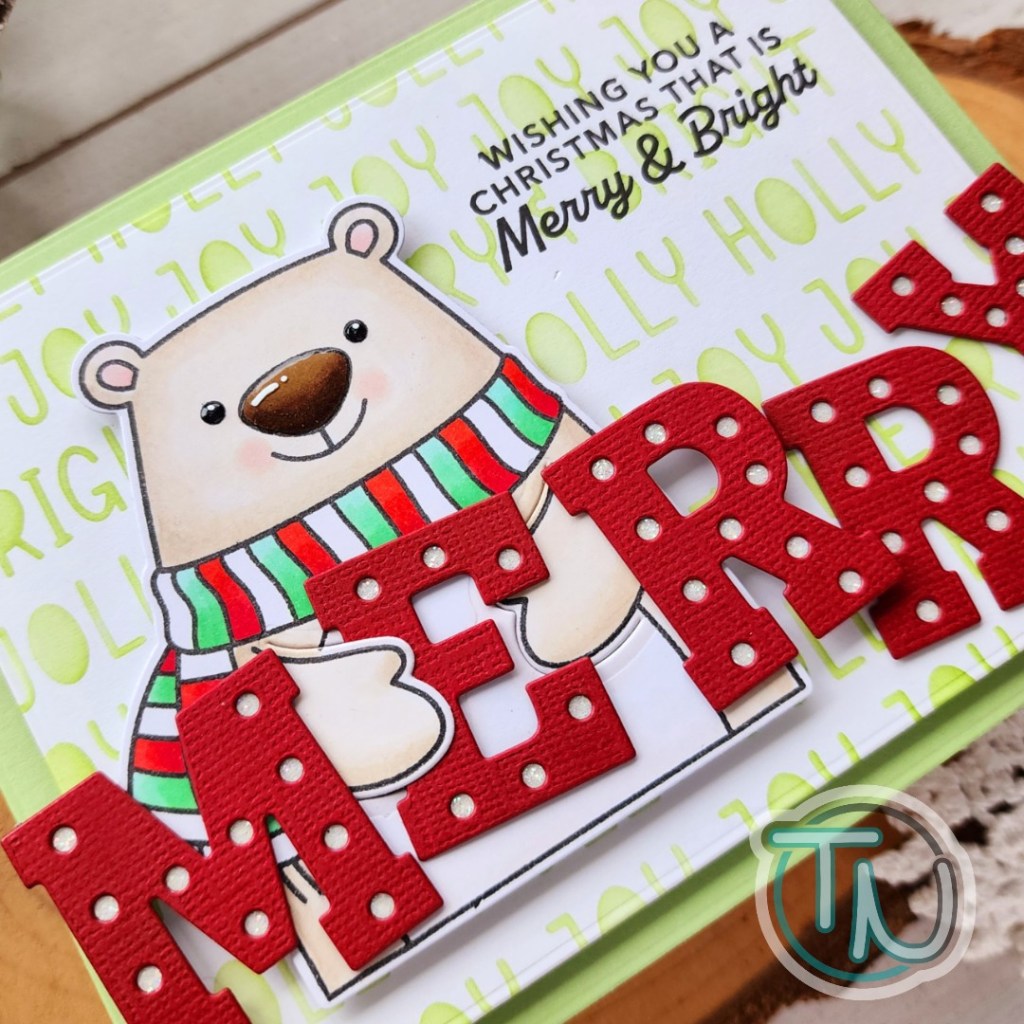
I stamped and colored up that adorable Sunny Studios bear and cut him out with the coordinating dies, then used the extra die in the set so his hands can hold things too! Next, I cut the letters for MERRY with the Mama Elephant Marquee Letters dies. I lined the back with white glitter paper so the holes are sparkly.
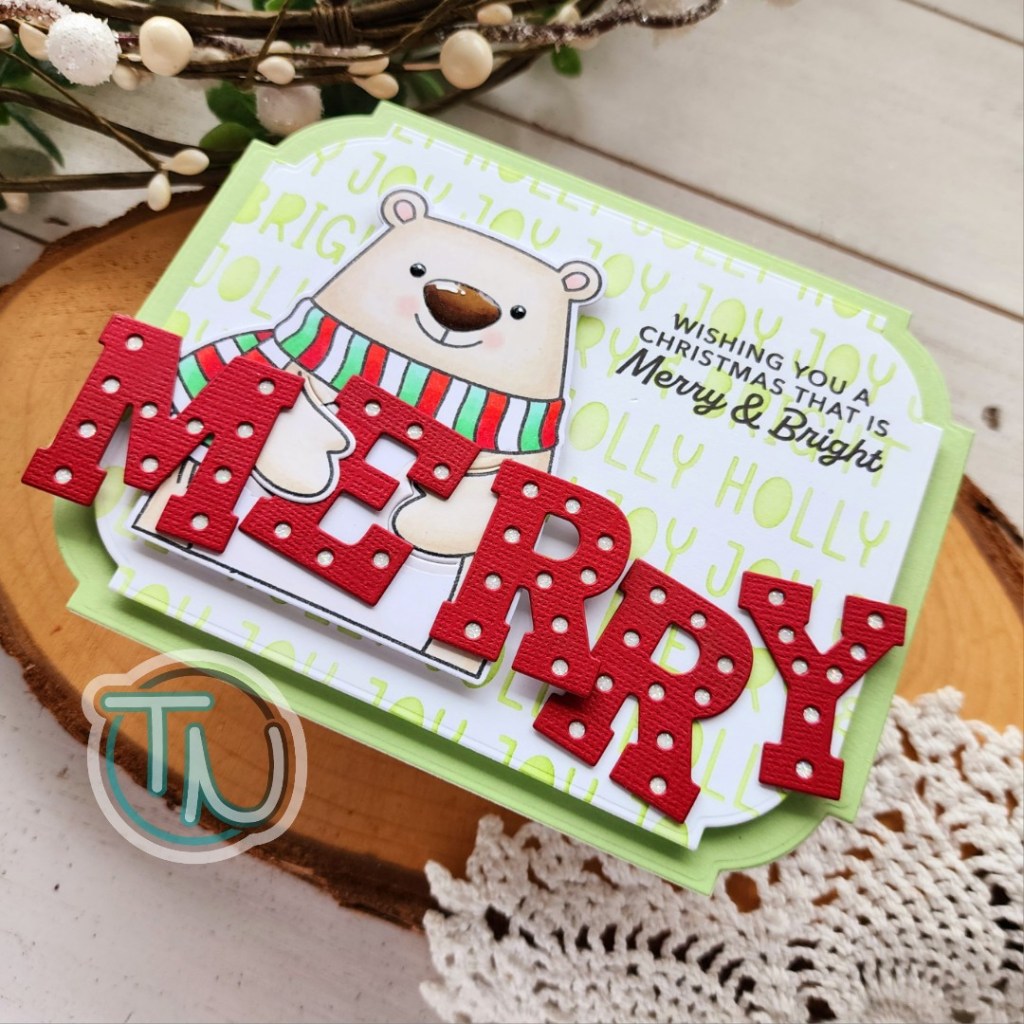
Next I cut three Spellbinders Notched Rectangles – 2 of the largest white and green, 1 next size down white. I inked up the smaller one with the Pretty Pink Posh Winter Words stencil. Using my letters and bear as a guide, I stamped a sentiment from the Spellbinders Santa’s Sippin’ Sayings stamp set in the upper right corner of the panel.
I popped the stenciled panel up on the green notched rectangle with foam tape. Then I added my bear with foam squares and the letters with a combination of foam squares and liquid glue depending where they fell.
To create my shaped card, I took the white notched rectangle and scored it 3/8″ on one long side. I creased the fold and added it to the green one with double-sided tape. For finishing touches I added glossy accents to the bear’s nose and eyes. Once that was dry I went over the top and added a white gel pen highlight on them too.
I hope you have a wonderful holiday season and find lots of time to do all the things that make you happy!
Products used today:
Sunny Studio Holiday Hugs stamps and dies
Spellbinders Notched Corners dies
Spellbinders Santa’s Sippin’ Sayings stamps
Pretty Pink Posh Winter Words stencil
Mama Elephant Marquee Letters dies
Liquid glue
Foam squares and tape
Glossy accents
Sakura gelly roll pen
I appreciate you sharing your time with me. Have a fabulous day!