Coffee Loving Cardmakers – Unbirthday Tea

Hi there! It’s time for another Tuesday Tea over on the Coffee Loving Cardmakers blog today. I’ve pulled out some of my favorite Miss Ink Stamps goodies to play with for today’s pair of cards too!

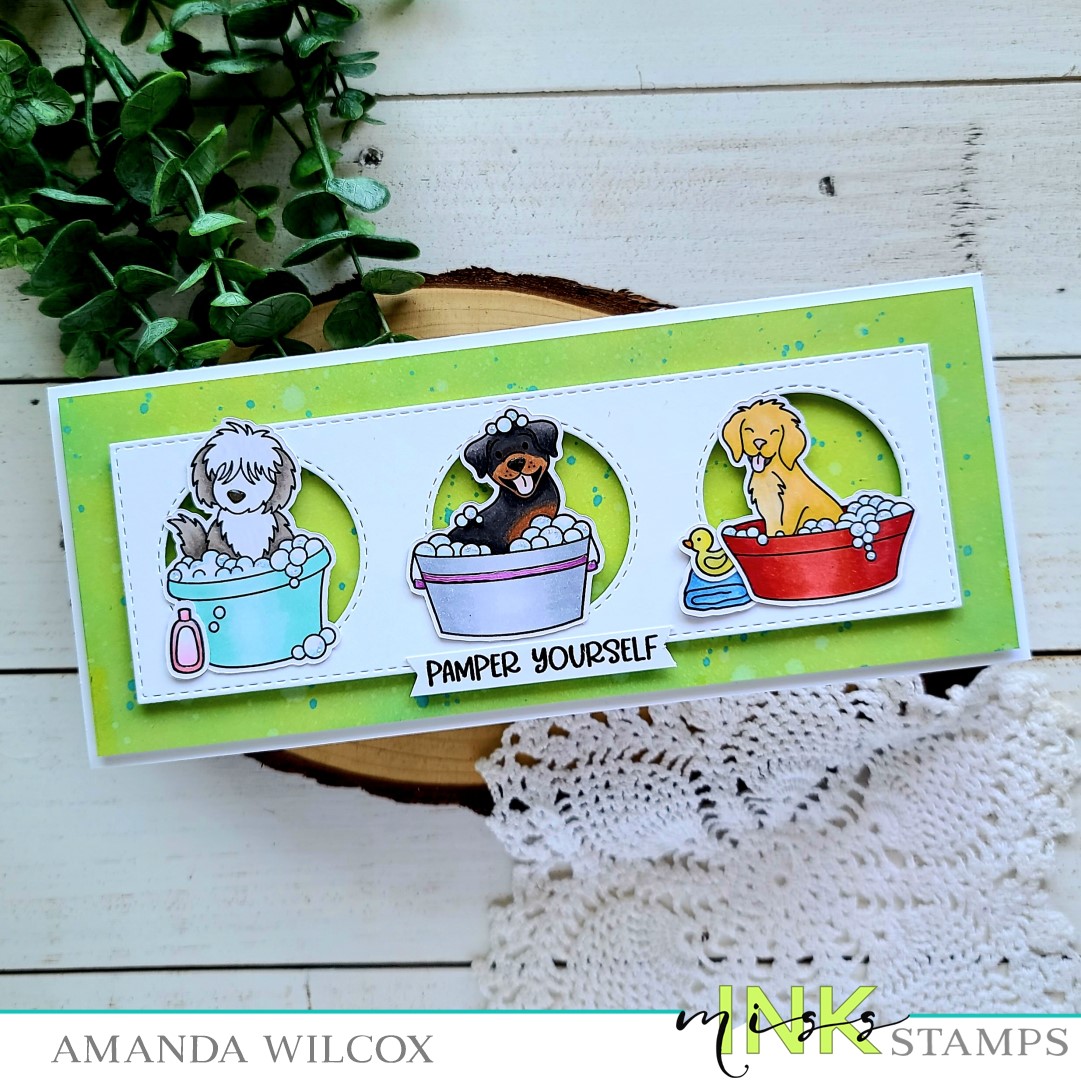
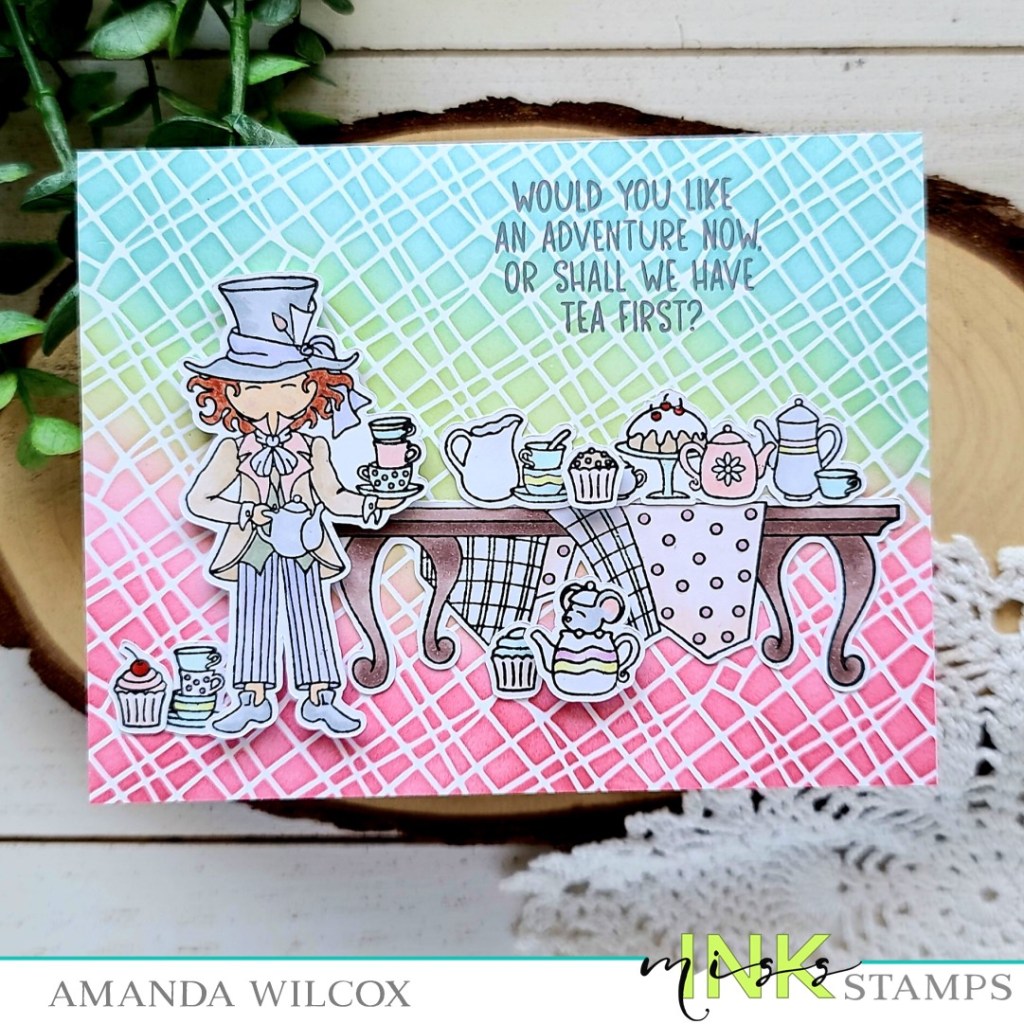
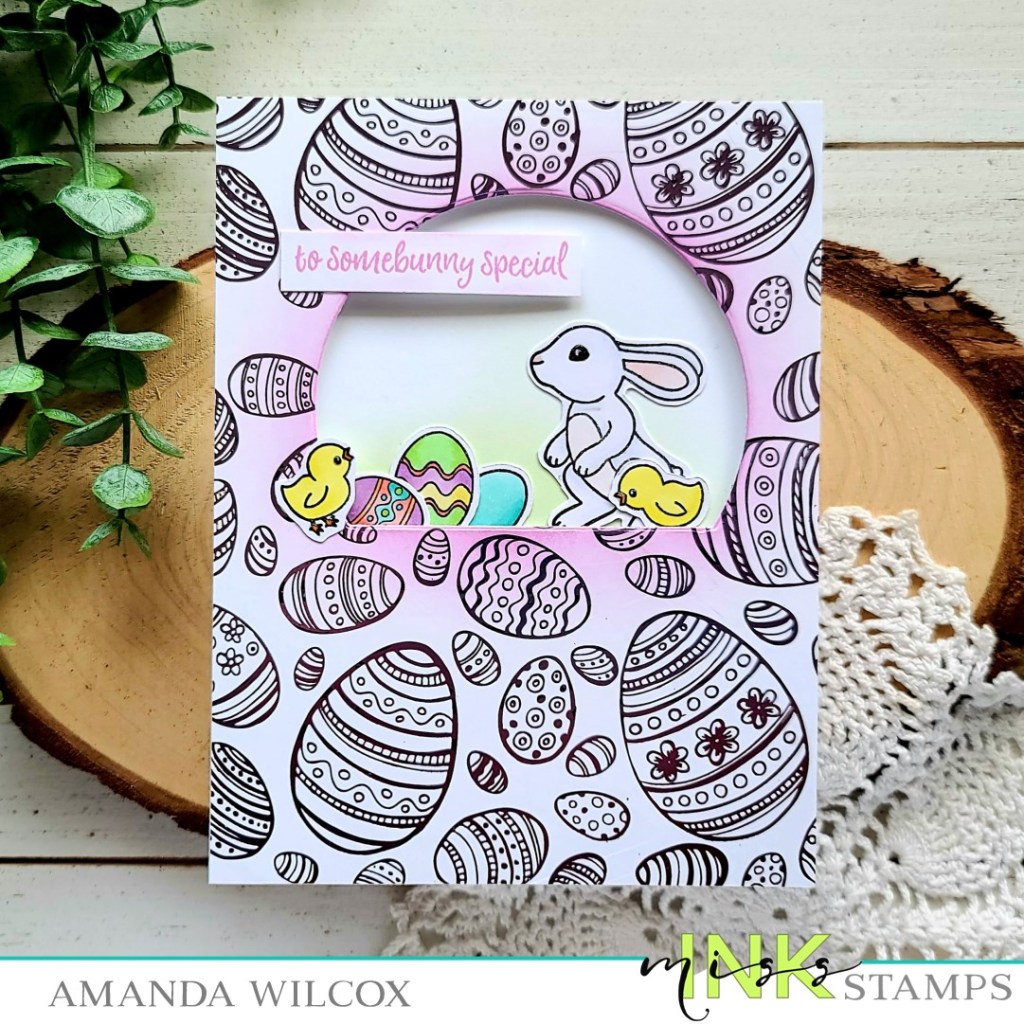
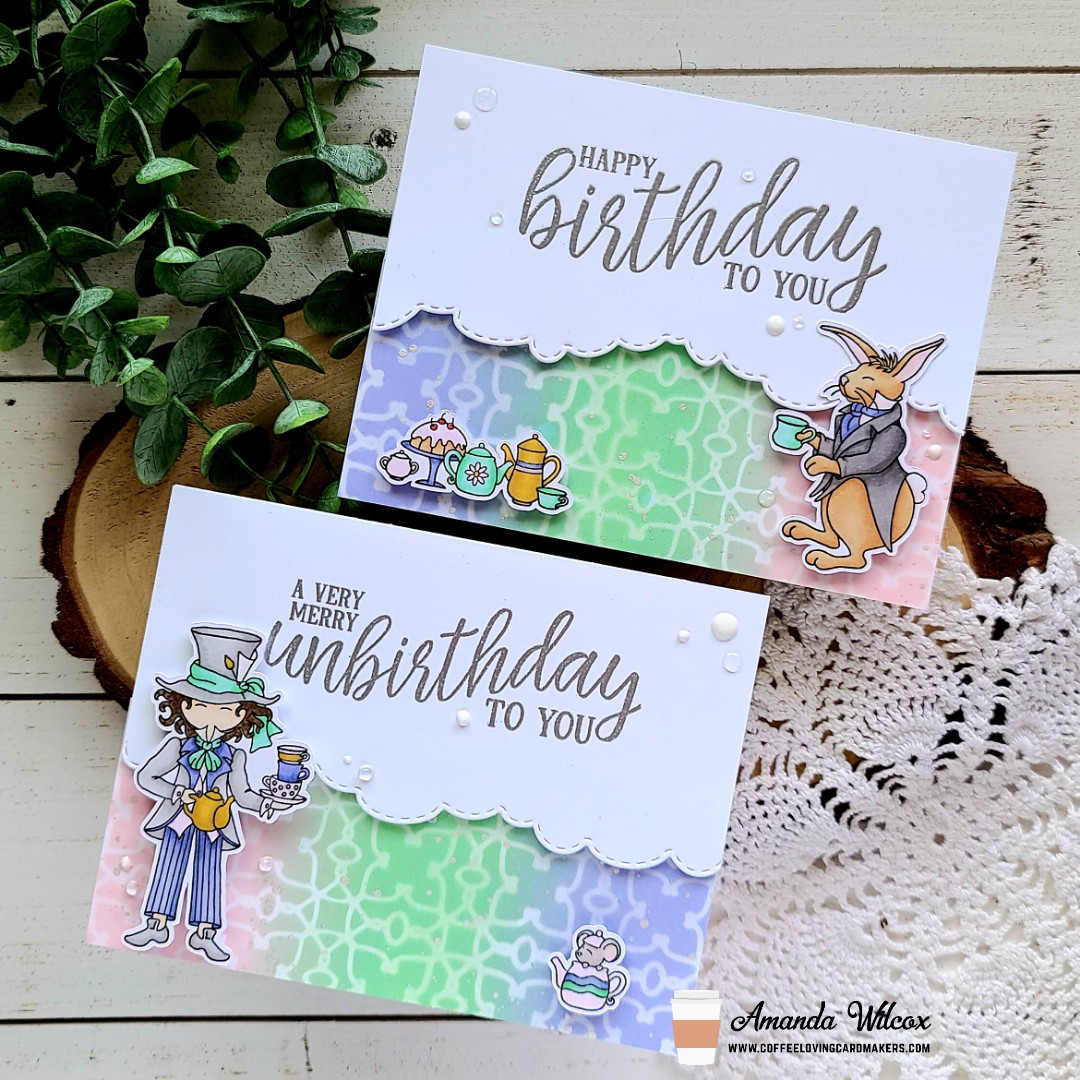
Do you ever create an awesome background, only to cover most of it up with elements and feel like you’re wasting it? That’s what was going to happen with the design in my head today so I turned one card into two by cutting my inked background in half!

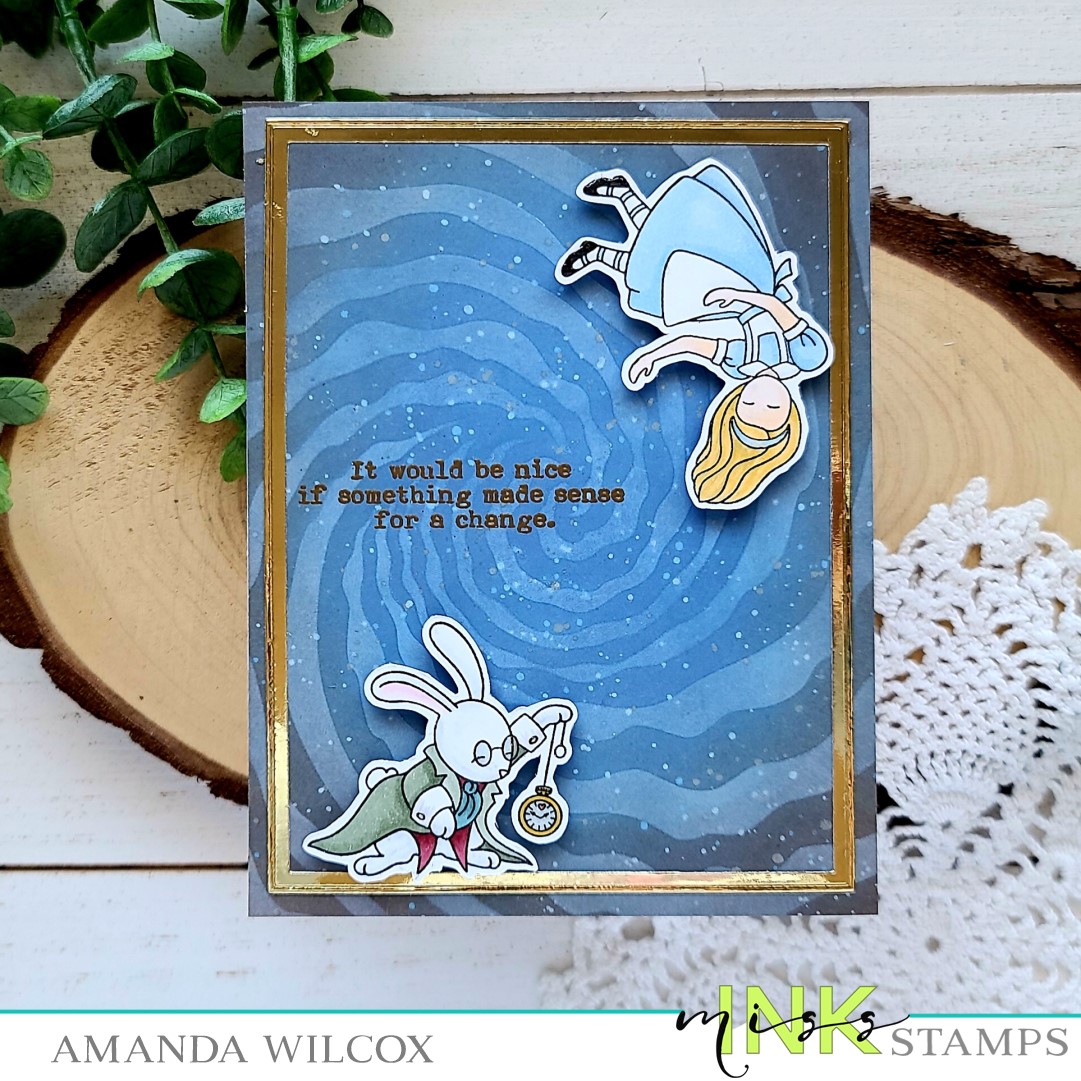
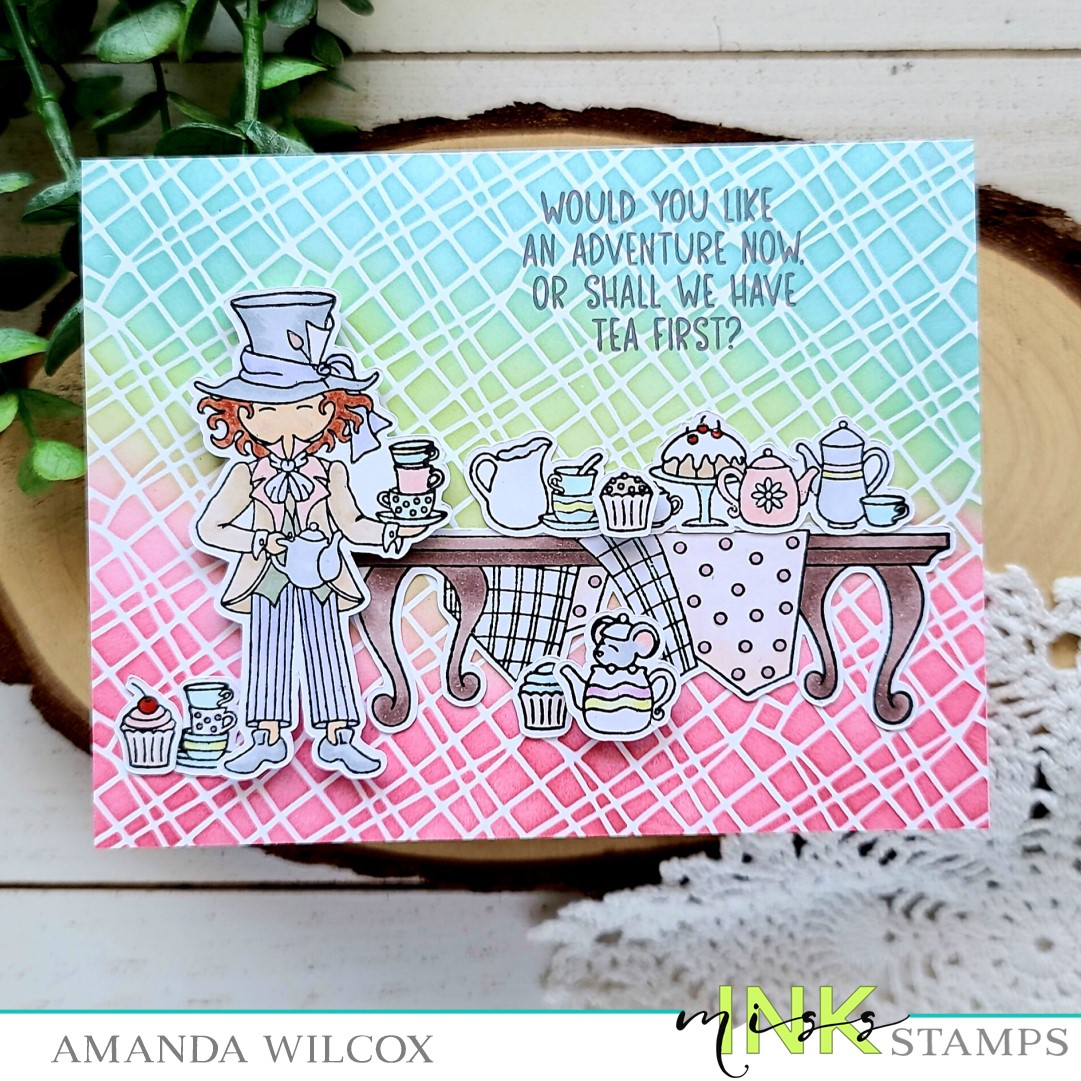
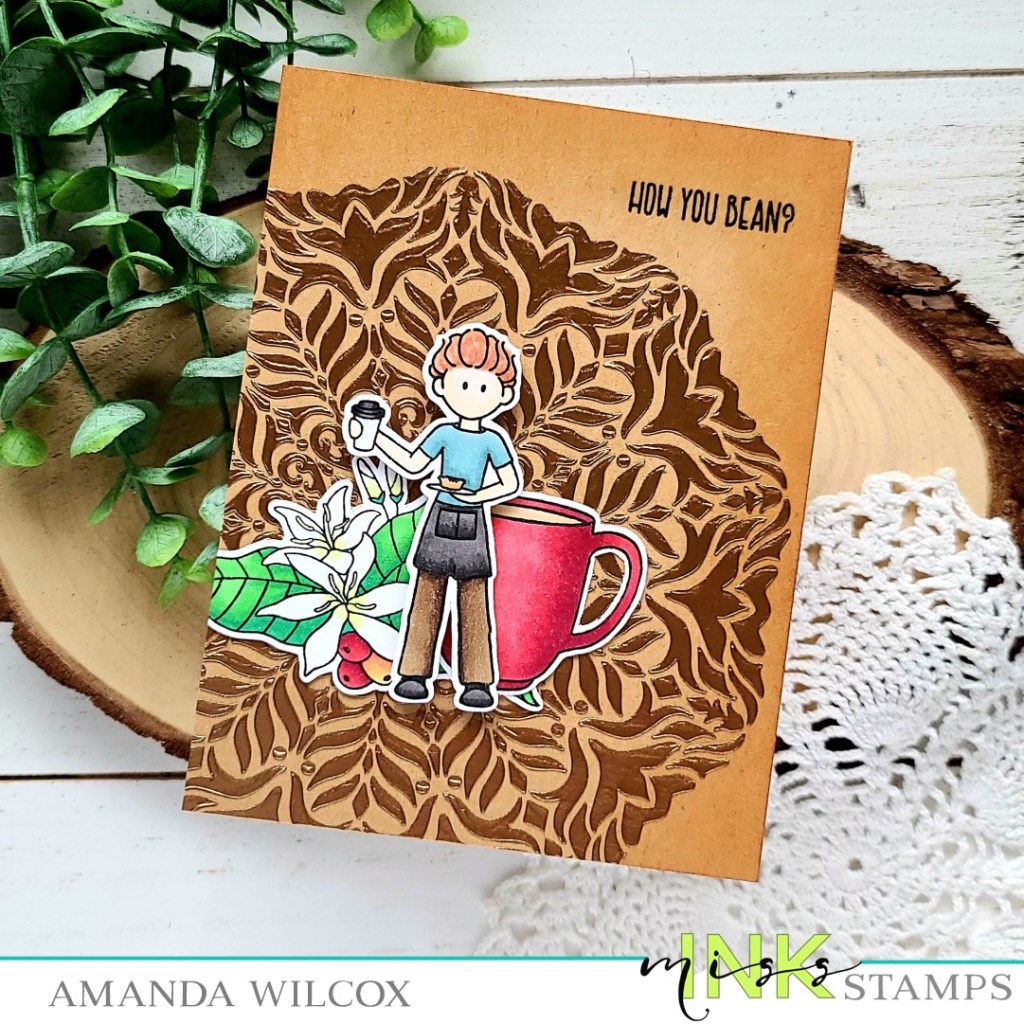
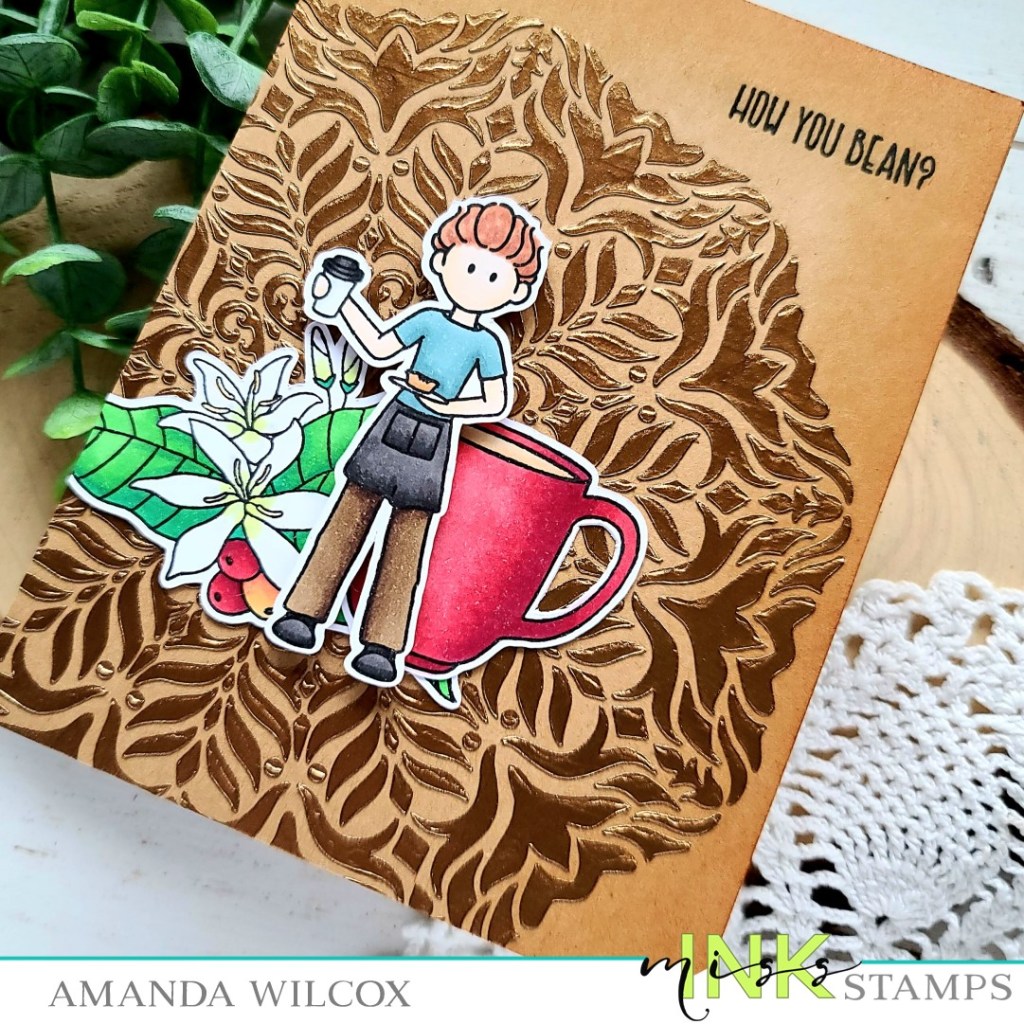
I inked up the Enchanted stencil with spun sugar, cracked pistachio and wilted violet distress inks, then to soften the white lines from the stencil, I went over everything a second time very lightly. It gives a hazy look which I thought was really cool. Then I splattered it with pearl watercolor and left it to dry.

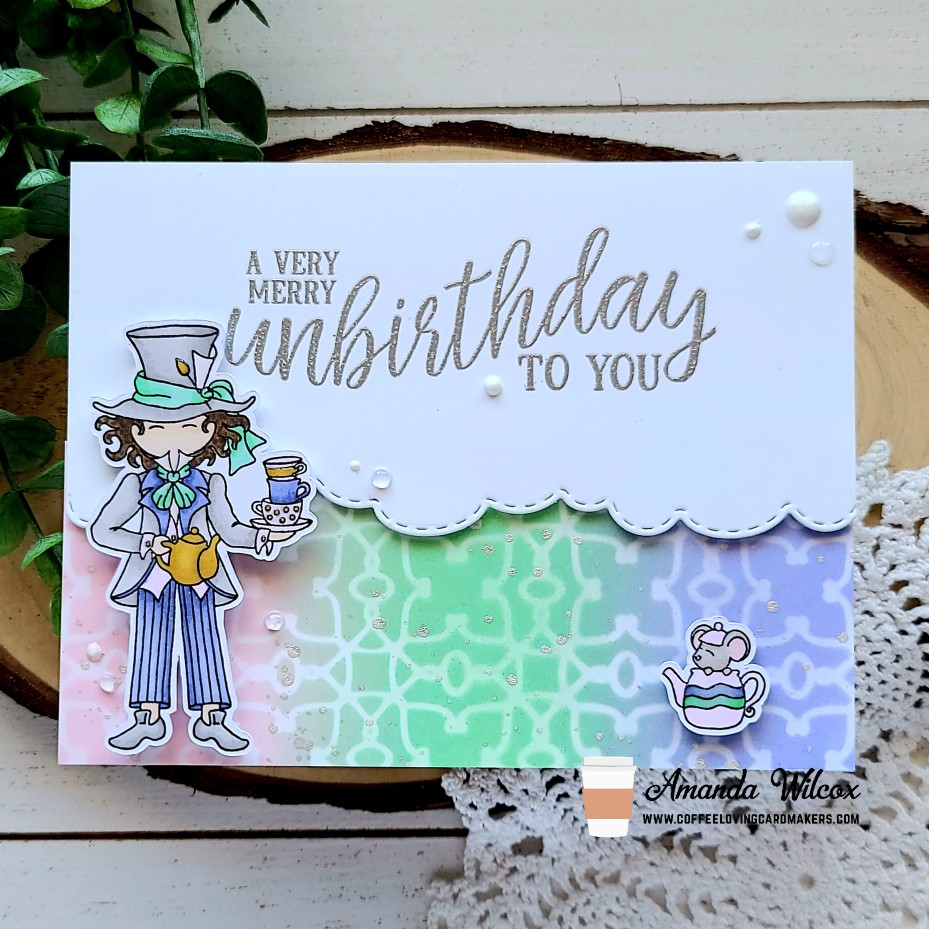
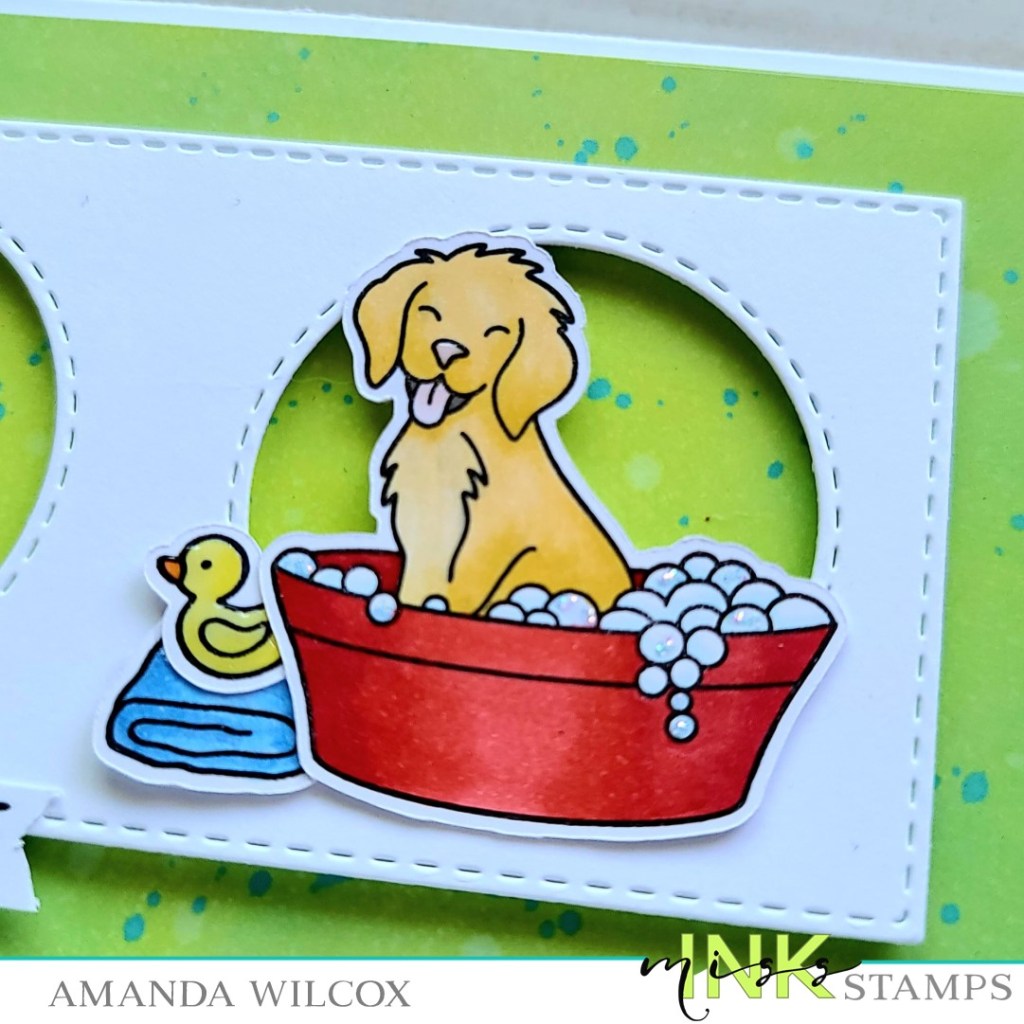
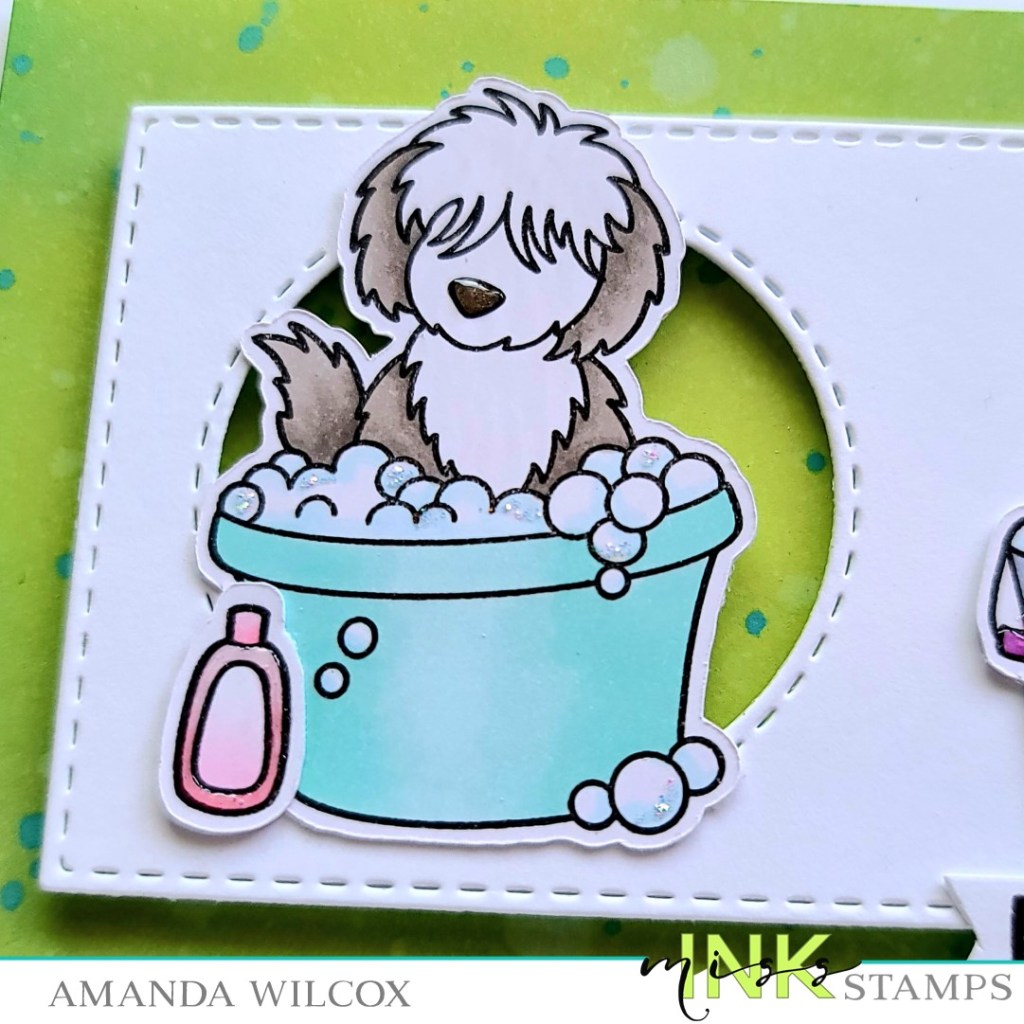
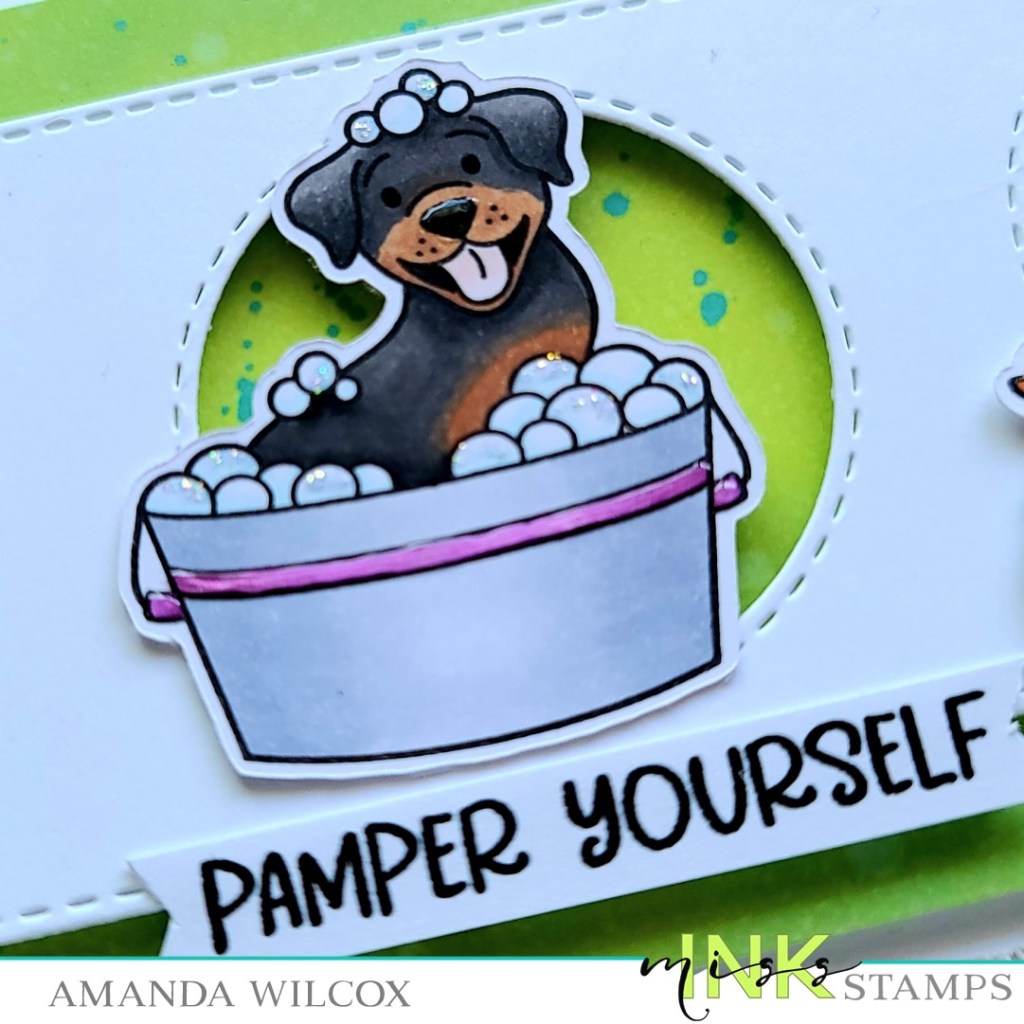
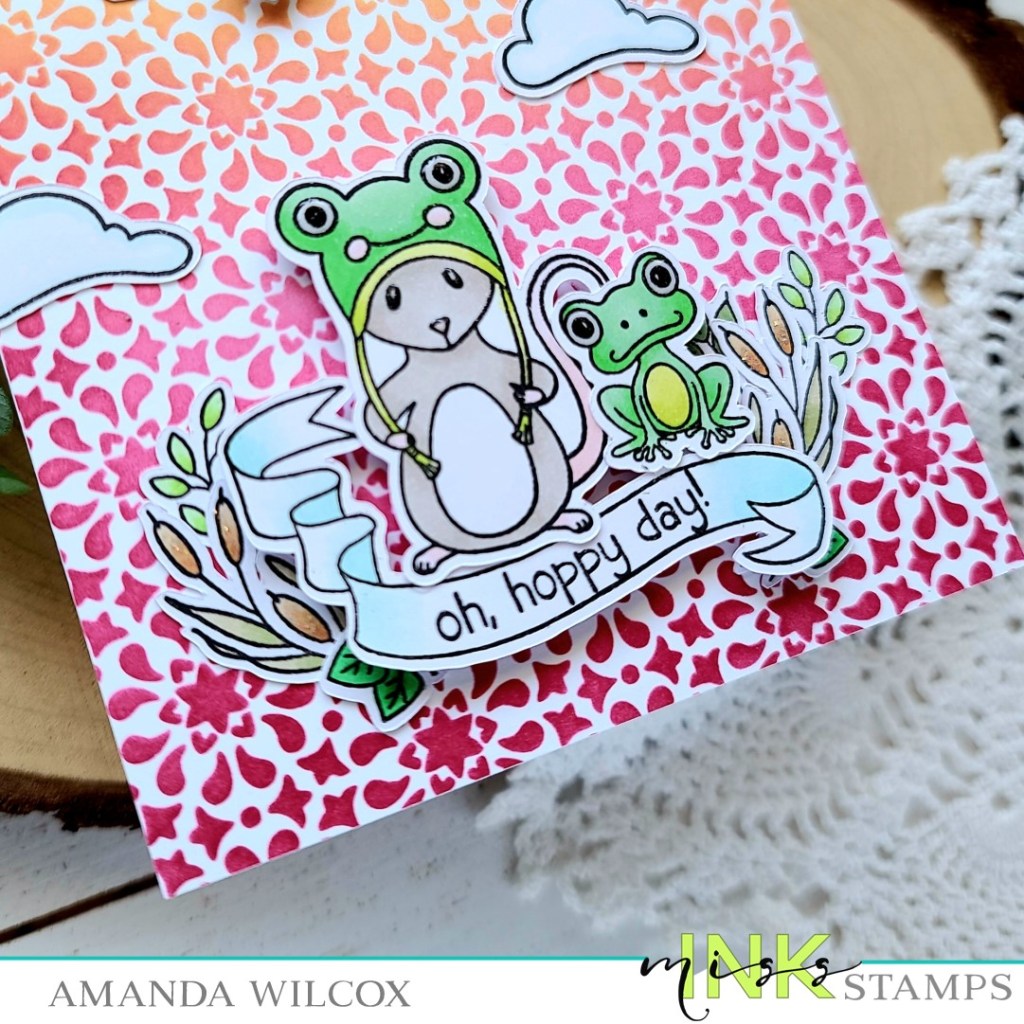
I pulled out the Unbirthday sentiment set and stamped and heat embossed each one in silver on white cardstock panels. Then I came back with the Trinity Stamps scenic border cloud die and cut off the bottom. I added foam tape to the back of these panels and set them aside too. Next, I stamped images from Tea Party and colored them with my copics. Then I used the scan-n-cut to cut them out and started assembling my cards.

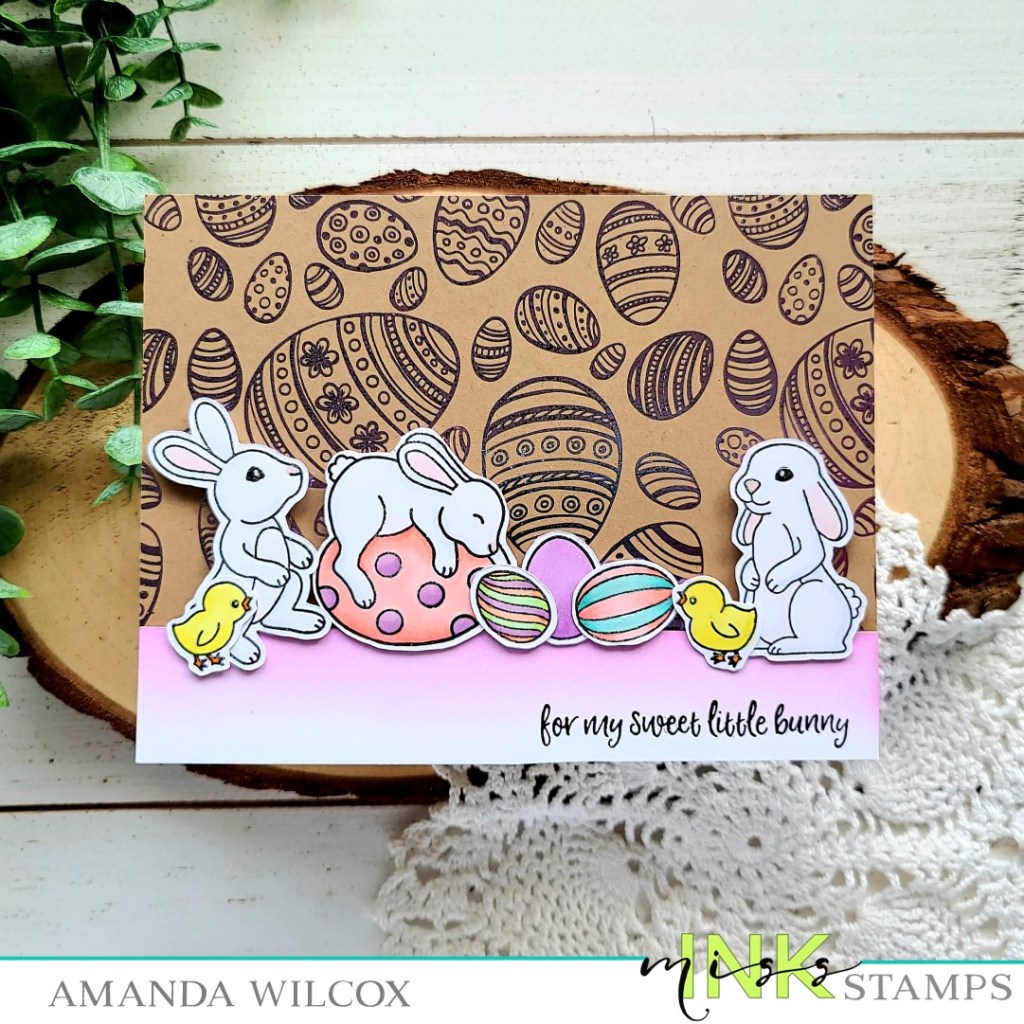
I cut the stenciled panel in half and used liquid glue to adhere each half to card bases. Then I popped the sentiment panels on with their foam tape and added foam squares to the back of my images. After popping those in place, I moved on to finishing touches for each card.

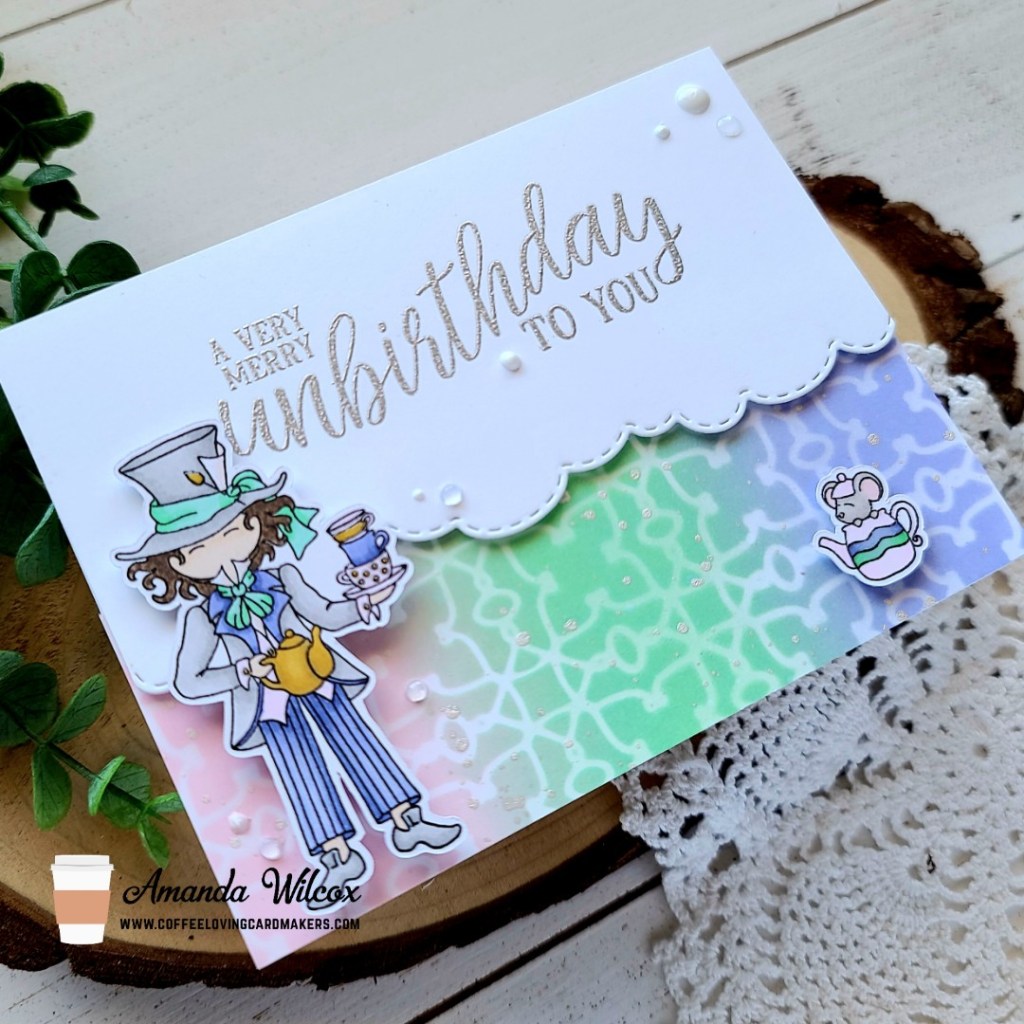
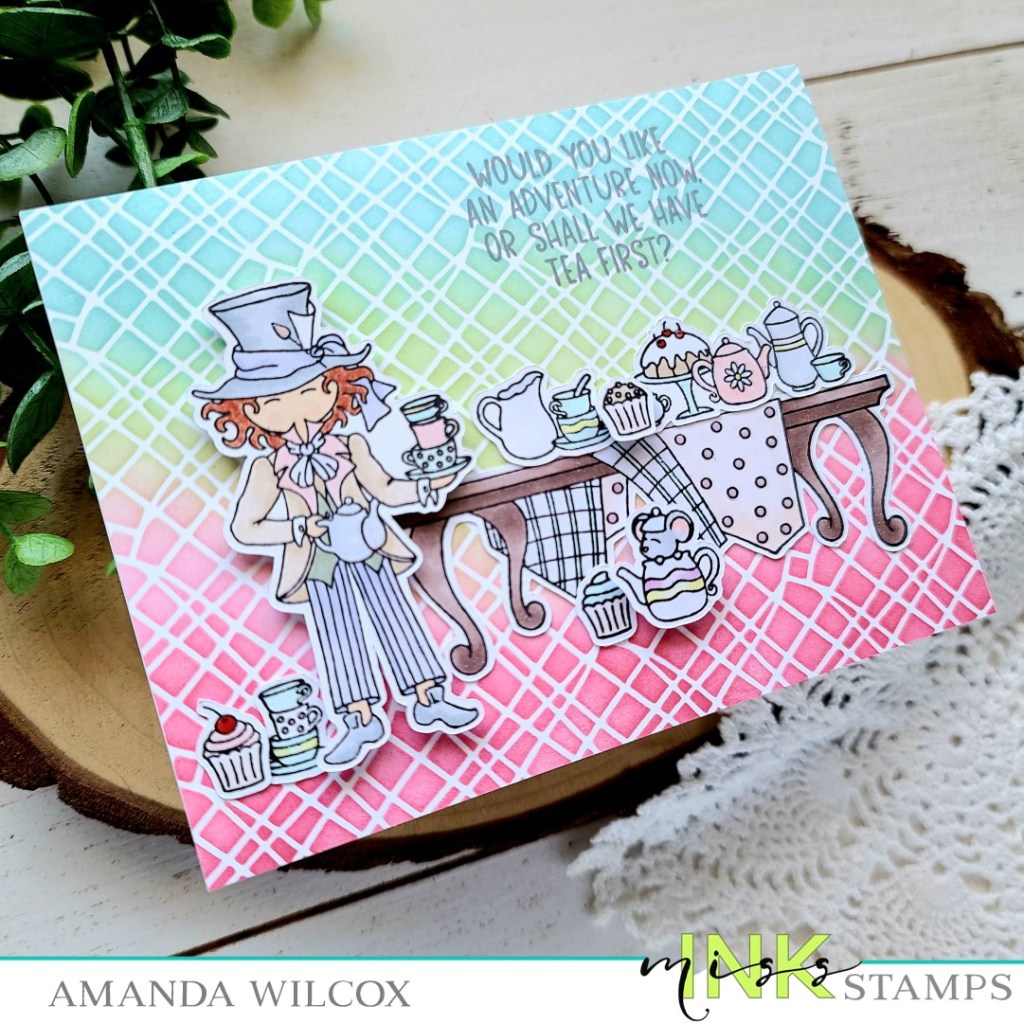
I added Nuvo Crystal Drops in simply white and morning dew across both card designs. Then I added glossy accents to different parts of the images on both cards as well.

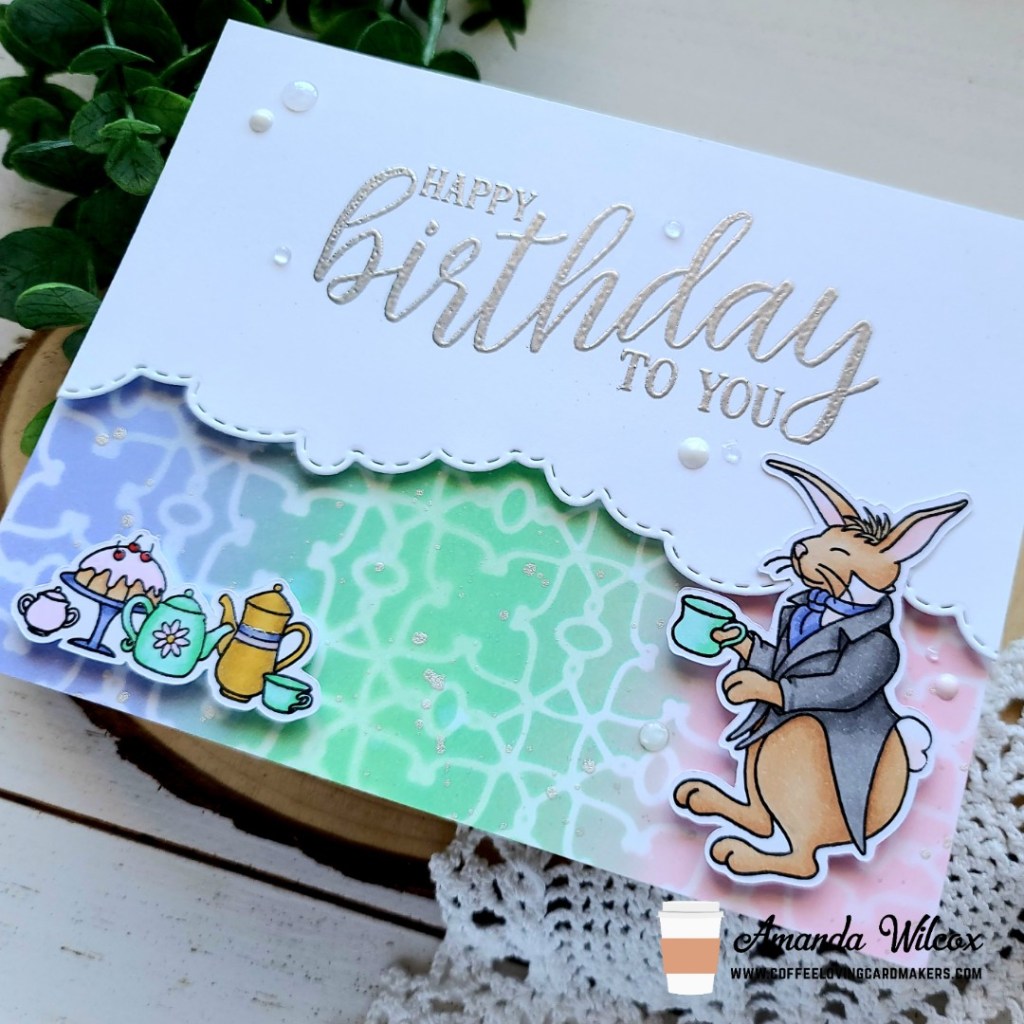
These cards are just so fun and between the two different sentiments, you have birthday and just because cards at the same time! How great is that!?!

I appreciate you sharing your time with me. Have a fabulous day!

Miss Ink Stamps – Release Day

Yippee!!! It’s release day for Miss Ink Stamps and we’ve got so much fun to share with you! Today I have an adorable card featuring the new Rub-a-Dub Doggies stamps! I love these cuties so much!

I stamped those cute pups and colored them with my copics. Then I used the scan-n-cut to cut them all out. I inked up a panel with twisted citron and lucky clover distress oxide inks. Then I spritzed it with water and flicked watered down lucky clover on the panel. Once it was dry, I trimmed it down to 3.25×8.25 inches and added foam tape to the back, adhering it to a white card base measuring 3.5×8.5 inches.

Then I die cut a panel from the Newton’s Nook Slimline Frames & Portholes set and added foam tape to the back of that too. I put it in place on my card and added the pups and their accessories one at a time to each window with a combination of foam squares and liquid glue.

Then I went through and added glossy accents to the noses, shampoo bottle, rubber ducky and purple on the middle washtub. Finally, black glaze pen to the one set of eyes that are open and some and some unicorn Stickles on the bubbles.

I hadn’t specifically planned a sentiment, it was hard to choose. So last, I stamped one and trimmed it into a strip. Then I used my scissors to create banner ends, added a foam strip and added it to my card.

Isn’t this just too adorable! I love all the different types of dogs in this set. They’re really awesome!

Don’t forget to head over to Instagram and YouTube to comment for chances to win new products from the release!

I appreciate you sharing your time with me. Have a fabulous day!

Miss Ink Stamps – Release Sneak Peek

Happy Friday everyone!!! I’m super excited to share an awesome sneak peek with you today of the upcoming Miss Ink Stamps release that will go live tomorrow!

I started my card by stamping images from the new It’s All Relative stamp set and colored them with my copics. Then I cut them out with the scan-n-cut and switched to my background.

That’s another awesome sneak peek…new masking stencils! I inked up the frame in a green close to my chalk board and then the center with brown ink. I put the Art Deco stencil over the masking stencil and added another layer of the same brown ink. I removed the stencils, trimmed the panel to 4×5.25 and added foam tape to the back.

I found a green cardstock close to the ink, trimmed it to A2 and added it to a white card base with liquid glue. Then I popped my stenciled panel in place. Next, I stamped and heat embossed a sentiment in white along with another smaller atom image and glue the chalk board eraser in place. I added foam squares to the back of the chalkboard and Einstein, removed the release paper and popped them in place.

I can’t wait for you all to see this whole set and all the other fun that’s coming too! For other sneak peeks and chances to win, head over to the Miss Ink Stamps Instagram page and YouTube channel and comment on the specified posts. You have chances to win stamps on Instagram and stencil sets on YouTube!

I appreciate you sharing your time with me. Have a fabulous day!

Miss Ink Stamps – Hip Hippo Hooray

Hello again! Today I’m back with another Miss Ink Stamps card but this one is extra fun and totally adorable too! These hippos are so super cute! Plus today’s card is interactive which makes it even better!

I started by die cutting the parts to my interactive card which come from the Mama Elephant Wiper Surprise die set. Then I cut the tops of the panels with the Lawn Fawn ocean waves border. I inked the top of the waves with a blending brush and Lawn Fawn forget-me-not ink. Next, I took the solid fish images from Hippo Hooray and stamped them in narwhal ink.

I stamped my images from Hippo Hooray and colored them with copics, then used the scan-n-cut to cut them all out and then it was time to start assembling everything. I adhered my wiper mechanism to the back of the front panel and then the panels together. Next, I added my images and moved on to a sentiment.

For that, I stamped and heat embossed it, then trimmed it into a thin strip. I glued it to just part of the card front so that it didn’t inhibit the moving motion needed to let the wiper flip up and down. Just stay to the right of the embossed lines and you’re good. Look at that cute hippo popping up to say hooray! This is too cute!

I don’t ever want finishing touches like glossy accents or Stickles to get in the way of moving pieces on these type of cards, so I left everything to just a few white gel pen highlights and decided this cute card was finished!

I hope you enjoyed it and find a little inspiration to create something wonderful.

I appreciate you sharing your time with me. Have a fabulous day!

Miss Ink Stamps – If Things Made Sense

Hey everyone! I’m over on the Miss Ink Stamps blog today with another addition to the Alice card collection. This time we’re falling down the rabbit hole…where nothing makes sense anymore, and we’re late.

I started with the background on this card, blending distress oxides and using the Rabbit Hole stencil. I did a little different color combo for my distress oxide blending today and I like how it worked out.

I always start with an oversized panel so I can trim whichever way I want. It helps if my stencil isn’t centered or the ink blends one edge better than another. Anyway, today I used faded jeans for the center and ground espresso for the edges. Then I splattered the panel with watered down bits of both colors. I sprayed my stencil with pixie spray and laid it over top, then pounced on some tattered rose for the swirls. I flicked some of this watered down ink over the panel as well.

Next, I stamped and colored my images from Alice and used the scan-n-cut to cut them out. I added foam squares to the back and used them as a guide for where to stamp and heat emboss my sentiment. This is one from the Wonderland Wisdom set. These quotes are fantastic. Once that was complete, I added the background panel to a card base and adhered my images in place.

Things looks a little sparse so I went back to the drawing board and came up with the fun idea to add a frame. I used the Trinity Stamps embossed edge rectangles. I cut one from gold mirror cardstock and then cut the center out with the next size down. I added liquid glue to the frame and carefully fit it around the images. I love what this does for the whole design!

For finishing touches, I added glossy accents to the rabbit’s watch, glasses and buttons, and Alice’s shoes and headband.

Given the world we live it right now, I think this card is fairly appropriate and would be fun to send to just about anyone. Don’t you?

I appreciate you sharing your time with me. Have a fabulous day!

Miss Ink Stamps – Oh, Hoppy Day!

Hi everyone! I’m popping in today with a springy, bright Miss Ink Stamps card to share with you. I have been playing with the newly release stencils again, today it’s Kaleidescope and I’ve paired it with the super cute critters from Say Cheese!

I started my card today by inking up the stencil on a white panel using Trinity Stamps blending brushes and Lawn Fawn dye inks. Then I trimmed my panel down to 5.5×4.25 inches and adhered it to a white card base with liquid glue.

I stamped out a bundle of images from Say Cheese! and Springtime Banners, and colored them all with my copic markers. Next, I ran them through the scan-n-cut to cut them all out. I laid the images out on the card front to decide on final placement, what would be popped up and what would be glued directly down.

For the foliage behind the banner, I used post it tape to hold them together how I wanted, added liquid glue and put them in place. I left the tape on them for a minute to let the glue dry a bit and then removed it. This worked like a charm and made the process so much easier than normal. After that part was done I finished adhering the rest of the images and trimmed off anything hanging over the edge.

Moving on to finishing touches, I added glossy accents to the eyes and a little unicorn Stickles to the cattails and butterflies in the sky.

I love the contrast of colors in this fun card! As for the Say Cheese! stamp set, it’s sooo much fun and I can’t wait to play with more of the sweet critter combos it has!

I appreciate you sharing your time with me. Have a fabulous day!

Miss Ink Stamps – Tea First?

Hello everyone! I’m back again with a wonderful card featuring more Alice in Wonderland stamps from Miss Ink and one of the newly release stencils – square dance. Let’s jump right in!

I inked up my square dance stencil using Trinity Stamps blending brushes and Lawn Fawn dye inks on a white panel. Then I trimmed it down to 5.5×4.25 inches and adhered it to a white card base. Next, I stamped images from Tea Party and colored them with my copics. I used the scan-n-cut to cut them all out and started playing with final placement. The images are adhered with a combination of foam squares and liquid glue.

Then I chose a sentiment from the same Tea Party set and stamped it in a soft gray ink to keep with the lighter feel of the overall card.

For finishing touches, I added glossy accents to various parts like polka dots and cherries. Then I came in with my Wink of Stella glitter brush pen and added a little here and there on the teapot stripes and flower.

Isn’t this a fabulous card?!? I just love the Hatter so much! This is definitely my favorite set from the series and I love playing with it and thinking of new color combinations to try.

I appreciate you sharing your time with me. Have a fabulous day!

Miss Ink Stamps – How You Bean?

Welcome friends! Today I have some Miss Ink Stamps caffeinated inspiration to share with you. I’ve combined a couple of stamp sets with one of the recently released stencils for my super fun background!

When I got my new stencils from Miss Ink, I just cut up a bunch of cardstock to card front size or a little bigger and started playing. The moment I created this background I had a card layout in my head and it actually worked out exactly how I was hoping. I love it when that happens.

I used deco foil metallix gel in aged copper on kraft cardstock with the latte love stencil for the background. Once it was dry I inked the edges with tea dye distress ink for a little dimension and interest. Then I stamped images from Java Joe’s and Brewtiful, colored them with my copics and used the scan-n-cut to cut them all out. I used liquid glue to adhere the flowers and mug to the stenciled panel and then popped Joe up with foam squares.

I couldn’t decide on a sentiment because between the two stamp sets there are SO MANY awesome options, so I took them downstairs and had my family vote on their top two favorite. Lucky for me they both happened to choose “How you bean?” so I took it as a sign and used that one.

I’ll be linking this fun card up to the Coffee Lovers Spring|Summer Hop. There’s still time to play along! I hope you’ll join in on the fun!

I appreciate you sharing your time with me. Have a fabulous day!

Miss Ink Stamps – Some Bunny Special

Welcome! Welcome! Today I have a couple of really sweet Easter cards featuring Miss Ink Stamps Springtime Bunnies stamps and Thermoweb Basket of Fun foiled toner sheets for backgrounds.

These toner sheet packs from Thermoweb come on white cardstock and kraft. I thought it would be fun to do a card with each one using the Easter egg pattern and the Miss Ink Stamps Springtime Bunnies images. So I heated up my laminator and foiled them with lilac foil. I stamped my images and colored them with copics. Then I ran that sheet through the scan-n-cut and switched gears to decide on my final layouts.

For this card, I adhered my foiled panel to a white card base, opened the card up and ran it through my die cutter with a My Favorite Things arched window. I inked up the edges of the window with light purple ink and also inked up the inside of my card with a little shadow of light green ink. Then I arranged my images so they showed through the window, gluing them down with liquid glue, saving one chick for the front of the window. I also stamped a sentiment in the same purple ink and trimmed it into a strip, adhering it down with liquid glue.

Here’s a look at the inside of the card. Plenty of room to write a message that won’t show through the window but also something sweet and cute to see on the inside too!

Now let’s take a look at the kraft base card that I made as well.

For this one, I adhered the Easter egg panel to a card base with liquid glue. Then I trimmed a white strip of cardstock about an inch wide and inked the top with light purple ink and popped it up with foam tape. I used my MISTI to stamp a sentiment on the bottom and arrange my images, adhering them with a combination of liquid glue and foam squares.

For finishing touches on both of these cards, I just added glossy accents around the various images. Thinks like bunny noses and eyes, chick beaks and feet and stripes and dots of the various Easter eggs.

I appreciate you sharing your time with me. Have a fabulous day!

Miss Ink Stamps – Red Roses

Hi everyone! I’m over on the Miss Ink Stamps blog today with a card featuring the gift with purchase stencil – Pocket Full of Posies – that Miss Ink is offering right now to celebrate their new stencil release. Isn’t it fabulous?!? I just had to pair it with the amazing Red Queen!

I started by spraying ThermoWeb Pixie Spray on my stencil and laying it on a piece of black cardstock. Then I used my stencil pal to add some red glitter glitz gel over top. I removed the stencil, cleaned up and set it aside to dry while I worked on my other pieces. I stamped one of the queen images from Queen of Hearts and colored it with my copics. Then I fussy cut her out and ran a black pen around the edge of the image to clean it up. This makes a huge difference when you cut things out on the stamped line. I promise it’s worth the extra bit of time.

For the mini scene in the opening, I trimmed a piece of white cardstock to 3×3 inches and stamped the bush image from Painting the Roses on it. I used a blender brush to ink the top blue and bottom green for just a hint of color. Having this small piece made it easy for me to line it up with my window once I cut it from the stenciled panel.

At this point the stenciled panel was dry so I cut it with an embossed edge rectangle from Trinity Stamps and then die cut the window with an embossed edge circle which is also from Trinity. Using the window as my guide I used liquid glue to adhere the bushes to my card front and then popped the stenciled panel up with foam tape. I added the queen to the window with foam tape so she lays flat.

For this card, I chose a sentiment from Wonderland Wisdom and heat embossed it in white on black cardstock. Then I used a banner from Trinity Stamps 4-bar card die set and popped it up with foam strips. For finishing touches, I added glossy accents to the queen – areas like her crown, the gold edges of her dress, the hearts and her shoes. It doesn’t rival the awesome glitz gel but gives her a little extra interest and shine. She is the Queen after all.

I appreciate you sharing your time with me. Have a fabulous day!