Miss Ink Stamps – Happy New Year Countdown Banner

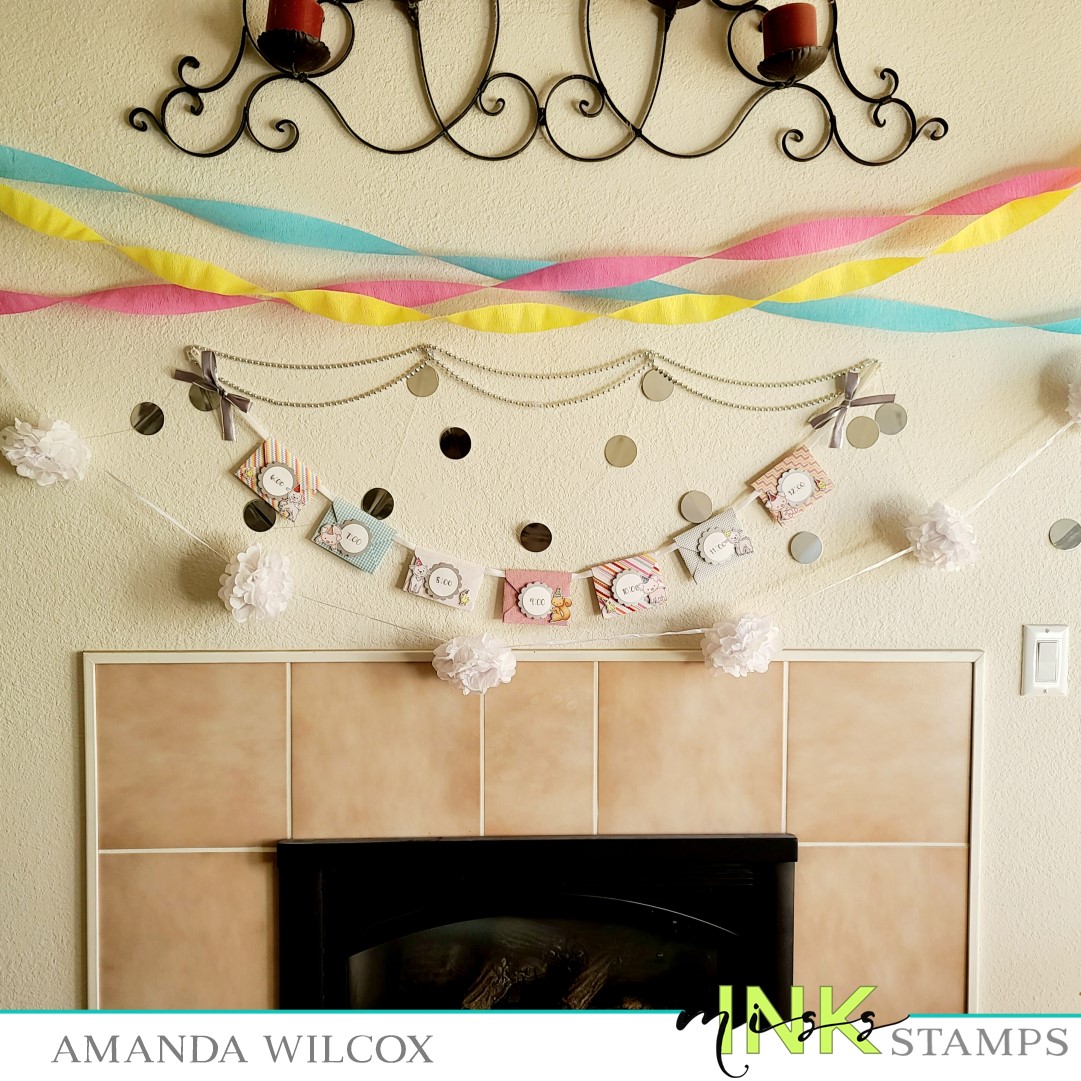
Hello everyone! I’m super excited to be sending out one last fun project for you before we say goodbye to 2020. Today I’m over on the Miss Ink Stamps blog sharing a countdown banner that I made for my family to keep us busy and having fun tonight.

My daughter and I had a blast decorating the area above our fireplace with this sweet banner and some fun bling. Here is a closer look at the banner in sections and how I created it.

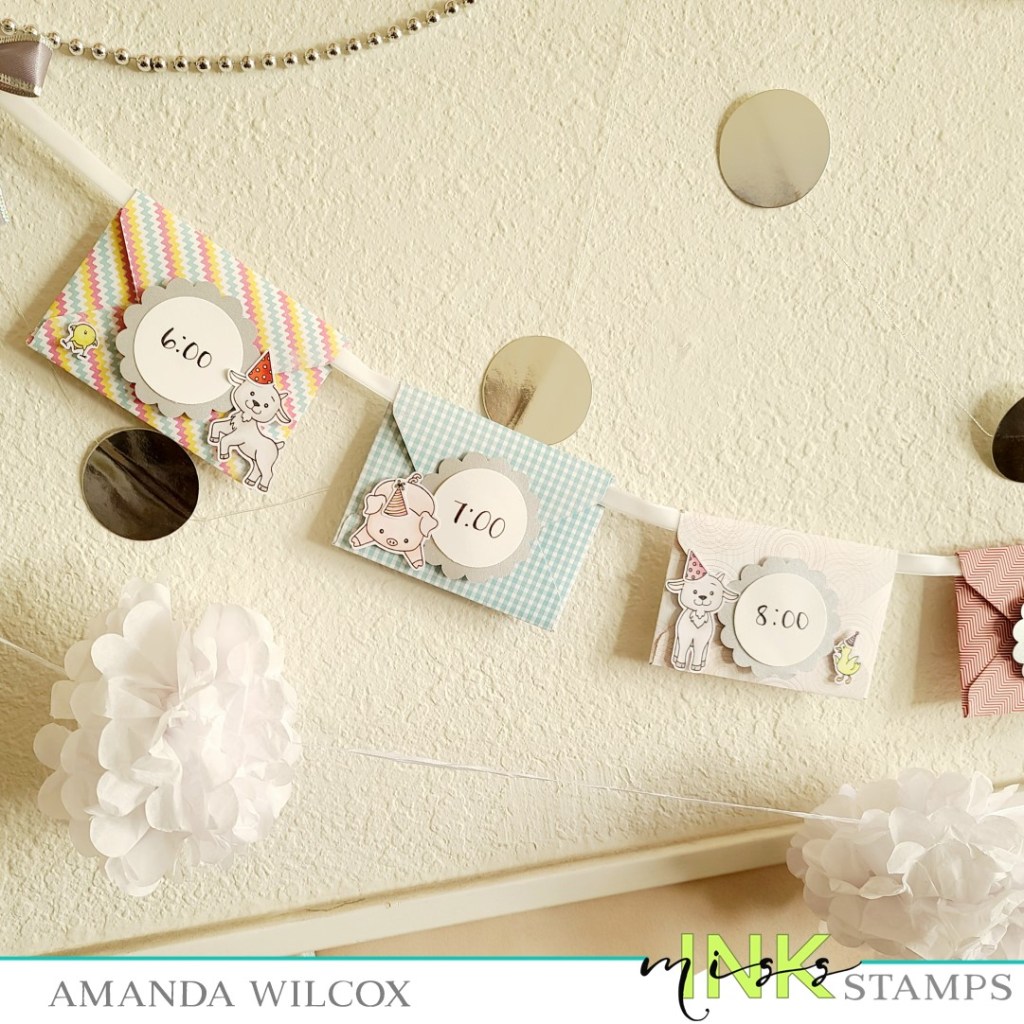
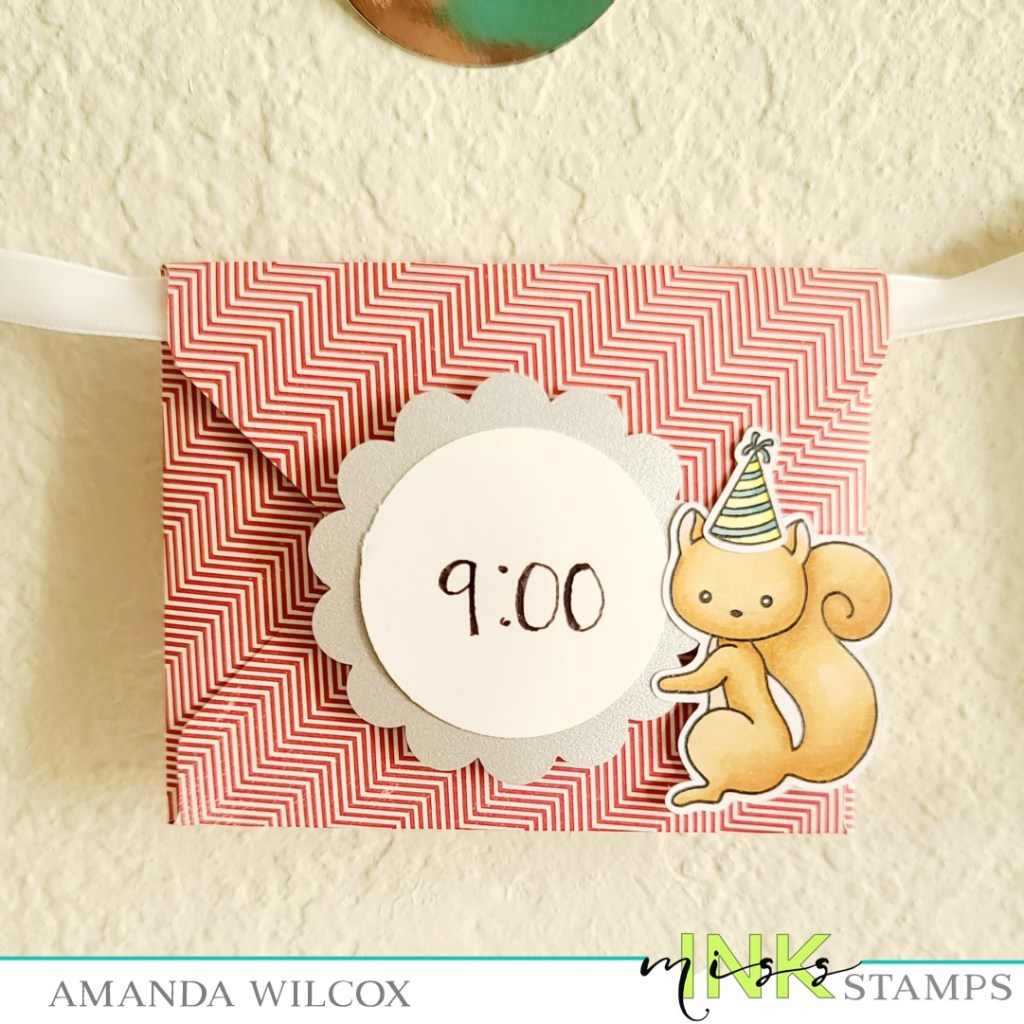
I used a punch board to create some envelopes from patterned paper and then cut some scalloped and regular circles from silver and white cardstock and adhered them together. I wrote times on each circle and adhered them to the flap of each envelope.

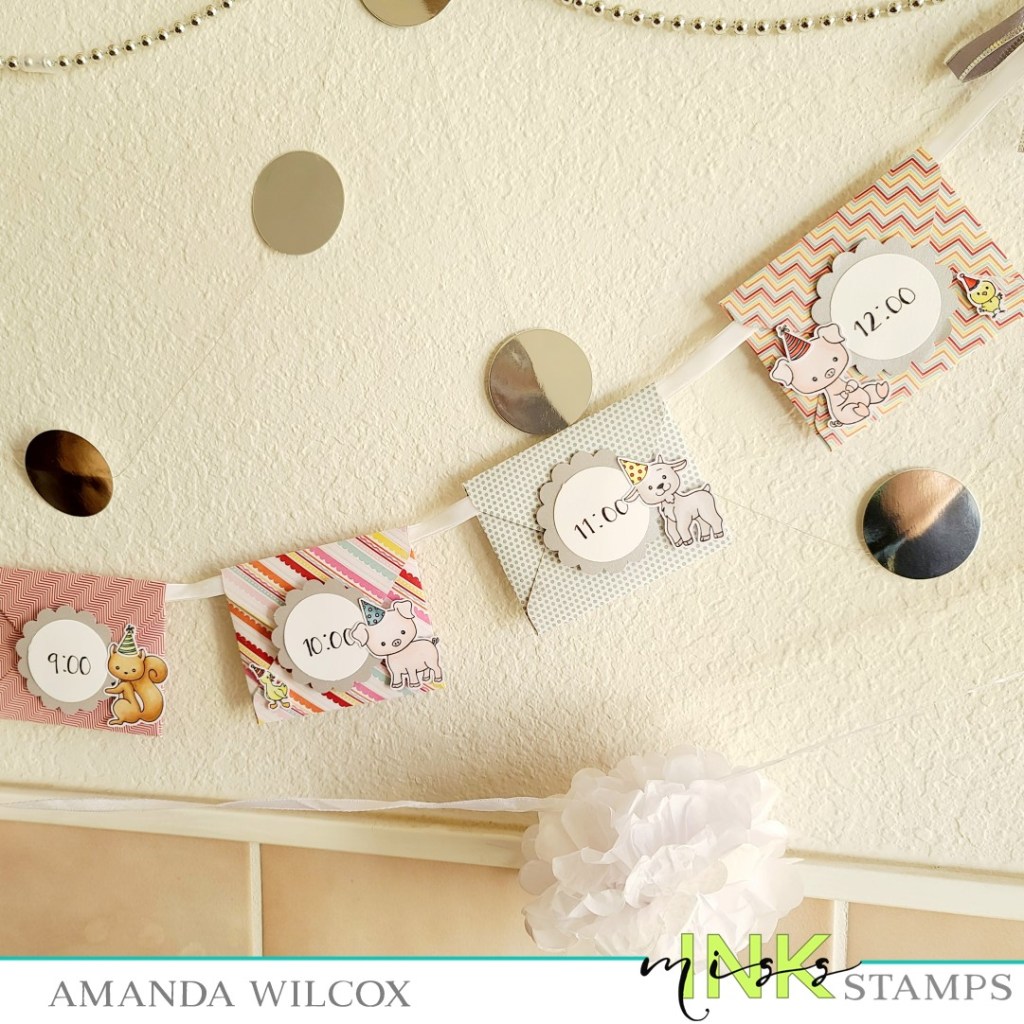
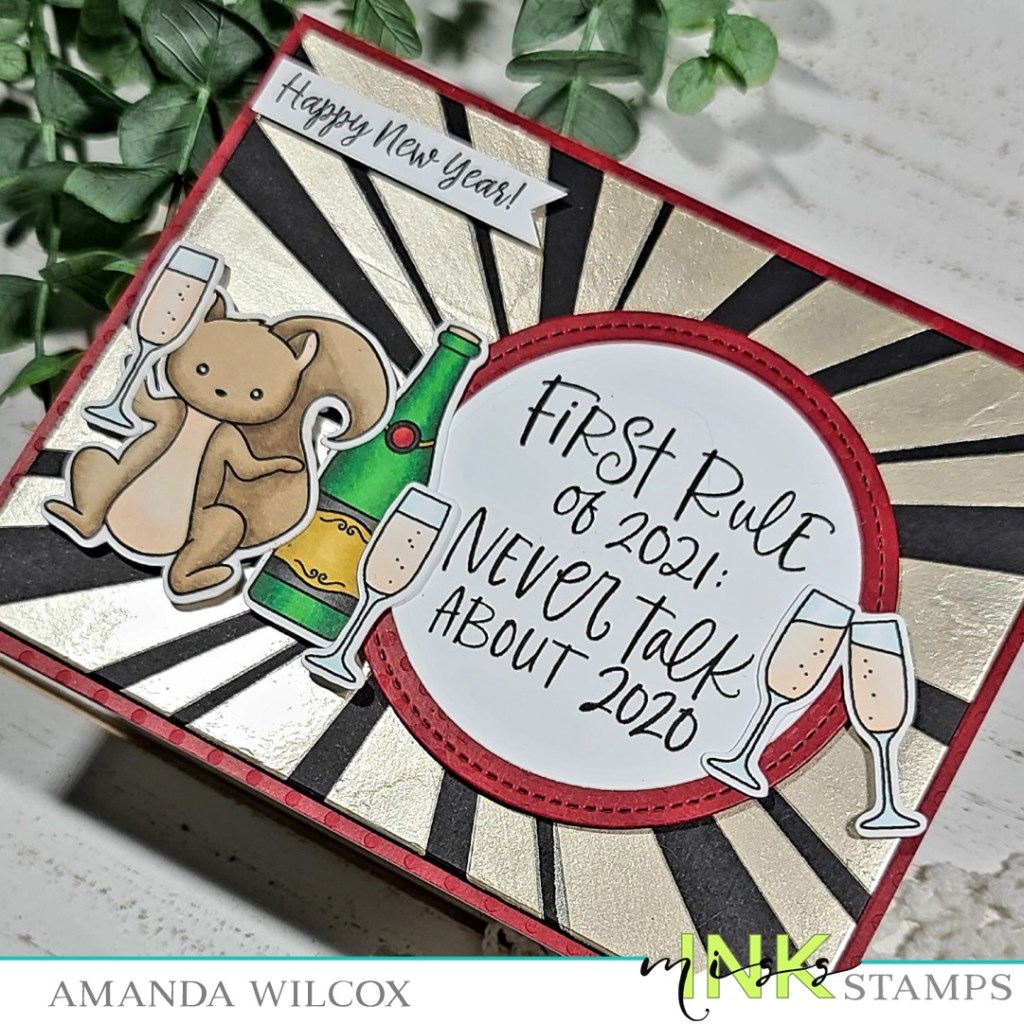
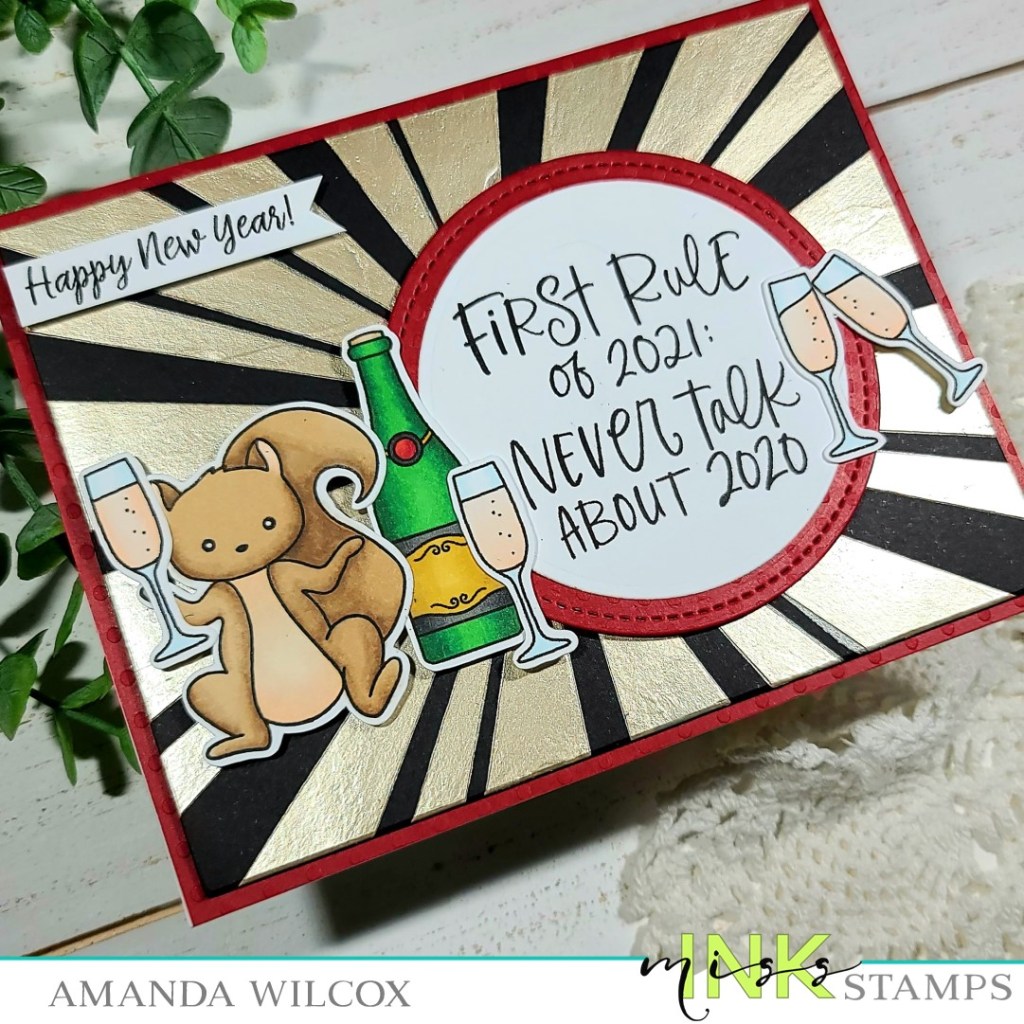
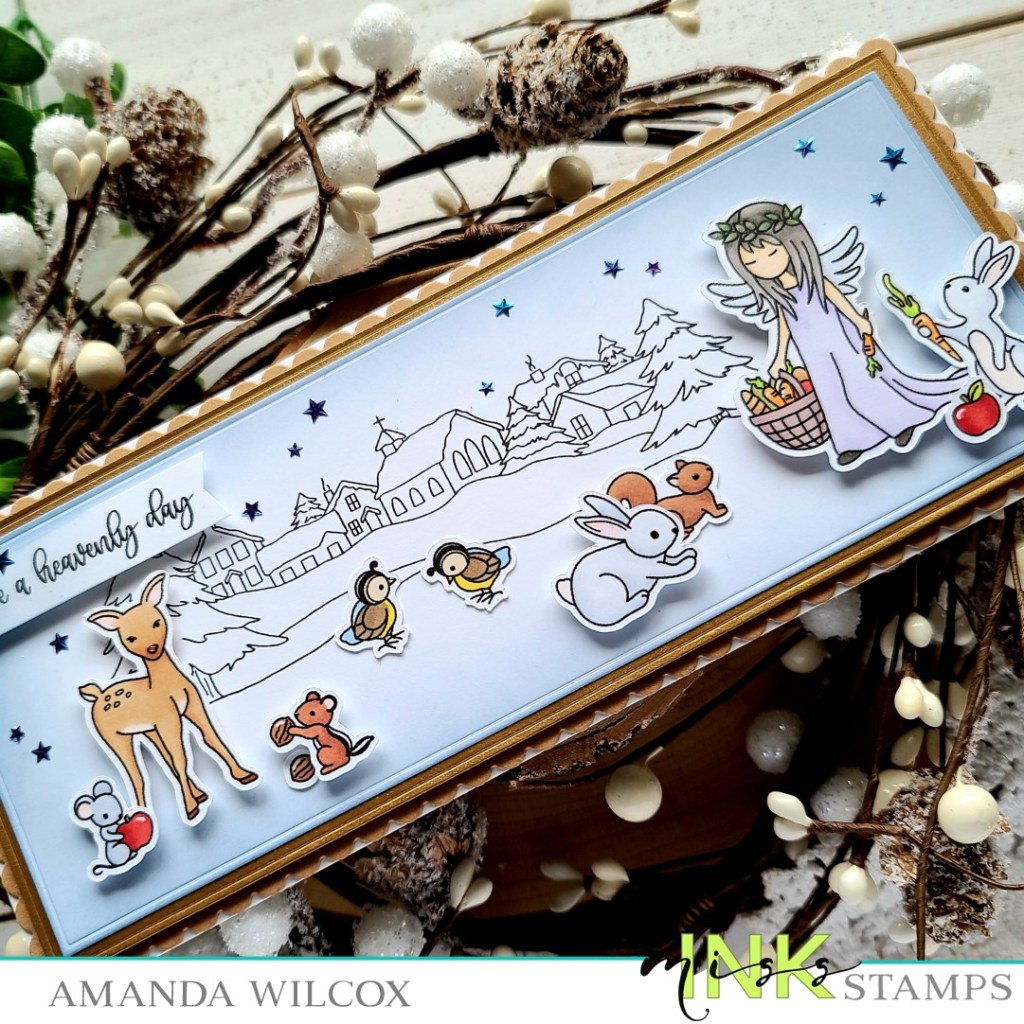
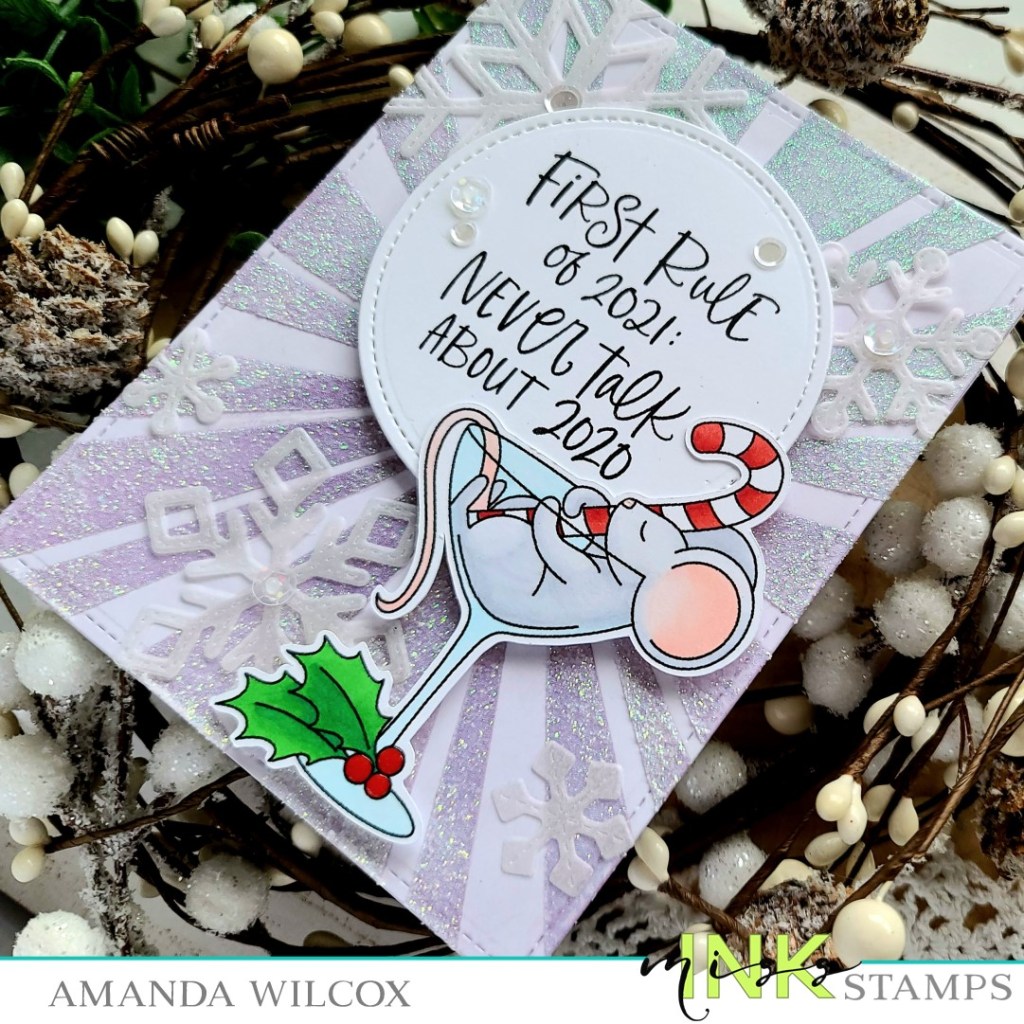
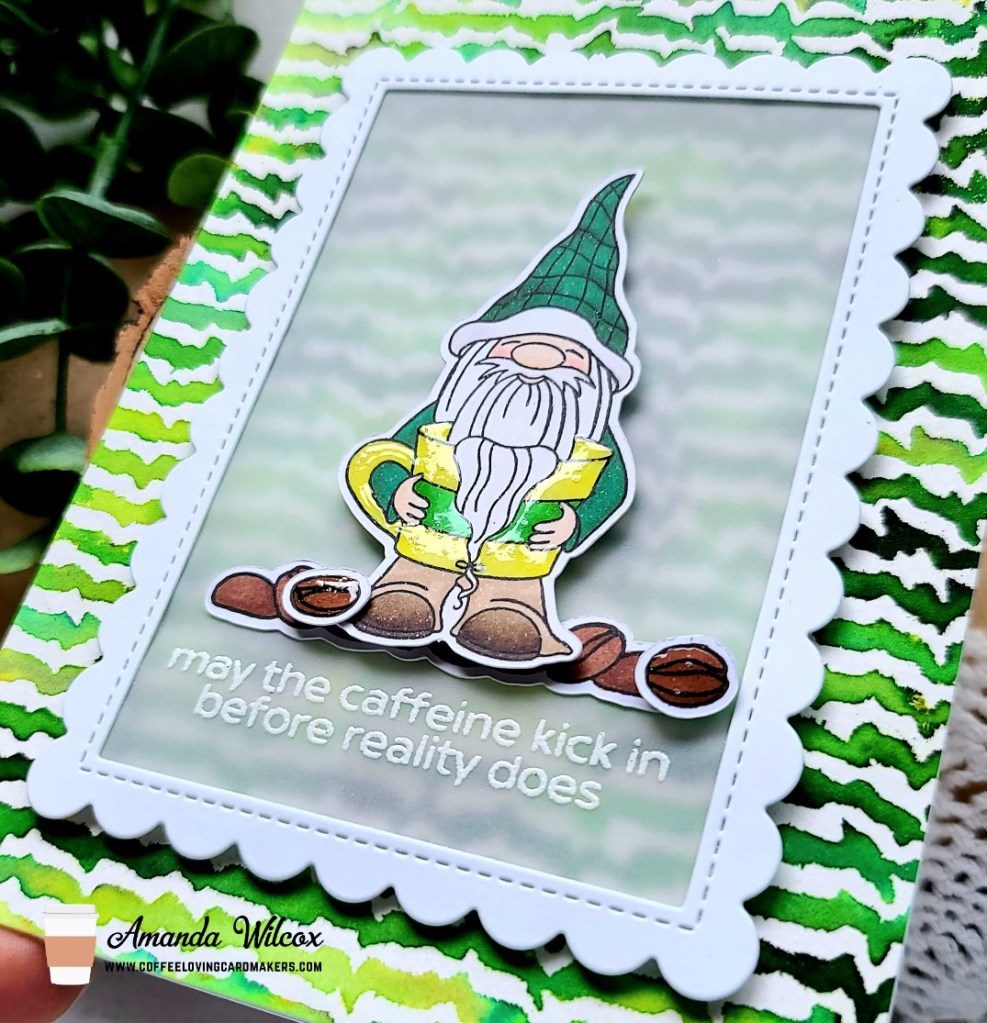
Then I stamped and colored critters from Punny Farm Pigs, Punny Farm Goats and Oh, Nuts! with my copic markers. I used the scan-n-cut to cut everything out and used liquid glue to adhere the party hats on everyone. I used foam squares to attach all the critters on the envelopes.

I found some adhesive backed mini velcro dots at the fabric store which I use to keep the flaps on the envelopes closed but reusable so we can keep this cute banner and use it year after year. I’ve done these for Christmas advent calendars and Valentine countdown calendars in the past and loved how well it worked.

Inside each envelope we’ve got a piece of cardstock with an activity to do that hour. Some ideas we thought of were: put a puzzle together as a family, game time, art activity like painting, hot cocoa or popcorn bar (have a line of toppings or add-ins ready for everyone to make their own yummy creation), minute-to-win-it games and saran wrap ball.

What activities do you and your family do on New Year’s Eve night? I’d love to add to our collection of ideas for years to come.

I appreciate your time, love and support this year and look forward to the adventures that 2021 will bring us all. Have a fabulous day!

Miss Ink Stamps – New Year Rules

Hi there! Have you seen the most recent release from Miss Ink Stamps? There are some really great ones and today I’m sharing a card featuring one of them – Happy New Year. It just cracks me up!

When I think of New Year celebrations I always think of gold and champagne so those are the colors I gravitate toward. Today was no different. I pulled out the Sunburst stencil and used champagne Metallix gel over black cardstock. While that was drying I stamped and colored images from Happy New Year and Oh, Nuts. Then I used my scan-n-cut to cut them all out.

I stamped my sentiment on a circle and then die cut a stitched circle just a bit bigger in red and adhered them together. Once my background was dry I trimmed it down and popped the circle up with foam tape. Then I used a combination of liquid glue and foam squares to attach my images. Last, I decided to add the second sentiment to the top left corner so I stamped it and trimmed it into a banner and attached it with foam strips.

I don’t know about you but I’d totally party with a squirrel! He looks pretty friendly and there are extra glasses of champagne just waiting for someone to join in.

Cheers to you all! I appreciate you sharing your time with me. Have a fabulous day!

Miss Ink Stamps – Peace and Joy

Welcome back everyone! I’m stopping in to share a beautiful slimline scene card featuring some new and older Miss Ink Stamps products. This card was so relaxing to create and I just love how it turned out.

I started this card by laying out all my stamps to see if I wanted to create a more full A2 scene or stretch things out for a slimline. Really, this design would have been great either way but I really like the elongated canvas I chose to work with. After stamping and coloring my images from Oh, Deer!, I used the scan-n-cut to cut them out. Then I took the new Mountainside stamp and stamped it on an oversized panel. I colored it with my copics and brought in the Trinity Stamps Slimline Modern Embossed Panels die to cut it down.

I stamped some stars in the sky from the Mountainside set and heat embossed them in gold. Then I took chipped sapphire distress oxide ink and inked up the sky a little. I used a dry cloth to buff away ink from the stars and adhered my images. The cardinal is adhered directly to the card with liquid glue and the rest of the images are popped up with foam squares.

I put my panel in my MISTI and decided to stamp some of the plant sprouts at the same time I stamped my sentiment. This sentiment is from the new Little Angel set. I die cut one size bigger panel from red cardstock and popped my colored panel up with foam tape. Using liquid glue I adhered the whole thing to a white card base and moved on to finishing touches.

For those, I added glossy accents to the deer noses and bird beaks. I wanted a little shimmer for the snow but nothing super overpowering because the scene is so soft and quiet looking. Instead of my usual Stickles, I went with Wink of Stella glitter brush pen on the mountain tops and snow lines all the way down the card front. It’s hard to photograph but in person, the glitter just shimmers wonderfully!

I appreciate you sharing your time with me. Have a fabulous day!

Miss Ink Stamps – Heavenly Day

Hello friends! I’m over on the Miss Ink Stamps blog today featuring another new set that was released on Saturday called Little Angel. I couldn’t choose which images to use so I created a slimline card and used them all! They’re just too sweet.

I started by stamping and coloring the images from Little Angel. Then I used the scan-n-cut to cut them all out. Next, I stamped the snowy village image on a piece of white cardstock and used a slimline rectangle to cut it out. Then I went around the edges with stormy sky distress oxide ink.

I arranged all of my images using a combination of liquid glue and foam squares to attach each one. Then I decided on my layers. I die cut a scalloped rectangle from kraft cardstock and adhered it to a white card base. Then a gold rectangle one size bigger than my background panel in gold. The scene and gold are adhered together and then popped up with foam tape on the scalloped base.

I cut my sentiment into a banner shape and popped it up with foam squares as well. For finishing touches I added wink of stella glitter brush pen to the angel’s wings and crown, black glaze pen the the critter eyes and glossy accents to their noses. I also finished things off with some white gel pen accents and a scattering of dazzle stars in the sky.

These sweet images are so fun to color and arrange in little scenes. The sentiments also range nicely so this isn’t just a Christmas set by any means. Stretching your stamps is always a fabulous plus!

I appreciate you sharing your time with me. Have a fabulous day!

Miss Ink Stamps – New Release

I’m so excited that the new Miss Ink Stamps release went live for purchase yesterday! I have a fun card to share celebrating and hopefully inspiring you to create!

I inked up my images from Snow One and colored them with my copics. Then I used the scan-n-cut to cut the out and set them aside. Masking off the bottom portion of a white panel, I inked the rest up with chipped sapphire and stormy sky distress oxide inks and spritzed them with water. Then I flicked pearl watercolor on the panel and set it aside to dry.

I created a white card base and added a little striped washi tape to the edge. I trimmed the inked panel down to 4×5.5 and popped it up with foam tape. I added my images with foam squares and liquid glue. I cut my sentiment into a flag shape and popped it up as well.

For finishing touches I added some glossy accents to the snowman’s eyes, nose, hat band and buttons, black glaze pen to the bird’s eyes and Wink of Stella glitter brush pen to the snow on the tree and the snowflakes.

There are such a fun variety of prodcuts available with this release. You’re sure to find something fantastic to create with. I hope you’ll check it out.

I appreciate you sharing your time with me. Have a fabulous day!

Miss Ink Stamps – Sneak Peeks

Hey friends! I wanted to pop in again this morning with another fun sneak peek from Miss Ink Stamps. Today I’ve pulled from the upcoming Blitzened and Happy New Year sets to create a fun, lighthearted card to share with you.

I started my card by die cutting a stitched rectangle from white cardstock. I used the sunburst stencil with some light purple dye ink and a blending brush. Then I removed the the stencil and inked the whole panel up to take away the stark white that was left. I replaced the stencil and added glitter glitz gel over the darker purple area and set it aside to dry.

I die cut a stitched circle with the sentiment from Happy New Year in the center. Then I colored the image from Blitzened with my copics and used the scan-n-cut to cut him out. I adhered them together and die cut some vellum snowflakes. Using spray adhesive I attached the snowflakes and popped the sentiment and image up with foam squares.

For finishing touches I added glossy accents to the holly berries and mouse’s nose. Then I glued down some sequins on a couple of the snowflake centers and on the sentiment circle as well.

This is such a fun release! Check out the rest of the Miss Ink Stamps design team for sneak peeks and inspiration from today forward, with the release up for purchase on Saturday!

I appreciate you sharing your time with me. Have a fabulous day!

Miss Ink Stamps – I Believe Sneak Peek

Hey friends! I hope your weekend is going well. I’m popping in today with a little silly sneak peek with goodies come from Miss Ink Stamps the end of this week. It ranges from silly to gorgeous, and there’s sure to be something for everyone!

I used the scene builder stencil to create my sky for this super fun card! I added my sentiment to the center because it’s really the focal point of this fabulous card! Then I added all those great undies to a clothes line.

I know the colors don’t lend themselves to a Christmas card so I thought it would be fun to accentuate that with some clay Santa embellishments. Aren’t they great? I just love this set so much!

Official sneak peeks of the new Miss Ink Stamps release start on Nov. 18 so be sure to watch their Instagram for those! The release will be available for purchase on Saturday, Nov. 21.

I appreciate you sharing your time with me. Have a fabulous day!

Coffee Loving Cardmakers – Miss Ink Stamps | Caffeine First

Happy Tuesday everyone! It’s time for tea with Twiddler’s Nook over on the Coffee Loving Cardmakers today. I had some fun with powdered watercolor and stencils over the weekend. It’s quite addicting. I could easily sit and make bunches of backgrounds at once with this technique.

Obviously, I started today’s card with the background. I took watercolor paper and laid my Miss Ink Stamps Jitters stencil over the top. Then I sprinkled powdered watercolor over the stop and spritzed it with water. I carefully removed the stencil and smooshed another piece of watercolor paper on it for the negative so I have another background the play with later on. I set those aside to dry and stamped out my images which are also from Miss Ink Stamps. They are from Big Mugs and Brewtiful. I colored them with my copics and used the scan-n-cut to cut them out.

Using the Newton’s Nook Framework dies I cut a frame and adhered vellum to the back. I heat embossed my sentiment from Big Mugs on it and lined the back of the frame with foam strips. I popped it up on the watercolor background and moved on to my images. The strip of coffee beans are adhered with liquid glue and the other images are popped up with foam squares.

For finishing touches I added glossy accents to the coffee beans that are popped up and to the gnome’s mug.

I think this is such a fun card and the colors I used represent the college team we root for at home so I know exactly who this card will be going to.

I appreciate you sharing your time with me. Have a fabulous day!

Miss Ink Stamps – Do You Want to Build a Snowman?

Hello everyone. Can you believe it’s November already? This wild and crazy year is flying by. Today I’ve got some snowy fun to share with you featuring a few stamp sets from Miss Ink Stamps and a fun winter embellishment from my shop called Snow Queen.

I started today’s card with the background panel. I stamped the Holiday Home image and cut out a mask for it. Then I stamped Pine Forest over the top so I had a layer of trees way back in the background. I removed my mask and colored the image with copic markers. Then I used dye inks and my Trinity Stamps blending brushes to add some color to the sky and the ground.

Then I chose the critters I wanted to use from Snow Buddies, stamped and colored them with copics too. I used my scan-n-cut to cut them out and moved on to assembling my card.

I cut a hill from some white glitter cardstock and glued it to the bottom of my scene panel and slid the whole panel into an acetate sleeve. I wrapped the sides around and used double-sided tape to adhere them down. Then I sprinkled in the Snow Queen embellishment mix and sealed the top up tight. Next, I adhered another snowy mound to the front of the acetate and adhered my critters and snow critter to the top of that. Then I glued the whole thing to a card base and it’s all finished!

This is my first infinity shaker card and it was so much fun to create! I’m definitely hooked and will have to give it another go ’round soon!

I appreciate you sharing your time with me. Have a fabulous day!

Miss Ink Stamps – Thanks for Being my Friend

Hello everyone! It’s Amanda from Twiddler’s Nook today with a different, fun technique I’d been wanting to try for a long time. I created a clear front card and decorated it with the blooms from Fall Bouquet. 

To make my card, I started by stamping and heat embossing the Fall Bouquet image 4 times on Bristol Smooth cardstock. Then I watercolored it with my Zig markers. I used my scan-n-cut to cut them all out and moved on to my card front.

For that piece, I took a transparency pocket and sprinkled gold embossing powder inside, then I ran it through my laminator to melt the powder and seal it up. Then I trimmed it down to 4.25 x 6.5 and scored it at 5.5. I glued the flap to a white panel and then glued another panel to the back of that sandwiching the clear flap between them. I laid out my images and adhered them down in place. I trimmed off the excess and used those pieces to fill in the sides so my card front was nice and full.

Using the images on the front to position my sentiment, I stamped it on the inside where it’s hidden from view. I also love how the gold embossing powder shows through on the inside and hides the adhesive holding the images in place on the front too. 

I think this would be a really fun card to give or receive and can’t wait to try the technique with other embossing powders and images in my stash!

I appreciate you sharing your time with me. Have a fabulous day!