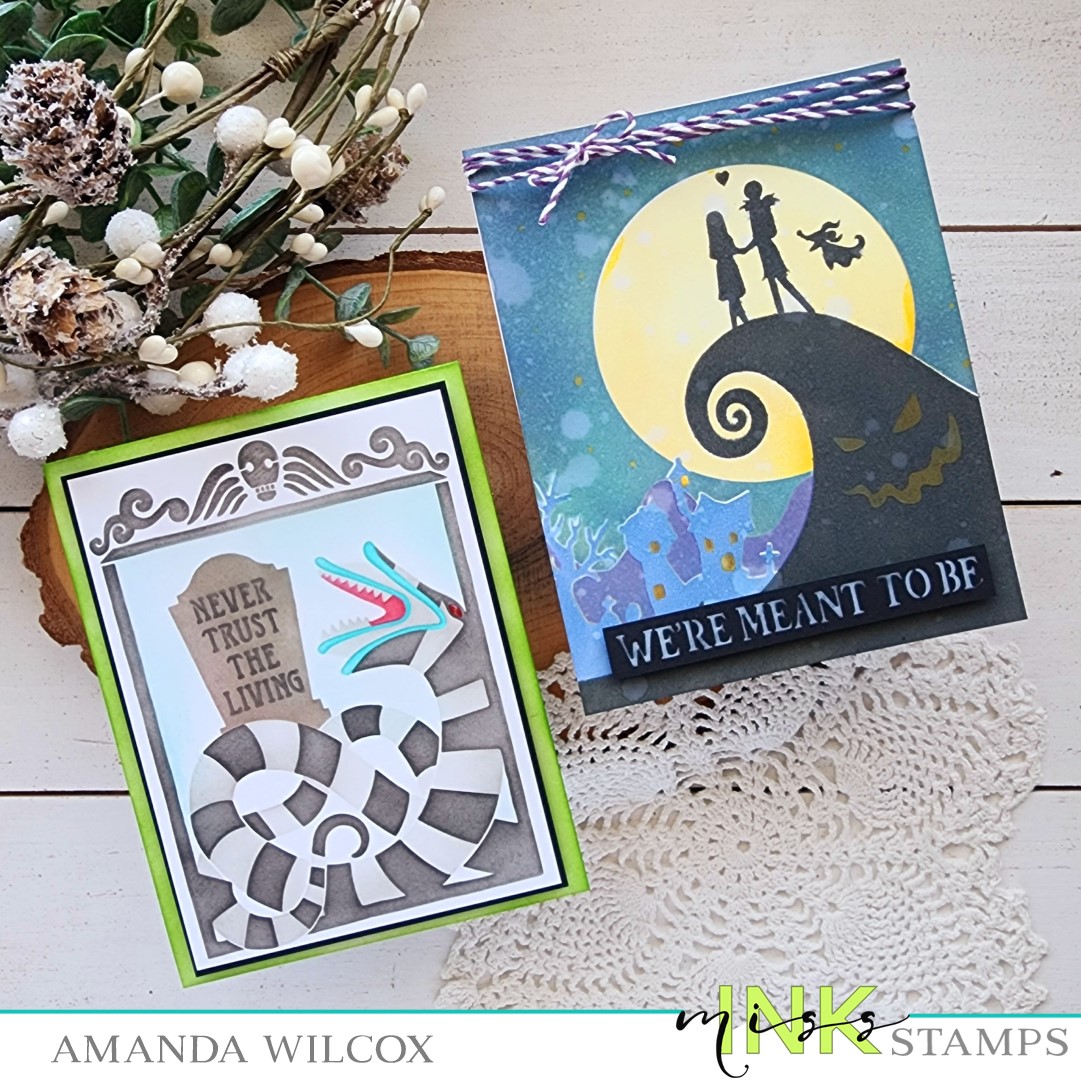
Happy Saturday everyone! I’m excited to announce that it’s release day for Miss Ink Stamps! Today I have 2 cards to share with you using new layered stencil sets! Two of my favorite fandoms all year long but especially this time of year!

These cards were really fun to whip up and have lots of variety in changing the scenes they create too! It’s so cool!

First, we’ve got the Showtime stencil set and I’ve used the awesome gravestone and sentiment add on today. But you can change that section of the images out for others included in the same stencil set!
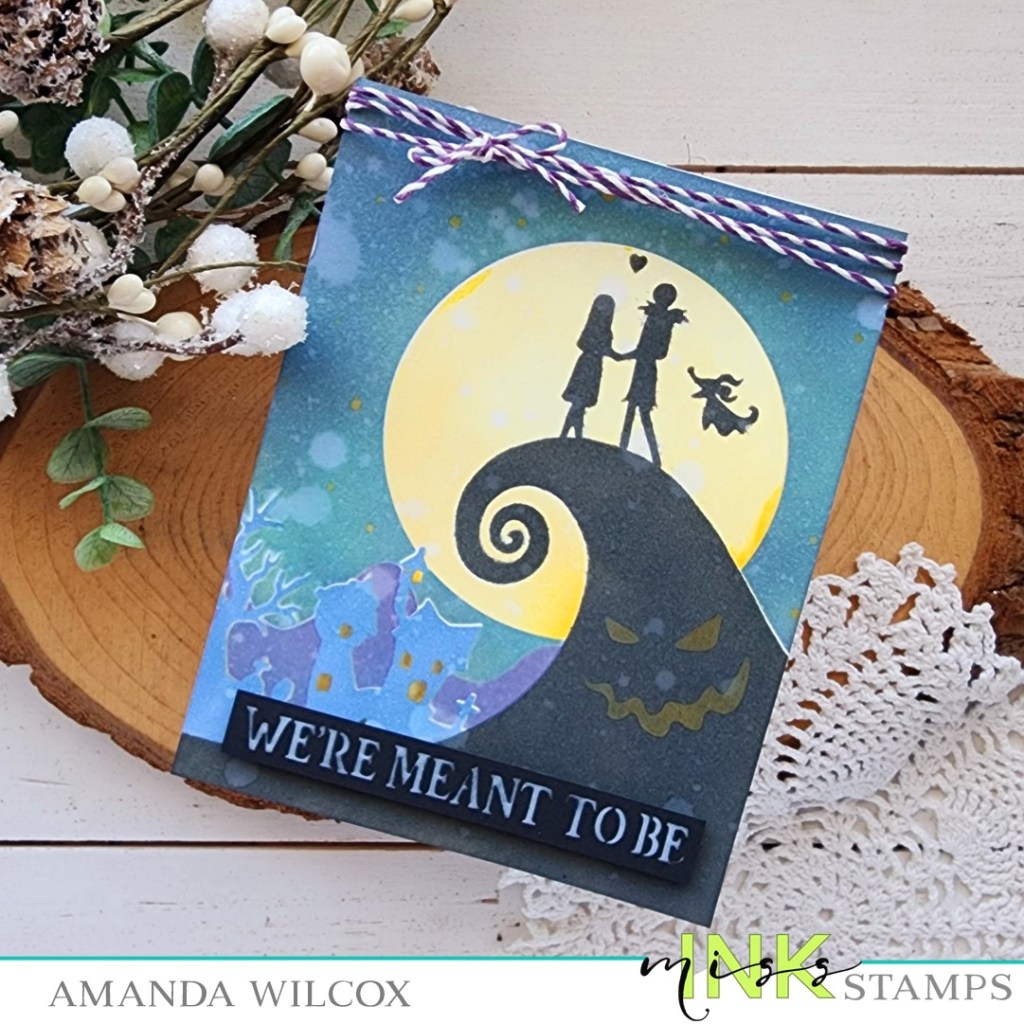
Next, we have Halloween hill and it’s amazing too! My favorite character trio are hanging out on the hill right now but this set also comes with lots of options to swap out, plus a border of jack o lantern faces and sentiments to choose from too!
Be sure to check the whole release out, as you’ve see the last few days there are lots of different themes covered this time and it’s all really fun!
Products used:
Showtime stencils
Halloween Hill stencils
Blending brushes
Distress Oxide Inks
Lawn Fawn Inks
Foam tape
Liquid glue
Glossy accents
I appreciate you sharing your time with me. Have a fabulous day!