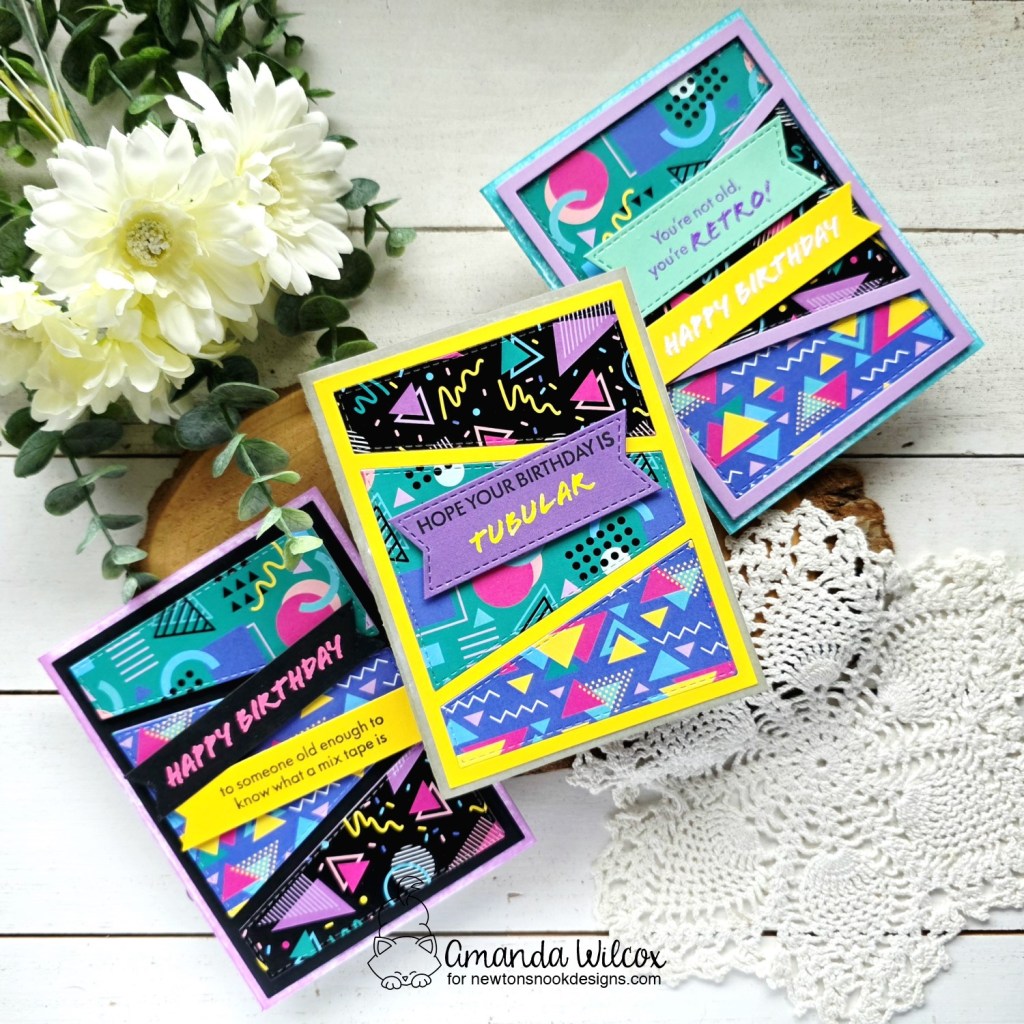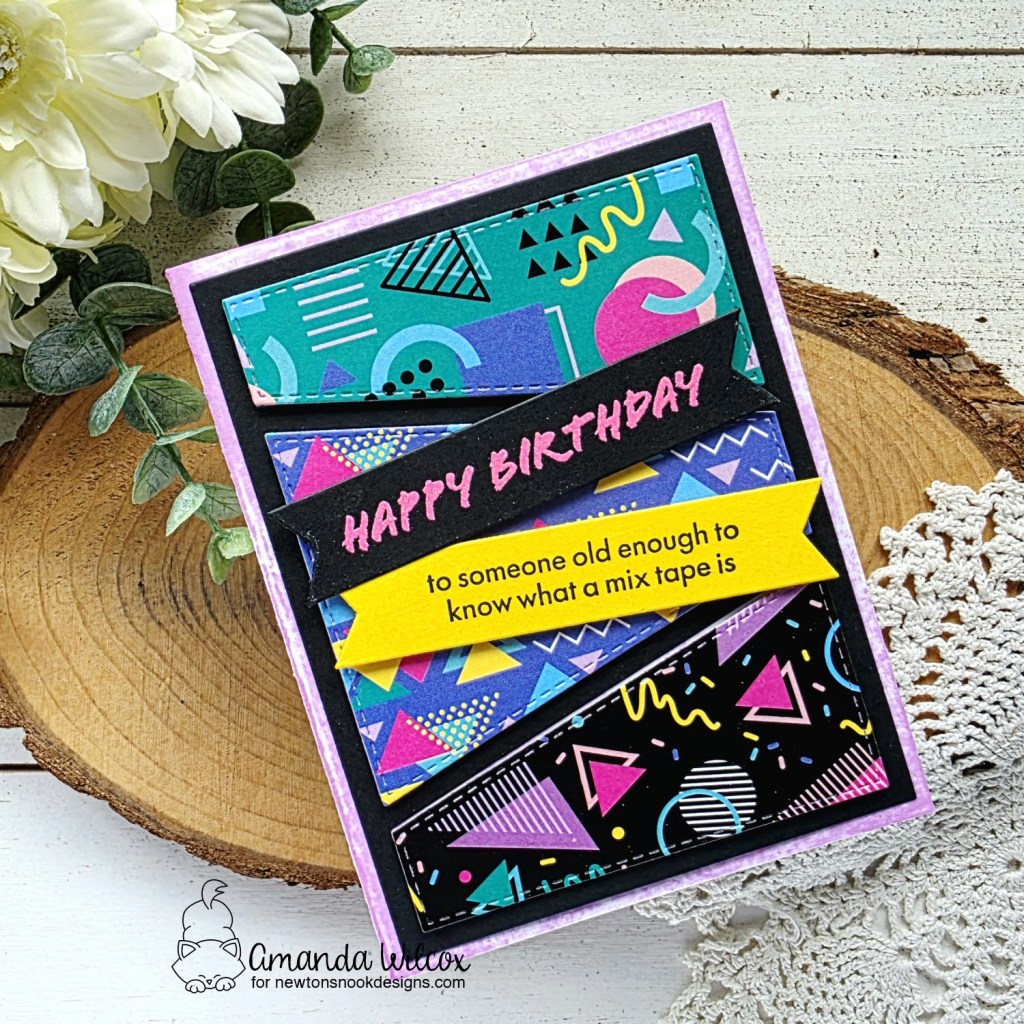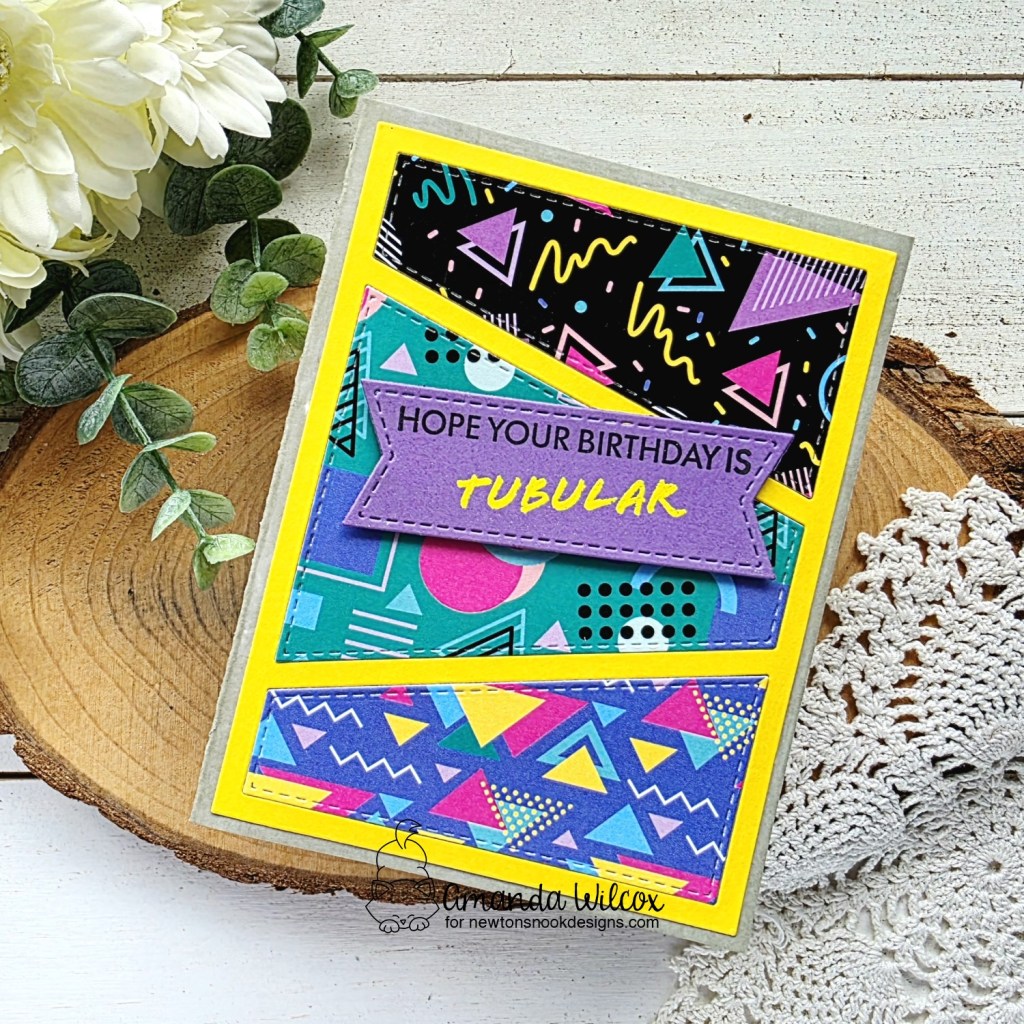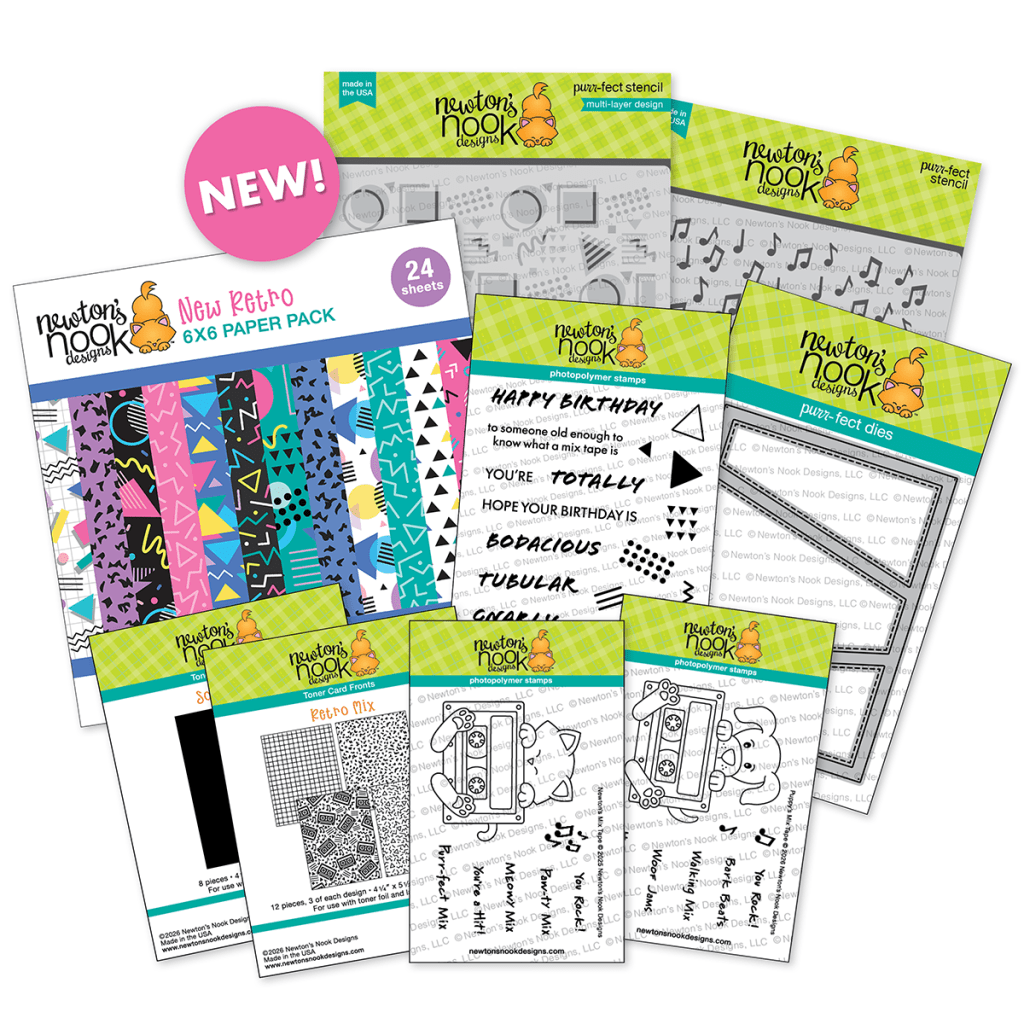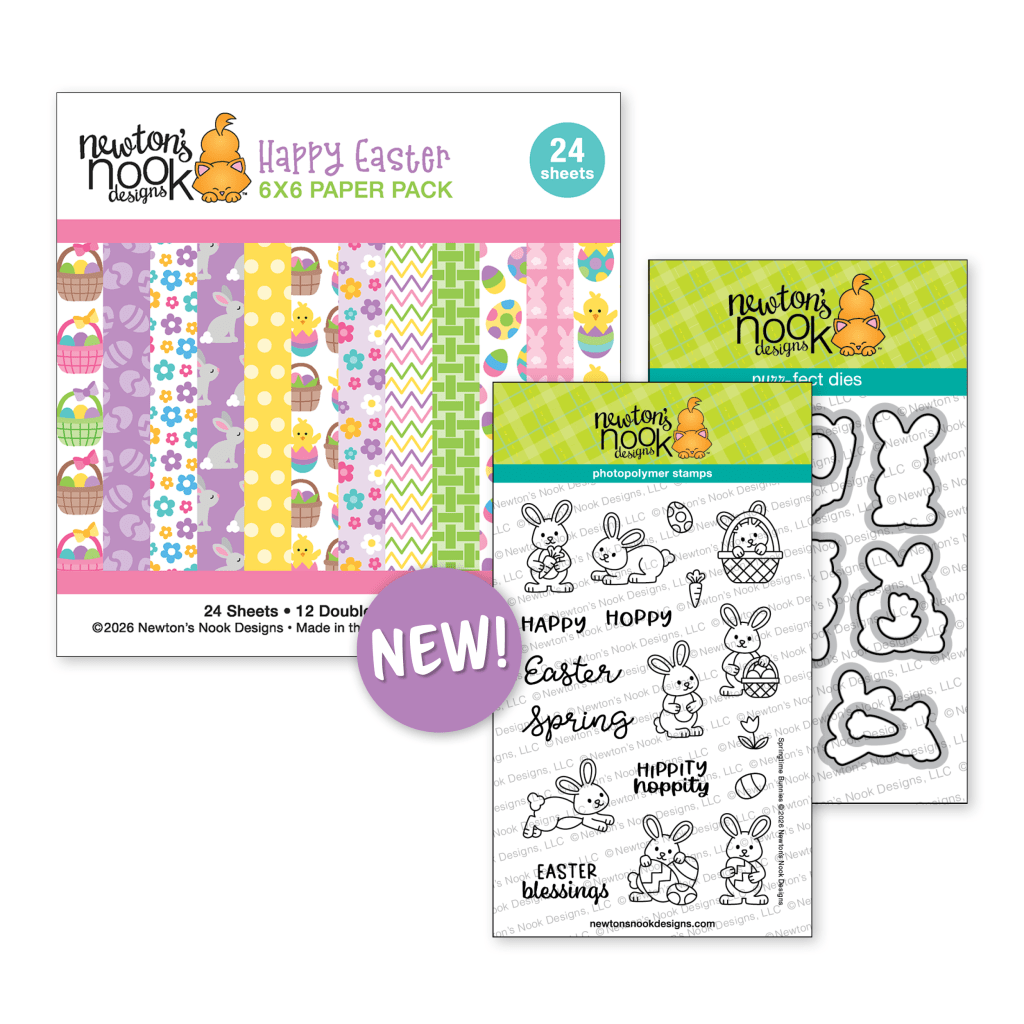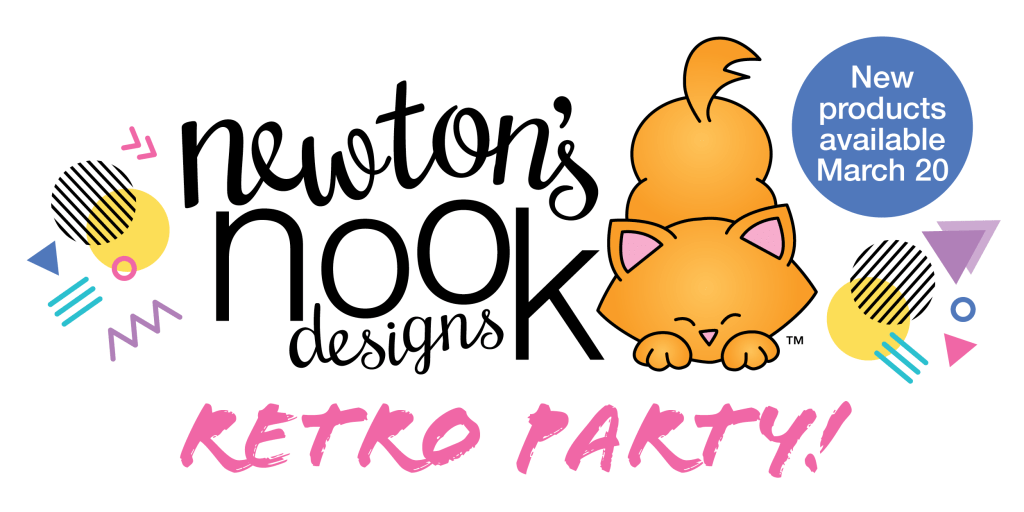
Happy Release Day everyone!!! I’m so excited to share that the Newton’s Nook Retro Party release is available in the shop! Head over and snag your favorites now but make sure you join us on Instagram for a hop with prizes up for grabs too!
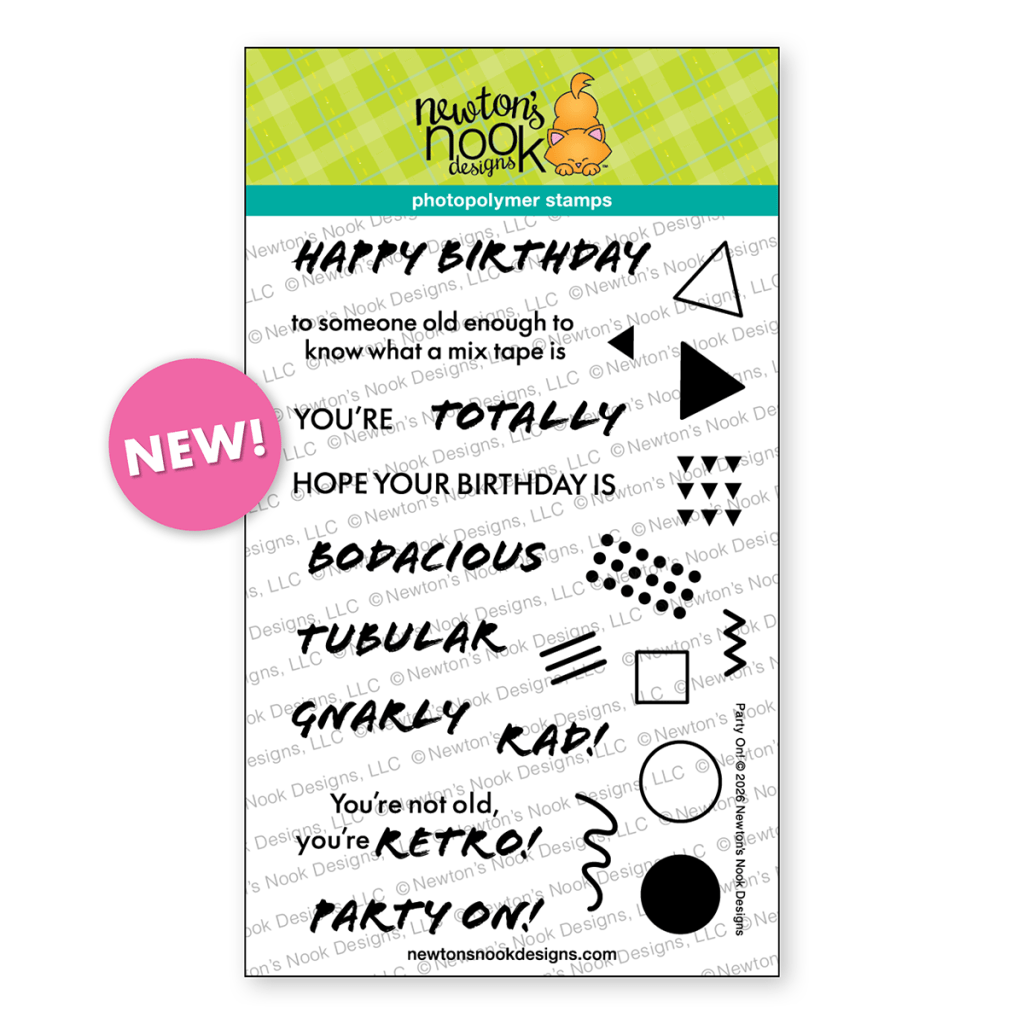
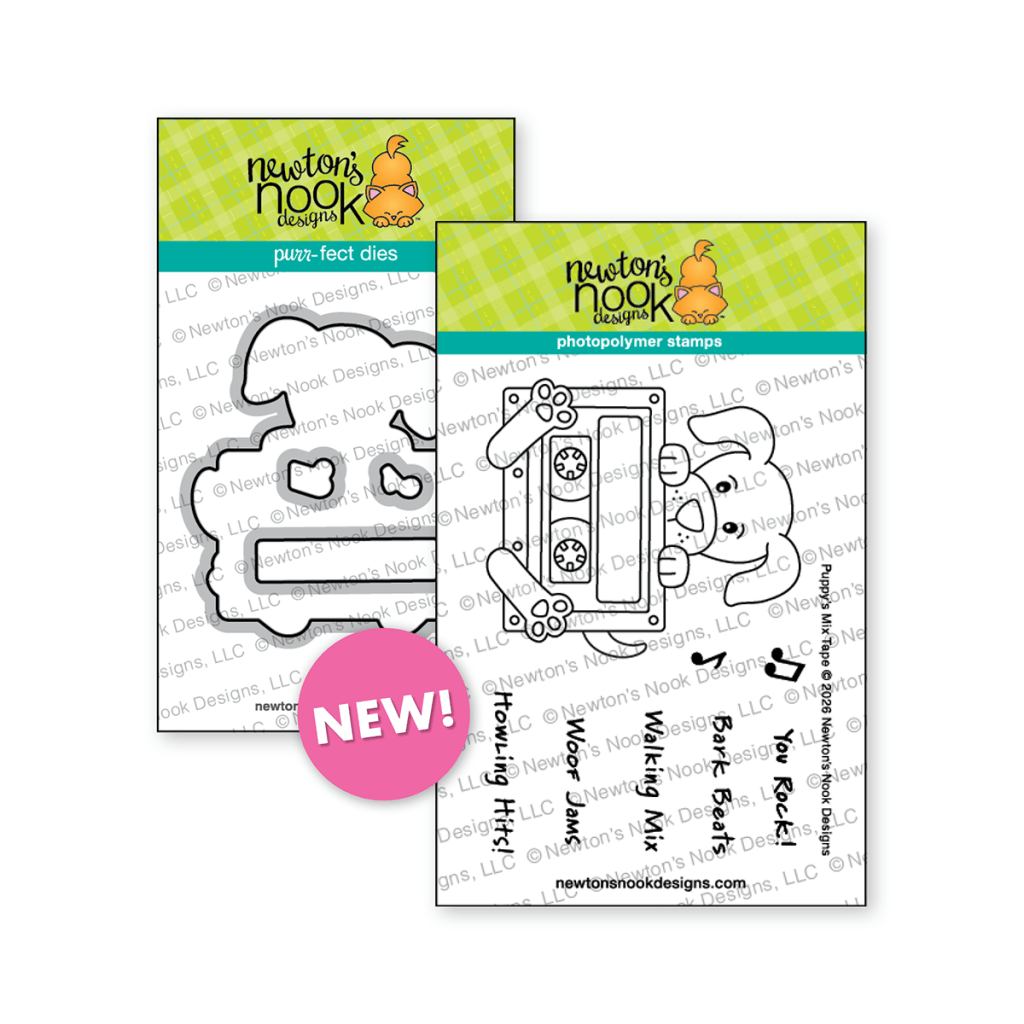
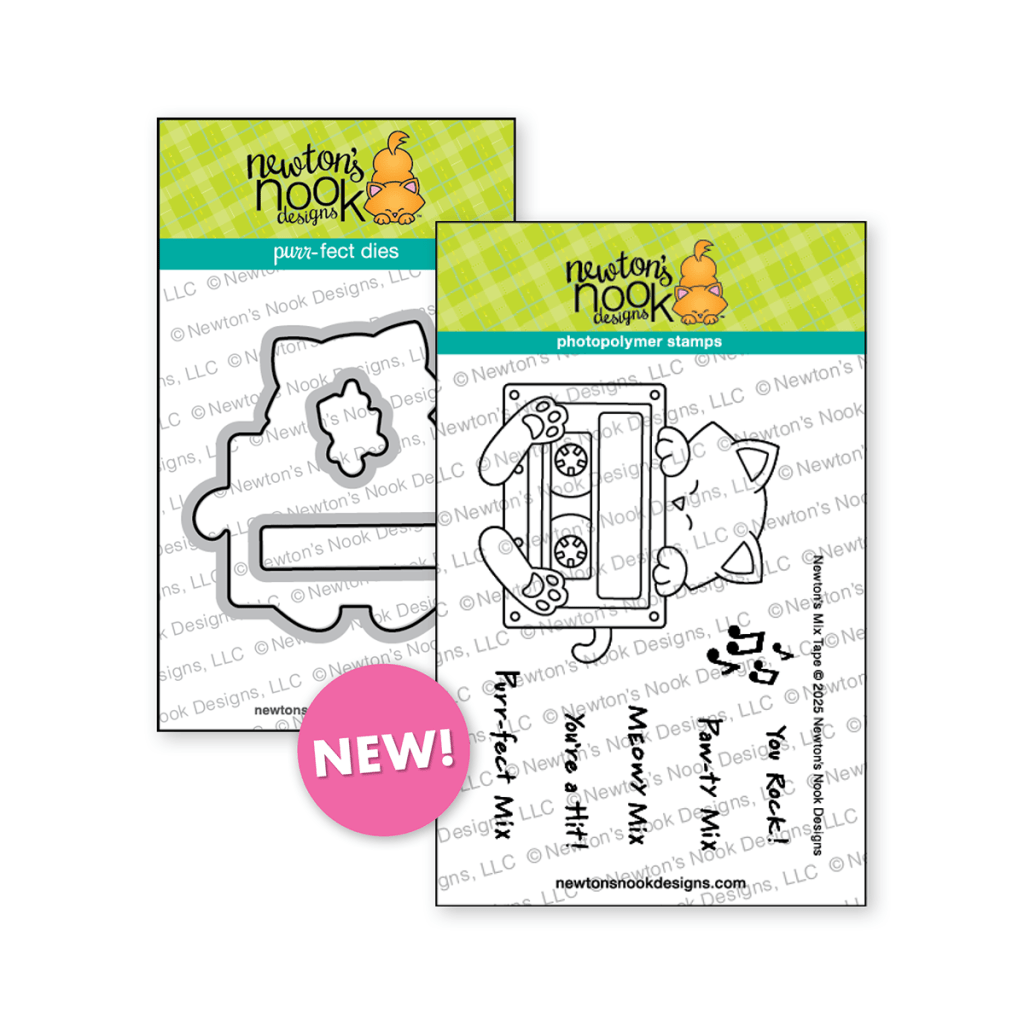
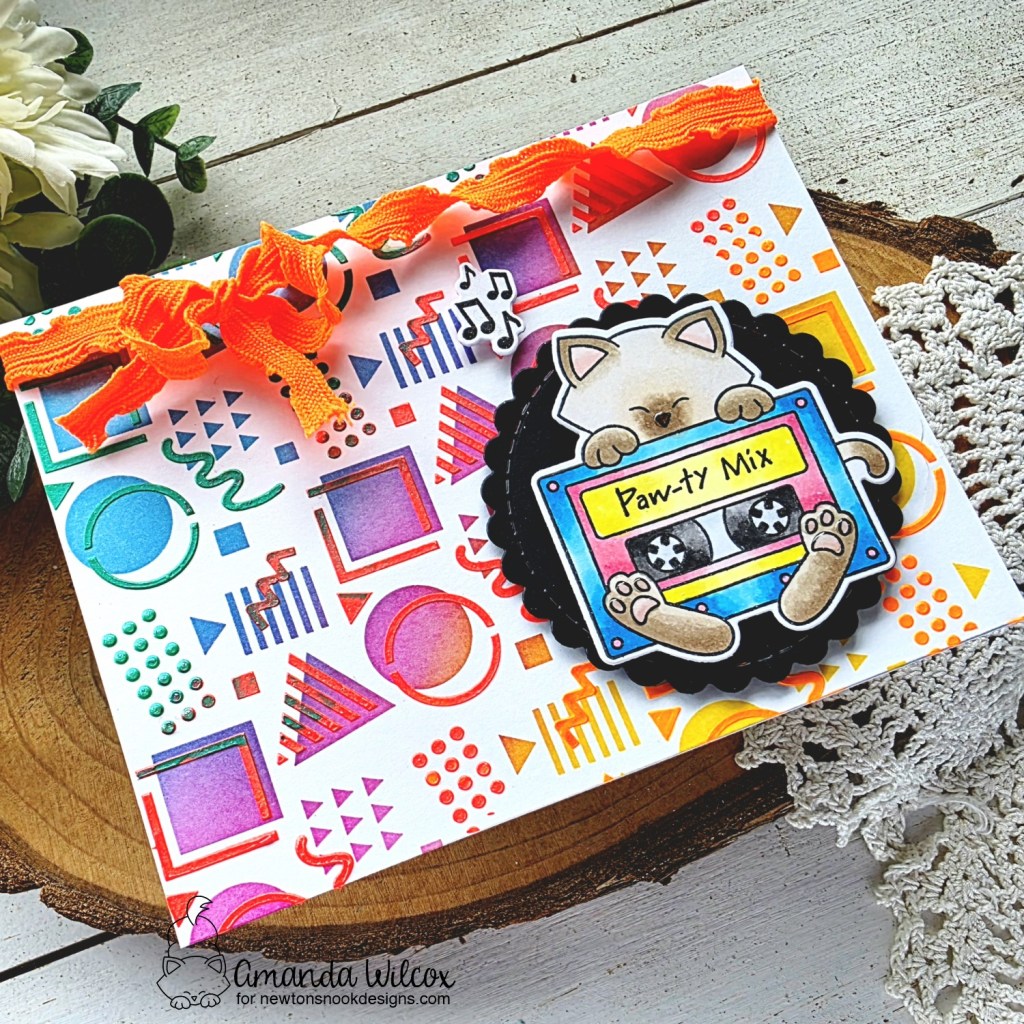
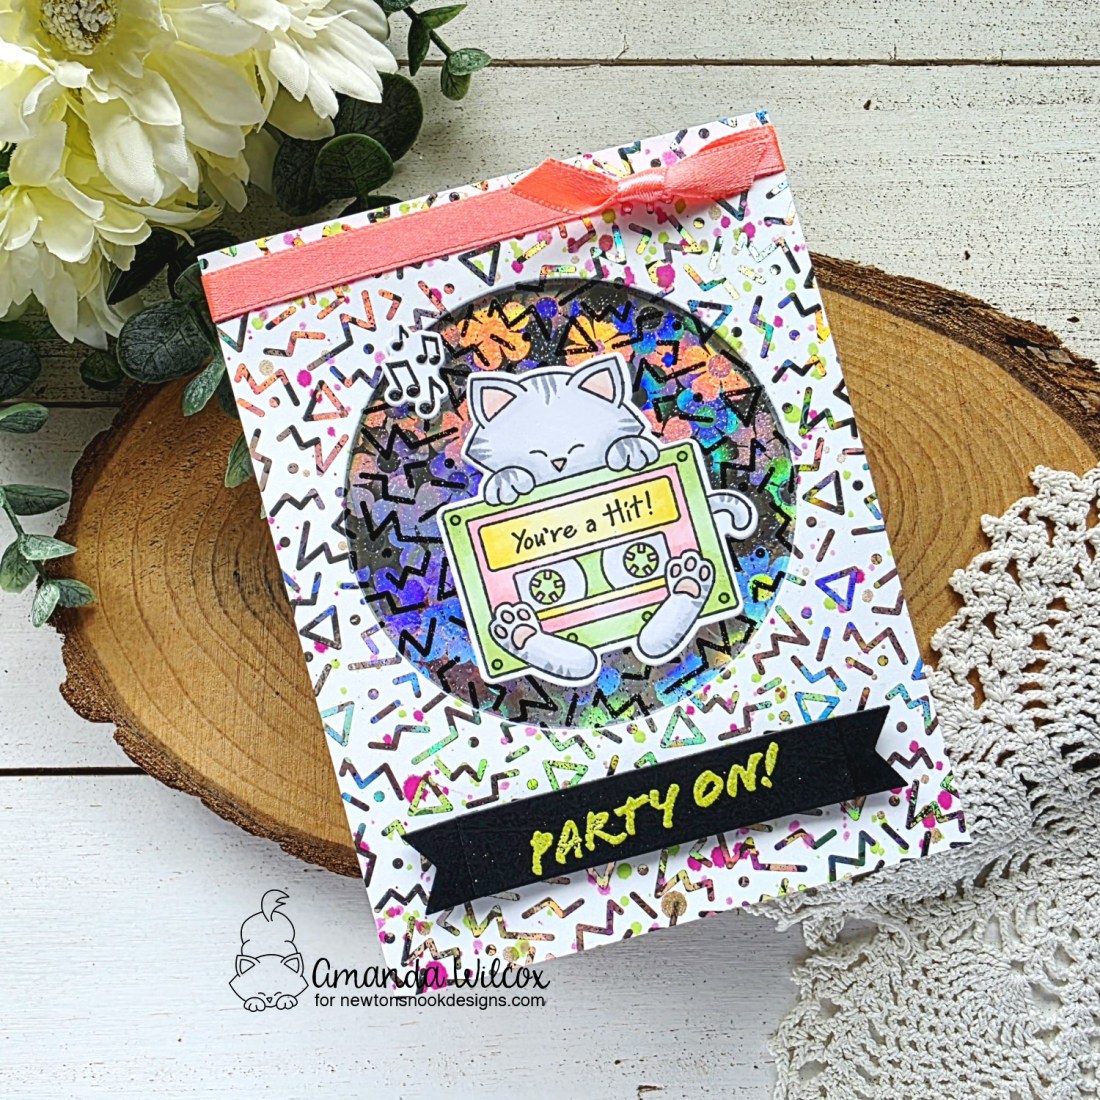
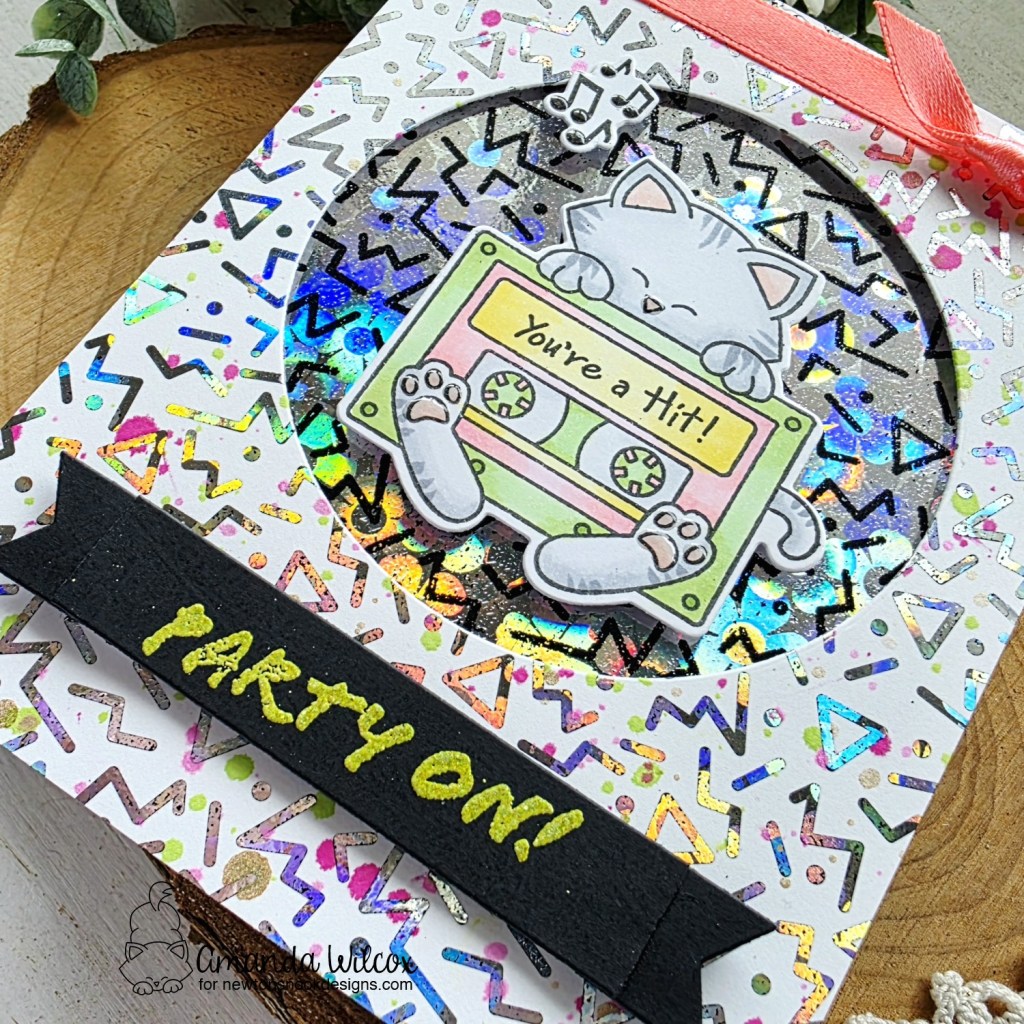
For the Instagram hop today, I’m sharing another card featuring Puppy’s Mix Tape and a different pattern from the Retro Mix toner card front pack too.
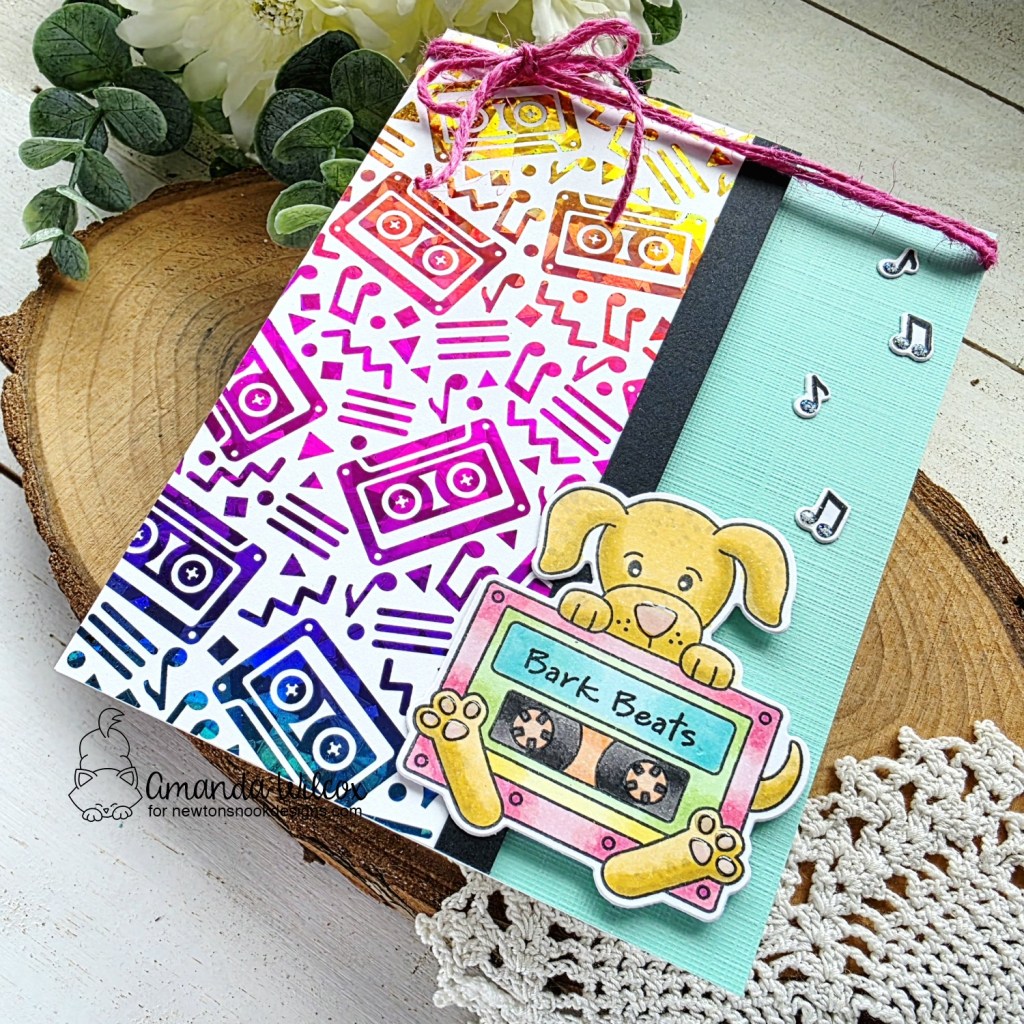
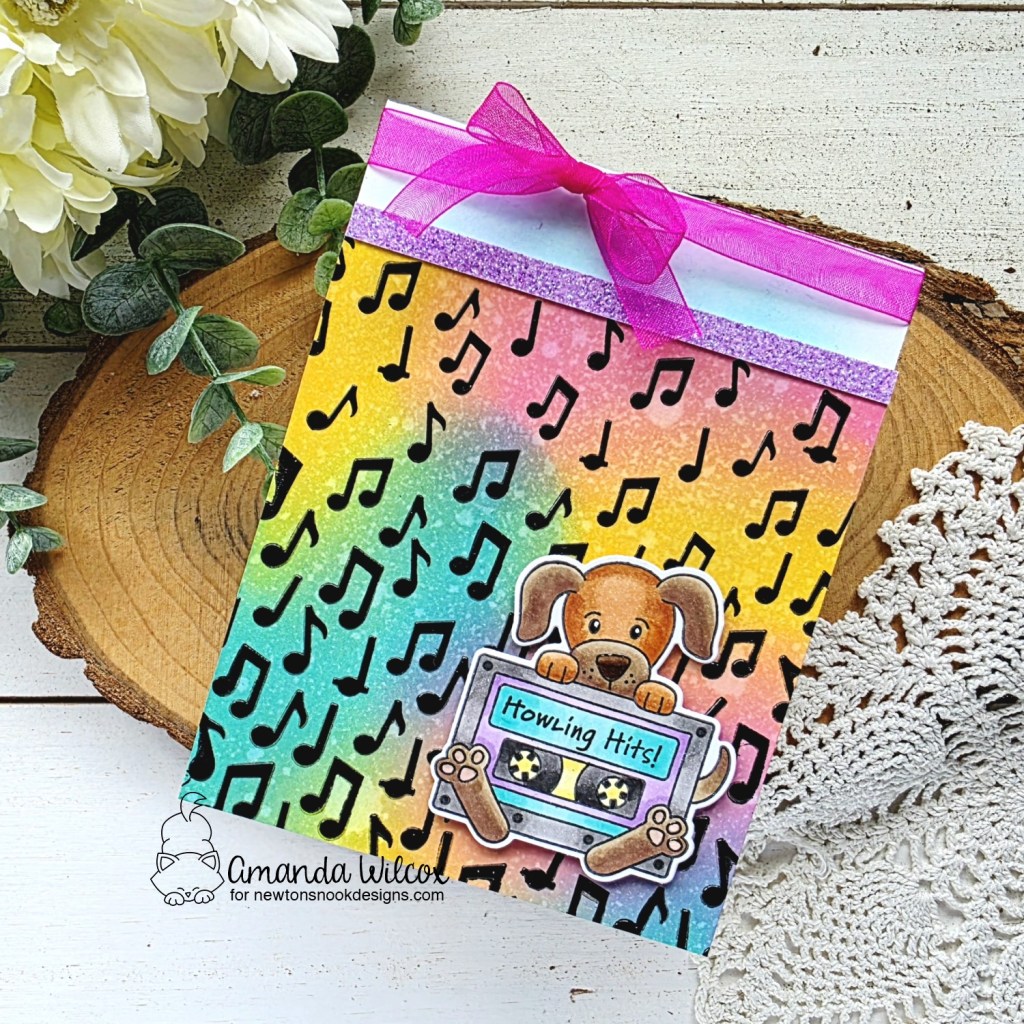
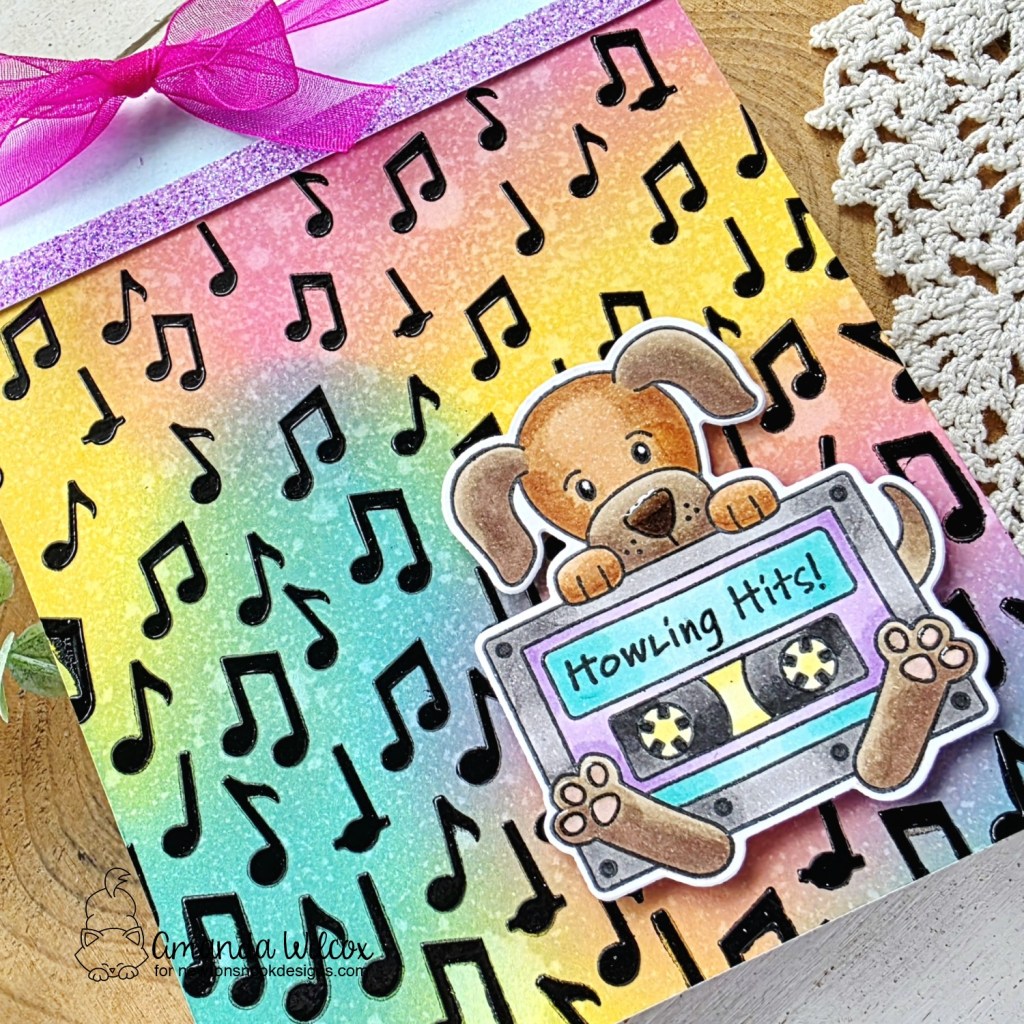
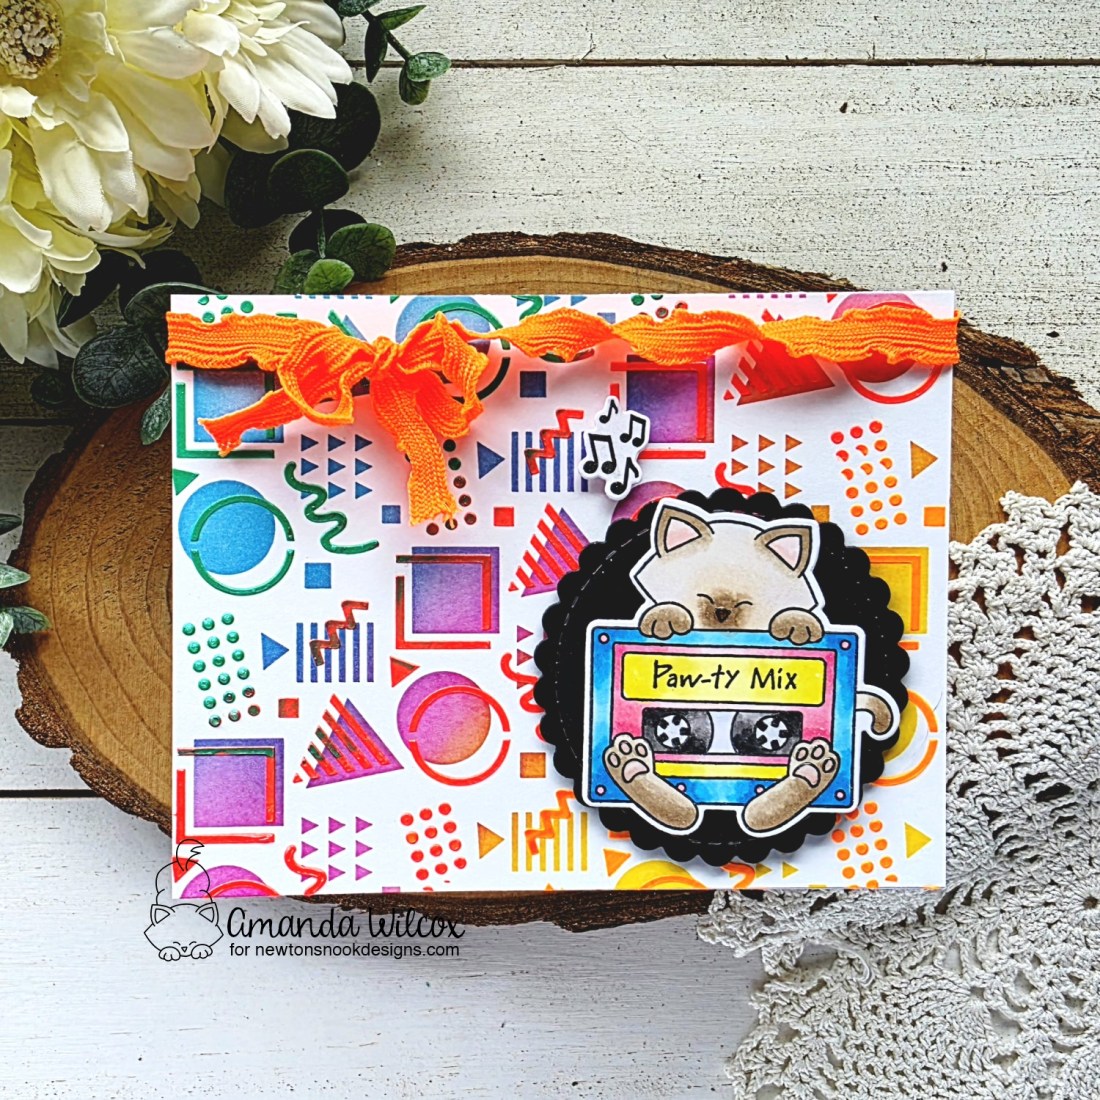
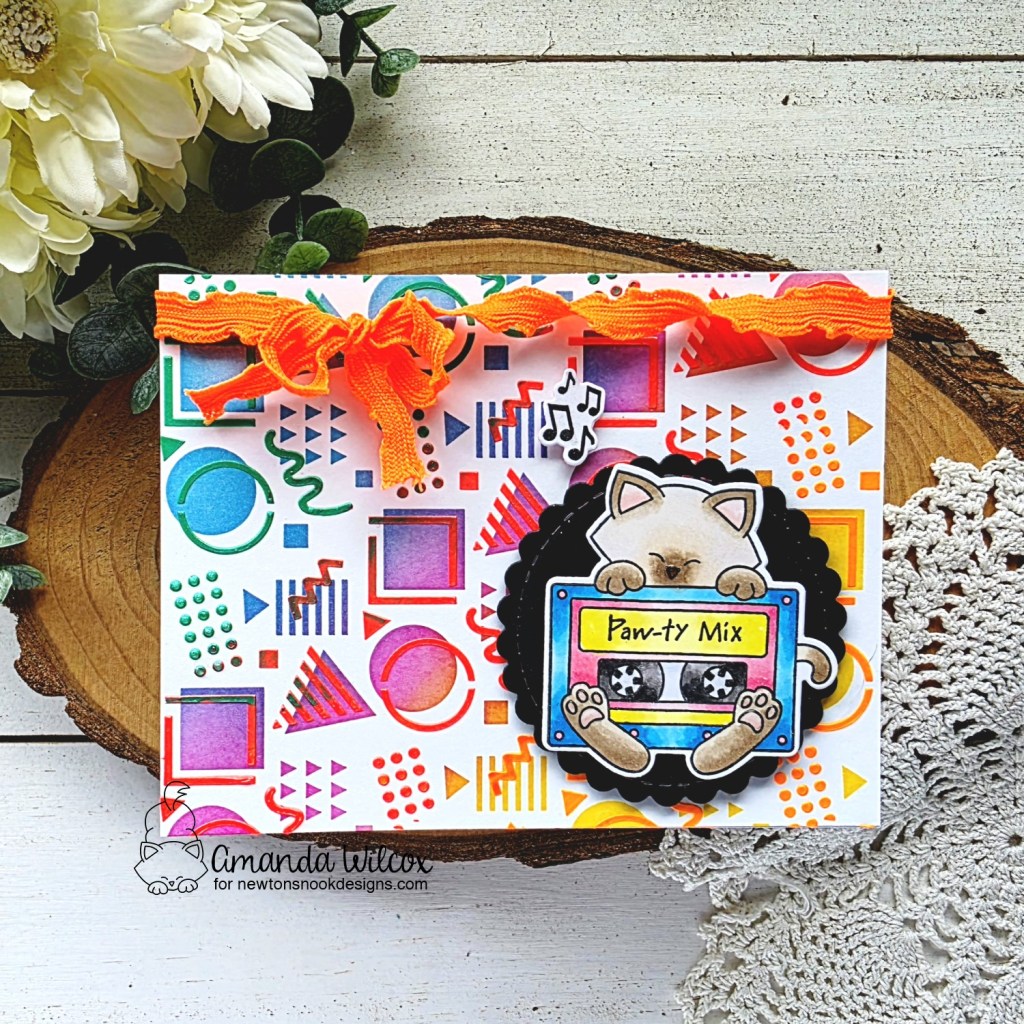
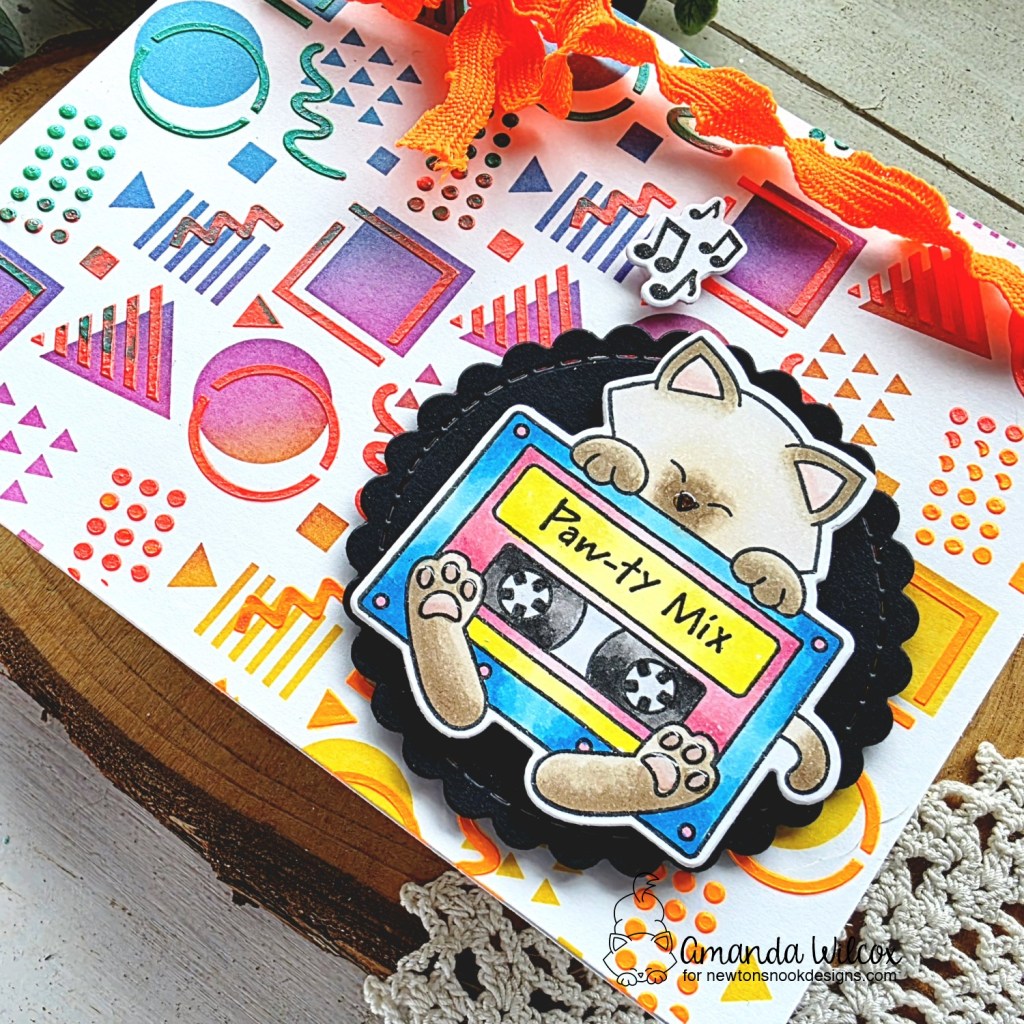
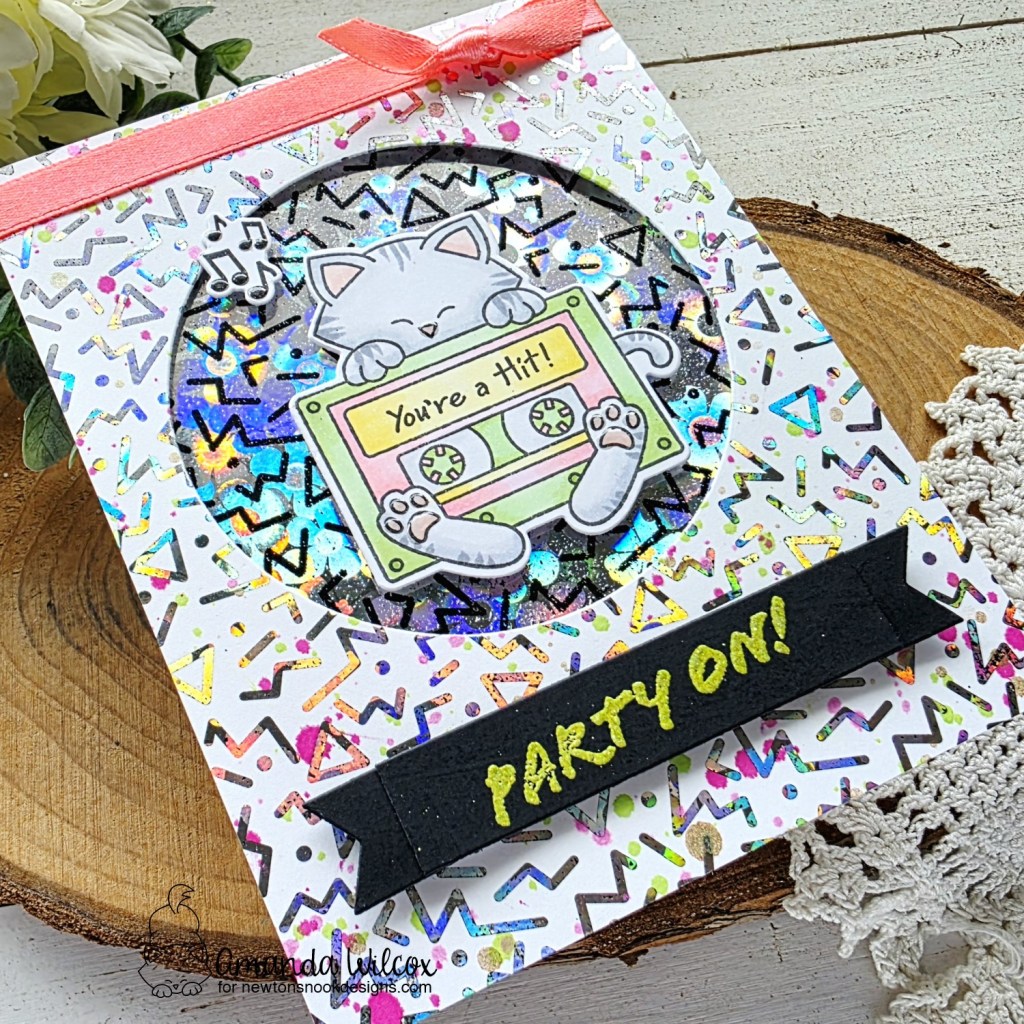
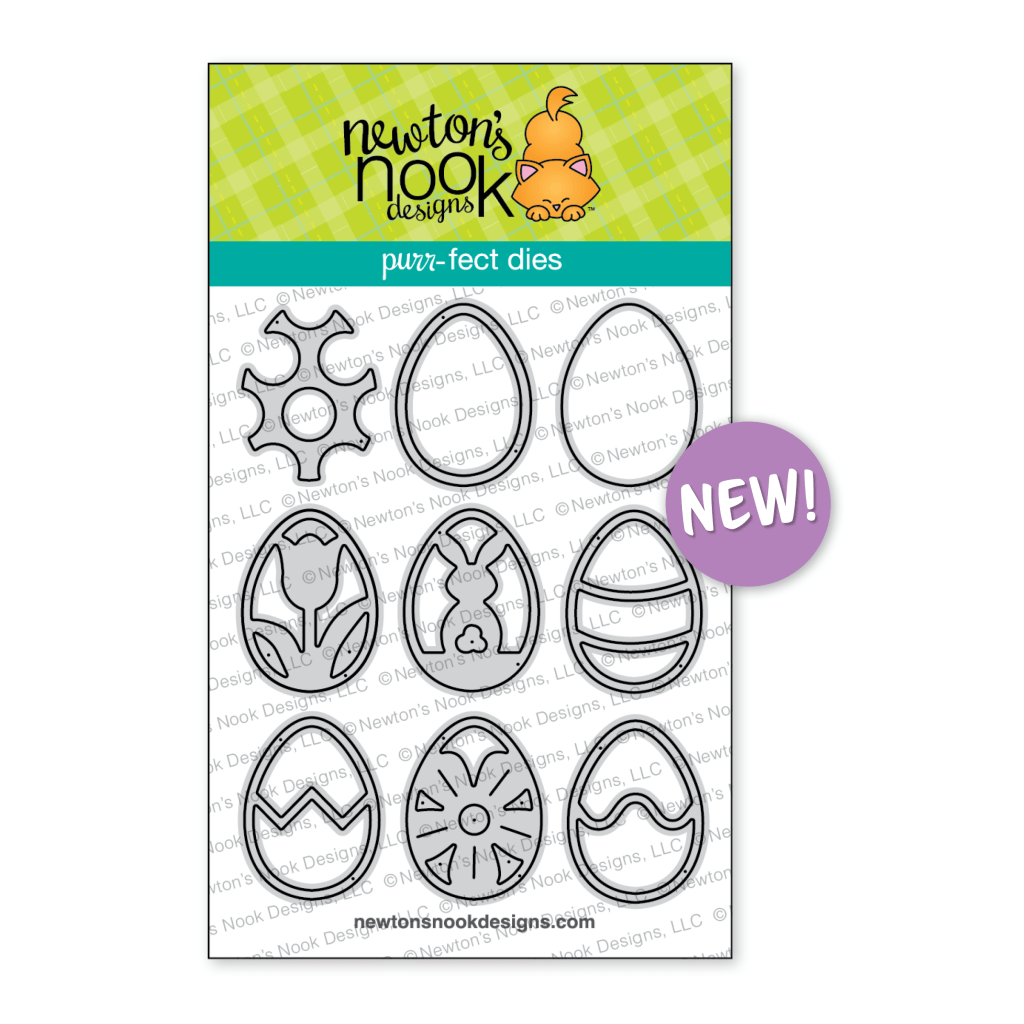
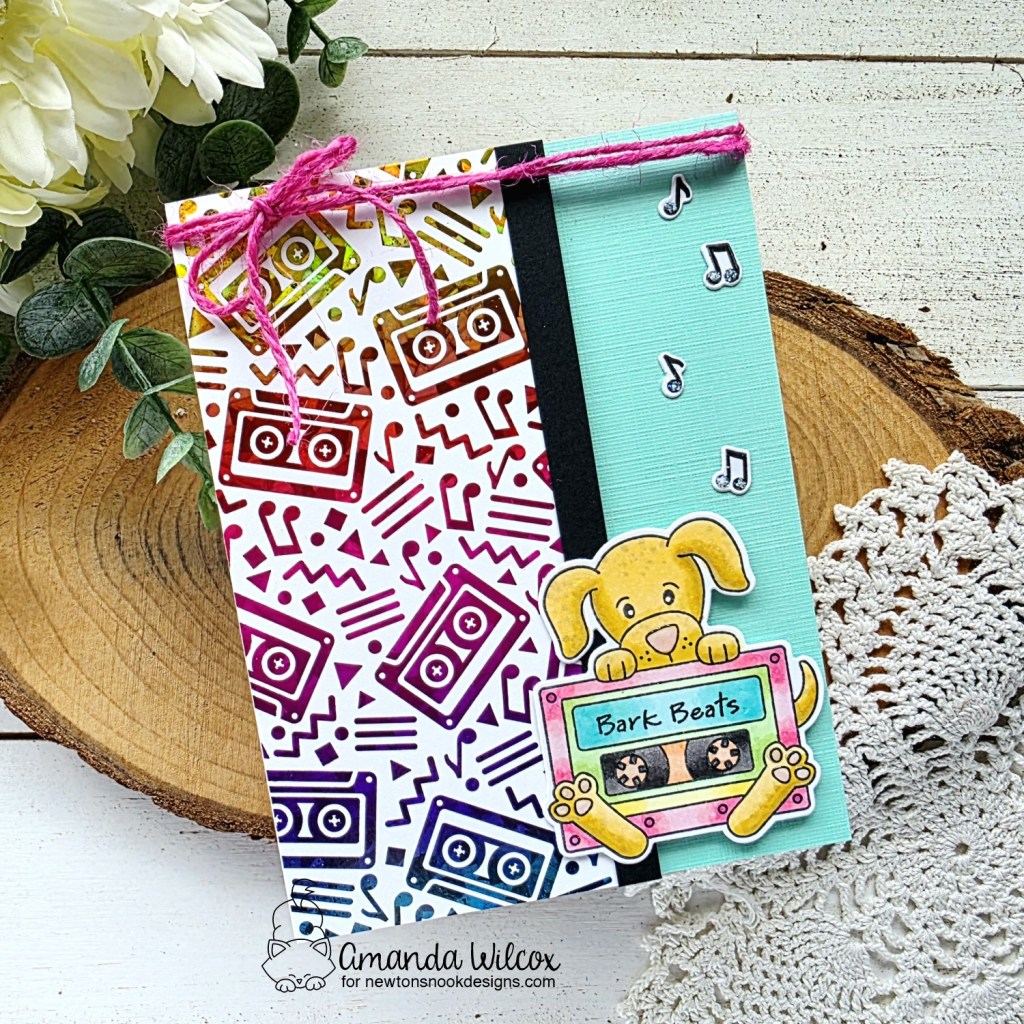
After foiling my card front, I decided to color my image in a bright rainbow of colors too! I used the coordinating die to cut him out along with a few of the music notes included in the Puppy’s Mix Tape stamp set.
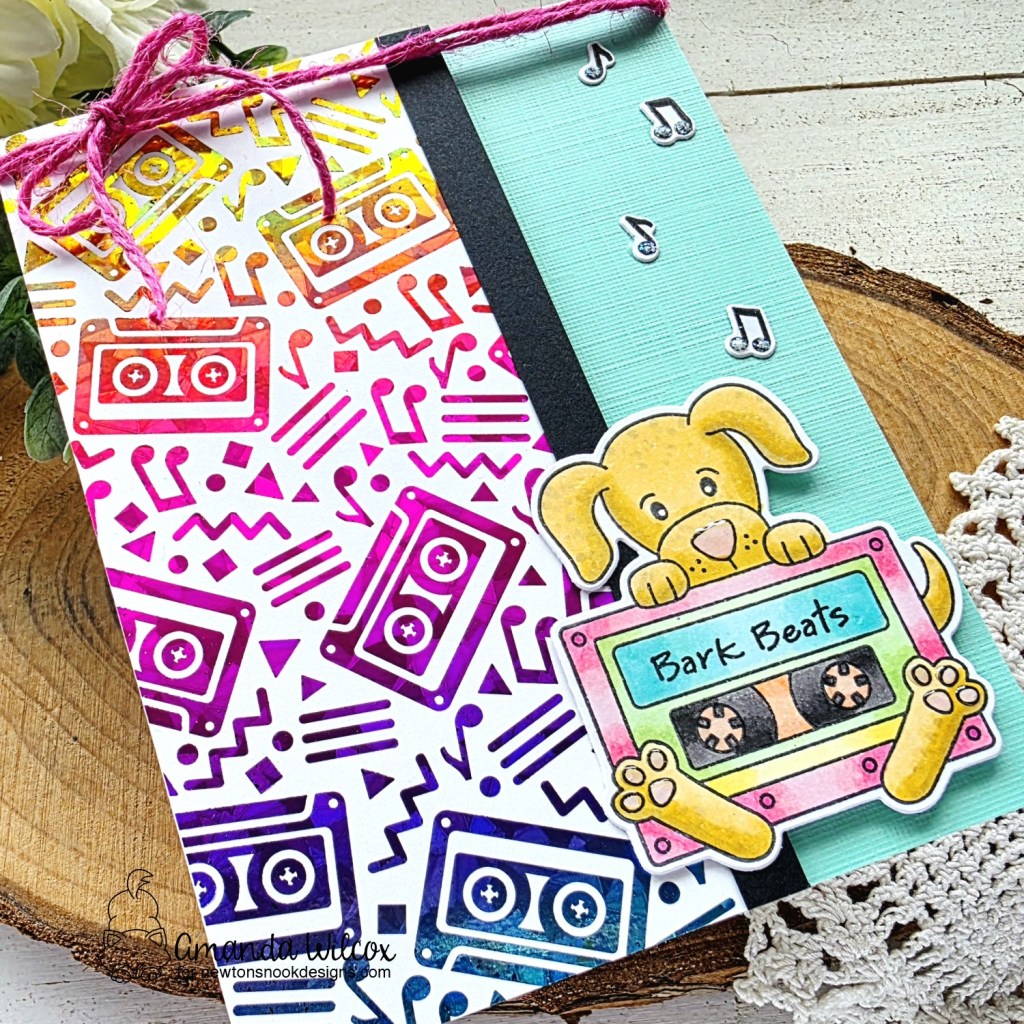
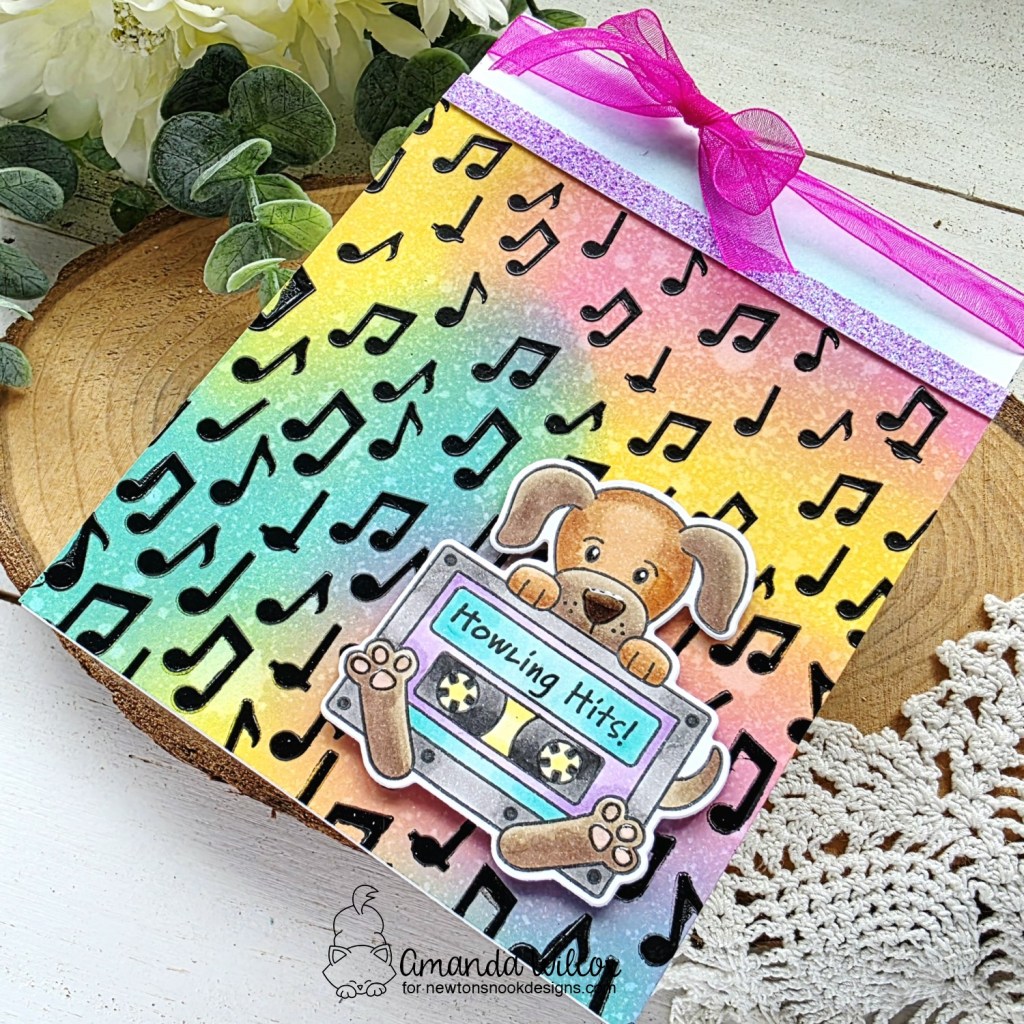
I trimmed the foiled panel down and popped it up on a teal panel, then added a black border between the two. I added Puppy with a combo of foam squares and liquid glue to he lays flat against the raised panel. I added the music notes with liquid glue floating up from him as well.
I finished the design off with glossy accents on Puppy’s nose and toe beans, with stardust Stickles on the music notes and wrapped twine around the top of the card design.
Remember – head to Instagram and hop with us for a chance to win, then head to Newton’s Nook to order your favorites and party with us!
I appreciate you sharing your time with me. Have a fabulous day!