
It’s already day 3 of release reveals and this time, it’s our final day! Be sure to comment on the hop each day for chances to win something revealed that day! But let’s not linger…get on with the HOT show! Hot foil that is!!!
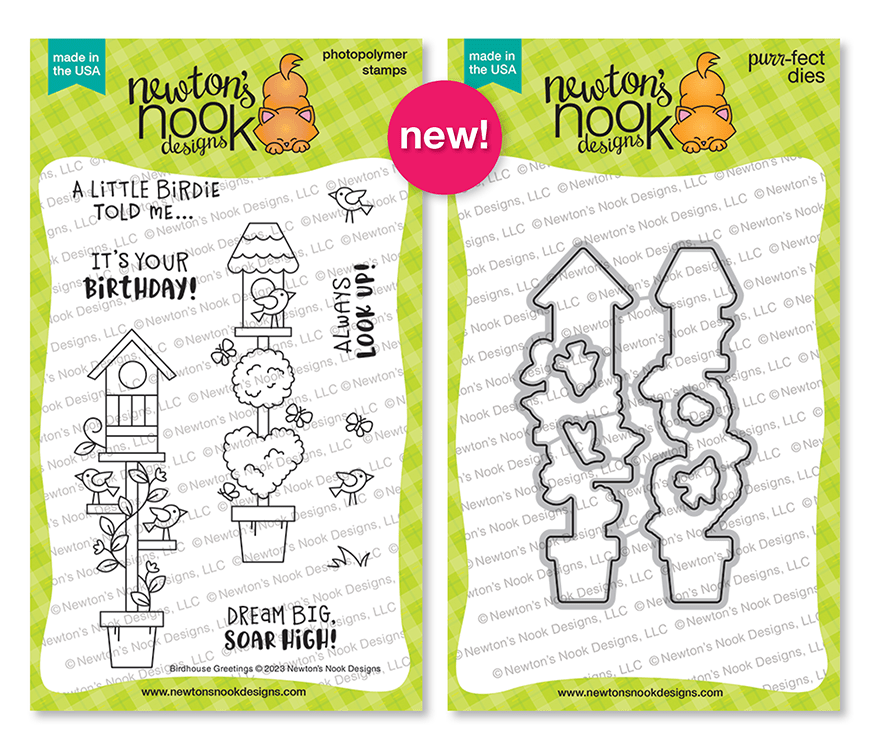
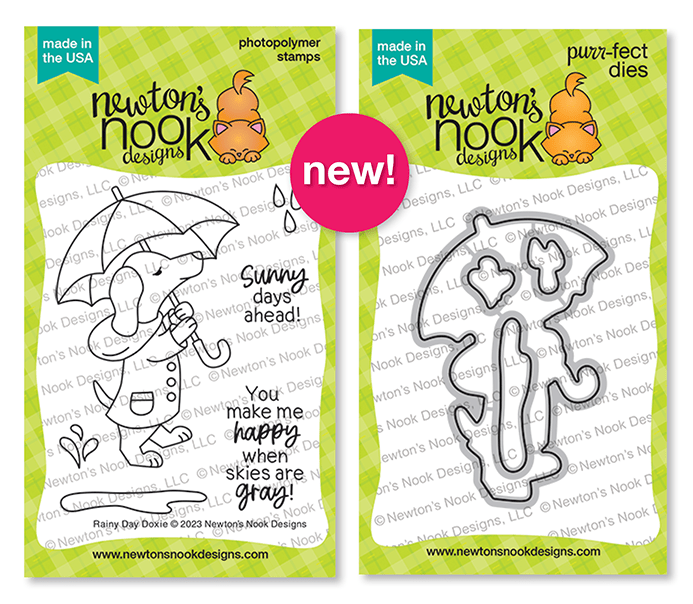
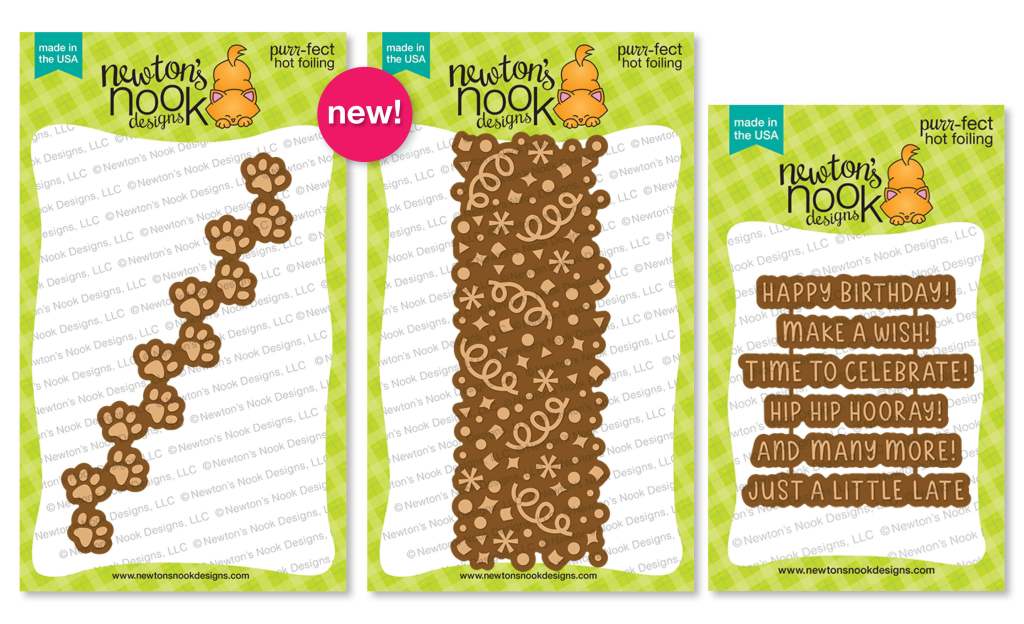
Paw Prints, Confetti and Birthday Sentiments Hot Foil Plates
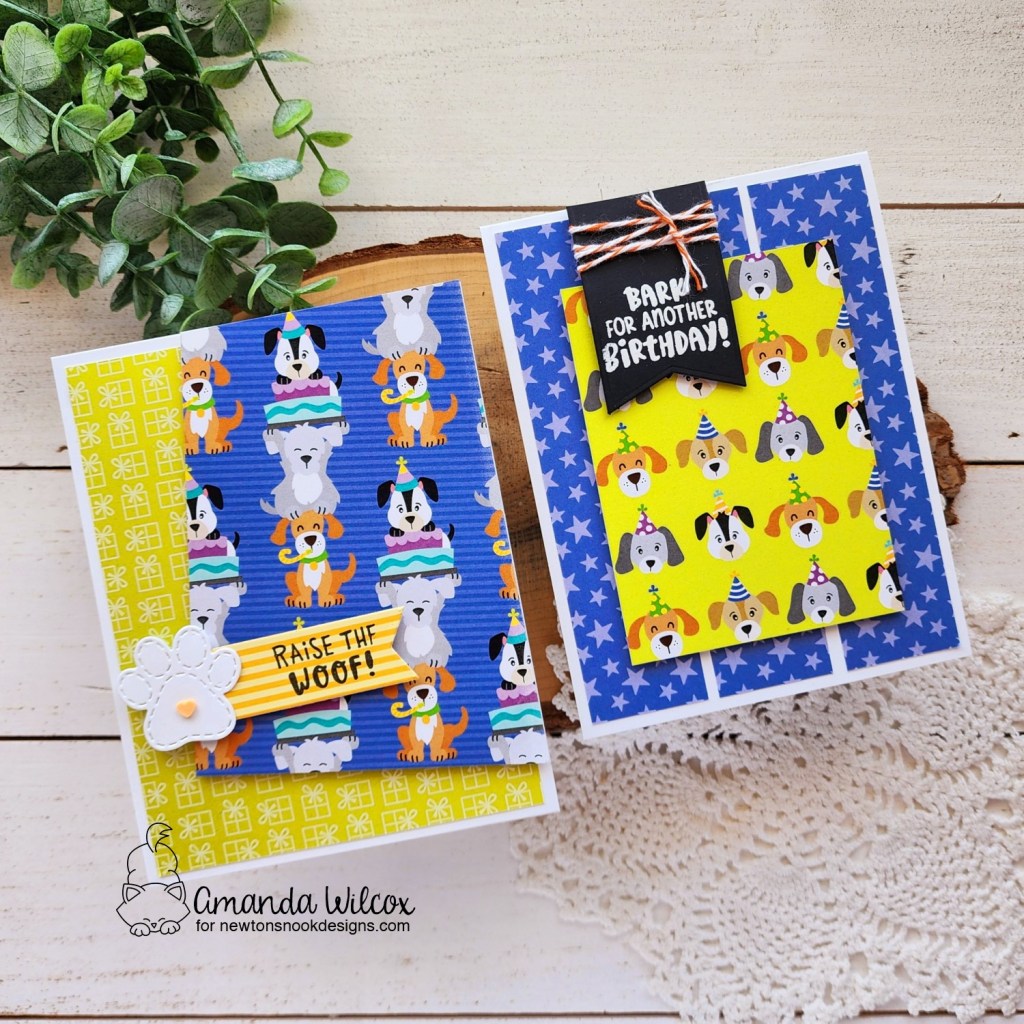
I have a couple of cards to share with you featuring some of these goodies today! They are all so fun and the options are endless to mix and match them! It’s so great.
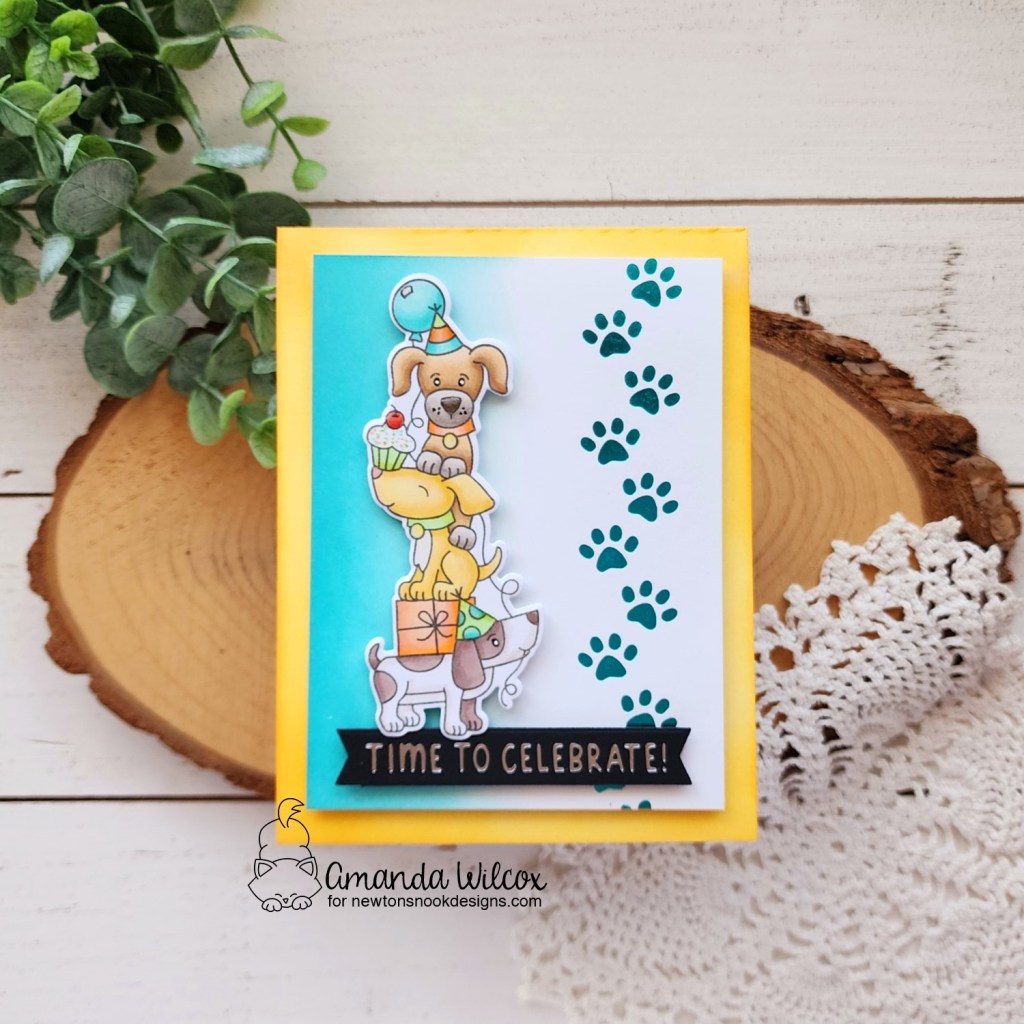
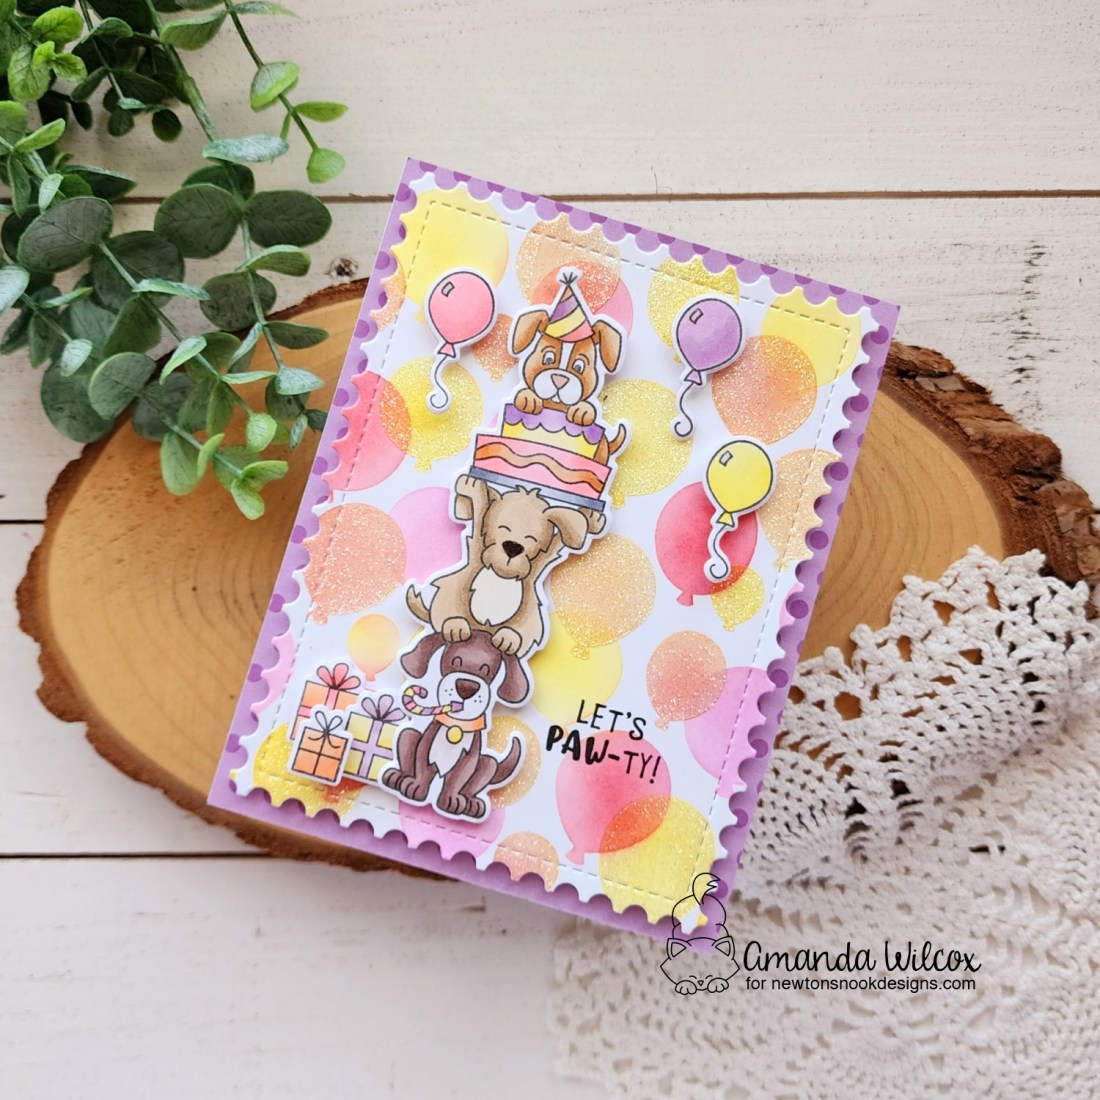
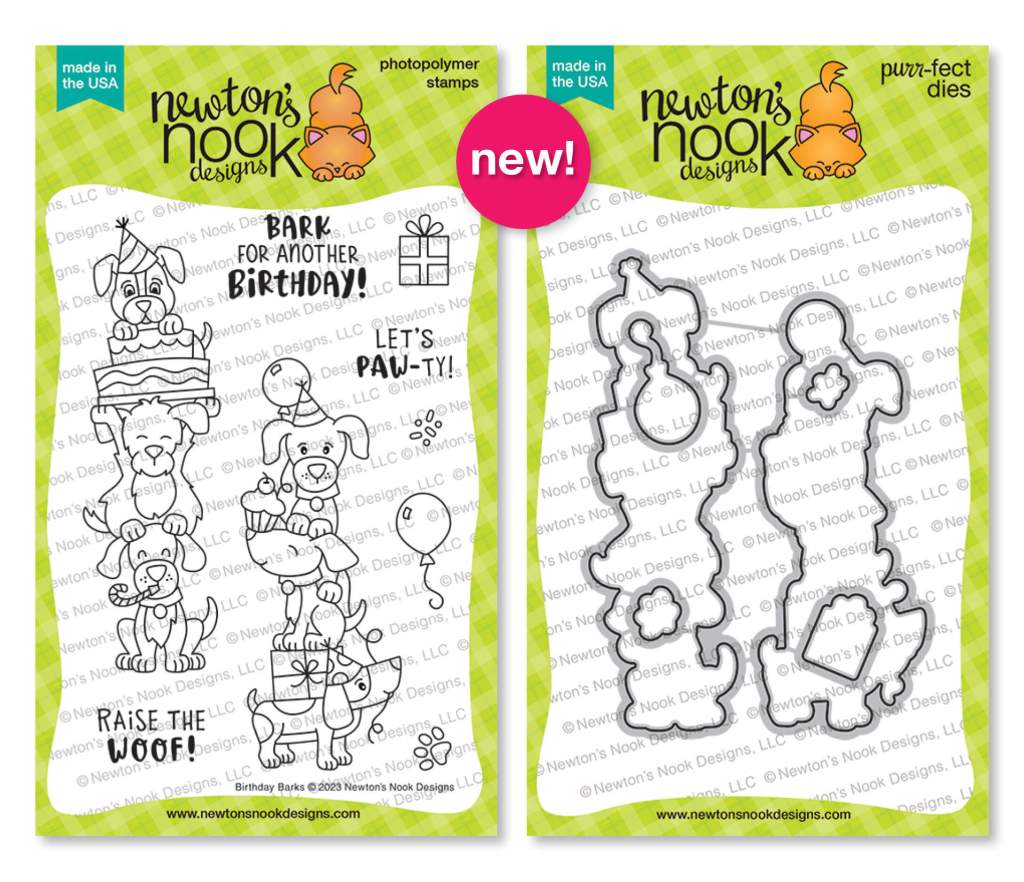
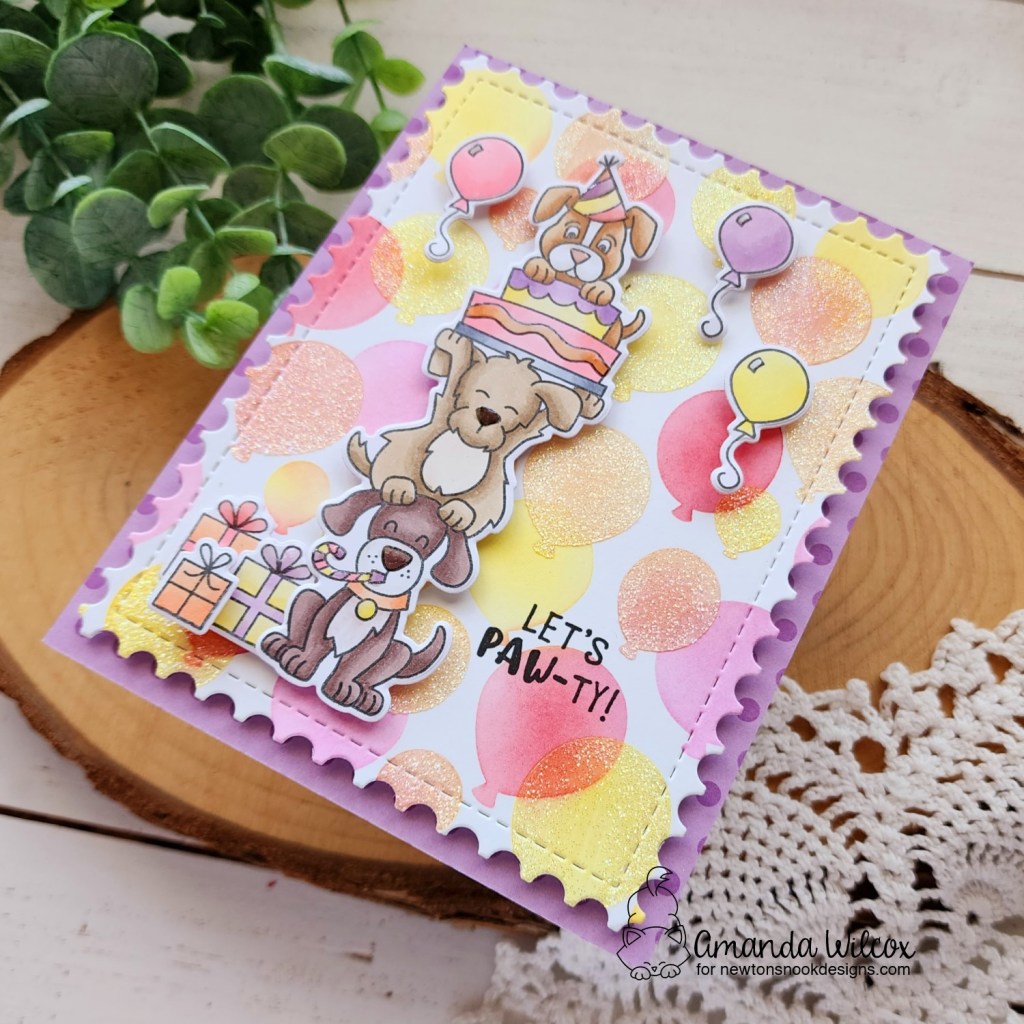
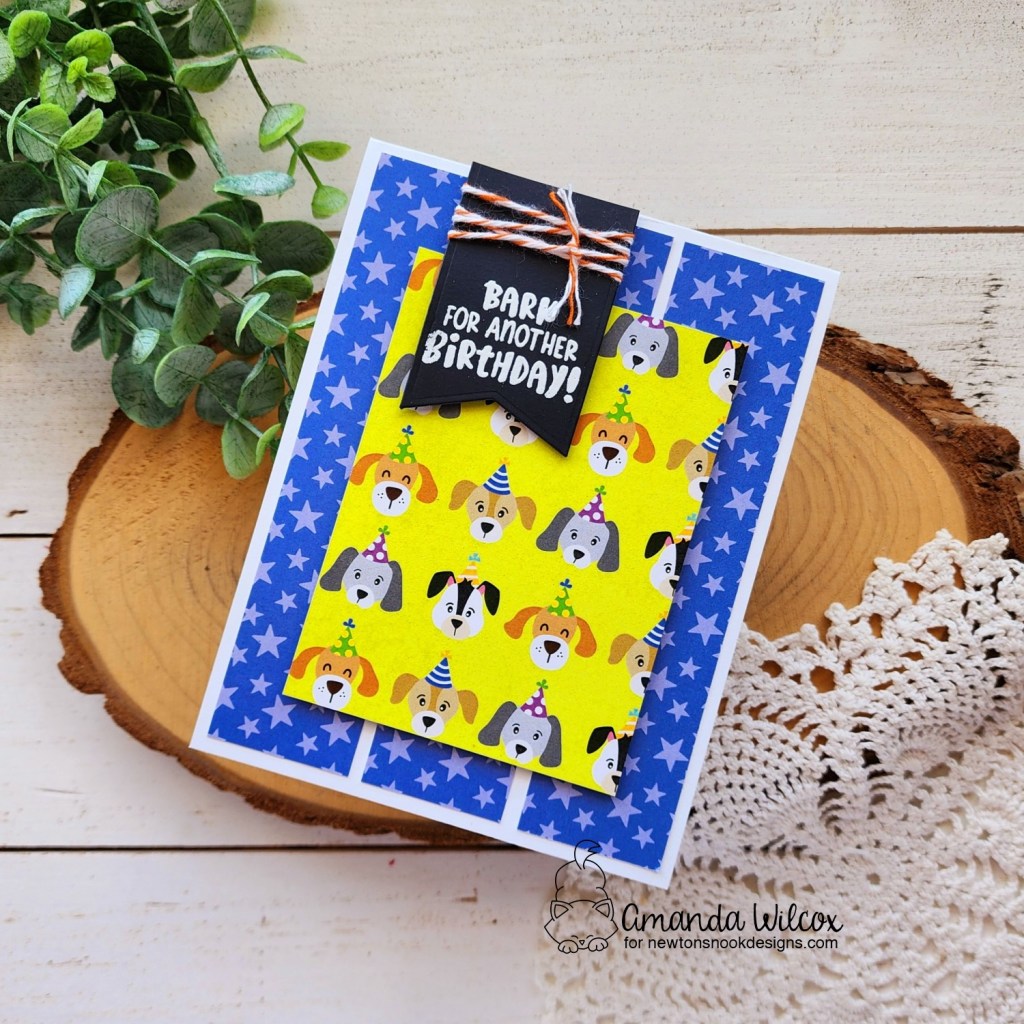
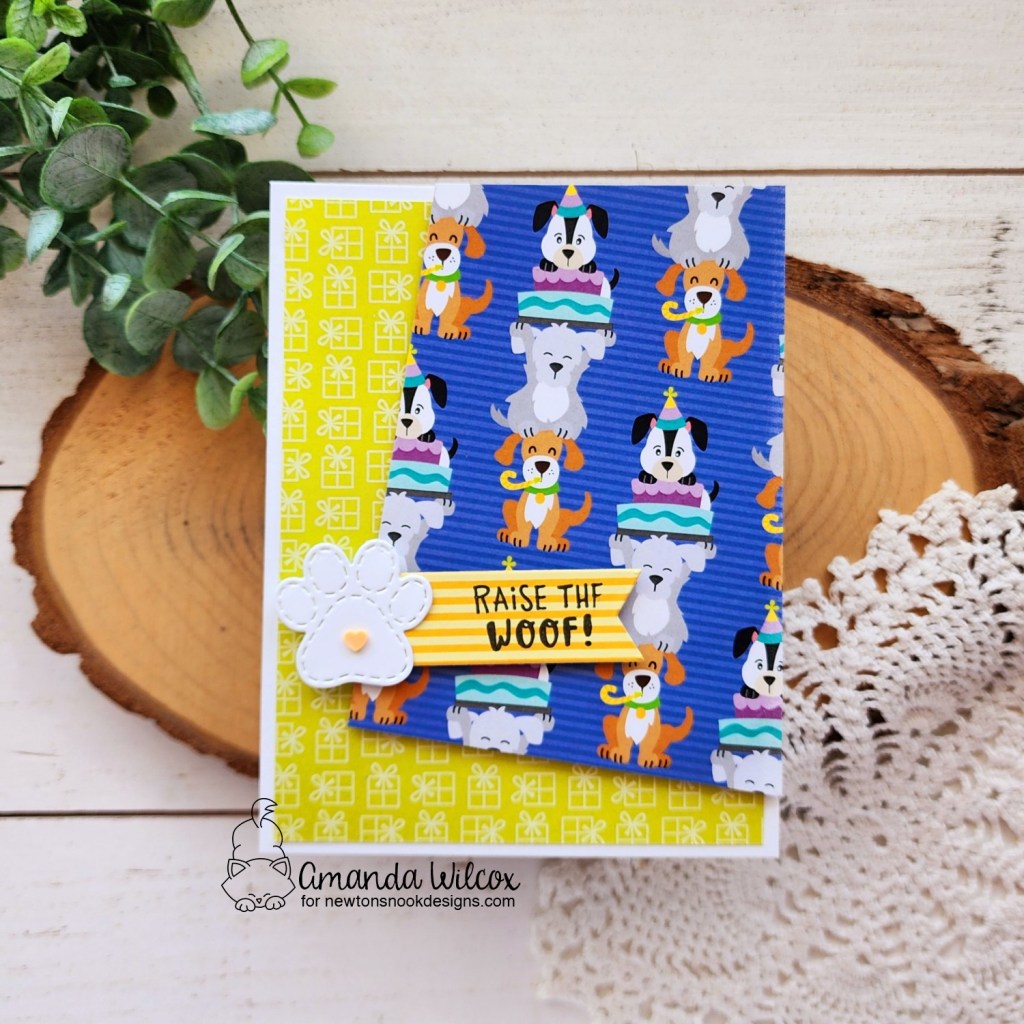
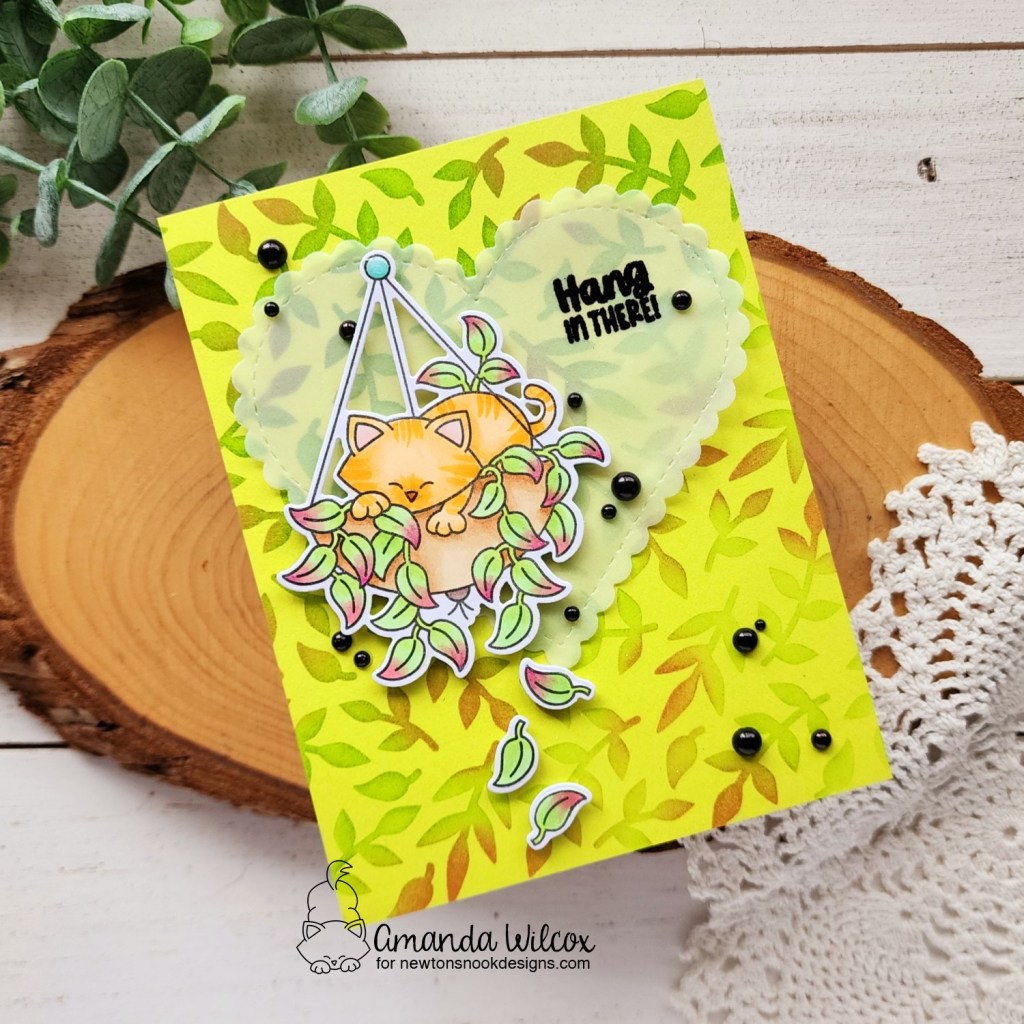
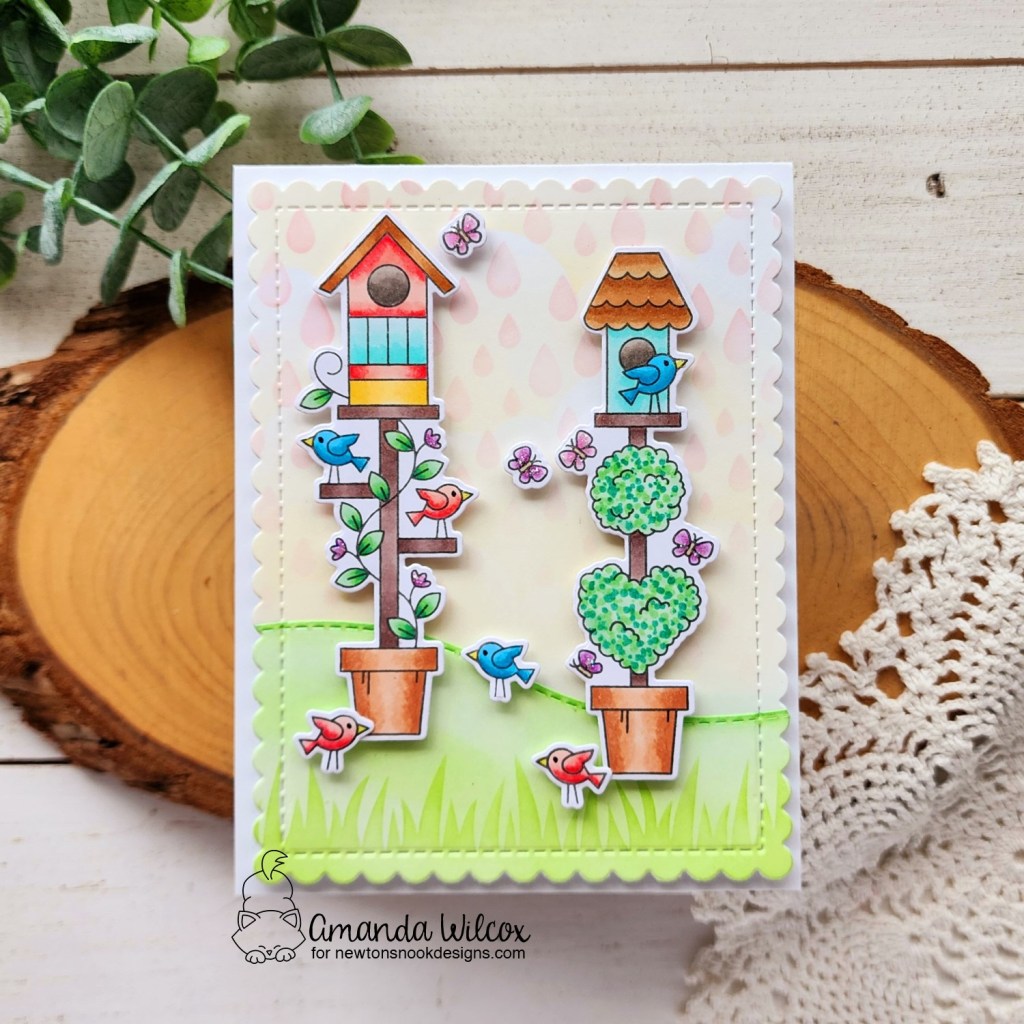
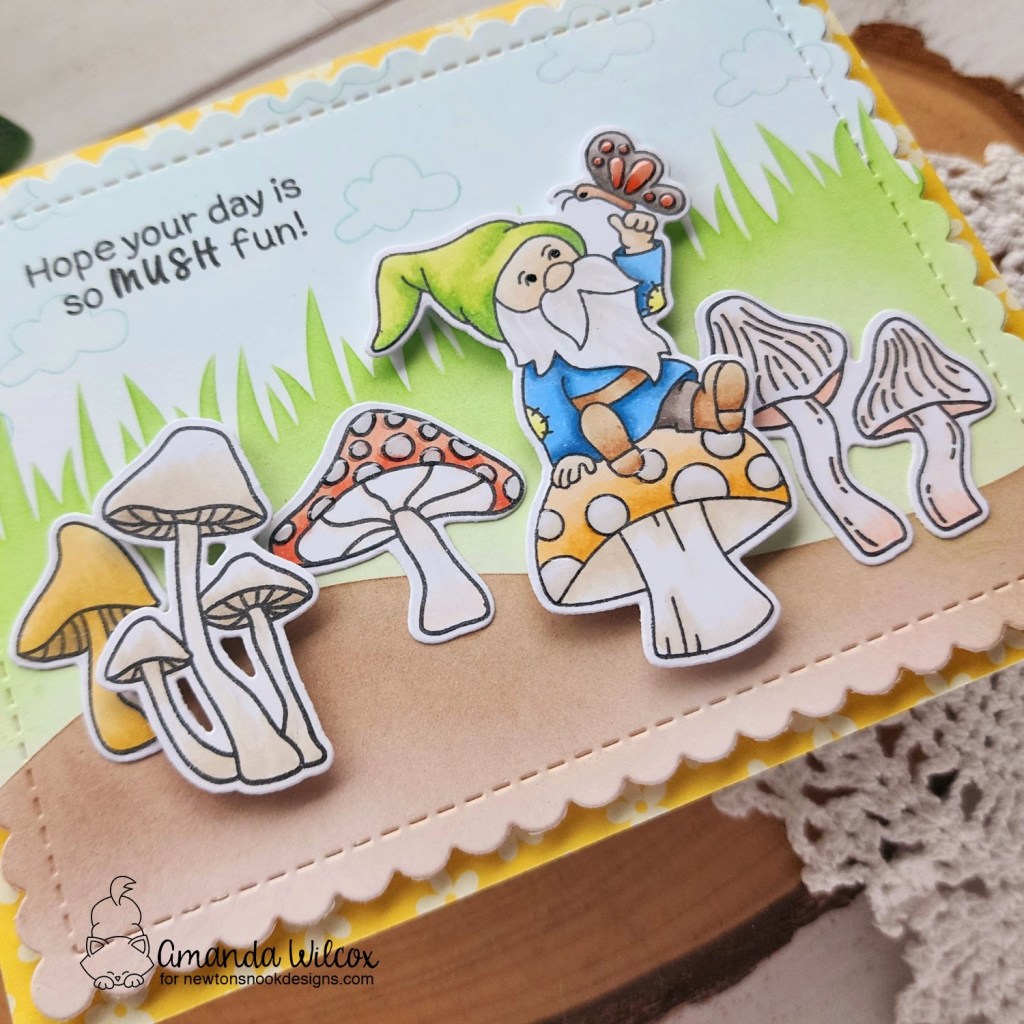
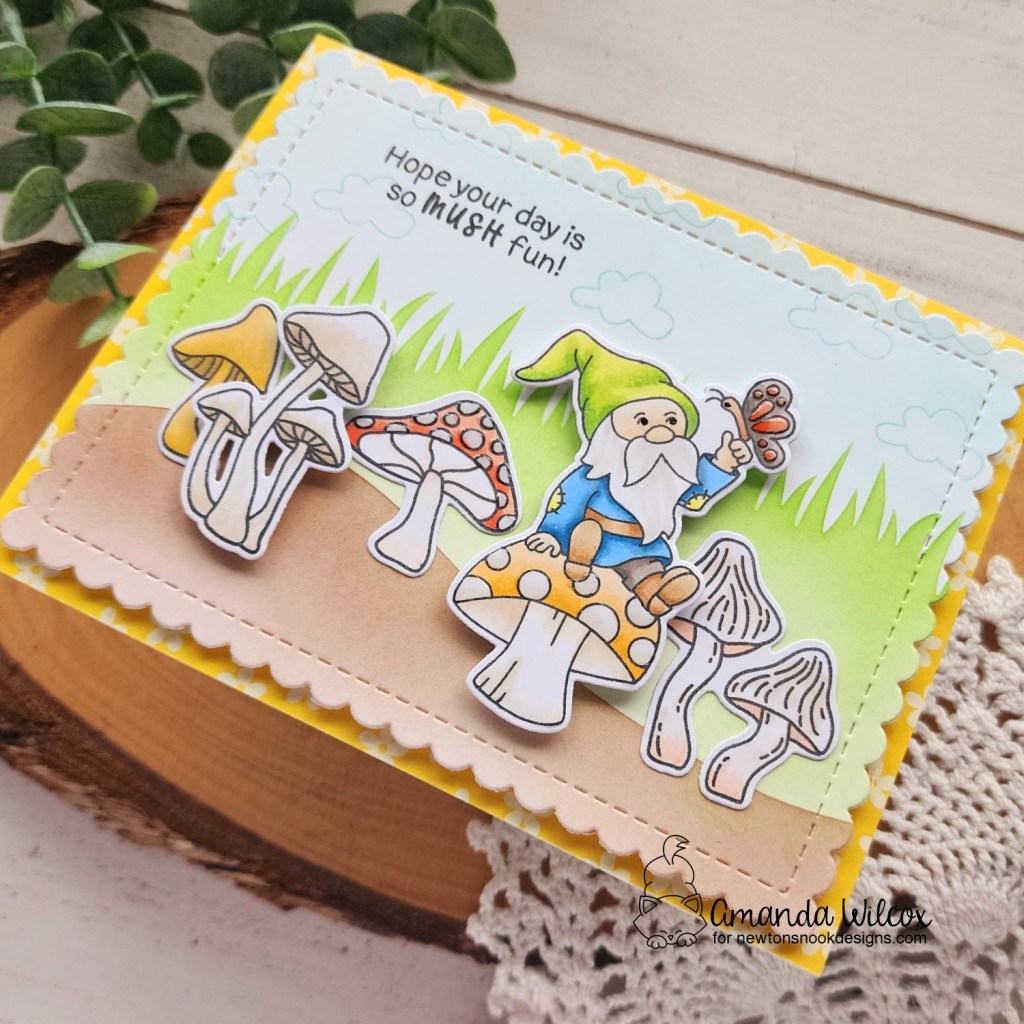
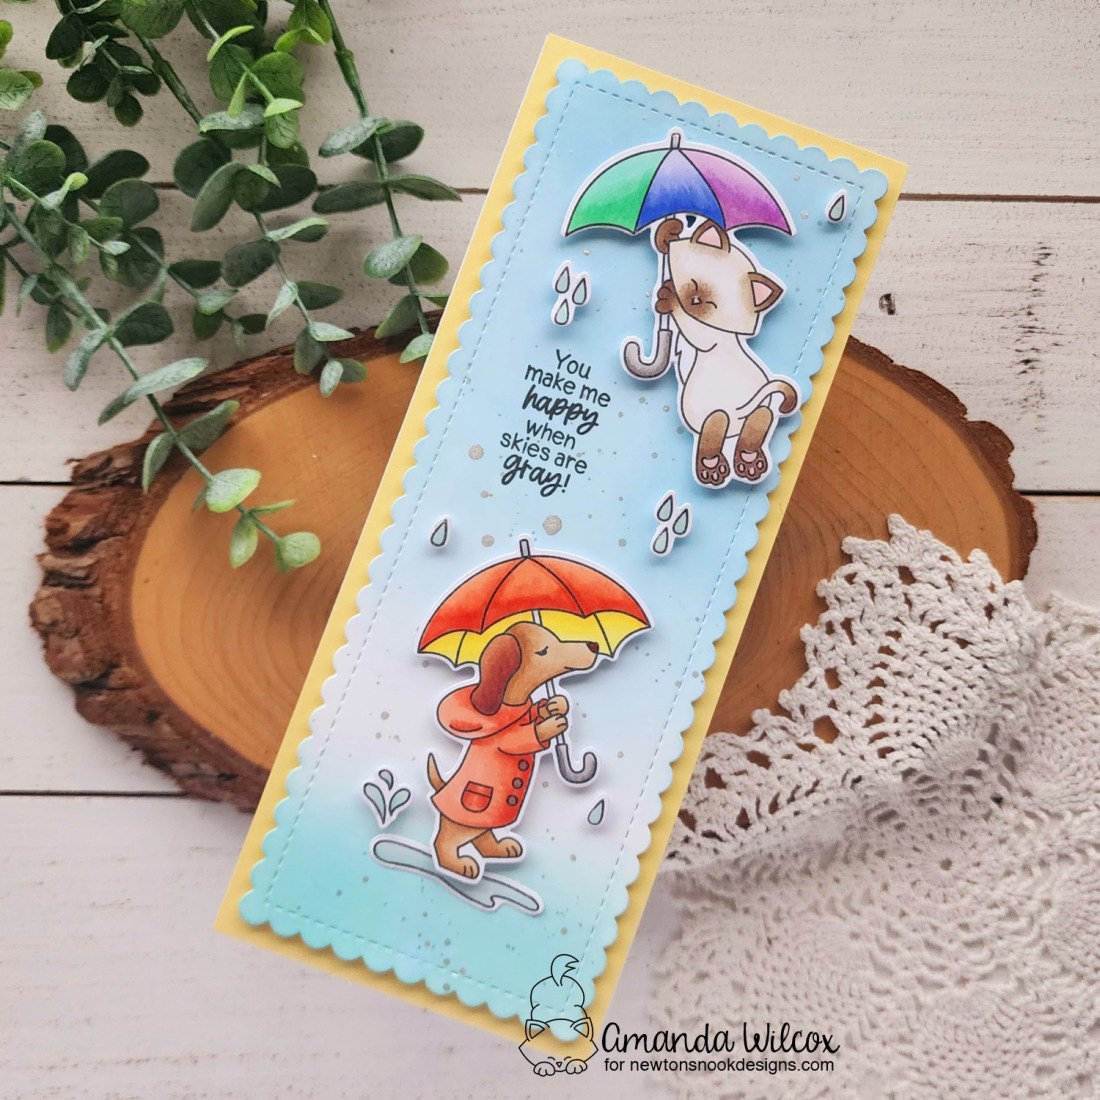
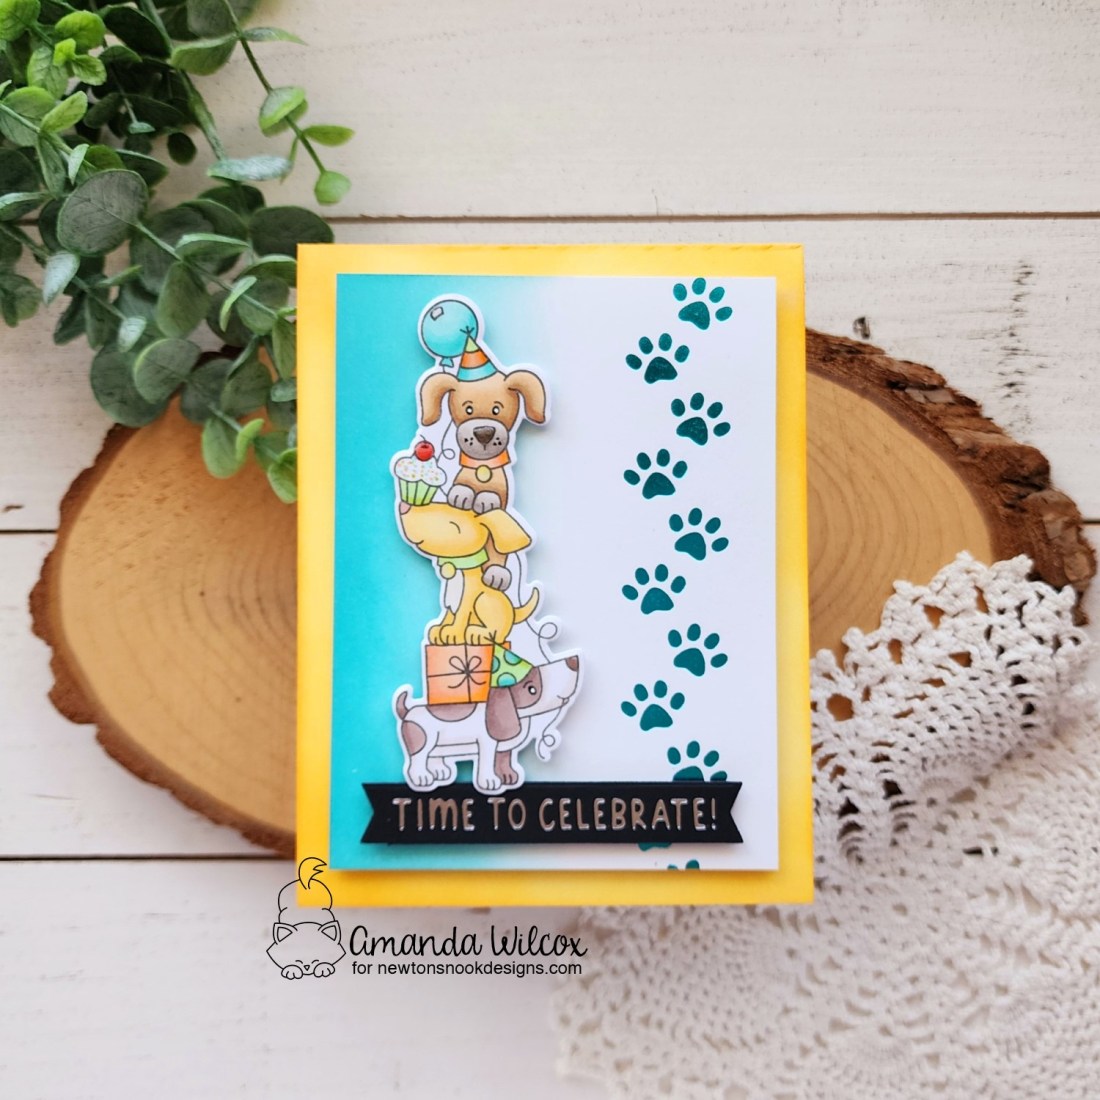
First up is this sweet card featuring the Paw Prints and Birthday Sentiments hot foil plates, along with the sentiment duo dies that work perfectly with the hot foil sentiments. Then I couldn’t resist these adorable pups from Birthday Barks that really needed to hang out!

I ink blended a card front with a light orange ink and also inked the side of my hot foil panel with teal ink so it coordinated with the foiling. For finishing touches I came in with Touch of Gloss on puppy noses, the cherry and other things like collar tags and party hats. Then I added black glaze pen to puppy eyes with a white gel pen highlight after that was dry.
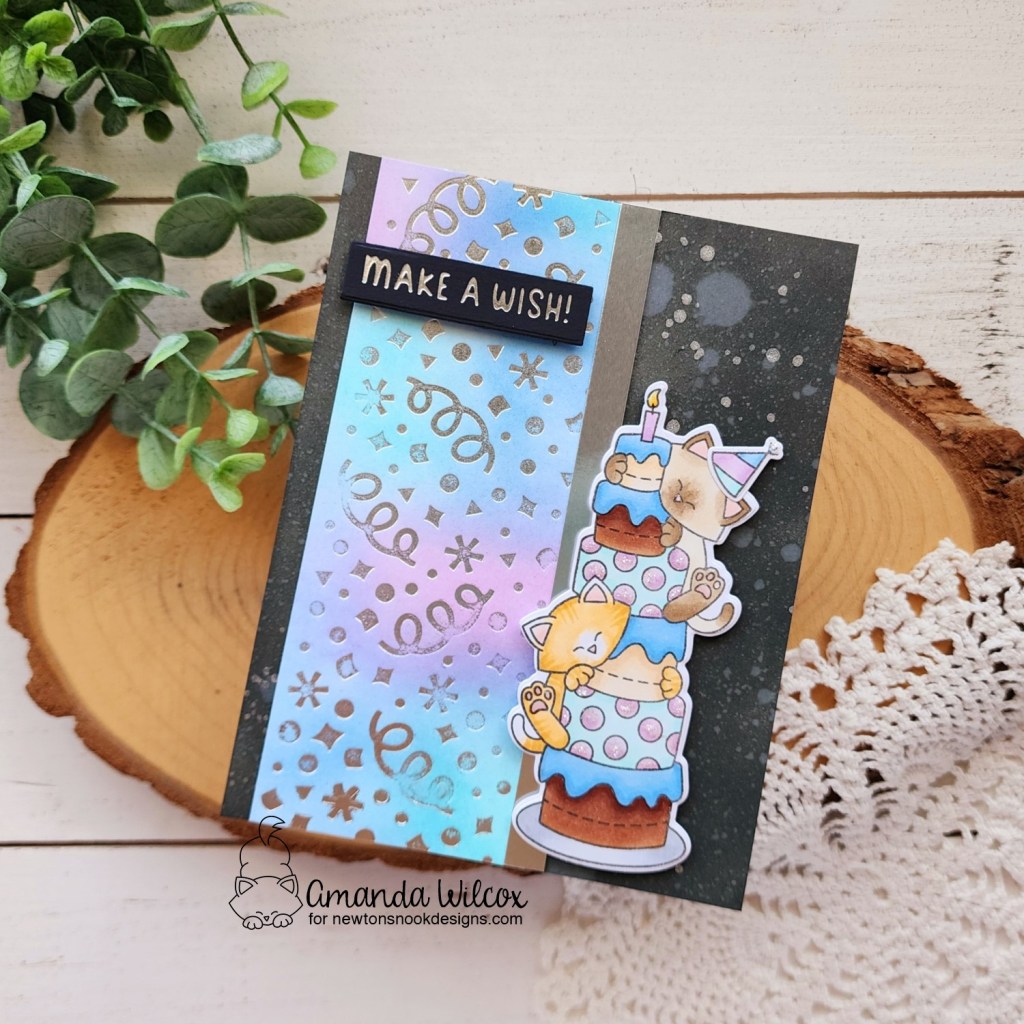
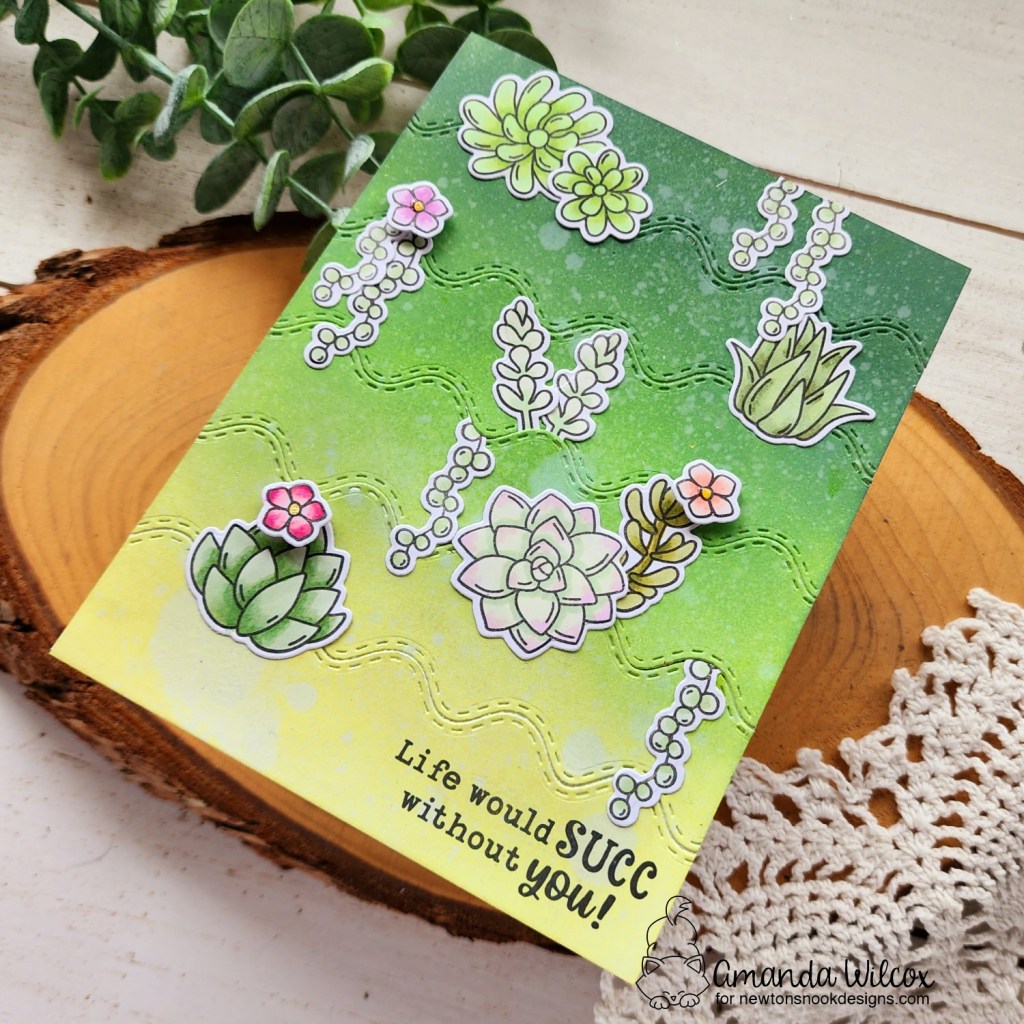
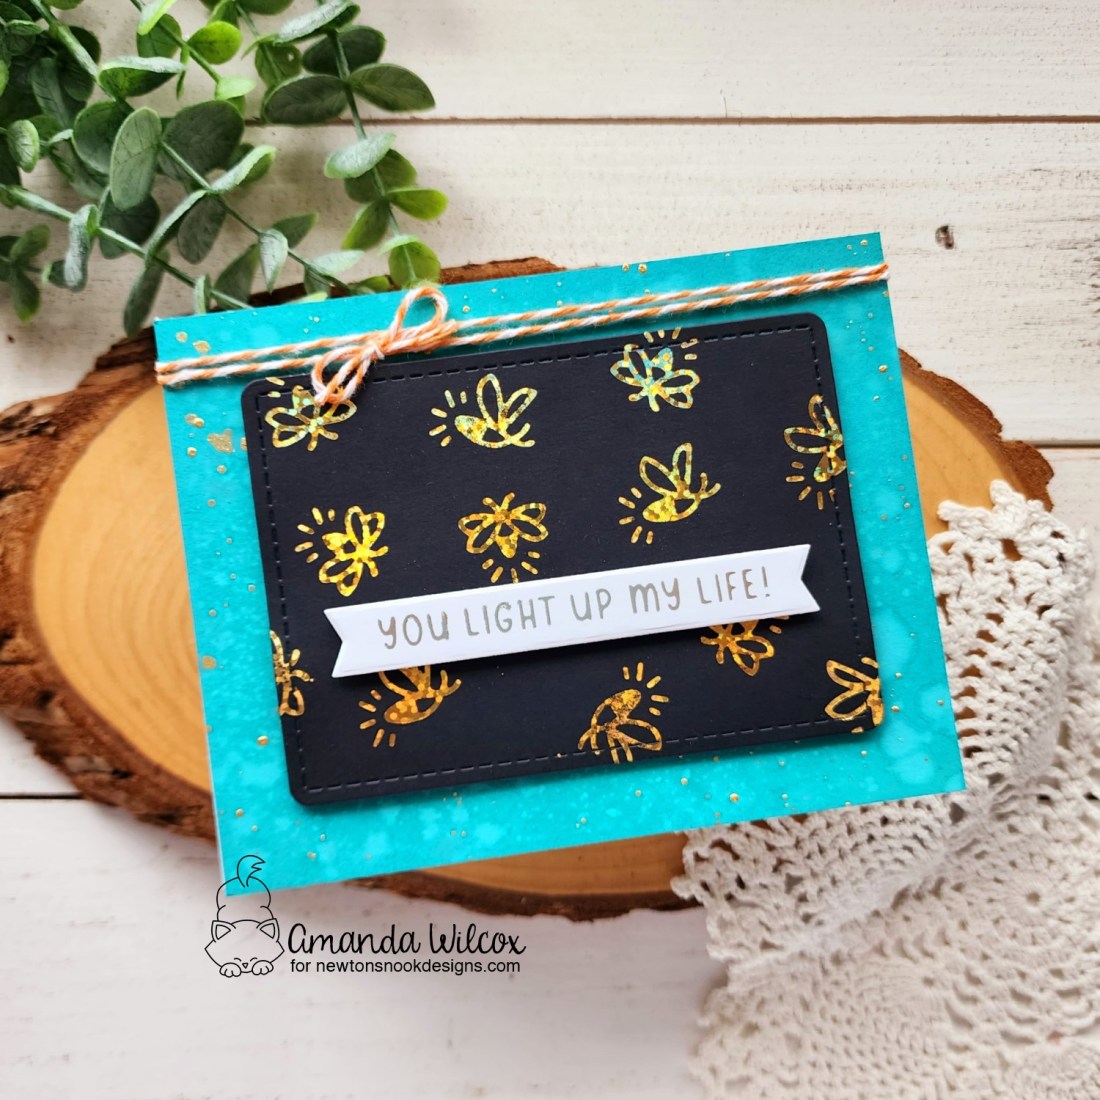
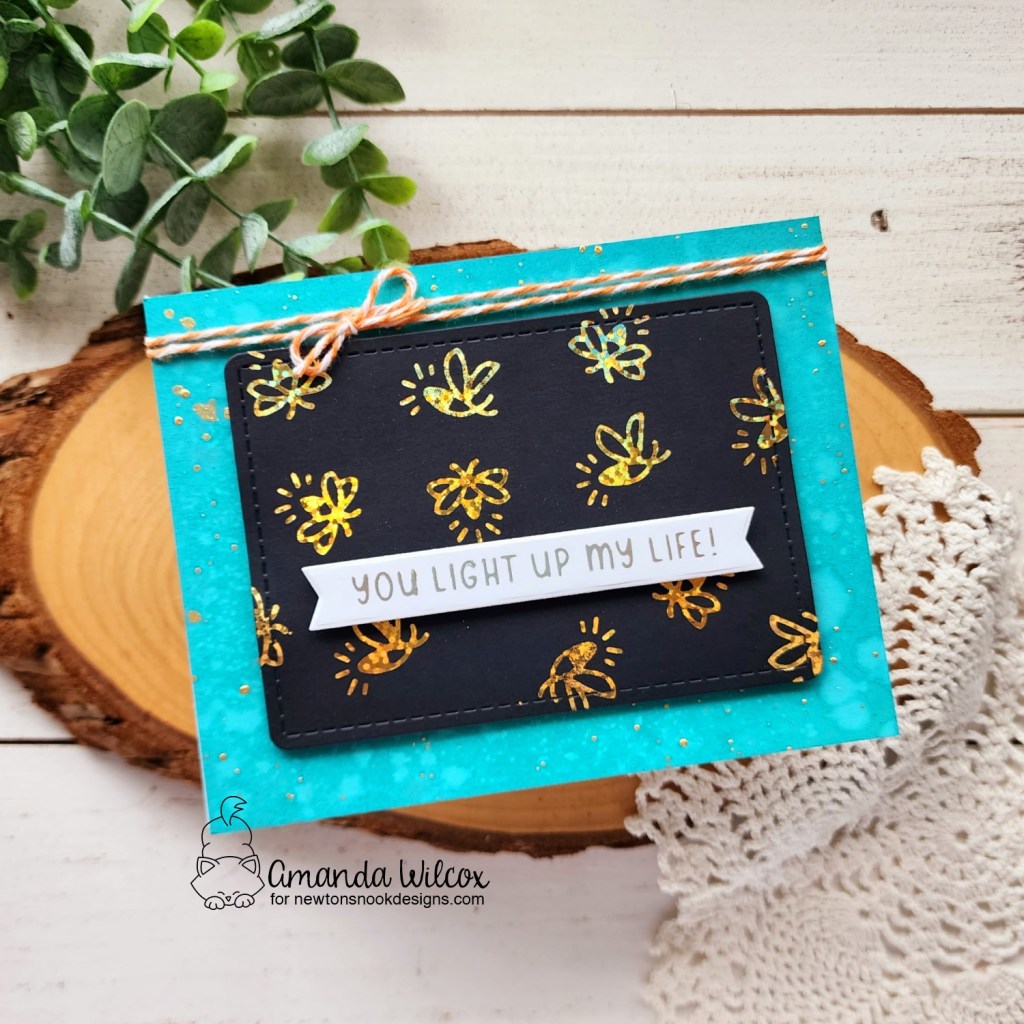
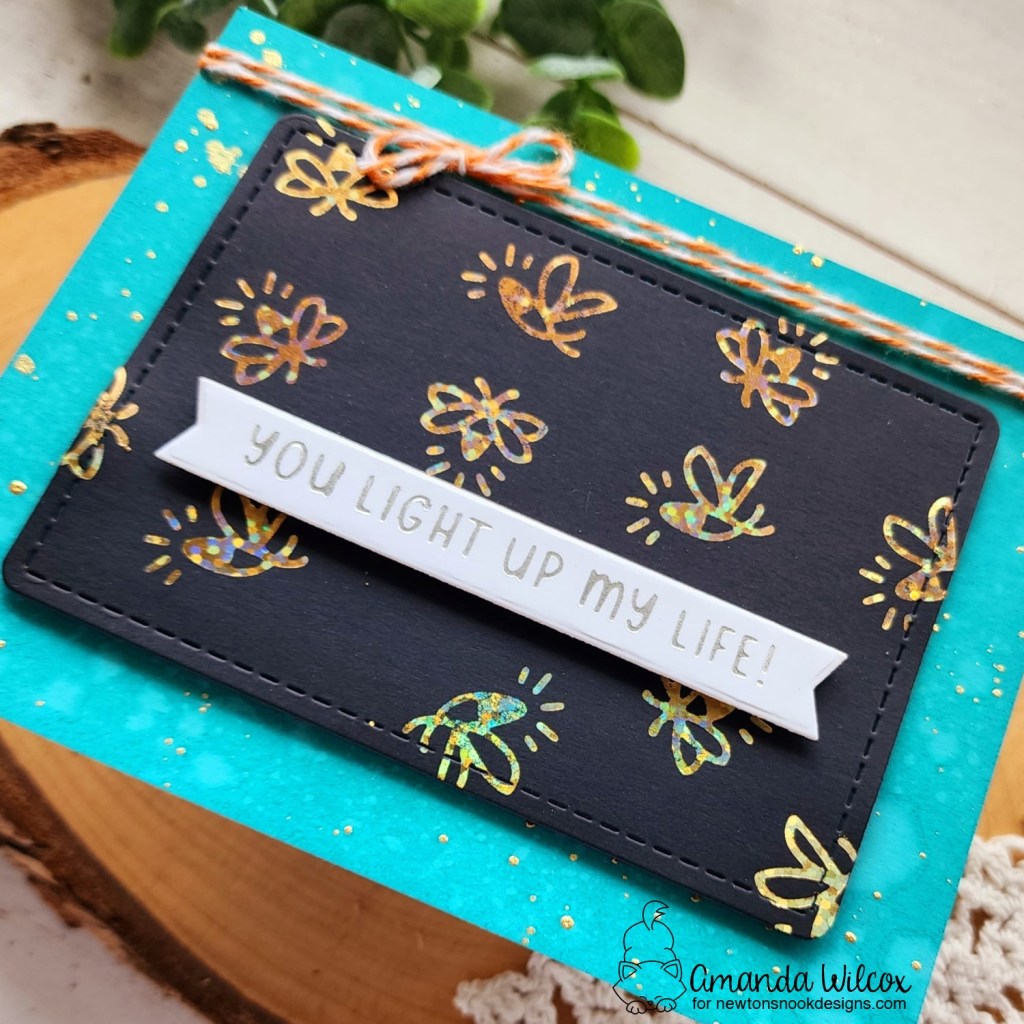
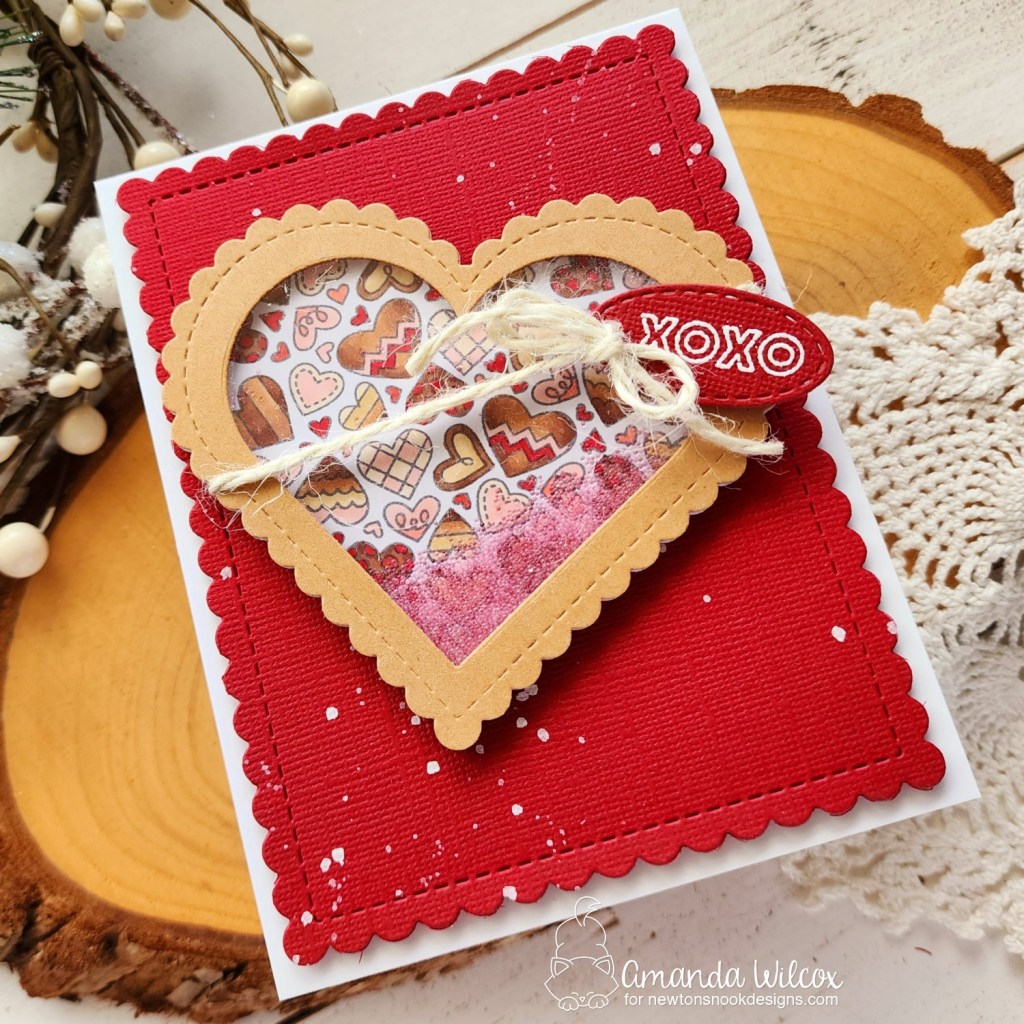
I went a little darker for my Confetti Hot Foil card front. It seemed like too much white space for my liking so I ended up almost galaxy feeling but it’s super fun and so shimmery between metallic watercolor and silver hot foil everywhere!

I inked my hot foil panel before coloring these sweet kitties so it was easy to choose a color palette that coordinated making my cake frosting extra fun! For finishing touches I added stardust Stickles to polka dots and Touch of Gloss to kitty noses and toe beans.
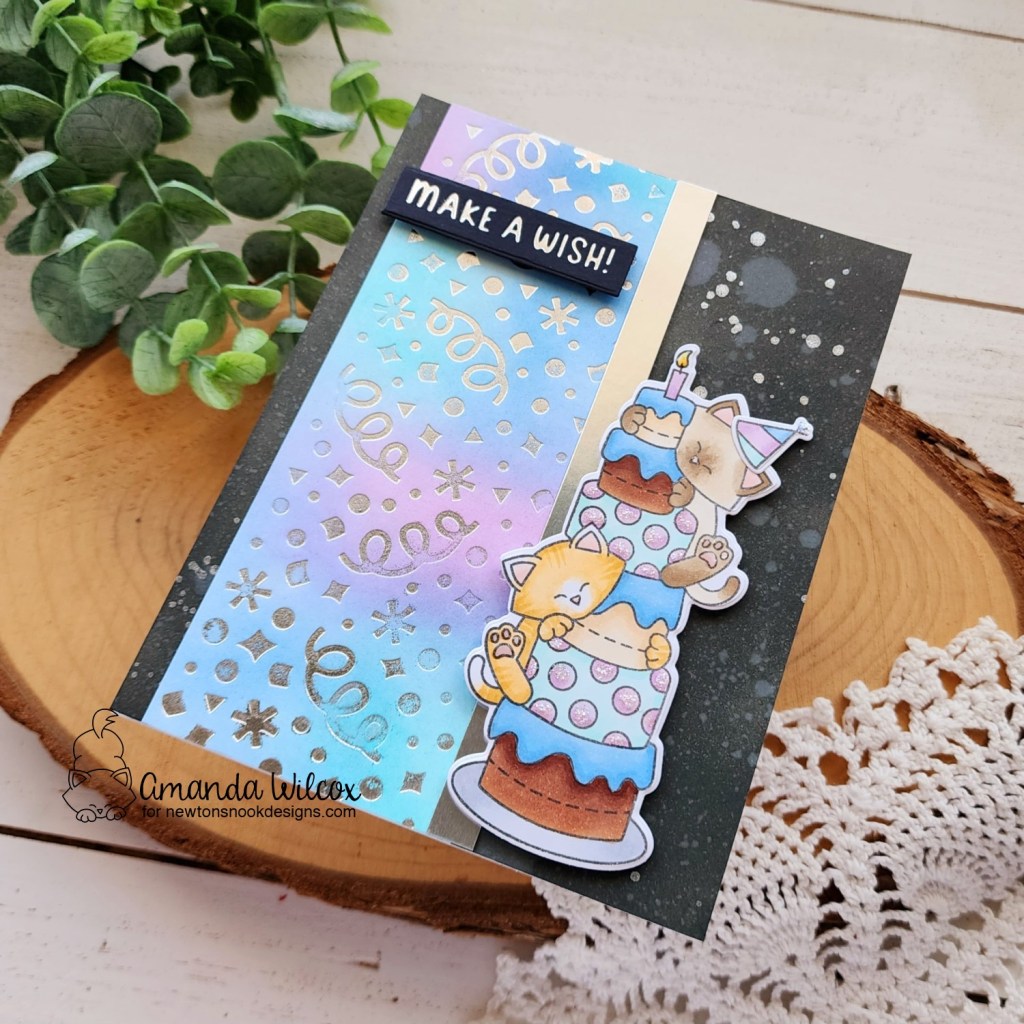
I also added another sentiment using the Birthday Sentiments Hot Foil set and Banner Duo dies. These sentiments are great to hot foil in mass and keep in your pocket with the foil plates so you have them on hand whenever you need. That’s my new go-to thing and I love it!
Would you like to win the “Paw Print” Hot Foil Plate? This foil set will be given away to ONE lucky winner!
Here’s how to win: Comment on the NND blog and Design Team blogs (see list below)! Thewinner will be chosen at random from the collective reveal posts. Make sure to check out each of their blogs and comment for your chance to win. You will not know which blog has been chosen so the more you comment on the better your chances are of winning! You have until Wednesday July 19th at 9pm ET to comment — winners will be announced on the blog post on Thursday, July 18th.
Check out all the awesome Design Team Blogs below to enter:
Newton’s Nook Designs
Donna Idlet
Ellen Haxelmans
Tina Herbeck
Larissa Heskett
Samantha Mann
Diane Morales
Maria Russell
Farhana Sarker
Tatiana Trafimovich
Amanda Wilcox