Newton’s Nook – Birthday Release Day 2

Hey friends! Back for day 2 of release reveals for the Newton’s Nook 9th Birthday Release! Today we’re adding a must-have to the oval card front series. It is so much fun to create with. You’re going to love it!

Birthday Oval stamps (Coordinates with Oval Frames dies)

For today’s card, I just couldn’t resist pulling out one of my very favorite sets – Puppy Playtime – to pair with this fun Birthday Oval set.

Using the paper pad so much this release, because it’s amazing, had me wanting a little variety. So I chose a very different color palette and colored up my images from Birthday Oval and Puppy Playtime and used the coordinating dies to cut everything out. I used liquid glue to adhere the hat to my puppy’s head and set those aside to create my background.

I inked up a piece of white cardstock with distress oxide ink with salvaged patina fading down into nothing toward the bottom. Then I splattered the panel with water, peacock feathers distress oxide ink and white paint for good measure. Sometimes I forget the white paint but I really love the different it makes in the look of the background.

Once the panel was dry, I wrapped some yellow twine around it and tied it in a bow. I added the Birthday Oval with foam tape and then added my puppy with single and double layers of foam squares so it laid nice and flat.

For finishing touches I came in with glossy accents on random places all over the oval and also parts of the puppy too. I added black glaze pen to his eyes and once that was dry I came back in with a white gel pen to add the highlight that got covered up.

Would you like to win the “Birthday Oval” Stamp Set? This stamp set will be given away to ONE lucky winner!

Here’s how to win: Comment on the NND blog and Design Team blogs (see list below)! The winner will be chosen at random from the collective reveal posts. Make sure to check out each of their blogs and comment for your chance to win. You will not know which blog has been chosen so the more you comment on the better your chances are of winning! You have until Thursday July 14th at 9pm ET to comment  — winners will be announced on the blog post on Friday July 15th. 

Check out all the awesome Design Team Blogs below to enter:

Newton’s Nook Designs
Donna Idlet
Ellen Haxelmans
Larissa Heskett
Samantha Mann
Zsofia Molnar
Farhana Sarker
Tatiana Trafimovich
Amanda Wilcox

Newton’s Nook – June Release Day 4

Oh my WOW! It’s already the final day of release reveals for the Newton’s Nook June release! I hope you are loving each item and have your checklist prepared because it’s all available starting TOMORROW!!!

But first, let’s reveal our final stamp and die set and get on to some fun inspiration.

Newton’s Kite

I will be honest, this may be the final day of reveals but I was so in love with this image and the new paper pad, that this was the first card I created. I had so much fun and love how bright it is.

I stamped and colored the image first, pulling the green choice from the paper pad. I used the coordinating dies to cut it out. While flipping through the paper pad I remembered the sun and clouds pattern which I thought would be fun background to the kite in the sky. So I used a die from Circle Frames to cut it out and also trimmed the stripes down to A2 size. The patterns together were too busy so I cut the scalloped circle from yellow cardstock to break them up a bit.

While toying with different ideas for my sentiment I thought they might fit being stamped directly on the clouds…but it’s a bit squishy and I didn’t love it. So I switched gears, keeping the clouds because that was a happy accident that I loved! Instead, I stamped and heat embossed each part of the phrase and trimmed them out with my scissors. That bold black sentiment looks so cool with all the bright color.

To assemble everything, I used liquid glue to add the sun and cloud paper to the yellow circle, along with the die cut clouds. Then I added foam squares to Newton and attached him. I flipped the whole thing over and added foam tape and squares to it all (some of Newton is double layer so he lays flat), removed the release paper and attached it to the striped panel. Last, I added the sentiment pieces with foam squares to the clouds.

I kept finishing touches very simple but just adding a little glossy accents to Newton’s nose and the bows on the kite tail.

I hope you have enjoyed all the inspiration this week from the team and are ready to order some new, fun goodies tomorrow! But first…

Would you like to win the “Newton’s Kite” Stamp Set? This stamp set will be given away to ONE lucky winner!

Here’s how to win: Comment on the NND blog and Design Team blogs (see list below)! The winner will be chosen at random from the collective reveal posts. Make sure to check out each of their blogs and comment for your chance to win. You will not know which blog has been chosen so the more you comment on the better your chances are of winning! You have until Thursday June 16th at 9pm ET to comment  — winners will be announced on the blog post on Friday June 17th. 

Check out all the awesome Design Team Blogs below to enter:

Newton’s Nook Designs
Donna Idlet
Ellen Haxelmans
Tina Herbeck
Larissa Heskett
Samantha Mann
Zsofia Molnar
Maria Russell
Farhana Sarker
Tatiana Trafimovich
Amanda Wilcox
Newton’s Nook – June Release Day 3

My, my, how this week is flying by! We’re up to day 3 of the Newton’s Nook June release reveals. I hope you’re loving things so far. Today we have another stamp and die set to have a look at! Let’s go!

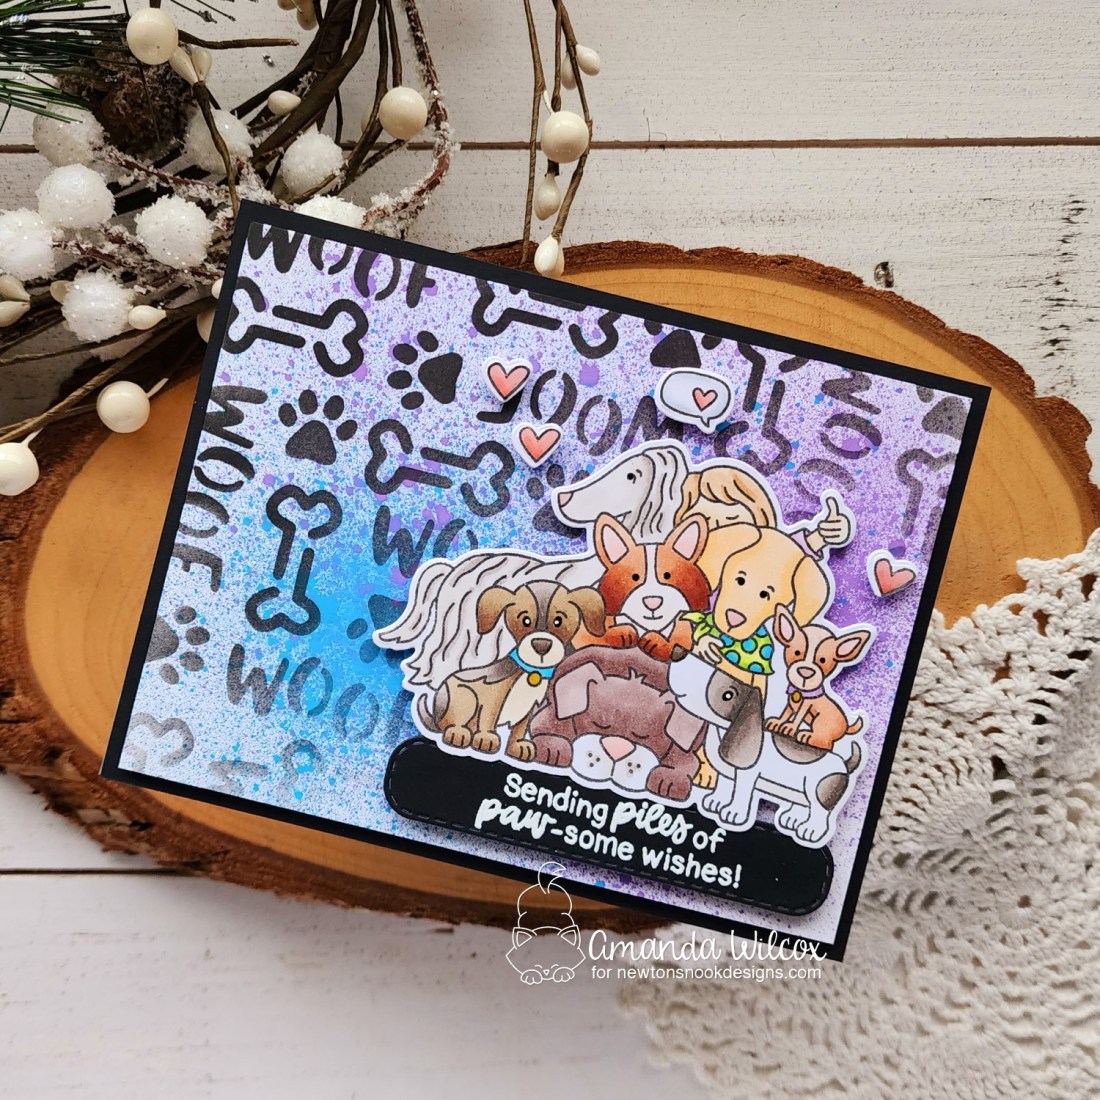
Dog Park

I just couldn’t resist the opportunity to create a super fun scene card with this new great set!

I started by stamping my images and coloring them with copic markers. I used the coordinating dies to cut everything out and laid them out on an A2 panel to figure out spacing and scene elements. Once I had an idea, I started getting inky!

The sky panel is distress oxide in peacock feathers, salty ocean and tumbled glass, while the grass is mowed lawn and twisted citron. I spritzed the panels with water and blotted them dry. Next, I die cut the fence, clouds and sun from white cardstock. I used the ink left in my blending tools to add color to the sun – using mustard seed and spiced marmalade distress oxide ink.

Now, to assemble everything, I used liquid glue for the scene layers and dog bones in the grass. The pup, his frisbee and party hat are all added with foam squares. Then, for my sentiment I stamped part on the smallest Framework die and heat embossed the other part, cutting it out with scissors. I added both elements with foam squares too.

For finishing touches I added glossy accents to the dog’s nose and frisbee. Then I came in with unicorn Stickles on the party hat and sunshine rays.

I am very excited for the recipient of this card to open it up! I just know they are going to LOVE IT so much!

Would you like to win the “Dog Park” Stamp Set? This stamp set will be given away to ONE lucky winner!

Here’s how to win: Comment on the NND blog and Design Team blogs (see list below)! The winner will be chosen at random from the collective reveal posts. Make sure to check out each of their blogs and comment for your chance to win. You will not know which blog has been chosen so the more you comment on the better your chances are of winning! You have until Thursday June 16th at 9pm ET to comment  — winners will be announced on the blog post on Friday June 17th. 

Check out all the awesome Design Team Blogs below to enter:

Newton’s Nook Designs
Donna Idlet
Ellen Haxelmans
Tina Herbeck
Larissa Heskett
Samantha Mann
Zsofia Molnar
Maria Russell
Farhana Sarker
Tatiana Trafimovich
Amanda Wilcox
Newton’s Nook – June Release Day 2

Here we are again! It’s time for day 2 of reveals for the Newton’s Nook June release! Today we have another addition to the newest full card front series – ovals!

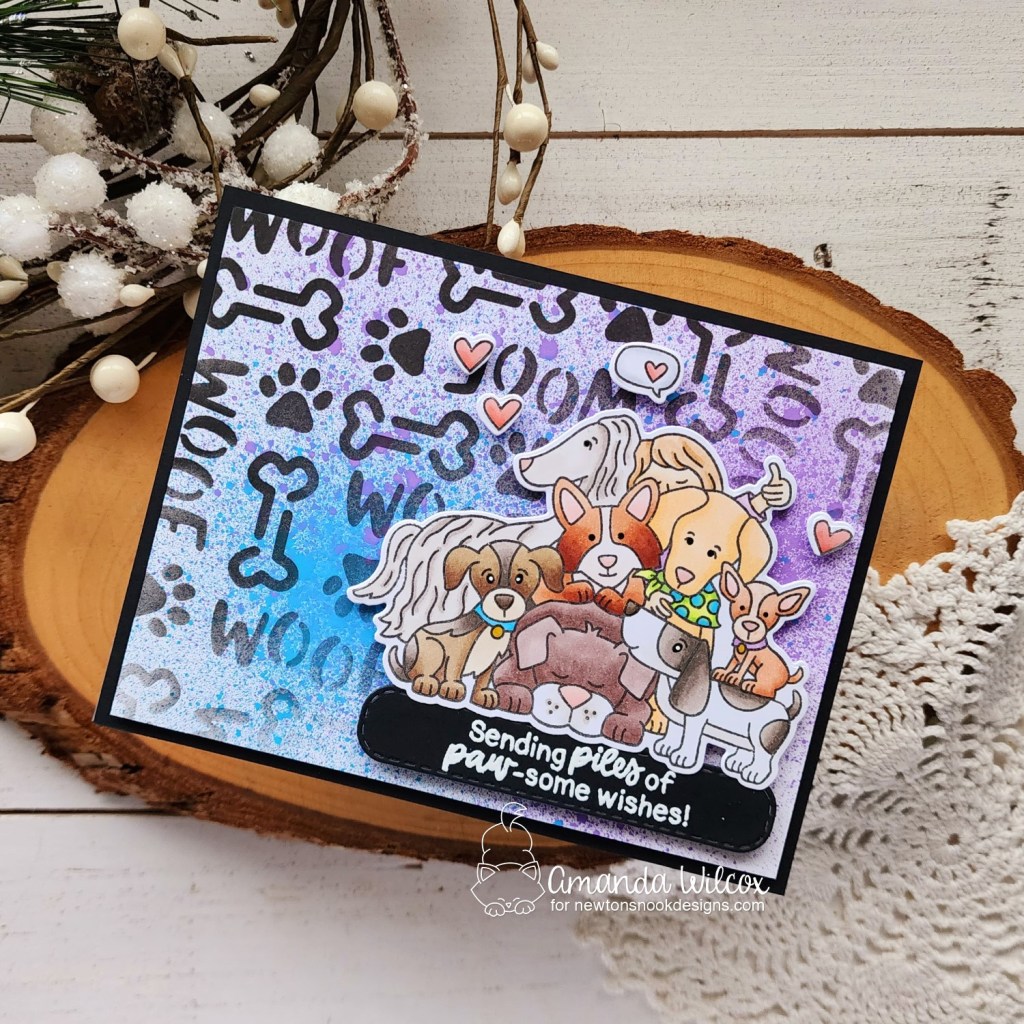
Flamingo Oval

I love how you can used this with the oval frames dies or on it’s own to fill up your card front. This time, I created an oval shaped card and turned it into a shaker too! This was really fun to make and I love playing with it!

First, I die cut the largest scalloped oval from white cardstock and lined up my stamp within the stitching lines. This is the easiest way for me to make sure I have enough edge for the scallop. I used my copics and colored the whole panel in, then chose a sentiment to stamp in the center.

Then I cut another of the same scallop from orange cardstock but used the next smallest oval to cut a window out of it. I inked up the edges with my blending brush, then added liquid glue to add an acetate window to the back side. I lined the oval frame with foam strips, filled my shaker well and added the colored panel to the back to seal it all up.

Finally, I cut the largest oval twice – once from the pink stripe in the Summertime paper pad we saw yesterday and once from white cardstock. I added a score line about 1/2 inch from one of the long side and adhered the two with scrappy tape only on this flap. That created the shaped card base. Last, I used liquid glue to add the shaker mechanism to the top.

Voila! The card is all finished and ready to play with. Isn’t it so fun!

Would you like to win the “Flamingo Oval” Stamp Set? This stamp set will be given away to ONE lucky winner!

Here’s how to win: Comment on the NND blog and Design Team blogs (see list below)! The winner will be chosen at random from the collective reveal posts. Make sure to check out each of their blogs and comment for your chance to win. You will not know which blog has been chosen so the more you comment on the better your chances are of winning! You have until Thursday June 16th at 9pm ET to comment  — winners will be announced on the blog post on Friday June 17th. 

Check out all the awesome Design Team Blogs below to enter:

Newton’s Nook Designs
Donna Idlet
Ellen Haxelmans
Tina Herbeck
Larissa Heskett
Samantha Mann
Zsofia Molnar
Maria Russell
Farhana Sarker
Tatiana Trafimovich
Amanda Wilcox

Jane’s Doodles – Cheers

Hello again! I’m over on the Jane’s Doodles blog today with a card featuring the Cheers digital stamp. It’s simple but I love the masculine color palette and how the whole thing came together.

I printed my image and colored it with my copic markers before using the scan-n-cut to cut it out. Instead of using one of the digital sentiments in the set, I just pulled out my Pink & Main alphabet dies and cut the word “cheers” from white cardstock three times and black once. I used liquid glue to adhere them together and set an acrylic block on top while I worked on my background layers.

First, I took a black scrap of cardstock and used the Pink & Main Sun Ray embossing folder on it. I splattered it with gold watercolor and set it aside to dry. Then I cut an A2 size piece of dark teal cardstock and cut a zig zag circle out of the top-center big enough to frame up my beer mugs. Next, I pulled out the Newton’s Nook Bubbly stencil and inked it up with a dark teal ink for a tone-on-tone texture.

I popped the teal panel up on the black panel with foam tape and adhered that to a white card base with liquid glue. Then I popped the image up in the middle of the window with foam squares. I added the “cheers” letters with liquid glue and tied some twine around the top for a little interest and balance.

For finishing touches I added glossy accents to the glass portion of the beer mugs and that’s all. I intended this to be a masculine card so I didn’t want to add too much sparkle but I like the shine of the glossy accents and watercolor in the light.

Products used:
Jane’s Doodles Cheers digital stamps
Pink & Main Zig Zag Circle dies
Pink & Main Sun Ray embossing folders
Newton’s Nook Bubbly stencil
Blending brush
Lawn Fawn Rainforest ink
Foam tape and squares
Glossy accents
Bearly Art liquid glue

I appreciate you sharing your time with me. Have a fabulous day!

Newton’s Nook – April Release Day 4

Well, goodness! We’re already to the final day of release reveals for the Newton’s Nook April Release. I hope you have enjoyed this week and are prepared for extra cuteness today! This is my absolute favorite set of the whole week and I’m so excited to share it with you.

Newton Loves Tacos stamps and dies

Are you dying?!? I totally am! This set is SO MUCH FUN!!! And those sentiments to go with it are over the top awesome! So silly and just adorable!

For my card today, I really played on the taco colors a lot. Having a layout in mind, I stamped and colored images from the set with copic markers and used the coordinating dies to cut them out. Then I cut elements from the Slimline Frames & Portholes dies and Slimline Frames & Windows dies to use together.

I added an acetate window to the middle of the orange frame and added foam strips to the back of the whole thing. Then I added my Thermoweb Rina K Glitz Gel through the Confetti stencil in the areas that would show through the left and right windows. I sprinkled my avocado shaker bits in the center and sealed them up with the orange frame over the top. Next, I added foam to my images and popped them in place on the left and right.

Last, I stamped a sentiment on a small stitched circle from the Frames Squared set and glued it to a slightly larger circle from the Circle Frames set before gluing it down on the acetate window in the middle.

For finishing touches I added glossy accents to various parts of the images like tomatoes, noses and toe beans. Finally, the whole panel was added to a white slimline card base with foam tape.

Would you like to win the “Newton Loves Tacos” Stamp Set? This stamp set will be given away to ONE lucky winner!

Here’s how to win: Comment on the NND blog and Design Team blogs (see list below)! Thewinner will be chosen at random from the collective reveal posts. Make sure to check out each of their blogs and comment for your chance to win. You will not know which blog has been chosen so the more you comment on the better your chances are of winning! You have until Thursday April 21st at 9pm ET to comment  — winners will be announced on the blog post on Friday April 22nd. 

Check out all the awesome Design Team Blogs below to enter:

Newton’s Nook Designs
Donna Idlet
Ellen Haxelmans
Tina Herbeck
Larissa Heskett
Samantha Mann
Zsofia Molnar
Maria Russell
Farhana Sarker
Tatiana Trafimovich
Amanda Wilcox

Newton’s Nook – April Release Day 3

Oh my, we’re already up to day 3 of the Newton’s Nook April Release reveals! Today there is just one, SUPER FUN stamp and coordinating die to share.

Dad’s BBQ stamps and dies

Isn’t is fantastic!!! And it’s going to play so well with the BBQ Roundabout from last year! I didn’t combine them today, but that is definitely on my list of things to try.

Today, I chose a bunch of images from Dad’s BBQ, stamped them and then colored them with my copic markers. I used the coordinating dies to cut them out and added foam squares to the back of everything.

I found an oval in the new Oval Frames die set that fit the sentiment perfectly, so I stamped and cut it out. Then I cut the next largest oval from black cardstock and layered them together, adding foam to the back of the black layer.

Next, I inked up a teal panel with the Gingham stencil and trimmed it down to 3 3/4×5 1/2 inches and framed the edges with black strips of cardstock.

I added the panel to a white card base with foam tape, placed the sentiment in the center and then added my images in a diagonal fashion from the upper left down to the lower right.

For finishing touches, I added white gel pen highlights to all of the images. I contemplated glossy accents or some bling but this is meant to be a masculine card for me to give so I kept it to a minimum.

Would you like to win the “Dad’s BBQ” Stamp Set? This stamp set will be given away to ONE lucky winner!

Here’s how to win: Comment on the NND blog and Design Team blogs (see list below)! Thewinner will be chosen at random from the collective reveal posts. Make sure to check out each of their blogs and comment for your chance to win. You will not know which blog has been chosen so the more you comment on the better your chances are of winning! You have until Thursday April 21st at 9pm ET to comment  — winners will be announced on the blog post on Friday April 22nd. 

Check out all the awesome Design Team Blogs below to enter:

Newton’s Nook Designs
Donna Idlet
Ellen Haxelmans
Tina Herbeck
Larissa Heskett
Samantha Mann
Zsofia Molnar
Maria Russell
Farhana Sarker
Tatiana Trafimovich
Amanda Wilcox
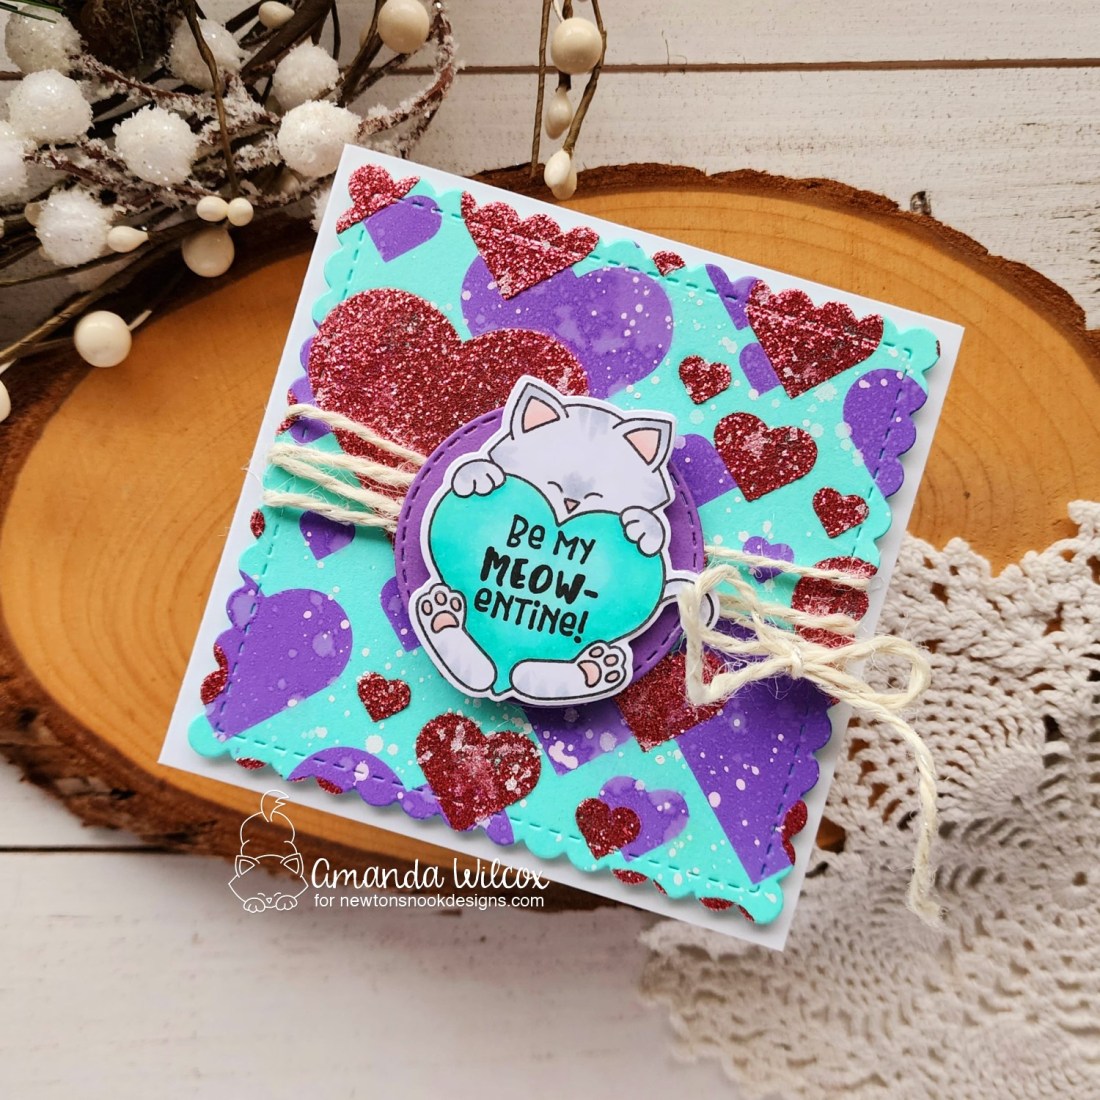
Newton’s Nook – April Release Day 2

Hi friends! This is day 2 of the Newton’s Nook April Release reveal week. Today we have two stamp and coordinating die sets to share with you and I just love them both! Must haves for your stash, for sure!

Destination Love stamps and dies

Lilacs stamps and dies

I’m not a floral person most of the time but I love this new lilac image and really enjoyed coloring it.

For this card, I colored the images in the set and used the coordinating dies to cut them out. Then I set them aside to work on my background…aka, making a fabulous crafty mess. I inked up a panel with distress oxide ink in salty ocean and tumbled glass. Then spritzed it with water and flicked watered down salty ocean ink on the panel. Once it was dry, I spread Thermoweb transfer gel blanco through the Cloudy Sky stencil and let it dry.

While that was drying, I die cut a fence from white cardstock and inked up a panel with distress oxide in mowed lawn and twisted citron to cut some grass from.

Once the sky was dry, I ran it through the laminator with white latte deco foil flock for some adorable fuzzy clouds! Then I cut all the layers with the largest Frames & Flags die and adhered the layers together with foam tape.

For the sentiment, I cut a small banner from the A7 Frames die set and popped it up with foam squares too. Then for finishing touches I added glossy accents to the flower centers on the lilac and the body of the butterfly. I adhered the panel to a yellow card base for a little extra splash of color too.

Now, for that adorable Destination Love set, I just had to make a sweet wedding card. Although there are sentiments for lots of love occasions to choose from.

This time I inked up the Cloudy Sky stencil with light teal ink on a white panel and cut it from the largest Framework die. Then I cut the largest scalloped heart from kraft cardstock and inked it up with the Tree Rings stencil.

I stamped and colored images from Destination Love with my copic markers. Then, I cut them out with the coordinating dies and adhered the different elements to the car. I added foam squares to the back and played with final arrangement. until I liked it.

With this placement of things I thought it was perfect to heat emboss the sentiment directly to the heart. So I did that and then blued it down to the sky background. I added the images and then popped the panel up on some melon cardstock with foam tape. I thought this cardstock coordinated well with the color of the car.

For finishing touches I added glossy accents to all of the hearts and the hat band, then I added unicorn Stickles to the veil.

Would you like to win the “Destination Love” or the “Lilac” Stamp Set? We will choose ONE lucky winner for each stamp set!

Here’s how to win: Comment on the NND blog and Design Team blogs (see list below)! Thewinner will be chosen at random from the collective reveal posts. Make sure to check out each of their blogs and comment for your chance to win. You will not know which blog has been chosen so the more you comment on the better your chances are of winning! You have until Thursday April 21st at 9pm ET to comment  — winners will be announced on the blog post on Friday April 22nd. 

Check out all the awesome Design Team Blogs below to enter:

Newton’s Nook Designs
Donna Idlet
Ellen Haxelmans
Tina Herbeck
Larissa Heskett
Samantha Mann
Zsofia Molnar
Maria Russell
Farhana Sarker
Tatiana Trafimovich
Amanda Wilcox
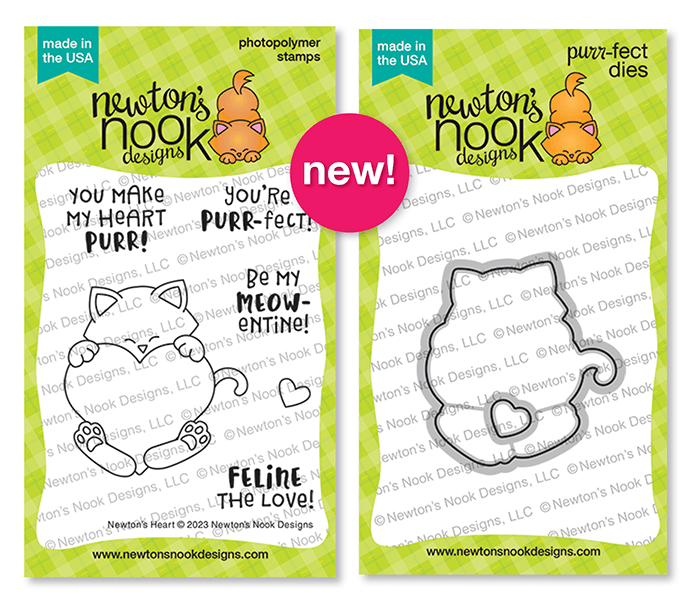
Newton’s Nook – Newton Makes Plans Card Trio

Hey friends! I’m over on the Newton’s Nook blog today with a trio of cards featuring the sweet mini images from Newton Makes Plans. I absolutely adore this set and was so happy to finally ink it up.

I had a design in mind but when it came time to choose, I couldn’t choose just three images so I ended up with nine and made three cards to share today.

The design is the same for all of the cards. I chose a trio of images from Newton Makes Plans, that kind of told a mini story to me. I chose a stencil that went with that story and paired them together. I chose a background color of cardstock to cut from the largest Framework stencil and did tone-on-tone inking for the stencils. This card has the music stencil with a trio of Newton’s that must be world travelers.

I cut the smallest circle from Frames Squared three times for each card out of white cardstock and inked them up wtih the same ink used on the stenciling. There is a 1/4″ strip of white cardstock adhered to each stenciled panel and then the circles and images are each popped up with foam squares.

They guys are all ready for a party of some degree so I used the fun confetti stencil for this background. I tend to gravitate toward the sentiments in all of the Heartfelt and Roundabout stamp sets because they are so perfect for a huge variety of occasions. These all came from Heartfelt Meows which work perfect with all of those cute Newtons.

The finishing touches on each card are also different. Most have some sort of glossy accents or Stickles on the center image because they happened to fit perfectly. Each of the Newton noses has a little dot of glossy accents as well. Then I did add white gel pen highlights to the other images for fun.

Aren’t these guys just the cutest? Everyone enjoying their different hobbies! The background for this card uses the petite paw prints stencil to round out that adorable kitty feel. I just love the glossy accents on his glasses in the center of this one.

Well, there’s a little description and look at each of the cards I had to share today. I hope you enjoyed them!

Products used were:
Newton Makes Plans stamps and dies
Heartfelt Meows stamps
Framework dies
Frames Squared dies
Confetti stencil
Music stencil
Petite Paw Prints stencil
Foam tape and squares
Glossy accents
Stickles – unicorn

I appreciate you sharing your time with me. Have a fabulous day!

Newton’s Nook – March Release Day 3

This month’s release is a little smaller than some so today is the final day of release reveals for the Newton’s Nook March Release! Today we have 2 more adorable stamp an die sets to share with you.

Newton’s Blooms stamps and dies

Tulips stamps and dies

I have one card featuring both of these new sets to share with you. Let’s start with the Newton’s Blooms cuteness, shall we?

For this card, I stamped the images plus an extra butterfly and colored them with my copic markers. I used the coordinating dies to cut them out and set them aside to get inky on my background.

For that panel, I blended tumbled glass and salty ocean distress oxide inks on a white A2 size panel. I splattered it with water and flicked pearl watercolor all over it for some fun shimmer in the light. After it was dry, I added it to a white card base.

Next, I trimmed a couple pieces of patterned paper from the new Springtime paper pad and added them to the card base with foam tape. Finally, I added my images with a combination of foam squares and liquid glue. I placed the whole card in my MISTI and stamped the sentiment above those cute kitties and switched over to finishing touches.

I added glossy accents to all the flower centers, kitty noses and ladybug dots. Then I added unicorn Stickles to the butterfly and bee wings and this adorable card is all finished!

Sticking to my usual MO of getting inky and messy, I followed the same trend with my background for the beautiful new Tulips stamp set too.

This time I inked peacock feathers and cracked pistachio at an angle fading out to nothing. Then I flicked watered down peacock feathers ink and gold watercolor on the whole panel and let it dry. After that, I taped down the Raindrops stencil and spread white glitz glitter gel through it fading that to nothing the same way I did the ink.

I stamped and colored both images from the set with my copic markers and cut them out with the coordinating dies. Next, I die cut the ticket shape from the Framework die set and heat embossed a sentiment in white. I added foam squares to everything and adhered it in place.

For finishing touches on this card, I added a pink clay heart by the sentiment and a little glossy accents on the butterfly wings.

Would you like to win the “Tulips” or the “Newton’s Blooms” Stamp Set? We will choose ONE lucky winner for each stamp set!

Here’s how to win: Comment on the NND blog and Design Team blogs (see list below)! The winner will be chosen at random from the collective reveal posts. Make sure to check out each of their blogs and comment for your chance to win. You will not know which blog has been chosen so the more you comment on the better your chances are of winning! You have until Wednesday March 16th at 9pm ET to comment  — winners will be announced on the blog post on Thursday March 17th. 

Check out all the awesome Design Team Blogs below to enter:

Newton’s Nook Designs
Donna Idlet
Ellen Haxelmans
Tina Herbeck
Larissa Heskett
Samantha Mann
Zsofia Molnar
Farhana Sarker
Tatiana Trafimovich
Amanda Wilcox