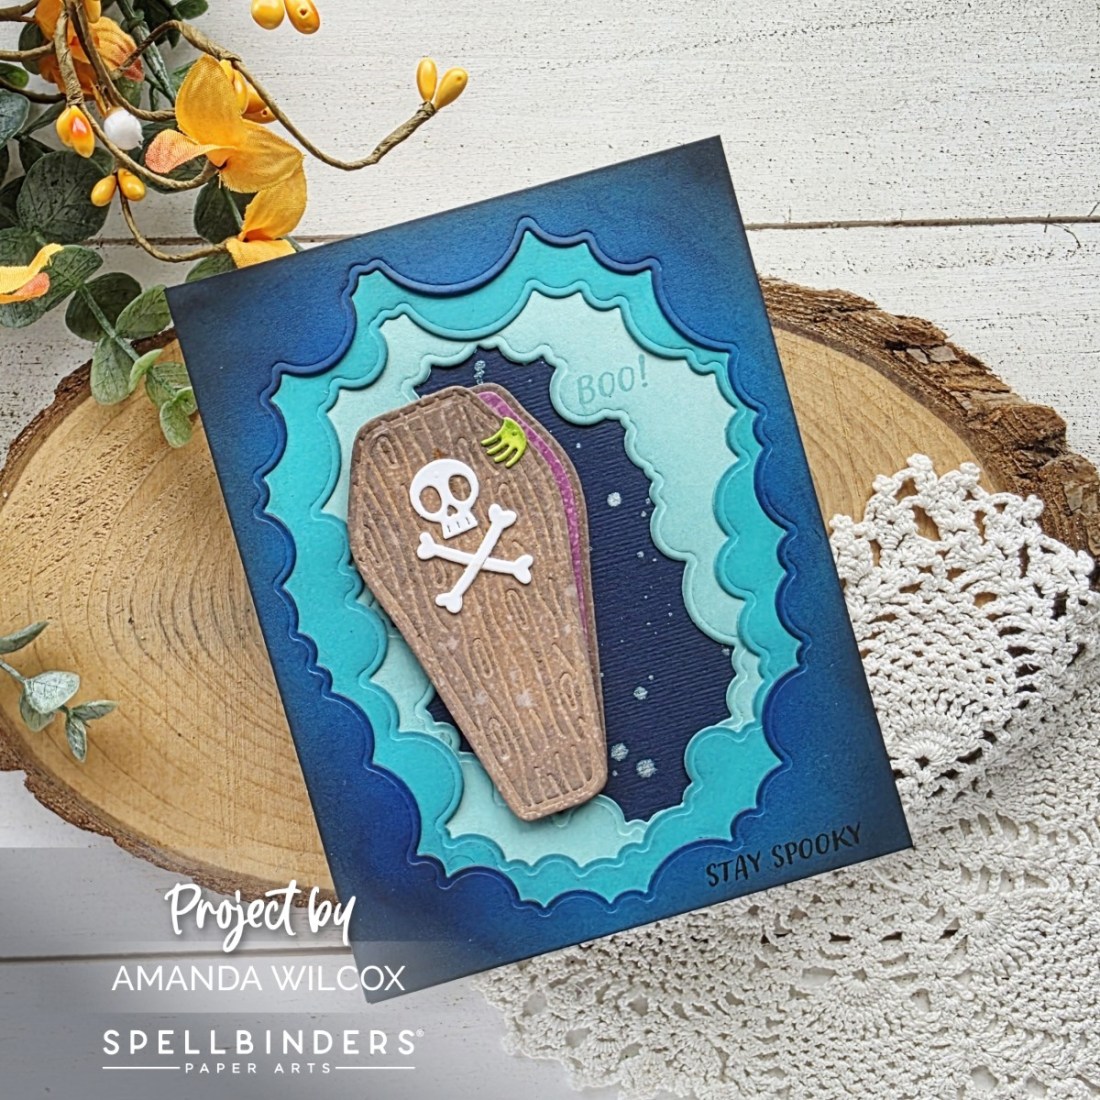
Spellbinders – 13 Days of Craftoween Day 9

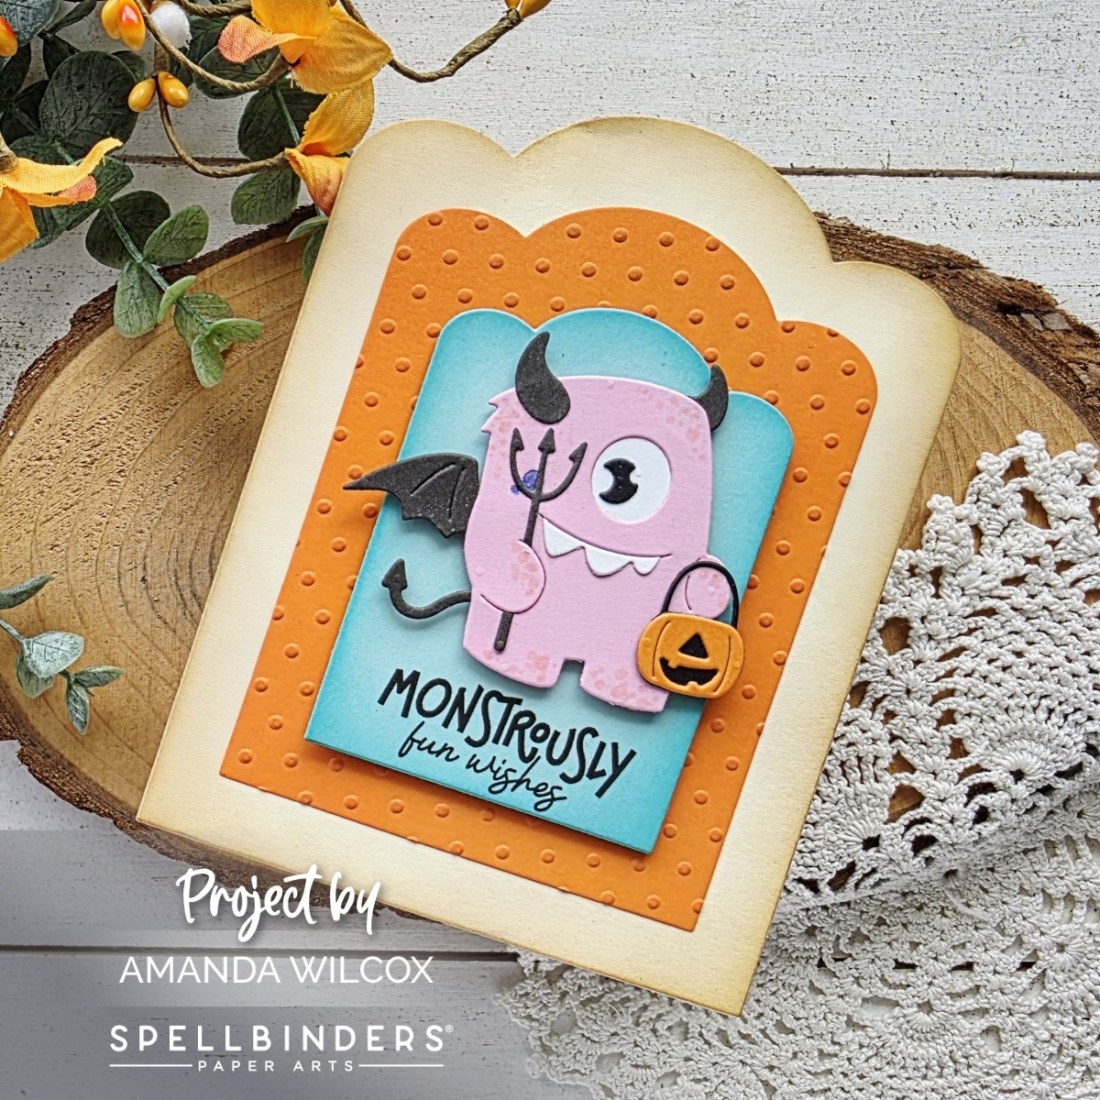
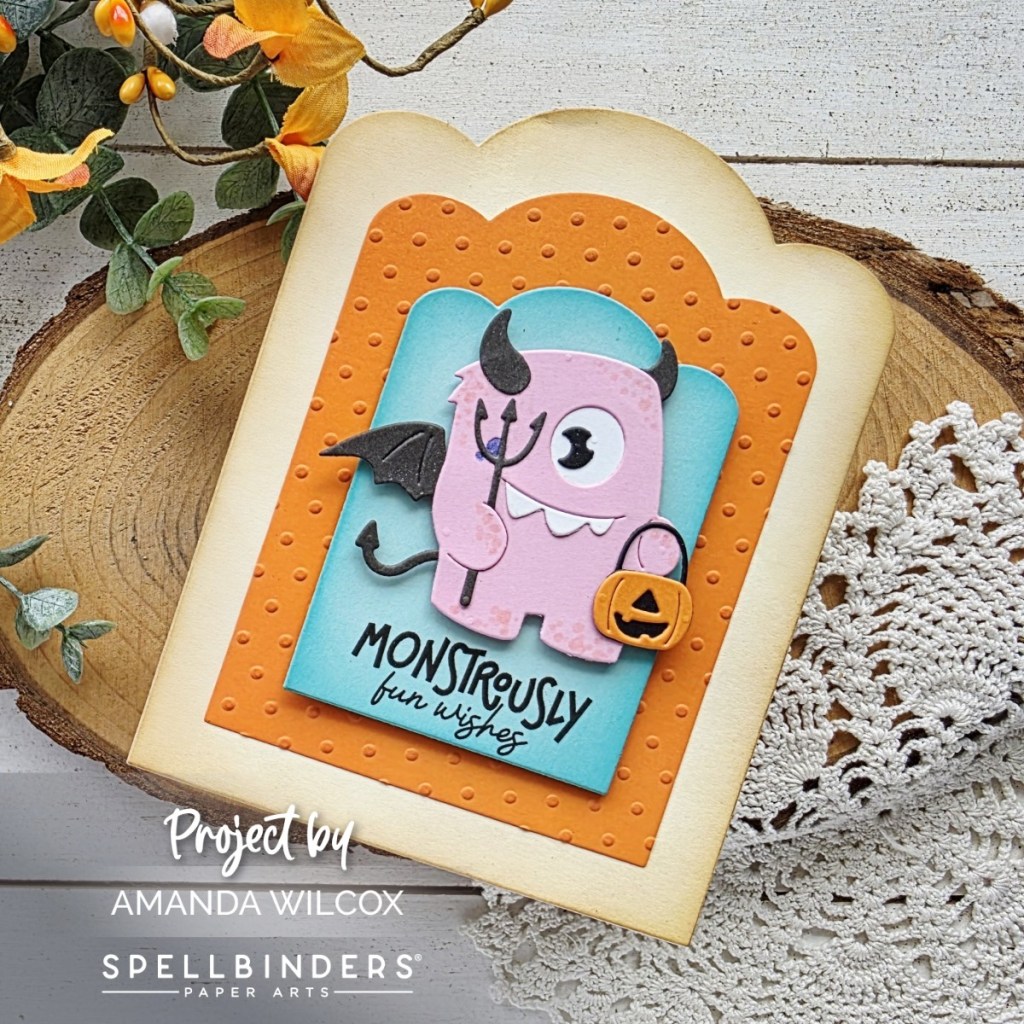
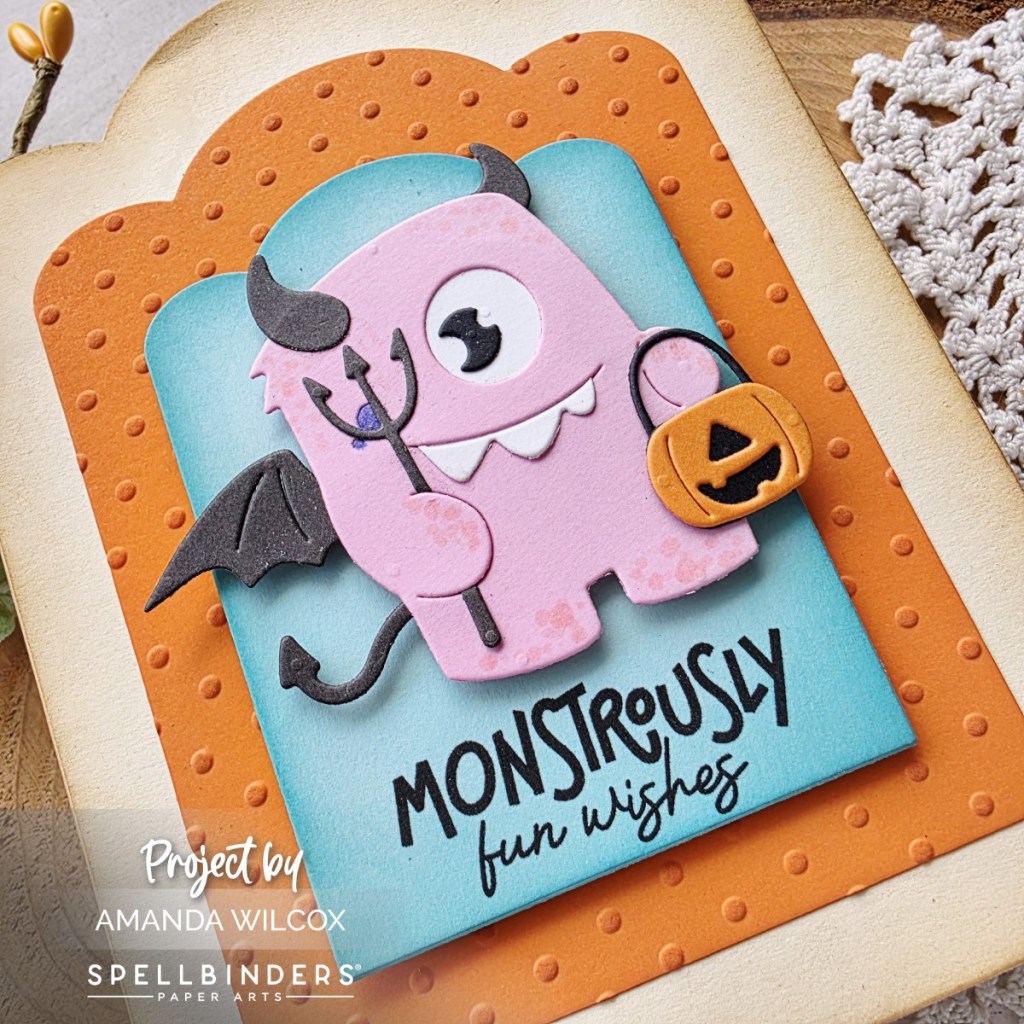
Who doesn’t love a sweet little monster from time to time?!? I sure do! And this cutie is no different. Day 9 was so fun to build and would be amazing in all the color combos too!

I used my copics to give her a little dot detail and colored the cheek embossing in with a purple marker for fun. And did you notice that adorable one-eyed pumpkin bucket?!? So cute!

The layers on this shaped card come from the Scallop Labels and Tag dies. I cut the bottom from cream and ink blended a little brown for depth. The next layer was embossed with the Tiny Dots embossing folder and the last one was from light blue ink blended with teal.

One more tip on this kind of shaped card. Instead of a top fold that’s only holding on by the middle scallop, I scored the left side of this back layer at 1/4″ and glued them together on the side.

Grab your 13 Days of Craftoween HERE and join in the fun!

I appreciate you sharing your time with me. Have a fabulous day!
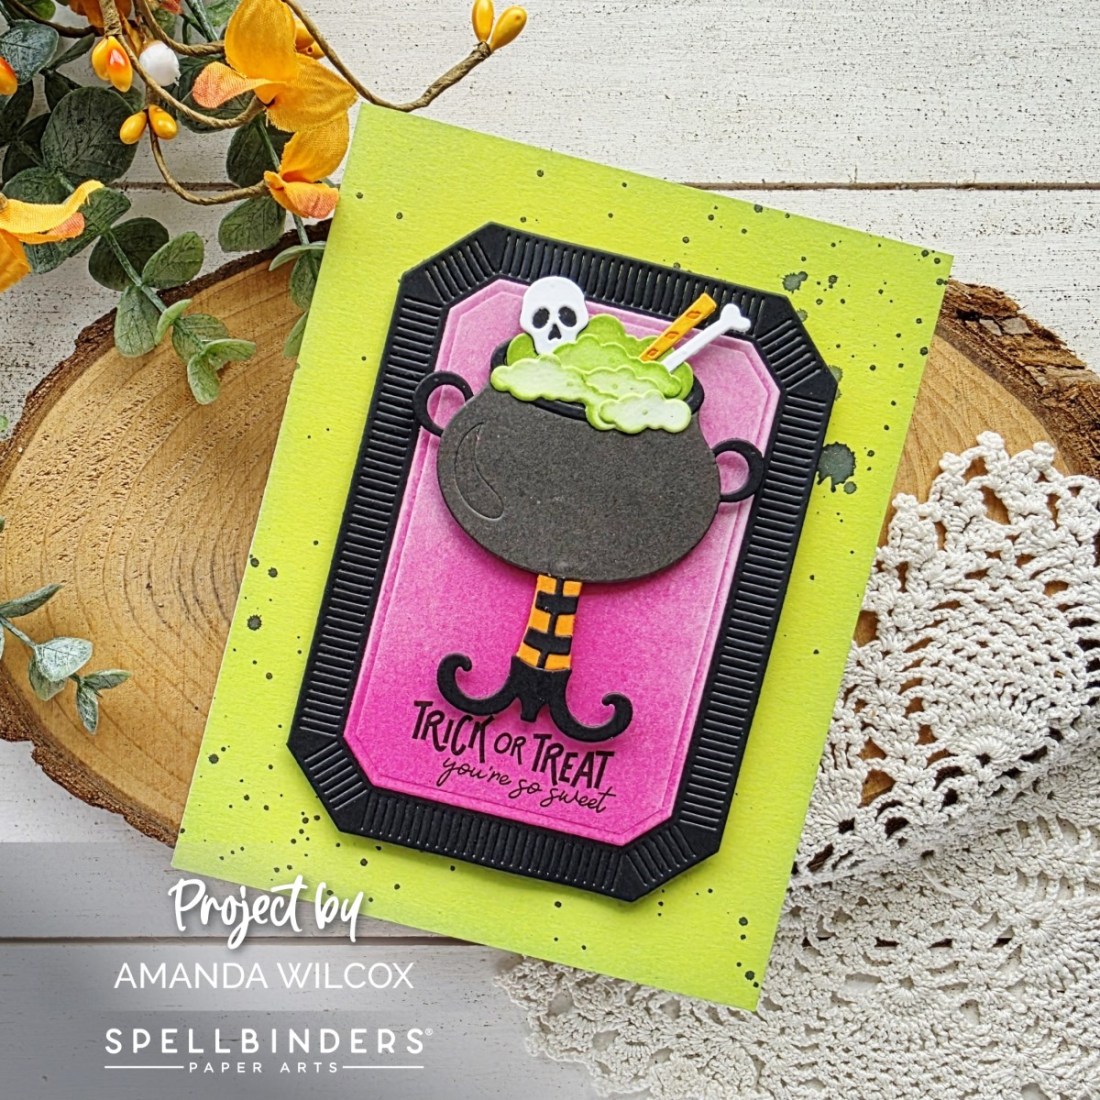
Spellbinders – 13 Days of Craftoween Day 8

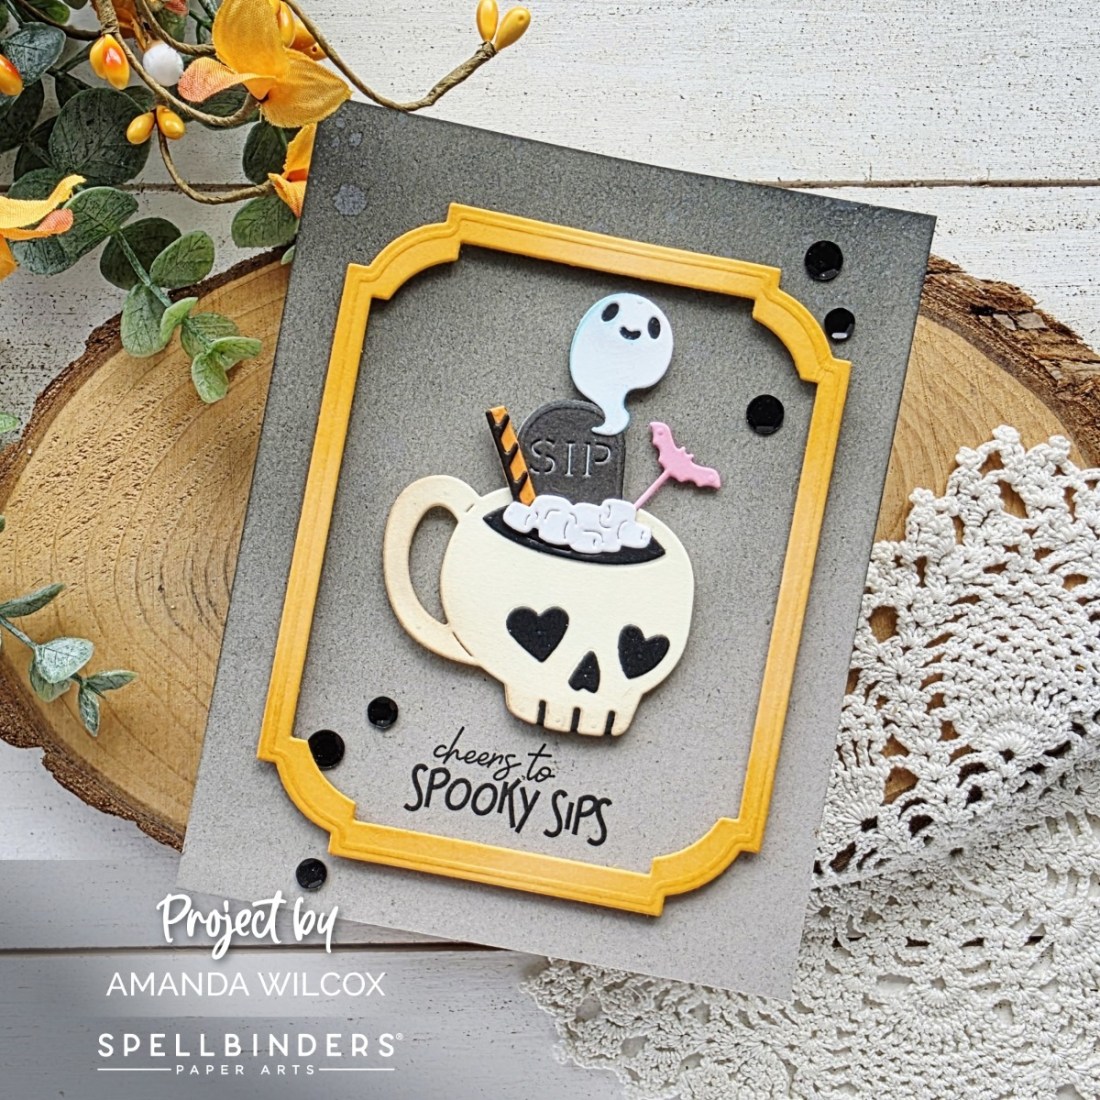
If you’ve followed me for a bit you know I was on the Coffee Loving Cardmakers design team because I love coffee, tea and all things comfort! So to pair that with Halloween had me with heart eyes when I opened today’s surprise!

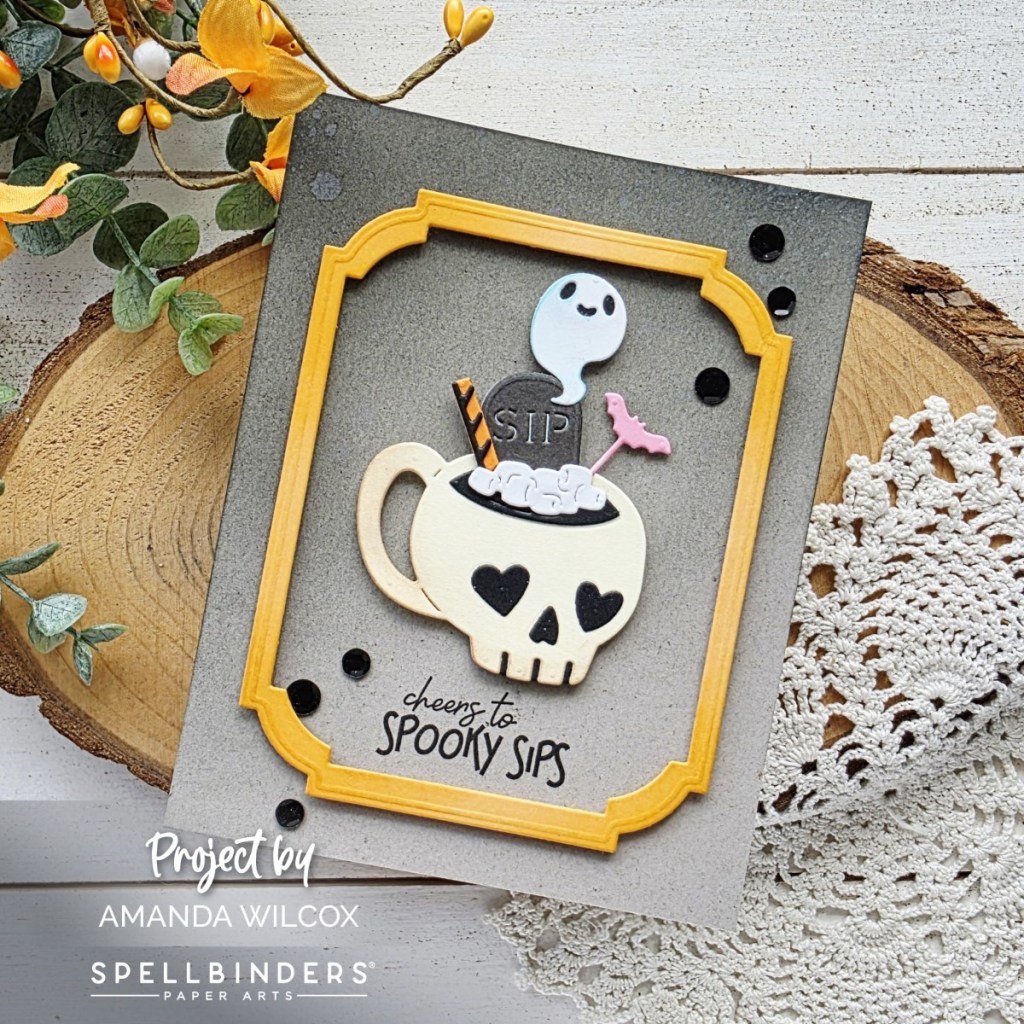
This little mug of death was so fun to build and decorate! I paired it with a little ombre ink blended on gray cardstock and a fun frame to give it center stage! Remember, if you have nesting dies, just add two of them together and create your own fun shaped frames all day long!

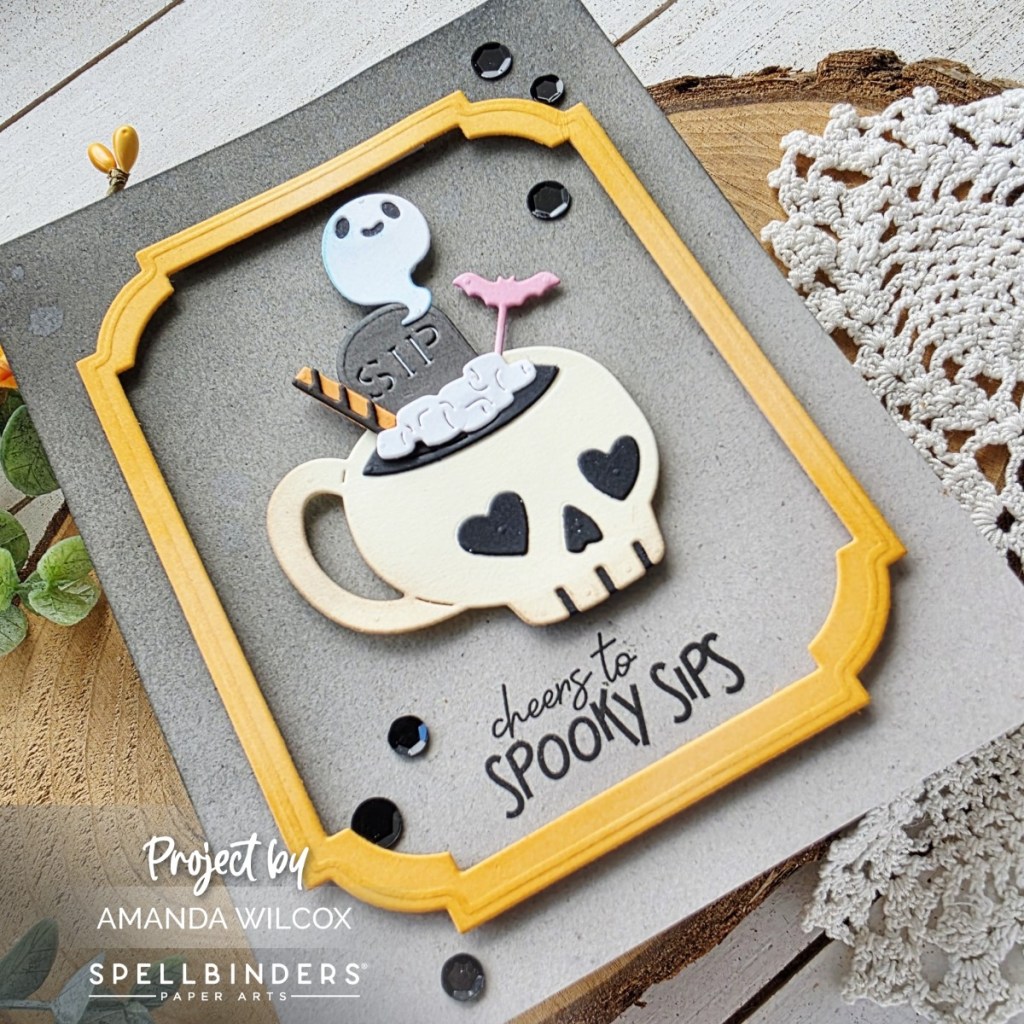
After popping everything up with foam squares, I placed the card in my MISTI to stamp the sentiment so it lined up where I wanted it. Then I finished this card off with more of those great sequins!

Grab your 13 Days of Craftoween HERE and join in the fun!

I appreciate you sharing your time with me. Have a fabulous day!
Spellbinders – 13 Days of Craftoween Day 7

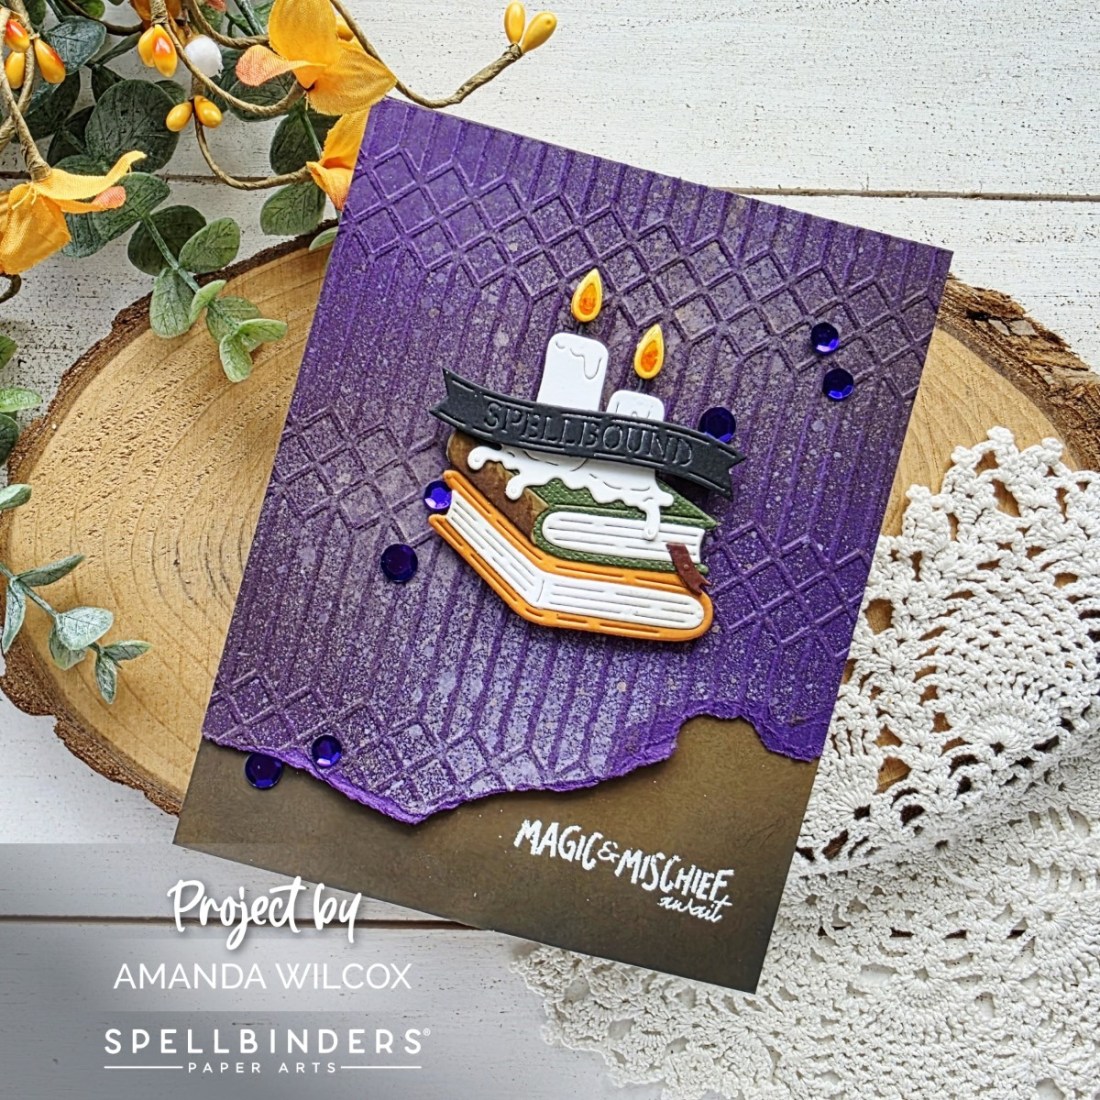
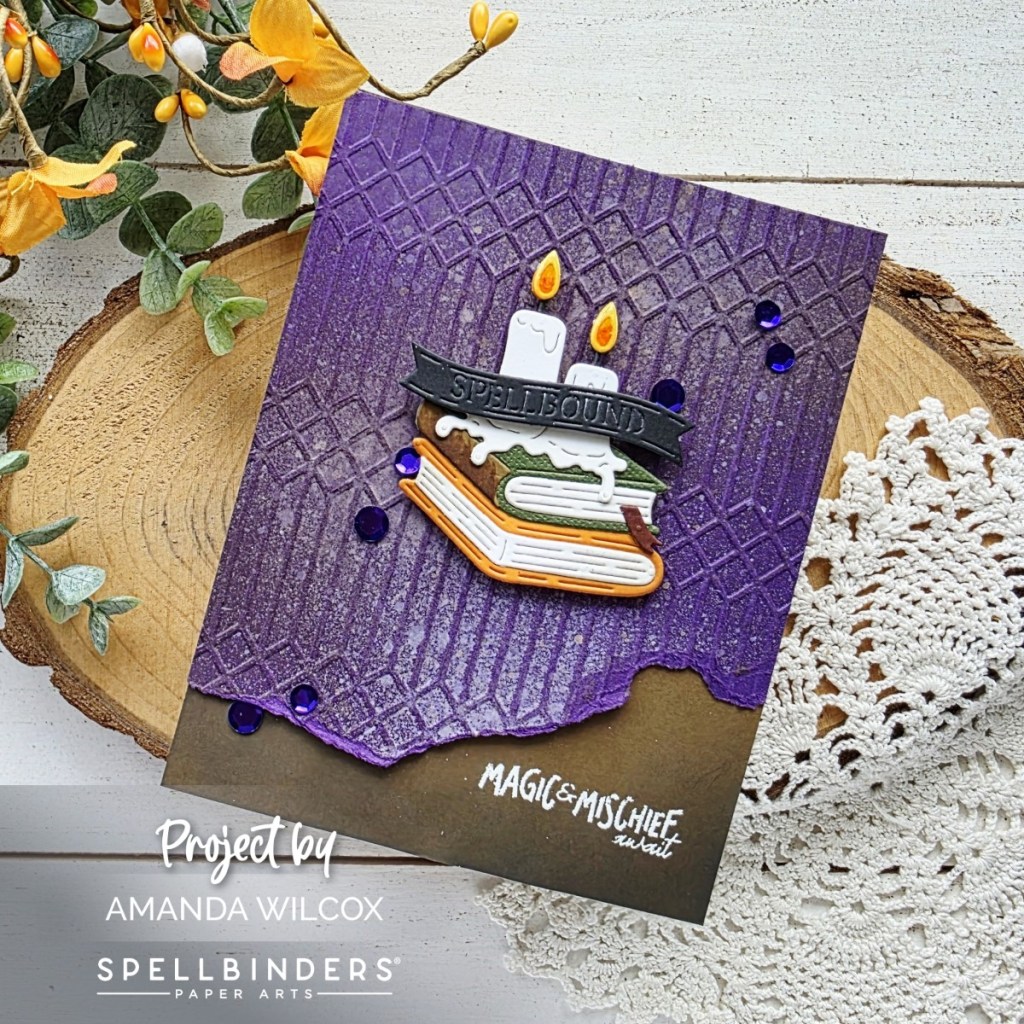
If you know me, you know I squealed when I opened today’s beautiful envelope of surprise! BOOKS!!!! And spooky books at that! They’re so perfect!

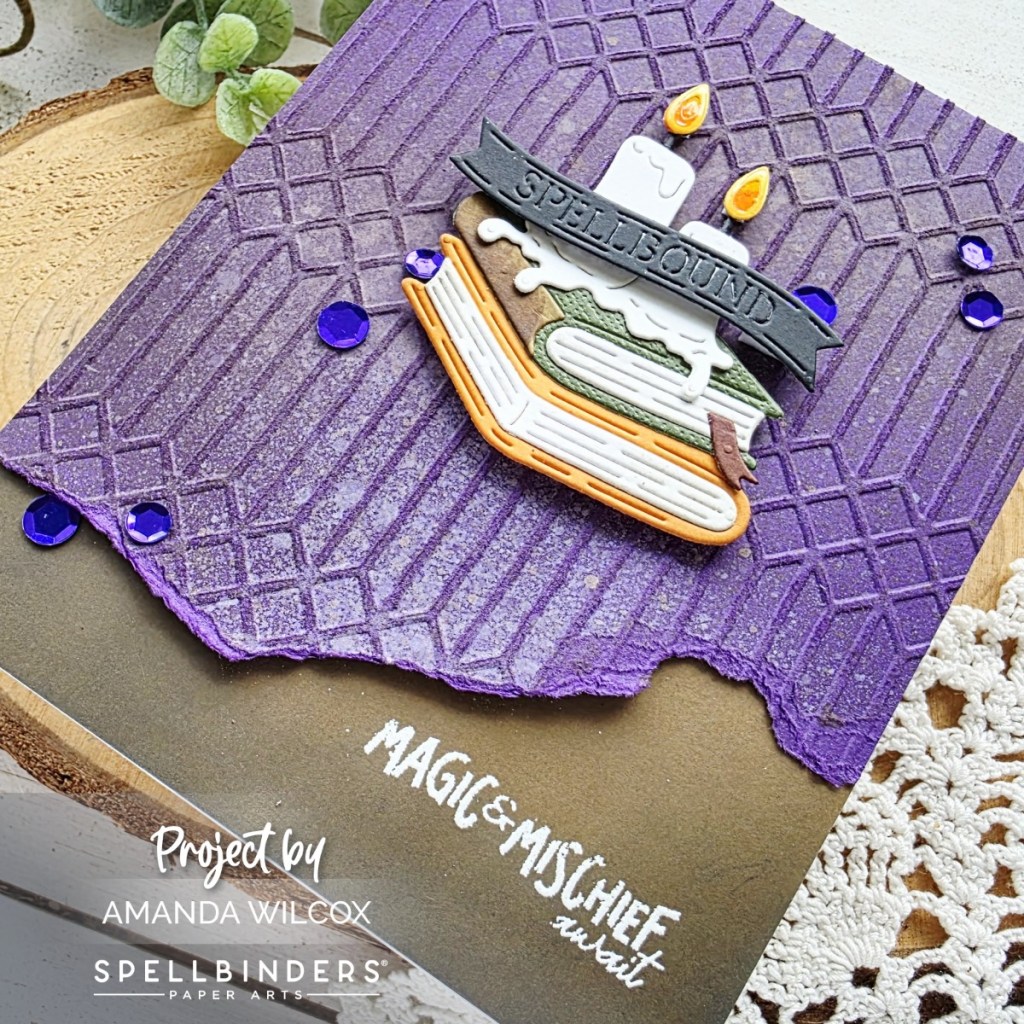
After assembling the books, candles and popping on the sentiment banner, I pulled out a regal embossing folder called Columns and embossed a dark purple cardstock. Then I spritzed it with distress oxide spray for distressing texture and tore off the bottom for that worn and weathered look.

Using the torn panel as a guide, I ink blended the bottom of a piece of dark brown cardstock and heat embossed my sentiment. I glued the panels together and to a card base before popping the books up with foam squares. I finished things off with glossy accents on the flames and another scattering of sequins from the pack in the kit.

Grab your 13 Days of Craftoween HERE and join in the fun!

I appreciate you sharing your time with me. Have a fabulous day!
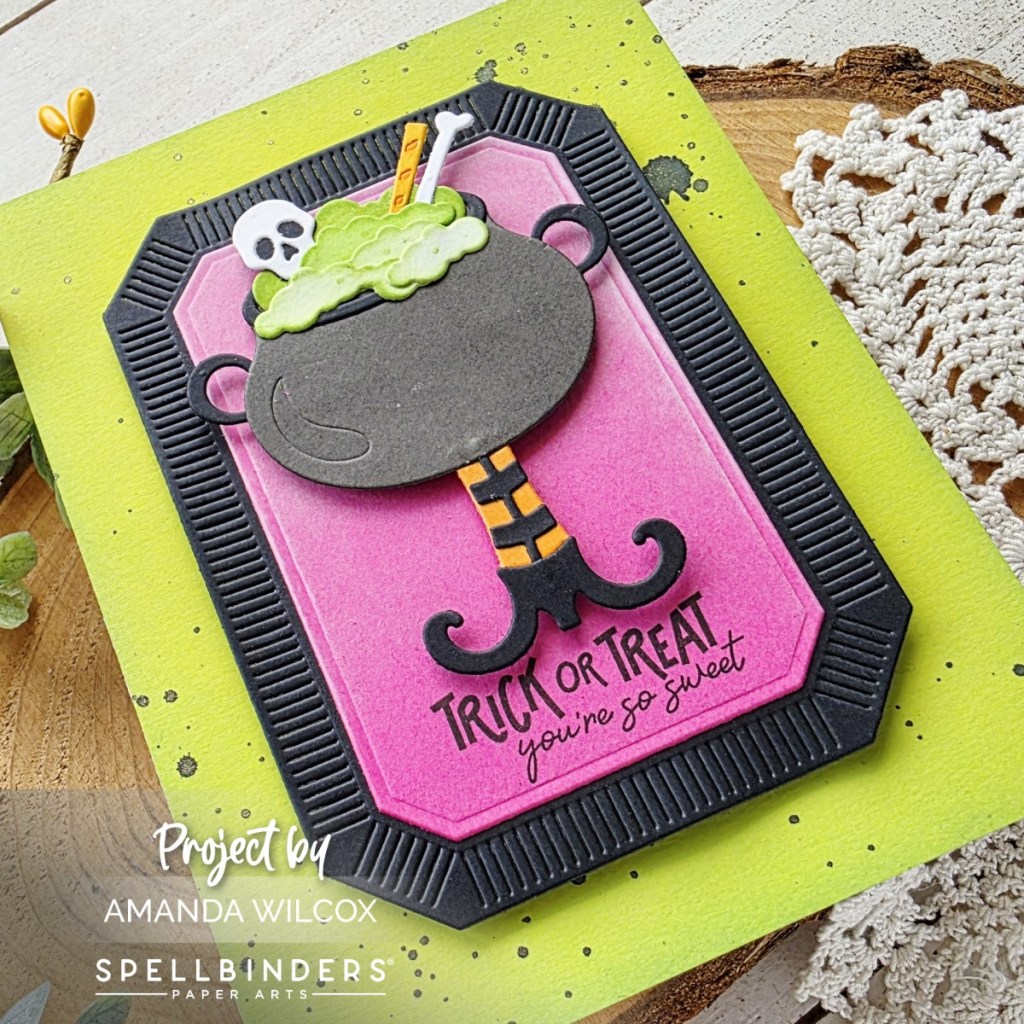
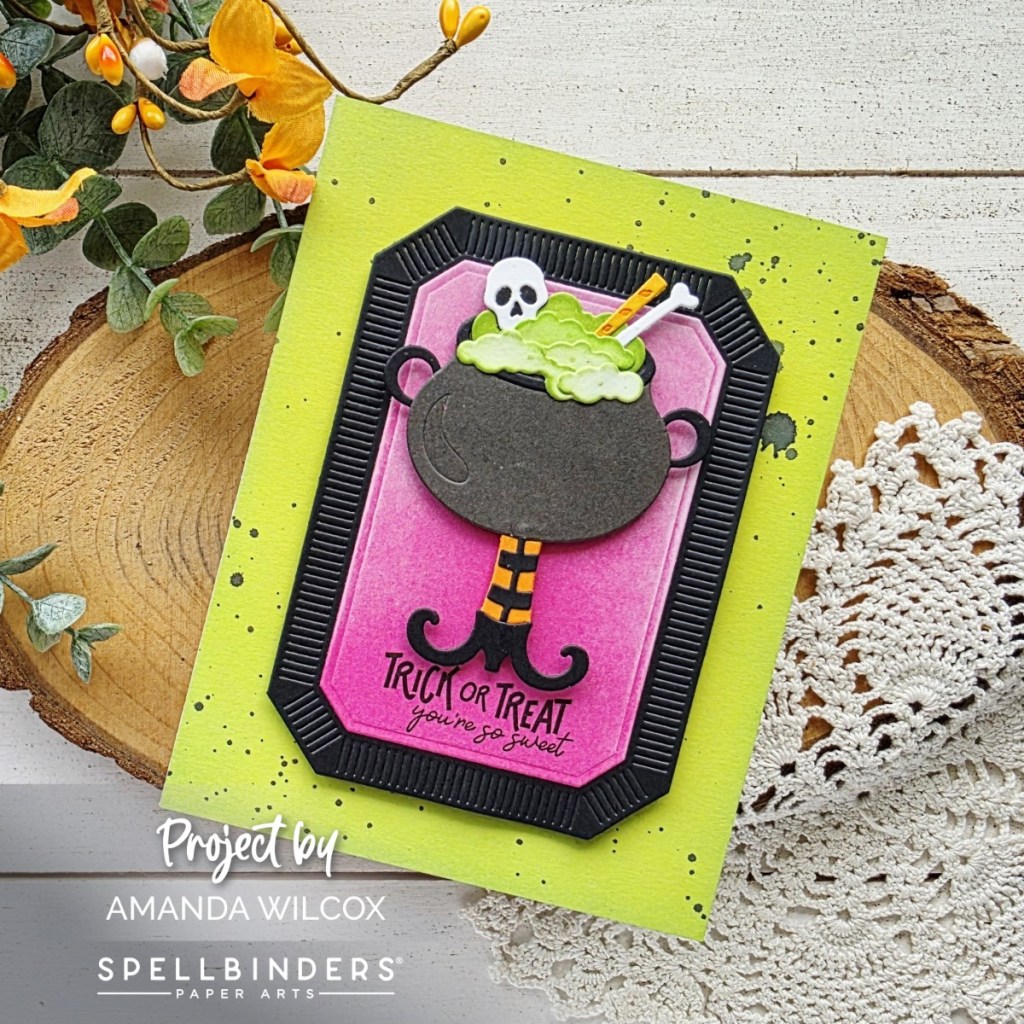
Spellbinders – 13 Days of Craftoween Day 6

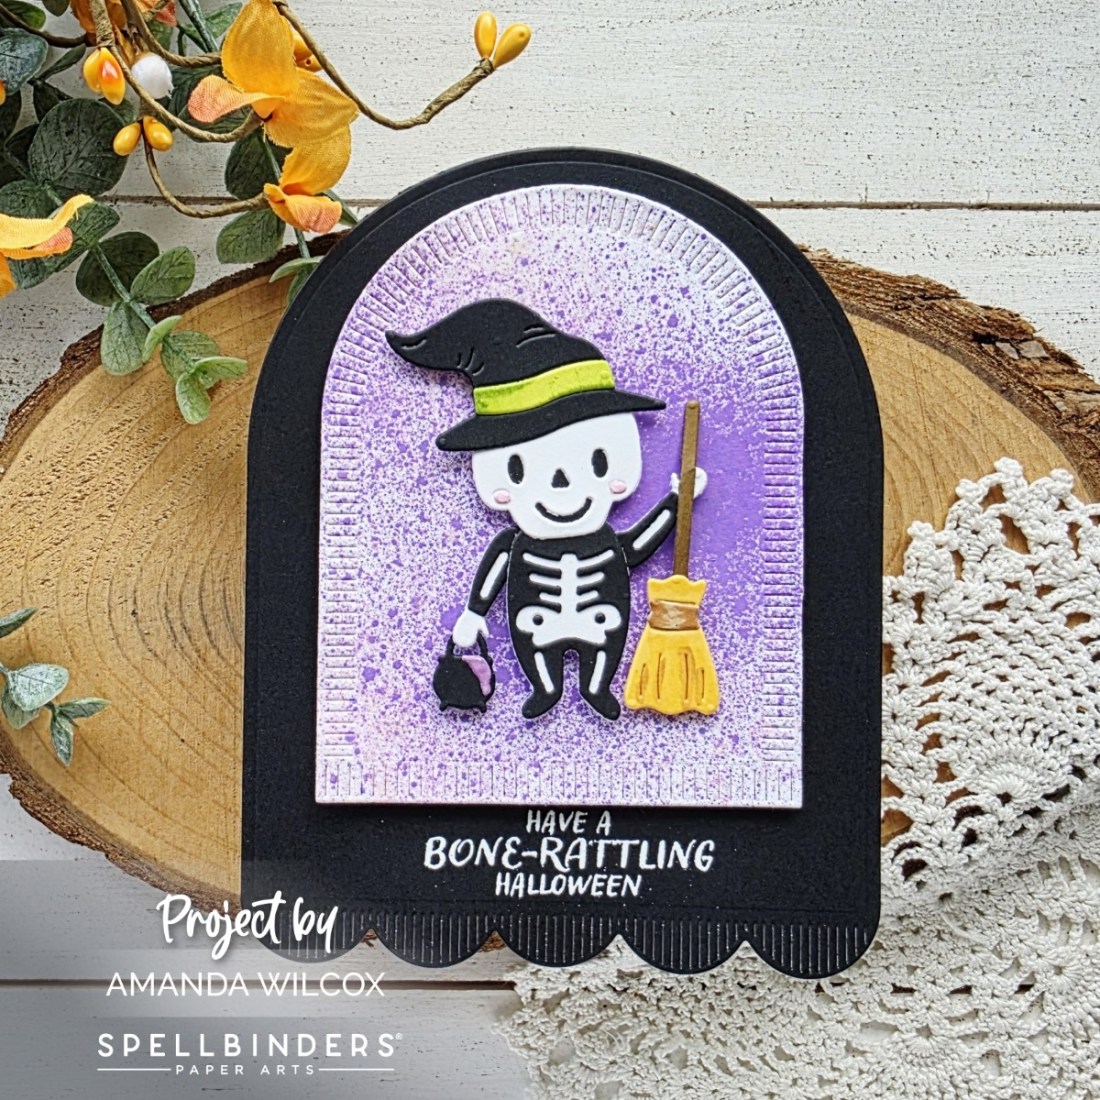
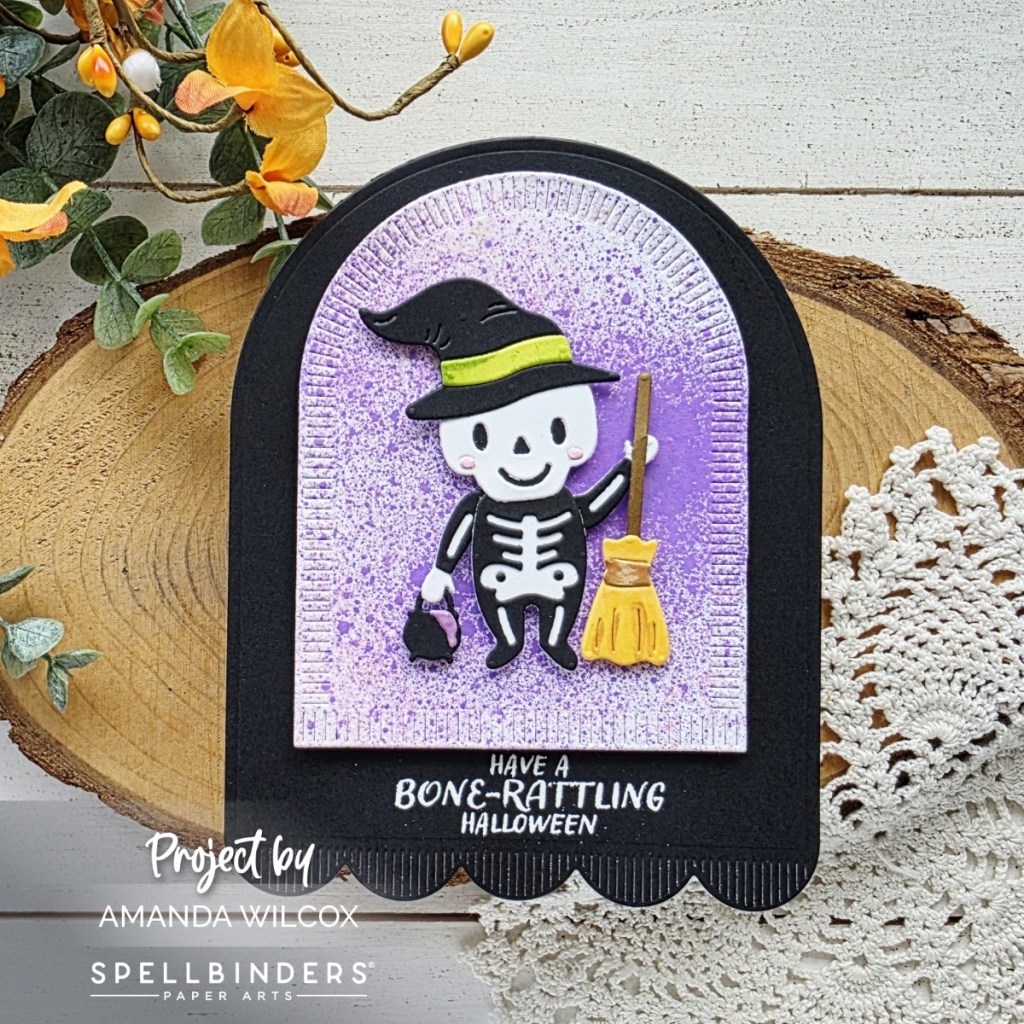
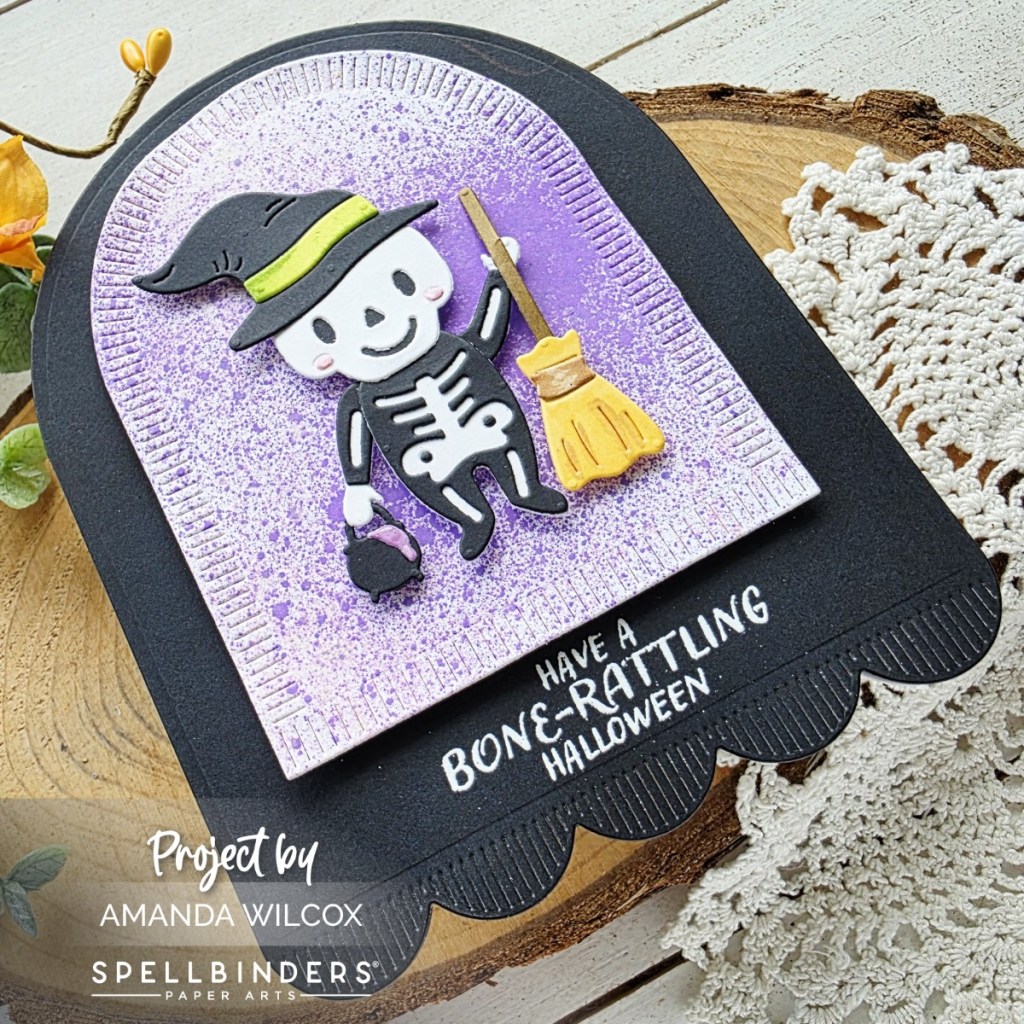
Keeping things spooky but adorable and fun, we’ve got the most perfect addition in today’s envelope! How cute is this skeleton witch and their cauldron and broom! I love it all!

After building my character, I couldn’t resist a little distress oxide spray for a fun and bright background. Then, instead of centering the arch panel, I scooted it up a little so I could heat emboss my sentiment right underneath it.

To make this a shaped card, I took the largest background die and cut it a second time from white cardstock. Then I scored a line about 1/2 inch from the top and glued the back to the front just on that little flap. After the glue dried I folded it open and used a bone folder to solidify the crease.

Grab your 13 Days of Craftoween HERE and join in the fun!

I appreciate you sharing your time with me. Have a fabulous day!
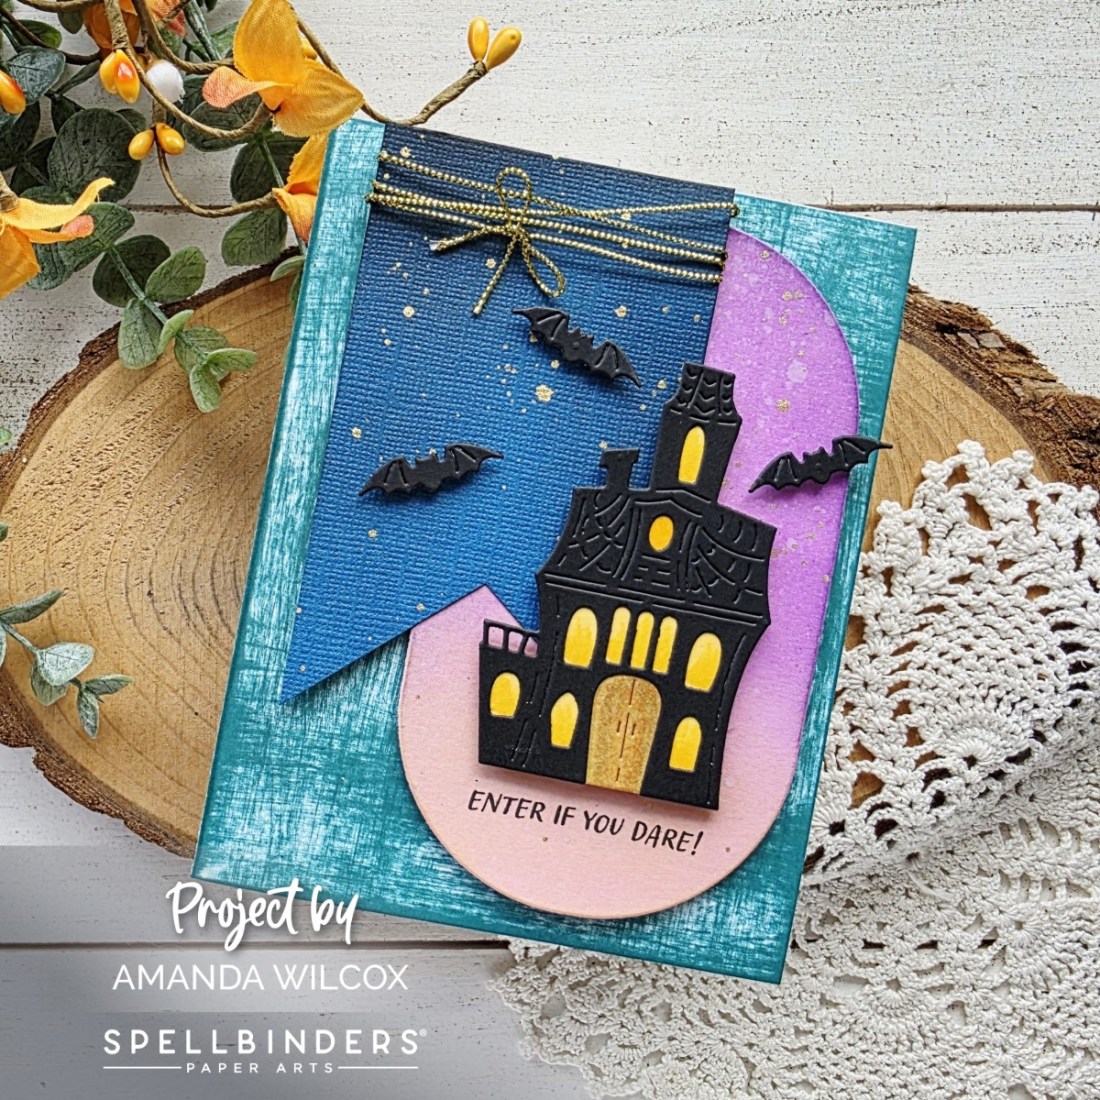
Spellbinders – 13 Days of Craftoween Day 5

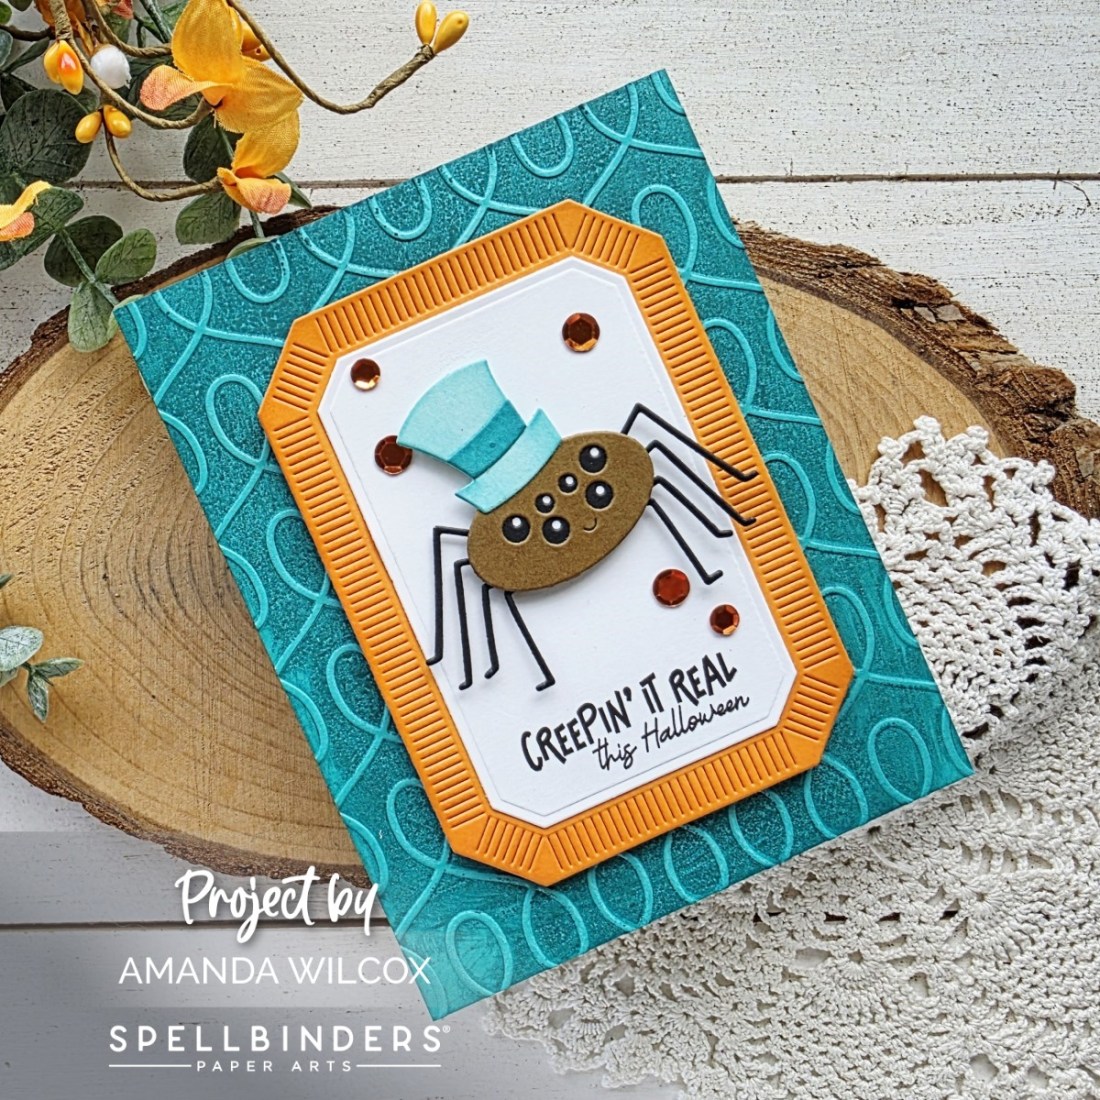
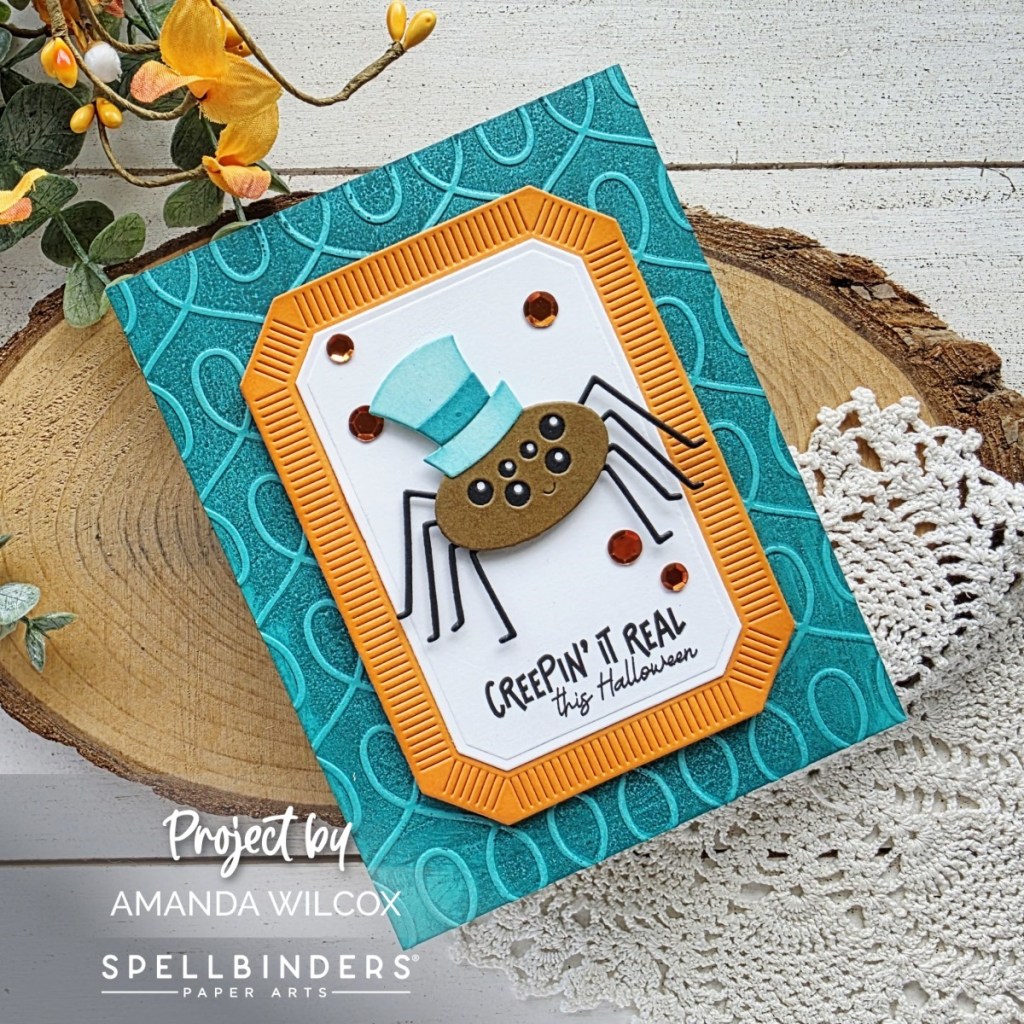
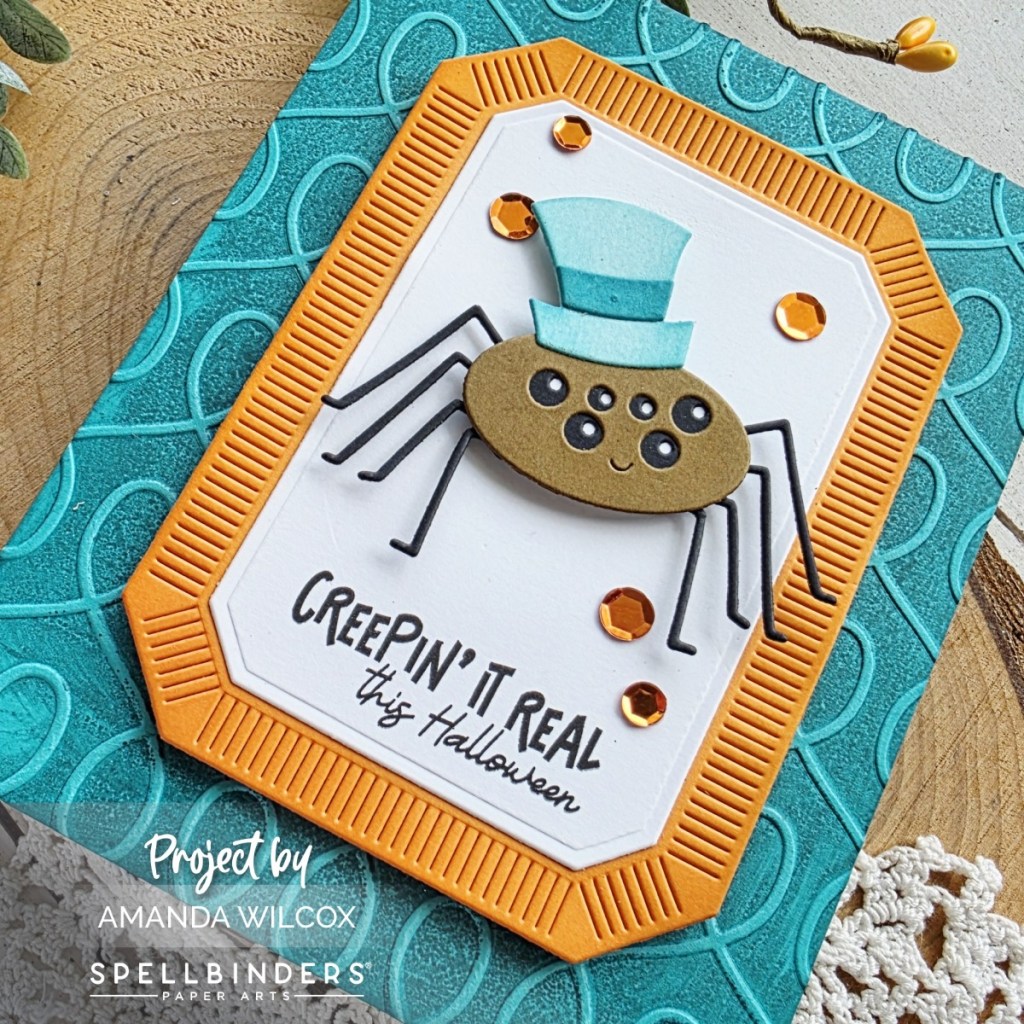
Okay friends. When I opened day 5 in my Craftoween calendar I got a little spooked because spiders, duh! But in reality he’s pretty darn cute and really fun to build! Another genius design!

I also couldn’t resist straying from your typical Halloween colors today and adding a little teal for fun and whimsy. I inked up my Loops embossing folder before running it through my die cutter which gave that awesome dimension with the texture!

And I finally found the perfect opportunity to add some of the awesome sequins included in the kit for a little shine and interest.

Grab your 13 Days of Craftoween HERE and join in the fun!

I appreciate you sharing your time with me. Have a fabulous day!
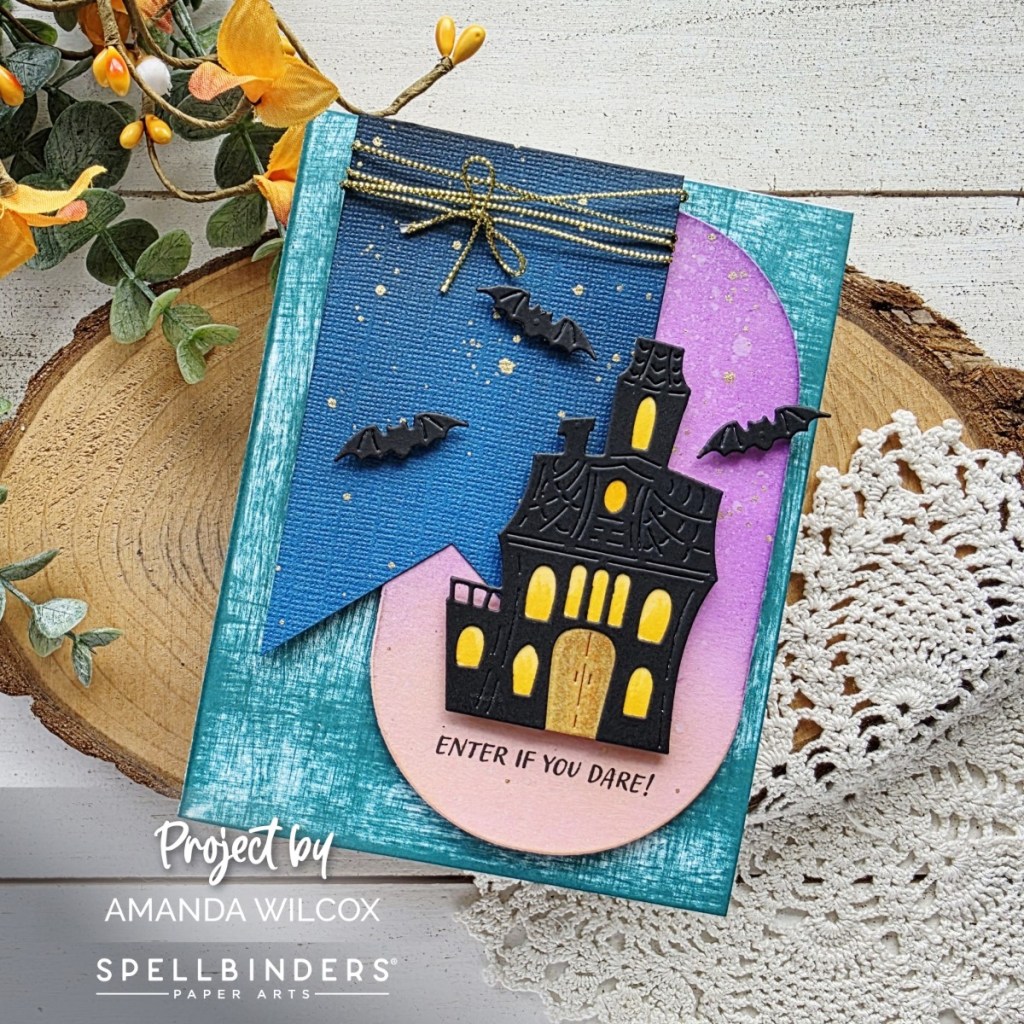
Spellbinders – 13 Days of Craftoween Day 4

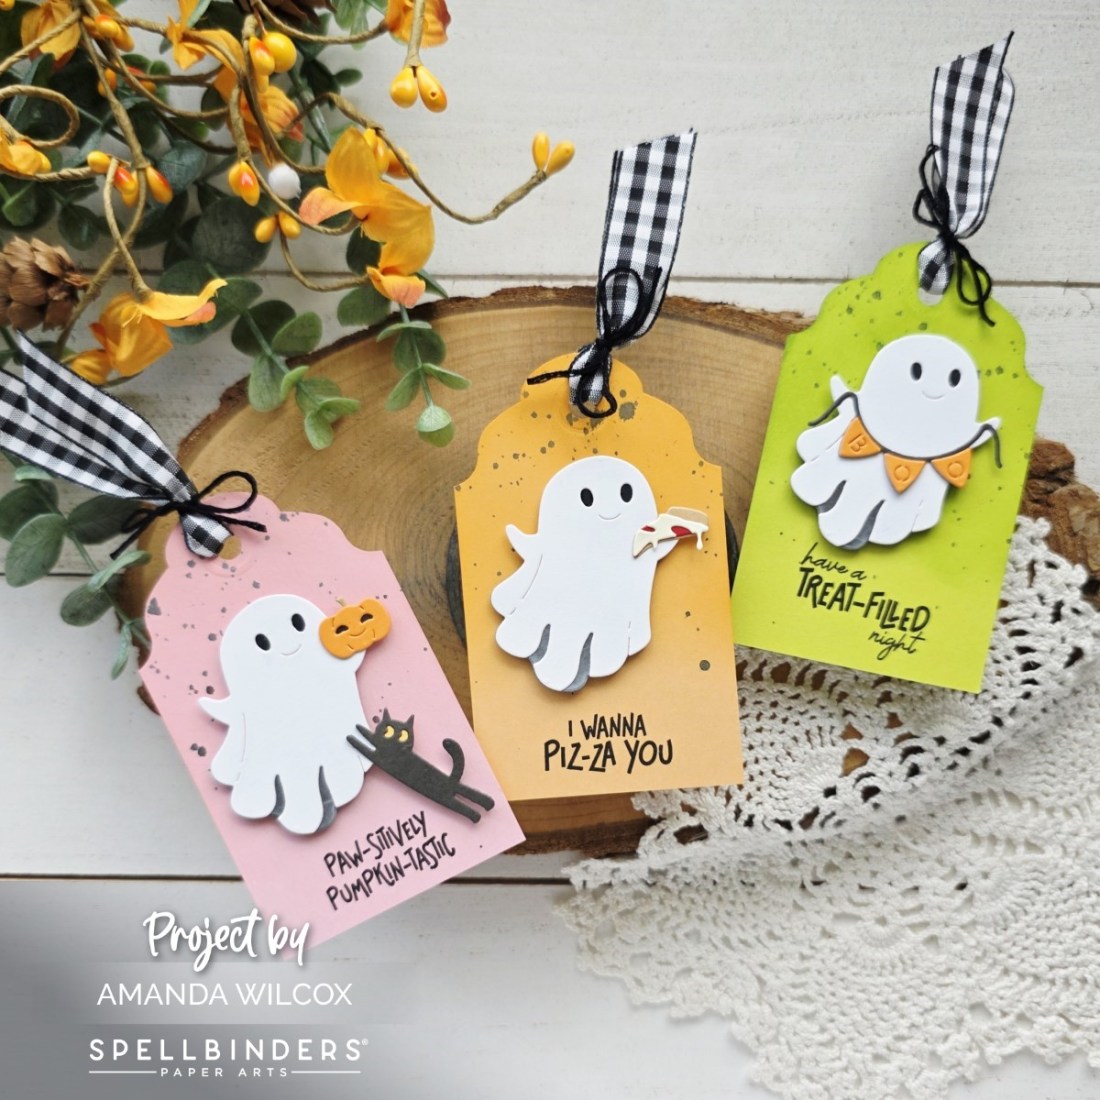
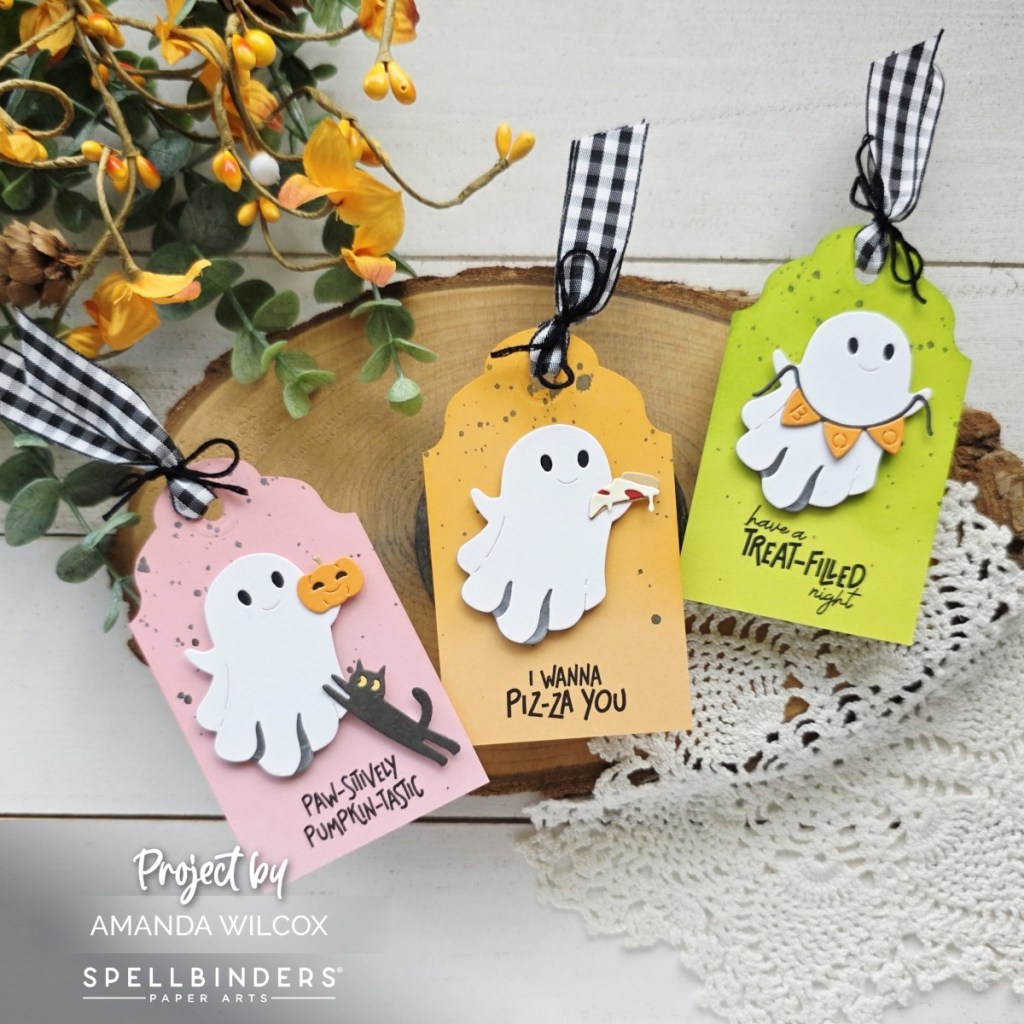
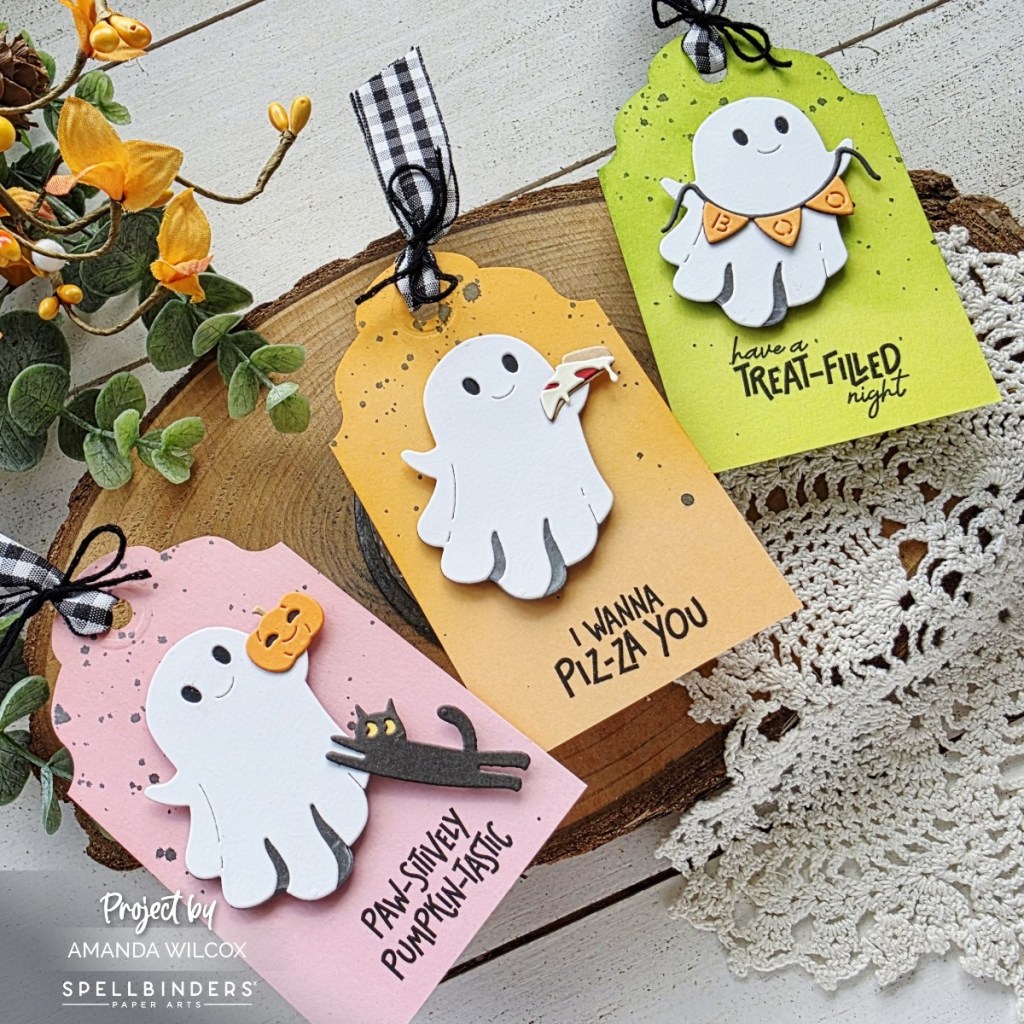
Today’s reveal for the Spellbinders 13 Days of Craftoween required multiple projects because there was no way I could choose which fun thing or coordinating sentiment to use with this fun ghost! Can you really blame me though?!?

So after building all these fun ghosties and their accessories/buddies, I chose some background color cardstock and used the Spellbinders tag topper punch to create my own custom size tags. I ink blended the tops of each tag for a little depth and splattered some black paint for interest.

Then I stamped the coordinating sentiment on the bottom and popped the images up with foam squares. I used the same gingham ribbon and embroidery floss combo on each tag and seriously cannot wait to use them this year!

Which is your favorite?

Grab your 13 Days of Craftoween HERE and join in the fun!

I appreciate you sharing your time with me. Have a fabulous day!
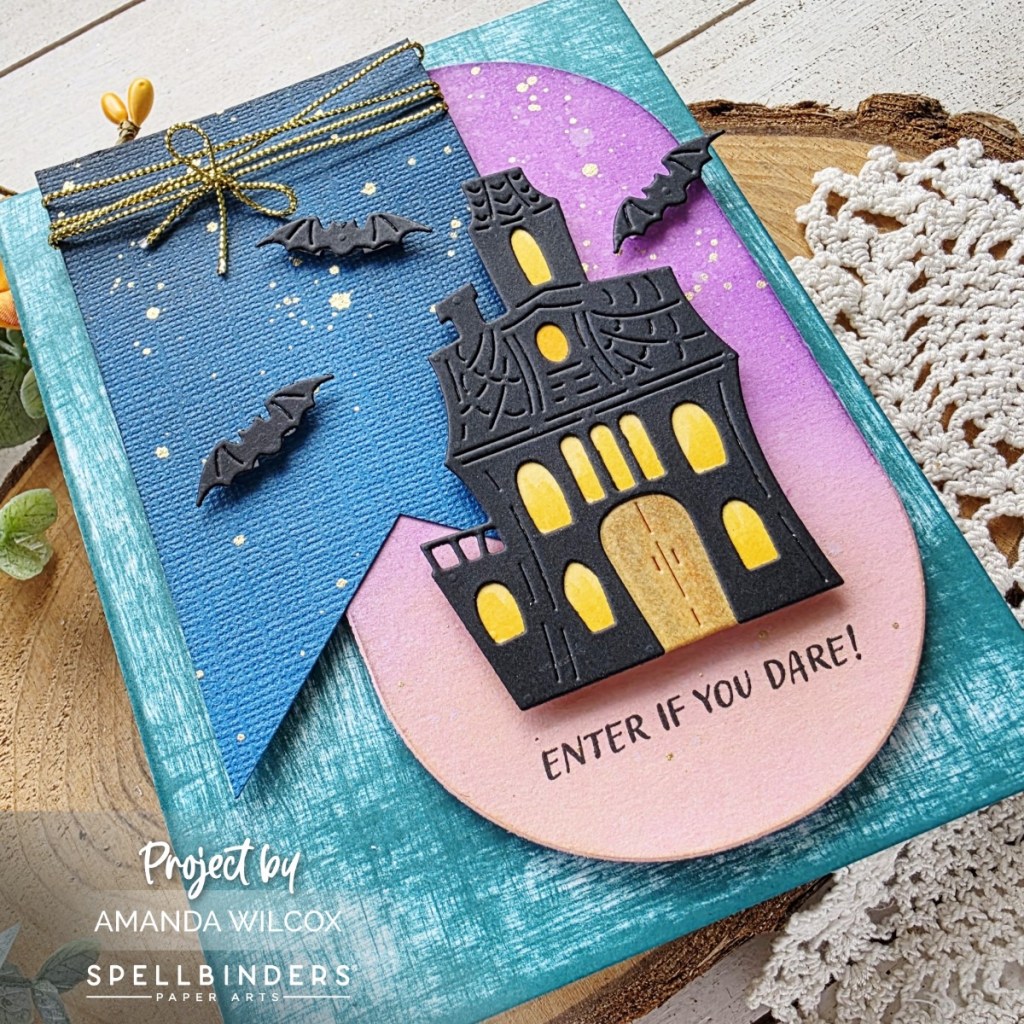
Spellbinders – 13 Days of Craftoween Day 3

Alright my frightful friends! Are we ready for today’s fun reveal?!? I loved it so much I made three without blinking. They’re so cool and versatile in the way of changing the label to anything you can imagine!

Today I added the sentiment on a banner from North Pole Sentiments die set. It fit perfectly and allowed so much more of the fun embossed background to show.

This embossing folder is called Dazzling Dots and I inked it up with teal ink to help it pop, fading as I went up. Also, in my typical fashion, everything is popped up with foam tape.

Grab your 13 Days of Craftoween HERE and join in the fun!

I appreciate you sharing your time with me. Have a fabulous day!
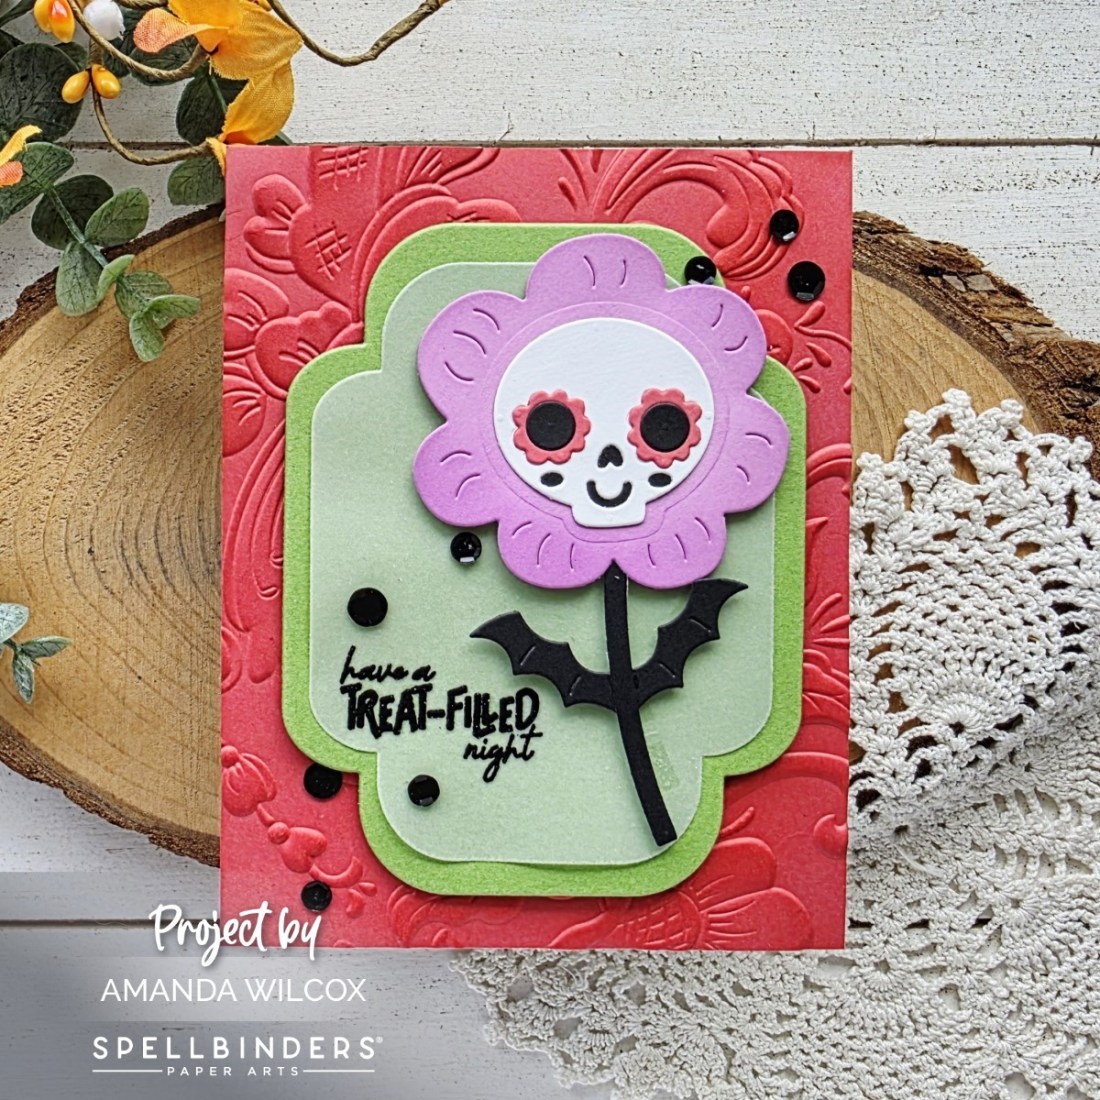
Spellbinders – 13 Days of Craftoween Day 2

We’re back for day 2 of our Craftoween crafting and today is a little spookier than the start but I love it equally! Don’t you?!?

It’s speaking Edgar Allen Poe to me in my dreams! He’s wonderfully eerie and would be fabulous to perch on so much more than this awesome skull!

I paired him with the Plaid Company embossing folder and Scallop Labels nested dies. I inked the plaid background with white ink to help it pop and splattered the front panel with dark teal ink for some interest as well.

Grab your 13 Days of Craftoween HERE and join in the fun!

I appreciate you sharing your time with me. Have a fabulous day!
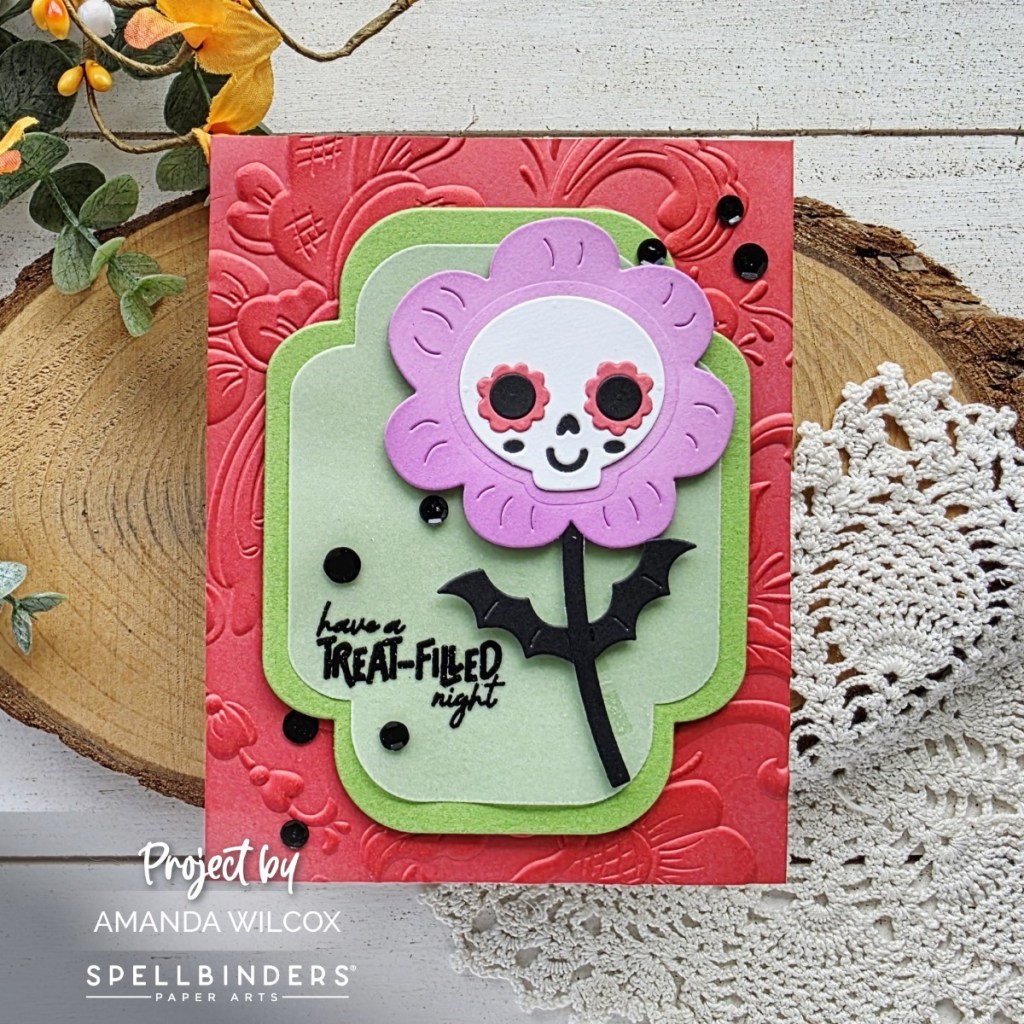
Spellbinders – 13 Days of Craftoween Day 1

Welcome ghosts and ghouls! It’s the first day of Spellbinders 13 Days of Craftoween! Where we reveal a spooky fun creation each day to inspire your creepiest crafting! I hope you love it as much as I did creating them all!

Today we have this absolutely spectacular little Dracula to build. He was so much fun and crazy simple to assemble. These dies are brilliantly designed!

You’ll notice the sentiment stamps and embellishments that I use through all 13 days of this project are from the kit. Today I added the Underwater Tunnel dies to add interest and whimsy to the design.

Grab your 13 Days of Craftoween HERE and join in the fun!

I appreciate you sharing your time with me. Have a fabulous day!
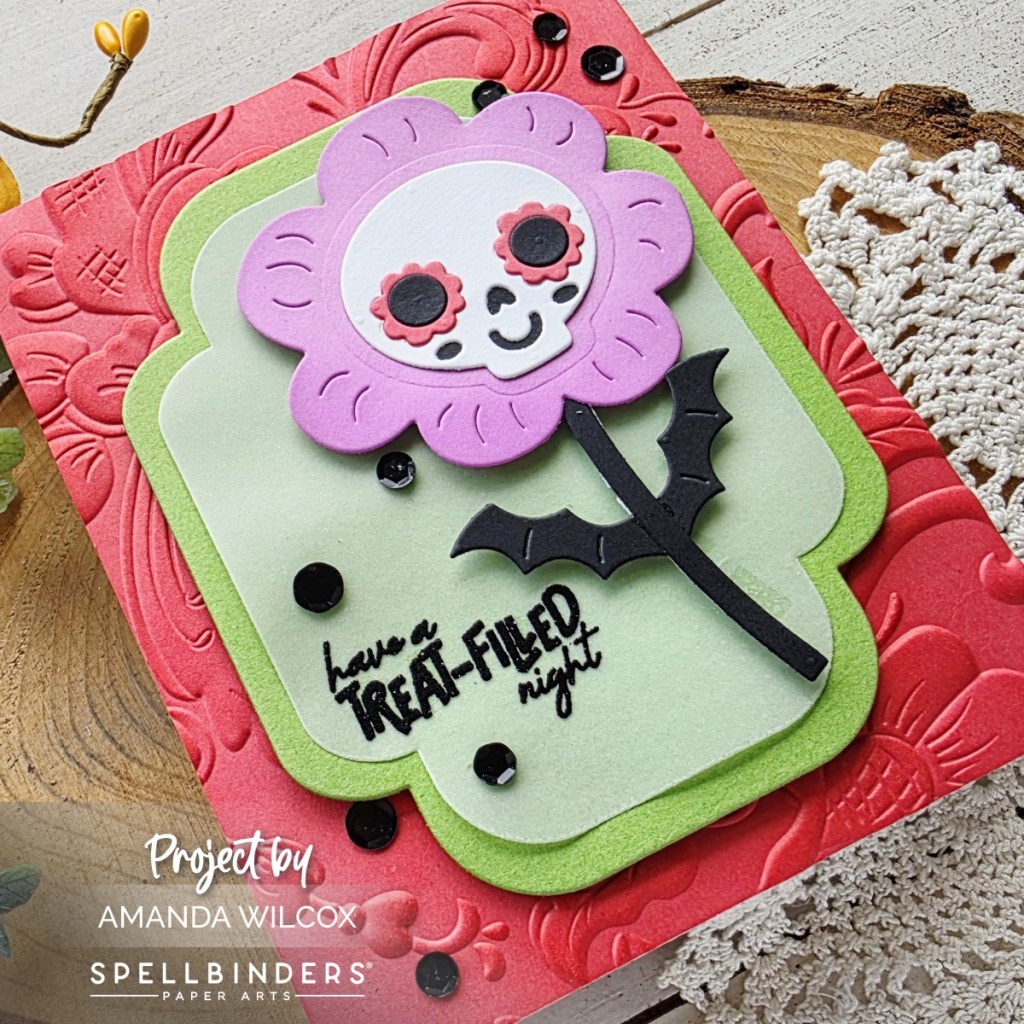
Spellbinders – Sharon’s Scissors | Fundraising Release

Hi friends. I’m honored to be sharing my card with you today. Spellbinders released this sweet die set called Sharon’s Scissors in honor of Sharon Kilma, a longtime craft shop owner who suddenly passed from heart disease earlier this year. A portion of the proceeds for this die set are being donated to the American Heart Association.

It’s a wonderful small die set, including a sentiment and everything. Today I cut the scissors from pink and light green cardstocks, with the blades from silver foil cardstock. I used liquid glue to adhere the pieces together. Then I cut my sentiment strips from black and a backer in white to help the sentiment show better.

Next, I die cut a Notched Rectangle from teal cardstock and embossed it with the Loops embossing folder. I ink blended it with darker teal ink and splattered it with white. I chose gray as a soft neutral for my card front and then popped the loops panel up with foam tape.

Next, I glued the hearts directly to the panel and popped the scissors and sentiment strips up with foam squares and strips.

Products used today:
Sharon’s Scissors dies
Loops embossing folder
Notched Rectangles dies
Foam squares and strips
Liquid glue
Reverse tweezers
Blending brush

Lawn Fawn mermaid ink

I appreciate you sharing your time with me. Have a fabulous day!