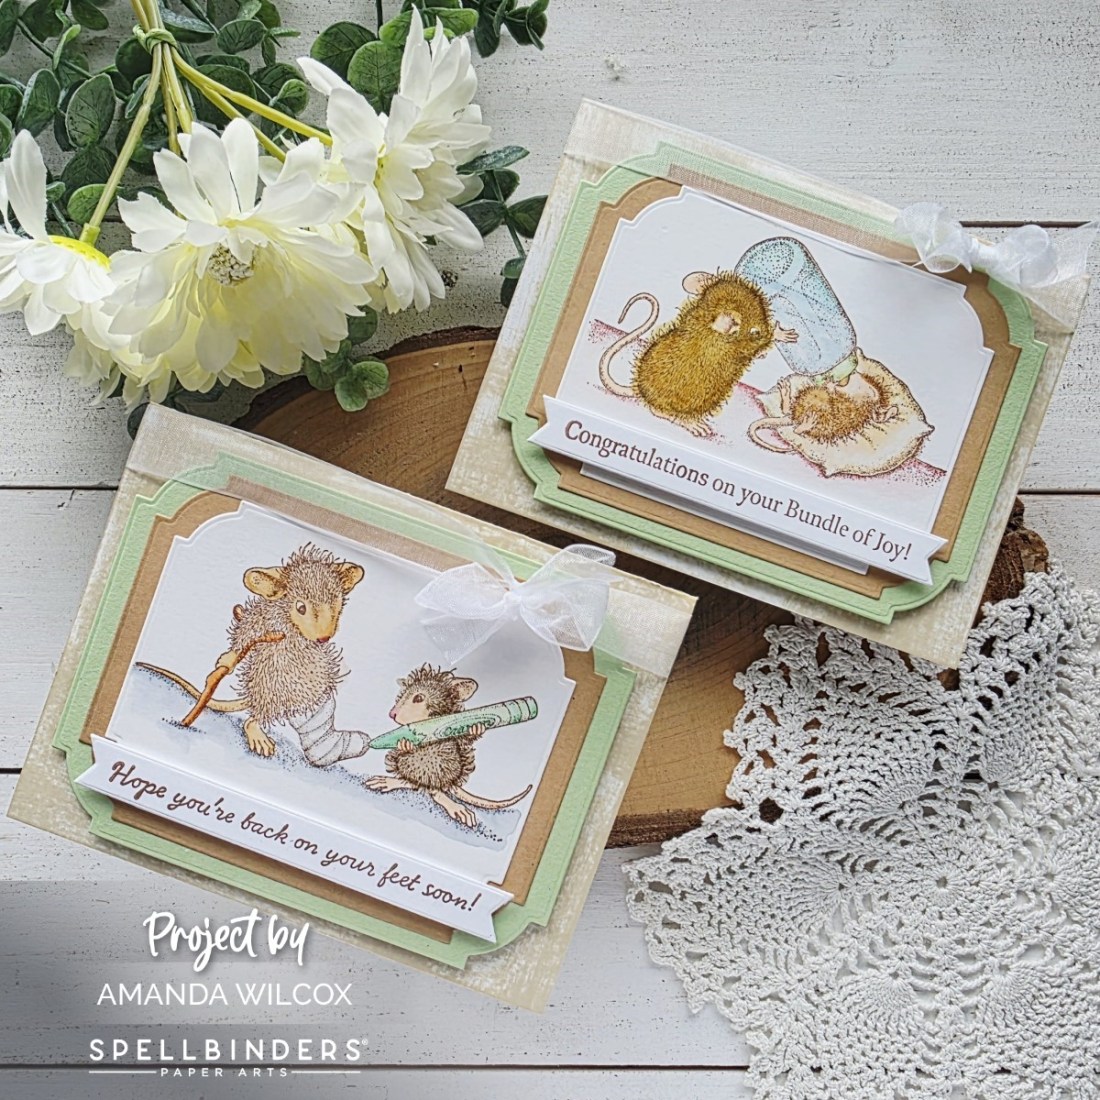
Hey friends! Happy to pop in with a couple of cards featuring new, adorable images from House-Mouse at Spellbinders. I always adore these images and love a reason to relax and watercolor – it’s a perfect combo.

Today I stamped the images and sentiments with brown ink for a softer look and used my Zig Clean Color Real Brush markers to watercolor the images with.
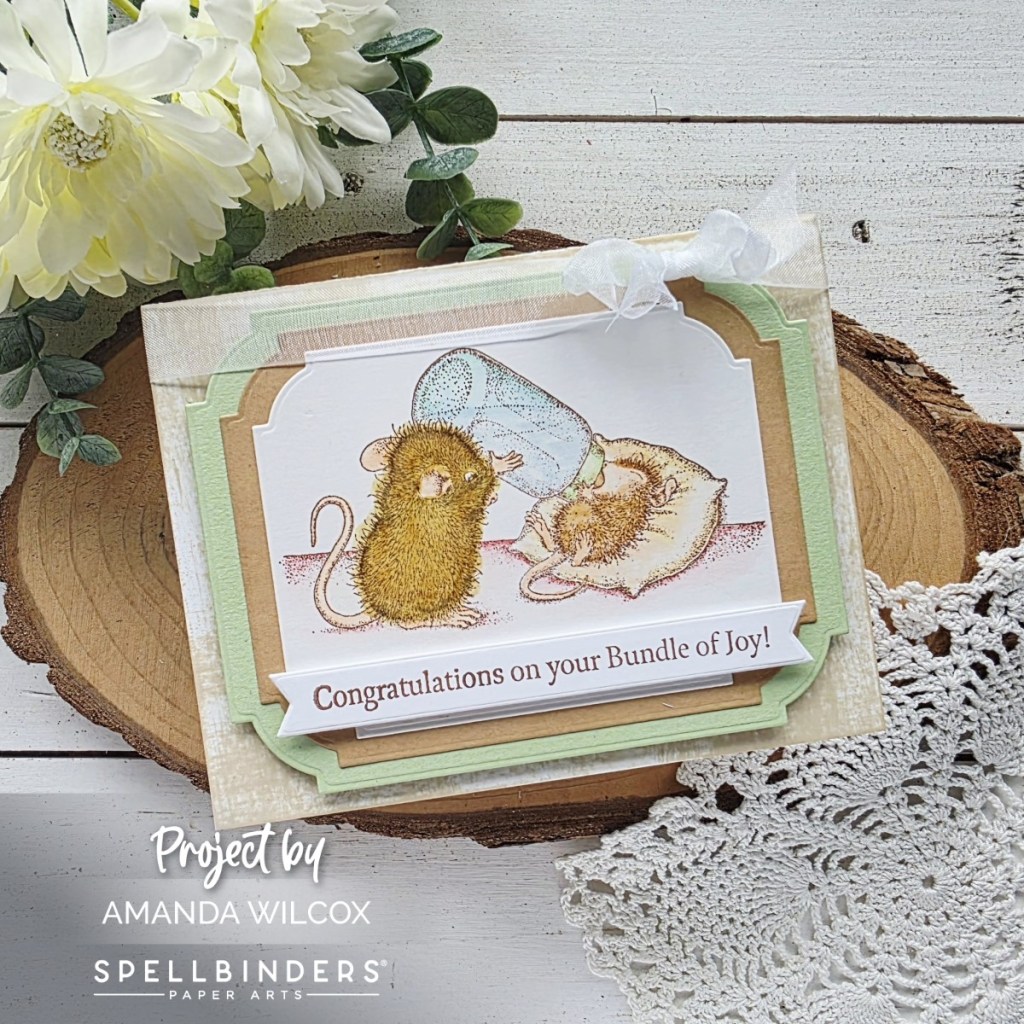
After the panels were dry I cut the images out with the Notched Rectangle dies plus a couple of layers larger. I inked the edges of the kraft panels for a darker brown that I liked better and glued them all together with liquid glue.
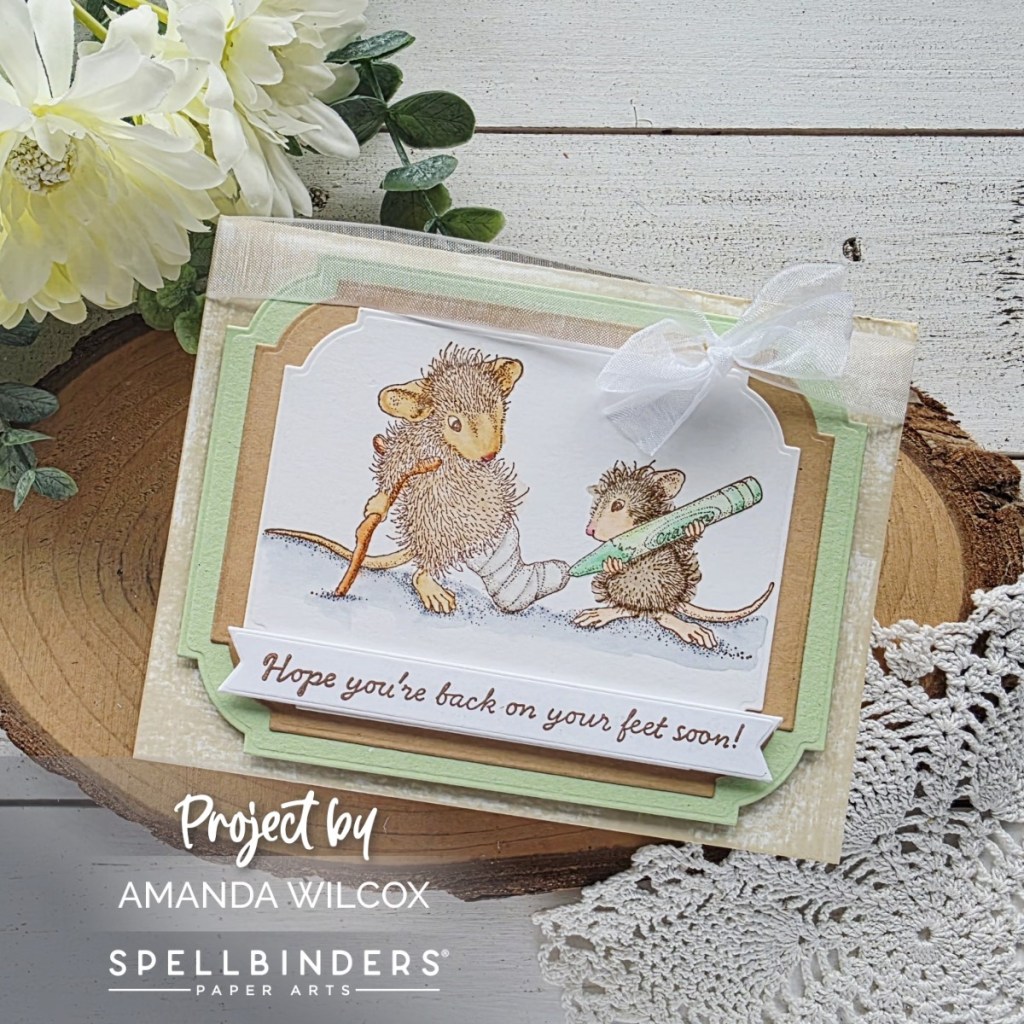
First, I took my light brown ink pad direct to the card front to ink up the edges with some texture. Then, I added foam tape to the sentiment banners and stack of notched rectangles. and popped them in place. To finish things off I tied some organza ribbon around the top of both cards in a little bow.
I appreciate you sharing your time with me. Have a fabulous day!