Doodlebugs – Snowflakes and Penguins

Happy Monday friends! It’s Mix it up Monday once again on the Doodlebugs blog and today I added a fun mini shaker to the mix as well.

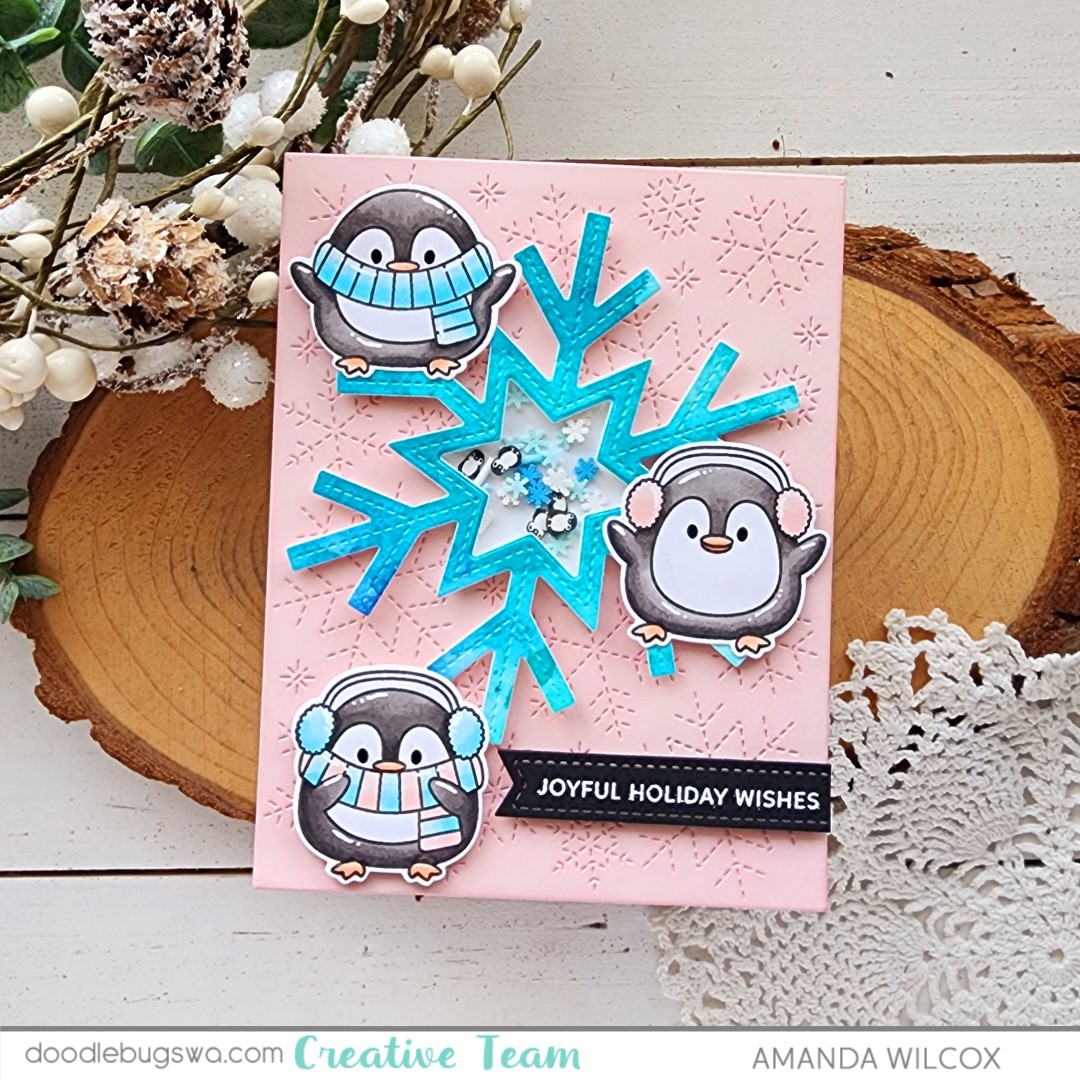
I started by using some shimmer watercolor powders on a piece of watercolor paper, once that was dry I die cut my Pretty Pink Posh Snowflake Shaker from it. I lined the back with acetate and foam strips, a sprinkle of clay embellishments and sealed it up with a piece of white cardstock.

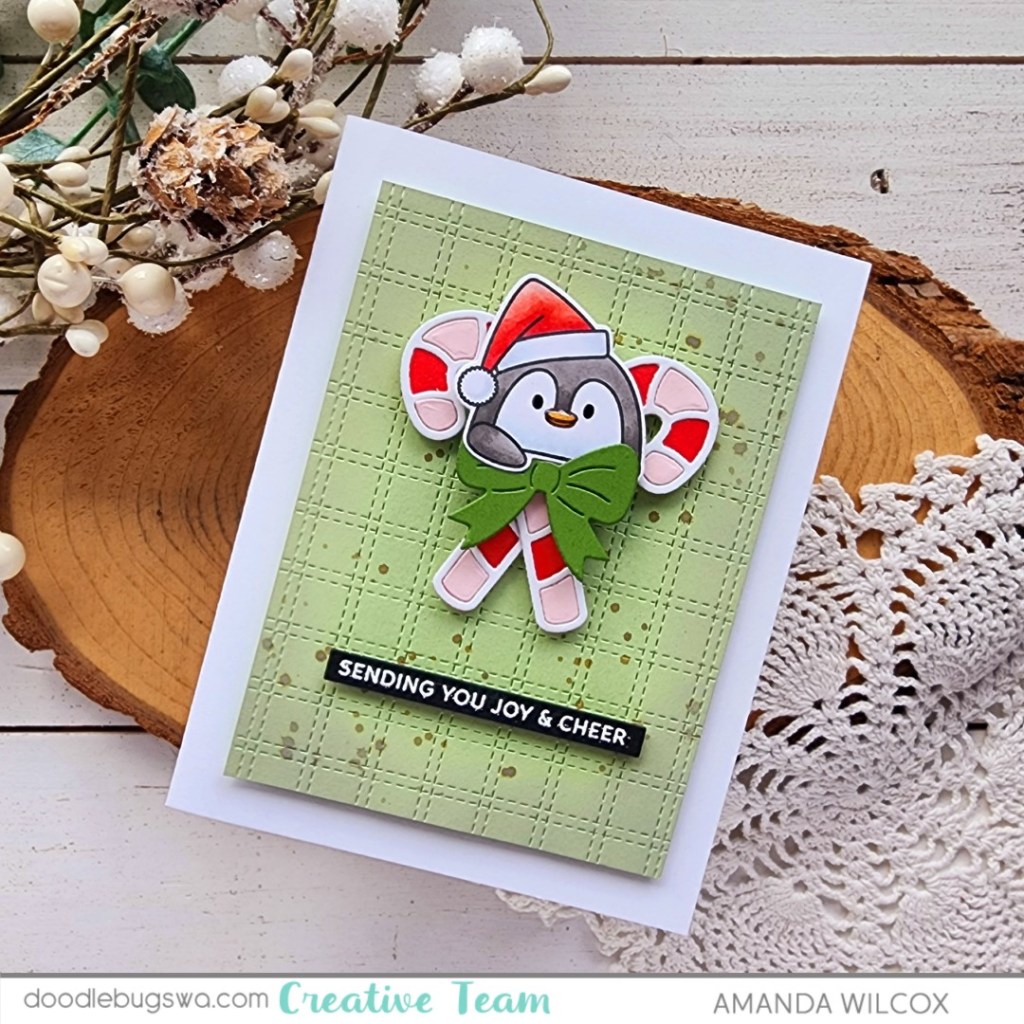
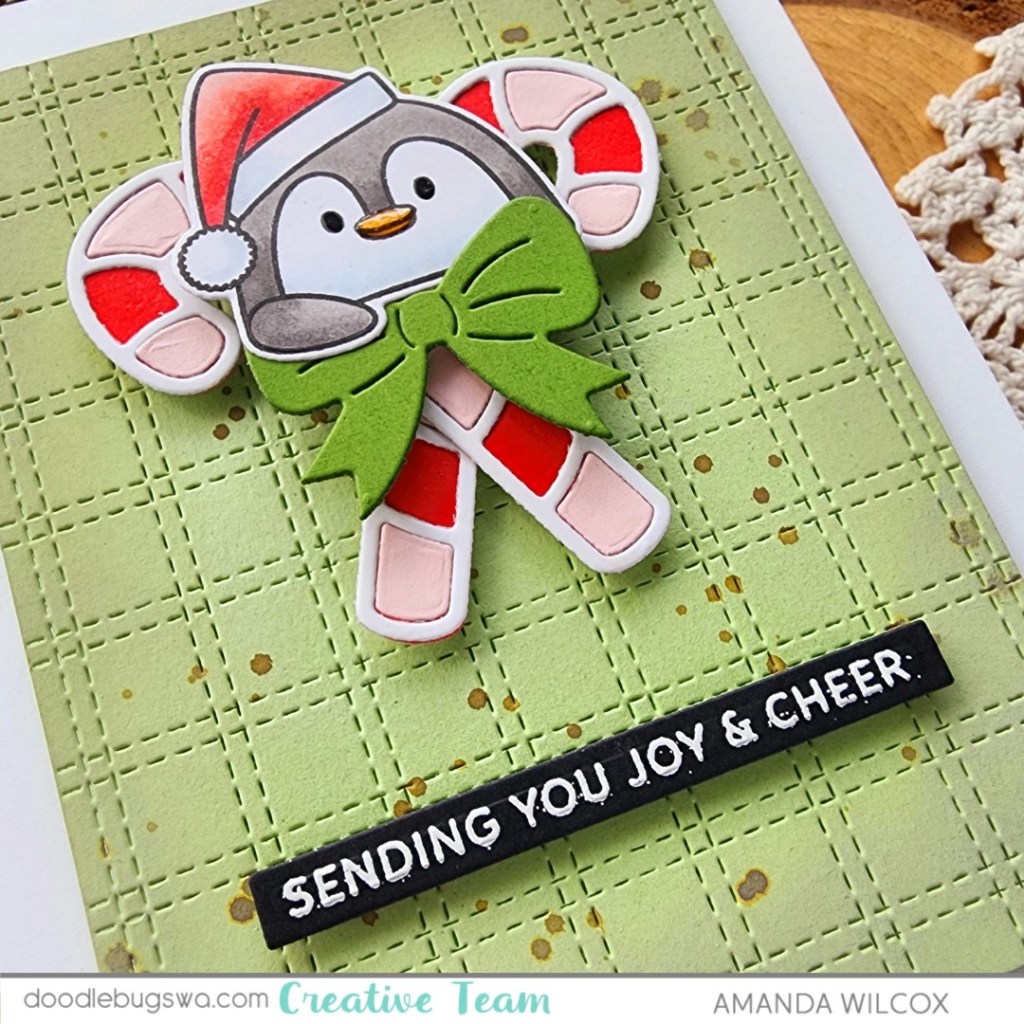
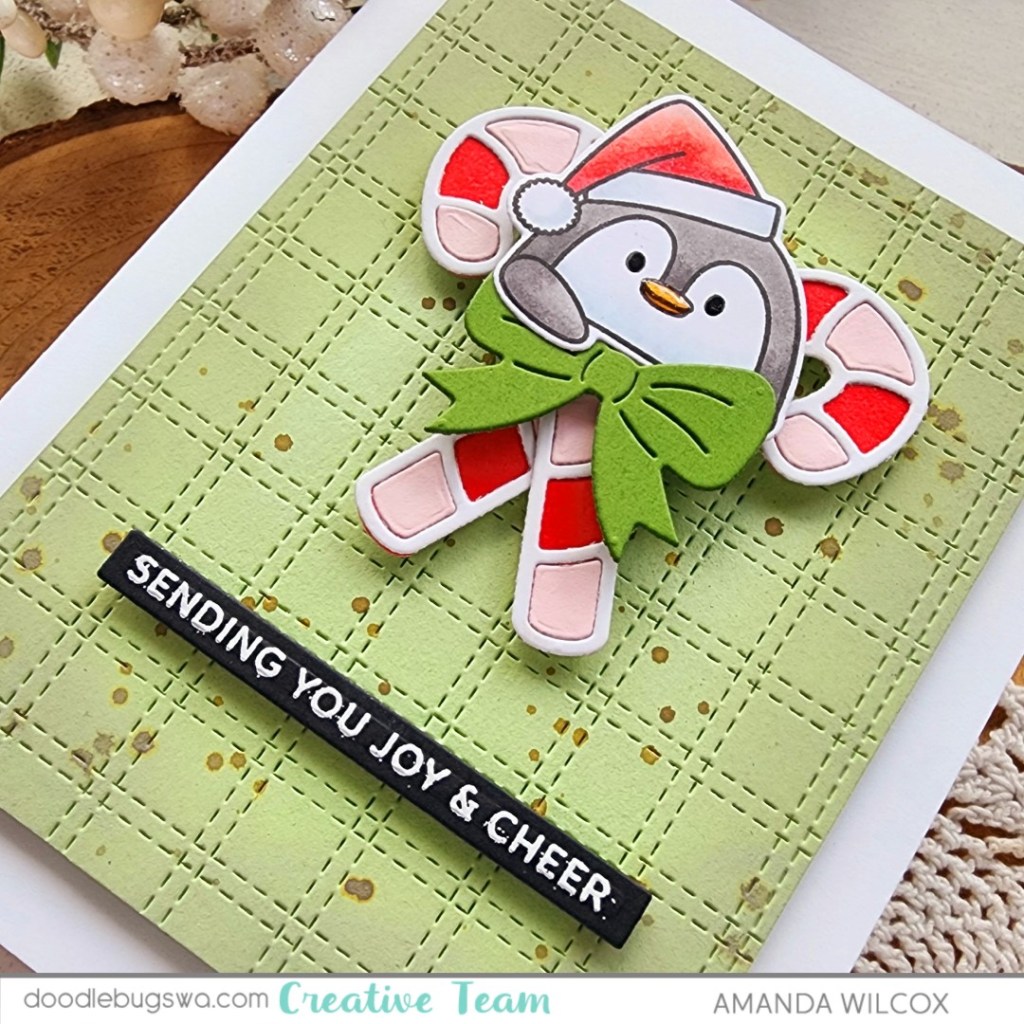
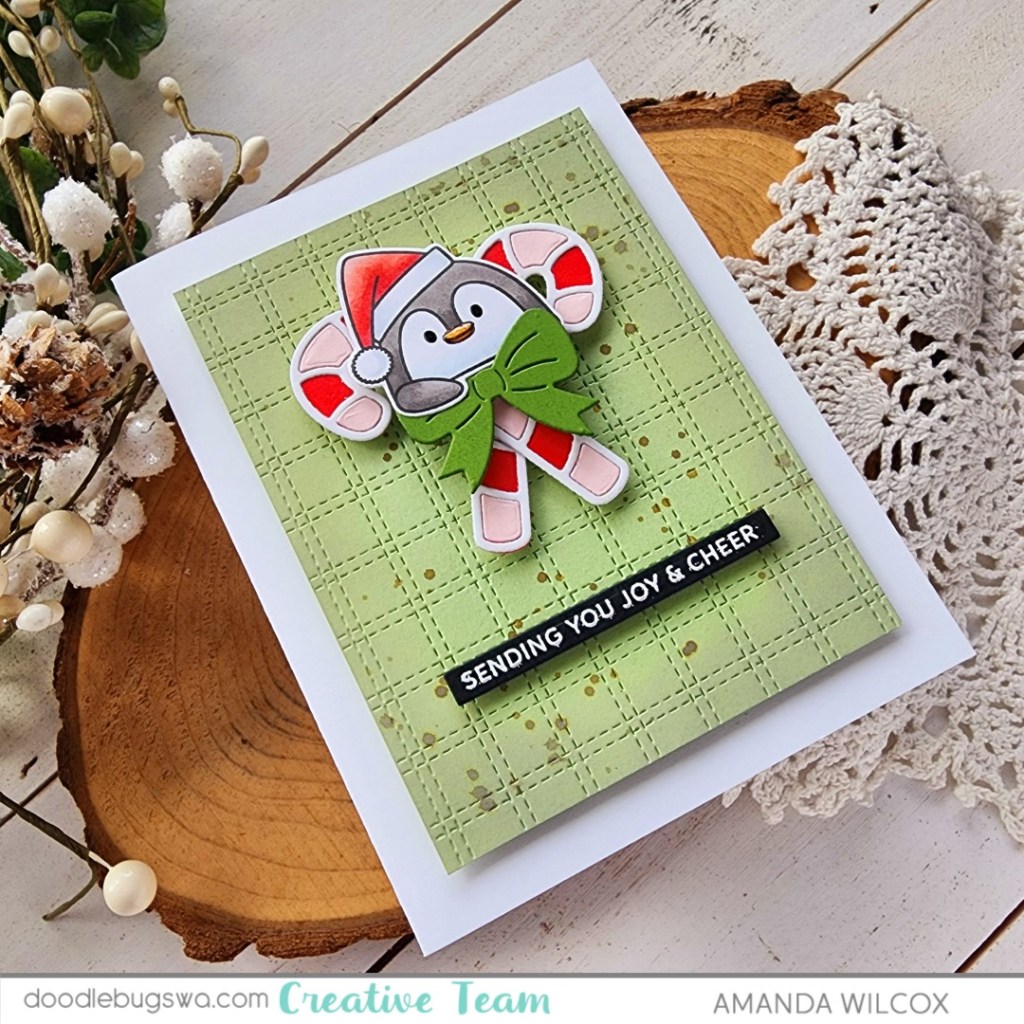
Next, I stamped and colored some sweet penguins from the Sunny Studios Roly Poly Penguins stamp set. I used the coordinating dies to cut them out and set it all aside. I couldn’t decide how I wanted my background – ink blended or solid and then I came across the Lawn Fawn Stitched Snowflake cover die and all my questions were answered. It’s the perfect backdrop!

I ink blended the snowflake panel with pink ink to help the stitching stand out and then glued it to a white card base. Next I added the snowflake and penguins with foam squares and liquid glue. Finally, I stamped and heat embossed a sentiment on a banner die cut, all from Pretty Pink Posh. I also popped it up and trimmed the excess off.

For finishing touches I added black glaze pen to penguin eyes, glossy accents to their beaks and feet, and white gel pen highlights to all of the images.

Products used:
Sunny Studios Roly Poly Penguins stamps and dies
Pretty Pink Posh Snowflake Shaker dies
Pretty Pink Posh Sentiment Strip dies
Pretty Pink Posh Sentiment Strips | Christmas stamps
Lawn Fawn Stitched Snowflake cover die
Embossing powder – white
VersaMark ink
Anti-static pouch
Foam squares
Liquid glue

Twiddler’s Nook Happy Feet embellishments

I appreciate you sharing your time with me. Have a fabulous day!

Doodlebugs – Ultimate Mix It Up Monday

Hey friends! I’m over on the Doodlebugs blog for our weekly Mix it up Monday but today is seriously the ultimate mix and match with so many companies together and you’d never know. They just work so great!

Isn’t this just the cutest!!! So easy too! Any order really, you just need that sweet Sunny Studios penguin colored and die cut. The awesome Lawn Fawn candy canes die cut and assembled. I started with red and white but didn’t love it until I added the pink. Be sure to play with this die set! I think I’ll try some mint green next.

Now, use liquid glue to adhere your candy canes crisscross and then add the penguin to the top.

Then stamp and heat emboss your sentiment of choice – the Pretty Pink Posh sentiment strips dies and coordinating stamp sets for the win as usual. I’m tell you, you’ll get your moneys worth from these. There is always something that works!

Now, add foam squares and strips behind your images and sentiment strip.

Now, we’re going to switch to Concord & 9th for an awesome background die. Trim your panel to 3.5×4.75 inches and cut it twice with the Double Stripe Card Front die – once landscape and then again portrait. Then you get this awesome plaid stitching.

I used green cardstock and then ink blended the edges with shabby shutters distress oxide for a little shadow and flicked forest moss ink across the panel for extra interest.

Finally, to assemble it all, I popped the background panel up with foam tape on a white card base and then adhered the images and sentiment strip on that. For finishing touches I added black glaze pen to the penguin’s eyes and glossy accents to his beak.

Can you believe it? We mixed 4 companies together today and they created the cutest holiday card!

Products used:
Sunny Studios Roly Poly Penguins stamps and dies
Lawn Fawn Cute Candy Canes dies
Pretty Pink Posh Sentiment Strips dies
Pretty Pink Posh Sentiment Strips | Christmas stamps
Concord & 9th Double Stripe Card Front die
Distress Oxide ink – shabby shutters and forest moss
Foam squares and tape
Liquid glue
Reverse tweezers
VersaMark ink
Embossing powder – white
Anti-static pouch
Glossy accents
Sakura black glaze pen

I appreciate you sharing your time with me. Have a fabulous day!

Merry, Merry – Shop Your Stash

Hello everyone! It’s officially Christmas season and I’m not mad about it one bit! I know we’ve all been holiday crafting for a while in order to get things done by Christmas but there’s something different about feeling no judgement for blasting that holiday music and watching those fabulous movies on repeat that makes things a bit more magical. I wanted to start this season off with a really fun card that came together in my head and uses a bunch of great goodies that were in my stash.

I stamped and colored up that adorable Sunny Studios bear and cut him out with the coordinating dies, then used the extra die in the set so his hands can hold things too! Next, I cut the letters for MERRY with the Mama Elephant Marquee Letters dies. I lined the back with white glitter paper so the holes are sparkly.

Next I cut three Spellbinders Notched Rectangles – 2 of the largest white and green, 1 next size down white. I inked up the smaller one with the Pretty Pink Posh Winter Words stencil. Using my letters and bear as a guide, I stamped a sentiment from the Spellbinders Santa’s Sippin’ Sayings stamp set in the upper right corner of the panel.

I popped the stenciled panel up on the green notched rectangle with foam tape. Then I added my bear with foam squares and the letters with a combination of foam squares and liquid glue depending where they fell.

To create my shaped card, I took the white notched rectangle and scored it 3/8″ on one long side. I creased the fold and added it to the green one with double-sided tape. For finishing touches I added glossy accents to the bear’s nose and eyes. Once that was dry I went over the top and added a white gel pen highlight on them too.

I hope you have a wonderful holiday season and find lots of time to do all the things that make you happy!

Products used today:
Sunny Studio Holiday Hugs stamps and dies
Spellbinders Notched Corners dies
Spellbinders Santa’s Sippin’ Sayings stamps

Pretty Pink Posh Winter Words stencil
Mama Elephant Marquee Letters dies
Liquid glue
Foam squares and tape
Glossy accents
Sakura gelly roll pen

I appreciate you sharing your time with me. Have a fabulous day!

Sunny Studios – Turkey Treat Boxes

Happy Thanksgiving everyone! I hope you know how thankful I am for each and every one of you! The love and support I’ve seen since starting my blog, and since my business, is incredible and I appreciate every bit of it!

Today I wanted to pop in and share some fun treat boxes I created for our Thanksgiving table this year. They’re really simple but adorable and add a bit of fun to the table.

I stamped the cute turkey holding the sign from Sunny Studio plus some of the little extras in the set and colored them all with my copics. Then I used the coordinating dies to cut them all out. I used liquid glue to add the hats and parts the turkey can hold.

Next, I pulled out the Lawn Fawn tiny gift box dies and cut the box shape from some digital paper I purchased on Etsy. It’s printed on cardstock so it’s sturdy enough for the boxes but I also printed the designs on regular paper for a festive paper chain too.

After assembling the boxes, I hand wrote everyone’s name in the sign the turkey is holding and added them to the front of each box with a foam square. Then, the turkey’s that weren’t holding anything had some leaves added around their feet for something extra.

Products used today:
Sunny Studio Stamps Turkey Day stamps and dies
Lawn Fawn Tiny Gift Box dies
Foam squares
Scrappy tape – 1/4″
Liquid glue
Pumpkin Spice digital paper from The DigiRainbow

Preview of coming attractions too…

I appreciate you sharing your time with me. Have a fabulous day!