Trinity Stamps – Hey Chum

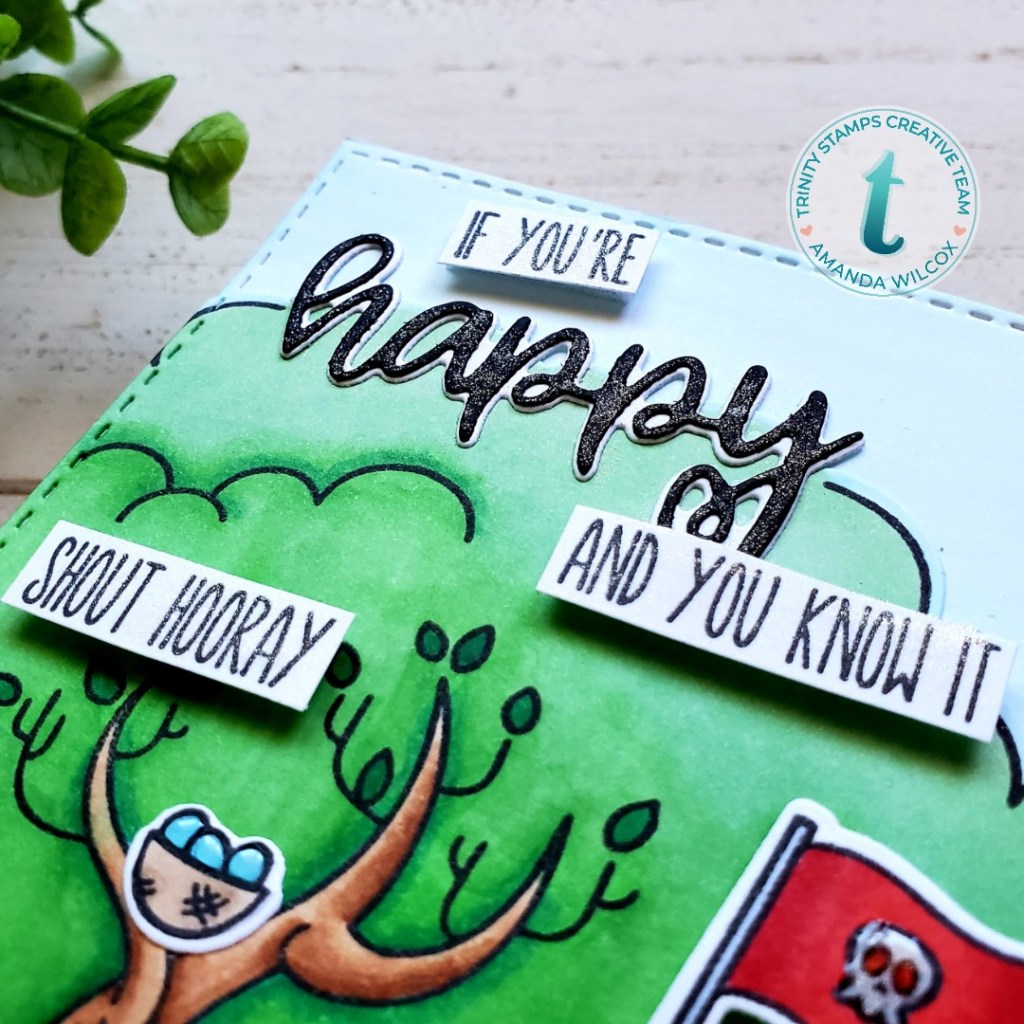
Happy Friday everyone!!! I wanted to pop in with just one more fun Shark Week themed card that I made. Today I’m featuring Trinity Stamps Shark Bait and Ocean Reef Builder stamp sets along with some fun ink blending.

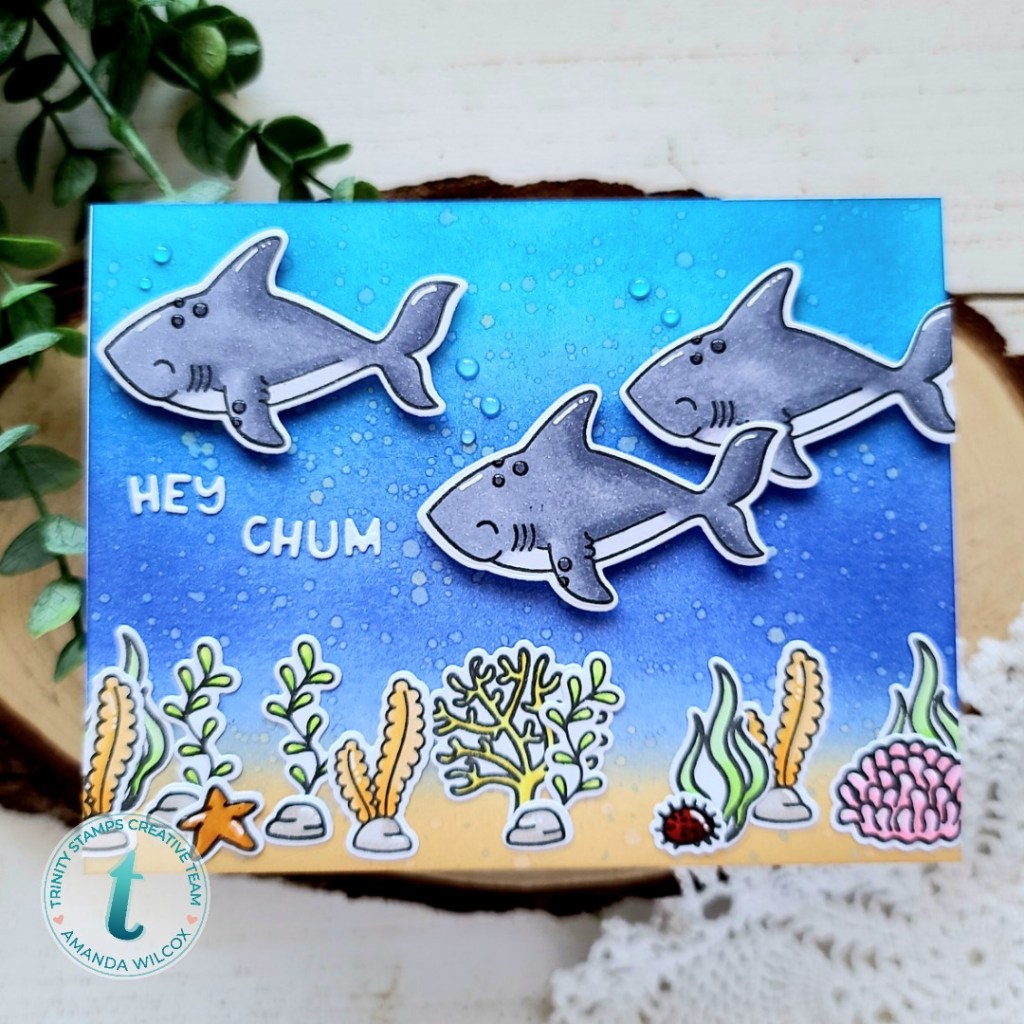
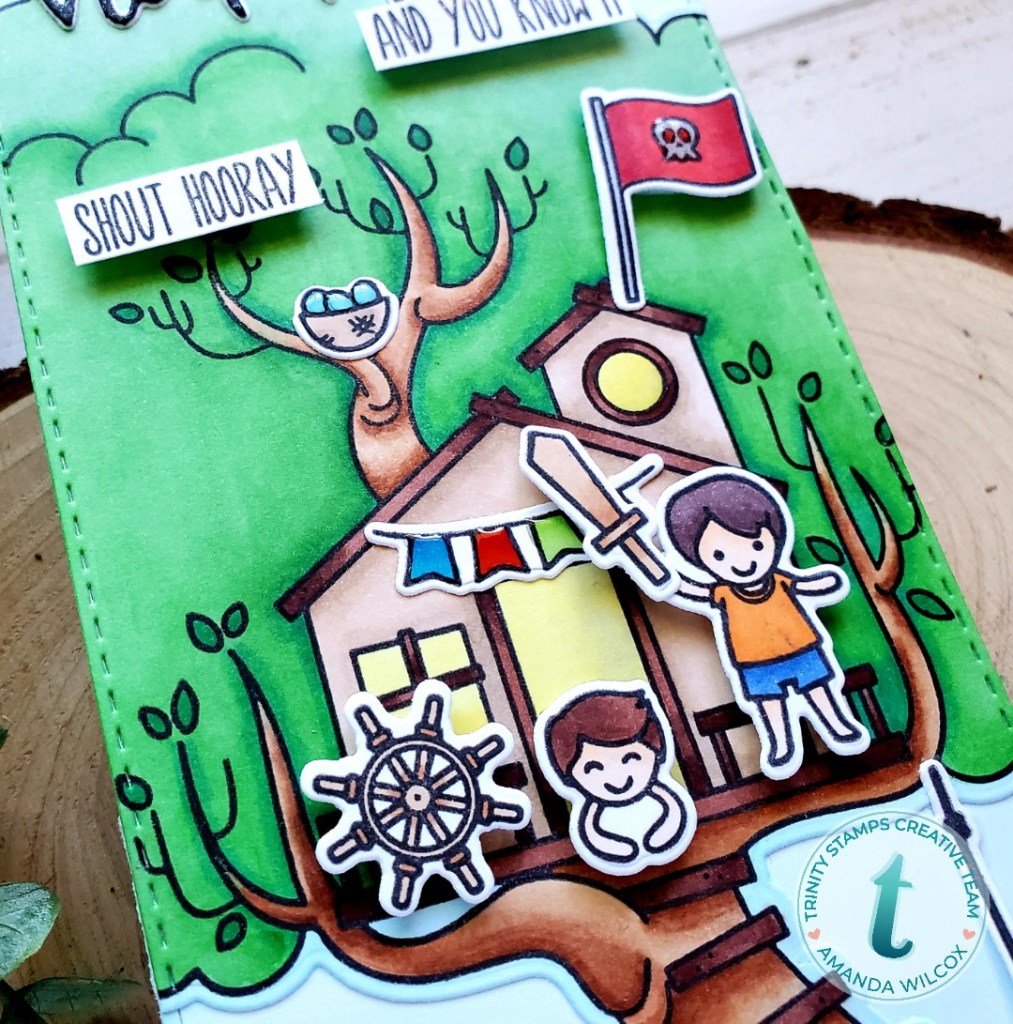
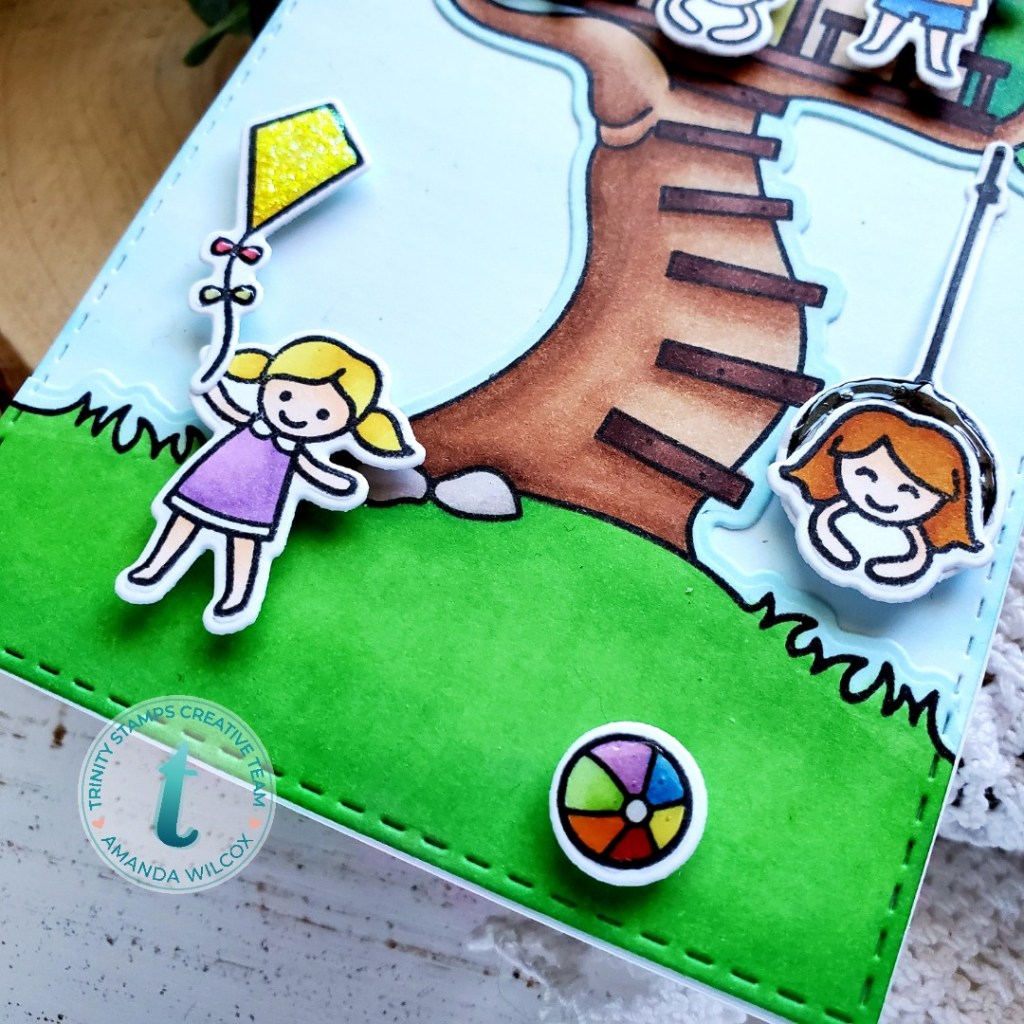
To make my card, I pulled out Shark Bait and stamped a bundle of images, multiple times to fill my scene. I wanted more variation at the bottom of my ocean floor so I also stamped a few from the Ocean Reef Builder set. I colored them all with my copics and used the coordinating dies to cut them all out.

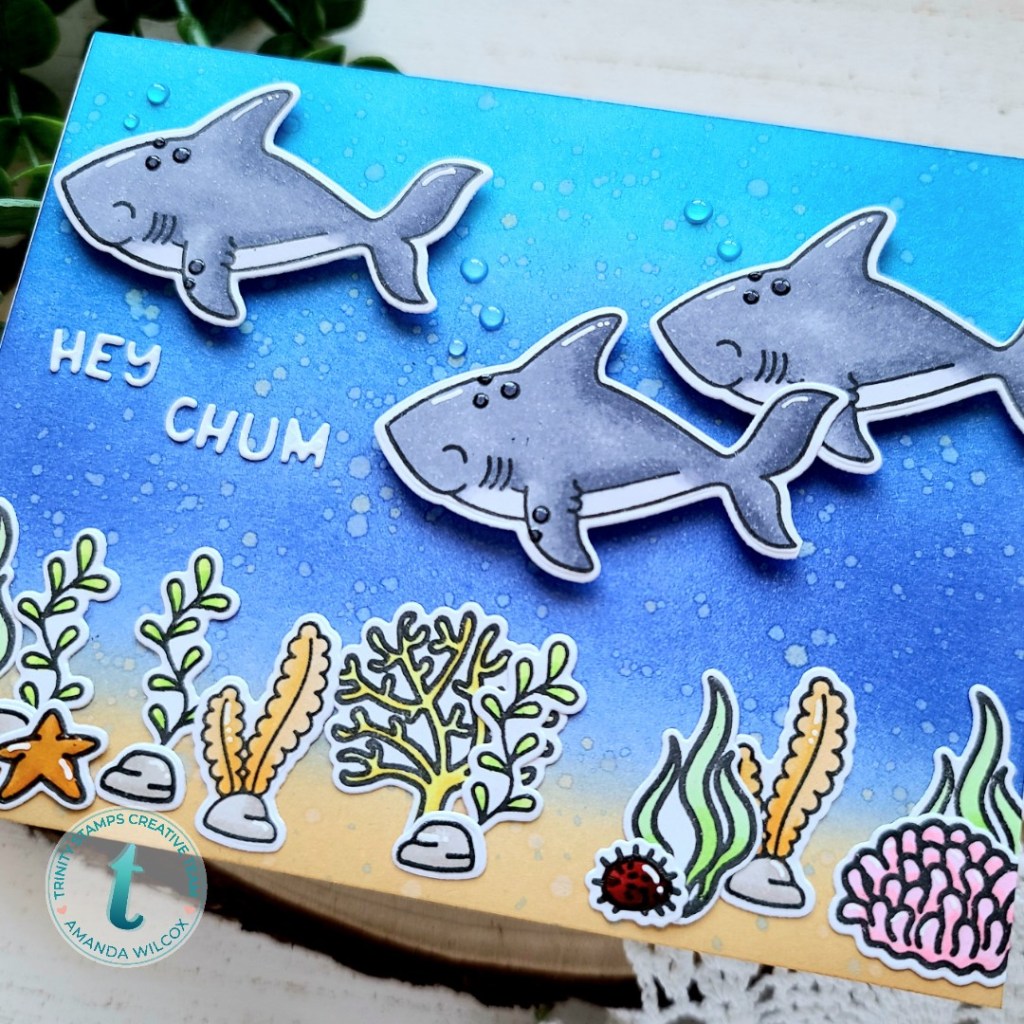
Then I moved on to my background. I inked up the bottom with antique linen and tea dye distress inks and the top with blueprint sketch and salty ocean. Then I flicked droplets of each color onto the panel for some distressing with a little color to it.

I adhered all of my scenery with liquid glue to the bottom of my ocean floor. Then I popped up my sharks with foam squares and die cut my sentiment from the coordinating dies to Shark Bait. I used a quickie glue pen to adhere these because they are so tiny.

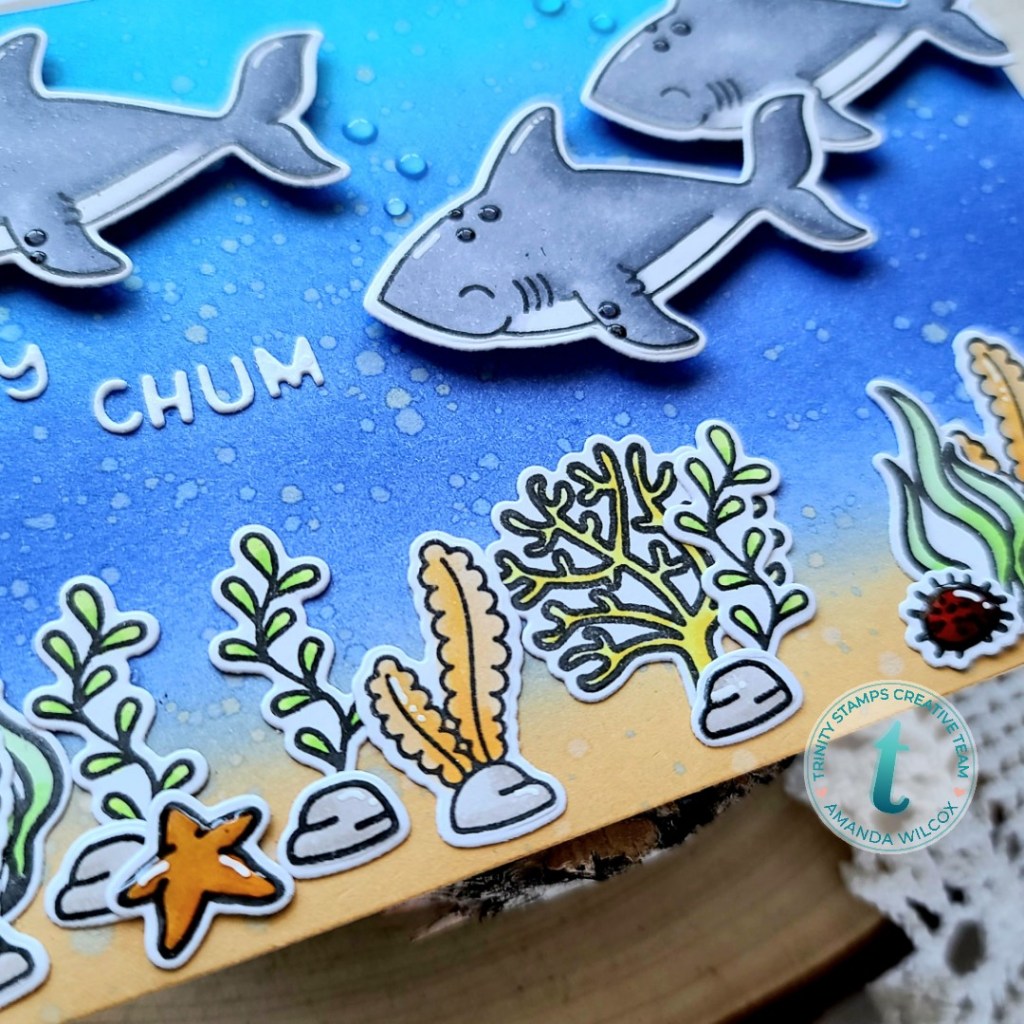
For finishing touches, I added some white gel pen accents to various images and then added Nuvo Crystal Drops in morning dew as bubbles above the sharks and to add a little shine to my starfish and sea urchin.

I had a bunch of fun putting this sharky scene together. I hope you enjoyed it.

I appreciate you sharing your time with me. Have a fabulous day!

Trinity Stamps – Congratulations Wedding Card

Hi there! Just popping in today to share a wedding card I made last week featuring the Trinity Stamps foliage frame and some fun embellishments from my shop.

My parents were going to a wedding and needed a card. I don’t really have wedding stamps, or a talent for fancy looking cards but the foliage frame popped in my head. I took a little inspiration from a crafty friend and created this beautiful shaker card.

I started this card by die cutting the foliage frame from white cardstock and iridescent vellum and layered them together. Then I lined the back with scrappy tape and adhered a sheet of acetate to it. Next, I added a layer of foam tape and created a 3.5×8.5 card base to stick it to.

I added a pile of holographic hearts and snow queen embellishments from my Etsy shop along with a few clear microbeads and then adhered the frame to my card base, sealing all the shaker bits inside.

I didn’t have a large congratulations sentiment so I got my Cricut out and made a custom one just the size I wanted and glued it to the acetate window with liquid glue.

I think this card turned out really pretty and was very simple to come together. It would also be simple to customize with wedding colors or holiday colors and a new sentiment across the front as well.

I appreciate you sharing your time with me. Have a fabulous day!

Trinity Stamps – Paper Pep Talk

Hello everyone! Welcome to a fresh new week! I hope you had a fabulous weekend and are ready to tackle this Monday. I’m sharing a little paper pep talk with you all today, from Trinity Stamps latest release.

To create this card, I started by stamping and heat embossing my image with clear embossing powder on Bristol smooth cardstock. Then I pulled out my Zig Clean Color Real Brush markers and started watercoloring in rainbow. This was so relaxing and fun to do. Once the letters were done, I took a really light blue and went around the edge of the speech bubbles and used a water brush pen to blend it out, pulling some color from the letters here and there. I love how this turned out!

I used my coordinating dies to cut it out and moved on to the background. I used distress oxides in picked raspberry, squeezed lemonade and mermaid lagoon to achieve the rainbow look. Then I took my halftone dots stencil and used versamark ink on it with a blending buddy brush. Then I sprinkled iridescent glitter embossing powder on it and heated it up.

I trimmed the background down to 4×5.25 and popped it up with foam tape on a white card base. Then I popped my image up with foam squares as well. I thought it could use a little more bling so I finished the whole design off with a scattering of unicorn tears embellishments.

This turned out to be such a bright and happy card. Perfect to share on a Monday to start the week and perfect for any recipient needing a little positive pep talk.

I appreciate you sharing your time with me. Have a fabulous day!

Trinity Stamps – Oh, Chute!

Hi everyone! Just popping in with a super fun card featuring Purrachute from the new Trinity Stamps release that went live last Friday. This little kitty with his parachute is just the cutest! And the sentiments in the set are absolutely adorable!

To make this card, I started by coloring my image with my copics and then used the coordinating dies to cut him and the sentiment out. I set those aside and started inking my background. I used distress inks on an A2 panel and splattered it with water. Then I took my Cloudy Day Scene Builder dies and cut the frame, some clouds and the sun out. I popped the frame up with foam tape on the inked panel and adhered my sun and clouds over that.

I popped my kitty up with foam tape and adhered the sentiment with liquid glue and moved on to finishing touches. I started by adding white gel pen accents to the kitty and black glaze pen to his eyes. Then I moved on to glossy accents to the parachute, his toe beans and his nose.

I finished them off with Stickles on the clouds and sun for a little extra interest and shimmer at the top of the card too.

I love that there are two completely different sentiments in this stamp set to change the entire meaning of your card so easily. This little kitty is just the cutest and so much fun to color!

I appreciate you sharing your time with me. Have a fabulous day!

Trinity Stamps – You Make Life Colorful

Hello everyone! Welcome to a brand new week! I’m really excited to share today’s card with you. I had some fun watercoloring with my Zig markers and absolutely love the outcome. I used the recently release Blooming Bunch images and a sentiment from A Crafter’s Heart that released earlier this year.

I started by heat embossing my images with silver embossing power on Bristol smooth cardstock and then set to coloring them with my Zigs and a water brush pen. Then I used the coordinating dies to cut them out and moved on to making my card.

I used the diagonal stripes stencil with gray ink on a gray panel and popped my images up with foam squares. I trimmed off the excess and adhered it to a white card base.

I stamped my sentiment and trimmed it into a strip. Then I used an old paper punch to create the flag end. I popped this up with foam squares as well and moved in to finishing touches.

I added a scattering of Seashore Confetti embellishments around my card design and called it done. I love the shine from the heat embossed image and didn’t want to distract from the beautiful watercolor florals.

I think this is just a gorgeous stamp set and the images have endless color possibilities which could turn it into a fall or winter bouquet easily. I can’t believe I’m admitting this but I can totally see a Christmas bouquet already! …and it’s only August! Something doesn’t seem right with that. Haha.

I appreciate you sharing your time with me. Have a fabulous day!

Trinity Stamps – Treetop Adventure Release Day

It’s finally here and I’m over the moon excited to share with you an epic card with so much fun, sparkle, and happy you’re going to shout hooray!!!

I’m introducing to you today, the Treetop Adventure stamps and dies! Isn’t this absolutely fabulous?!?!? Yeah, it really is! So many fun things these kiddos can do and the tree fits on a slimline. However, it’s also wide enough and portioned so it can fit a regular A2 card as well! Super versatile and full of fun!

I couldn’t help but pull this fun sentiment from the Happy Senti-mini stamps and dies. If I had a treehouse like this, I’d be shouting hooray all the time! Wouldn’t you?

Looks like the boys have taken the treehouse for now…but I’m sure the girls are scheming their way up there in a bit!

For now a little tire swing and kite flying looks to be absolutely perfect! Be sure to check out the whole set and the rest of the release on the Trinity Stamps site.

Once you’re done there, head over to Instagram and hop along with us. Comment for a chances to win and everything!

I appreciate you sharing your time with me. Have a fabulous day!

Trinity Stamps – More Sneak Peeks

Oh my goodness, only one more sleep until the new Trinity Stamps release is live! There’s going to be an Instagram hop again with tons of inspiration and a chance to win so be sure to join us for that tomorrow. Until then, let’s share a fun, almost all die cut card!

There’s a new die set coming out to create a room setting, slimline style! Isn’t this going to be so great!!! Look at all those elements to set your scene!

I used a combo of sentiments from the A Sentiment for Almost Everything set and die cut it into a banner shape using partial die cutting and the banner from the 4-Bar Card die set.

I kept my card really simple to showcase some of the awesome elements available but think of the parties and scenes you can create with this as your backdrop? It’s going to be so much fun!

I appreciate you sharing your time with me. I hope to see you tomorrow for another card share and a link to the Instagram hop too!

Trinity Stamps – Sneak Peek

Oh, you’re back for more sneaks, are you??? Well, you’re in luck! I’ve got serious cuteness to share with you today! Remember those mice that I’m absolutely in love with? What if I told you there are more fun critters coming? Eeeekkk!!! There are! I’m so excited!

I used the Wonky Stitched Wilderness dies to create my background, including those cool cloud dies that are just stitching. I love this! Then I used distress oxides to create my scene.

Look at the new burrow and critters! There’s even bugs and flowers to fill in your scene! They’re so great!

Believe it or not, this isn’t even everything in the set! It’s so much fun! I can’t wait for them to meet up with the mice from Mouse House! It’s going to be a serious party!

I hope you enjoyed today’s sneak peek of Bunny Burrow! You’re going to love it all and I really can’t wait to see what you all create with it! It’s going to be so much fun!

I appreciate you sharing your time with me. Have a fabulous day!

Coffee Loving Cardmakers – Back 2 School Sneak Peek

Hey there! I’m up on the Coffee Loving Cardmakers blog today with another Trinity Stamps sneak peek! I had so much fun creating this card. I hope you like it.

Everything from this card came from the upcoming set called Classroom Cuties…plus so much more! This set is packed with fun that is super versatile for so many occasions! I’m excited for you to see the whole thing!

Gotta love that kiddo with his frap, ready to tackle the day! And that row of pencils was so much fun to put together! Trust me, I have many a plan for that pencil image. You’re going to see a lot of it!

This was a simple design but the added dimension between layers adds a lot of interest to the design. I always love doing that.

I hope you enjoyed today’s sneak. Check back tomorrow for more!

I appreciate you sharing your time with me. Have a fabulous day!

Trinity Stamps – Sneak Week

Welcome to another fabulous sneak week featuring amazing new products coming to the Trinity Stamps store on Friday!!! Eeeekkk!!! I’m so excited for you all to see everything! It’s so fun!

Today I’m going to start with an upcoming set called The Bright Side. I think you’ll see the reoccurring theme from last release…and it’s adorable!

To create my card, I inked up a panel with the diagonal stripes slimline stencil, flipped it over and did it again. I went a little heavier with the ink on the bottom left and top right corners for some added interest. I adhered it to a card front and used the smallest nested hearts die to cut a window in my card.

On the inside of the card, I inked up a little sky and ground for my images. These are colored with copics and I used the coordinating dies to cut them out. I thought it was fun to have the scene on the front and inside of the card so I brought some of the butterflies to the front of the card along with the sentiment.

Let’s look at the front again for fun. ❤ It’s too cute not to!

For finishing touches, glued some Scuba Dive confetti bits around and added glossy accents to the flower centers that are in front of the gnome’s eyes. I also added glossy accents to bits of the butterflies for extra interest.

Isn’t this guy just the cutest! And I absolutely love him peeking through that heart window! Can’t wait to share more with you! Stay tuned for more fun through the week!

I appreciate you sharing your time with me. Have a fabulous day!