
Things are just chugging along and today we get to share 2 really adorable Halloween themed stamp sets and coordinating die sets with you! I can’t even express how much fun I had creating with these cuties! I hope you love them too!
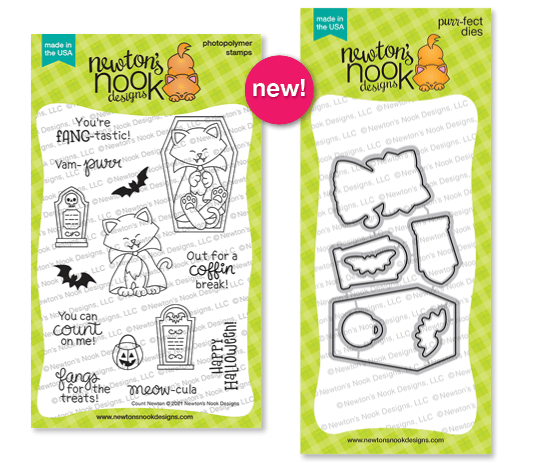
Trick or Treat Kittens stamps and dies

Count Newton stamps and dies
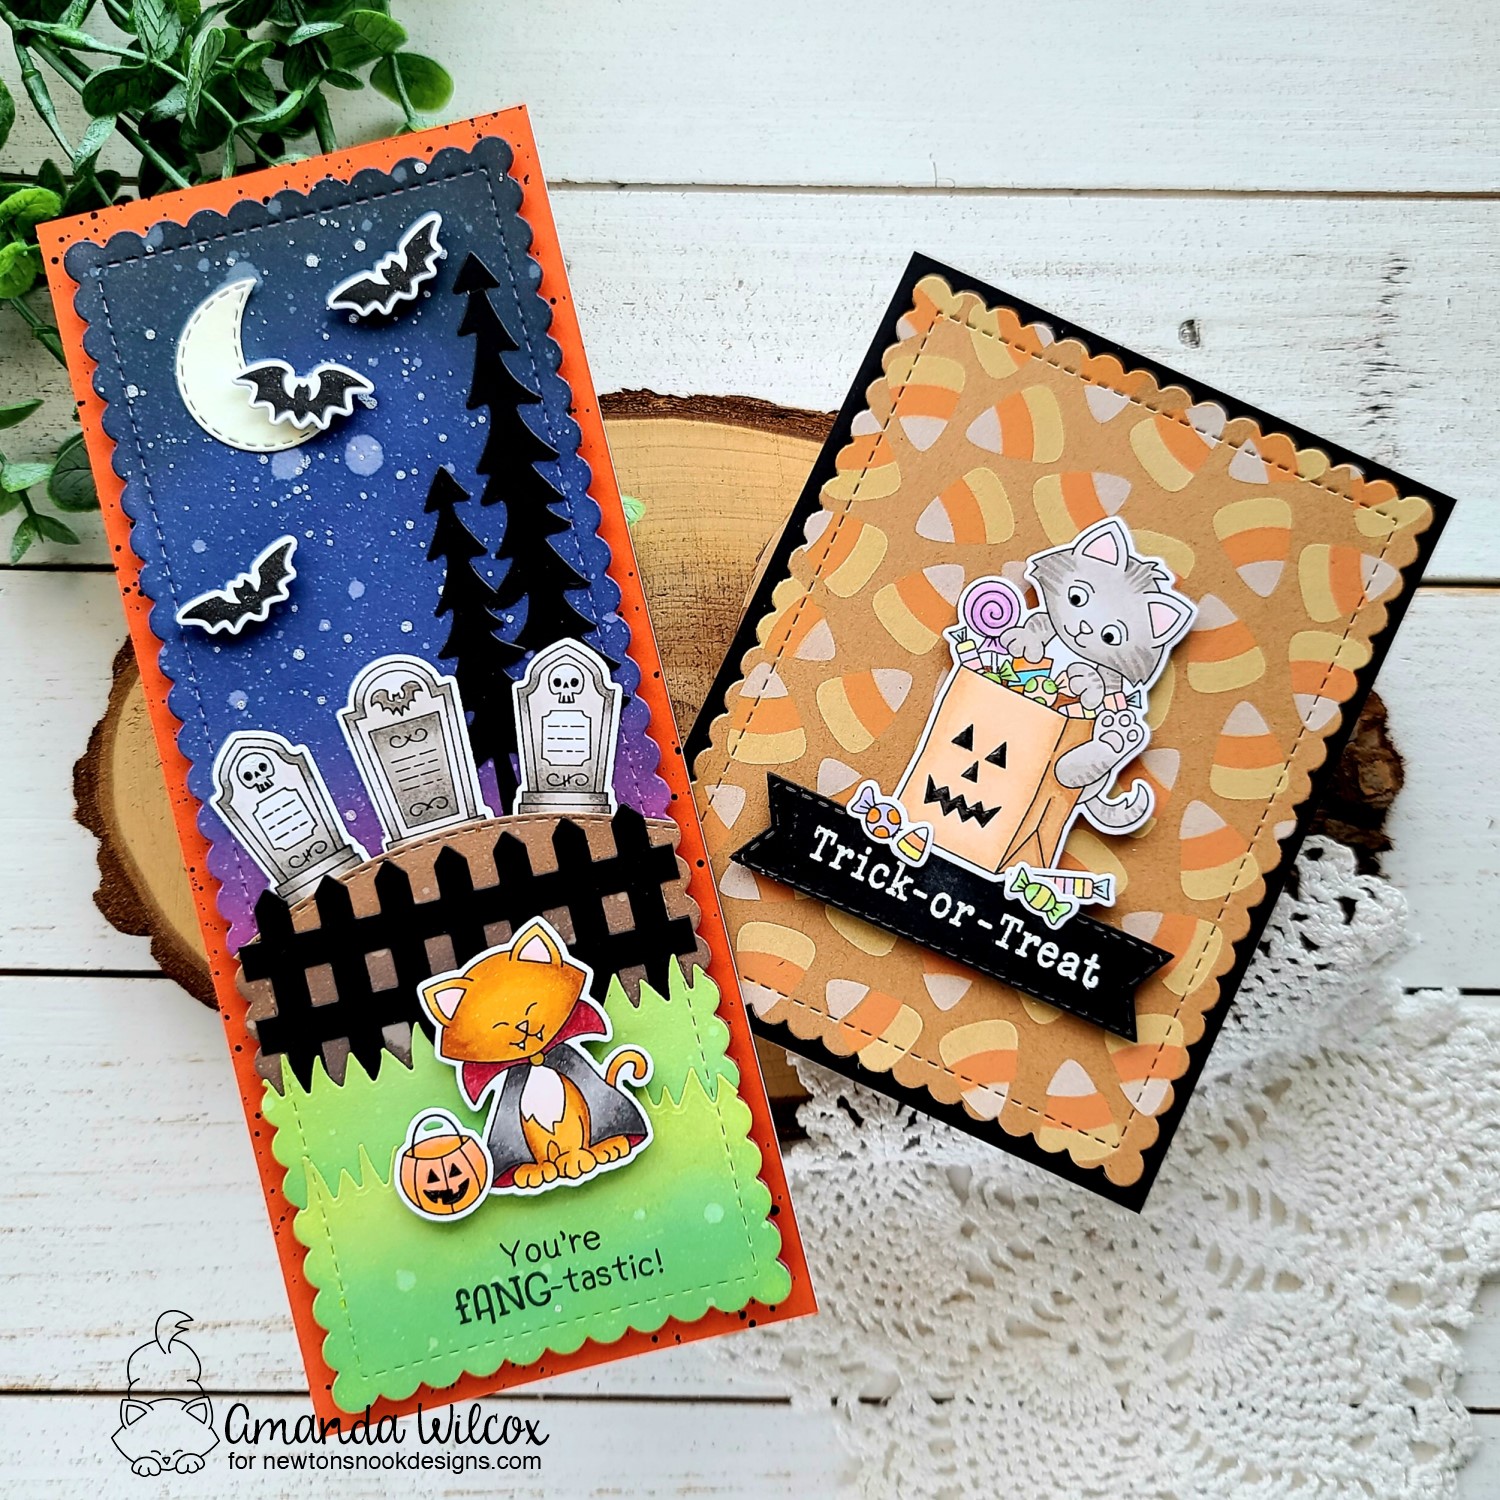
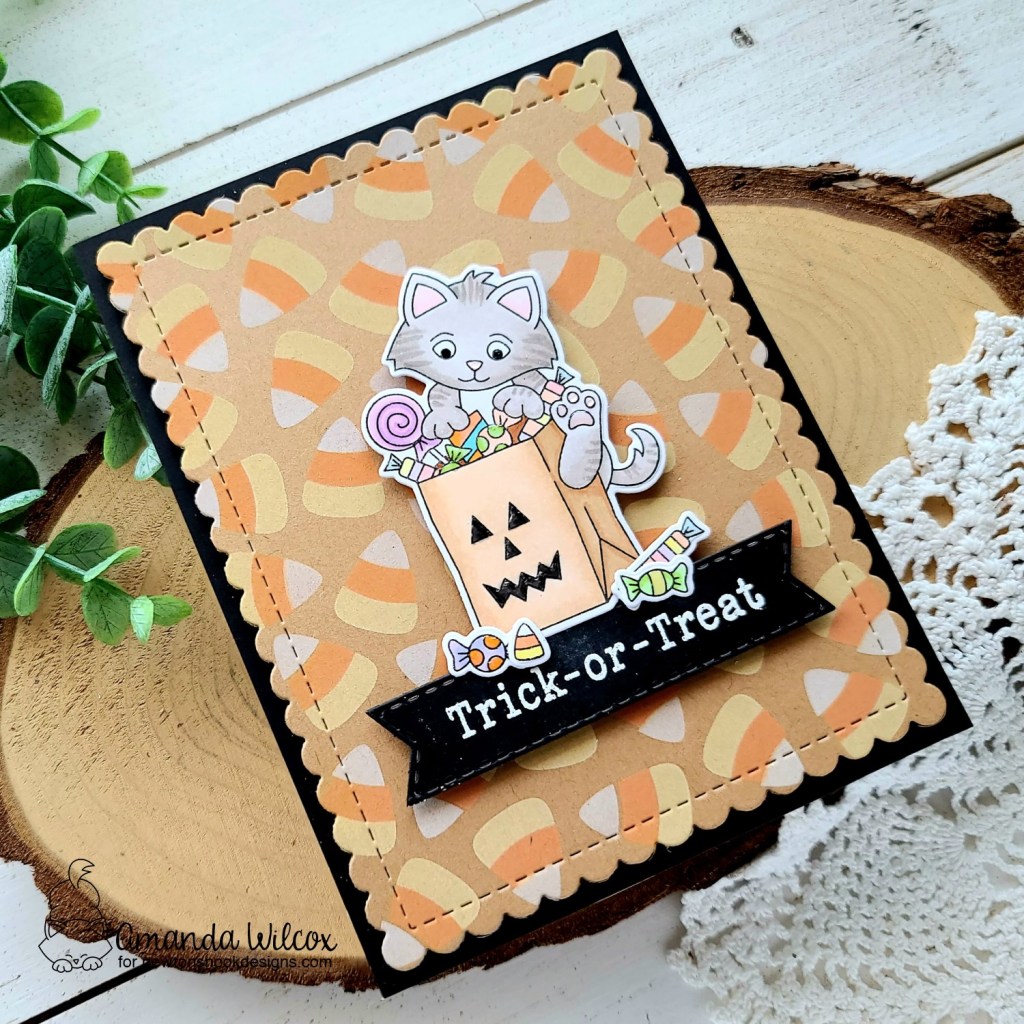
These sets are absolutely adorable and I have two fun cards to share with you today! I’m going to start with the sweet Trick or Treat Kittens where I also used the Candy Corn stencil that was revealed yesterday!
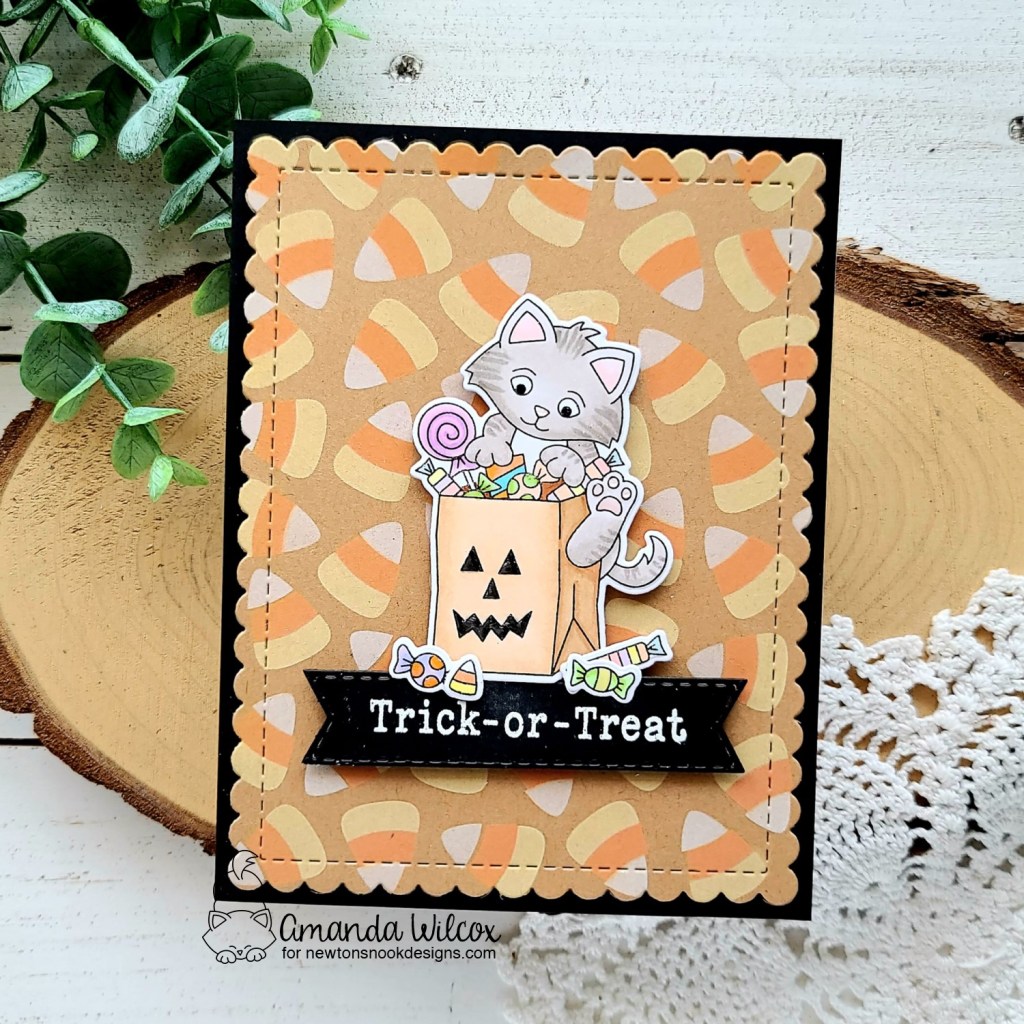
I had a simple design in my head for this card so I started by inking up the Candy Corn stencil layers with distress oxide inks. I just love how these sit on top of the paper so you don’t have to ink them on white! These candy corns on the kraft cardstock just look awesome to me! I let the ink dry for a bit and then I die cut the panel with the scalloped rectangle from the Frames & Flags die set.
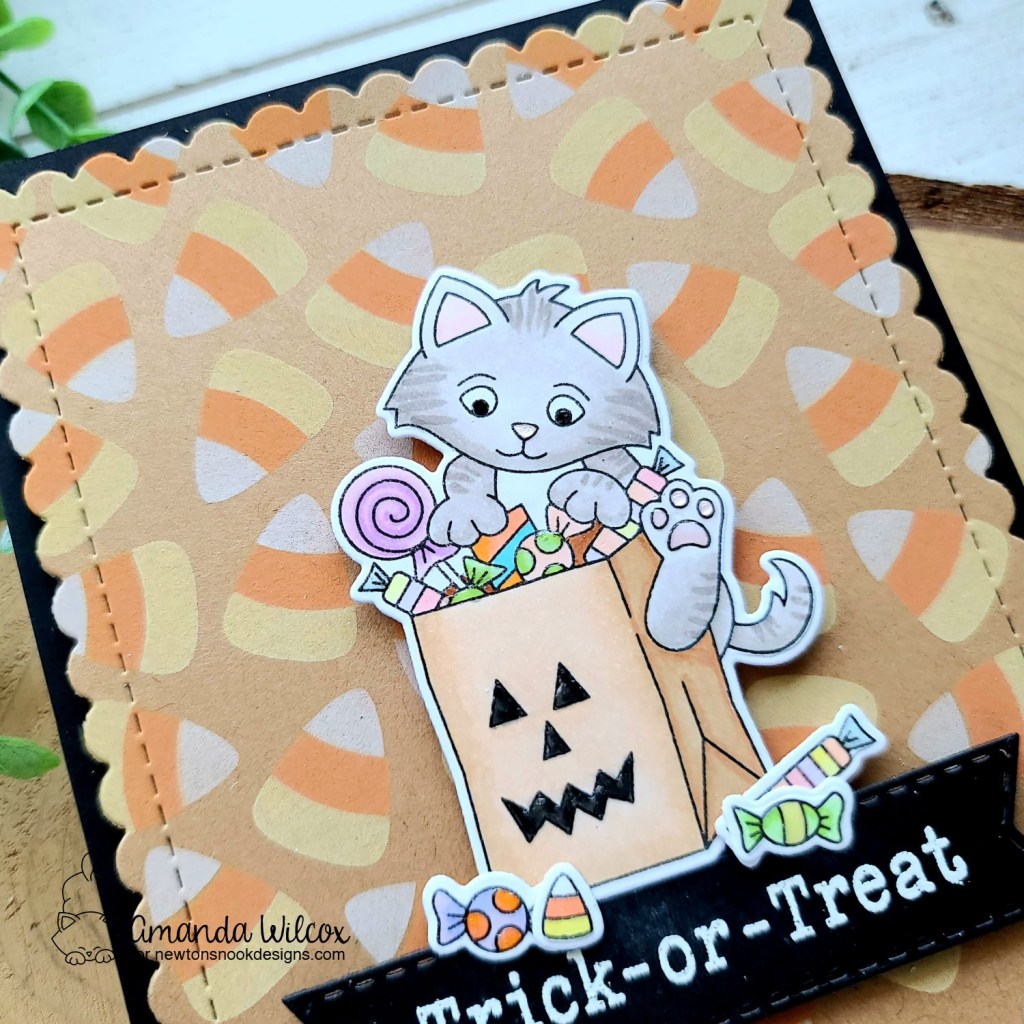
Next, I stamped and colored images from the Trick or Treat Kittens set with my copic markers. I used the coordinating dies to cut them out and arranged them together, using liquid glue to adhere them where they overlap.
For the sentiment, I wanted to use one of the Banner Trio dies so I cut it from black cardstock and went digging for a long sentiment to put on it. Last year’s Spooky Roundabout has a fabulous selection so I stamped and heat embossed one from there on the banner.
I added foam tape to the back of the stenciled panel and popped it up on a black card base. Then I added foam squares to the images and sentiment banner and popped them in place next.

For finishing touches, I came in with glossy accents on the kitty’s nose and toe beans, plus the spots and stripes on the candy pieces. Then I thought it would be fun to draw a little interest to the face on the bag so I put them on there too. Last, I added black glace pen to the kitty’s eyes. I really think this makes a difference in the face and darkens those cute eyes just perfectly.
Now, for this fantastic new Count Newton set, I had to make a scene card. There are so many fun supporting images in the set that if you add just a couple supporting dies, it was quick and fun to create a fun, full scene!
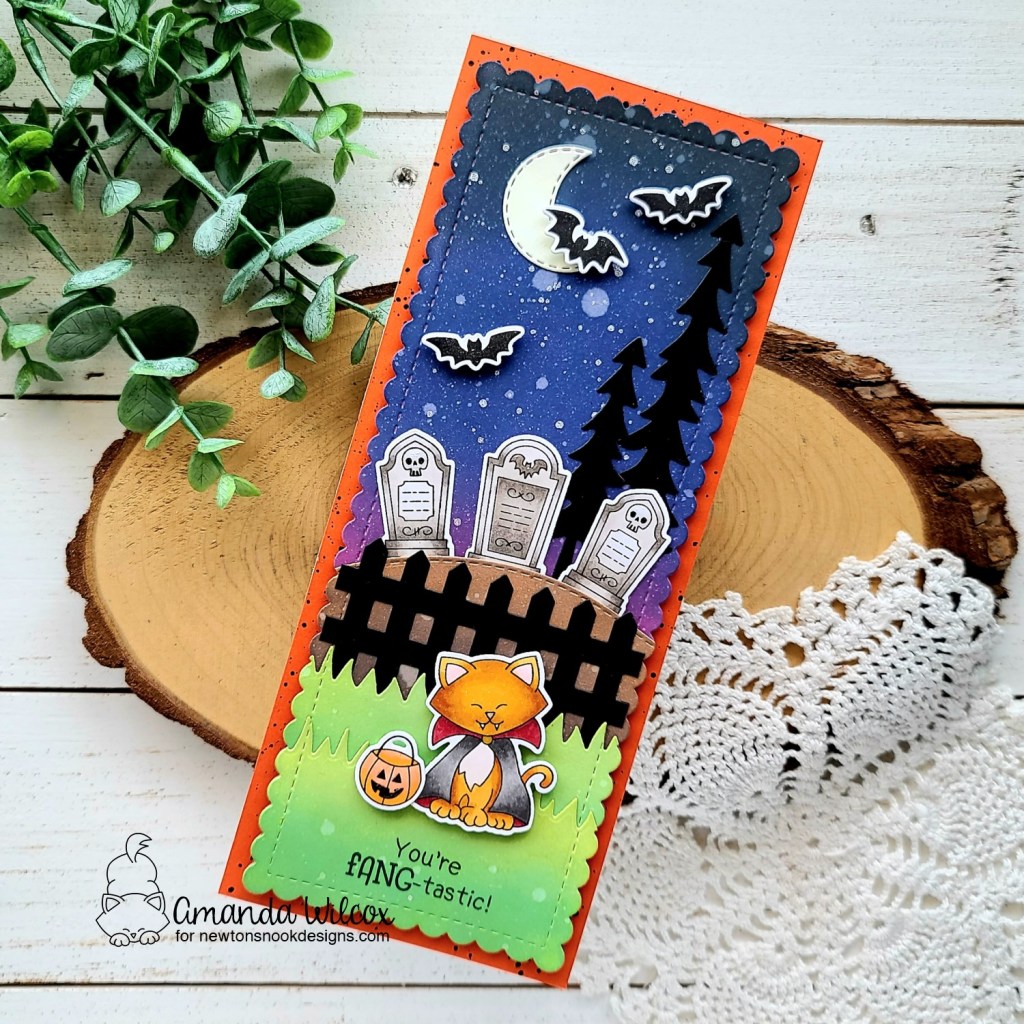
For this card, I started by stamping and coloring my images. At the beginning I wasn’t sure if I would make an A2 size card or a slimline. Once the images were die cut and I started playing, it was clear that a slimline would be SO FUN! So that’s what I did. I die cut the Slimline Frames & Portholes scalloped rectangle twice. The background panel I inked up with distress oxides in seedless preserves, blueprint sketch and black soot. Then I took the grass die from the Land Borders set and cut either end off the other scalloped slimline panel. I inked those up with mowed lawn and twisted citron. With the middle portion left of the scalloped panel I used the other land border to cut the top off and create my dirt hill. I inked that up with gathered twigs and ground espresso.
Once all the panels were inked I put them on my glass mat and spritzed them with a distress sprayer all at once. While they were drying, I cut the fence die and some trees from the Forest Scene Builder die set from black cardstock.
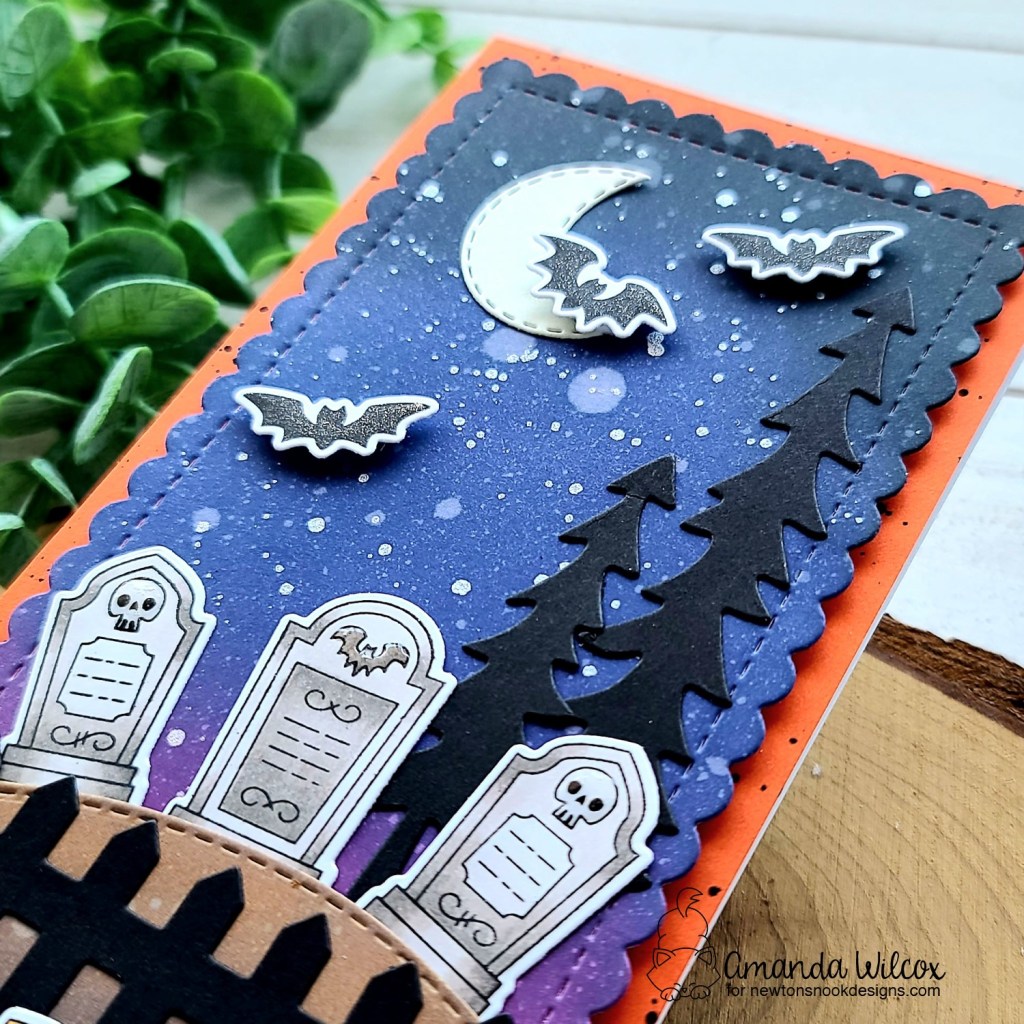
Before adhering my layers together I splattered the night sky panel with pearl watercolor. Then I used liquid adhesive to glue all the layers together and let them sit with acrylic blocks on top for a few minutes since there were so many. Next, I came in wtih all of my images, adhering them with a combination of liquid glue and foam squares.
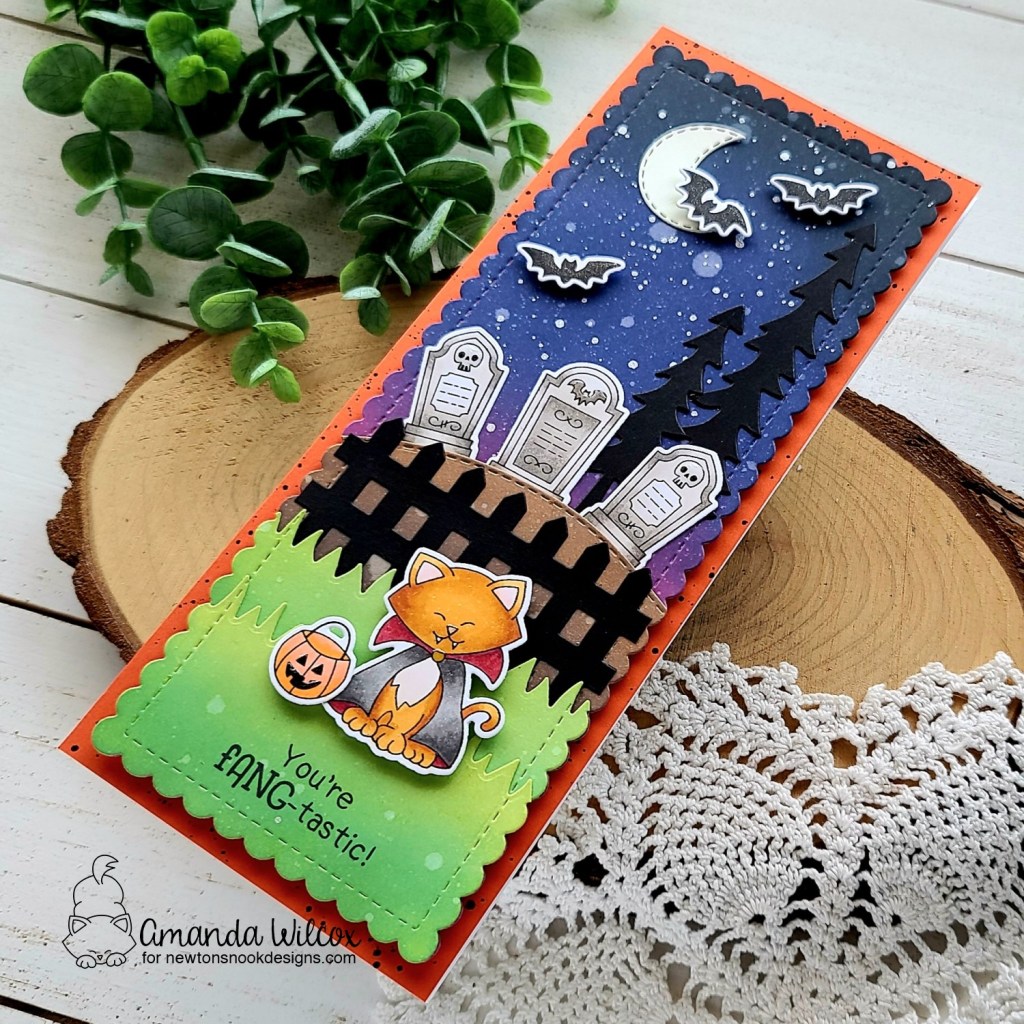
Once I got to filling in the sky, I thought it needed something so I die cut a moon from the Sky Scene Builder die set from white cardstock and colored it with a very pale yellow copic maker. After gluing it down I popped my last bats in place and stamped m sentiment at the bottom of my scene.
I cut a slimline card base but didn’t want a white border so I also cut a 3.5×8.5 inch orange panel and splattered it with black acrylic paint. After that was adhered to the card base I popped my scene panel up with foam tape and moved on to finishing touches.
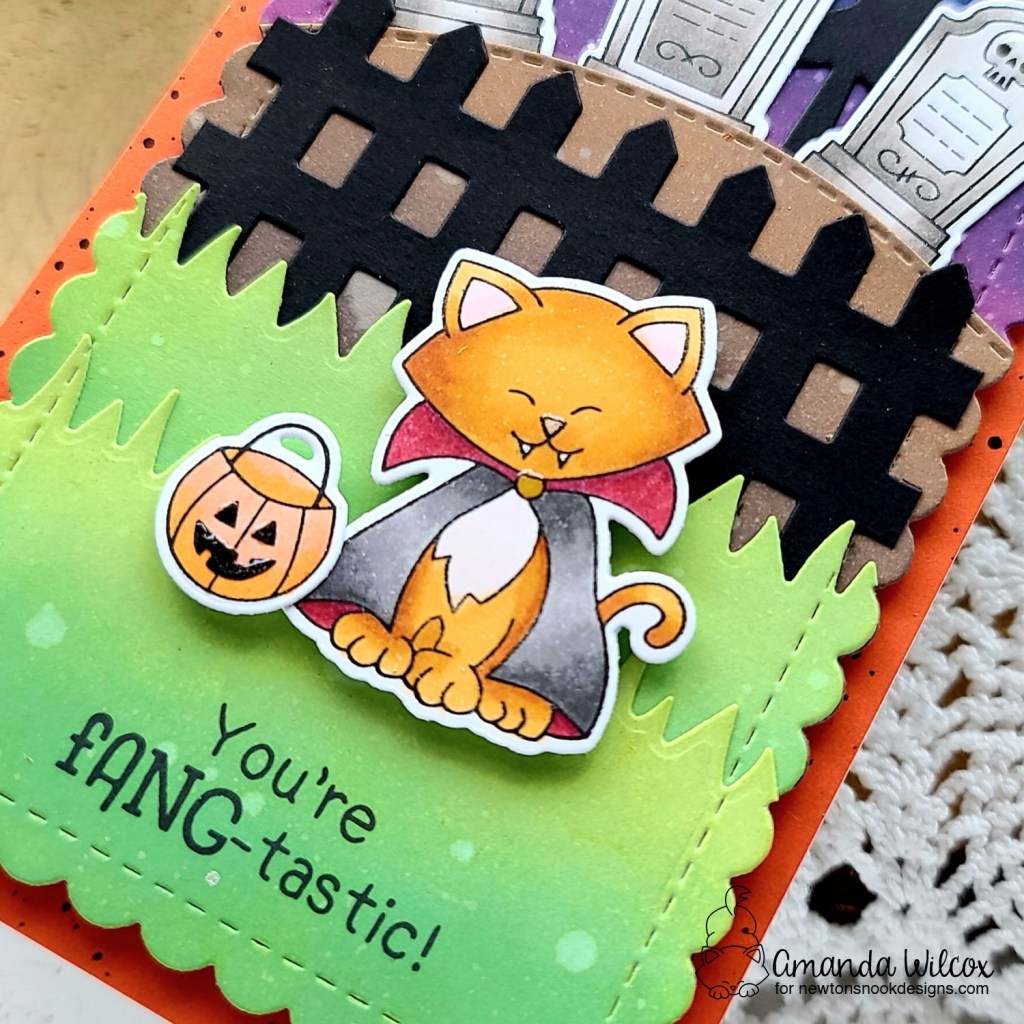
I added glossy accents to various parts of my images like Newton’s nose, collar medallion, pumpkin face and bits on the headstones too. Then I came in with Wink of Stella glitter brush pen for the bats again because I just love that subtle shimmer.
Would you like to win the “Count Newton” or the “Trick or Treat Kittens” Stamp Set? We will choose ONE lucky winner for each stamp set!
Here’s how to win: Comment on the NND blog and Design Team blogs (see list below)! The winner will be chosen at random from the collective reveal posts. Make sure to check out each of their blogs and comment for your chance to win. You will not know which blog has been chosen so the more you comment on the better your chances are of winning! You have until Thursday August 19th at 9pm ET to comment — winners will be announced on the blog post on Friday, August 20th.
Check out all the awesome Design Team Blogs below to enter:
Newton’s Nook Designs
Tina Herbeck
Larissa Heskett
Samantha Mann
Zsofia Molnar
Farhana Sarker
Tatiana Trafimovich
Samantha VanArnhem
Amanda Wilcox

Like the wonderful slimline scene, pun and stencil Halloween creations.
Melissa
“Sunshine HoneyBee”
LikeLiked by 1 person
These are so cute! Love the slimline card. 🙂
LikeLiked by 1 person
LOVE your slimline vampire scene!
LikeLiked by 1 person
Such a cool slimline design, the scene you created is fantastic.
LikeLiked by 1 person
Both cards are faBOOlous and fun. I really love that stunning graveyard scene you’ve created. It’s purr-fection!!
LikeLiked by 1 person
I love the graveyard scene. Well done on both cards.
LikeLiked by 1 person
Your kitten coloring is wonderful, and Count Newton is detailed and divine! TFS
LikeLiked by 1 person
Spooktacular cards! So fun!
LikeLiked by 1 person
So super great cards!
Love new stamps!
LikeLiked by 1 person
Love both of these, Amanda! The soft, sweet coloring on the first kitty goes well with that candy corn BG!! And such bold colors on your slimline!!
LikeLiked by 1 person
I am in love with your slimline scenic Count Newton card! It is so full of great details! Also love that the candy corn background goes so well with the cute trick or treat kitten with his bag of goodies!
LikeLiked by 1 person
Absolutely adorable cards!!!! Live the Halloween themed
LikeLiked by 1 person
I love Newton’s Nook stamps and your cards are beautiful!
LikeLiked by 1 person
Fun cards. Love the tall card.
The candy corn behind the kitty
was a fun idea. thanks for sharing
txmlhl(at)yahoo(dot)com
LikeLiked by 1 person
Sweet Newton with Trick or Treat bag – yum and I so love the vertical Halloween scene you did lovely art – stunning work! TFS
LikeLiked by 1 person