Miss Ink Stamps – Stuck Duck

Hello crafty friends! Today I’m over on the Miss Ink Stamps blog with a simple to create but fun scene card to share with you. I used the Stuck Duck stamp set which has an adorable set of images and a super hilarious collection of sentiments to go with them.

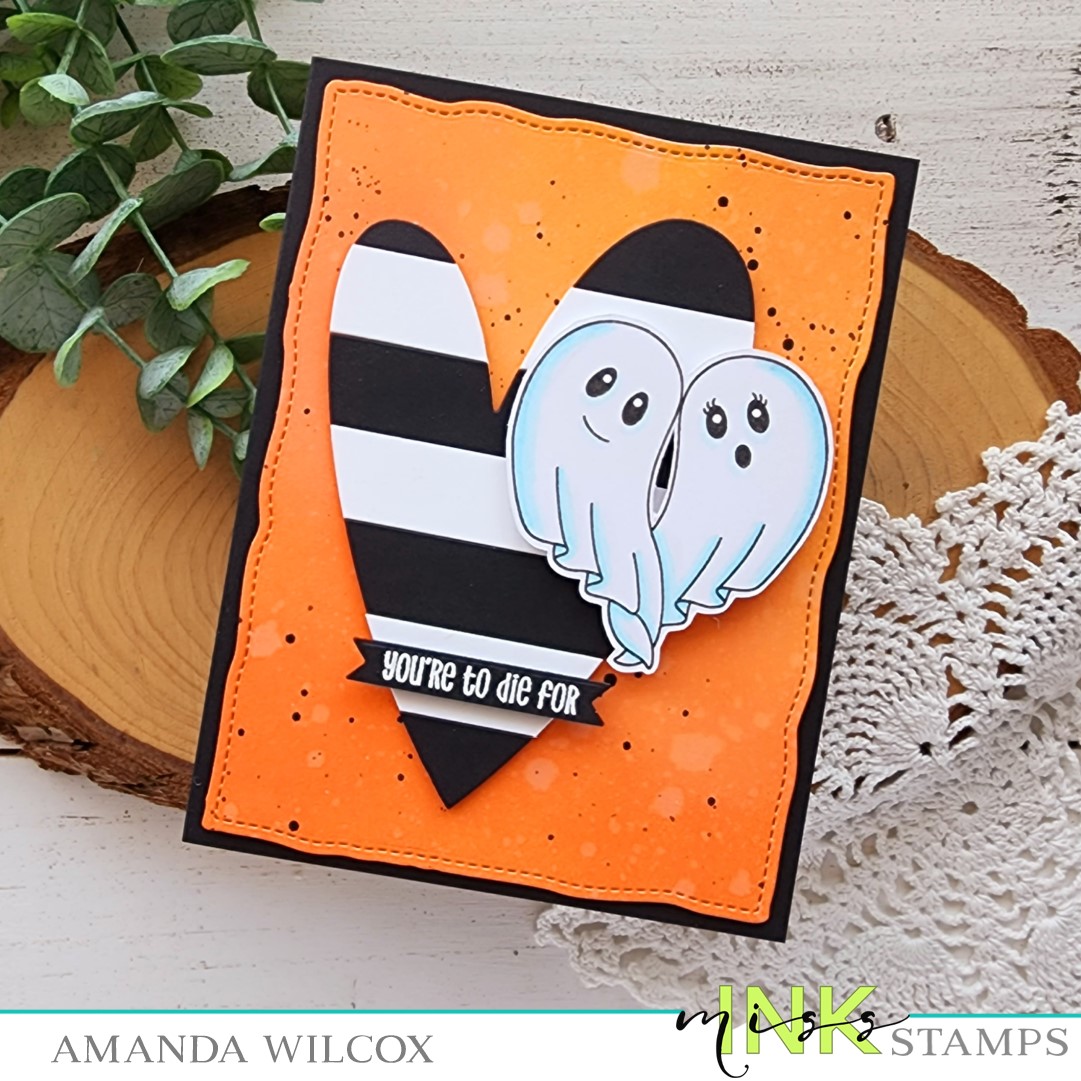
I started by stamping the images and coloring them with my copic markers. I used the scan-n-cut to cut them out and started to work on my background scene.

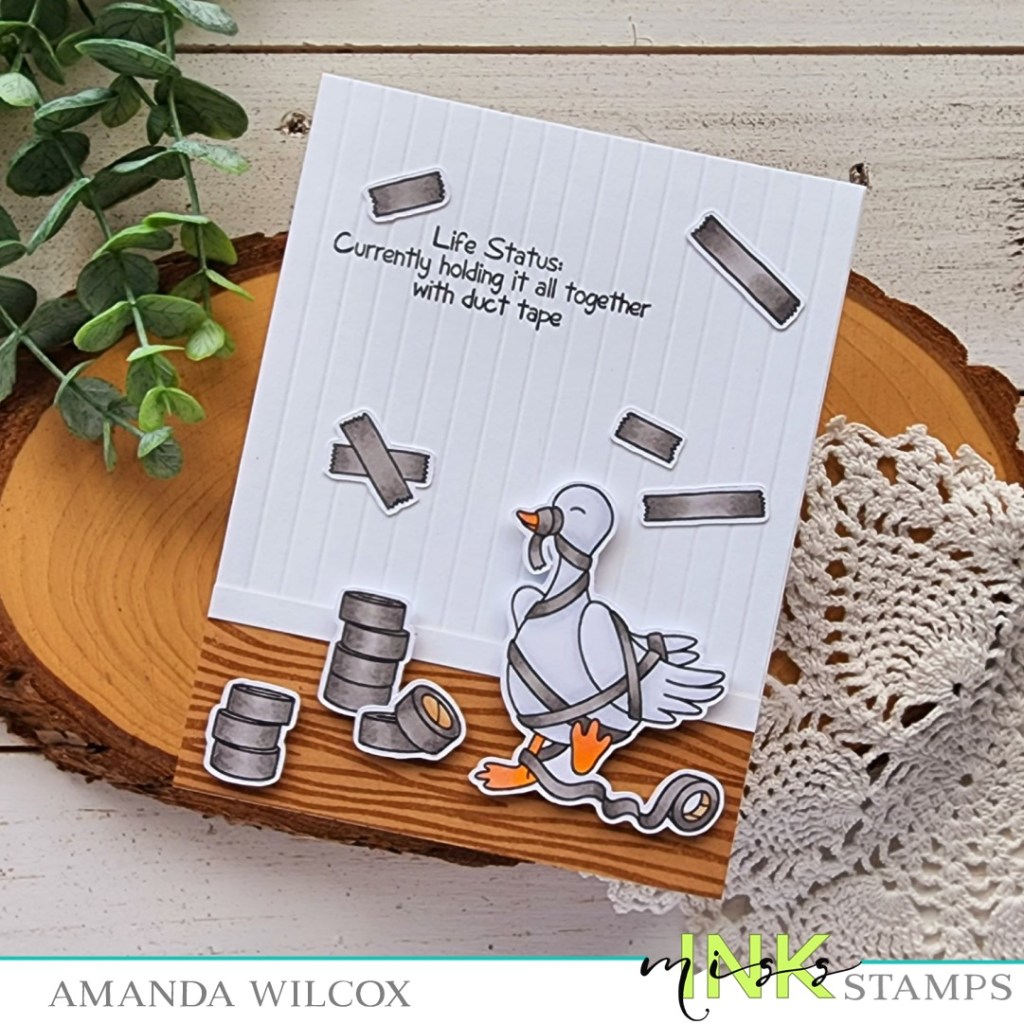
For this, I started with an A2 size piece of white cardstock. I scored it every quarter inch vertically to create a shiplap wall look. Then I took a scrap of kraft cardstock and stamped the Woodgrain Background stamp on it before adhering it to the bottom of the scored panel. For a baseboard, I just cut a quarter inch strip of white cardstock and glued it at the seam of the wall and floor.

Next, I placed all of my images on the panel to decide where to stamp my sentiment. Then I placed my panel in my MISTI and stamped it. Then I adhered the images on the wall with liquid glue and the ones on the floor with foam squares.

Isn’t this little scene too fun!?! I just love it. It totally cracks me up.

Products used:
Stuck Duck stamps
Woodgrain Background stamps
Foam squares
Liquid glue

I appreciate you sharing your time with me. Have a fabulous day!

Miss Ink Stamps – You’re to Die For

Alright friends! I’m back at it again. I couldn’t put the Halloween stamps away. Sorry, not sorry. Hahaha!!! This is another smaller, but totally adorable and fun Halloween set from Miss Ink Stamps and I love it!

I easily shaded these cuties with my copic markers and cut them out. Then I stamped and heat embossed a sentiment from Halloween Sentiments on black cardstock and cut it out with a small banner die.

For the background panel, I blended ripe persimmon and carved pumpkin distress oxides. Then spritzed it with water and flicked black paint on the panel before die cutting it with the Mama Elephant Mod Heart die set. One gives this awesome wonky rectangle and another gives you that cool striped heart I cut from black and white cardstock. Aren’t those stripes so fun?!?

Finally, I created a black card base with a white insert for the inside. Then I popped the orange panel up with foam tape and then the heart next. The ghosts are added with foam squares and finally the sentiment with foam strips.

For finishing touches I used my Wink of Stella glitter brush pen on the shading areas of the ghosts.

I barely got the photos finished of this card before my daughter stole it and put it on the shelf in her room. I guess this one is spoken for. Hahaha!

Products used:
Kindred Spirits stamps
Halloween Sentiments stamps
Mod Heart dies
Distress Oxide – ripe persimmon and carved pumpkin
Foam tape, squares and strips
4-Bar Card dies
Wink of Stella glitter brush pen
Watermark and Embossing Ink
Embossing Powder – frosting
Magic anti-static brush

I appreciate you sharing your time with me. Have a fabulous day!

Pink & Main – Foiling Fun with Toner Paper

Welcome everyone! Thanks for stopping by. Today I have a really cool card to share with you featuring the new Black and White paper pad. This paper is toner printed so you can foil on it! Everything that is black will be foiled if you run it through a laminator.

I specifically chose a print with lots of black so most of my card front would be foiled. Then I chose my foil – gold shattered glass – and heated up my laminator.

A few pro tips for foiling on toner! First, take a clean microfiber cloth and wipe the back of your foil carefully and the front of your paper. This removes the oils from your fingers which inhibit the foiling process. Once you’ve done that, be careful to only handle the edges. Second, make sure your laminator is really good and hot. I let mine heat up twice as long as suggested. Third, look at the back of your foil. There are usually striation lines going one direction in the foil. You want these to go through your machine parallel to the opening. It helps keep wrinkles down.

With my panel foiled, I used the largest A2 rectangle die to cut the panel down and saved the leftover for another project later on. I love distressing for two reasons. First, it’s cool to look at and, second, it hides imperfections wonderfully! So I splattered my panel with some black paint and let it dry.

While that was drying, I used two more layered rectangle dies to create a thin frame. I used liquid glue to adhere it after the paint was dry.

I wanted to focus to be on the awesome foiling so I stamped and heat embossed an image from Floral Wings with licorice embossing powder and used the coordinating die to cut it out. Then I stamped and heat embossed a sentiment with frosting embossing powder and used another layered rectangle to cut that out. Both things were added with foam squares and my card is finished.

I hope you’ll give foiling a try and I also hope that my tips are helpful to you too!

Products used:
Floral Wings stamps and dies
Layered Rectangles dies
EZ Squeeze liquid glue
Watermark & Embossing Ink
Magic anti-static brush
Embossing powder – licorice and frosting
Deco Foil – gold shattered glass
Foam squares

I appreciate you sharing your time with me. Have a fabulous day!