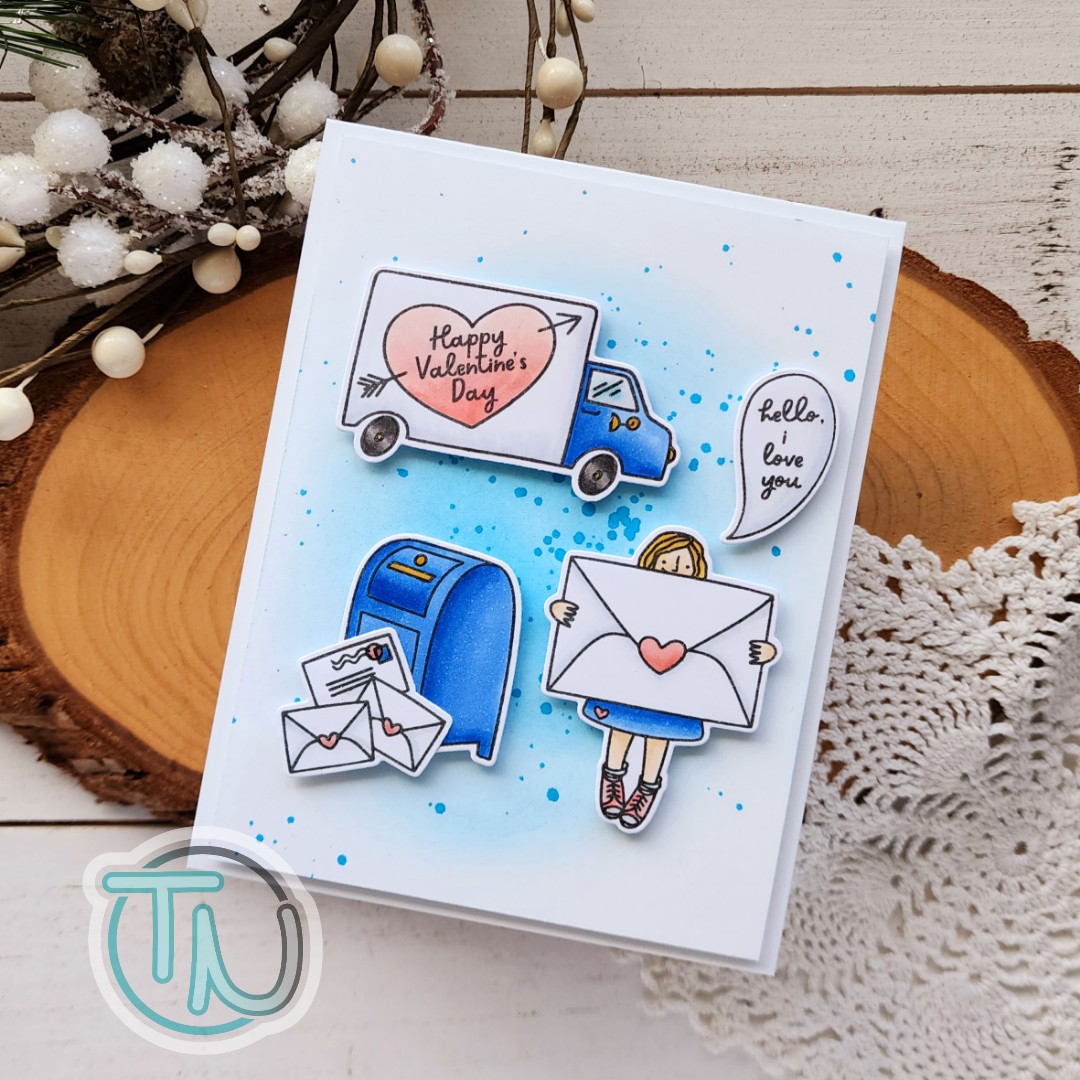
Welcome everyone! This is Amanda from Twiddler’s Nook and I’m very honored and excited to be guest designing for Ellen Hutson’s January Valentine Release! It is packed full of so many amazing products and I have had so much fun creating with them. For the Instagram Release Hop I shared some projects with So Chewsy and Essential Hearts, so today I wanted to share inspiration with another set – Hello, I Love You. This one has super fun images to mix and match that give you an easy way to incorporate your sentiment with the images.
Sometimes I plan a card and get excited about the fun images, forgetting to make a place or even leave room after the fact for a sentiment. While this isn’t a horrible problem to have, it’s also fun and convenient when the sentiments are contained in your images.

To create my card today, I had a layout in mind but wasn’t sure if everything would fit how I wanted. When these occasions arise, I pull out a card base or piece of cardstock the size I’m looking to create on and play with my stamps. This helps decide how many images to stamp, and avoids doing all the work but not being able to accomplish the intended outcome too.

Here, I was hoping the speech bubble would fill the space in front of the mail truck and still keep the general square shape I was hoping to arrange my images in. Also, starting this I thought the mailbox would be enough on its own but it looked really empty until I added the envelopes to go with it. Now it looks like things are going to work great!
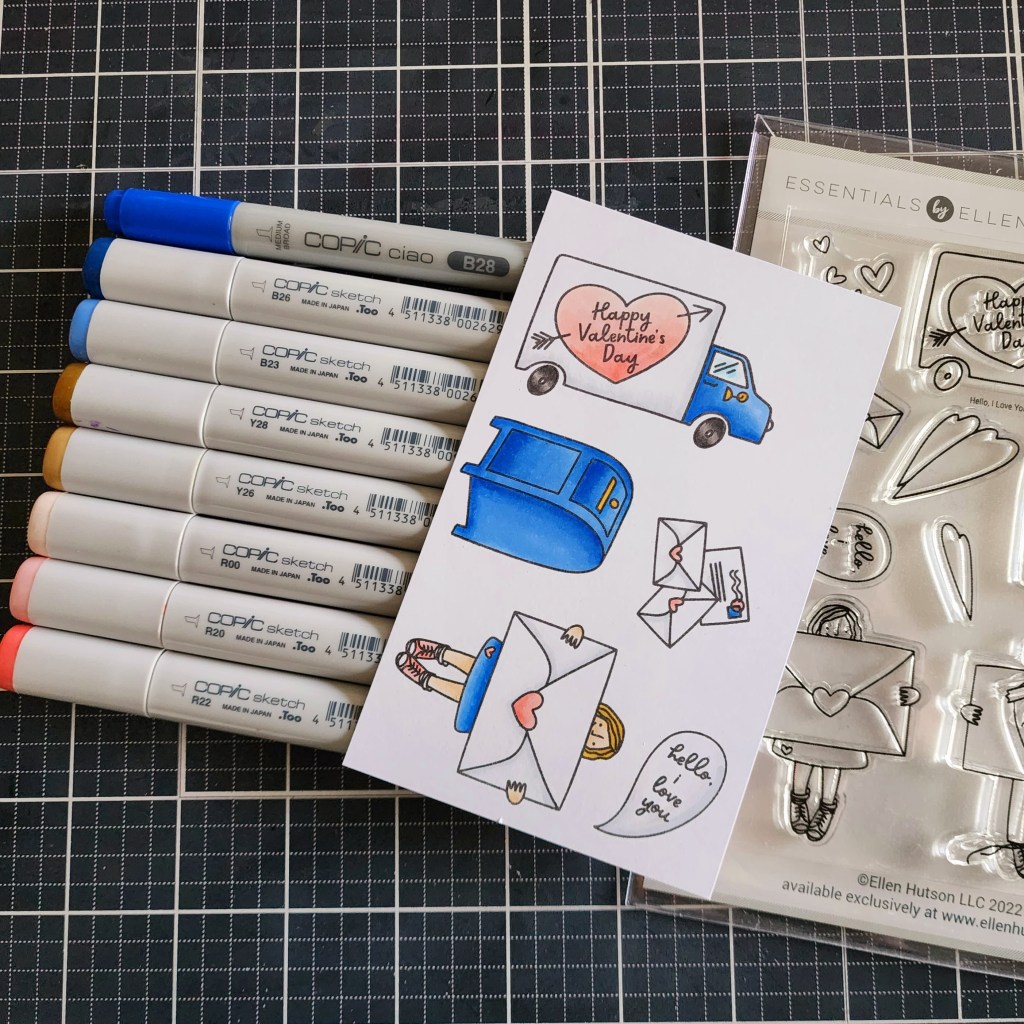
When I have limited time, too many options or lots of images I tend to plan out a color palette ahead of time and I make sure to keep it simple. Here I’ve kept to the basic red/yellow/blue primary color trio. To keep from things looking like a kindergarten drawing though, I chose a darker, gold/yellow, lighter pink/red and a bright blue for pop and interest. Then I threw in a light gray for shading and a couple simple colors for things like the tired and truck window. Otherwise, everything is using the same markers shown.
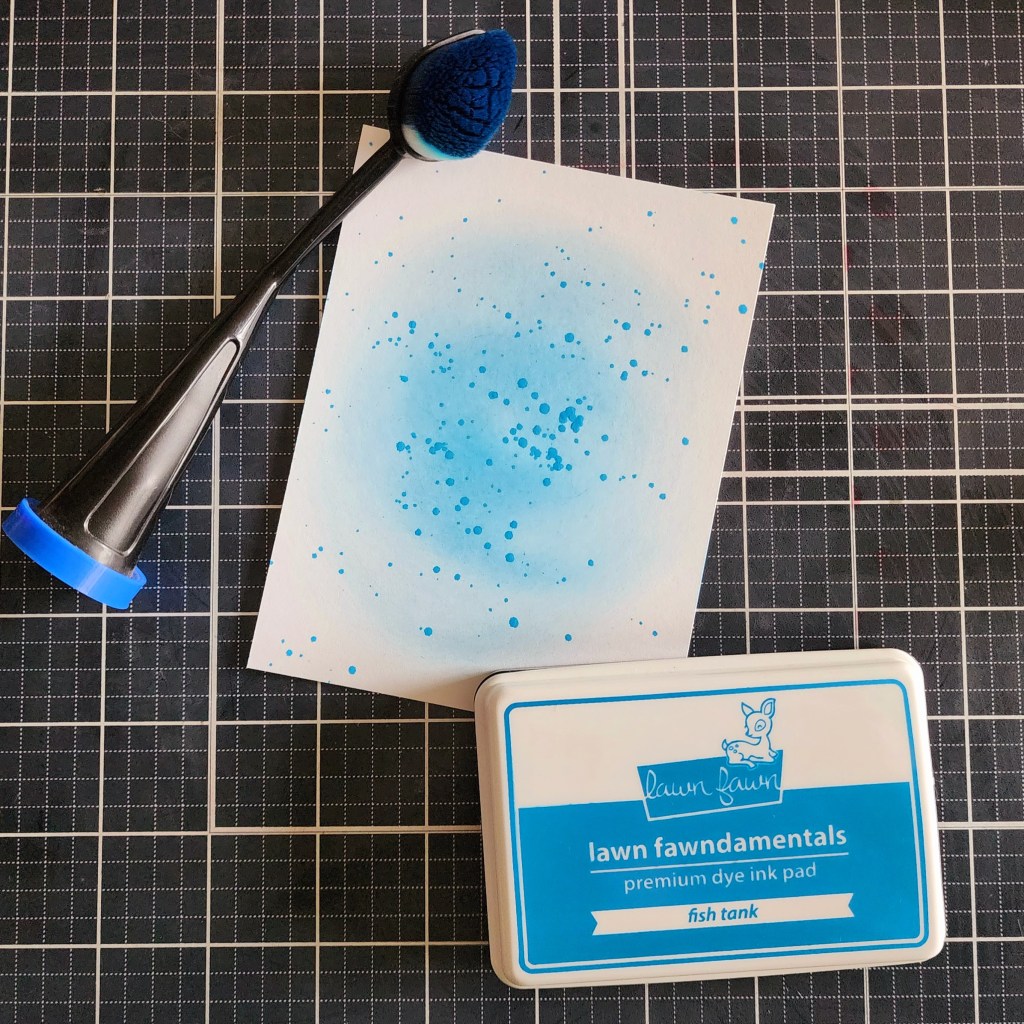
After coloring everything, I used the coordinating dies to cut them all out and arranged them on my white panel. Doing this, I made two decisions. First, I wanted to pop it up on the card base because I really love dimension on my card. So I trimmed it down to 4×5.25 inches to create a little frame when it’s popped up. Then, second, I didn’t like all of the white space. I also really love texture. So I chose a blue ink close to my copic color choice and blended a little blob in the middle. Be forgiving when you do this. Most of it will be covered up. Also, when dye inks dry they even out and look nicer than you think they will.
For extra texture I smooshed the ink pad on an acrylic block, spritzed it with water and used a paintbrush to flick some splatters on the panel too. You could add watercolor or metallic paint at this point for extra shimmer too!
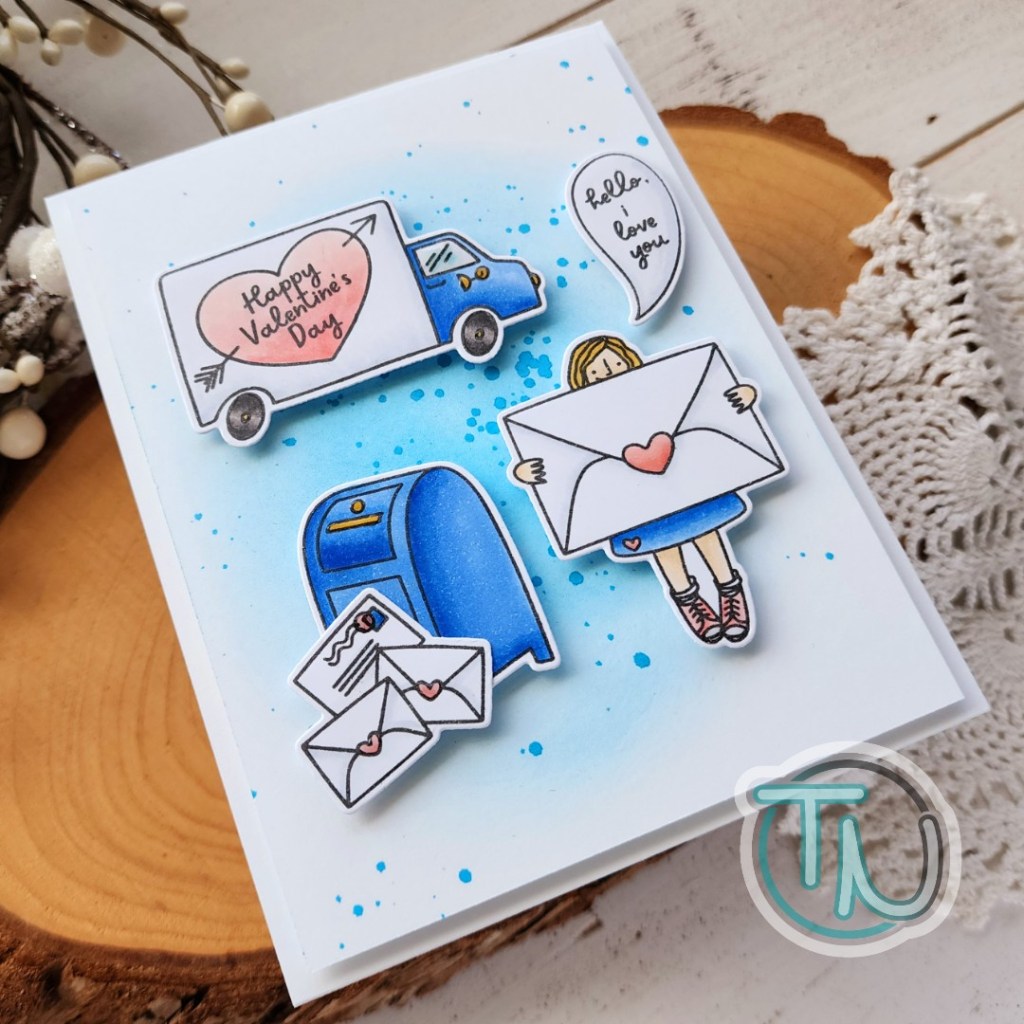
Once the panel was dry, I added it to a white card base with foam tape and then added my images with foam squares too. Another level of dimension. It keeps them from blending in to the background, along with the inking. Then all we have to do is decide on finishing touches.

This might seem like a really small thing but it can absolutely make your card stand out among the rest. This is when I add extra shine and shimmer. Usually Stickles or Glossy Accents, sometimes both depending on the feel of the card. Today I stuck to glossy accents on parts of all of the images. The girl’s shoes and hearts, then the postage stamp and gold details for the mailbox, finally on the truck the window, light, mirror and hubcaps.
I hope you enjoyed today’s project and found something new to try in your cardmaking.
Products I used today:
Hey, I Love You stamps and dies
iCraft Foam Tape 1/16″
Scrapbook Adhesives Foam Squares 1/2″ and 1/4″
Lawn Fawn Fish Tank ink
Twiddler’s Nook blending brush and color caps
Glossy accents
I appreciate you sharing your time with me. Have a fabulous day!

I really love how you shared your thought process. The card turned out great!
LikeLike