
The Newton’s Nook Designs Team is hopping along today to share some great Sweet Treats – just in time for Valentine’s day! Make sure you scroll down to the bottom of this post to see the whole list and hop along and comment for a chance to win!

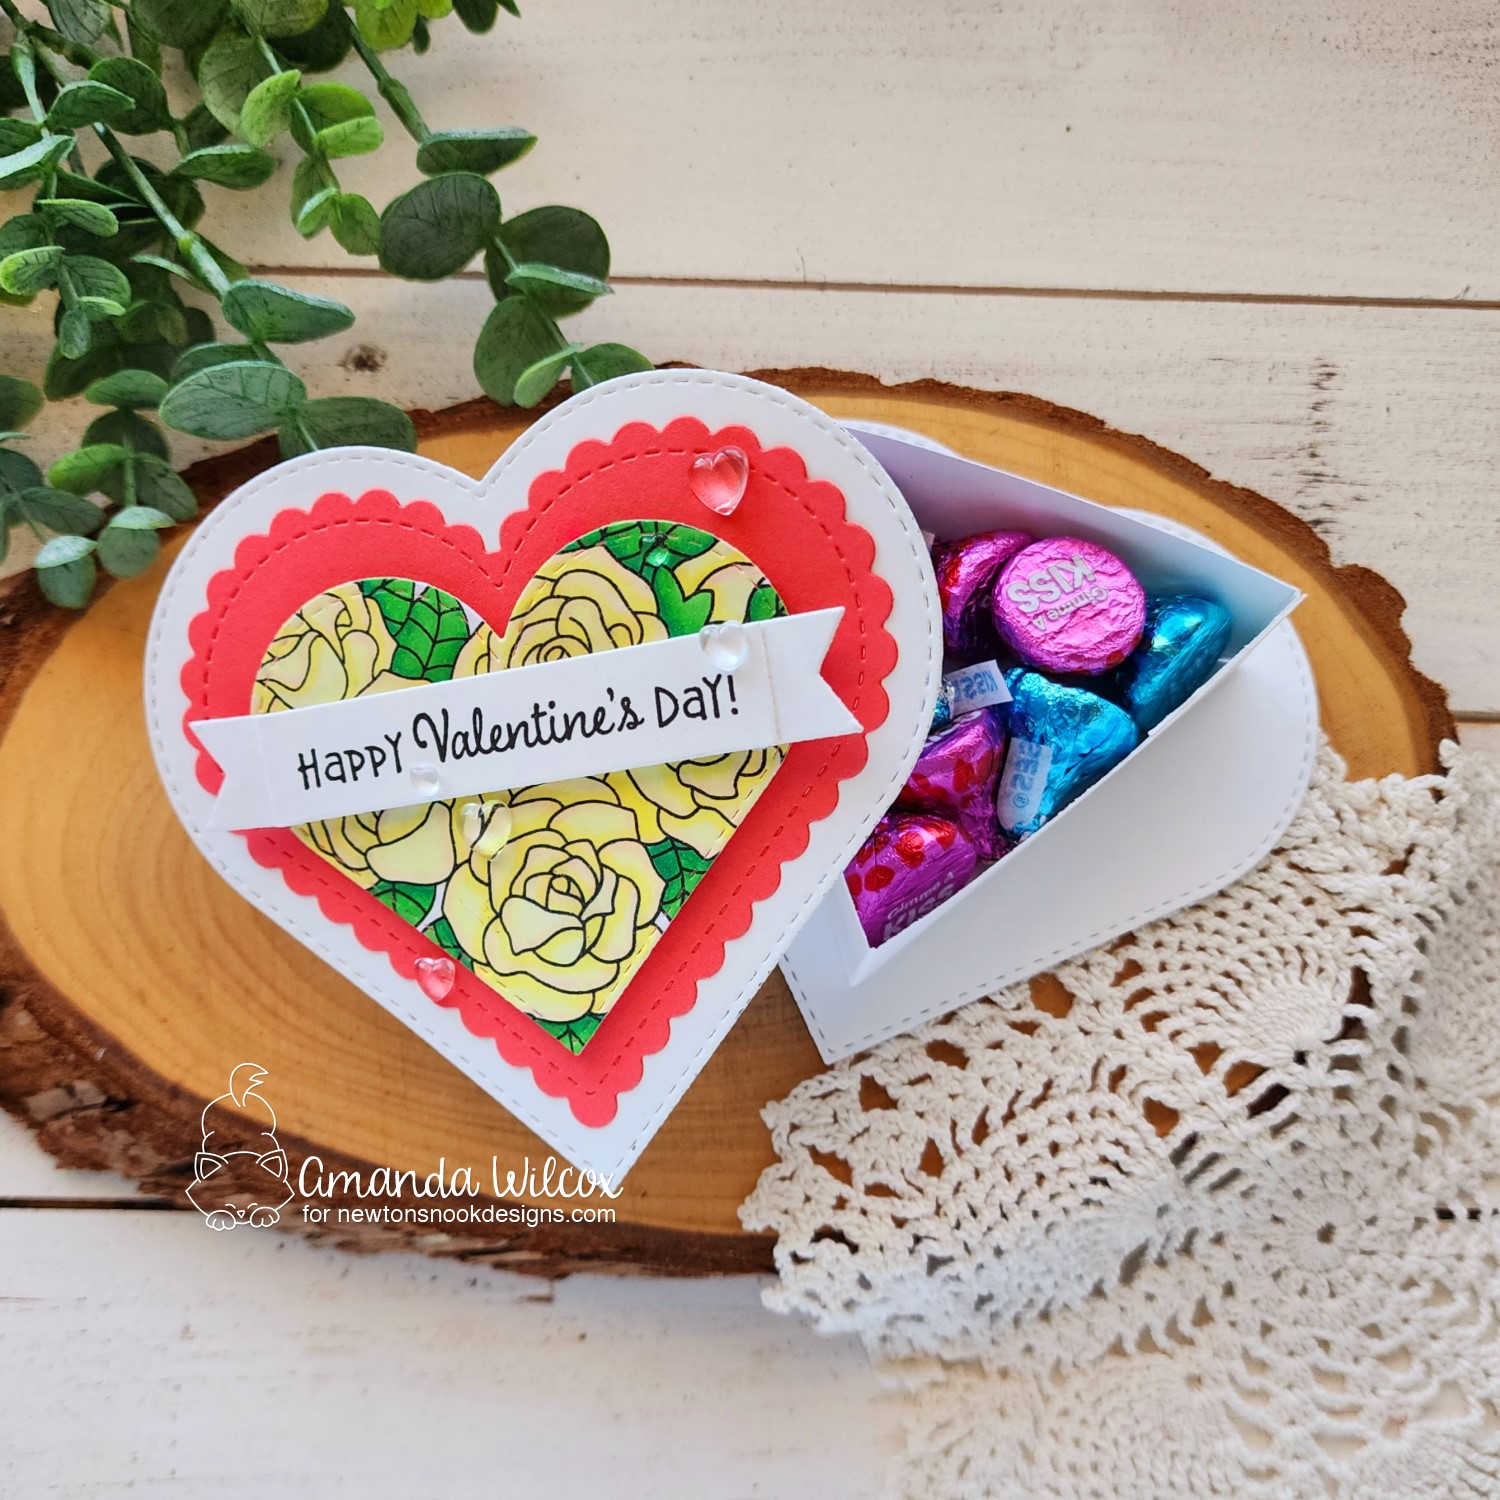
Today I have a tutorial to show you how to create your own box of chocolates using Newton’s Nook products! Isn’t this so much fun!?! I had a blast creating it and made sure to take photos along the way to make it easy for you to make one too!

I started by die cutting two of the largest hearts and one of the next size down. Then I stamped and colored Heartfelt Roses before die cutting it with the next size down from that. This gives me a box bottom, top and layers for decorating.

Next I created the sides for my box lids. I made one a smidge bigger than the other so they slide together perfectly.
- Start with 2 – 1.5×11 inch strips of cardstock matching your lid color. Score them lengthwise at 1/2 inch. Turn and score one at 3 1/4, 6 1/2 and 9 3/4. Score the second one at 3 3/8, 6 3/4 and 10 1/8. Then I made little tick marks about in the center of each section. (See close up photo 3)
- On the 1/2 inch side trim little mountain peaks from the center tick mark to the score line on both strips. Then cut the notch off the tab end.
- This is a close up of what your strips should look like.
- Fold on all your score lines. Then glue the tab to the other side creating 2 triangles. Next, add glue to the mountain peaks so you can adhere them to your box top and bottom.

To adhere the triangles to the lids, I used liquid glue so I could move things if I needed to. Also, I added the smaller triangle first, then layered the other over the top and aligned my heart on top of that.

To decorate my lid, I added the two hearts you saw earlier. First the coral scallop one with liquid glue and then the roses with foam tape. But then I pulled out the banner trio dies and cut one from white cardstock. I chose a sentiment from Heartfelt Love to stamp on it and added it to the box top with foam squares.
For finishing touches I added some clear dew drop hearts across the design. Don’t you love it?!? I’m hoping to make one more using the awesome Love Quarry set for someone special.
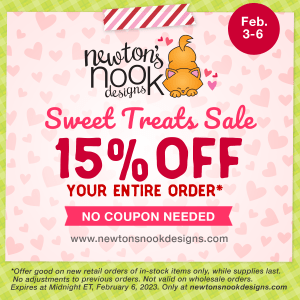
Sweet Treats SALE!
As an extra treat to you, we are celebrating with a SALE!
Use code TREAT to receive 15% off your order this weekend!
Now through Monday, February 6th at www.newtonsnookdesigns.com
Enter to Win! Sweet Treats Blog Hop Prizes!
We will be choosing two lucky winners to win a $25 store credit for Newton’s Nook Designs online shop! To enter, just leave comments on the Design Team Member and Guest blogs (see list below)! Two winners will be chosen at random from the collective blogs in the blog hop. Make sure to check out each of their blogs and comment for your chance to win. You will not know which blog has been chosen so the more you comment on the better your chances are of winning! You have until Sunday, February 5th at 9 pm EST to comment — winners will be announced on the NND blog on Monday, February 6th.
Check out all the awesome Design Team Blogs below to enter:
Newton’s Nook Designs
Donna Idlet
Ellen Haxelmans
Tina Herbeck
Larissa Heskett
Samantha Mann
Zsofia Molnar
Maria Russell
Farhana Sarker
Tatiana Trafimovich
Amanda Wilcox

What a fun box idea!
LikeLike
Hi, Amanda – Your project is superb and the explanation & photos of the How-To are both excellent. The NND elements are so pretty!
Lori S in PA
LikeLiked by 1 person
You created a beautiful box of chocolates!! Awesome job!
LikeLiked by 1 person
What a fun project this is and so useful!!
And pretty. Yellow roses always make me think
of my mom – her favorite! I love the pink and
yellow color combo, too.
LikeLiked by 1 person
Adorable box of chocolates!
LikeLiked by 1 person
This is absolutely the sweetest! Amanda, I am really happy you brought my attention to Newton’s Nook! Thank you.
LikeLiked by 1 person
Such an elegant design! Your roses are perfectly lovely and the perfect topper for you handmade box! Thank you so much for sharing!
LikeLiked by 1 person
Wonderful heart shaped box treat container. TY for directions. Will have to make some.
Melissa
“Sunshine HoneyBee”
LikeLiked by 1 person
I love the heart shaped box! What a great idea!
LikeLiked by 1 person
Thank you for the tutorial! Great project!
LikeLiked by 1 person
Love the heart shaped box you created.
LikeLiked by 1 person
What a great candy box!
LikeLiked by 1 person
Beautiful heart-shaped box! I love the layering and pretty roses! Fun Valentine project!
LikeLiked by 1 person
I love the triangle shape you made instead of trying to do a heart shape, so cute
LikeLike
Oh wow! Love how this turned out!
LikeLike
Super fun heart shaped candy box!
LikeLike
Thanks for the directions to make the
candy box. Good to be able to make
the size you need. Darling
thanks for sharing
LikeLike
This is amazing! Such a wonderful project! Thank you so much for the step by step photos!
LikeLike
What a great idea…so simple and cute. Perfect for adult gifts.
LikeLike
I love the candy box and thank you for the steps to make one!!
LikeLike
Make your own box of chocolates!
LikeLike