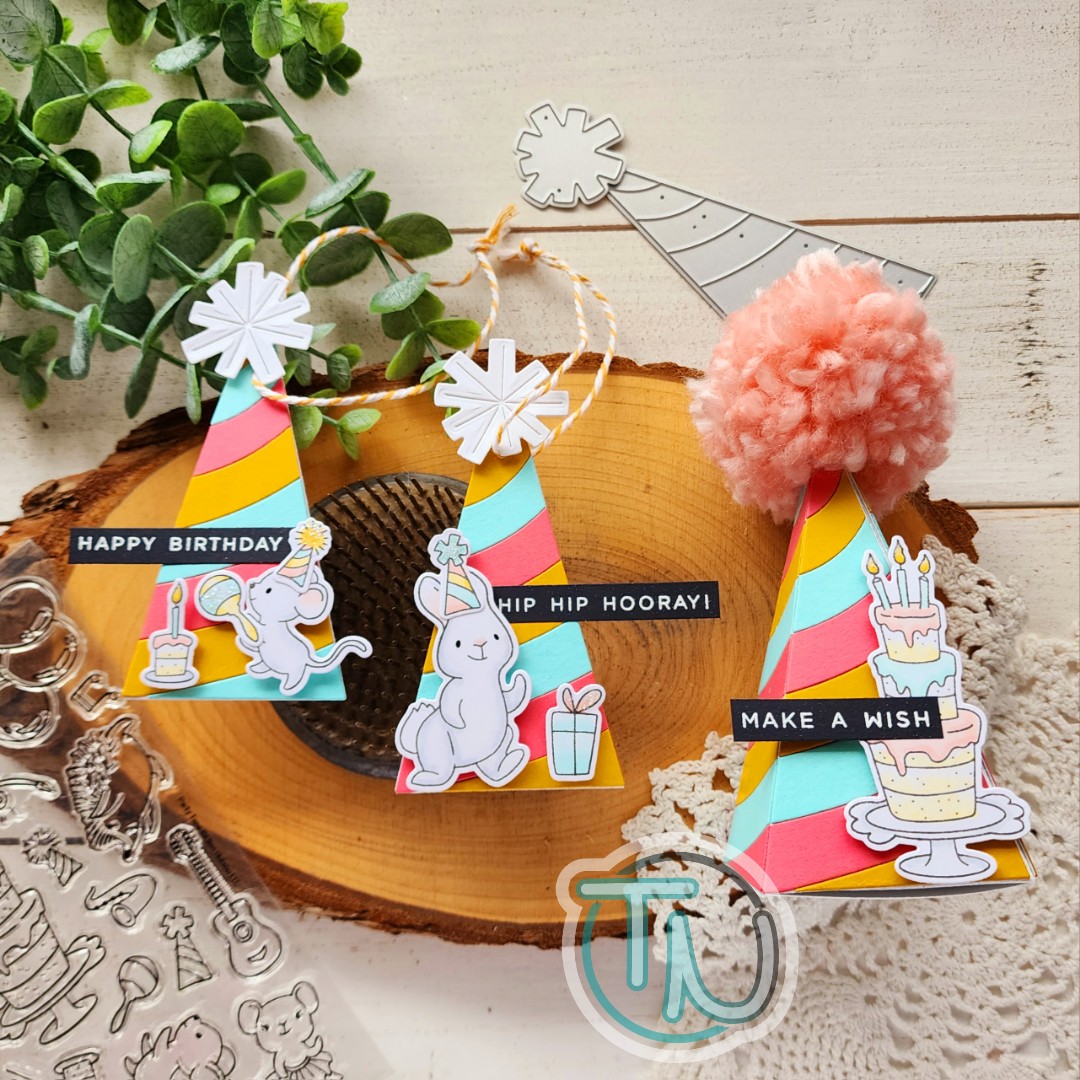
Oh my goodness everyone! I am SO EXCITED to be guest designing over on the Ellen Hutson blog today with goodies from the most recent birthday release. There was so many amazing products but I absolutely had to use the new party hat add on dies to the pyramid box and those sweet new birthday critters too. They’re my favorite!

I’ve got a fun box and a pair of gift tags to share with you today. As we go through the process you’ll see how I literally fell into the tags while creating the gift box. It was so perfect and really fun!
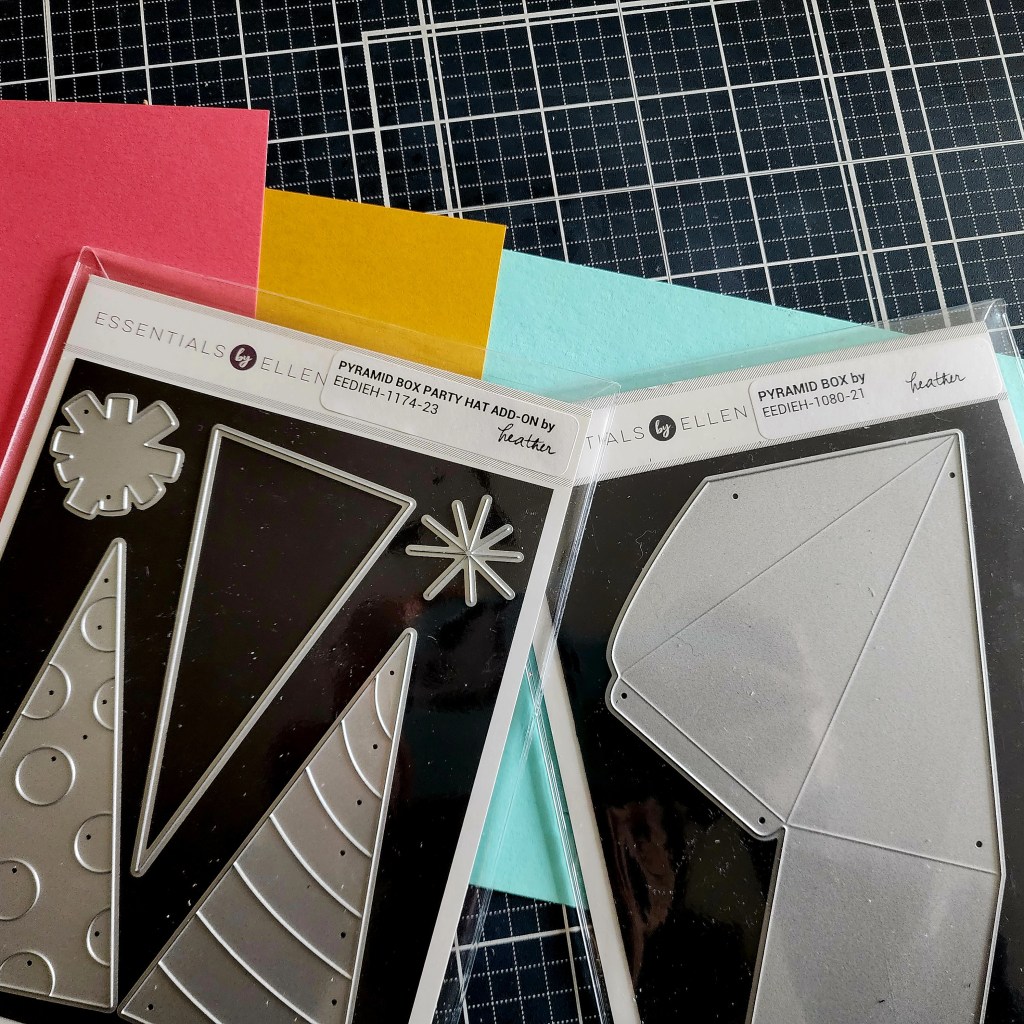
First, I chose a color palette that struck me in the moment and grabbed my dies. I cut the box pieces (2) and base for the sides (6) from white cardstock. Then I decided to try the striped hat first so I cut the stripes from each color twice.
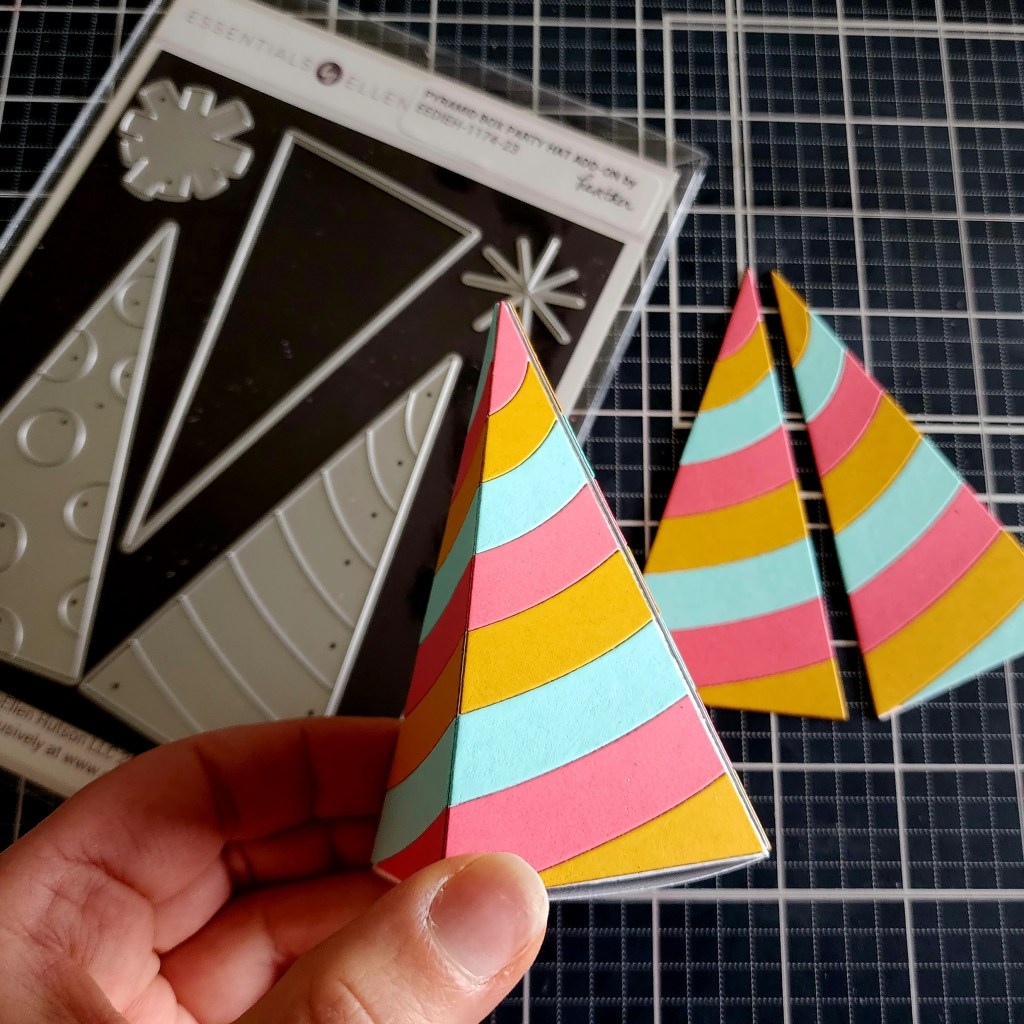
I started at the top of each triangle and just followed the same color pattern down, starting with the next in the order for each side. It worked perfectly and the stripes spiral around the box. It’s soooo cool! This also meant that I had two extra panels at the end…perfect for tags!!!
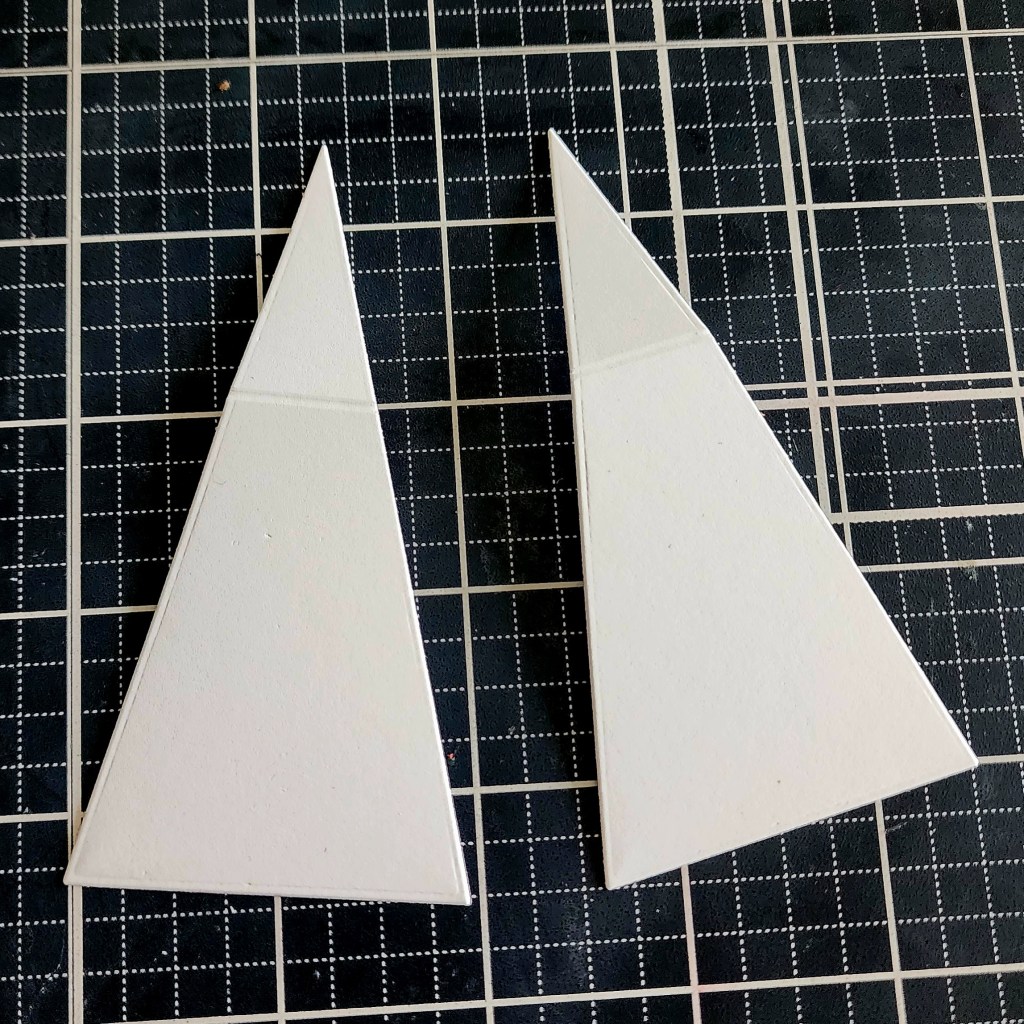
I cut two additional bases from white cardstock and used my scoring board to score them 1 1/2″ down from the point. This gave a good size area to glue the pieces to the striped panels but also left enough area to write to, from and a small message. I prefer liquid glue to adhere things like this but you could use tear tape or tape runner if you prefer.
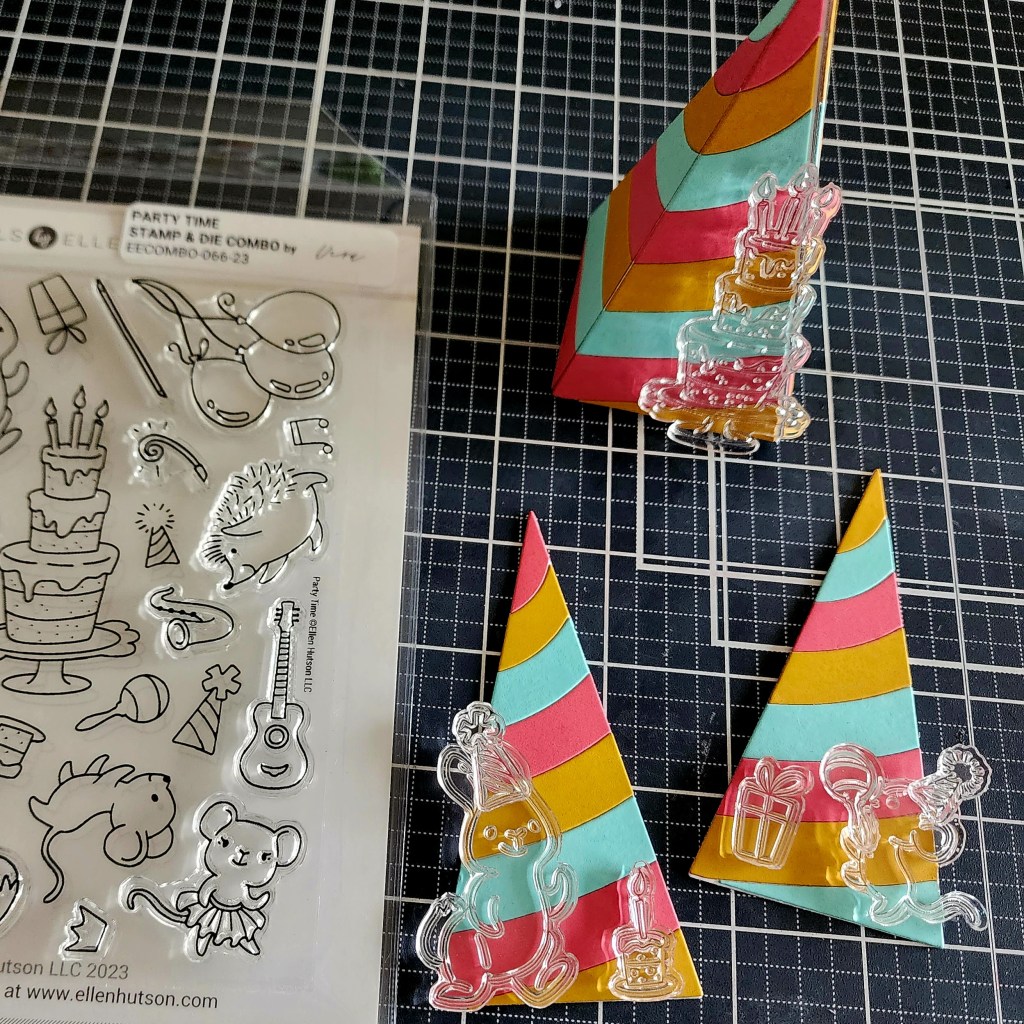
With all of my pieces assembled, it was time to decorate them! I often play with my stamps like this before actually stamping and coloring. It gives an idea for how things will fit and if I’ll need duplicates of an image. Remember, it’s not a guarantee for not needing to go back and stamp more or switch things out in the end but it really helps the process for me.
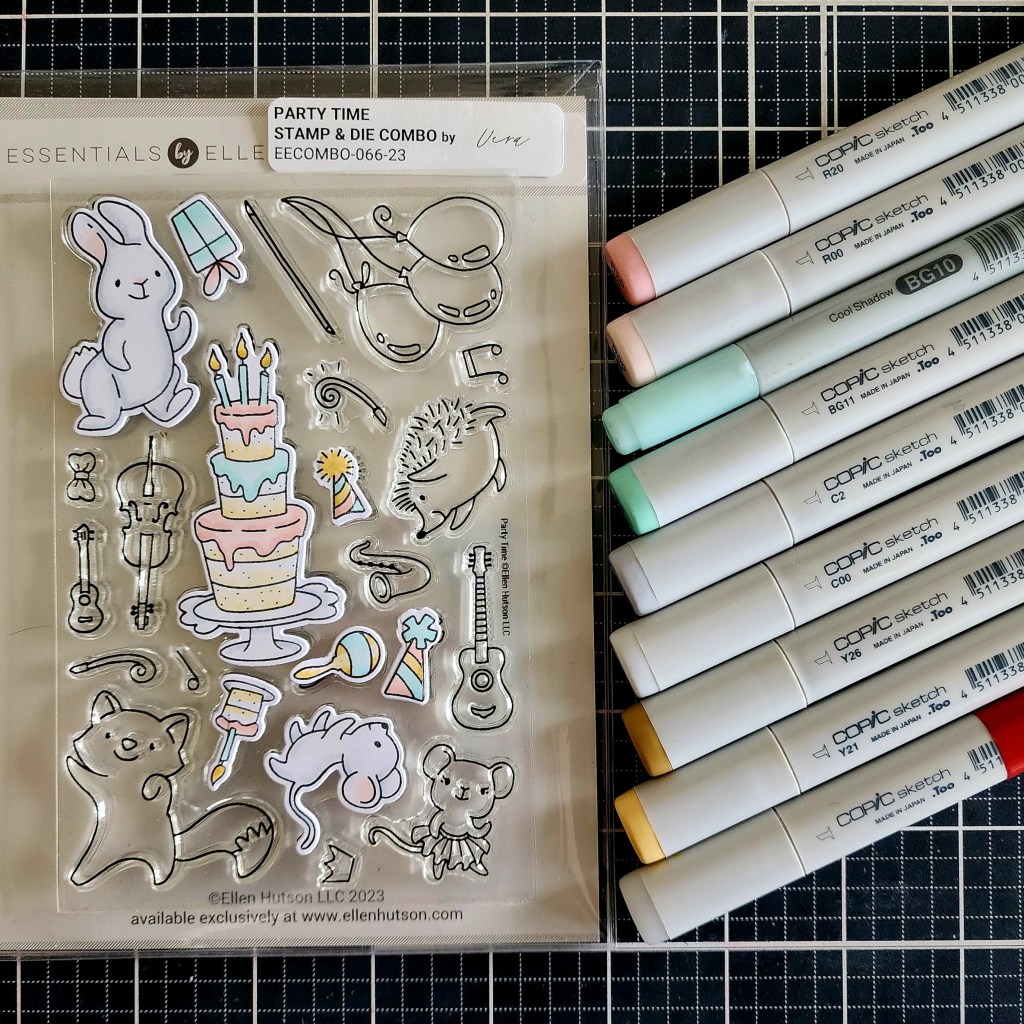
Next, I used my copic swatch chart to find colors that matched my cardstock, then I toned them all down to the pastel shade of those. This way my images were soft and popped off the bright tags and gift box. I colored everything and used the coordinating dies to cut them all out. Aren’t they the cutest!?!
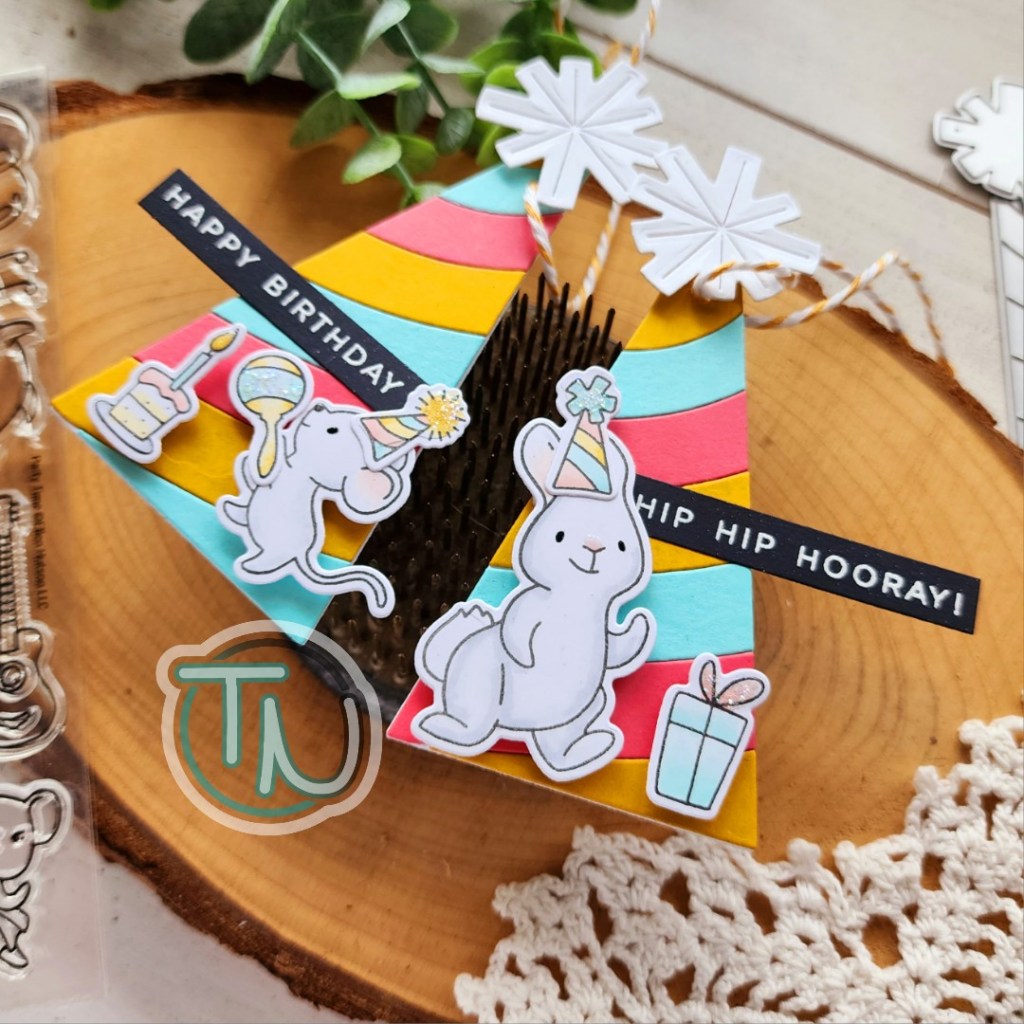
For my gift tags, I punched a hole in the top and threaded twine through the hole. Then I cut the pom pom shape in the die set and added it with a foam square so I let the twine move freely. I added my images with foam squares as well and finished them off with stardust Stickles.
Something was missing not having a sentiment though so I stamped and heat embossed the new Birthday Vibes stamp set and used the sentiment strips die to cut them all out. This is totally genius and so wonderful to have all of these sentiments at my fingertips so quickly! I trimmed the strips down and added them to the tags with liquid glue.
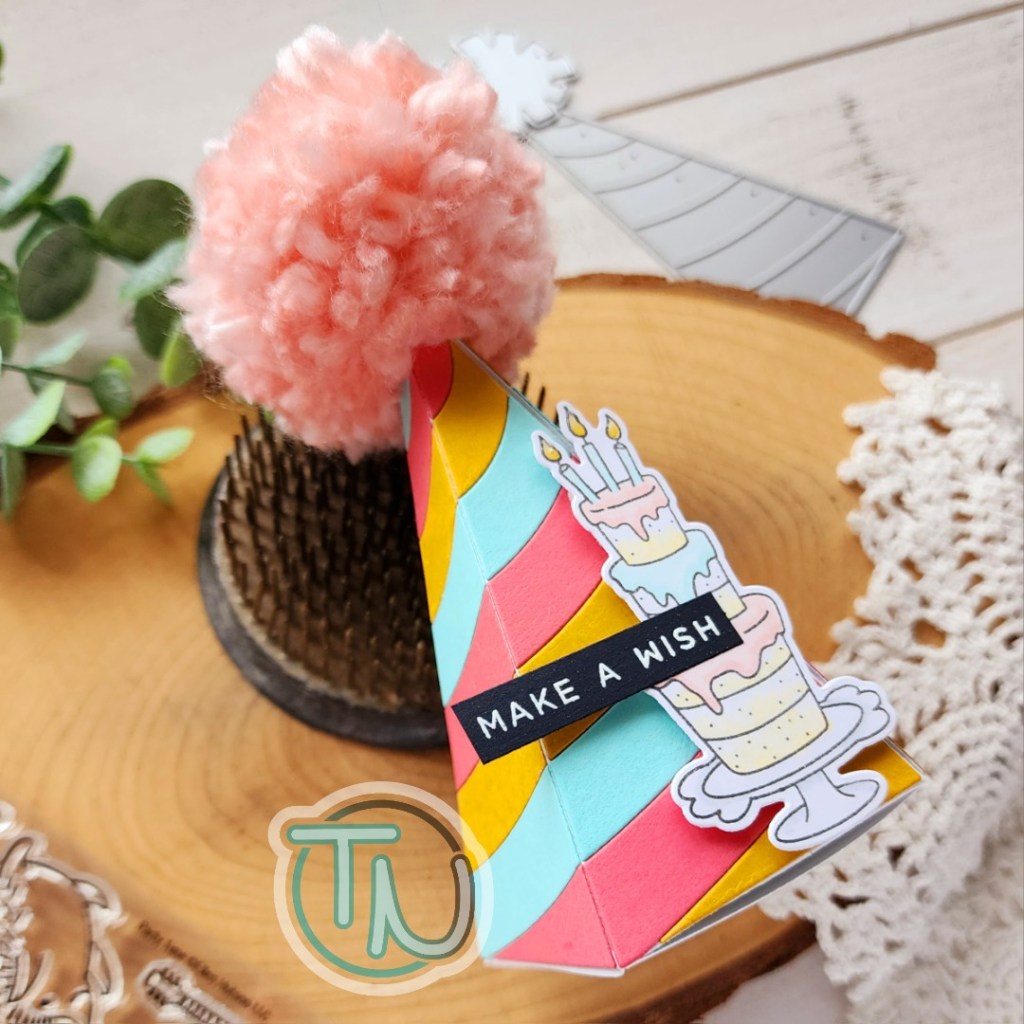
Now, you can totally use the paper pom pom in the die set to add fun to the top of your pyramid box as well but I just couldn’t resist adding a yarn version to my box for that something extra. Isn’t it silly and so fun!?! I love it!
There are lots of pom pom makers out there, which is what I use, but you can also just create your own with cardboard or a fork too. Just search “diy pom pom maker” on google, pinterest or youtube and you’ll see lots of ideas.
I prefer instant adhesion with things like this so I used hot glue to add mine to my box and then foam squares to add the cake and sentiment strip to the side. I finished the candles off with glossy accents for a little shine.
I appreciate you sharing your time with me. Have a fabulous day!
