Newton’s Nook – Holiday Wishes

Hello everyone! I’m back today with another entry into the current Inky Paws Challenge with Newton’s Nook. In case you missed my previous post, here is the sketch that we are challenged to mimic this time.
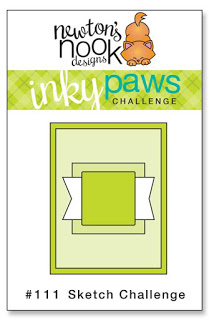
I think the sketch challenges are my favorite. Using whatever stamps suit me, trying to think of different ways to use them to fit the given format. It’s great!
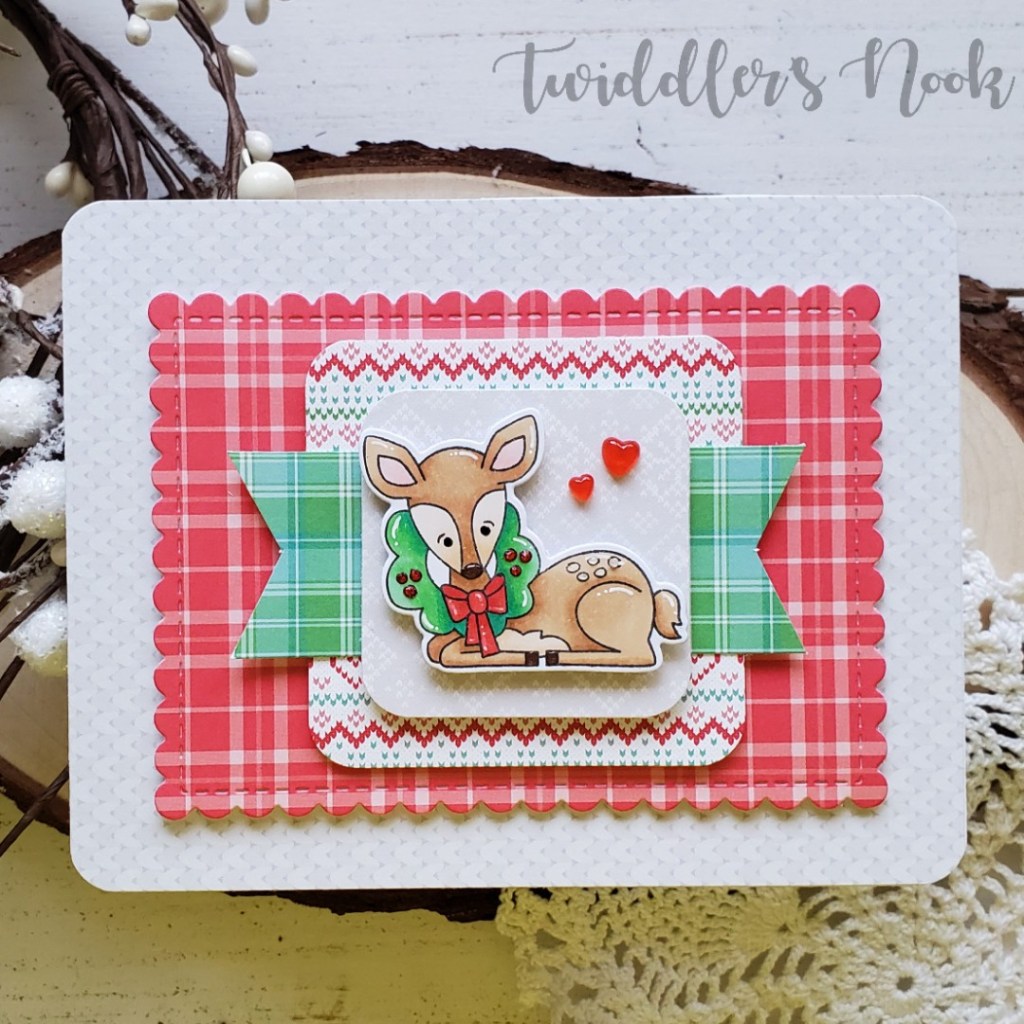
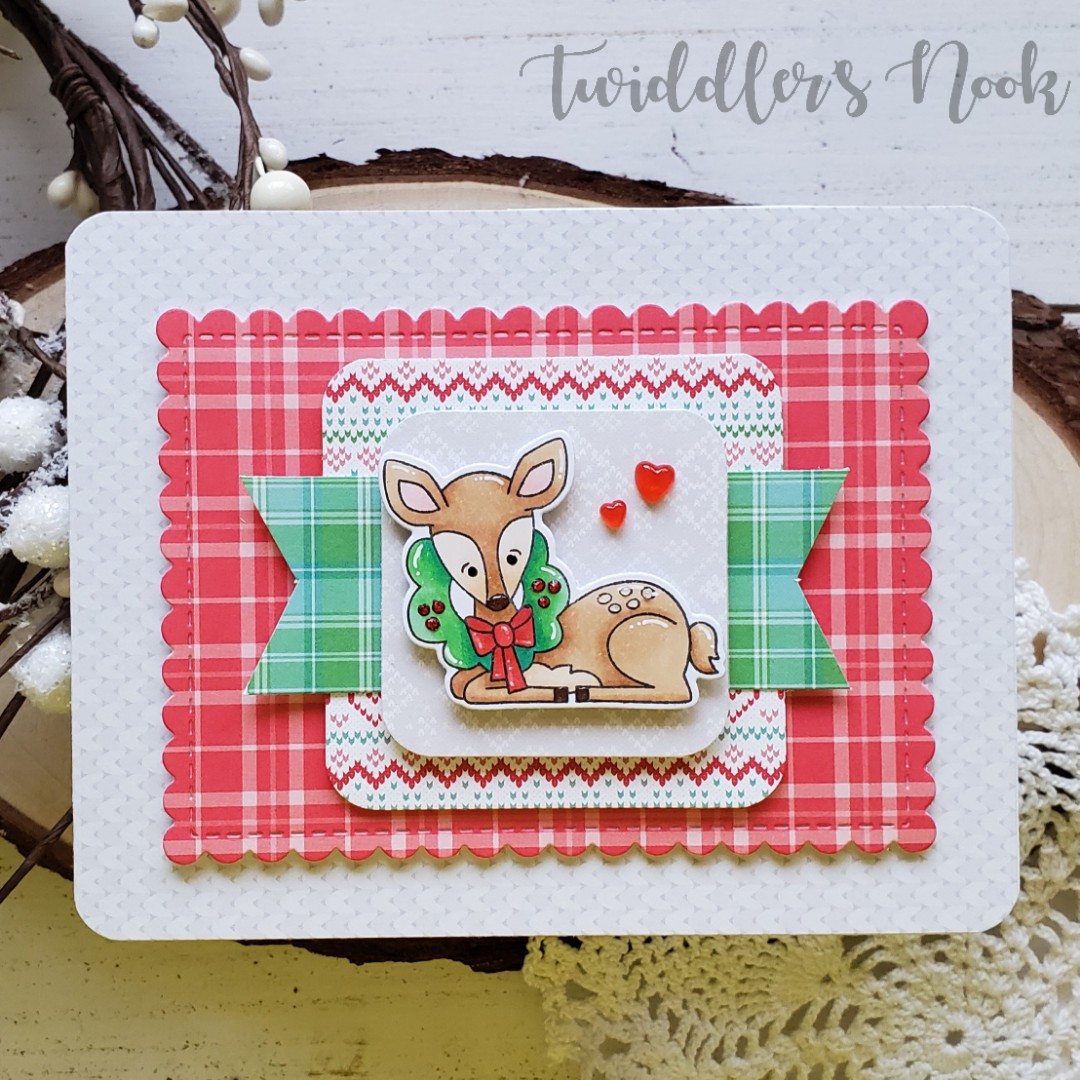
Today I chose one of the Festive Fawns images – colored and die cut the image and set it aside to build my pieces like the sketch showed. I used one of the Framework dies for the red plaid panel and then trimmed down the other pieces with my paper trimmer. This time I used a corner rounder to make the edges a little softer which I thought fit well with the scalloped rectangle and the sweet fawn image I chose.
I glued the white patterned paper to a card base, then popped up the red rectangle. The banner is glued directly down and then the small white square and the fawn image are popped up with foam squares.
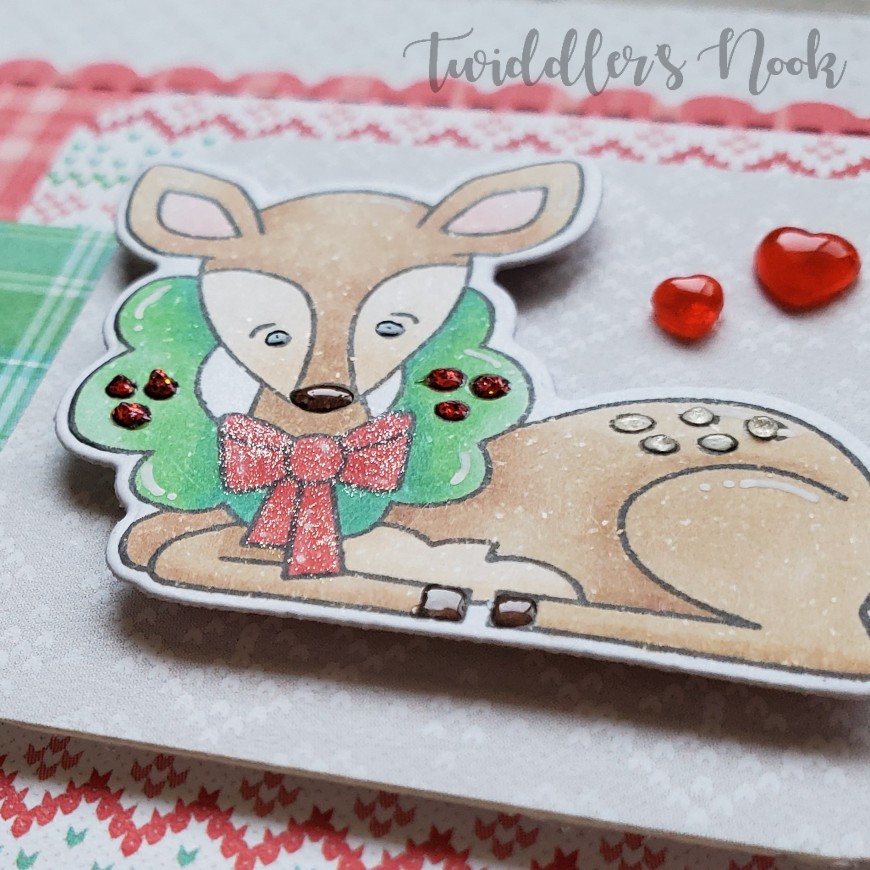
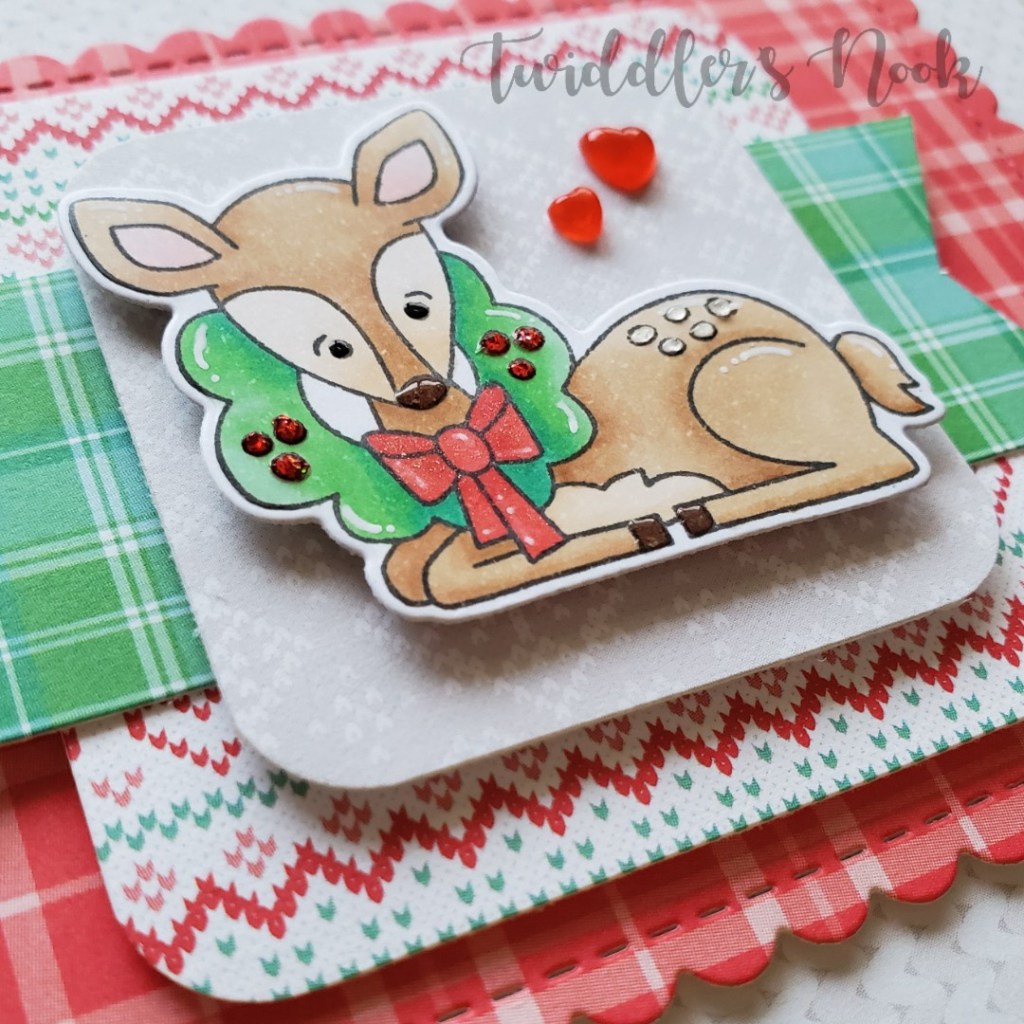
For finishing touches on this card I added glossy accents to the fawn’s nose, spots and hooves, black glaze pen to the eyes, white gel pen accents, Wink of Stella glitter brush pen to the wreath bow and Crystal Nuvo Drops to the wreath berries. Very last I added a two cinnamon red hots jelly drop hearts from Trinity Stamps. I love the impact this gives the card.

After all that was dry I stamped my sentiment on the inside of the card. I chose “Holiday wishes to deer friends” from the Festive Fawns set. I love that it’s sweet and punny at the same time.

I appreciate you sharing your time with me. Have a fabulous day.
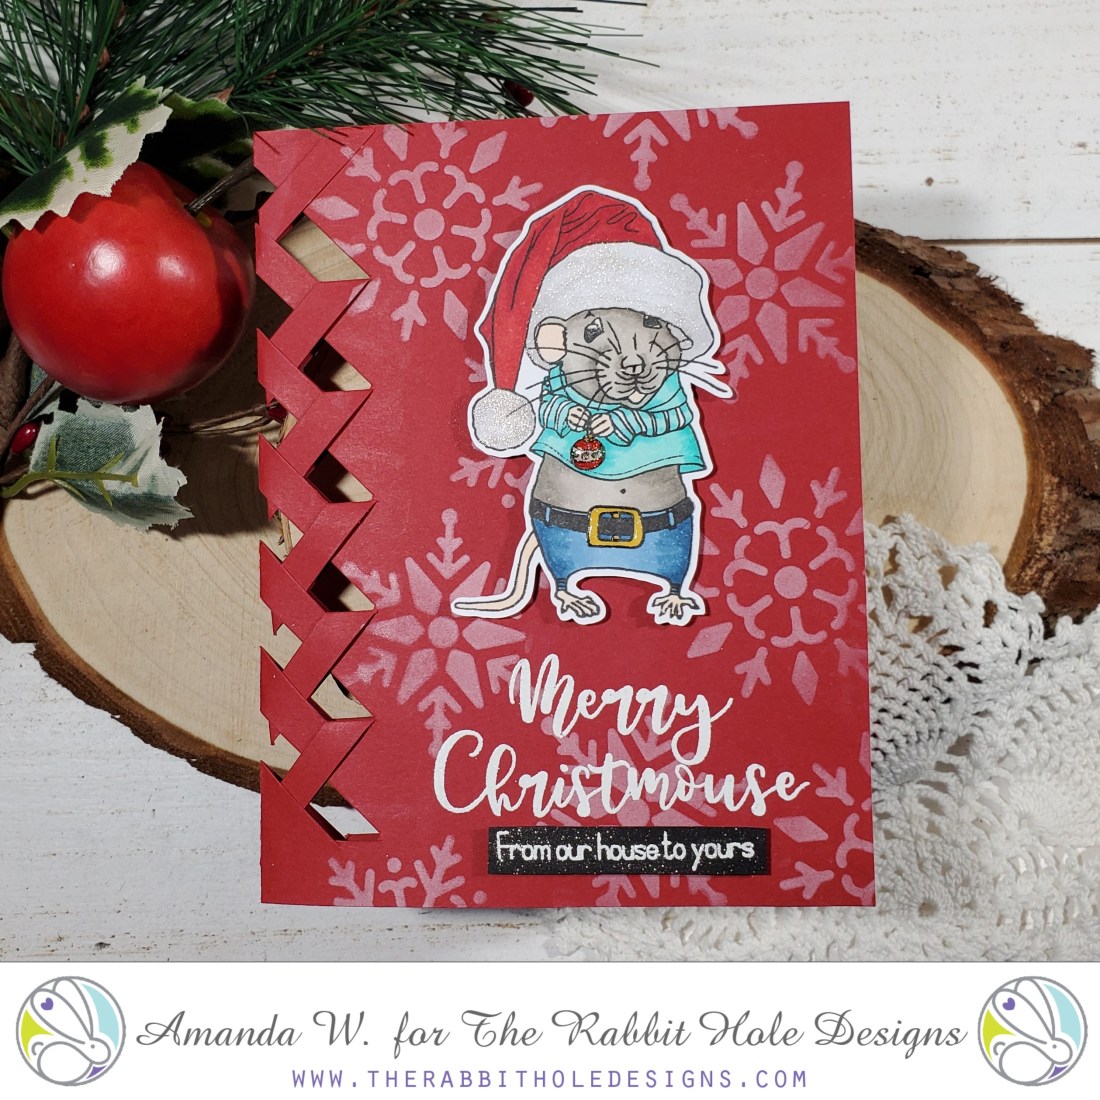
The Rabbit Hole Designs – Merry Christmouse!

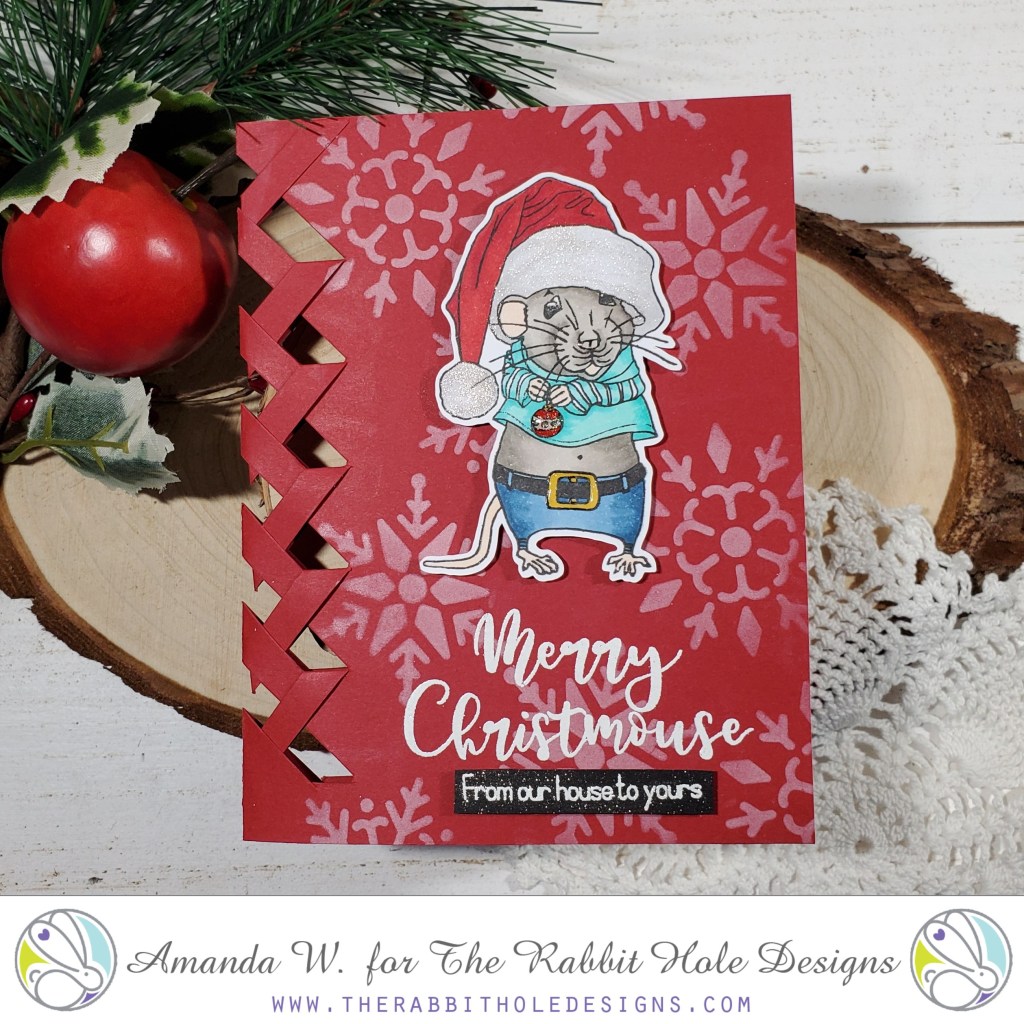
Hey everyone! I’m taking over The Rabbit Hole Designs blog today with this fun Merry Mousemas Christmas card. It’s been years since I’ve done this braided card edge and thought it would be fun to bring back.

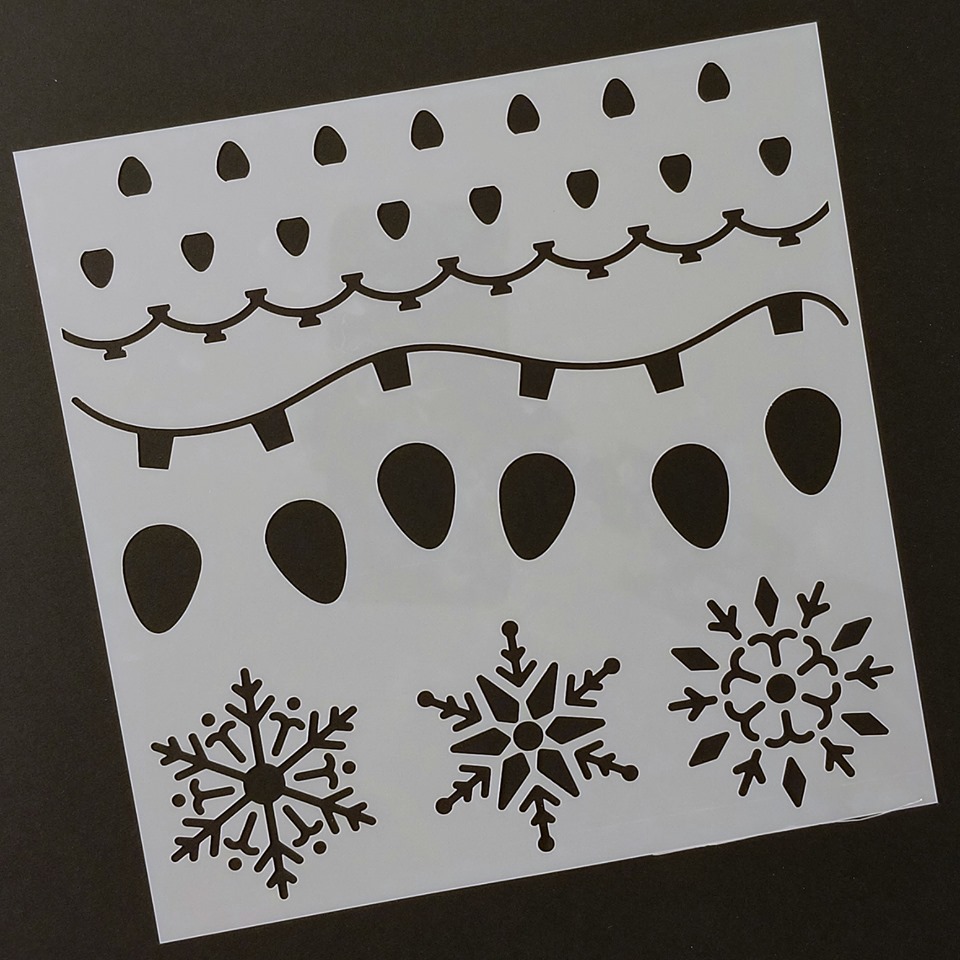
Once my card base was created, I stenciled snowflakes from the new Light Me Up stencil all over the background. I stamped, colored, cut out and popped up my mouse in the middle and heat embossed my sentiment. Then added a second heat embossed sentiment strip below that.

For finishing touches on this card I added Wink of Stella to the hat, ornament and sentiment strip. Then glossy accents to the ornament, mouse’s nose and belt buckle.

Isn’t he so cute!!! Have you started on your Christmas cards yet?

The products I used today:

Merry Mousemas

Light Me Up Stencil

For more news, updates and inspiration check out these links:

I appreciate you sharing your time with me. Have a fabulous day!

Trinity Stamps – Layered Snowglobe

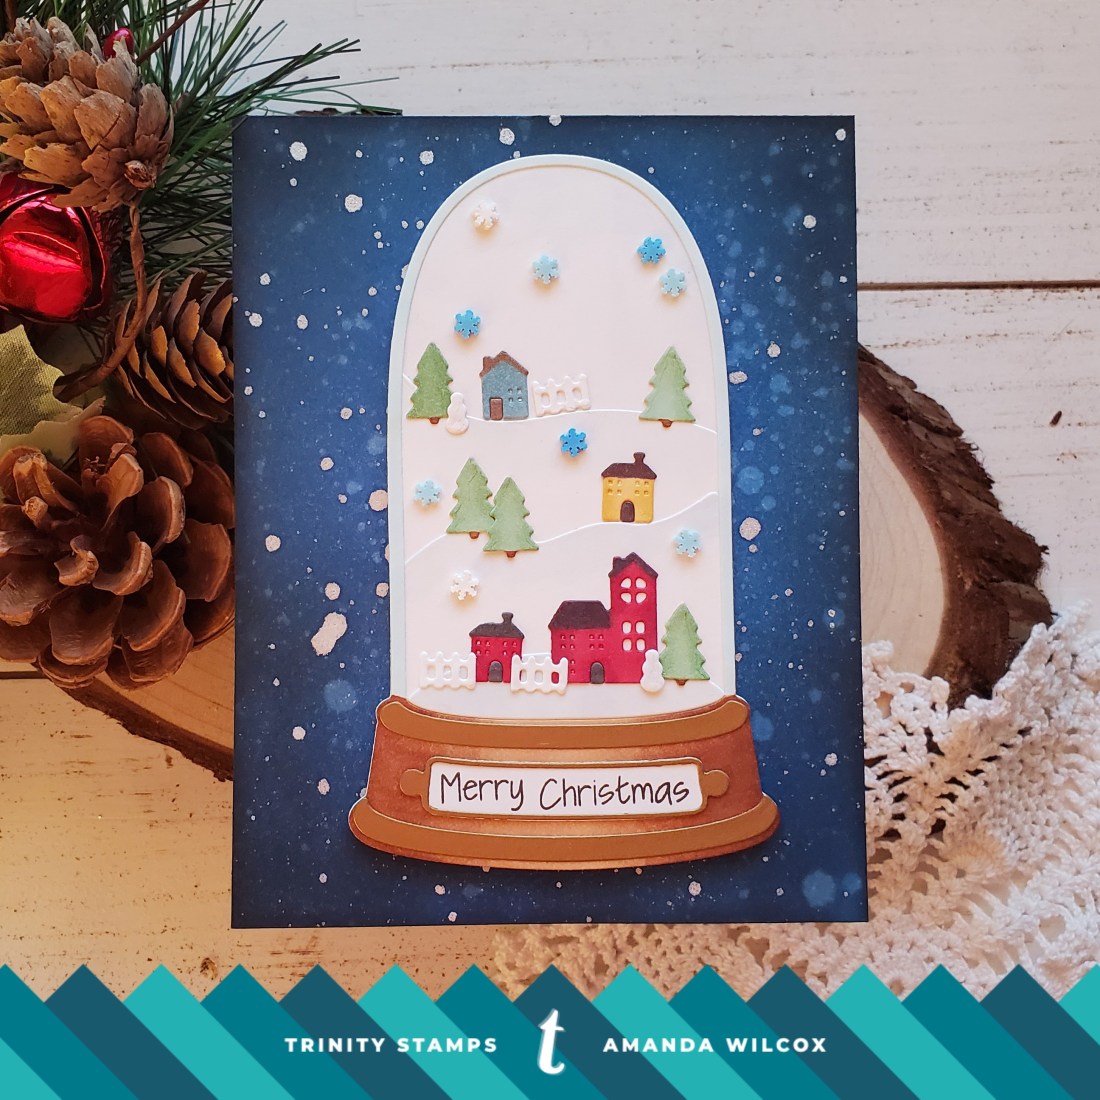
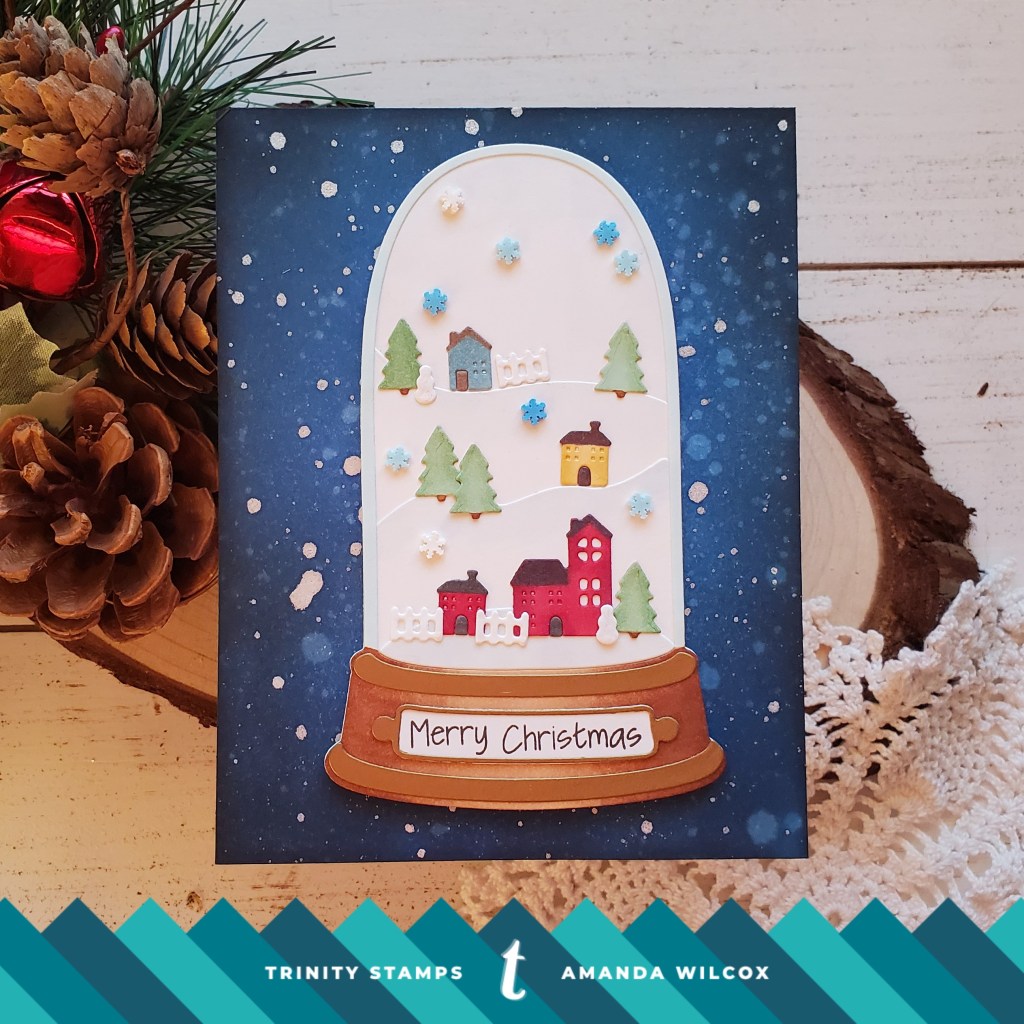
Happy Friday! I hope you’ve had a wonderful week and are ready for the weekend! I’m really excited to share today’s card. It’s been an idea I had since I first saw the tall shaker dome die set from Trinity Stamps. It’s not often I create all die cut cards but this was a blast to put together!

To start I blended salty ocean, faded jeans and black soot distress ink on my background. Then I spritzed it with water and splattered it with pearl watercolor. I love the look that gives.

Next I die cut all of my elements from white cardstock except the trim which was cut from gold. Then I custom colored everything with my copic markers.

I ended up die cutting the main dome 4 times total. I cut the hills from 2 and the dome from another. This way I have one solid piece for a backing and the front has a border around the dome I colored with BG000 to give it a little bit of a glass look to offset it from the snow.

Once everything was cut and colored, I glued it all together with liquid glue and popped the whole dome up with foam tape on the background I created earlier.

The only stamping I did on this card was for the sentiment and that came from the Merry Christmas Senti-mini set. Then for finishing touches I thought it would be fun to glue Frosty Snowflakes Sprinkle embellishments in the sky.

I hope you’ve enjoyed today’s card. Take a moment for yourself to go create something beautiful!

I appreciate you sharing your time with me. Have a fabulous day!

Newton’s Nook – Furry and Bright

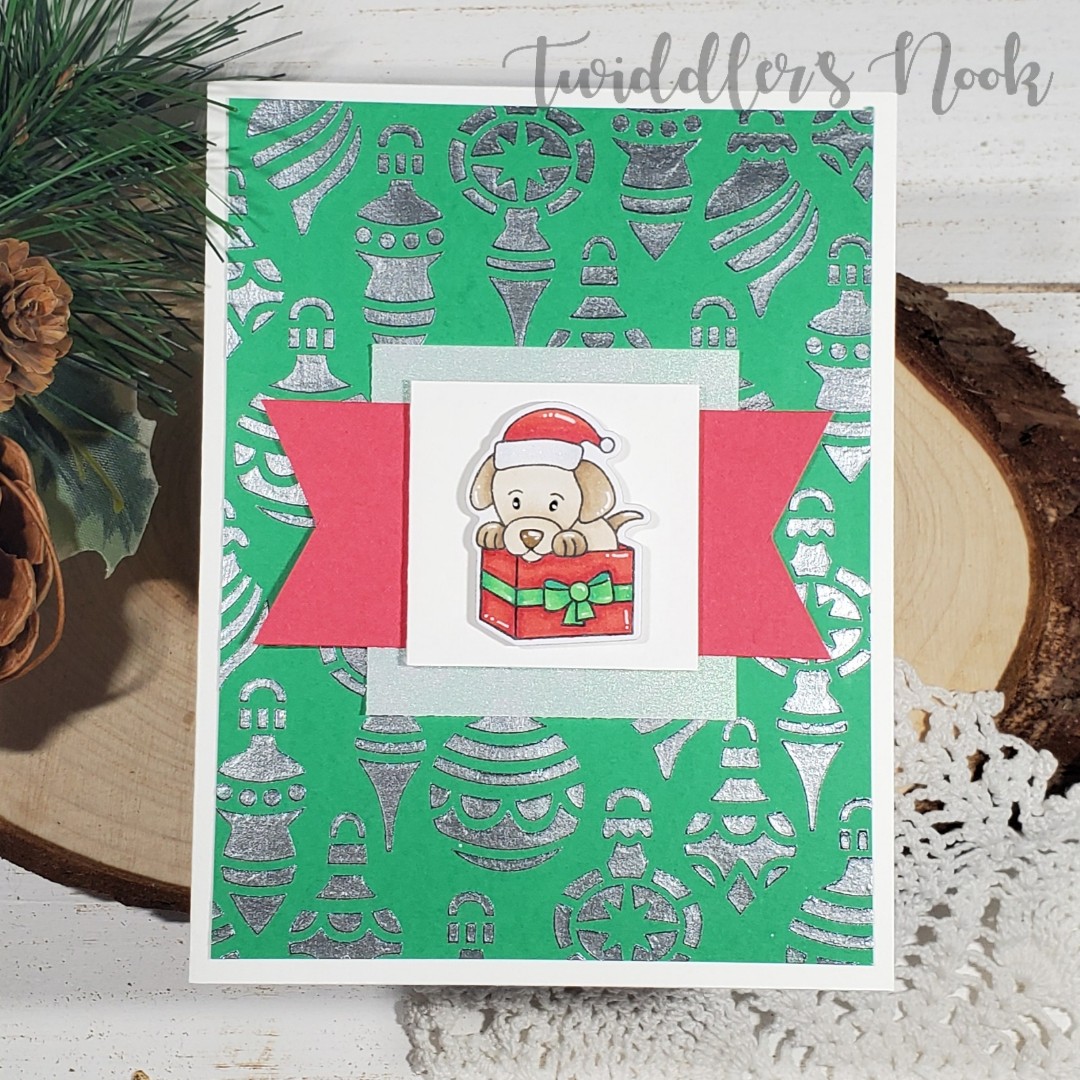
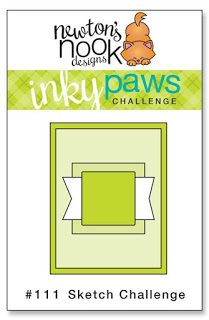
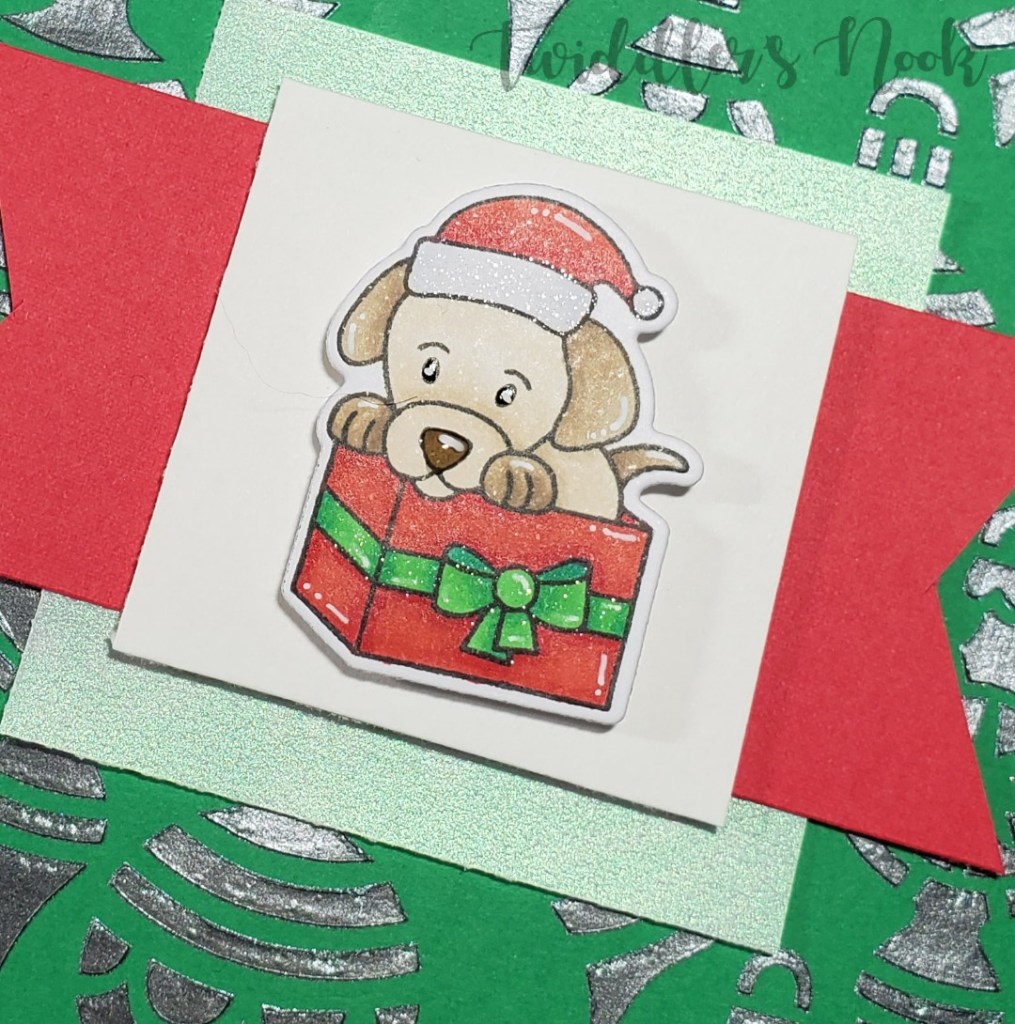
Thanks for stopping by today. I’m sharing my first card for the newest Newton’s Nook Inky Paws Challenge. This time around we’ve got a sketch to play with and I love it!

I had pulled two Newton’s Nook sets out this weekend with hopes to use them and ran out of time. Hence, I was super excited when they would both fit with this challenge perfectly! Today I’m using the Puppy Present stamps and die along with the Ornaments stencil.

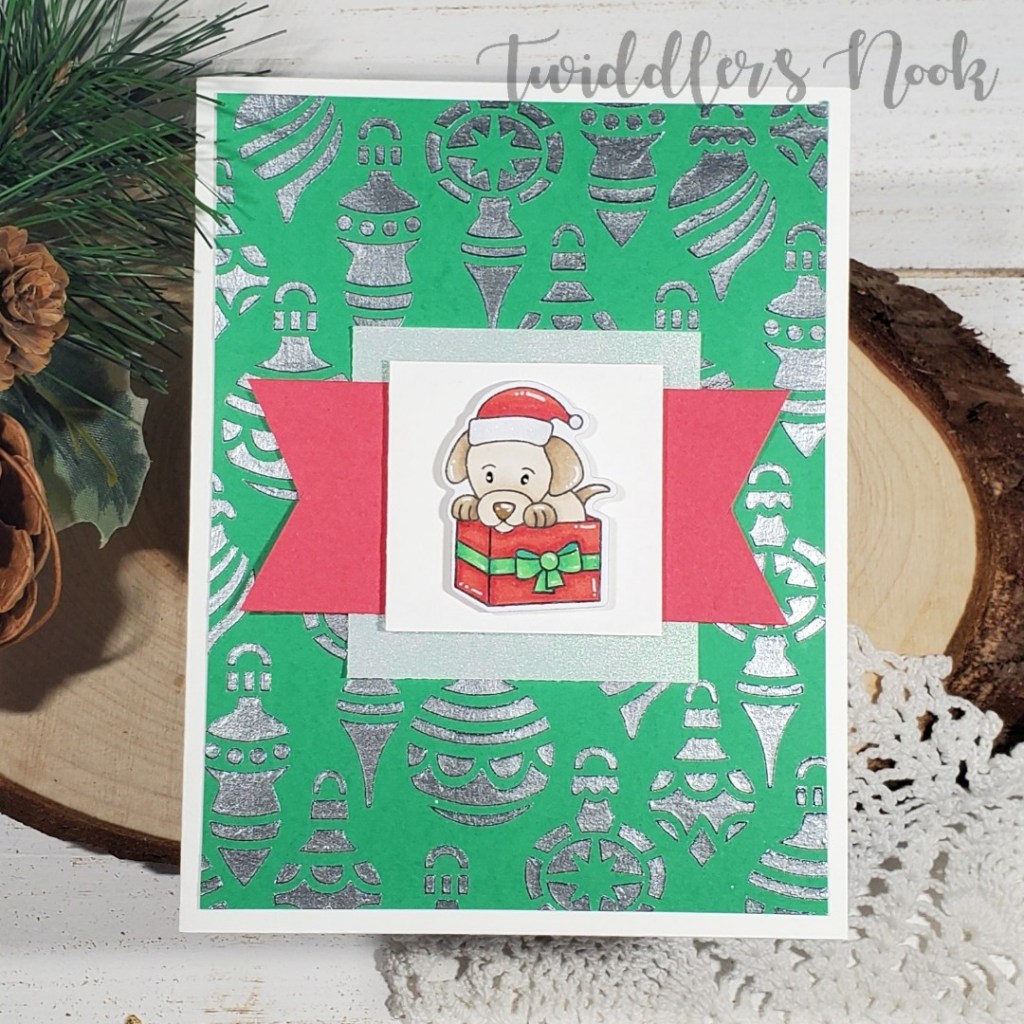
I started by using glazed pewter deco foil metallix gel over the Ornaments stencil on green cardstock. I set it aside to dry while I stamped, colored and die cut my cute little puppy! Next, using the sketch picture as a guide I started cutting my layers and adhered everything together.

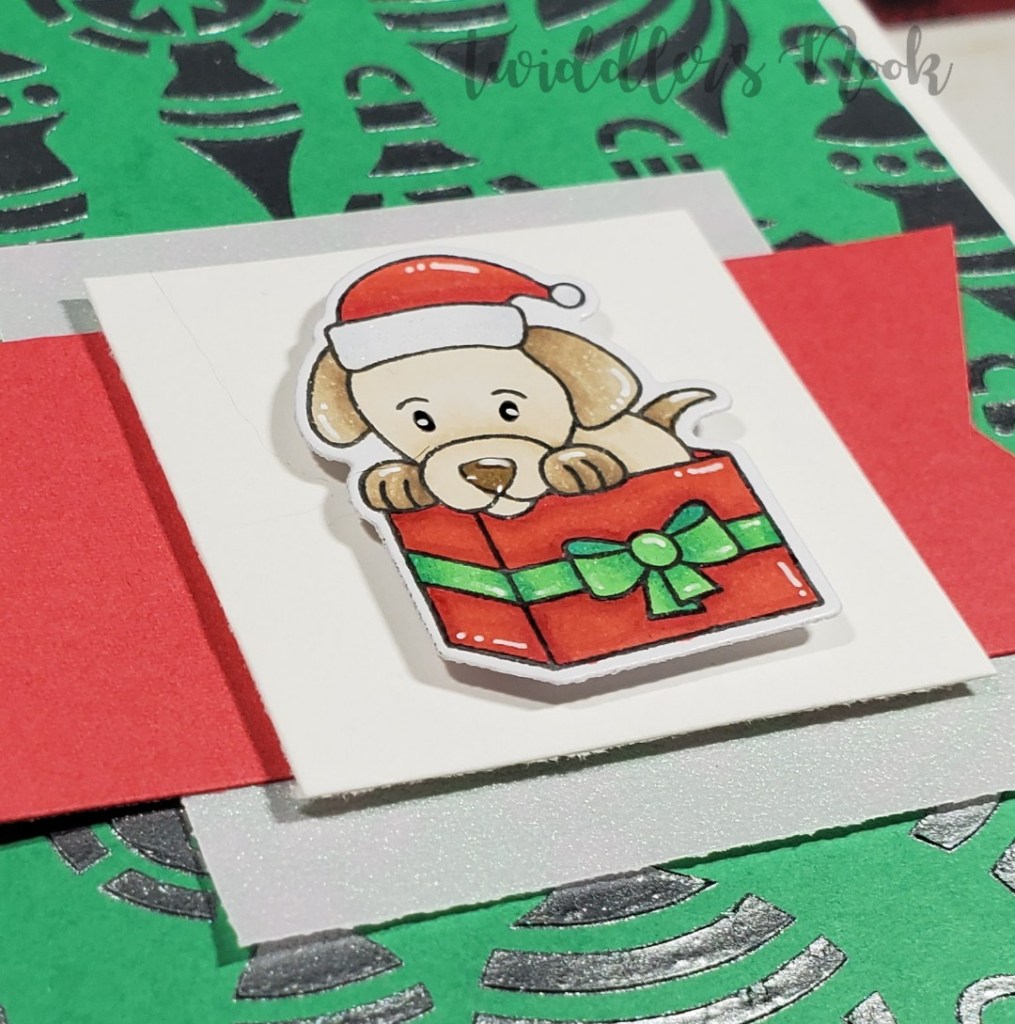
I used a pearlescent vellum for the bottom square to give a little extra shimmer. I also put glossy accents on the puppy’s nose and Wink of Stella glitter brush pen on the hat and gift bow.

I finished things off with black glaze pen for the eyes and then white gel pen accents throughout the image. Finally I stamped the sentiment from the set on the inside which reads, “May your days be FURRY and bright.” I love it! Such a cute pun.

I appreciate you sharing your time with me. Have a fabulous day!

Trinity Stamps – Holiday Cheer

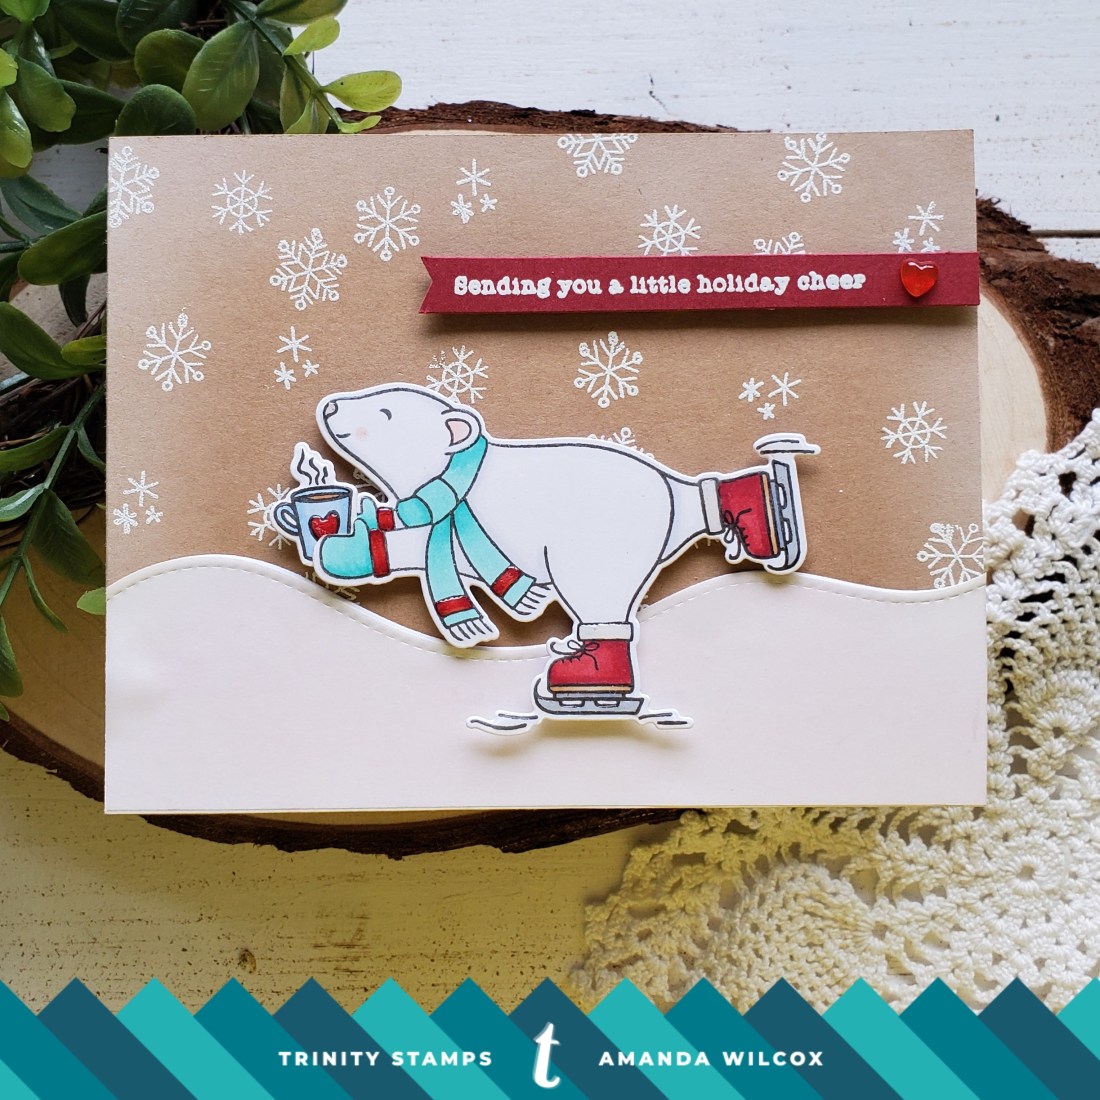
Welcome back to the start of another week! Thanks for stopping by. My daughter and I have been so sick for the last week but I managed a little crafting in between naps and doctor appointments.

I have been dying to ink this super cute polar bear up from Trinity Stamps Have an Ice Day since it released. I love how you can make him hold multiple different things and the sentiments in the set are fabulous too!

For this card, I stamped my polar bear and hot cocoa, colored them with copics and die cut them. Then I cut a little slit in between the bear’s paws so he could hold the cocoa. Adorable!

Then I took my kraft card base, stamped and heat embossed snowflakes in white across the background. I used my blending buddy brush and inked a light white edge around the card to take off the harshness of the kraft. I die cut a border from some iridescent vellum, backed it with white cardstock so it stood out more and glued that to the card base.

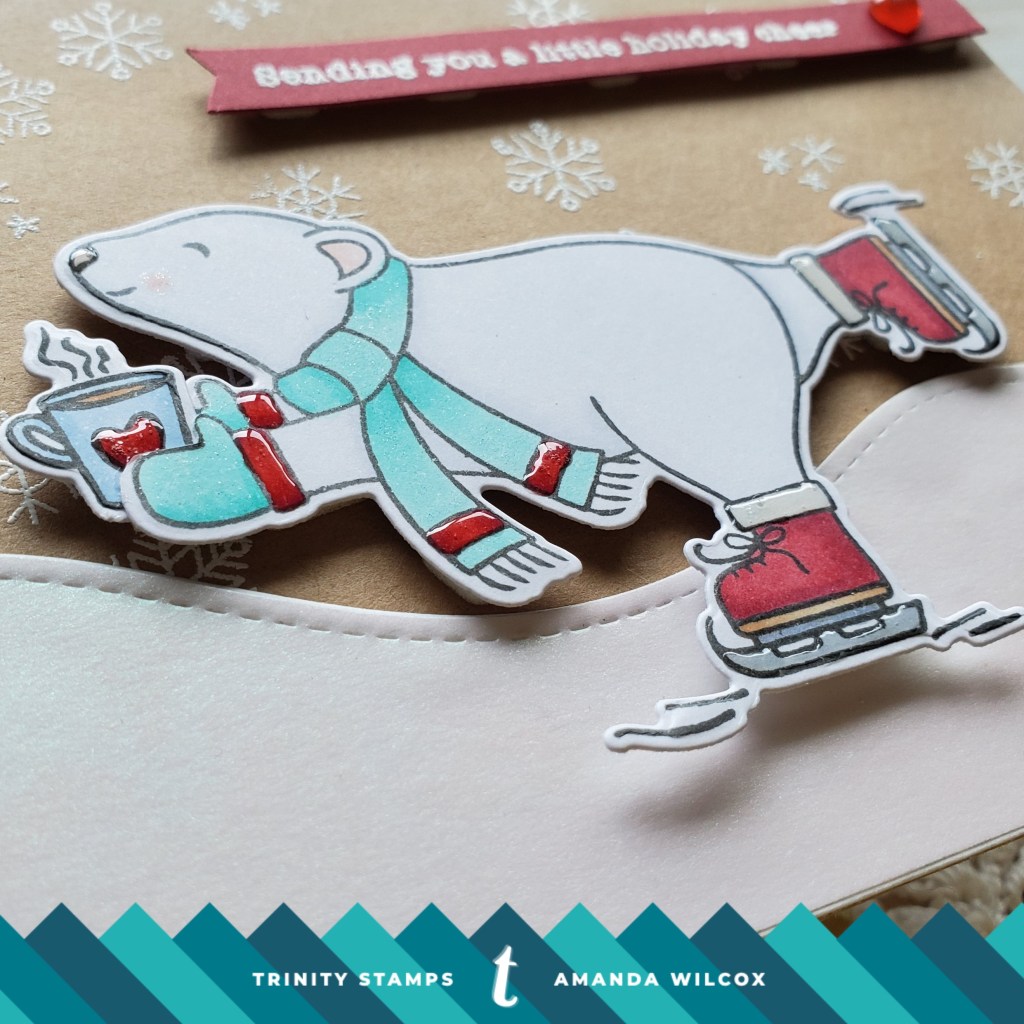
Next I popped my polar bear up with foam squares, heat embossed my sentiment, cut it into a thin strip and popped it up as well. For finishing touches on this cute card I added Wink of Stella glitter brush to the mittens and scarf, and glossy accents to the skates, boot cuffs, mitten cuffs, scarf stripes, bear’s nose and the heart on the mug. Finally, I added a cinnamon red hots jelly drop heart to the end of the sentiment strip.

I am in love with this polar bear! He is the absolute cutest and I can’t wait to make more cards with him! Be on the look out for those.

I appreciate you sharing your time with me. Have a fabulous day!

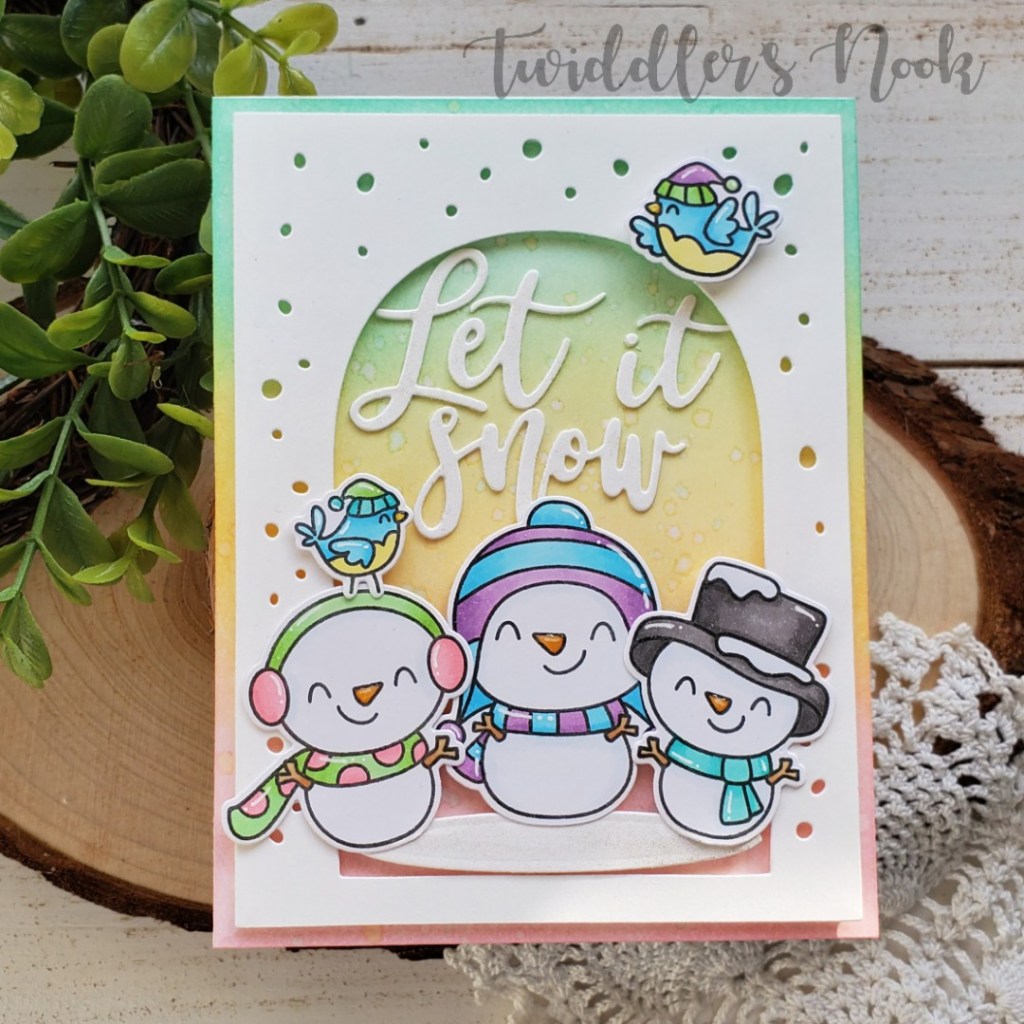
Avery Elle – Let it Snow

Thanks for stopping by! I’m having so much fun using bright, non-traditional colors these days, I thought I’d make one more. Today I’m using some new stamps and dies I recently received – Avery Elle Snow Fun stamps and dies and the Let It Snow dies.

Here’s the simple card recipe:

  • Blend cracked pistachio, scattered straw and spun sugar distress inks on a panel. Spritz with water to distress the ink and make it look like snow falling.
  • Die cut Let it Snow backdrop, snow mound and words.
  • Stamp, color and die cut images from Snow Fun.
  • Glue inked panel to a card base, then pop up snowy panel, snow mound, snowmen and birds with foam squares. Glue words inside the arch directly to the inked panel.
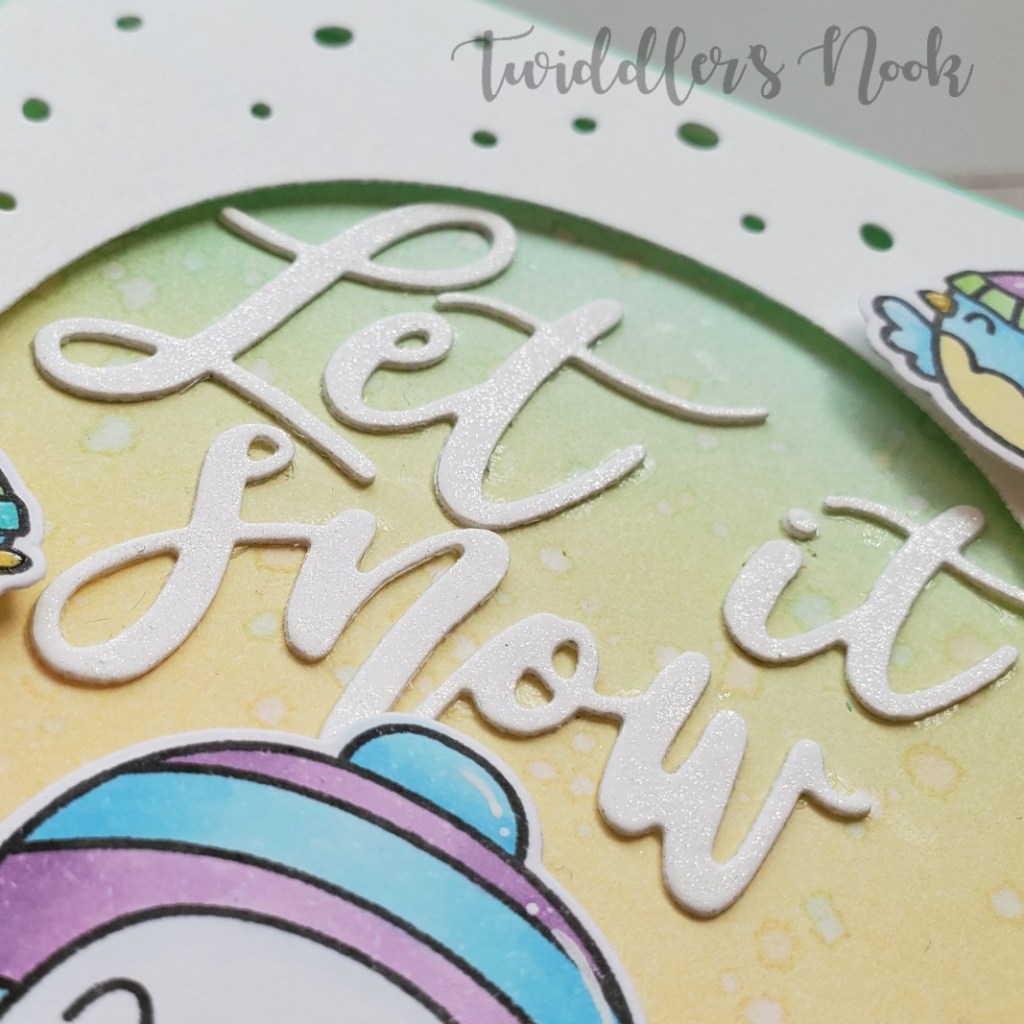
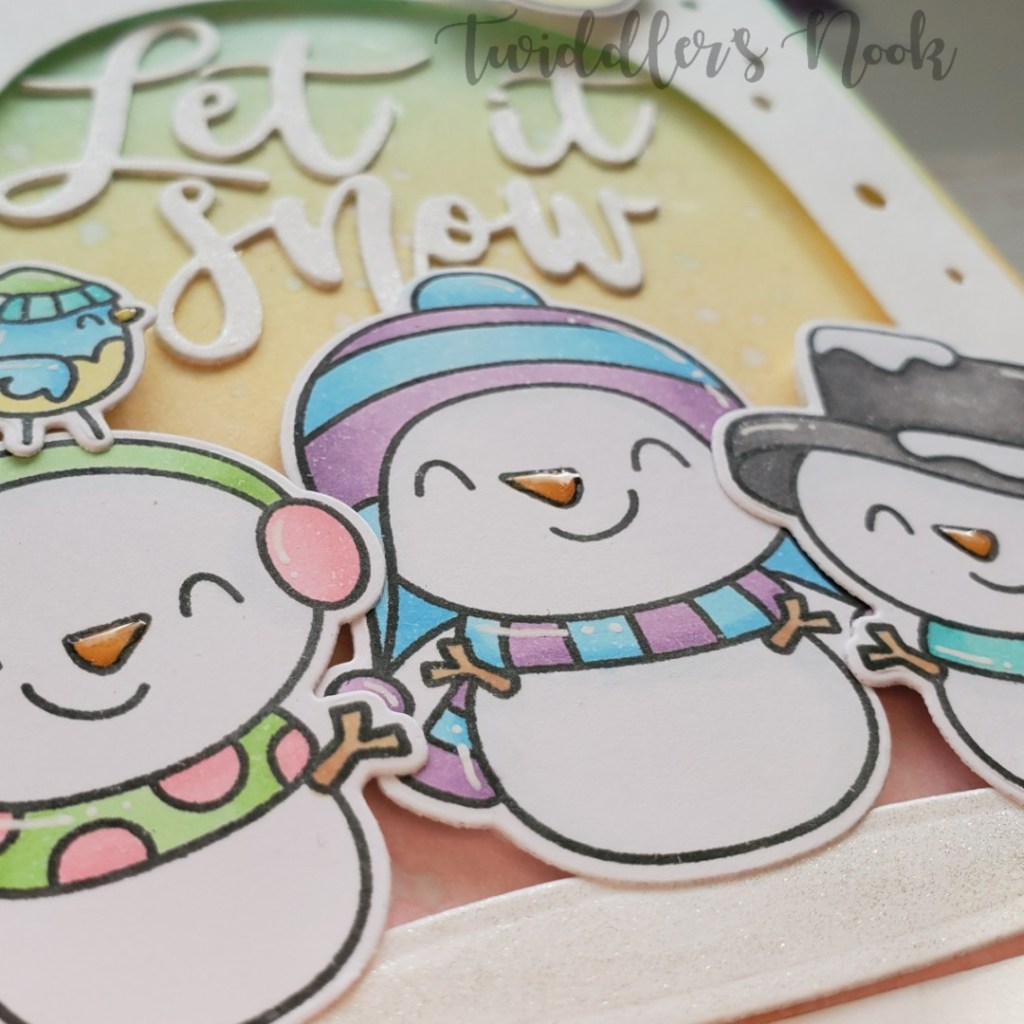
  • To finish it off, add glossy accents to the snowman and bird noses, white gel pen accents throughout and Wink of Stella glitter brush pen to the snow mound they are standing on and the die cut words.

Here’s a close up of all that glitter you get from the Wink of Stella pen. I love adding it all over my cards!

And those shiny little noses are just too cute! I really do love the little extra the white gel pen gives these images too. It’s so bright and cheerful!

Thanks for sharing your time with me. Have a fabulous day!

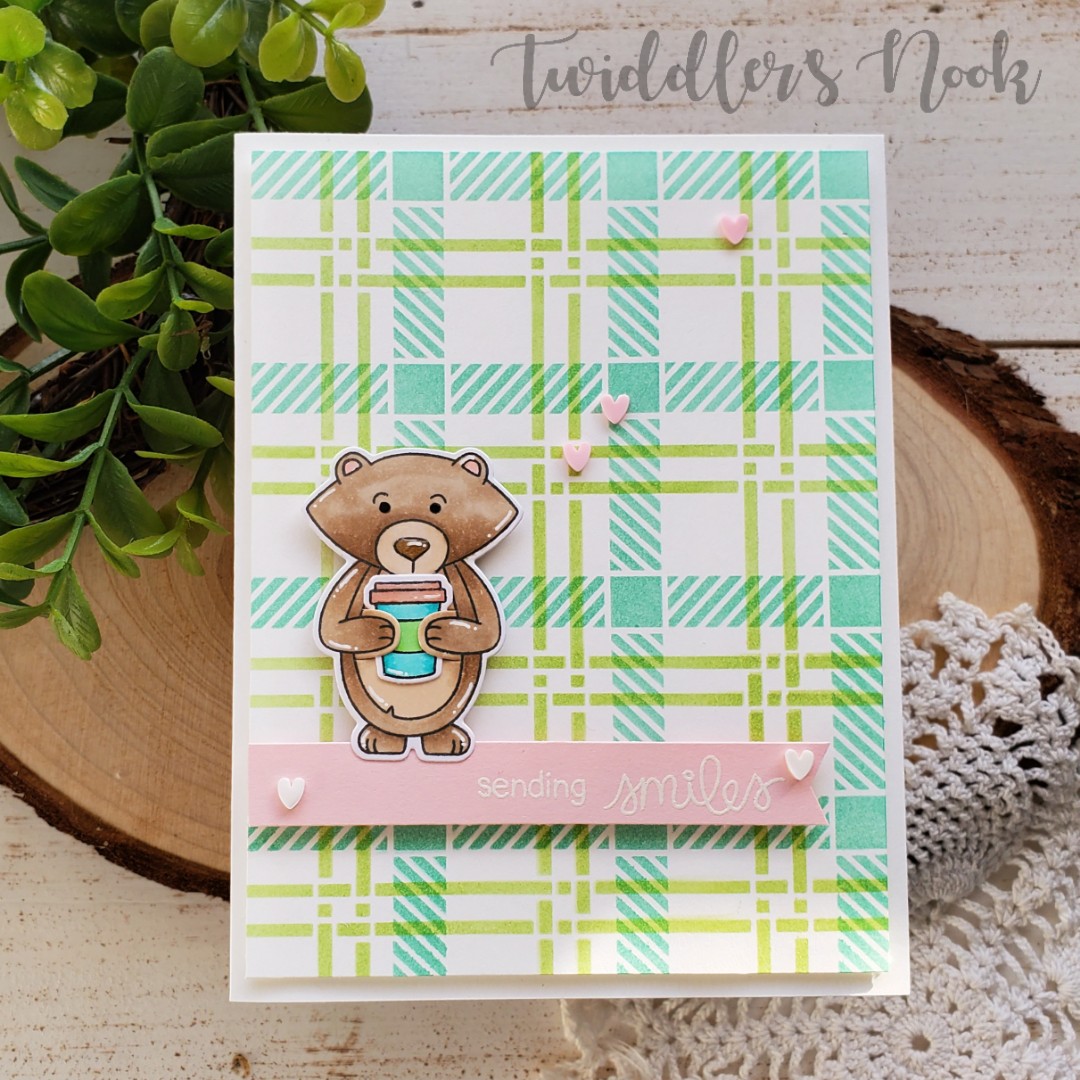
Newton’s Nook – Sending Smiles

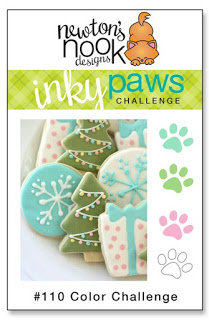
Hello again! I’m here today with my final entry into the current Inky Paws Challenge. In case you missed it, it’s a color challenge this time.

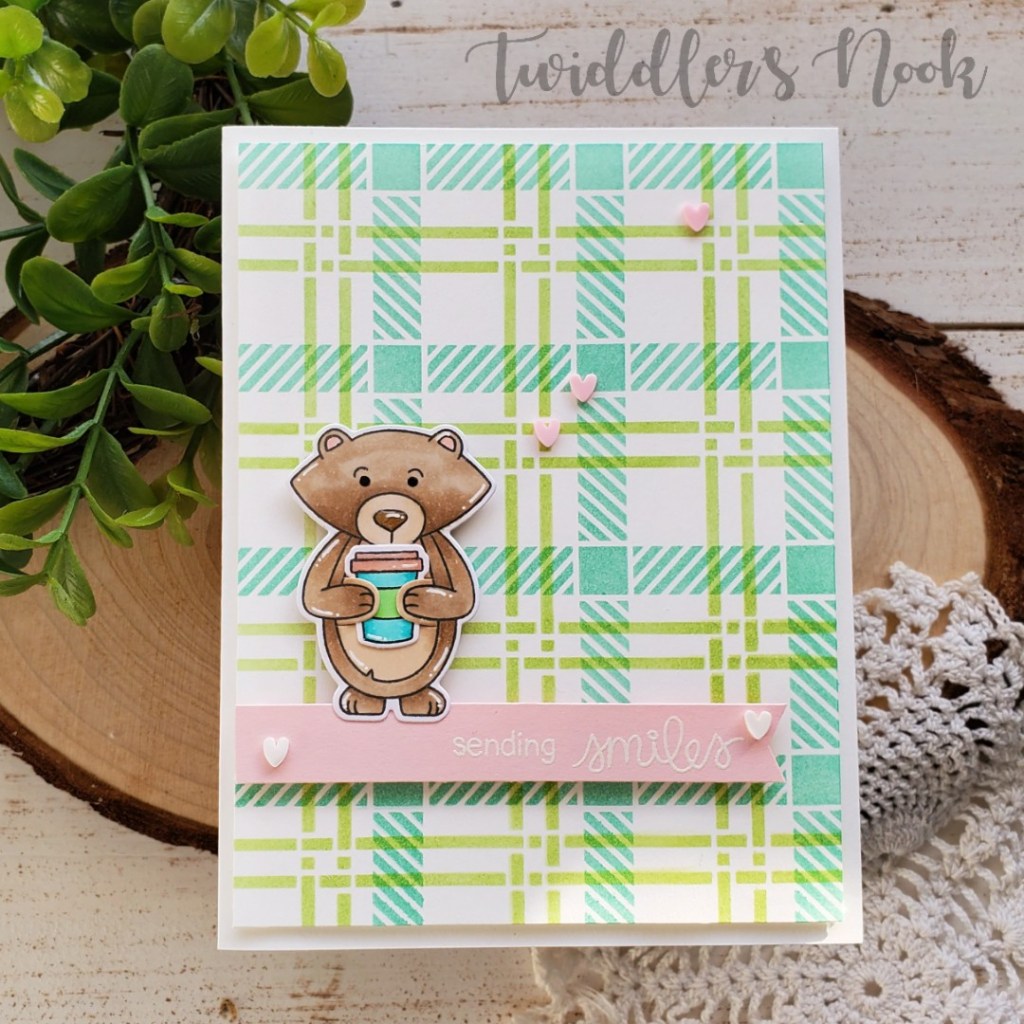
For today’s card, I was so excited to use new stamps and stencils I recently received for my birthday! This is the sending hugs stamps and dies paired with the plaid stencil set.

This is the only set I have with Winston in it so I immediately grabbed him and then reached for the coffee cup in the set for him to hold. I colored and cut then out and set to stencil my background. I chose green and teal, knowing I would use pink for my sentiment strip to complete the color challenge.

For assembly, I glued my stenciled panel to a card base and popped up my heat embossed sentiment strip, along with Winston holding his coffee.

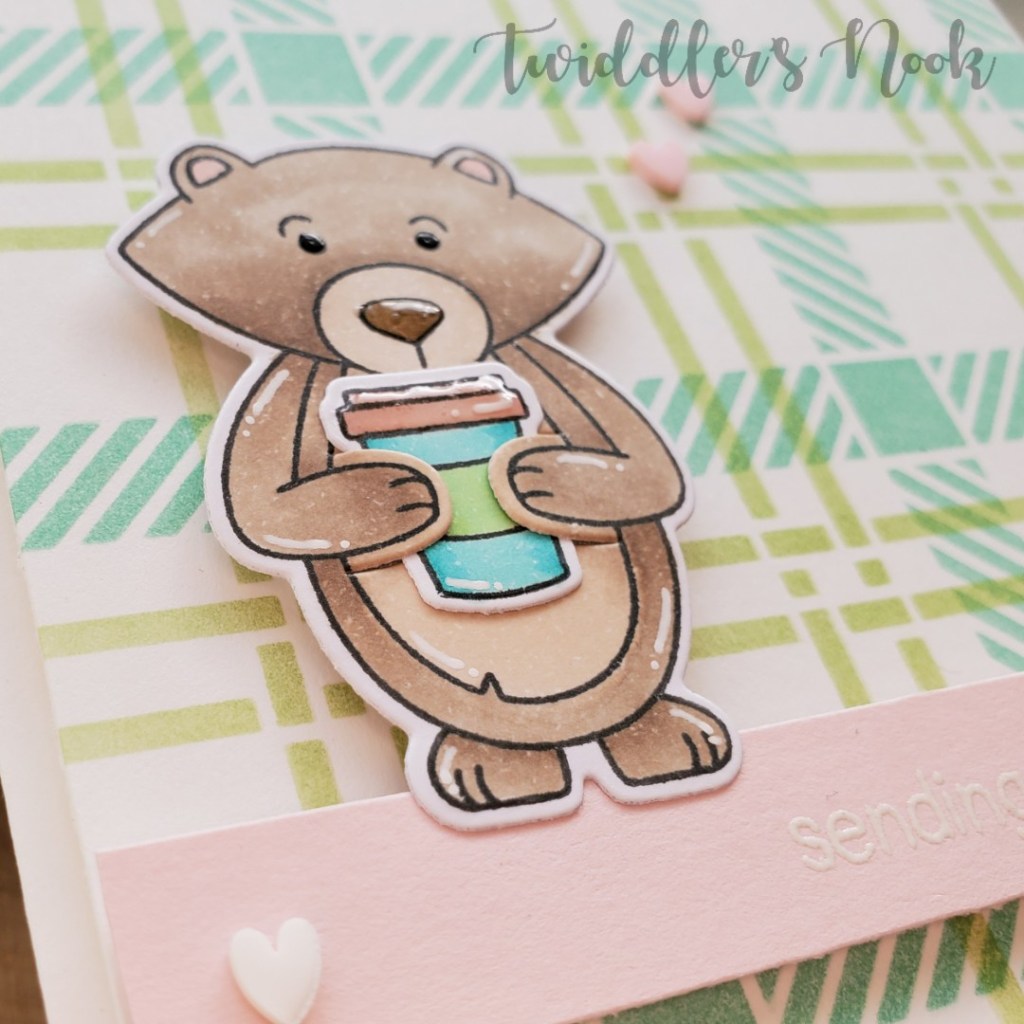
Finishing touches on this card were to add black glaze pen to his eyes, glossy accents to his nose and the coffee lid, and white gel pen in various places on the images. Then I glued pink and white clay hearts around and my card is complete.

I just love how the dies for the stamp set cut the animals hands so they can hold items. It is the coolest idea and so fun to use it when building your card.

I appreciate you sharing your time with me. Have a fabulous day!

Trinity Stamps – Guest Designer

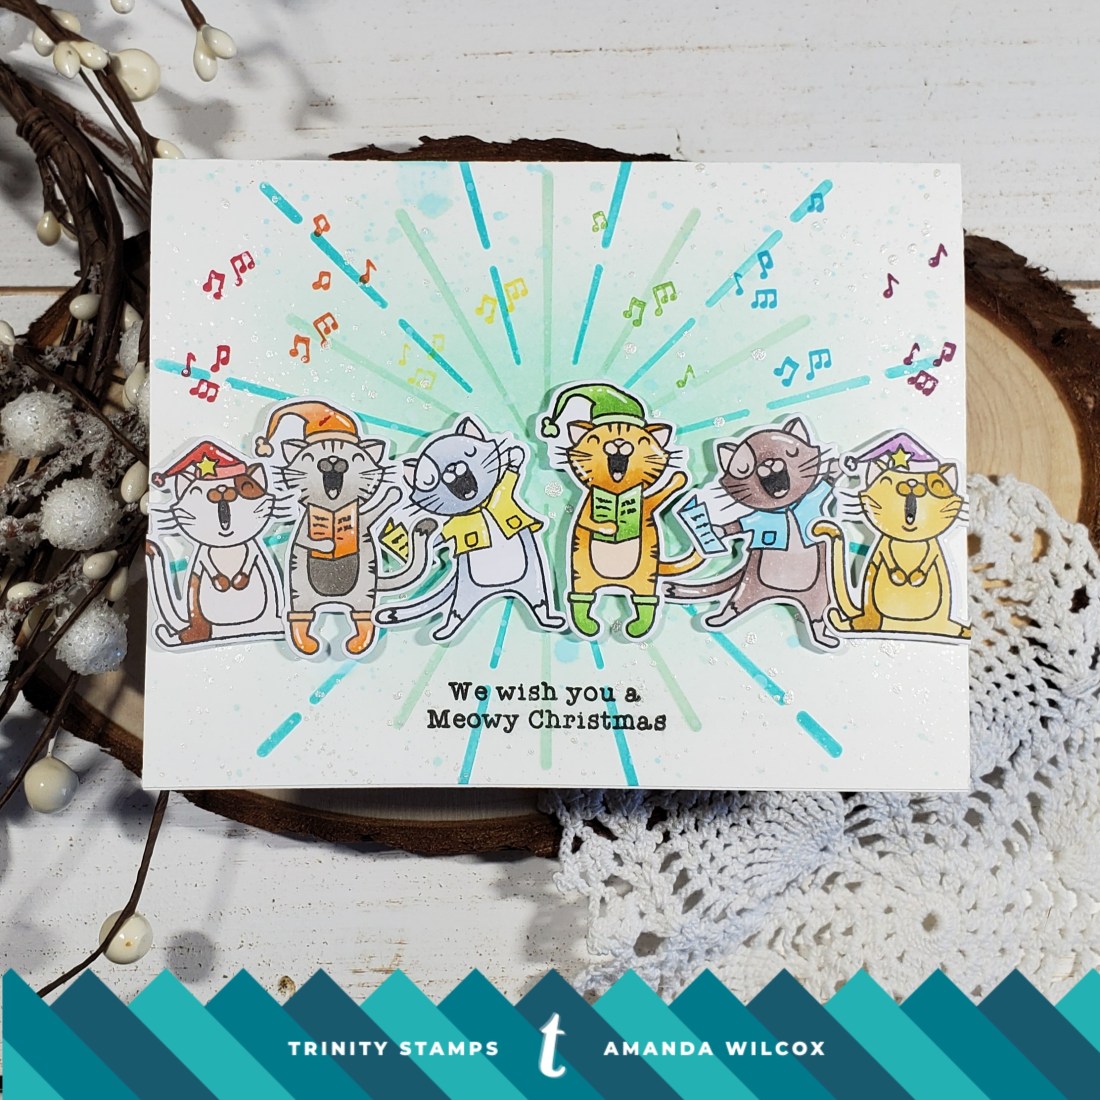
Welcome back everyone! I’m so excited to be featured on the Trinity Stamps blog today guest designing this fun rainbow Do Re ME OW card! I’ve learned a secret from many crafters: When you don’t know what color to choose, rainbow is the best option! This theory has never failed me and is what inspired today’s card.

I started by stamping each kitty from the Do Re ME OW set twice, coloring them in and die cutting them so I could figure out my arrangement.

I seriously went through about 4 different layouts before deciding on this one and then everything clicked! I took out my new shine brighter stencil and started inking my background with distress inks and the blending buddy brushes. Then I took the same distress inks and splattered them on the background as well. Next, I took pearl watercolor and splattered it all over for some added interest.

Then I popped my kitties up with foam squares, stamped my sentiment underneath and then decided to add rainbow music notes above them coordinating with their clothing colors. So much fun!

For finishing touches I added white gel pen accents and then glossy accents to their noses, tongues and stars.

Eeek! I love how this card turned out, don’t you?!? It’s super fun and sure to make the recipient smile.

Thank you so much for stopping by today! I appreciate your time.

Newton’s Nook – Snowmen Everywhere

Thanks for stopping by today. I’m sharing my first entry into the current Inky Paws Challenge with Newton’s Nook. It’s a color challenge this time and I had a blast with it!

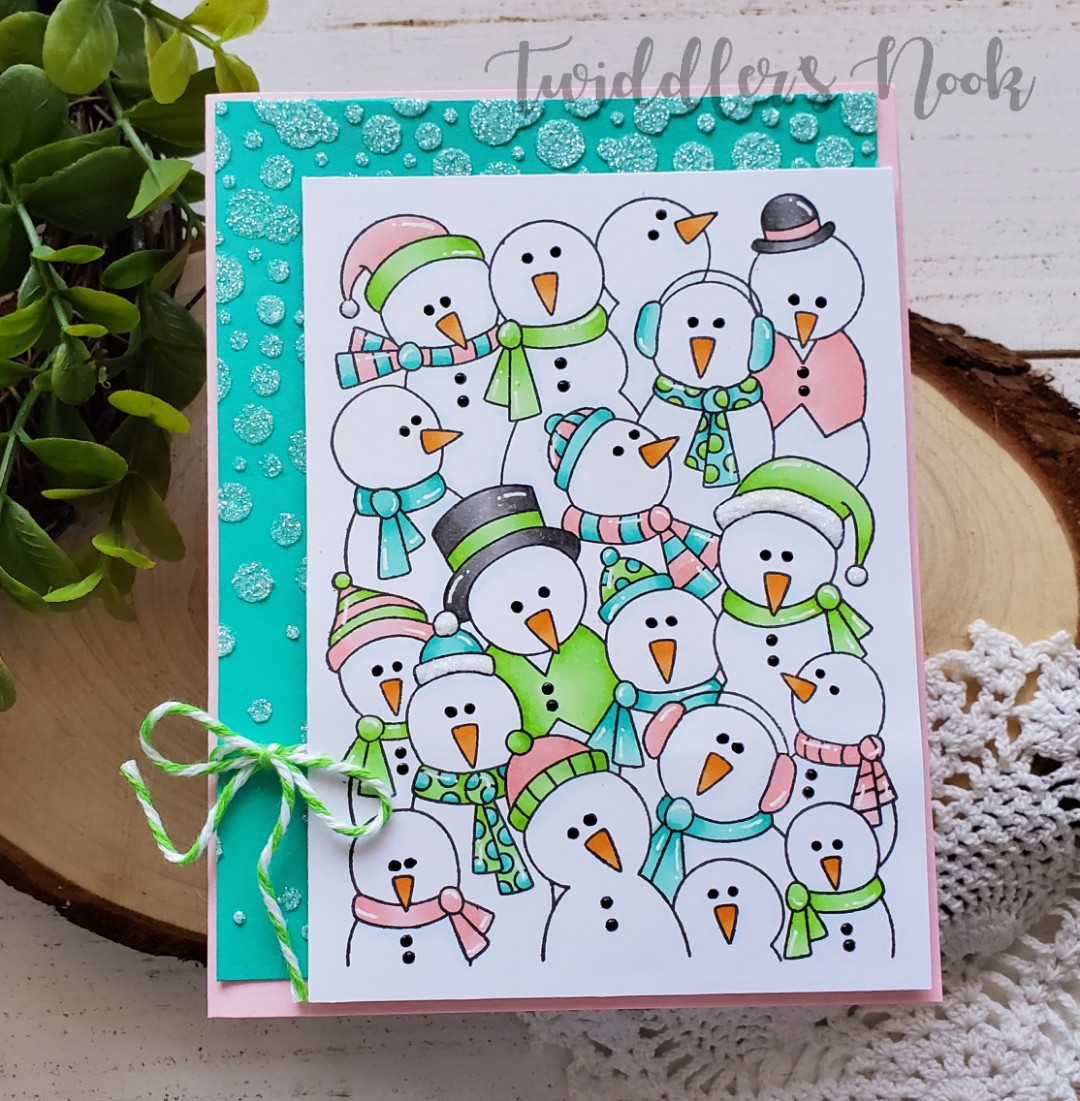
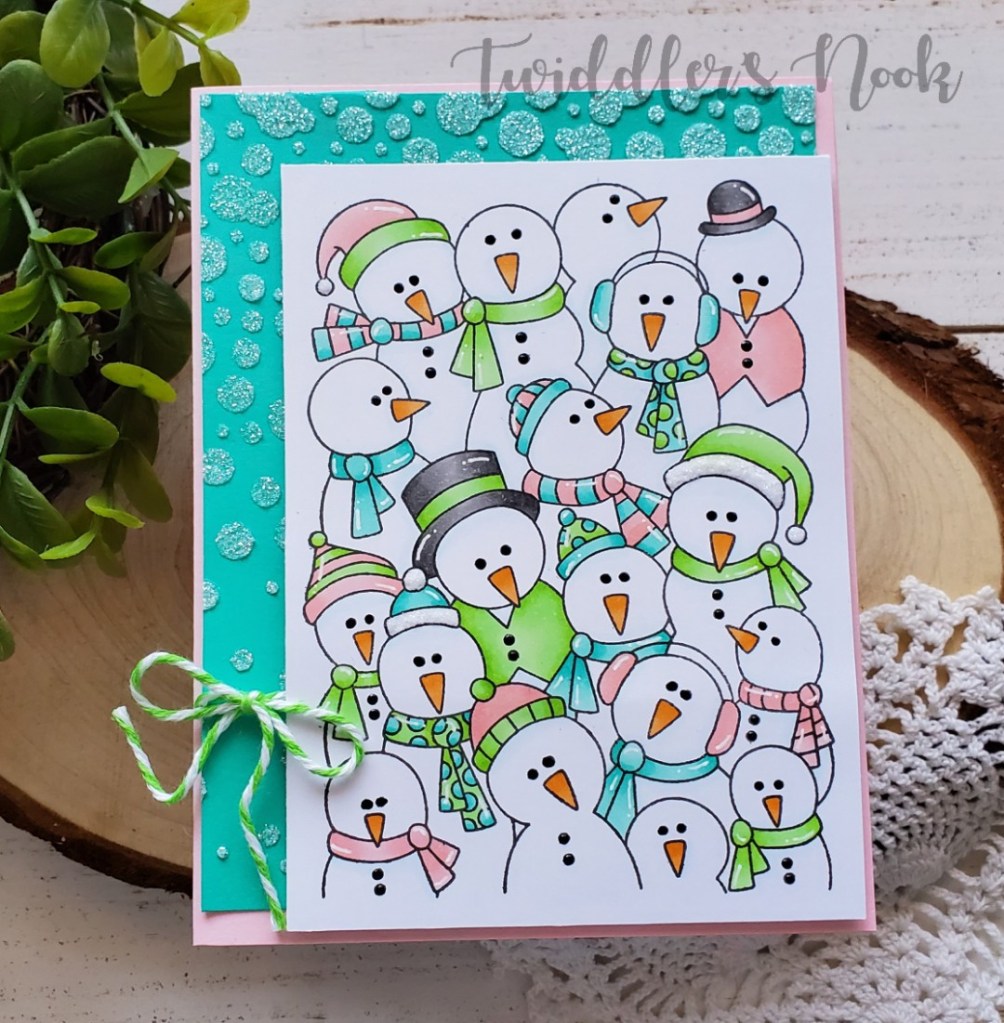
For my first card I immediately grabbed the Frozen Fellowship set and chose my markers. I love coloring this large image with a limited color palette. It’s the most fun for me.

After I had it colored, I made a pink card base and grabbed a teal panel to stencil on. I chose the bubbly stencil and used clear glitter glitz gel on it. When I assembled my card I offset the stenciled and stamped panels just a bit, popped up my stamped image and wrapped green twine around the teal one for a little extra something.

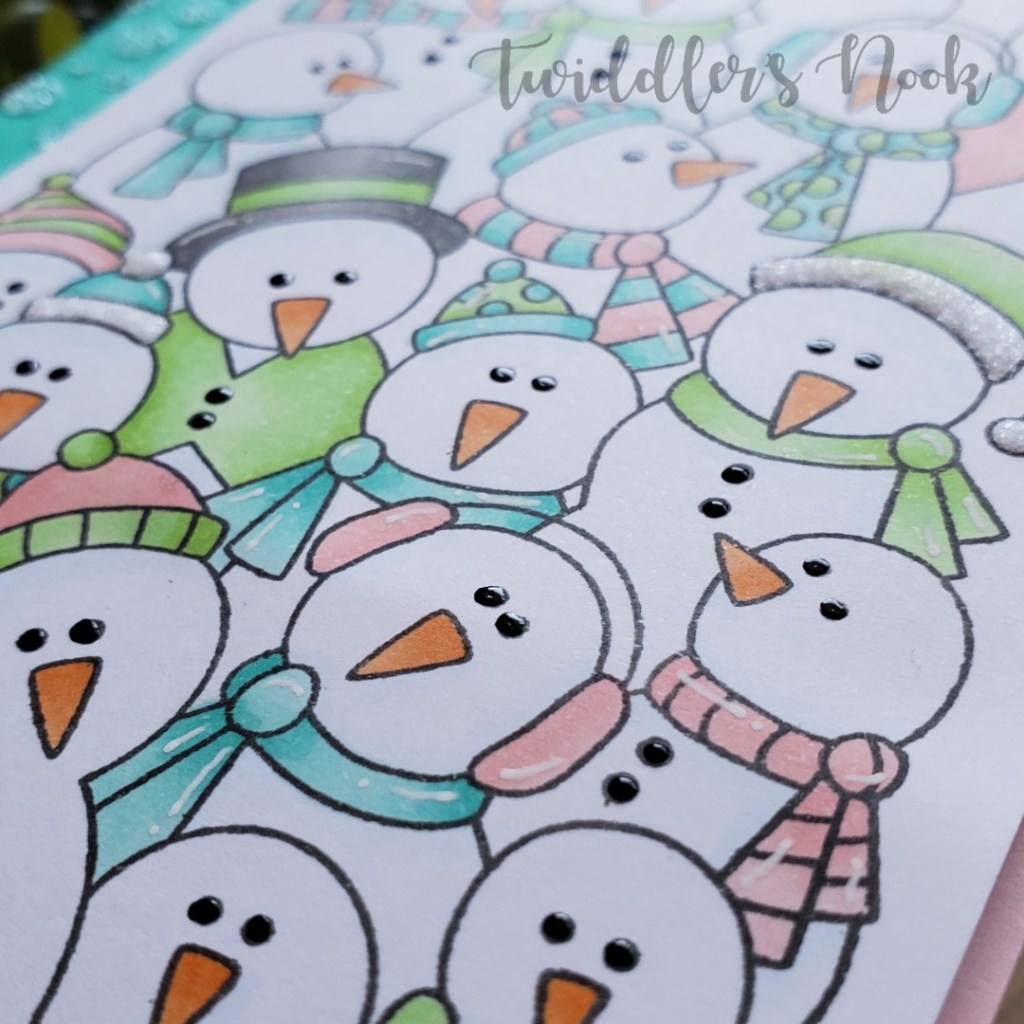
For finishing touches on this card, I added black glaze pen to all of the eyes, Nuvo Crystal Drops to the buttons, Stickles to some of the hats and white gel pen accents to all of the clothing.

I will stamp my sentiment on the inside once I decide exactly who this card will go to. That way it can be more personalized.

Thanks for stopping by. I appreciate you sharing your time with me. Have a fabulous day!