I'm a wife, mom, craft blogger and designer for Newton's Nook, Pink & Main, Miss Ink Stamps and Pixi Dust Designs. I also create as an affiliate for Spellbinders and guest design for other companies. Welcome to my crafty place. I hope you enjoy looking around.
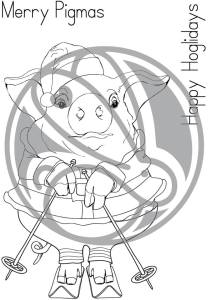
For this card I took a red panel and embossed it with a snowflake embossing folder and then used Wink of Stella glitter brush on top of the raised snowflakes. Then I added a strip of plaid paper down the middle and edged it with silver strips to offset it. I stamped, colored and cut out my piggy, popping him up on a teal circle and also popped the circle up on the plaid panel. I stamped and heat embossed my sentiment and cut it into a banner shape popping it up as well. I love what interest all the dimension gives cards.
Finishing touches on this card were very simple, just adding more Wink of Stella on the white parts of the hat and Santa suit. You can see in this close up picture how much glimmer that really gives him. It’s super fun!
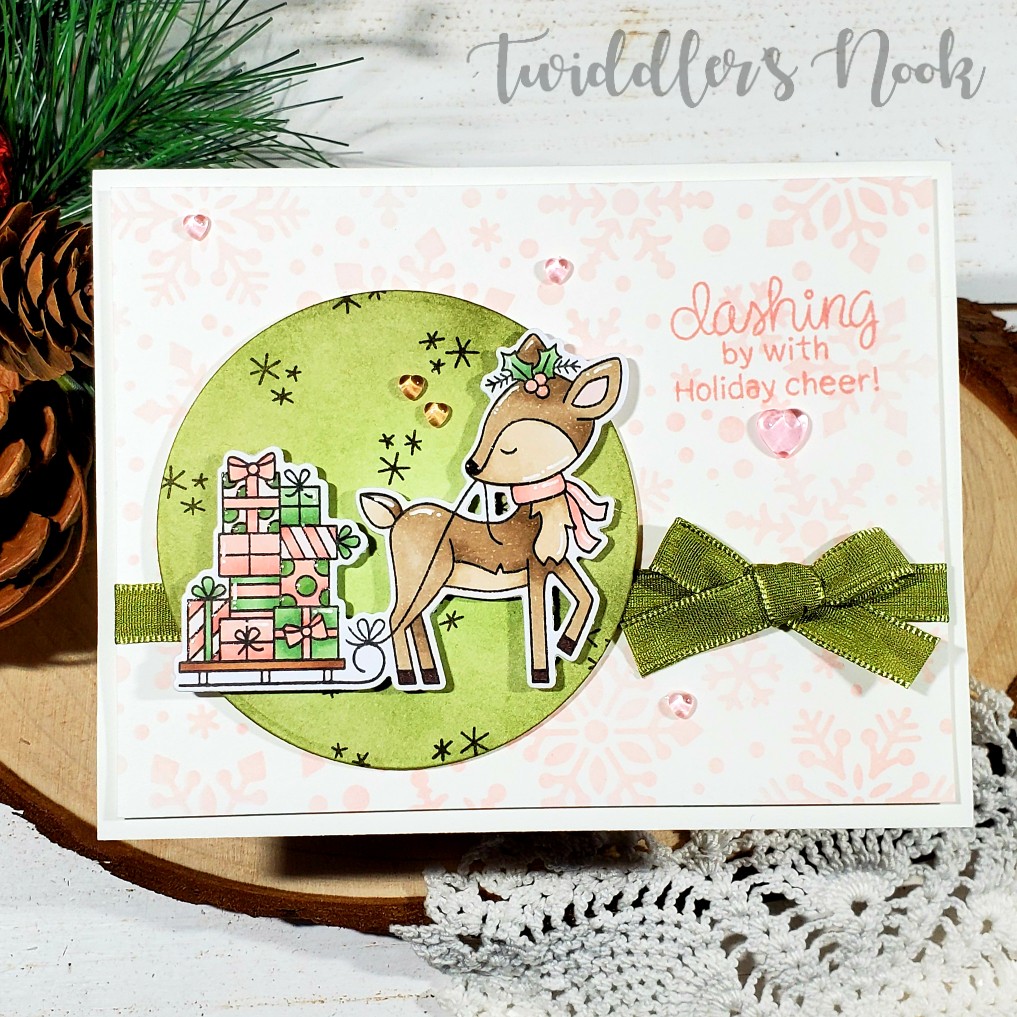
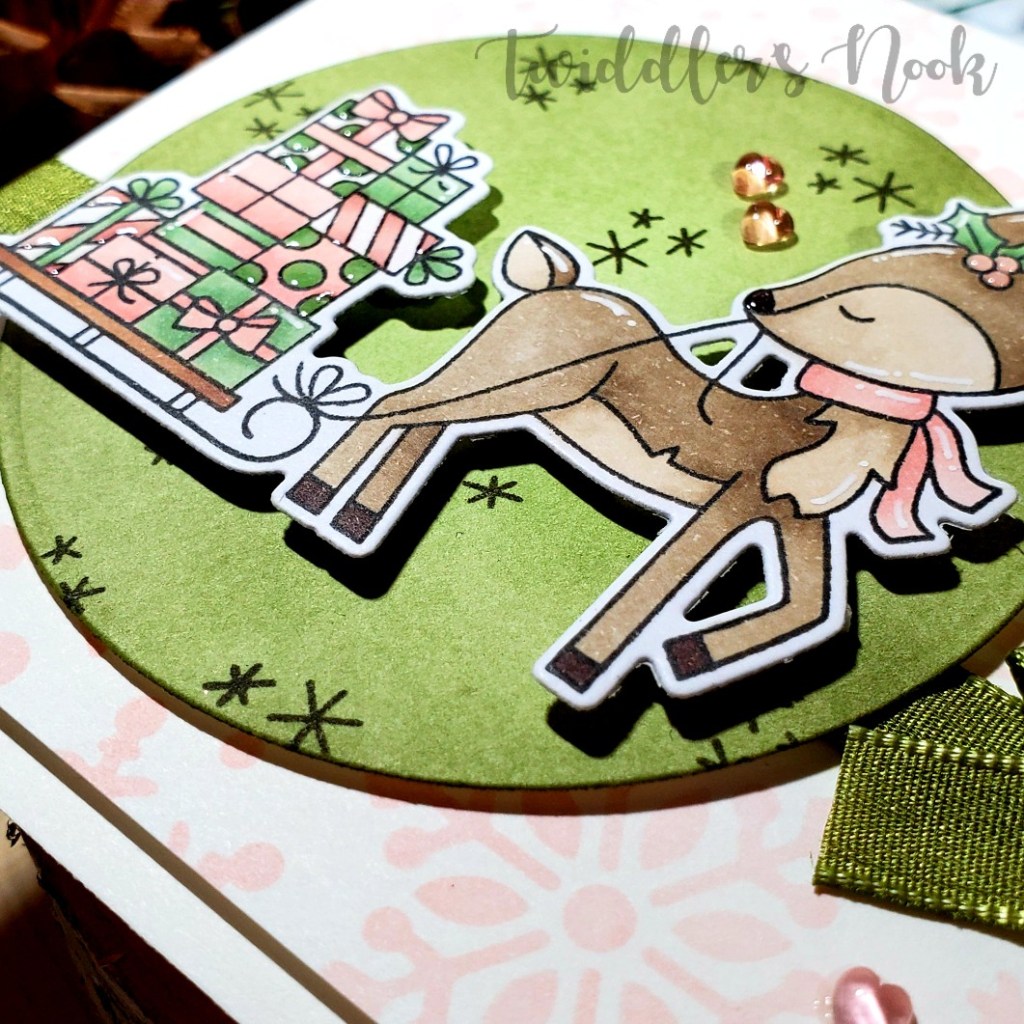
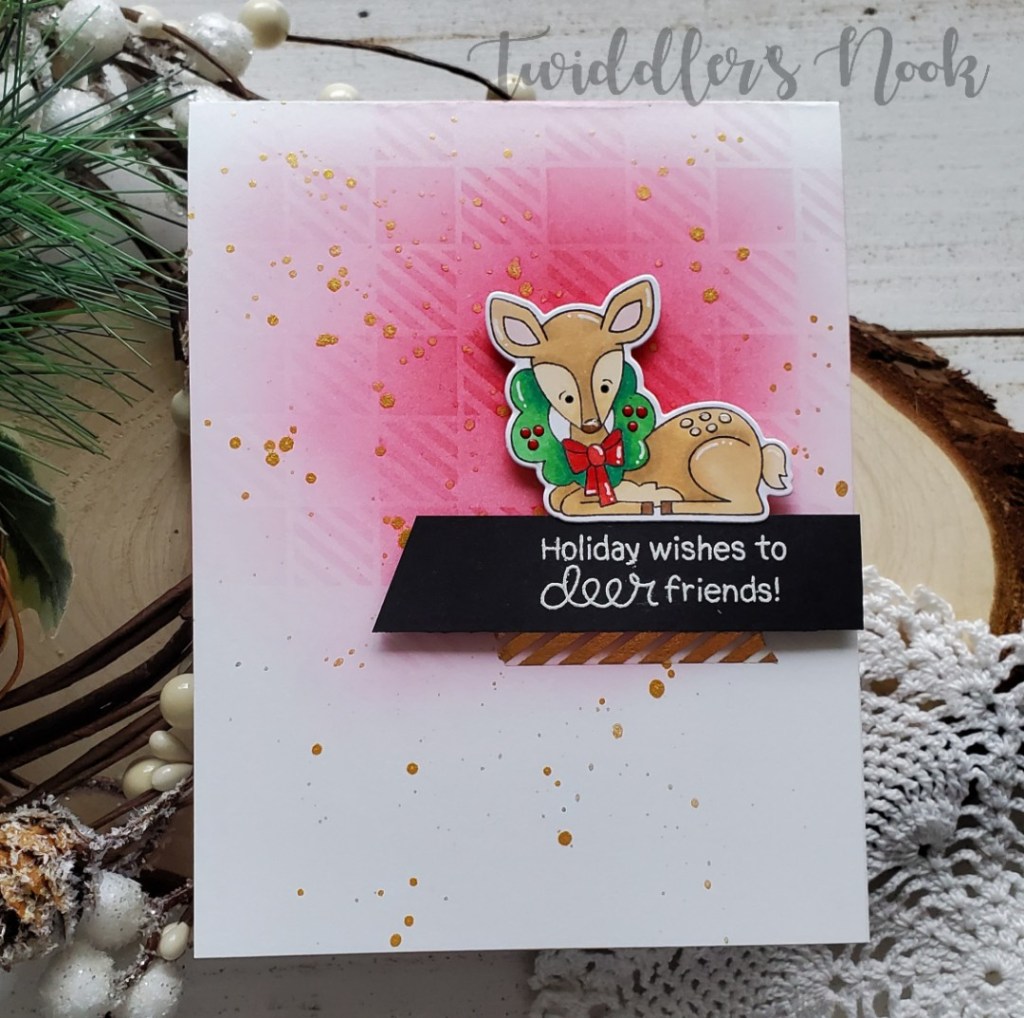
Welcome back to my second week of guest designing for Newton’s Nook. Thank you for stopping by. Today I’m sharing this sweet, soft card featuring Festive Fawns stamps and dies and the Snowfall stencil.
This card was inspired by a quilt my coworker is sewing and I loved the color palette so much I had to make a card using it. Be sure to head over to the Newton’s Nook blog for a full view of the card and all the details how I created it.
I love the images in the Festive Fawns set. They are the perfect size to stand alone on a card but also small enough to put together or even mix with other stamp sets. And they are so fun to color!
I appreciate you sharing your time with me. Have a fabulous day!
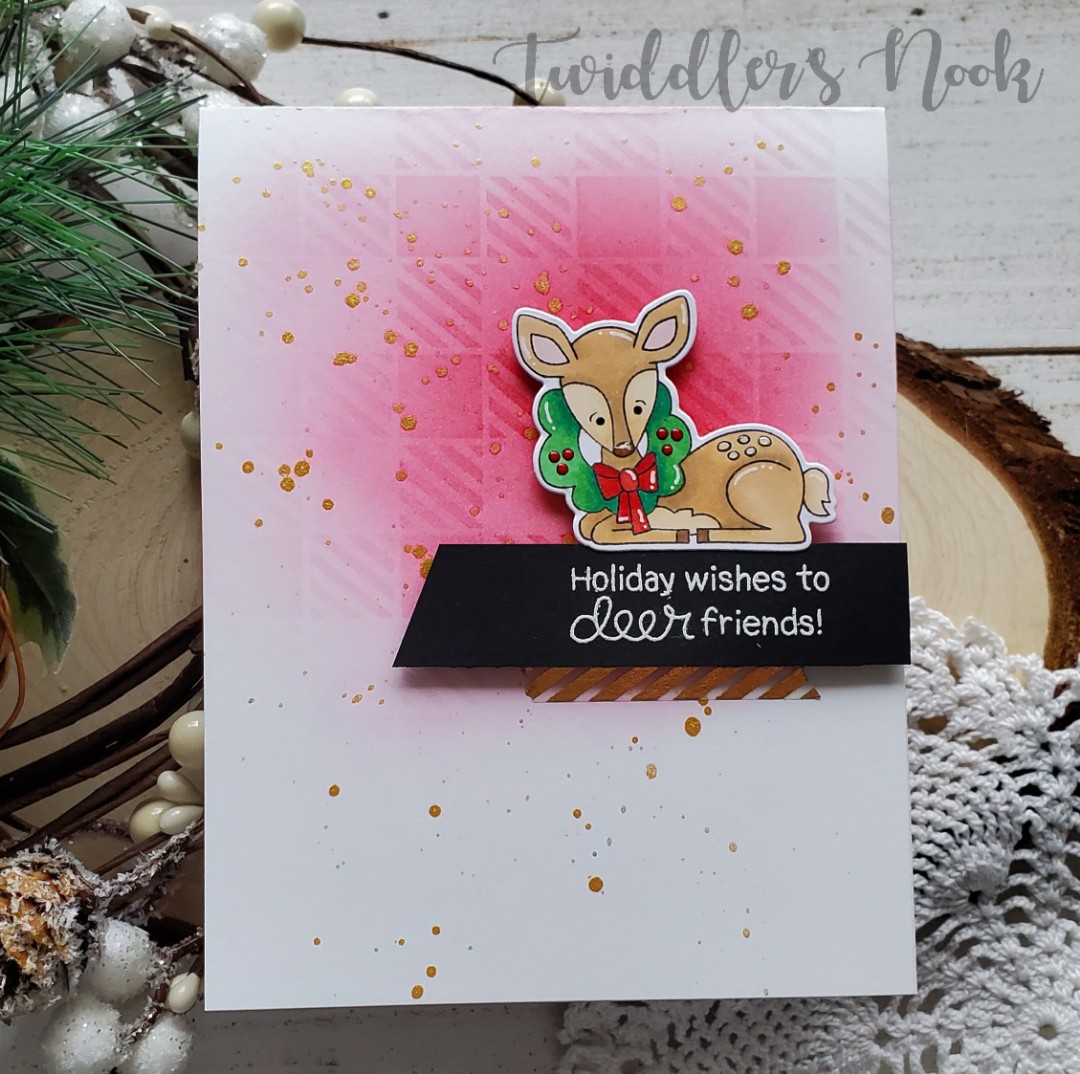
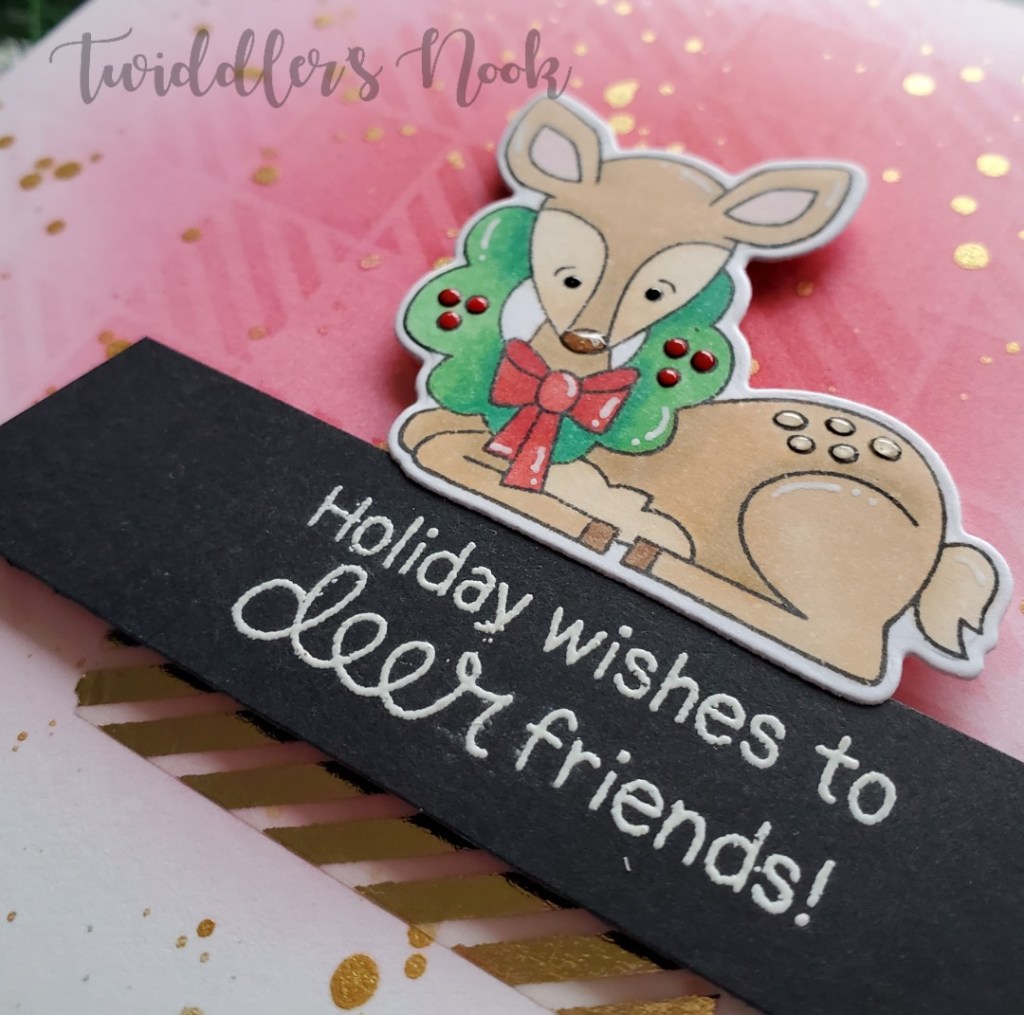
I’ve had this cute little fawn colored and cut out for weeks now just trying to decide what to do with it. All of a sudden this idea popped into my head and it all came together perfectly.
I used blending buddy brushes from Trinity Stamps for the background, using red ink and then adding the stencil on top and went over it all again. I love the tone-on-tone look and this stencil pattern is so much fun! Then I splattered the background with gold watercolor and set it aside to dry while I heat embossed my sentiment. I popped my image and the sentiment strip up with foam squares and added a little washi tape accent below that.
For finishing touches I added glossy accents to the deer’s nose and spots and Nuvo Crystal Drops to the wreath’s berries. Then I added white gel pen accents throughout the image.
This is such a fun card and would be a great one to mass produce for the holidays too. I have some tag ideas with this stamp set so stay tuned the beginning of December for that fun!
I appreciate you sharing your time with me. Have a fabulous day!
Thanks for stopping by today! It’s been one crazy week in our house and I haven’t got much crafting done but things should settle down now for a short bit, until the holiday rush that is. 😉
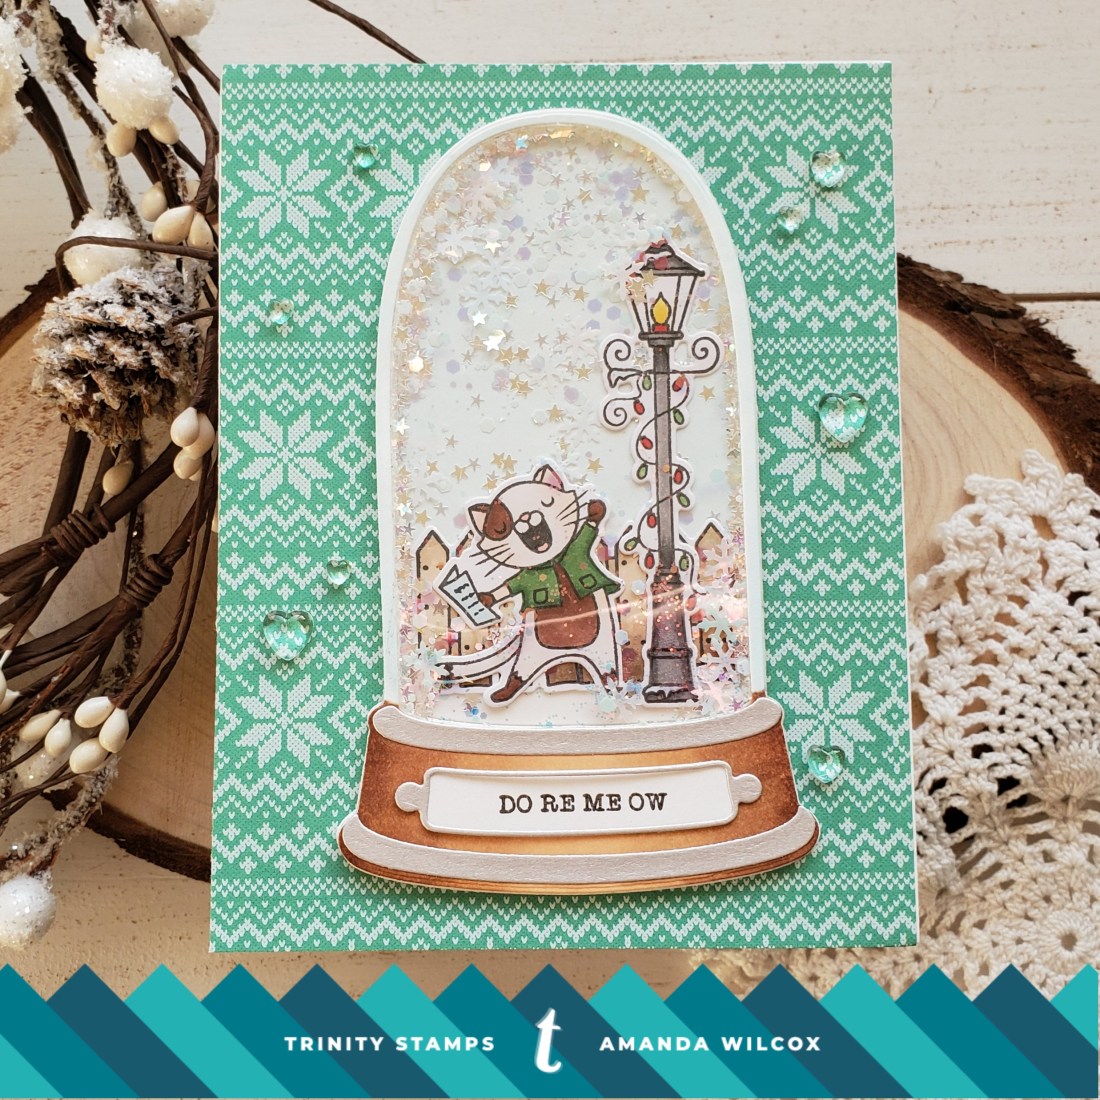
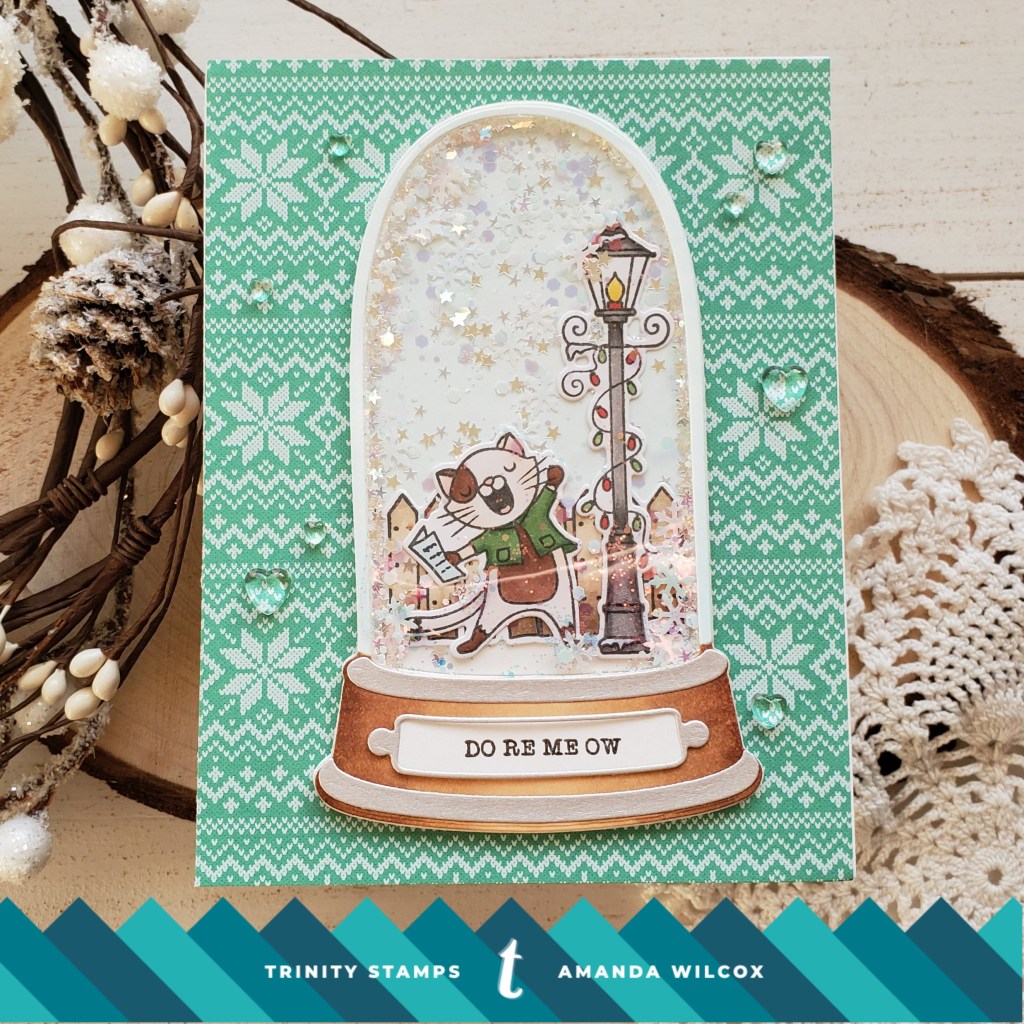
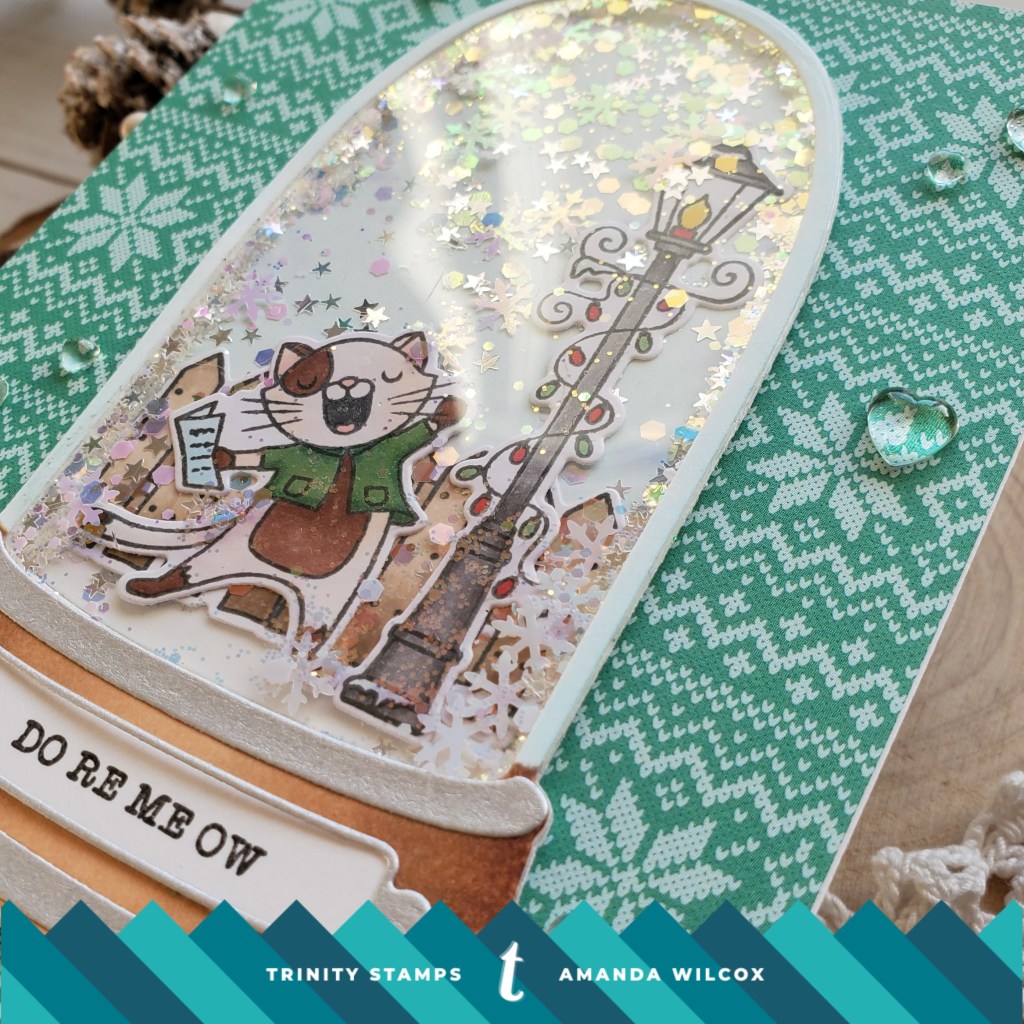
Today I’m sharing this fun snow globe shaker card featuring Trinity Stamps products. I can’t get enough of these kitties and the snow globe dies were just asking to be made into a shaker card.
To create the shaker piece, I die cut the main elements of the tall shaker dome set from white cardstock 6 times and once from acetate. I colored the top and bottom pieces with copics for some added dimension. Then I stamped, colored and die cut my Do Re Me Ow kitty, fence and lamp. The accents were cut from silver cardstock.
I cut down a piece of patterned paper and adhered it to a card front. Next, I adhered my completed shaker window with the images and some fun snowflake soup glitter confetti inside.
I stamped a sentiment from the Do Re Me Ow set on the label that fits the snow globe and adhered it. I also stamped the “We Wish You a Meowy Christmas” on the inside. To finish this fun card off, I added boiled sugar jelly drop hearts in various sizes across the background.
Shaker cards are so fun to make and to give! This kitty belting out his Christmas carols in the snow just makes me smile!
I appreciate you sharing your time with me. Have a fabulous day!
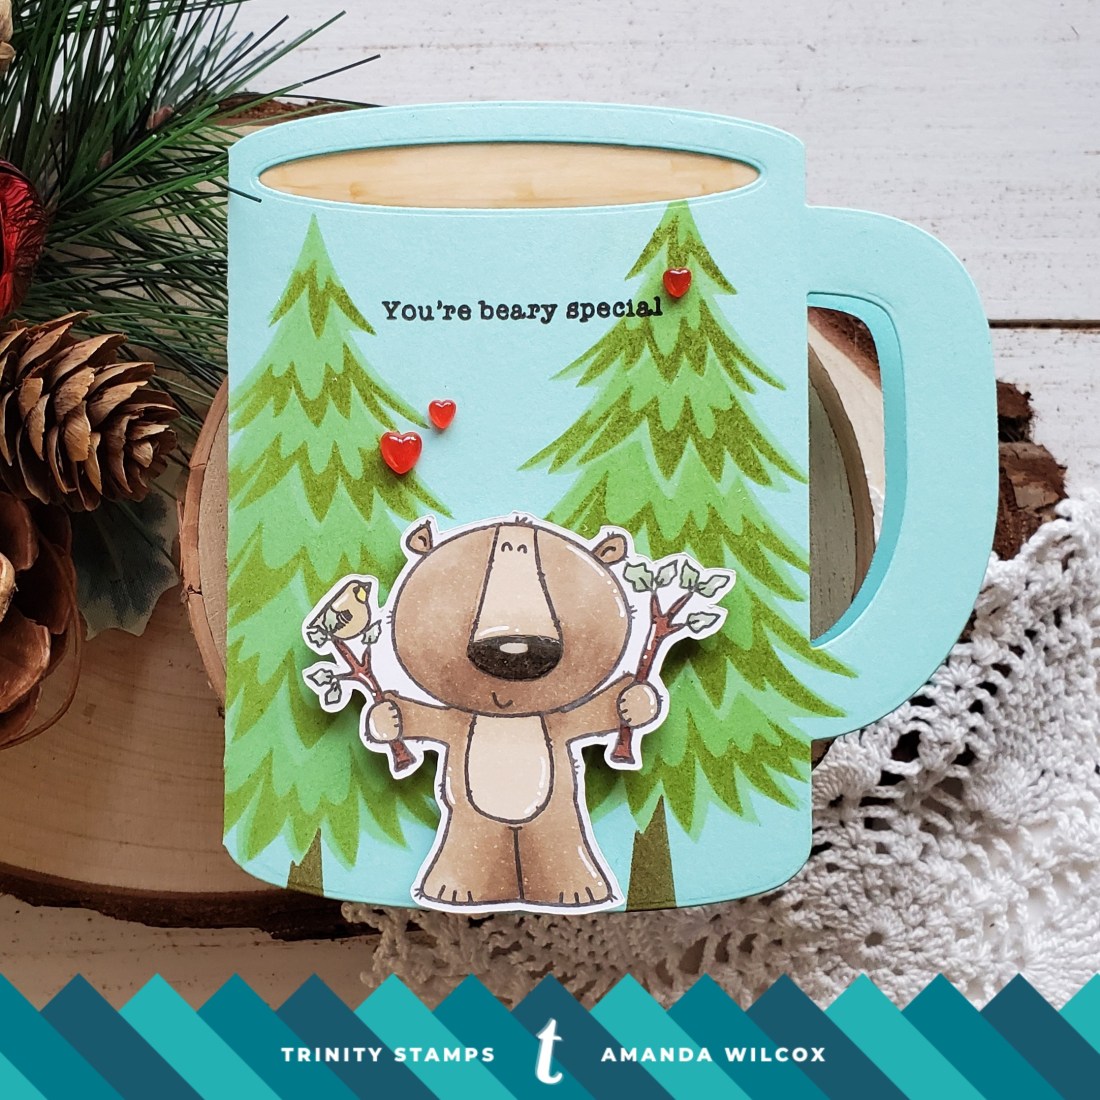
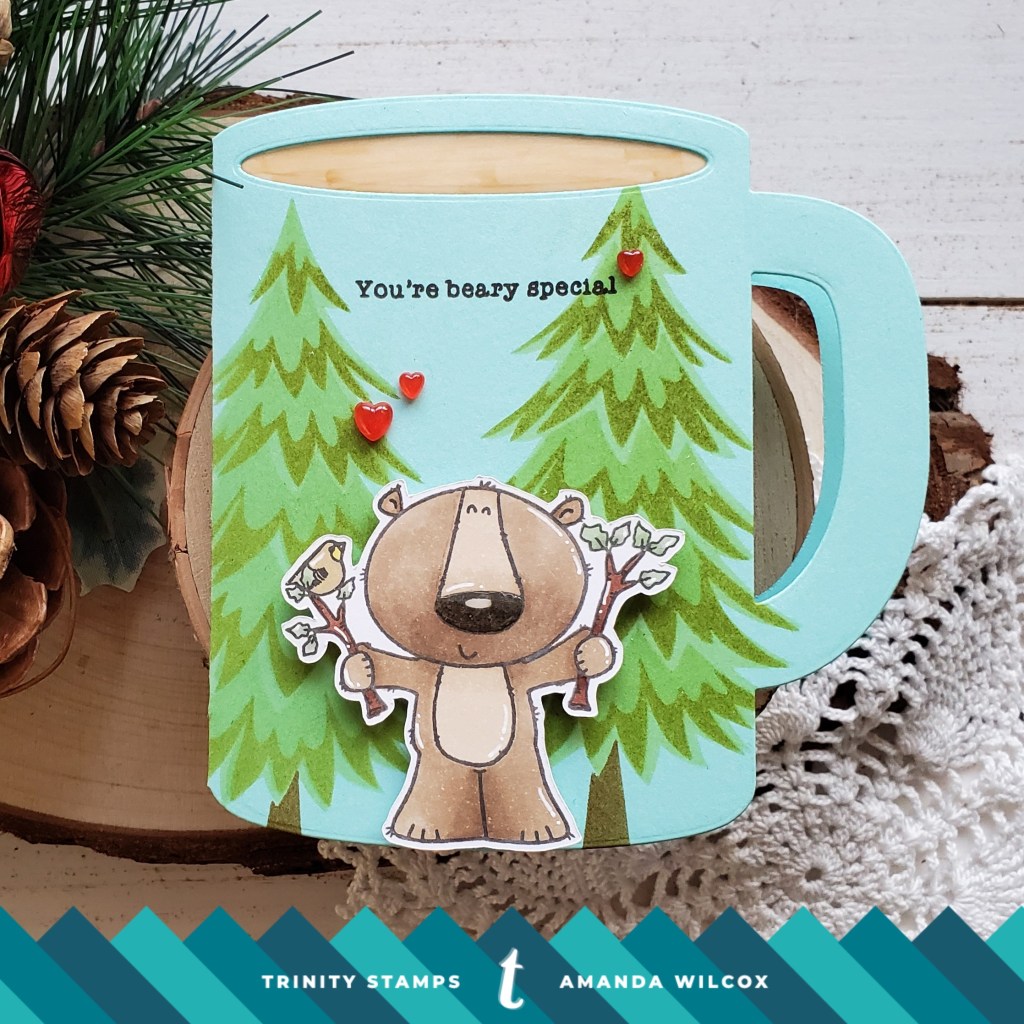
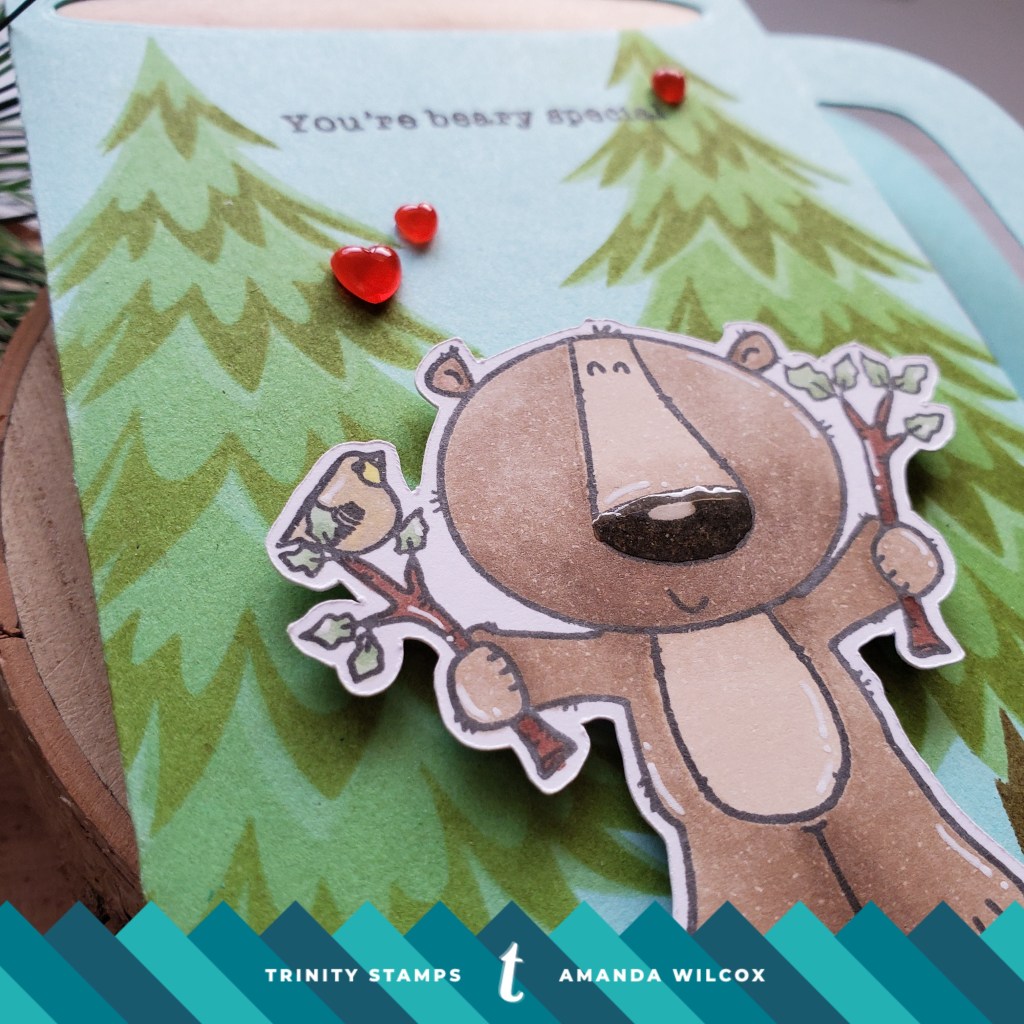
Thanks for joining me again today! I’m excited to share a fun shaped card featuring Trinity Stamps stencils, stamps and dies. The coffee mug card die is from the previous release but the layered pine tree stencil, bear tree and have an ice day stamps are from the most recent release that went live last Friday. It’s chock full of amazing product that is so fun to create with!
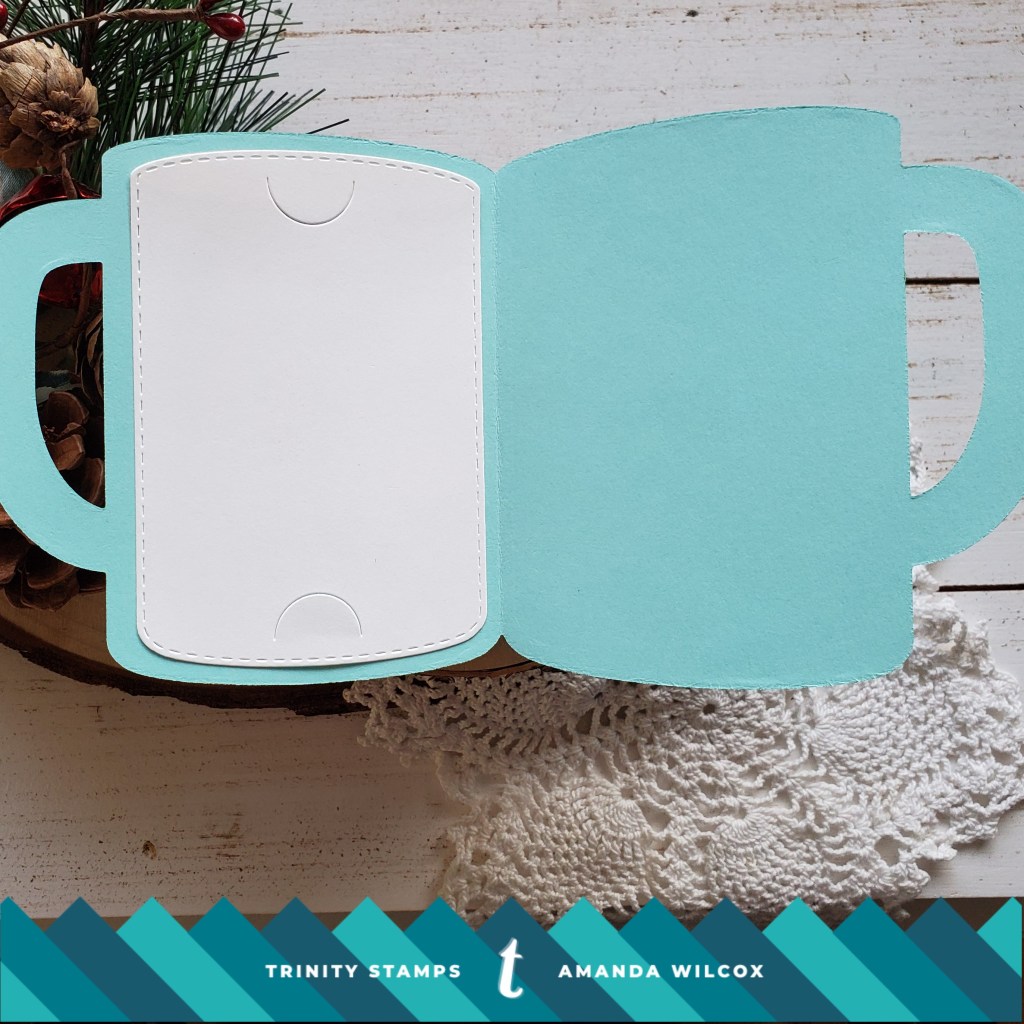
To make this cute card, I started by die cutting my mug and then used the layered pine tree stencil on the background. Then I stamped, colored and popped up my bear with foam squares. For the coffee part of the mug I took vellum and colored it with brown copics, then adhered it to the inside. To cover that up I took the gift card holder from the mug die set and adhered it over the vellum hiding it and making this card dual purpose.
To finish this cute card off I stamped my sentiment from the have an ice day set, then added jelly drop hearts to the background, white gel pen detail and glossy accents to the bear’s nose.
I’m new to using layered stencils and this was so fun! I can’t wait to try it with other ideas like glittery snow on the trees and playing with the other new shine brighter stencil that was released too!
I appreciate you sharing your time with me. Have a fabulous day!
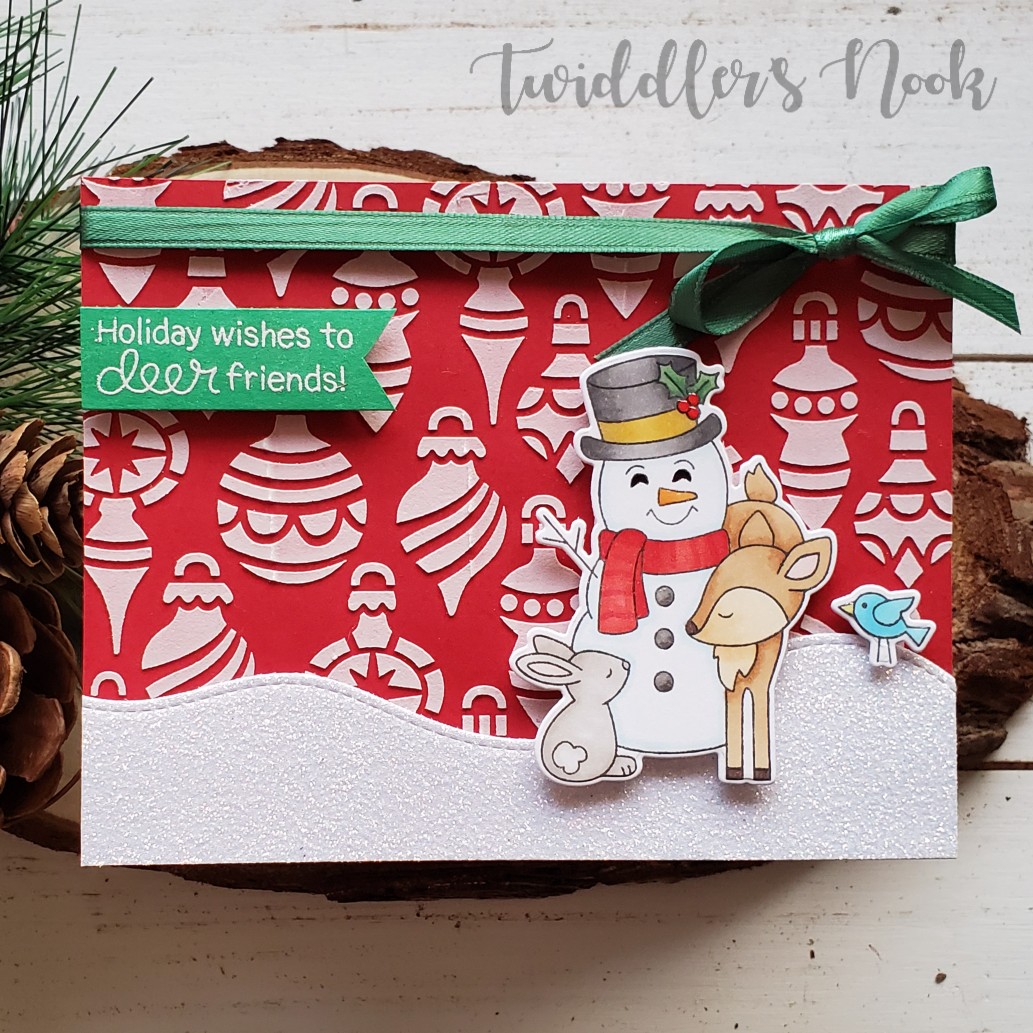
Welcome back! I’m sharing another Newton’s Nook card today featuring the Festive Fawns stamps and the new Ornaments stencil.
I can’t get enough of these sweet fawns. They are so fun to color and the possibilities are endless for card design.
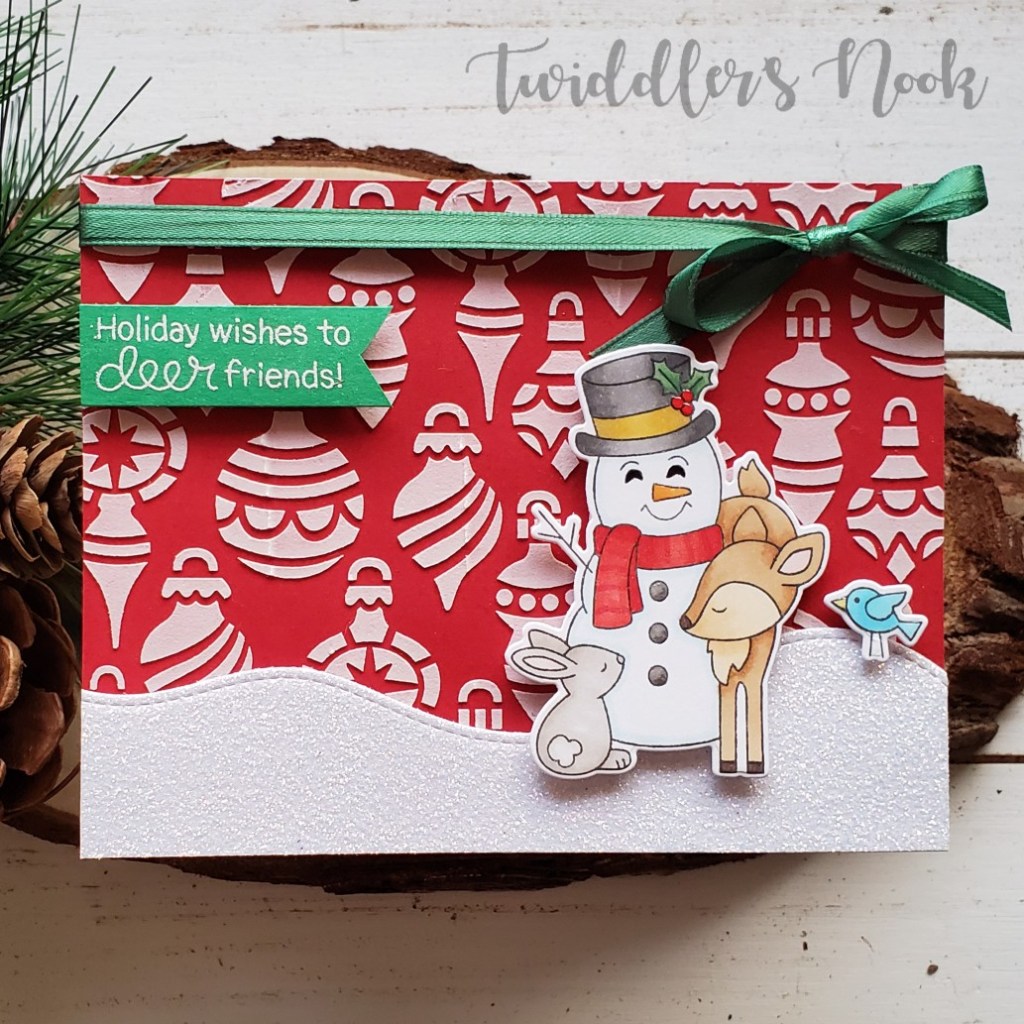
For today’s card I used texture paste with the Ornaments stencil on red cardstock and set it aside to dry. Then I stamped, colored and die cut my images from Festive Fawns. I die cut a glittery hilly snow ground for my critters and snowman and started assembling.
I glued the red background to a card from and then the snow ground to that. I popped up my images, included my heat embossed sentiment banner with foam squares. Then I took ribbon and tied it across the top to finish it off.
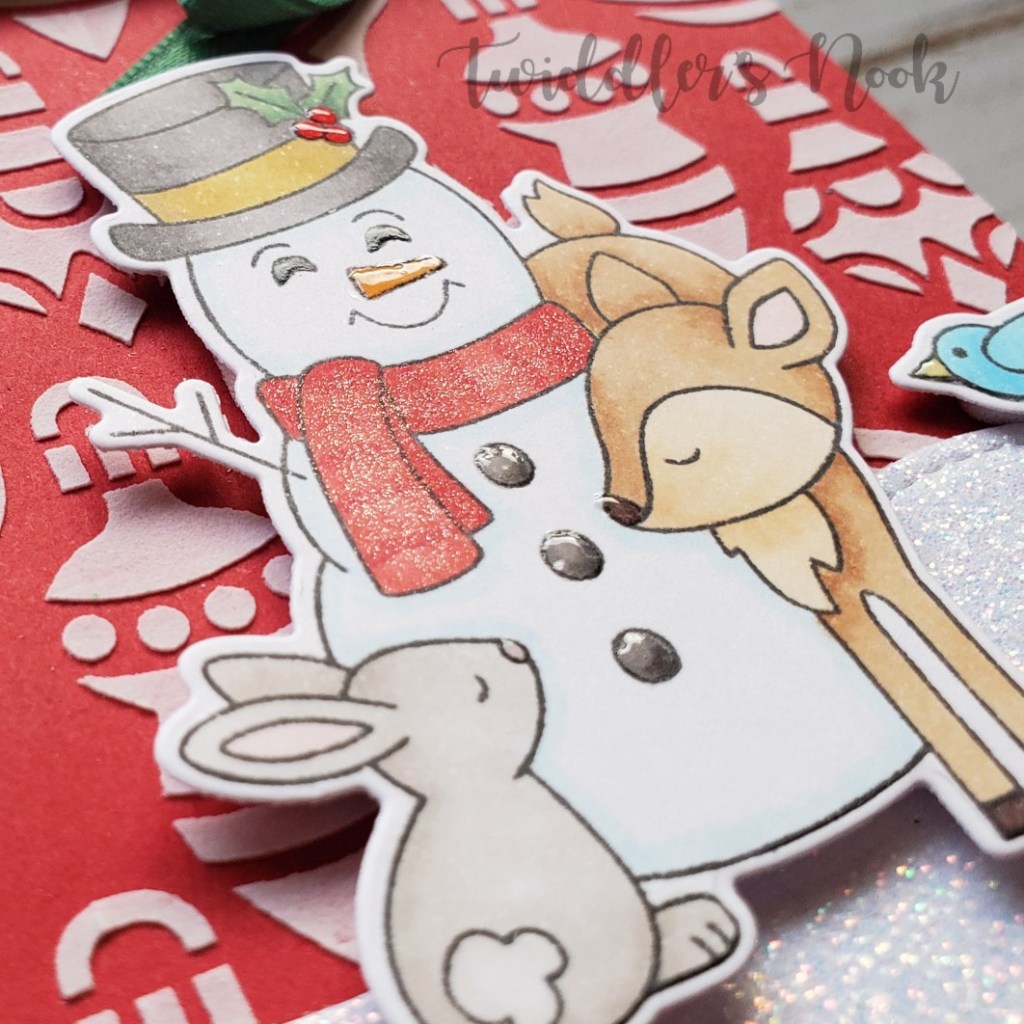
For finishing touches I added Wink of Stella to the snowman’s scarf and the sentiment. Then glossy accents to the buttons, holly berries, and everyone’s noses and beak.
I love the dimension and different textures I was able to achieve on this card. It’s so cute and sweet with the Newton’s Nook images.
I appreciate you sharing your time with me. Have a fabulous day!
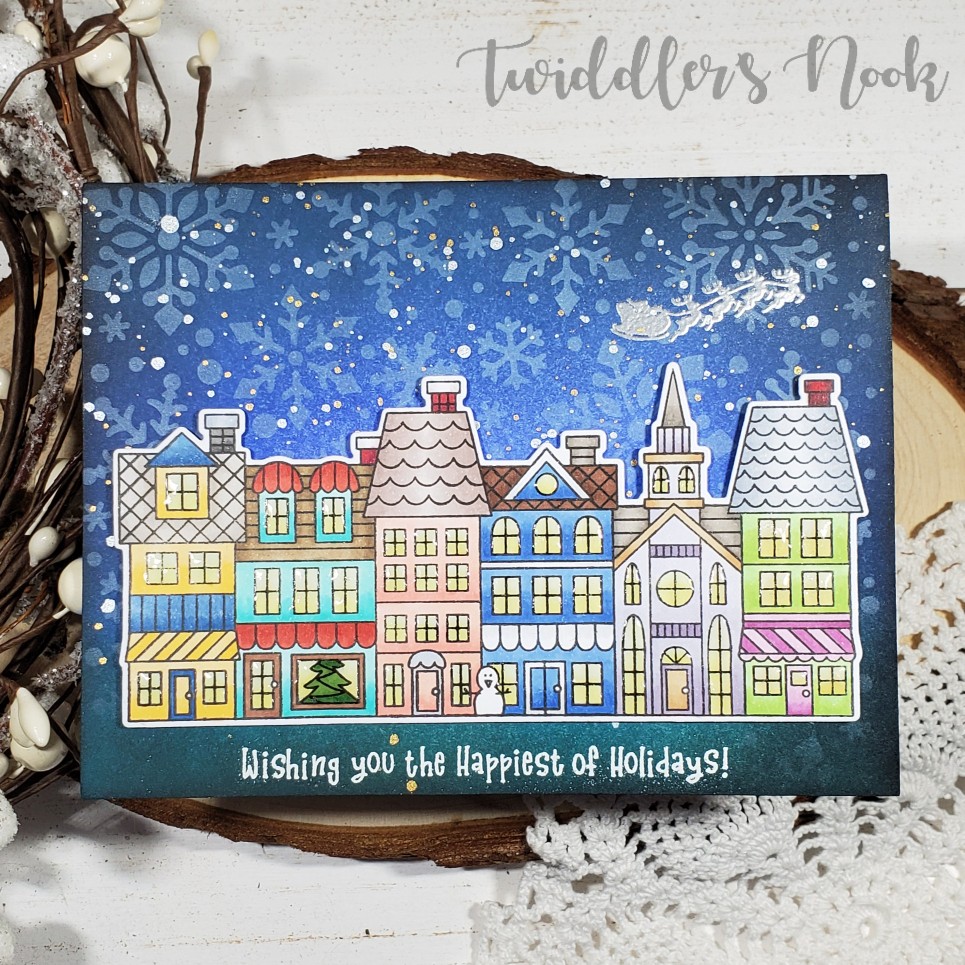
This is a serious Happy Birthday to me!!! I’m so excited to be guest designing with Newton’s Nook for the month of November and today is my first post, on my birthday! This couldn’t have come at a more perfect time than to be able to dive into their brand new Christmas release and start creating!
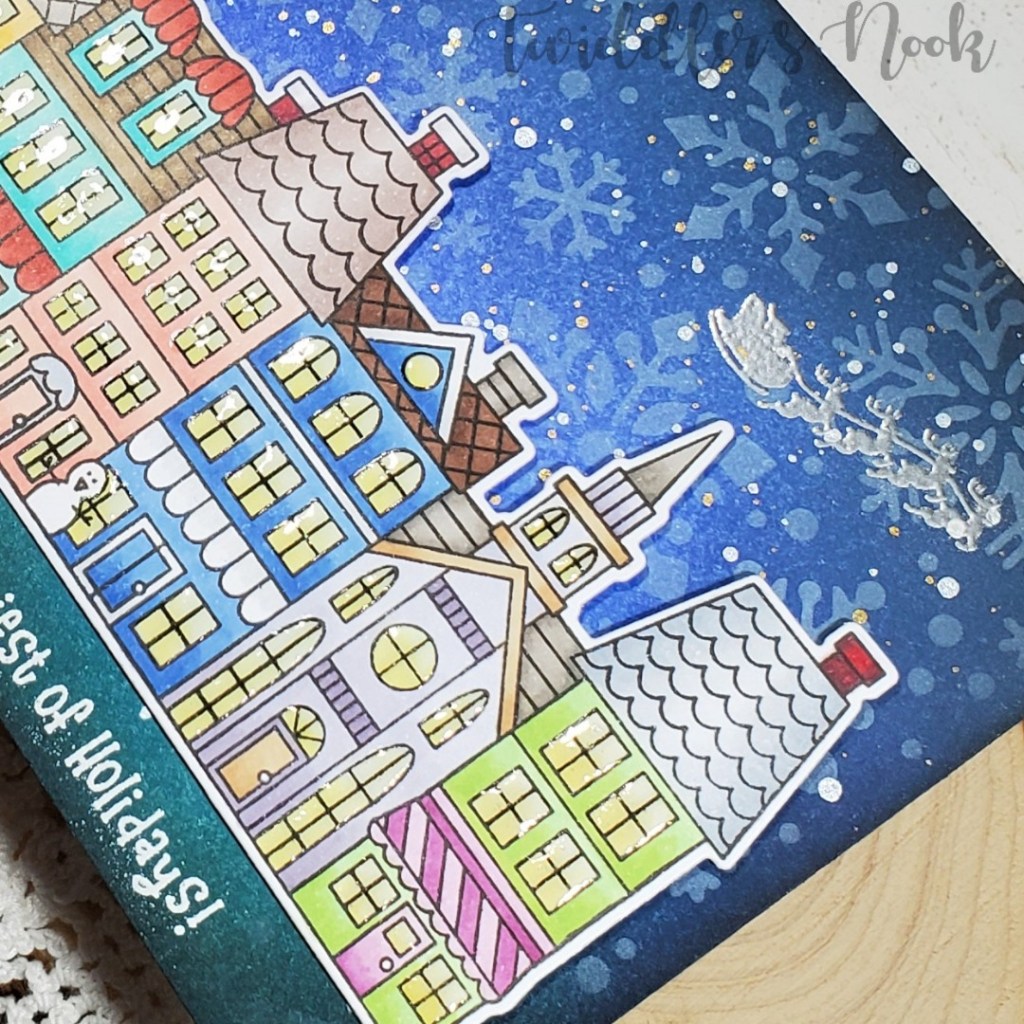
When I saw all of these great images, there was no way I could choose, I wanted it all. This whole release is out of this world! Today I’m sharing a beautiful card using the Main Street stamps and dies and the Snowfall stencil.
Here’s a sneak peek of the card I made. Be sure to head over to the Newton’s Nook Blog for the full scoop and lots of great pictures! Do me a birthday favor and leave me a comment over there too! I would really appreciate it! And stay tuned throughout the month for more Newton’s Nook awesomeness.
I appreciate you sharing your time with me. Have a fabulous day!
Today I’m sharing this super fun interactive caffeinated reindeer card! I used the candy twist stencil on the background, assembled my card, stamping and heat embossing my sentiment at the bottom. Then I built my wreath, added a vellum circle behind it and adhered my reindeer. Then gluing just the bottom part to the card front so the mechanism still moves I lined up my stamp and added a sentiment to the inside too.
For finishing touches I added Nuvo Crystal Drops to the reindeer’s nose and glossy accents to his cup and slipper’s noses. I plan to add a Starbucks gift card to the inside of this, which fits perfectly inside the opening.
Make sure you also head over to CLC Fall/Winter Blog Hop to link up to win some awesome prizes. The hop goes through November 8.
I appreciate you sharing your time! Have a fabulous day!
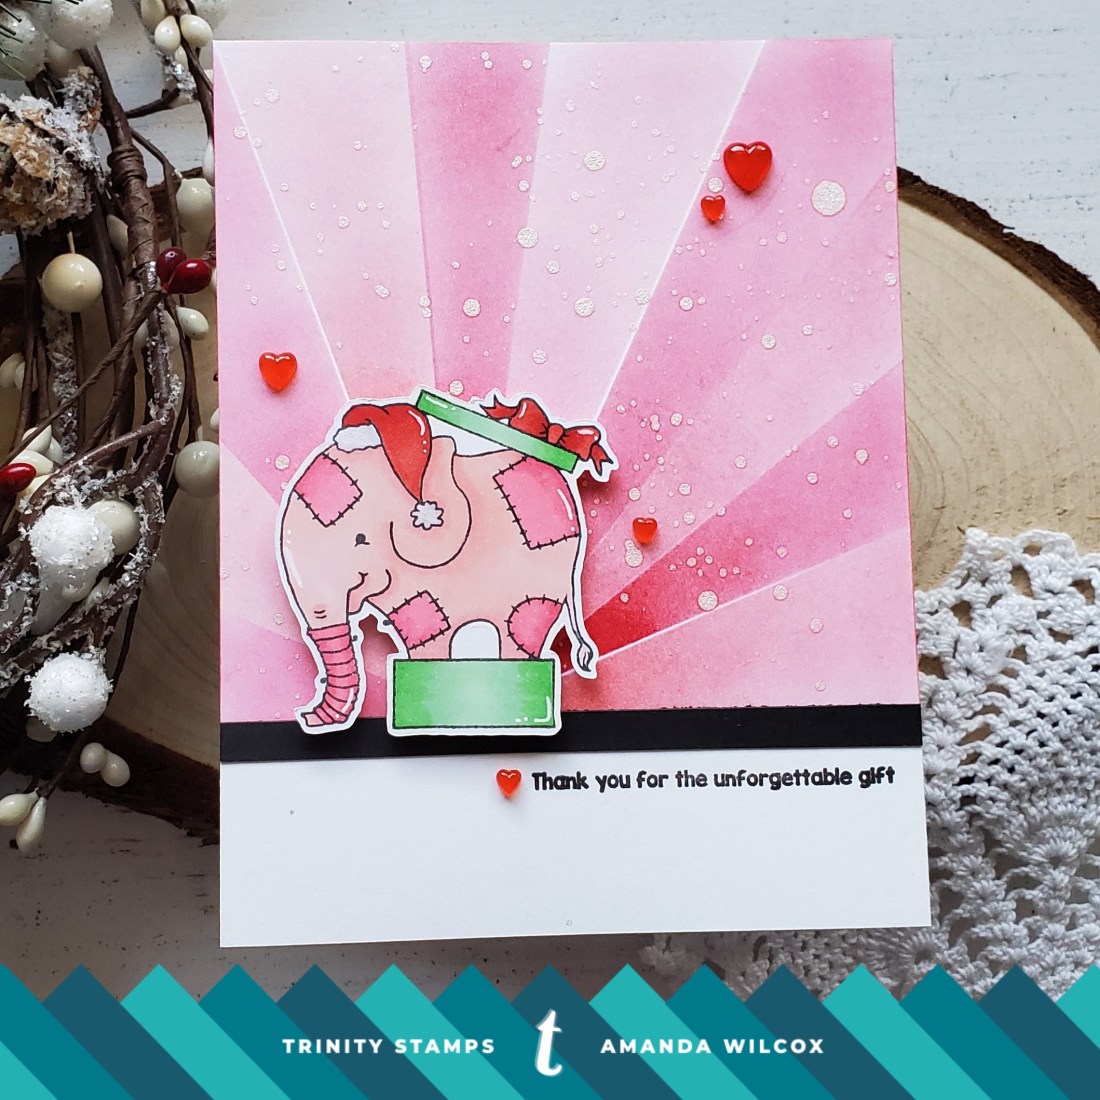
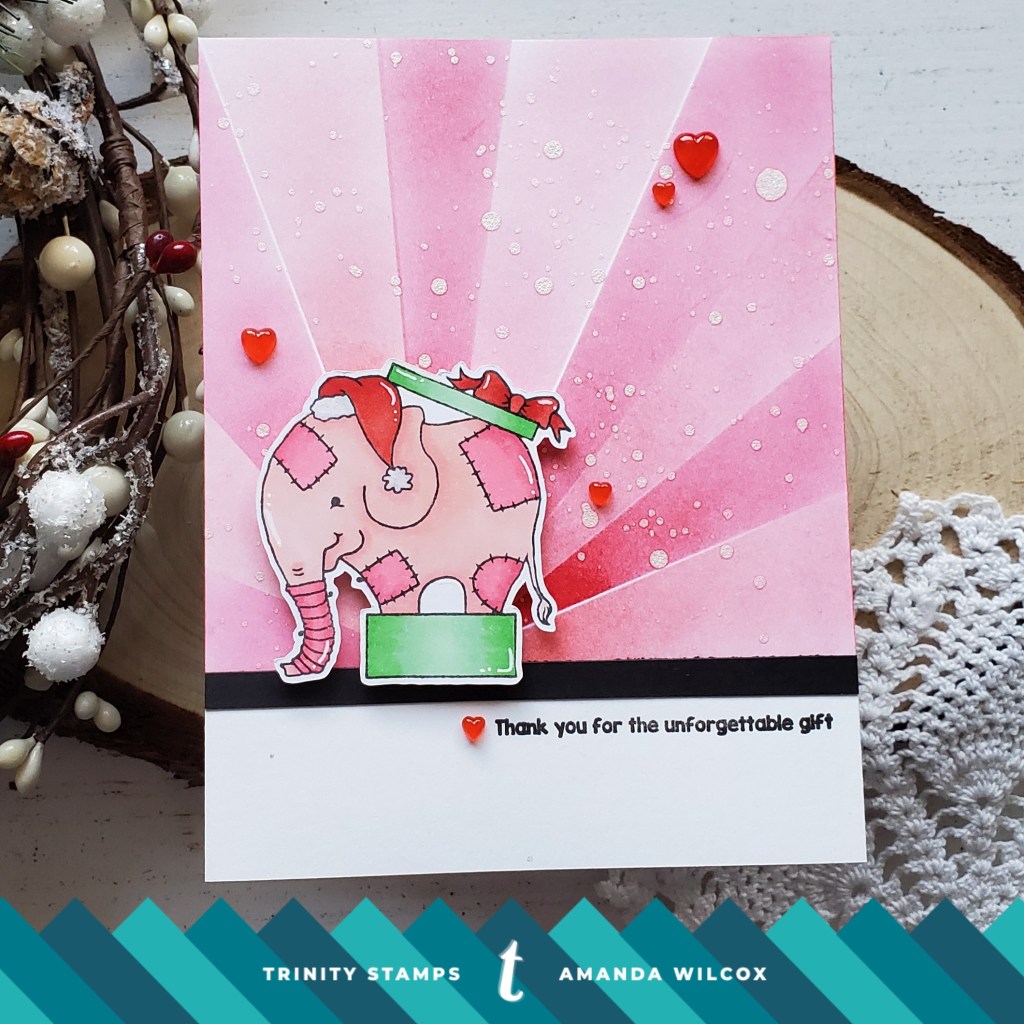
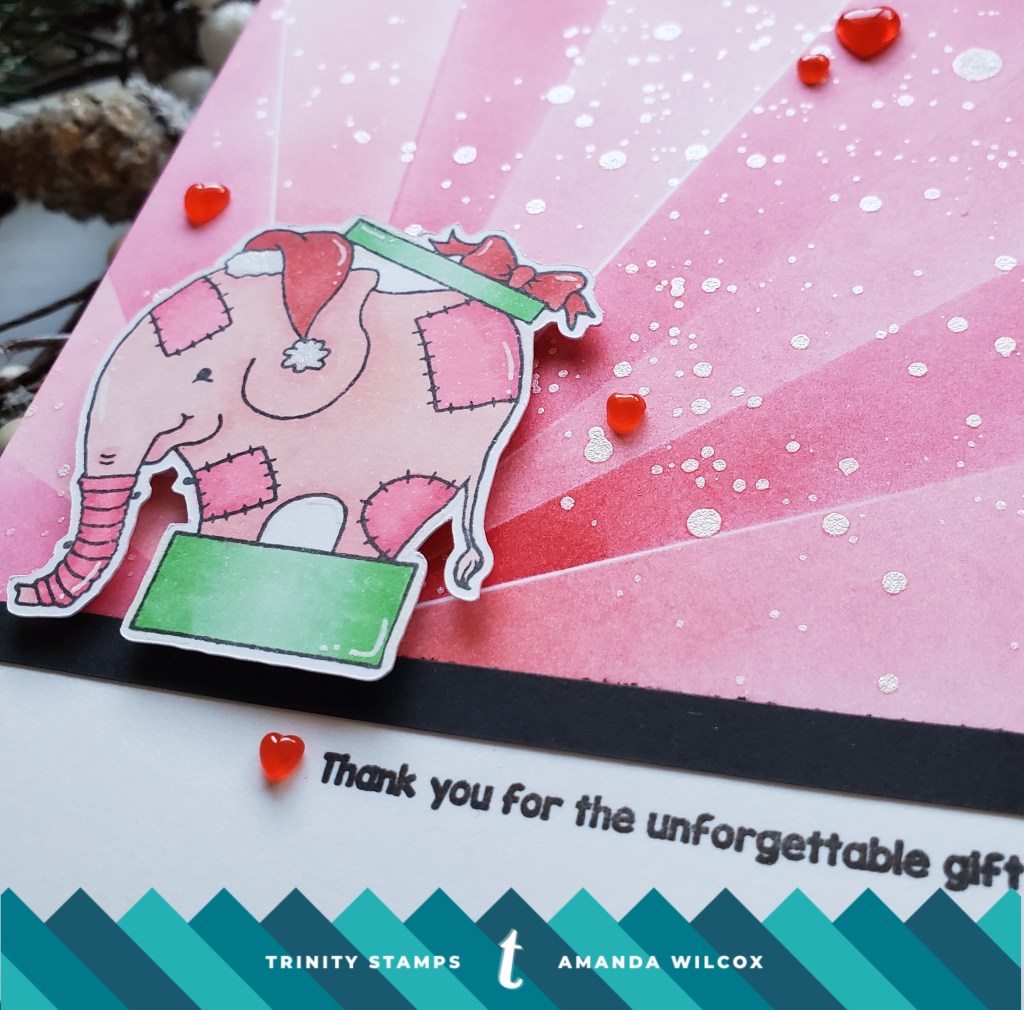
Happy Saturday everyone! Thanks for stopping by to check out this super cute card featuring the newly released Unforgettable Gift stamp set from Trinity Stamps.
Mini back-story – My mom’s favorite animal is the elephant but more specifically she collects pink elephants. As soon as I saw this set I knew how I was going to color it. She hasn’t seen this yet and she’s gonna flip when she does. ❤
To make this card I stamped, colored and cut out my image. Then set to work on the background. Using my awesome new blending buddy brushes from Trinity I masked off areas and blended pink and red inks on the background, alternating. I splattered pearl watercolor on the panel and added a black strip to ground it. Next, I stamped my sentiment underneath and popped my elephant up with foam squares.
For finishing touches I added cinnamon red hots jelly hearts to the background, Wink of Stella glitter brush pen to the hat and white gel pen detail to the image.
This was a pretty quick card to put together and such a fun way to say thank you for that special gift you receive at Christmas. I can’t wait to color this guy in non-Christmas colors for an everyday thank you card too.
You can pick up the new Trinity Stamps release HERE and check out the BLOG for tons of amazing inspiration too!
I appreciate you sharing your time with me. Have a fabulous day!
I’m thrilled to be guest designing with Trinity Stamps for their brand new Christmas release. There’s an amazing blog hop going on today with tons of inspiration and prizes to be won.
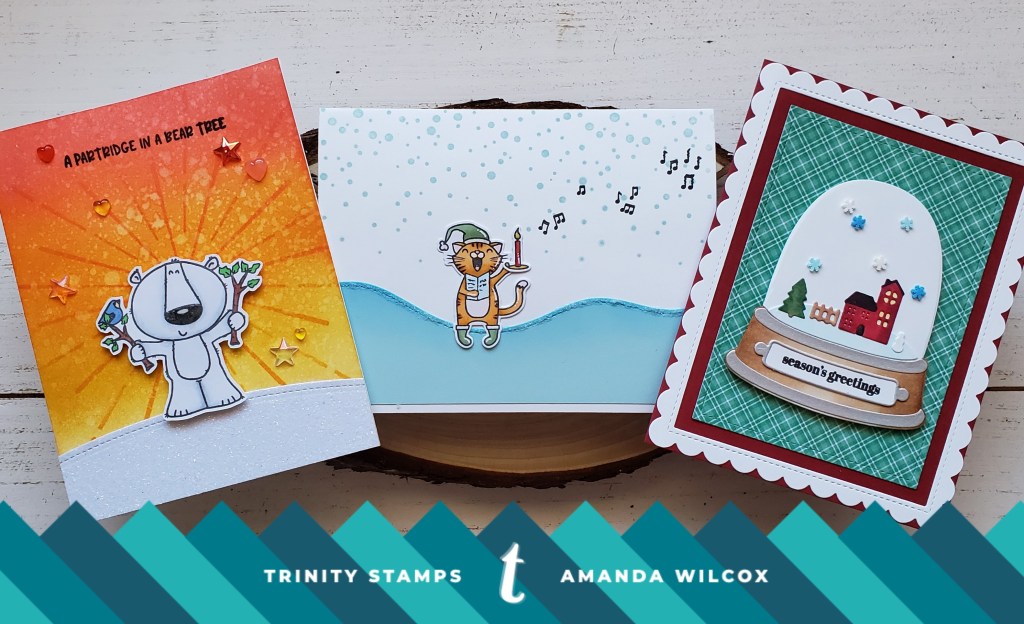
I have 3 amazing projects to share with you and the hop info will be at the bottom. Be sure to read all the way down so you don’t miss out!
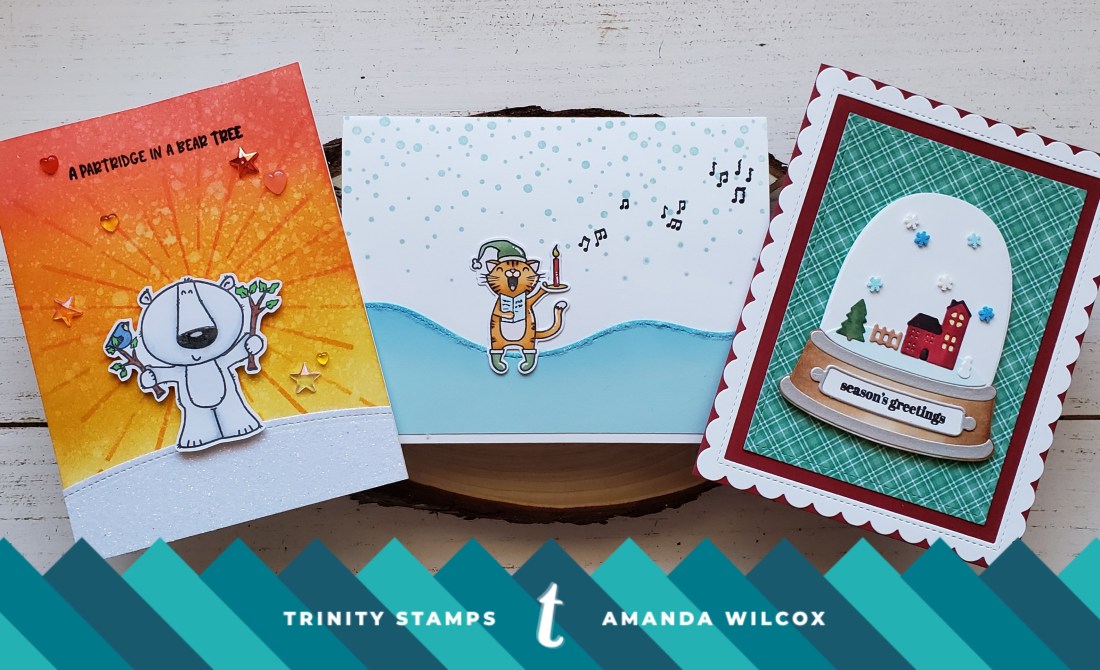
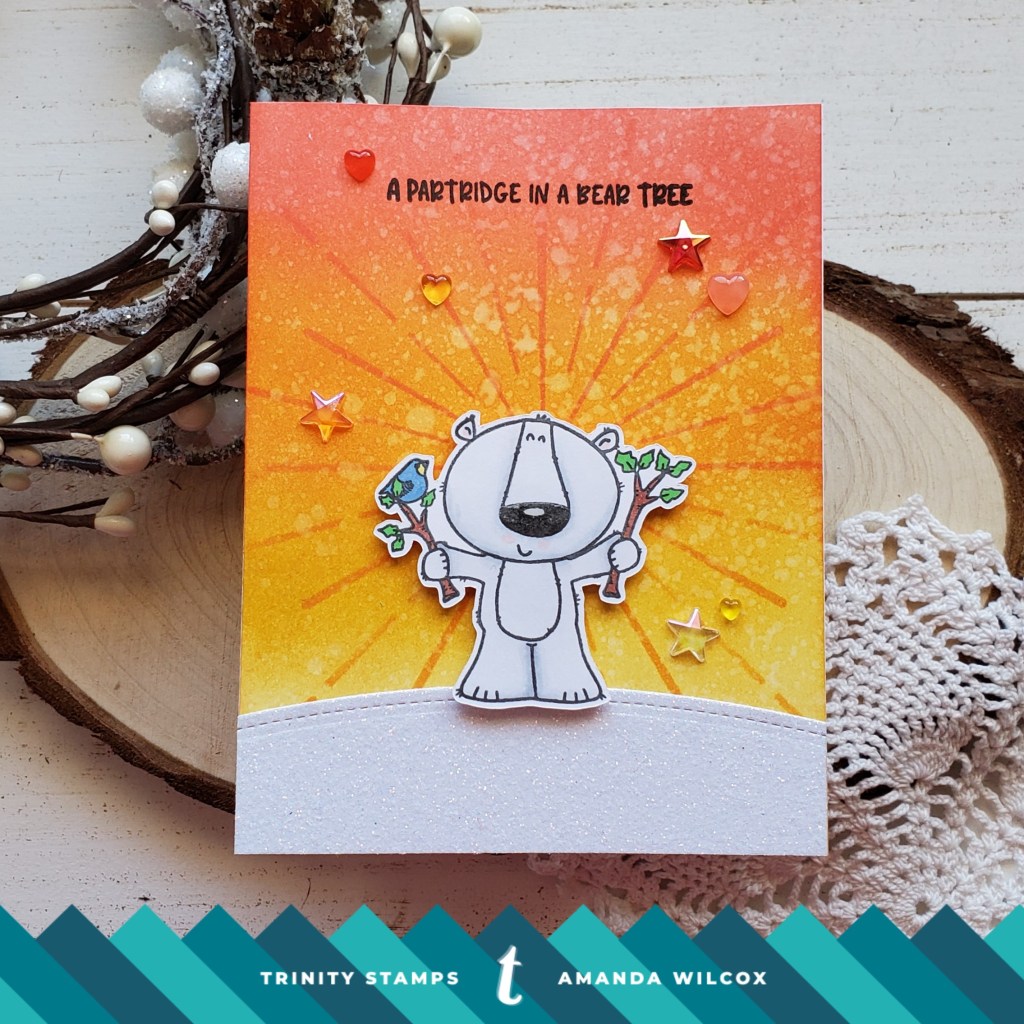
This first card features the new bear tree stamp and shine brighter layered stencils. I simply ink blended my background, inked the stencil over it, then distress sprayed it. I popped my sparkly snow on the ground and my bear with foam squares. Then I finished it off by stamping my sentiment at the top, with glossy accents on the bear’s nose and fun embellishments from Trinity too!
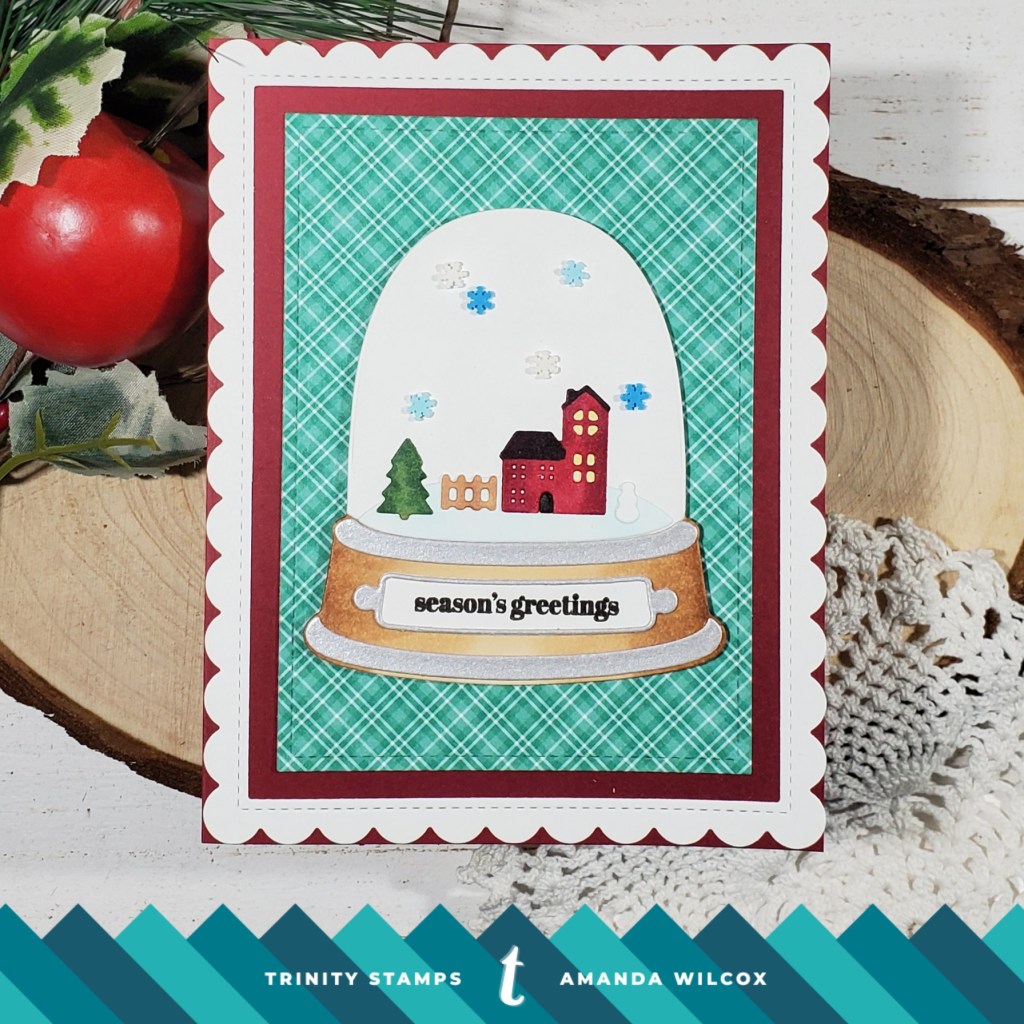
This next card is completely die cut except the sentiment. I used the tall shaker dome dies and frosty snowflakes sprinkle embellishments. I cut all of my dome pieces with white cardstock and used copic markers to color them in. To make the dome shorter and fit my card better, I die cut it, then realigned the dome and partial cut the top again shrinking it down. This is a great way to get more life out of your dies.
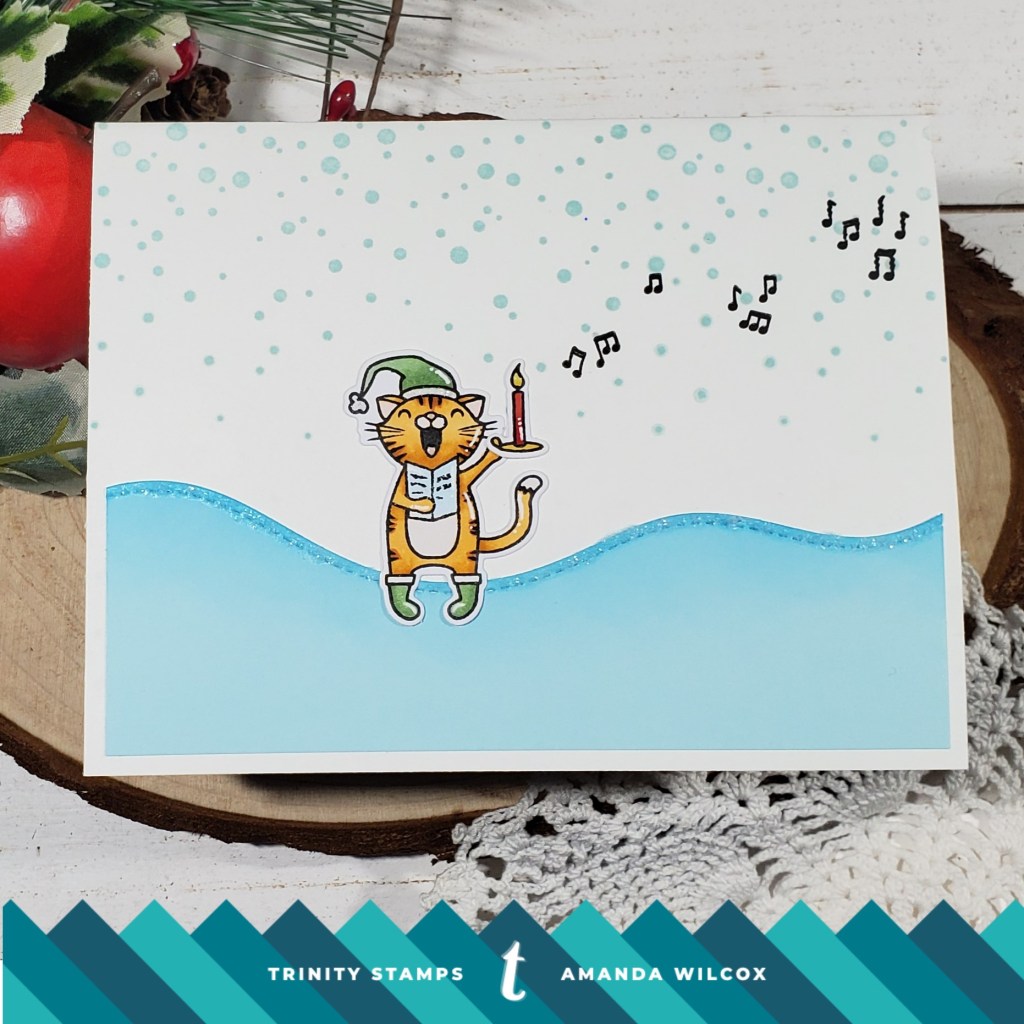
I purposely made the front of this final card a little sparse because the inside is where all the fun is! This Do Re Me Ow set is to die for! These kitties are the absolute cutest and I feel like I could make 100 cards with them! Okay, ready for it???
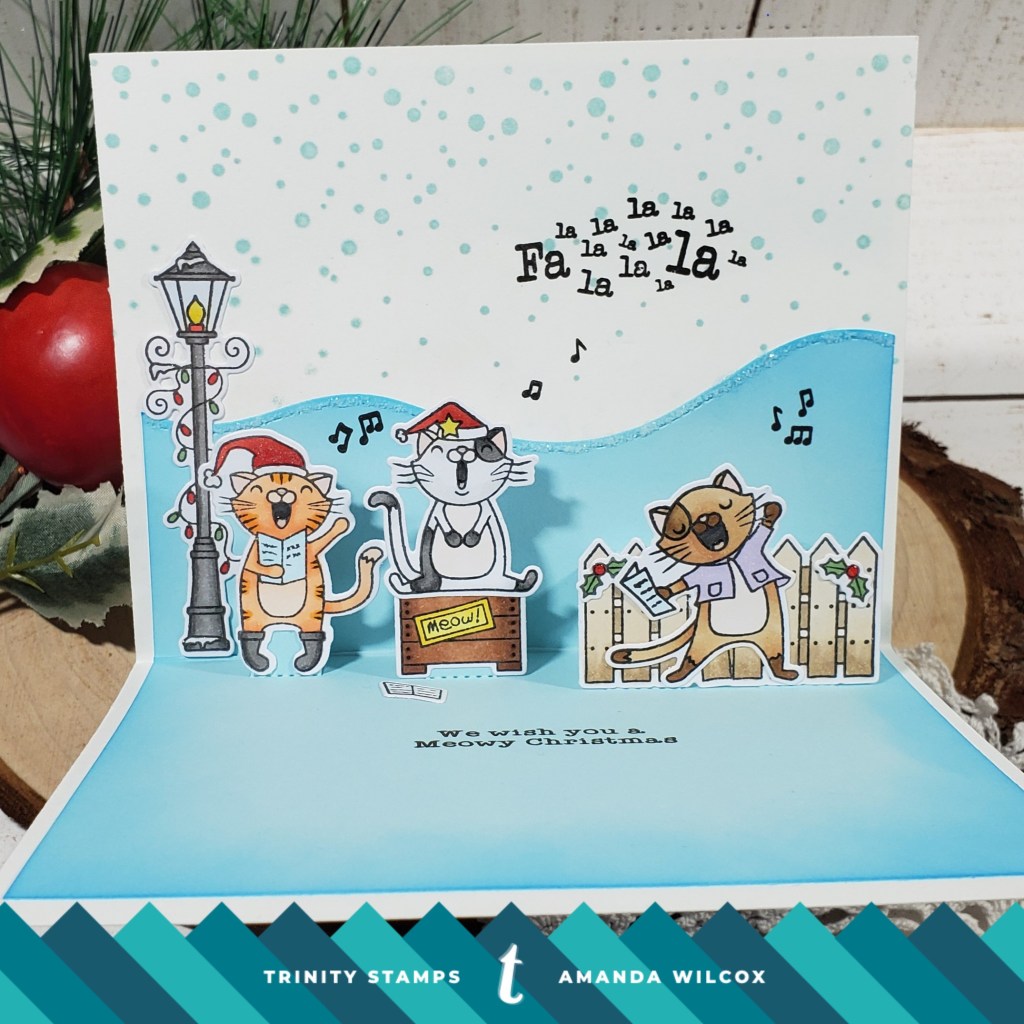
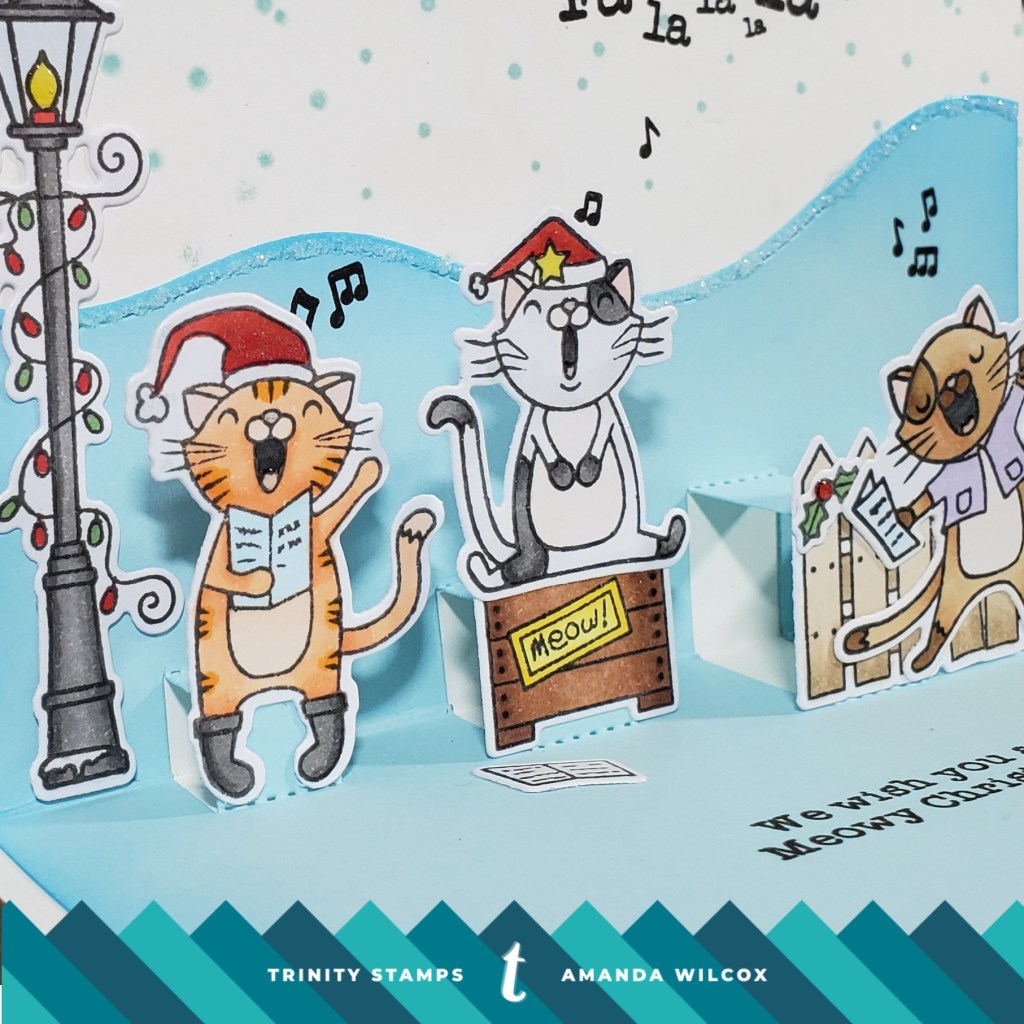
Look at those cute kitty carolers! They are so fun! For this card I ink blended blue on a blue panel for dimension, die cut a hill from the top and then used pop up dies for the kitties to be attached to. (You could totally do this part with a craft knife though.) I stamped the snow from the front on the inside and adhered my pieces together. Then popped the kitties on their spots and stamped my sentiments. For finishing touches I added Stickles to the snow edge on the front and inside and glossy accents to kitty noses and tongues and little things like the candle flames, holly berries, lights and hat star.
Here’s a side view so you can see the dimension when the card is opened up flat. This is my first time trying this technique and I can totally see myself doing it more. It was so much fun to put together! And there is plenty of room for a handwritten message at the bottom.
Be sure to leave comments on all the hop spots for a chance to win a $25 gift card to the Trinity Stamps store. The winner will be selected from participating blogs. Must comment by 11/7 at 11:59 PM PT. Winner will be announced on the Trinity Blog the following Friday on Nov. 8.





 twiddlersnook.blog