I'm a wife, mom, craft blogger and designer for Newton's Nook, Pink & Main, Miss Ink Stamps and Pixi Dust Designs. I also create as an affiliate for Spellbinders and guest design for other companies. Welcome to my crafty place. I hope you enjoy looking around.
Hey crafty friends! I just wanted to pop in with a winner from the Build Your Stash Holiday Cardmaker Hop. I said that I would giveaway one of my $50 destash packages to a random commenter.
Drum roll please…
Congratulations Von Marie! Please email me at twiddlersnook@gmail.com or message me through social media to claim your prize.
Thank you everyone for your comments, orders and just taking a moment to check out the Twiddler’s Nook shop.
Remember we have a sale going on through tomorrow, April 29, so there’s still time to shop!
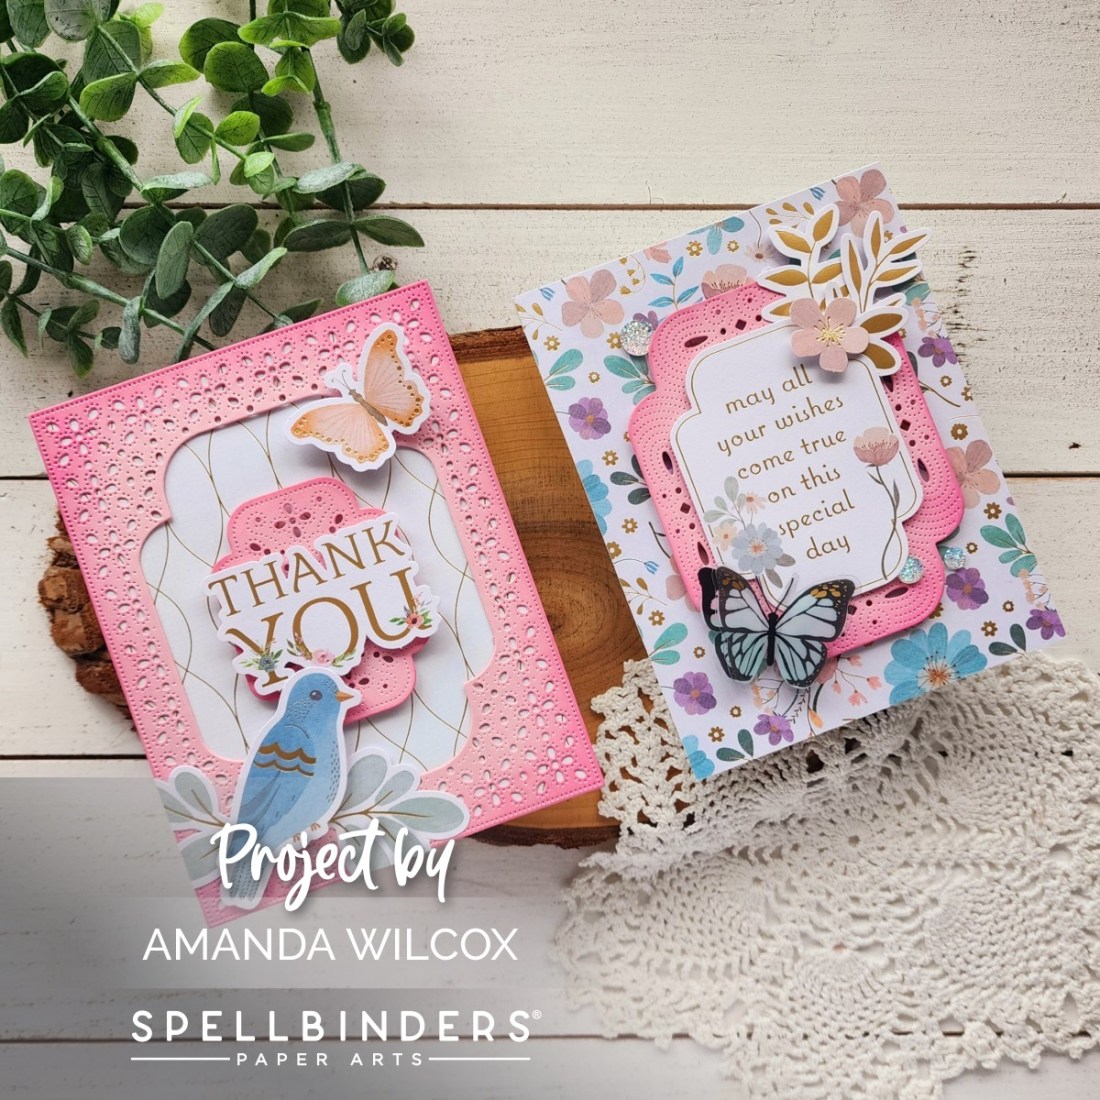
Hello everyone. Thank you so much for stopping by today. I have a pair of cards featuring more brilliant products from the Floral Friendship Paper Suite collection but this time I paired it with one of the dies from the Four Petal collection too.
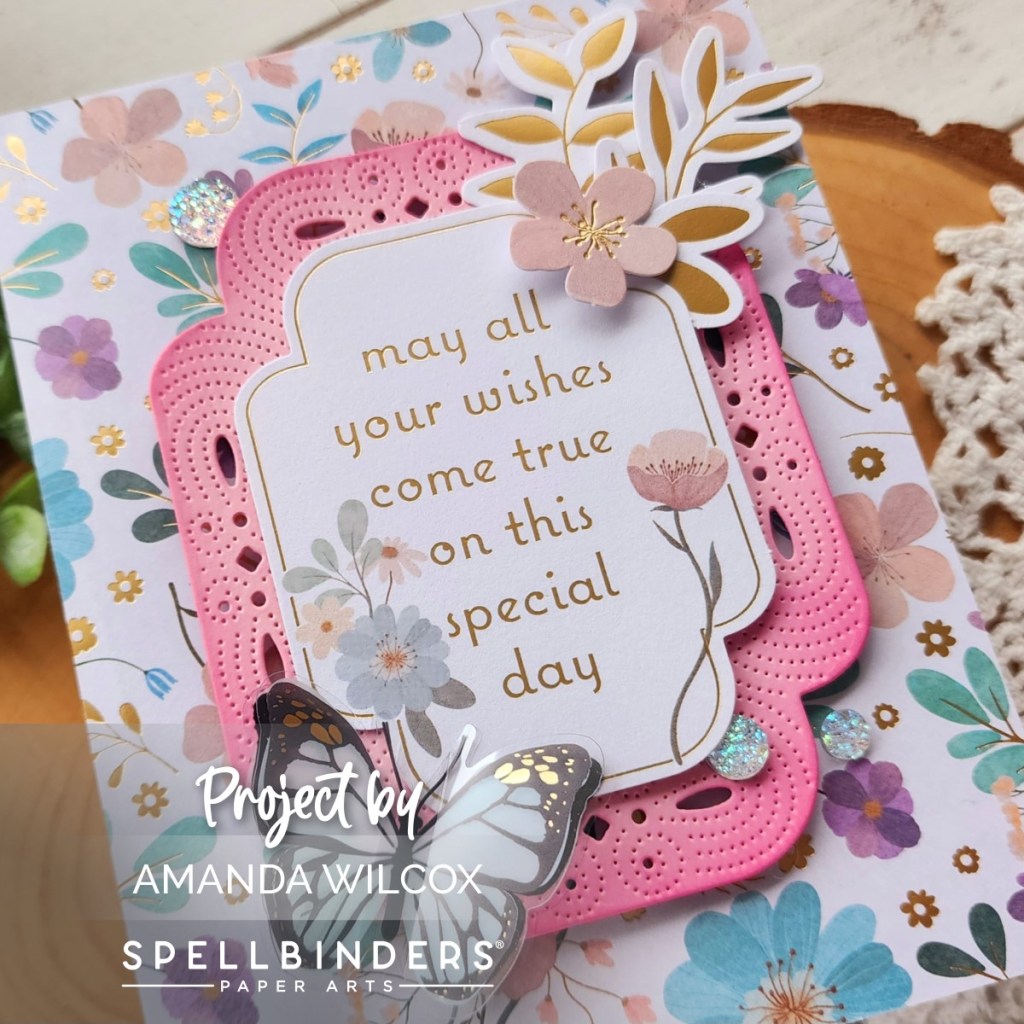
I got the idea to use this die with the Floral Friendship Paper Suite when I came across the sentiment die cut for the card on the right. See how it’s the same shape! So cool!
I wasn’t entirely sure how I was going to put the cards together so I started by die cutting Scrolled Punch and Pierce plate from pink cardstock. This is one large die that gives you three separate pieces. So I took each piece and inked the edges of them with picked raspberry distress oxide ink. Next, I decided that I wanted to separate the pieces and make two cards.
I chose patterned paper for each background and adhered them to white card bases with liquid glue. Then I started sorting through the pre-made die cuts to choose sentiments and accent images.
For this card, I popped the pink frame up with foam squares and then added the sentiment with double-stacked foam squares. I chose a sweet 3D butterfly from the stickers and added gold foil leaves and a flower to the opposite corner. To finish it off I added a few of the gemstones to the design.
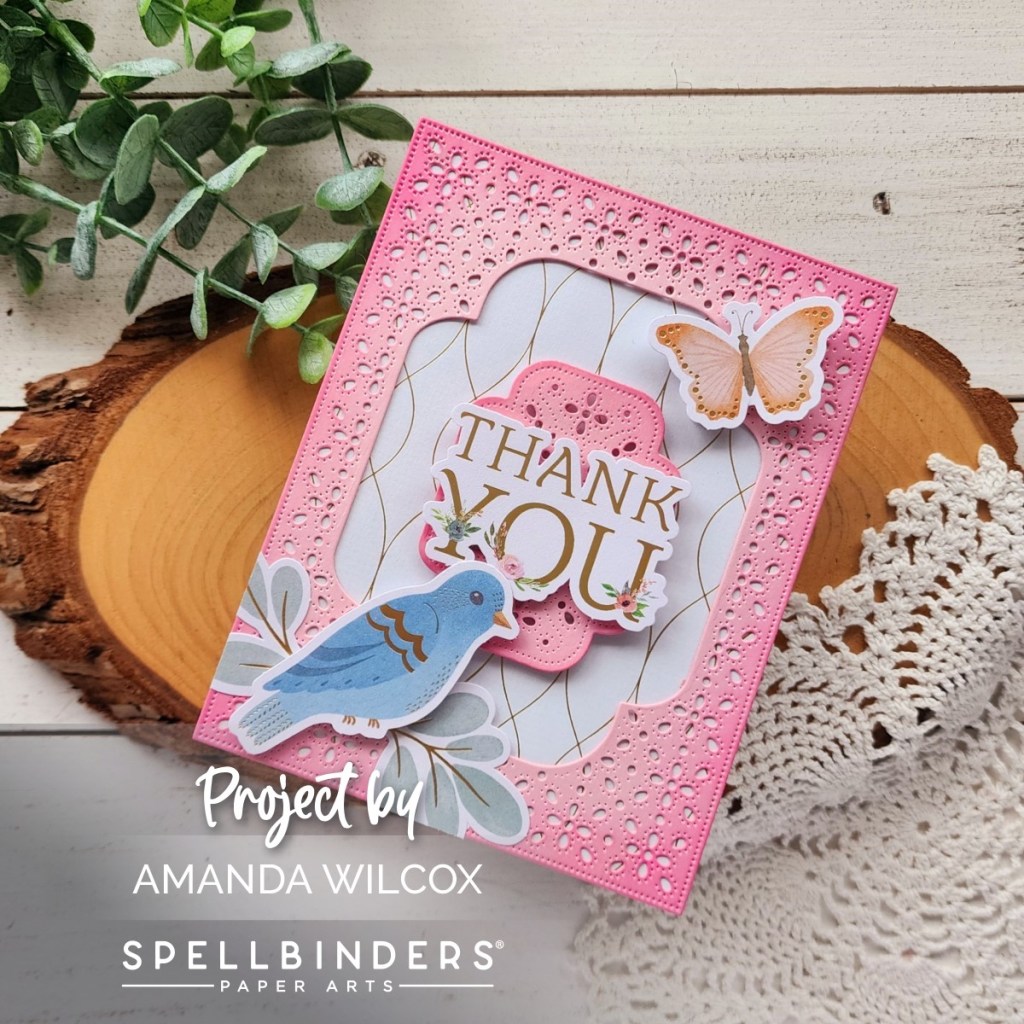
On my second card, I added the outer frame with liquid glue and popped the center piece up with foam squares. Then I popped the sentiment up as well. Next, I glued leaves directly to the pink frame with liquid glue and popped the bird up with foam squares.
I wanted the butterfly to have lift as well so I double-stacked foam squares on the outer wings and used single-layer foam strip in the body. This was the wings are higher than the body to look like it’s flying a bit.
Last, I trimmed off anything hanging over the edge with my scissors. Then this card is finished too.
I’m still loving playing around with the elements from this beautiful collection! Next, I think I’ll add some to my journal for decorations here and there.
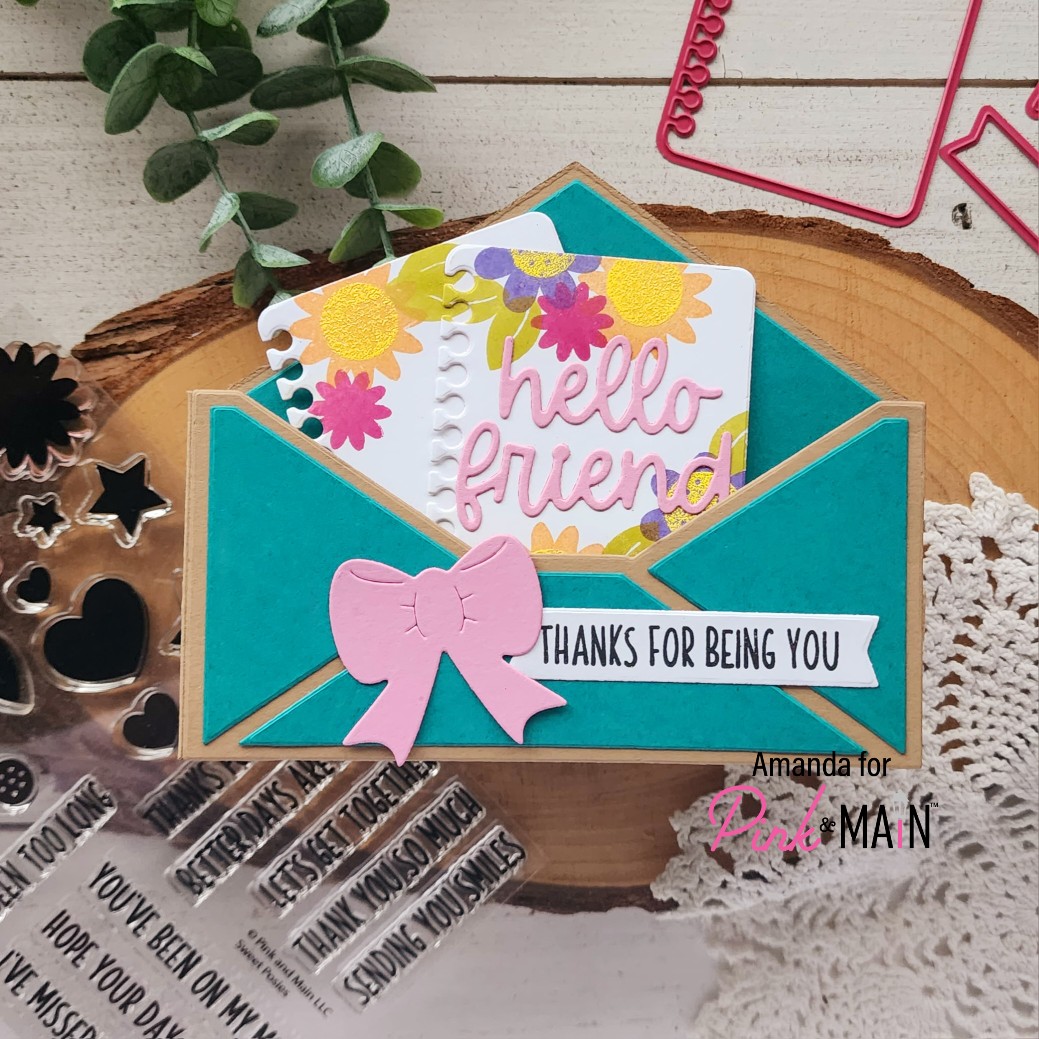
Hi there everyone! I’m really excited to share my card from the Pink & Main blog today. It features new products from the April release and is SO MUCH FUN! These new envelope pop up card dies are super easy to use and so fun to create with!!! The possibilities are endless, seriously!
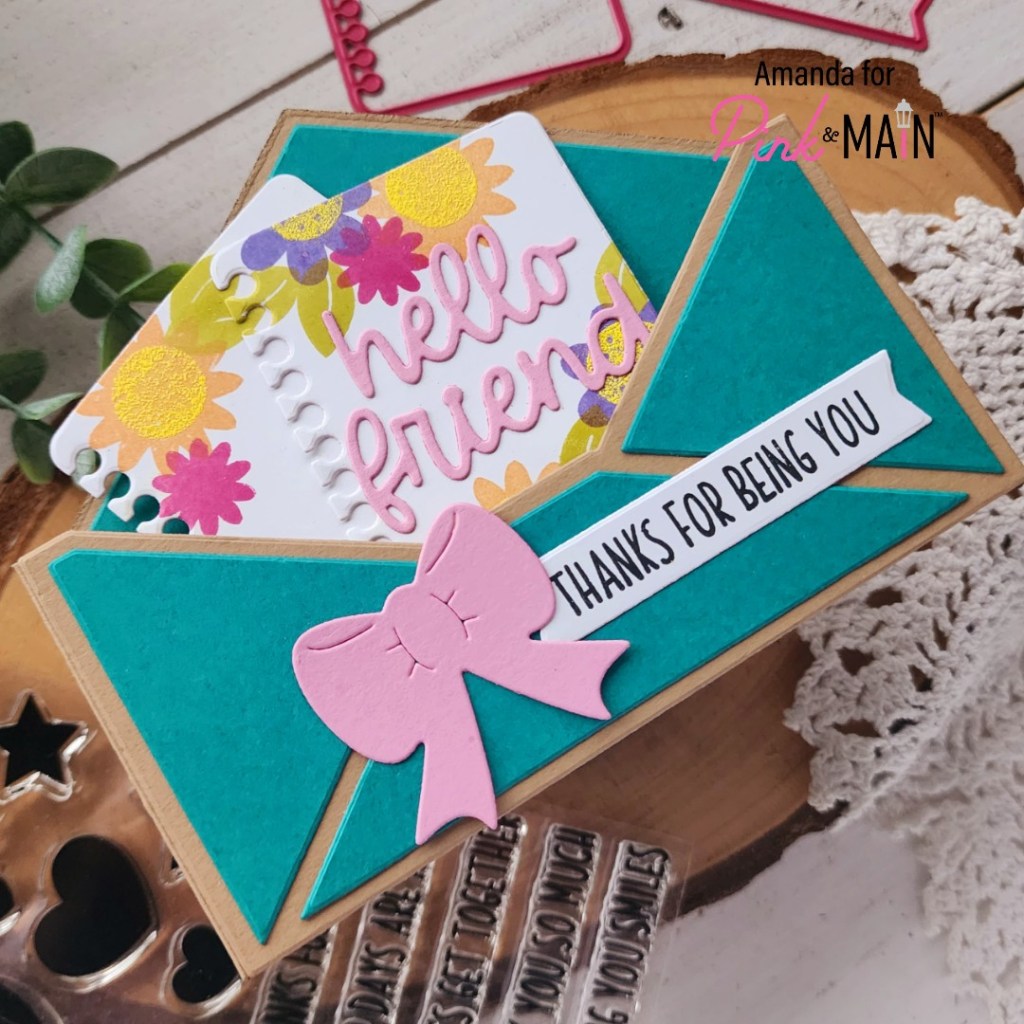
To create my card, I die cut all the elements from the Envelope Pop Up Card die set using Pink & Main cardstocks – salon, river walk and pebble colors. Then I cut a couple of the sweet notebook paper shapes from white cardstock and stamped them with the Sweet Posies stamp set using Pink & Main inks, heat embossing the flower centers with ray of sunshine embossing powder.
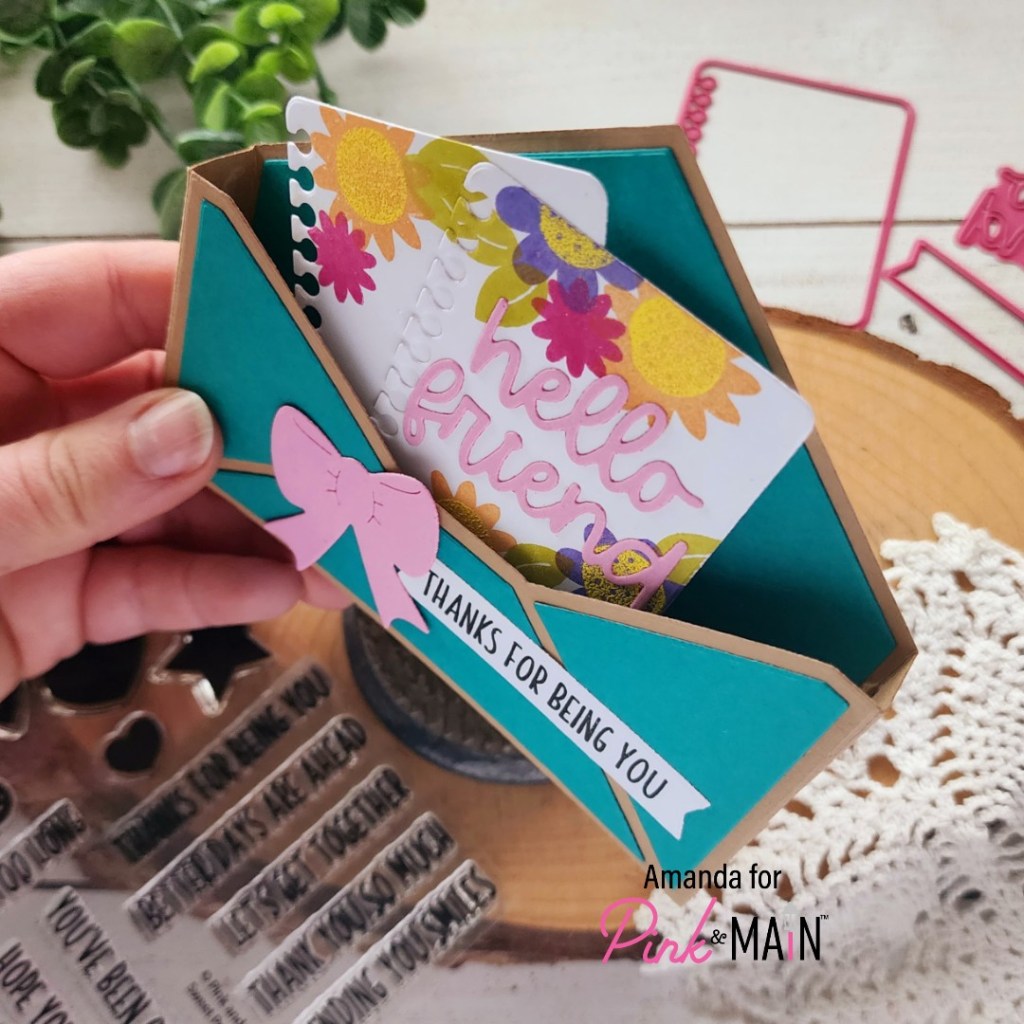
I used EZ squeeze liquid glue to attach the details to my envelope, then 1/4″ EZ tear tape to adhere the pieces of my pop up box together. I added “hello friend” to one of the paper die cut pieces and then glued them together before attaching them to the inside of the envelope.
I stamped a sentiment from sweet posies but die cut it with the banner in the envelope pop up set and added it to the front of the envelope with a sweet pink bow.
When you’re all finished creating your card, it just folds over to one side and fits perfectly in an envelope for mailing. I just adore this new set and can’t wait to have different fun things spilling out of the envelope. Such a genius take on a box card. Don’t you think?
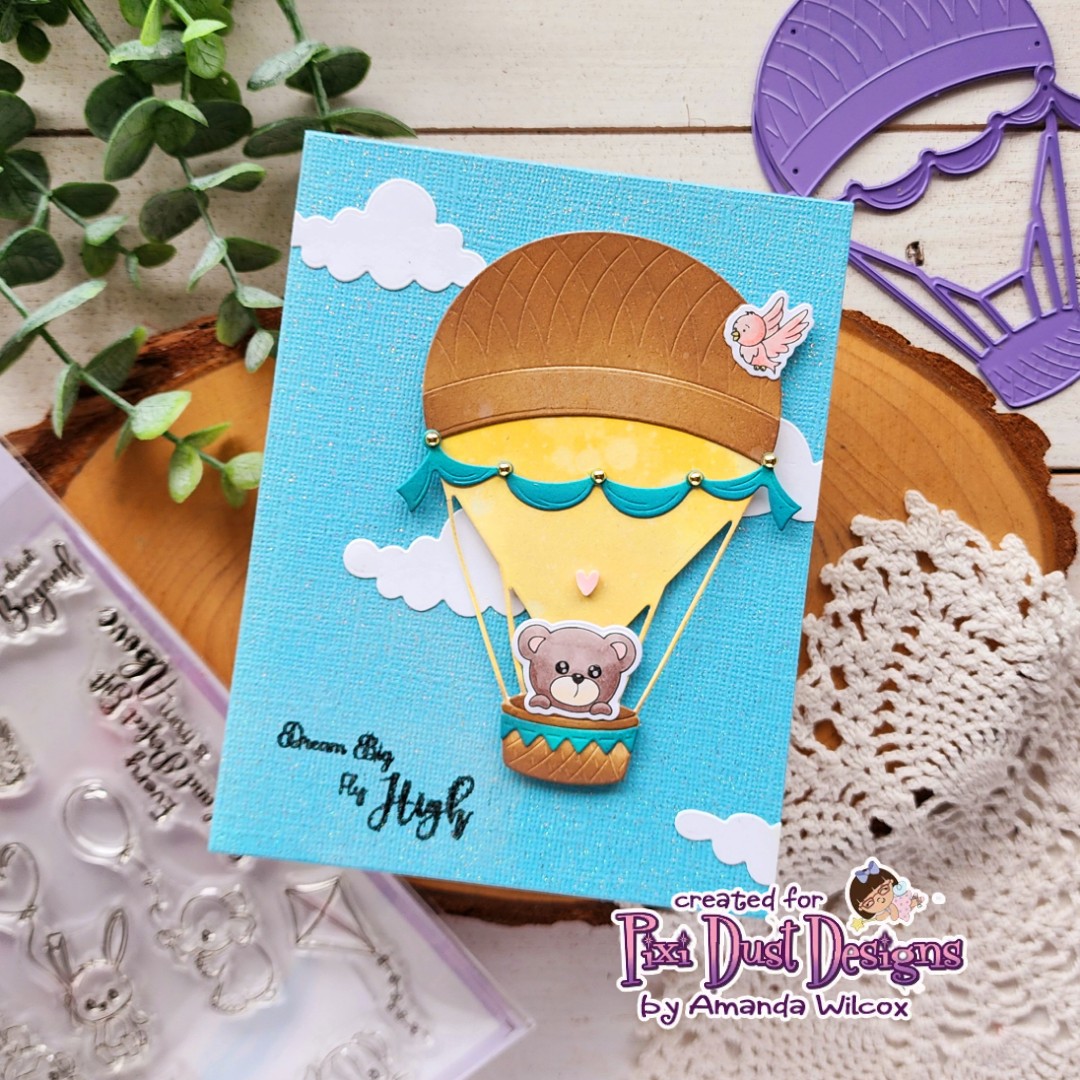
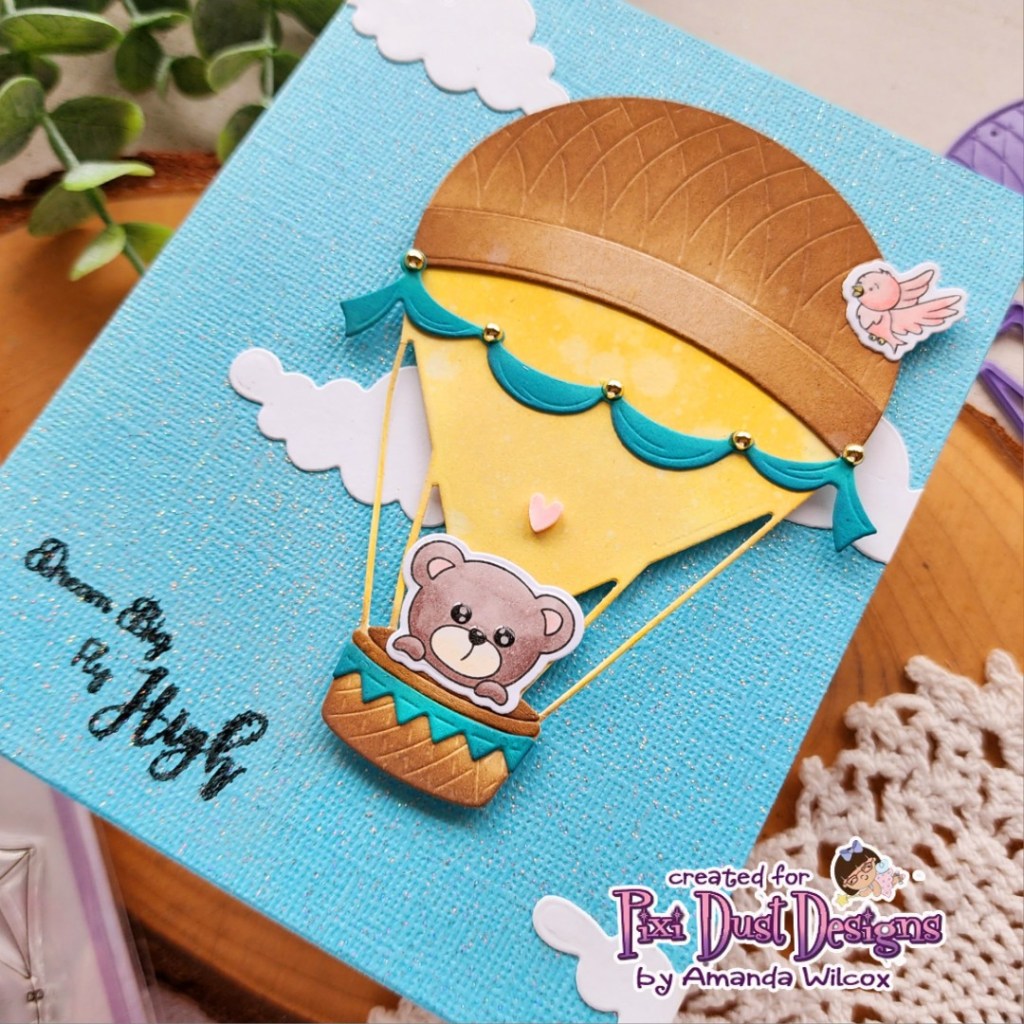
Welcome friends. I have another card featuring the April release from Pixi Dust Designs. Today I used the Hot Air Balloon dies without making it a shaker but still included sweet images from Up, Up and Away stamp set.. I love decorating this balloon. There are so many options that one idea just leads to another.
After die cutting all of my hot air balloon parts, I ink blended them with distress oxide inks and splattered them with water. I used liquid glue to adhere the pieces. Then I stamped and colored the bear and bird from Up, Up and Away, colored it with copic markers and used the coordinating dies to cut them out. I adhered him to the balloon with liquid glue as well.
For my background, I used a textured glitter cardstock from my stash, die cut some clouds and added them to the background. Using my balloon as a guide I stamped a sentiment in the lower left corner before popping the balloon up with foam tape.
For finishing touches, I added Touch of Gloss to the bear’s eyes and nose and the bird’s beak. Then I added a little pink clay heart above the bear and some gold baubles on the ribbon on the balloon.
Be sure to check out the sweet April release from Pixi Dust Designs if you haven’t yet. It’s very fun!
I’m very happy to be a sponsor for another BYSHC hop. These are so fun and such a great inspiration to get a jump on your holiday cardmaking. It gives you an extra excuse to use what you have before the new holiday goodies are there to tempt you, plus you have holiday cards ready to go!
For those of you who are new here, I’ll give a little run down of the products we offer at the Twiddler’s Nook Etsy Shop.
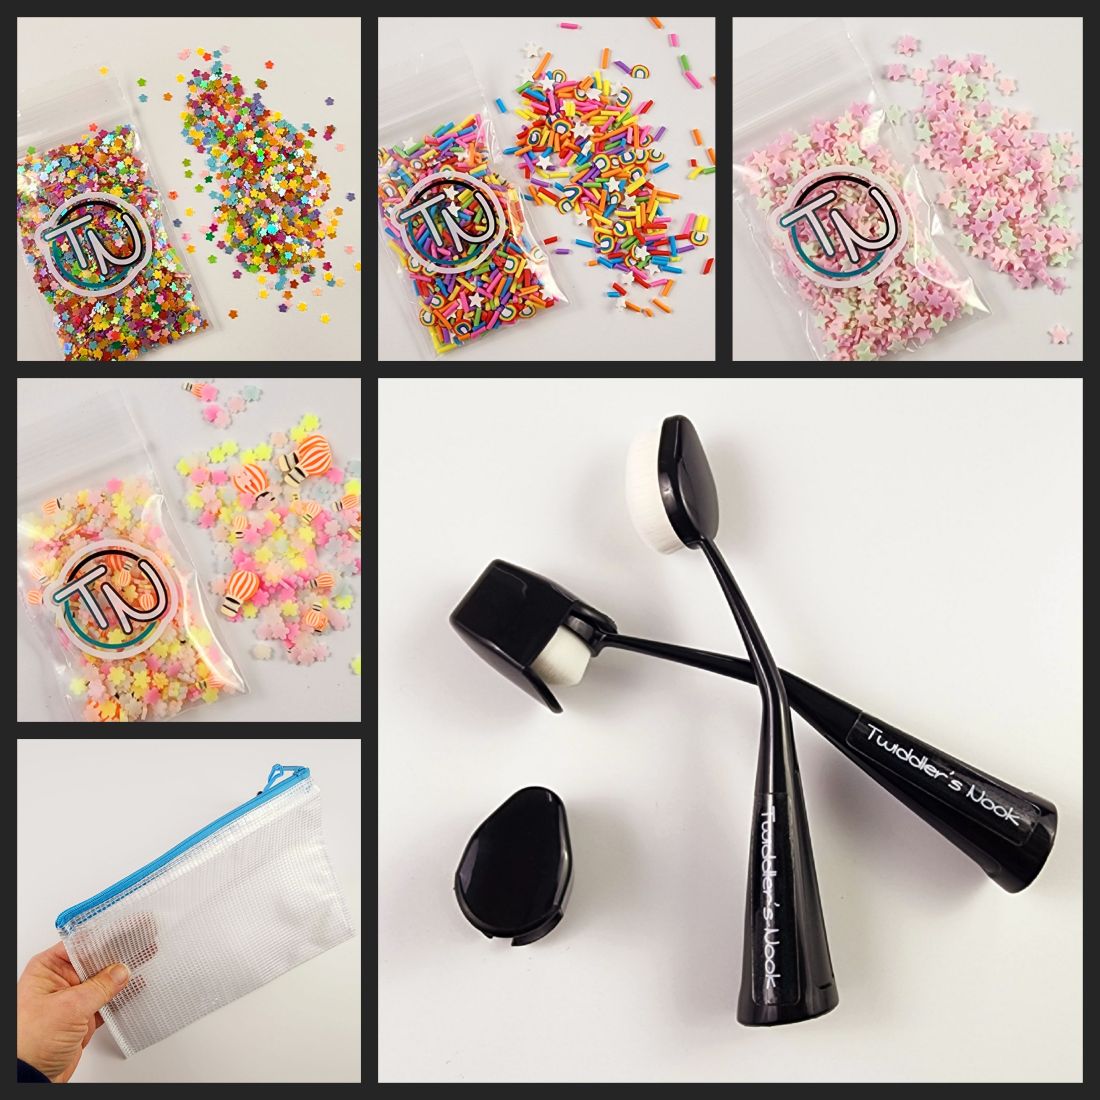
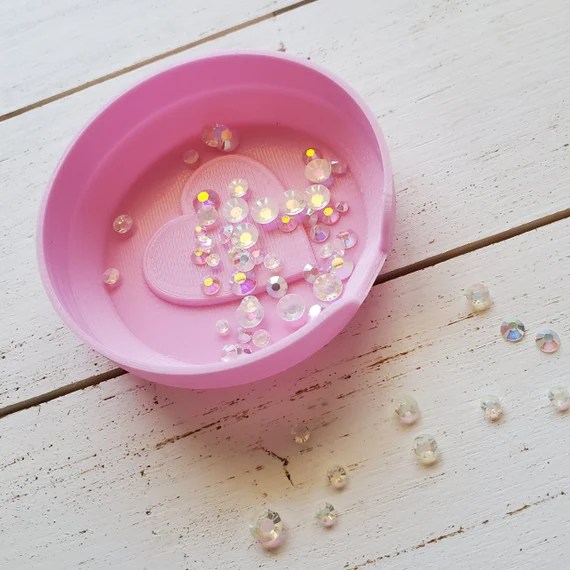
My initial drive for the shop was to create some simple tools to help me while making cards. Thus the embellishment tray. I hated dumping embellishments on my desk and having to pick them up one at a time to get them back in the bag. These grew very quickly to lots of shapes from customer requests and lots of fun colors because we all have different styles.
The next thing was the magnetic die holder. I wanted a safe place to stick my dies while I was in the middle of something and didn’t want to keep putting it away or risk losing it. I also have a second one that lives on my desk with the basics I’m always reaching for.
After a bit I wanted to expand so I started carrying fun embellishments to use in cardmaking and various other crafts too. I have had people order these for making slime with kiddos, decorating tumblers and snow globes, so many ideas!
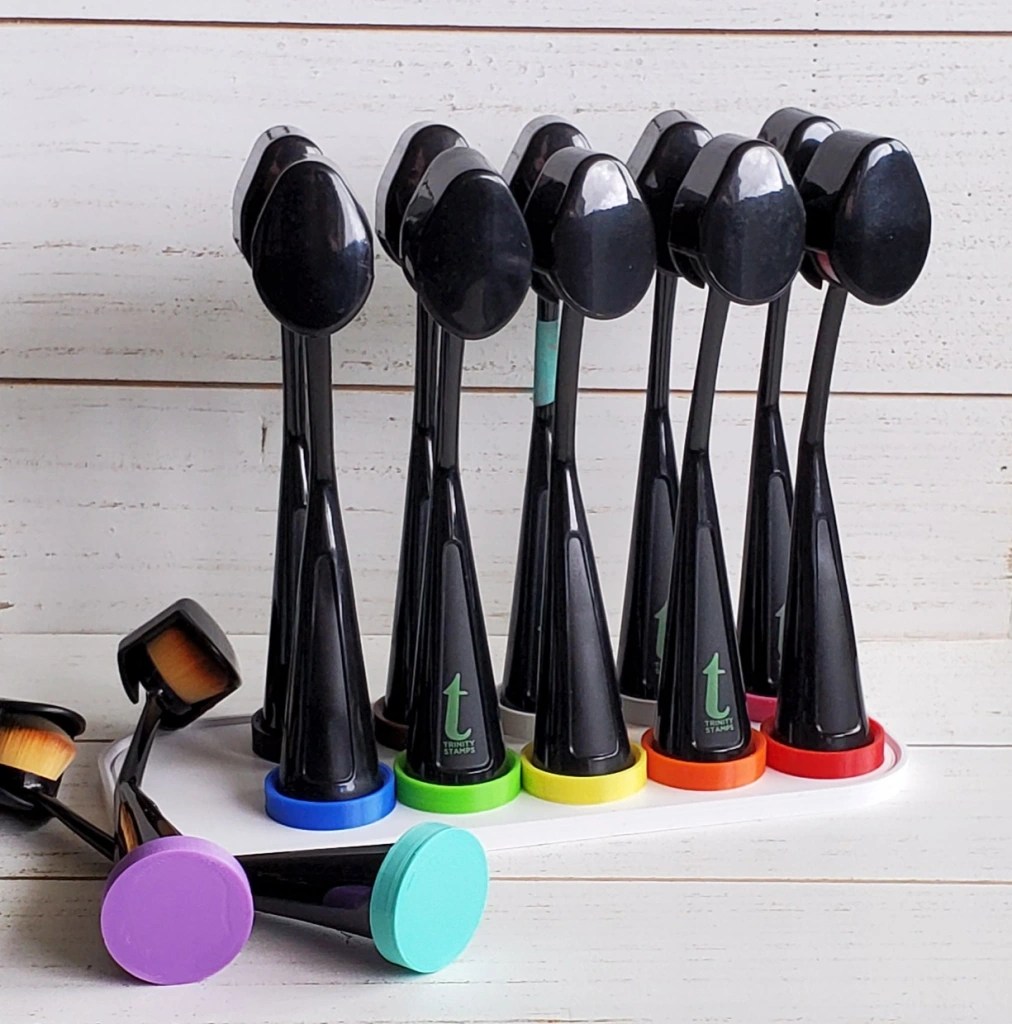
We have a number of other products available like blending brushes with color coordinating caps and platforms for them to magnetize to so they stand up, but this gives you a little idea where things came from. Do you have a crux in the craft room that needs a remedy? Reach out and I’ll see what we can do.
In case you don’t follow me on social media, I have been doing a destash mystery box sale this week. I happen to have a few left – price points at $50, $75 and $100. Message me if you’re interested. The packages are stuffed full and worth at least 4x the price. Someone was so excited that she just ordered a second box today! No duplicates because this is my stash of stamps, dies and embellishments from over the last couple of years.
GIVEAWAY I’m going to reserve one $50 package to giveaway to a lucky commenter on here. Comment whatever you’d like and you’re in the running for a fun package of crafty goodies. Commenting closes Wednesday, April 26, at noon.
SALE Extra bonus for you…we’re having a sale in the Twiddler’s Nook shop. Click HERE to get there.
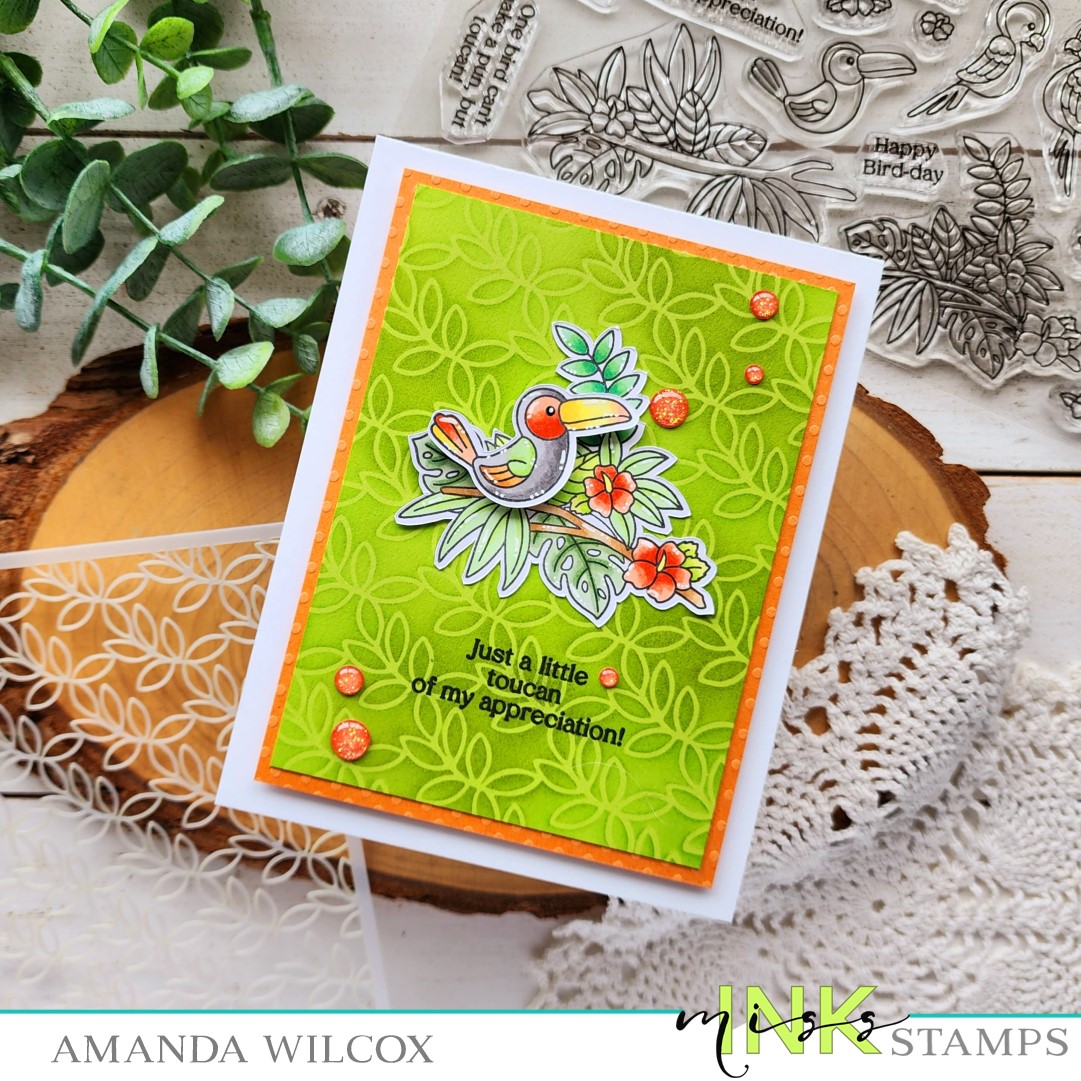
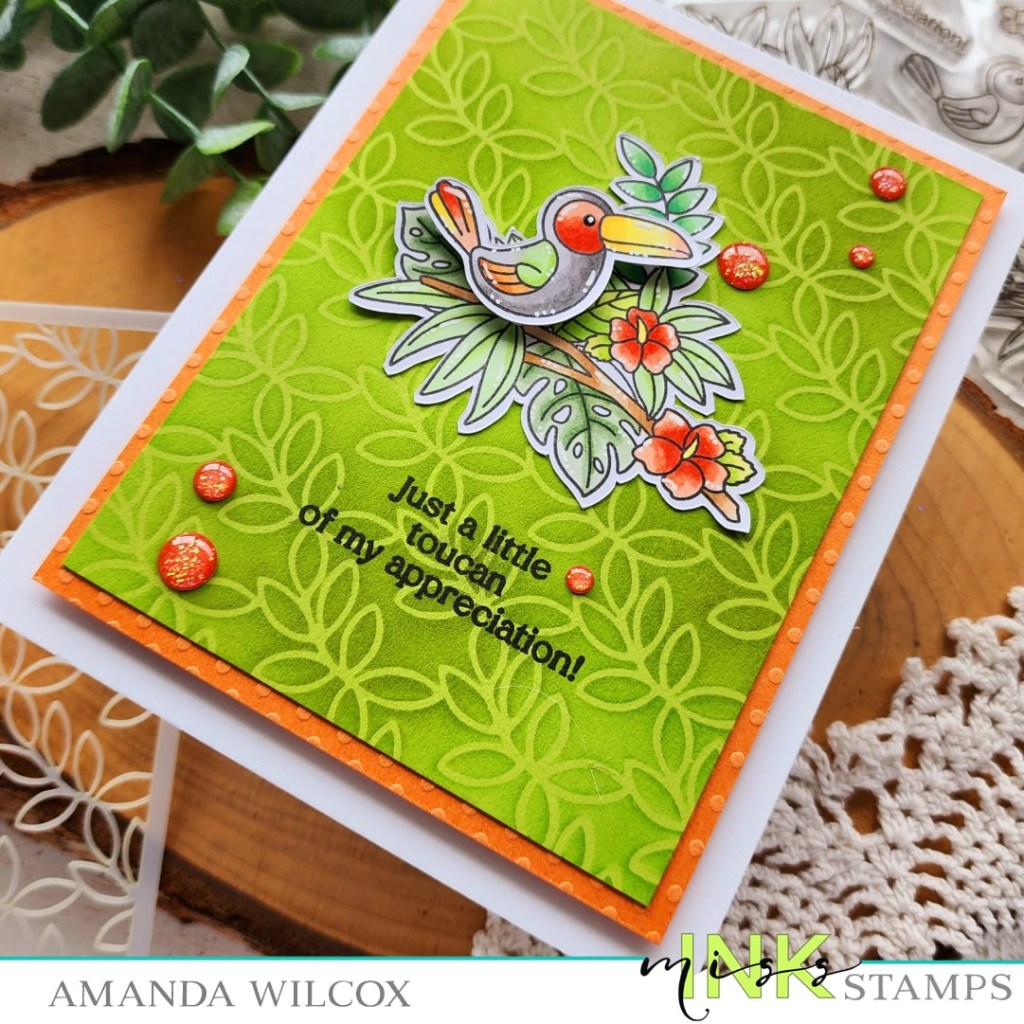
Happy Thursday everyone! We’re one day closer to the weekend and I’m here for it! Today I’m sharing a little card inspiration featuring stamps and stencil from Miss Ink Stamps. I love all of her critters! The art is amazing and I have so much fun coloring the elements.
Today I chose two images from Pretty Bird, stamped and colored them with copic markers before using the scan-n-cut to cut them out. I added foam tape to the bird and popped it on the leaf image. Then switched to my background.
I simply trimmed a piece of green cardstock and pulled out my On the Vine stencil. I sprayed the stencil with Pixie Spray from Thermoweb and let it dry for a minute for adhering it to the cardstock. Then I blended two colors of green ink across the panel. I wanted variety in the background so it wasn’t flat. Using the images as a guide, I placed the panel in my MISTI and stamped my sentiment in the lower center.
The green cardstock measured 3.5×4.75 inches so I found orange cardstock in my stash and trimmed it to 3.75×5 and adhered them together. Next, I added foam tape to the back and popped it up on a white card base. Finally I added the images above the sentiment and finished them off with black glaze pen on the bird’s eye, then white gel pen highlights all over the images. Very last I found some glitter enamel dots in the perfect orange and added them across the design as well.
Isn’t this such a fun and silly thank you card? I love puns so much and this one is top notch!
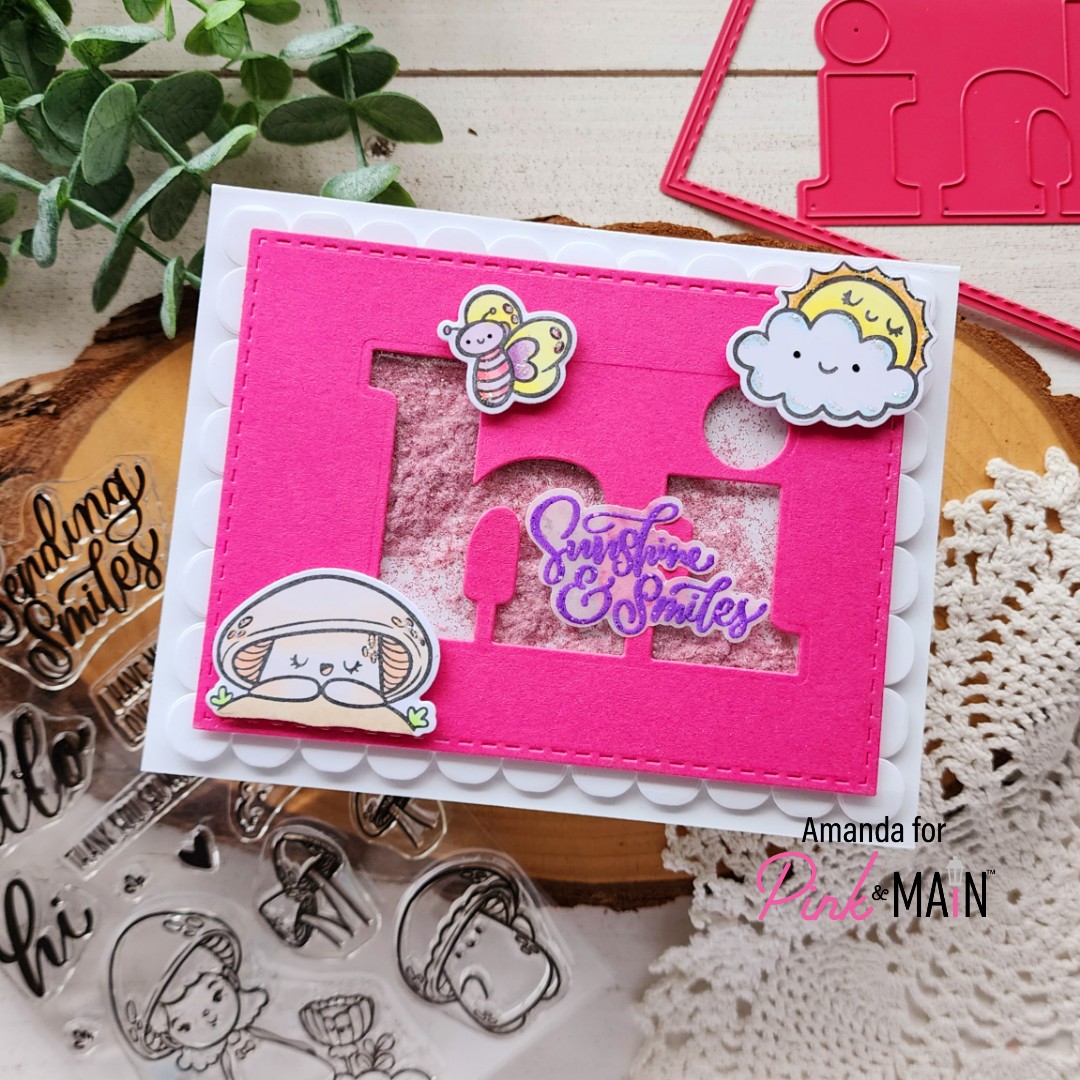
Welcome crafty friends! I’m over on the Pink & Main blog today with another peek at the upcoming release for April. We had a little flub last week and were rushing the month faster than we meant to. So you get two weeks of sneak peeks instead of one.
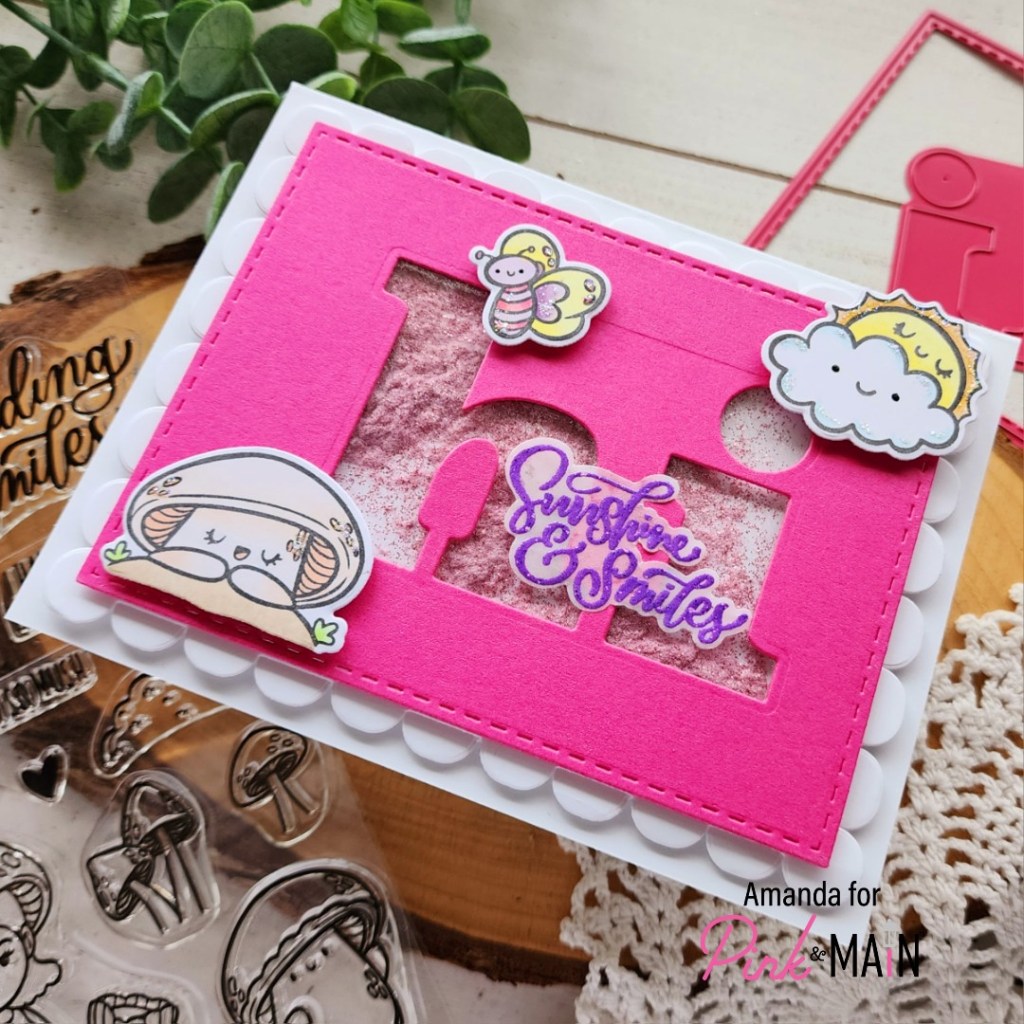
Today’s design started one way and definitely didn’t turn out as planned. But when this happens we just improvise or make changes. No big deal. The original plan was to put that sweet mushroom on top of the “h” in hi but it just wasn’t working for me. I went back to the drawing board and found these other sweet images in a different upcoming set and thing the end result is pretty darn cute!
The layered scallops rectangle die set is fabulous and comes with two sizes of scallop layers and two sizes of stitched rectangles to give a finished look on top, PLUS the awesome giant “hi” and even more! Such an amazing set and made it really easy with a little acetate and foam tape to create a shaker.
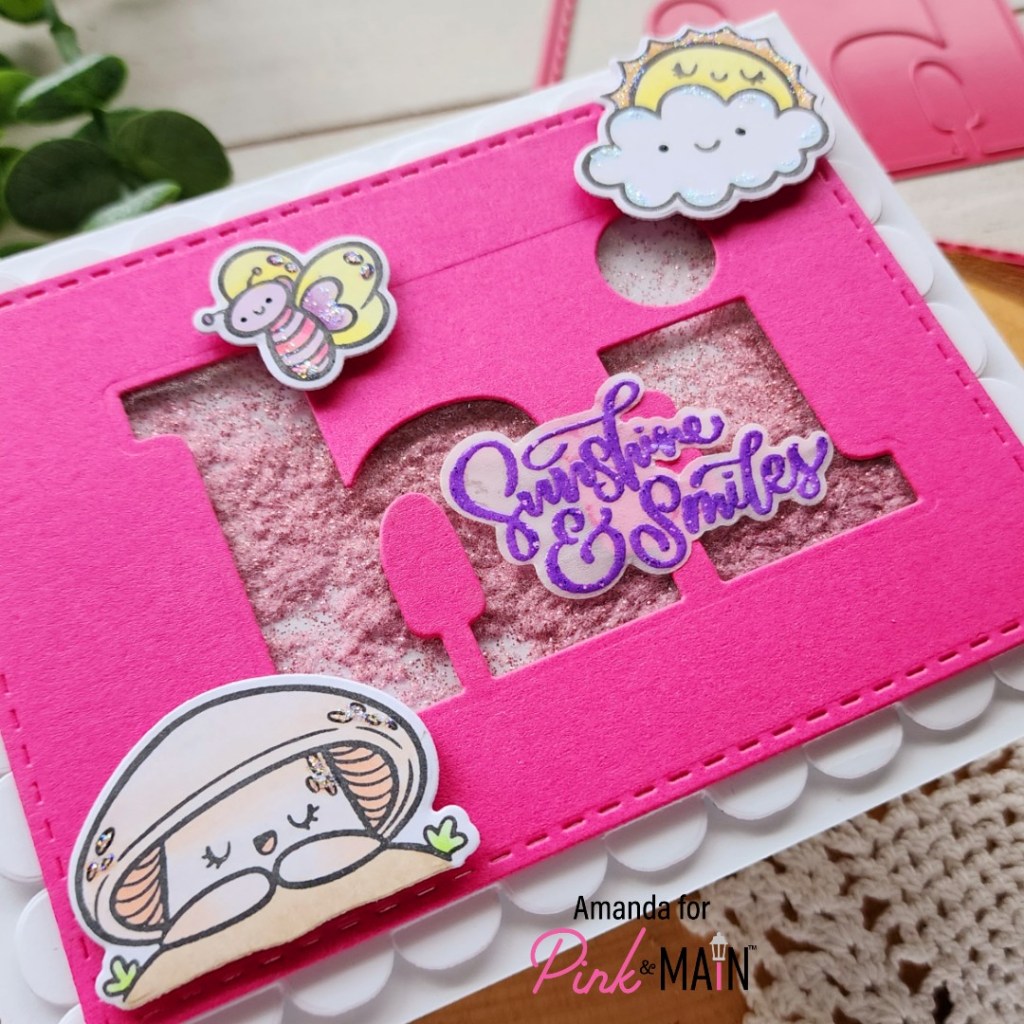
Today’s shaker filler is sparkling cotton candy flock with glitter. It just seems to float around when you shake it which is so fun and doesn’t add a bunch of extra bulk or weight to the card.
My images come from Sunshine Days and Mush Love. The are from Mommy Lhey is just adorable and so fun to color and create with. You’re going to love these new sets so much!
I chose to stamp and heat emboss my sentiment in grape soda embossing powder on vellum before die cutting it and carefully adhering it with a thin layer of liquid glue. Isn’t it a fun touch?
For finishing touches I added black glaze pen to the butterfly and sun’s eyes and stardust Stickles to elements of the cloud, sun, mushroom and butterfly. A little extra sparkle never hurt anyone and I love it!
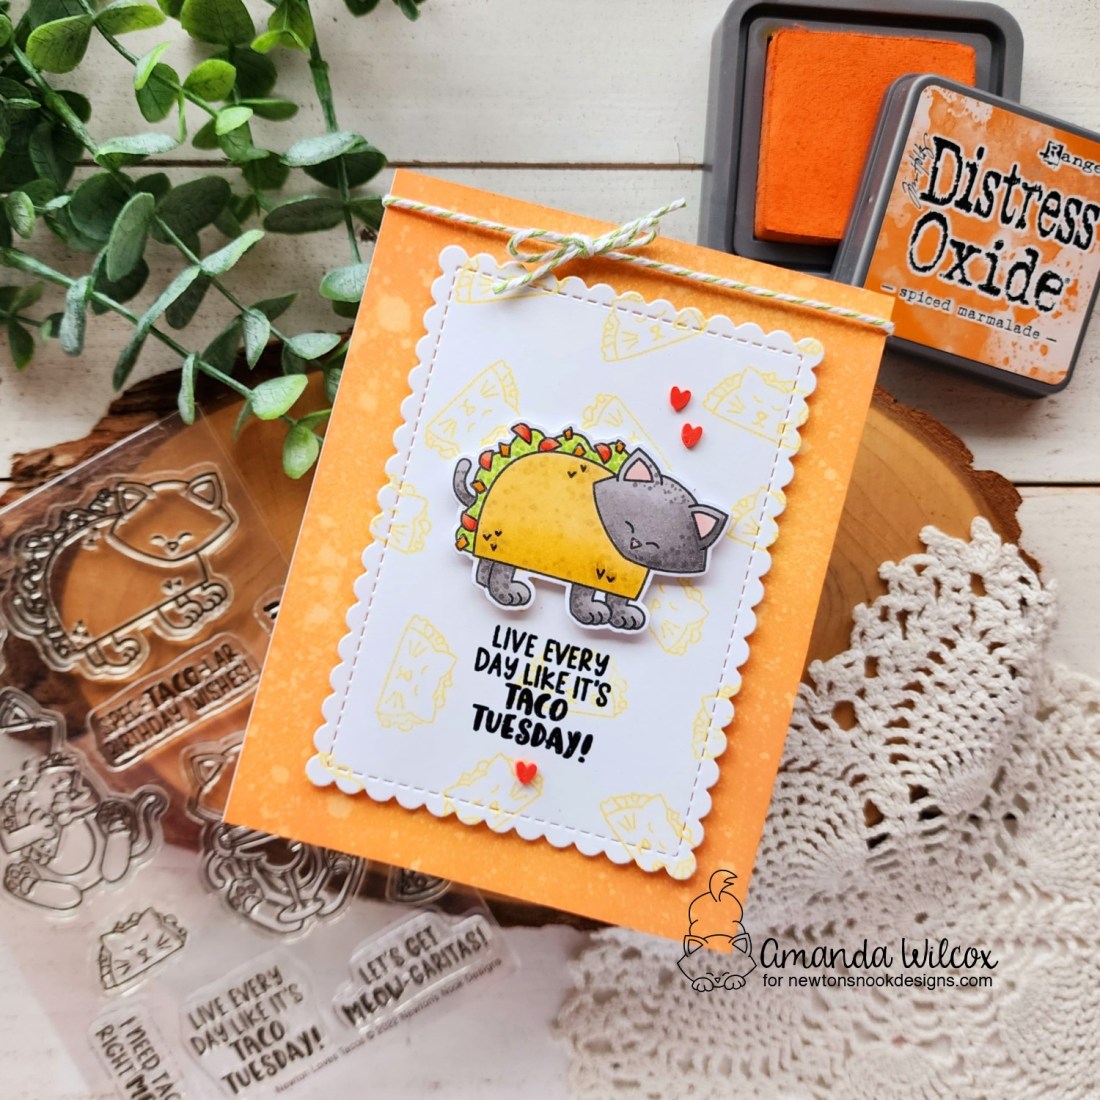
Hi there crafty friends! I’m always happy to be back on the Newton’s Nook blog sharing adorable and fun inspiration. Today we’re pretending it’s Tuesday and living our best taco life!
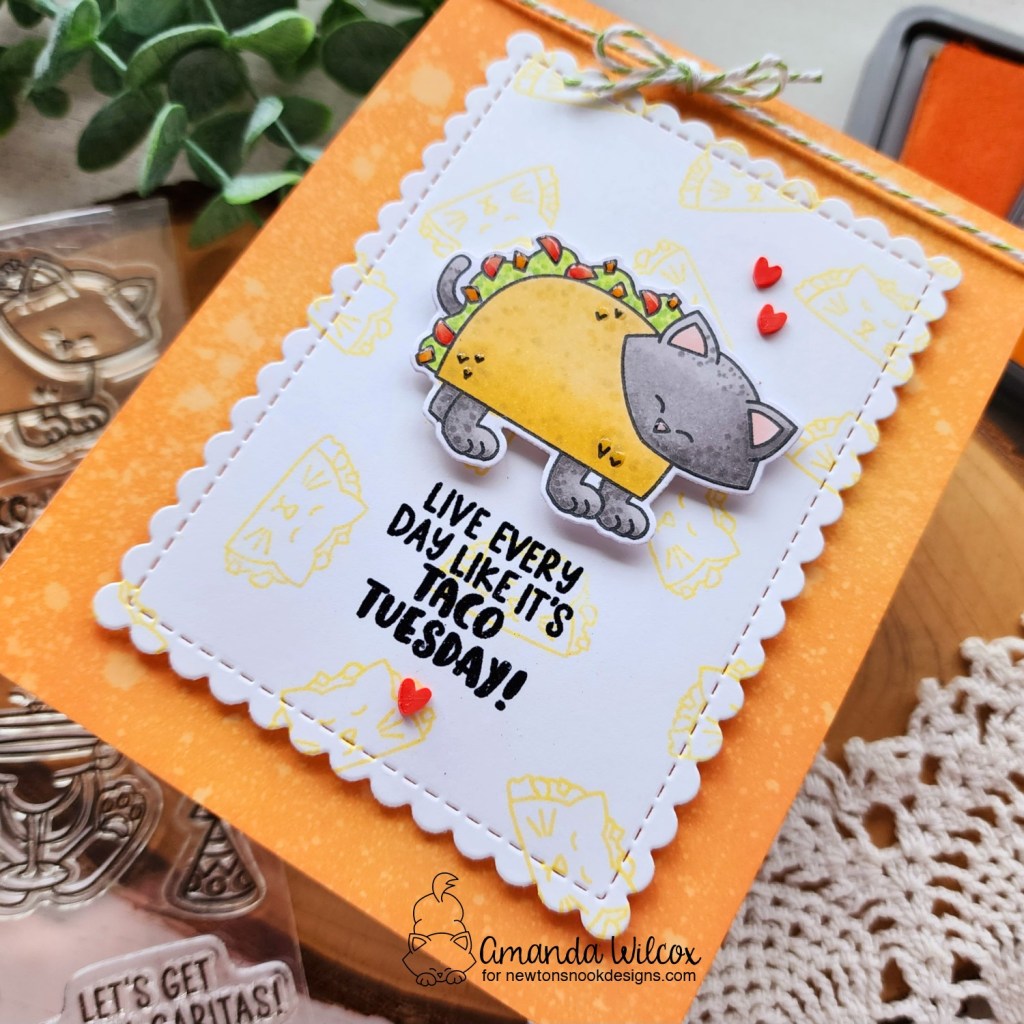
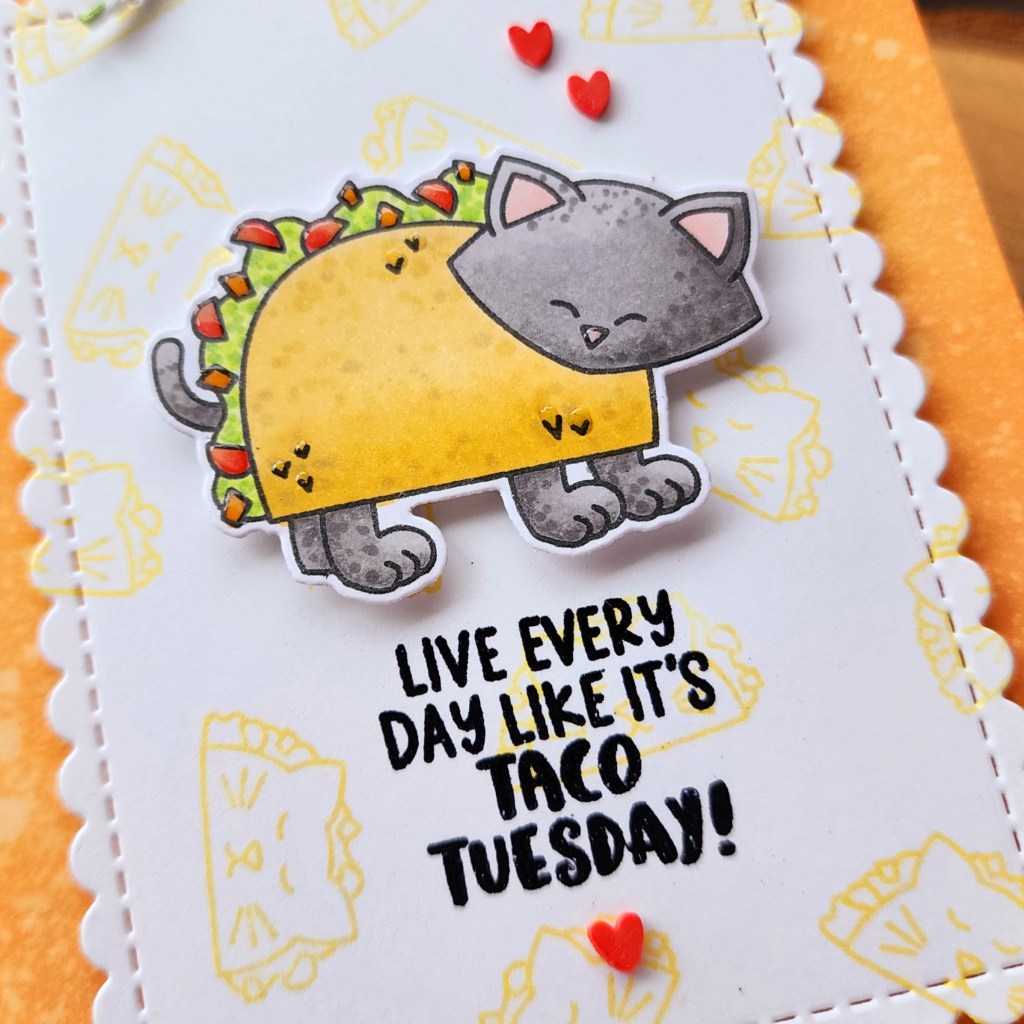
I had a general layout idea in mind so I started by taking an A2 piece of white cardstock and inking up the edges with spiced marmalade distress oxide ink and spritzing it generously with water. I blotted it dry and set it aside. Then, I took a second piece of white cardstock and used the mini taco image in the Newton Loves Tacos stamp set to create a fun background of little yellow tacos. Then I die cut the panel with the second-to-largest die in the Framework die set.
Then, I stamped and colored my sweet taco cat with copic markers before using the coordinating die to cut him out. Using the image as a guide, I stamped and heat embossed my sentiment on the taco panel so it was shiny and stood out a little. I added foam squares to the kitty and popped him up on the panel above that.
For assembly, I added the inked panel to a white card base with liquid glue and then popped the scalloped panel up on that with foam tape.
For finishing touches, I added red clay hearts to the design for fun. These come from the Sweethearts clay mix from the Twiddler’s Nook shop. Then I added touch of gloss to the kitty’s nose and parts of the taco.
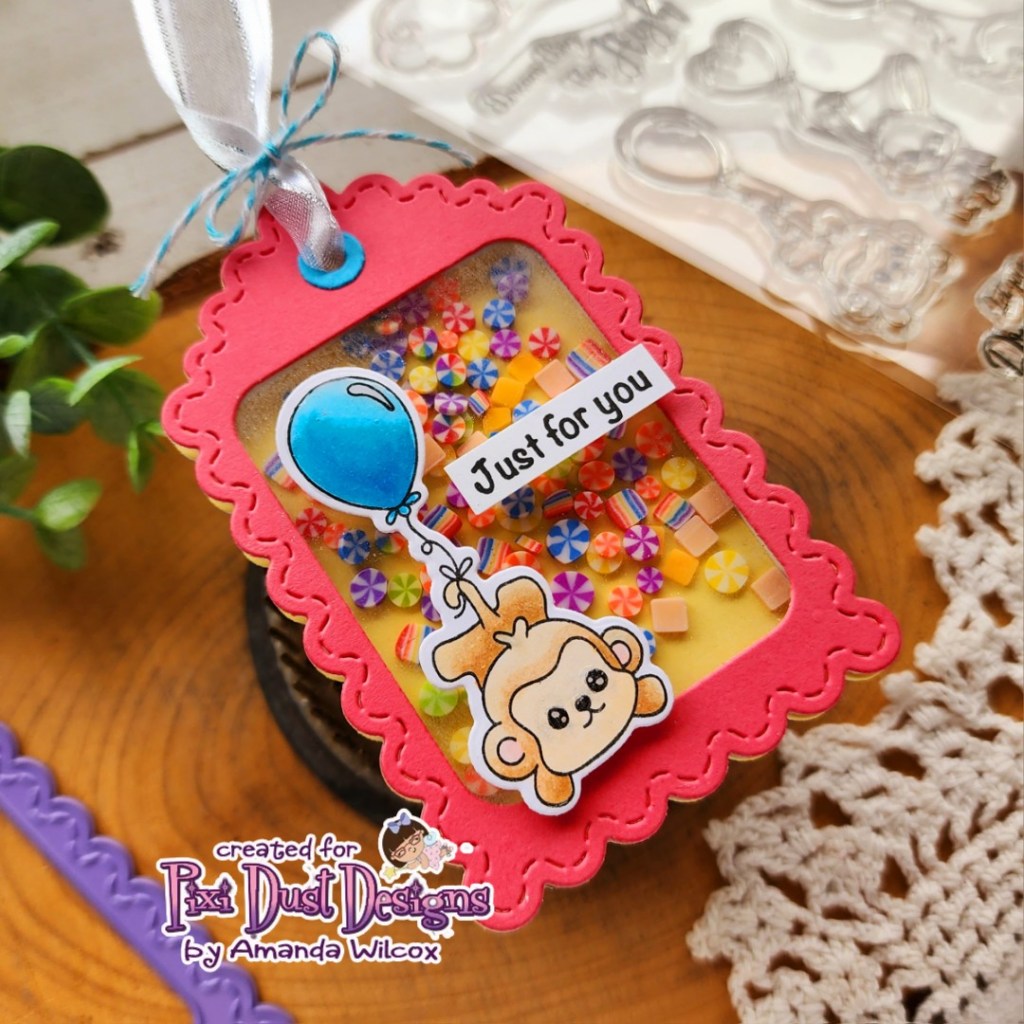
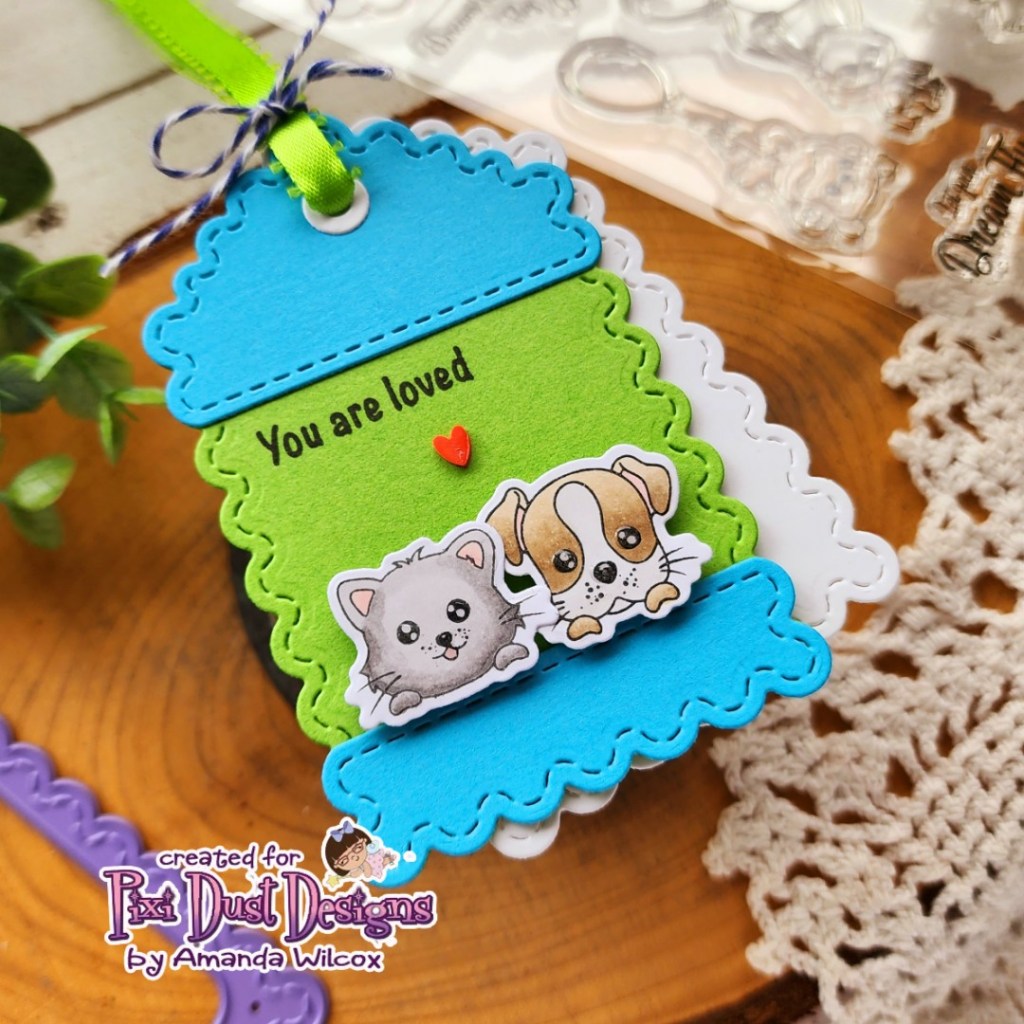
Hi there! I have a couple of really adorable gift tags to share with you today featuring the new Tag D die set from Pixi Dust Designs. It just released last week and I love it. It’s a great combo of options to make shaker and regular tags.
Today I created one shaker tag and one regular to show how some of the different dies in the set work with the base tag shape. I couldn’t resist adding the sweet critters from Up, Up and Away to them too.
For my shaker tag, I cut a yellow base and melon frame, lined the back of the frame with acetate and foam strips and chose my favorite Wonka’s Candy Jar embellishments to fill the well with. After sealing it up, I added the monkey floating away and chose to cut a blue hole reinforcer to match the balloon. I added a sentiment strip and finished things off with Touch of Glossy to the balloon and monkey’s eyes and nose.
For my other tag, I cut the base from green cardstock and then a topper and bottom edge from blue. After I glued the layers together, I popped the kitty and puppy up with foam squares and stamped a sentiment. For finishing touches I added Touch of Gloss to the eyes and nose plus that kitty’s cute tongue too. The red clay heart came from the Sweethearts embellishment mix in the Twiddler’s Nook shop.
One little note I thought I would add today – when I create tags like this, I almost always cut another base tag shape from white cardstock so that I have a place to write to and from, plus a message too.
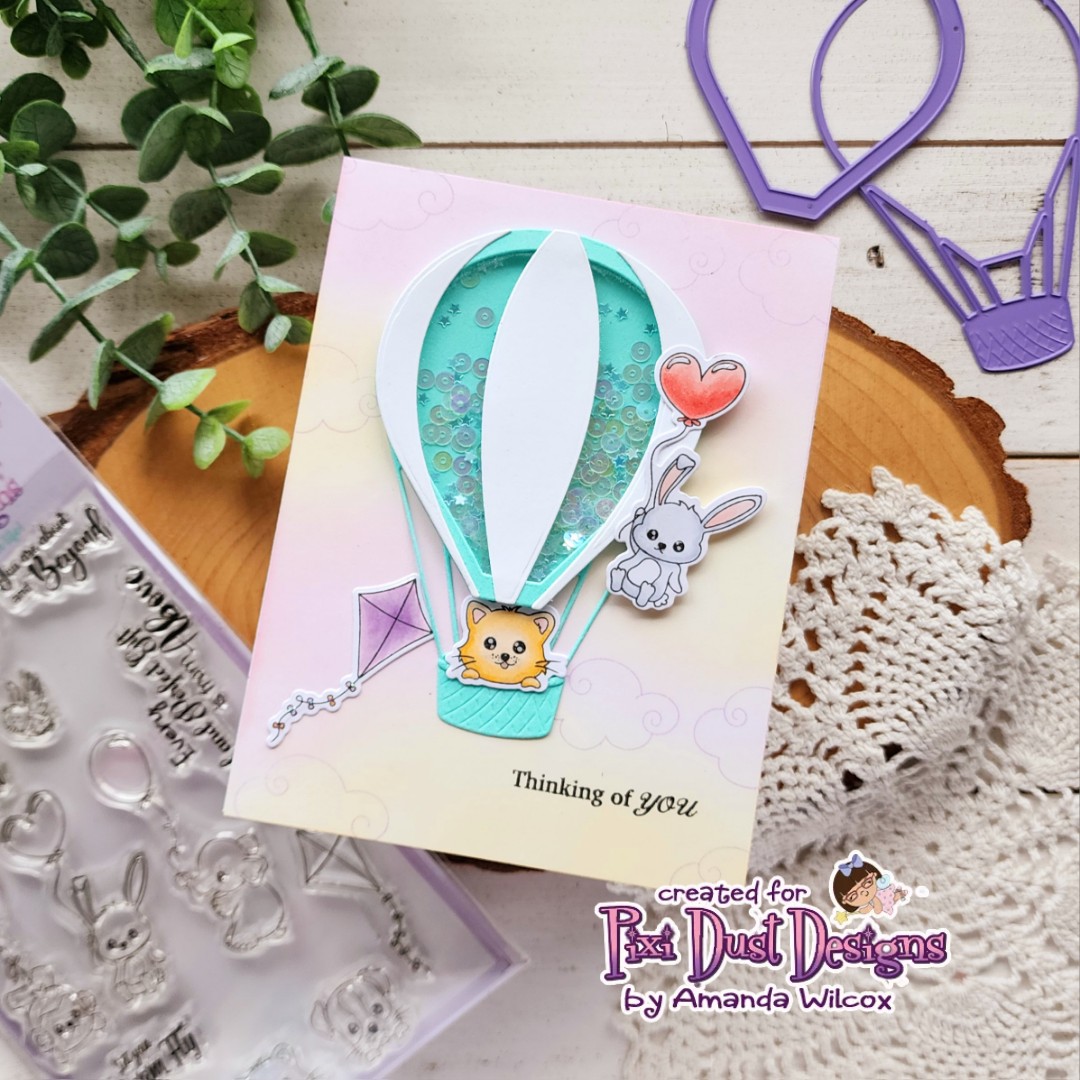
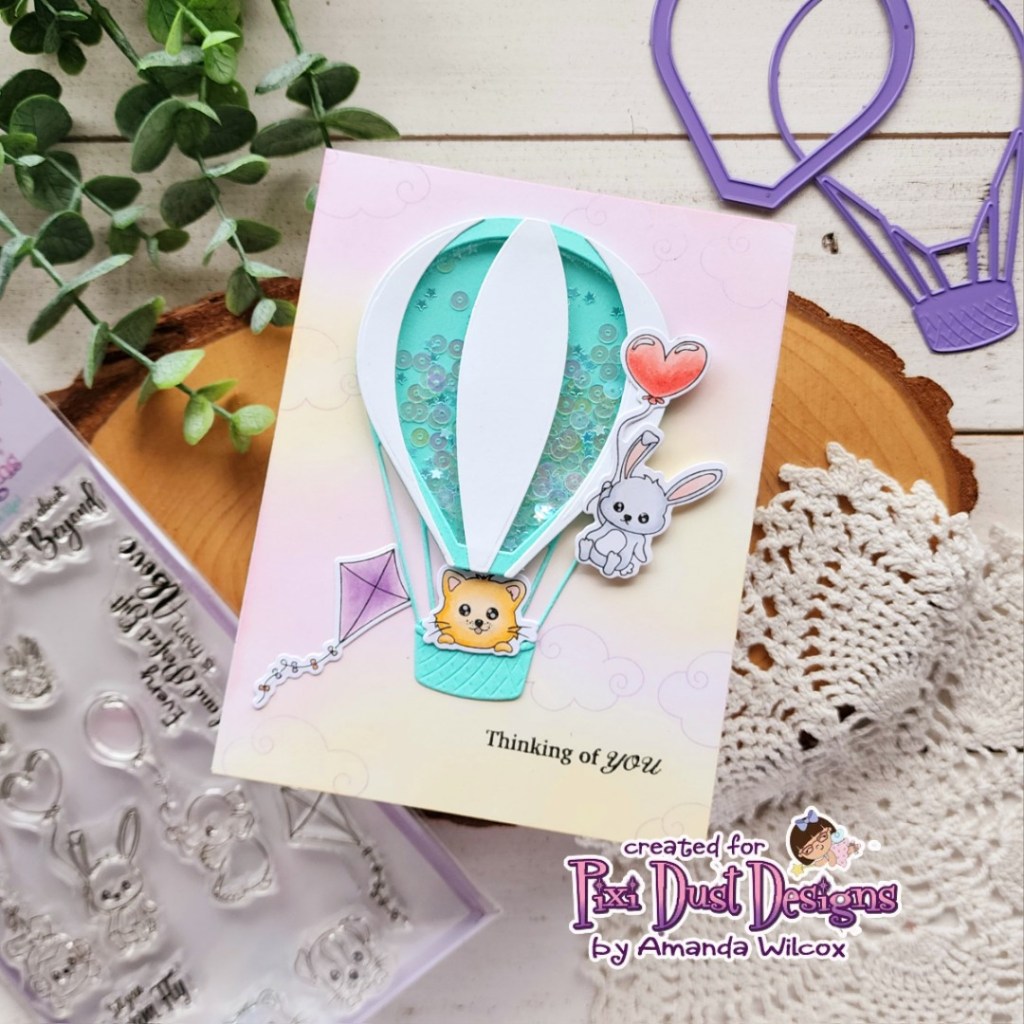
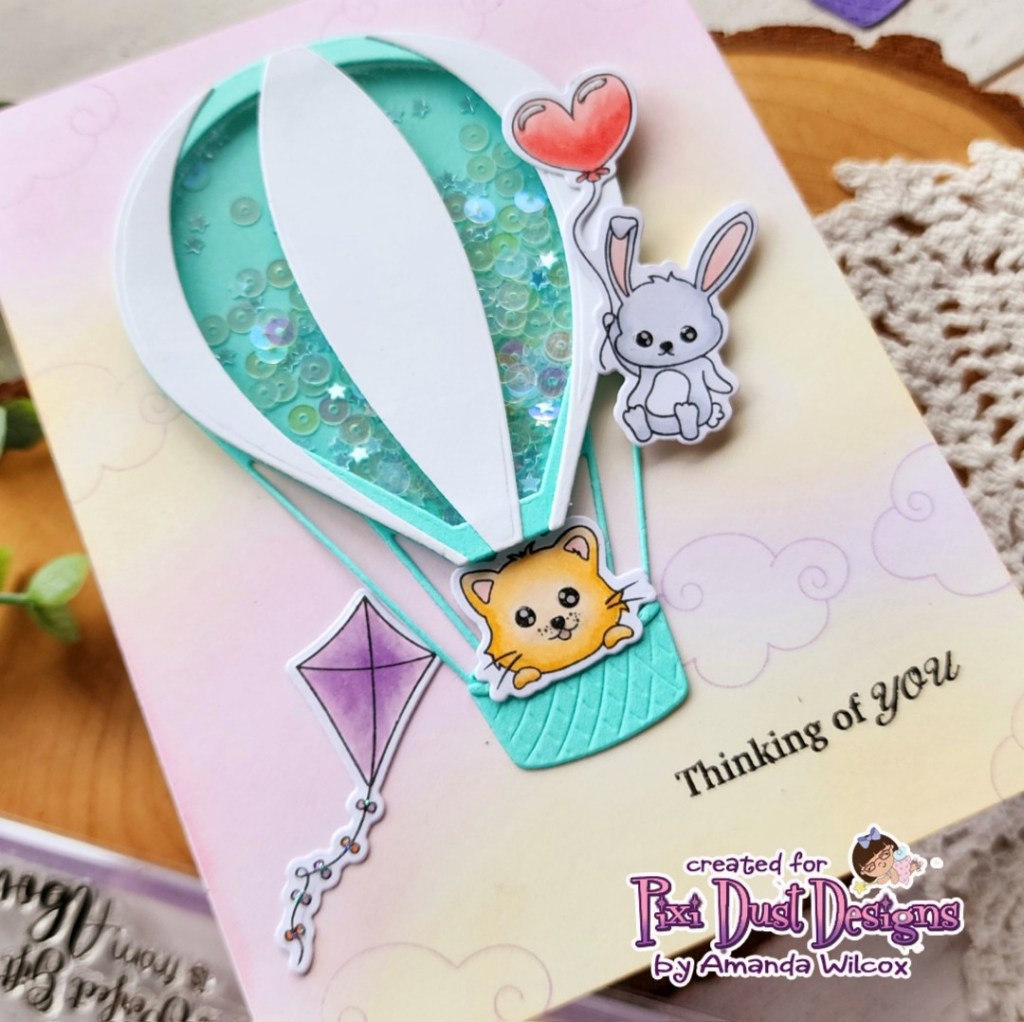
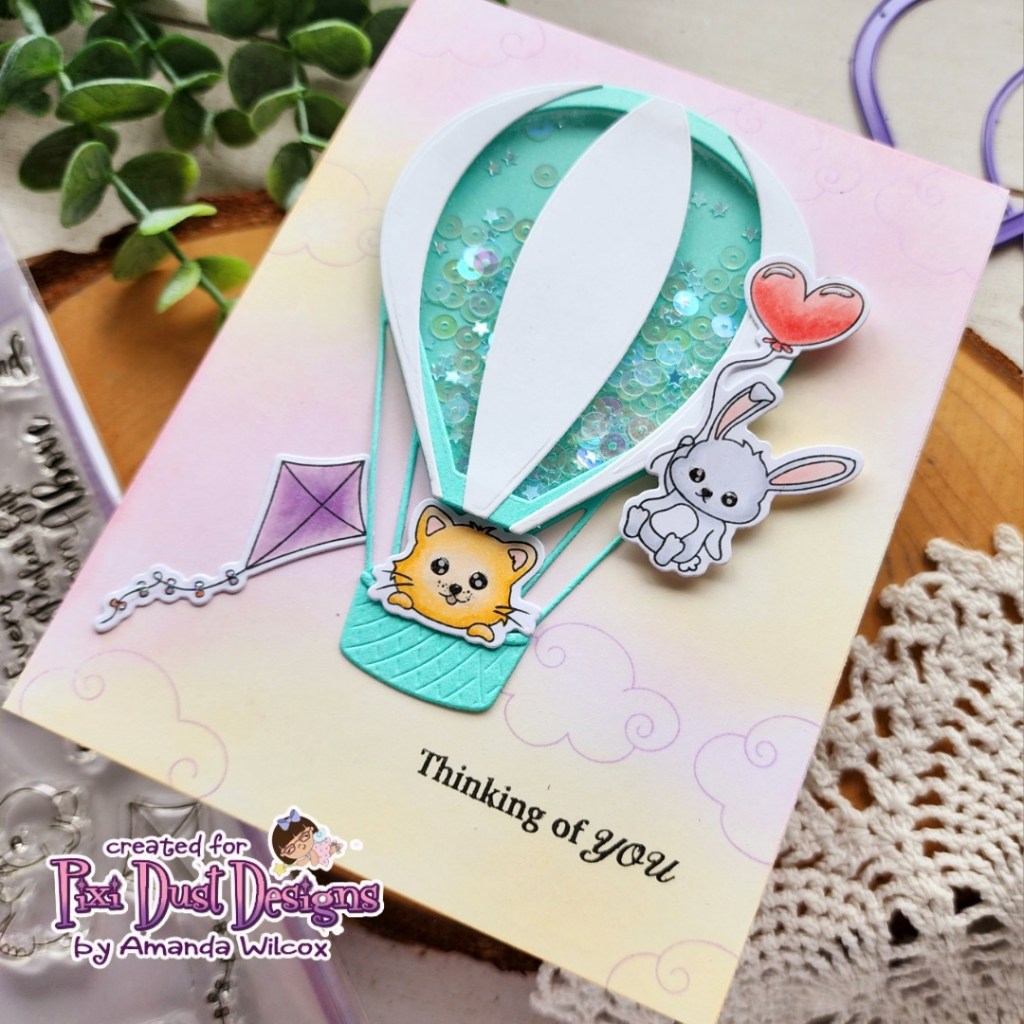
Happy Friday everyone! Thanks for stopping by today. I’m excited to share a card I created with the new release from Pixi Dust Designs which is available in the shop TODAY!!!! This new hot air balloon die set is so much fun to create with! You can make shakers or just gorgeous hot air balloons. There are so many different options to decorate your balloon it’s hard to choose!
Today I chose the shaker frame to make my balloon a shaker but also added the cool stripes over the top because these were the kind of balloons I always loved as a kid when we would go to the night glows.
For my sky, I inked pink and yellow lightly on a white panel and then stamped the cloud images from the Up, Up and Away stamp set. After adhering my balloon shaker, I added a sweet kitty to the balloon basket, a kite flying away in the sky and the adorable bunny floating along with his kitty friend.
My sentiment comes from the Woodland Friends stamp set. Once that was stamped, I adhered my panel to a card base and added glossy accents to the critter eyes and noses. last, I added stardust Stickles to the kite tail and highlights on the heart balloon.
Be sure to pop over to the Pixi Dust Designs shop to see what other adorable and amazing products are available today.




















 twiddlersnook.blog