Spellbinders – Hello Sunshine

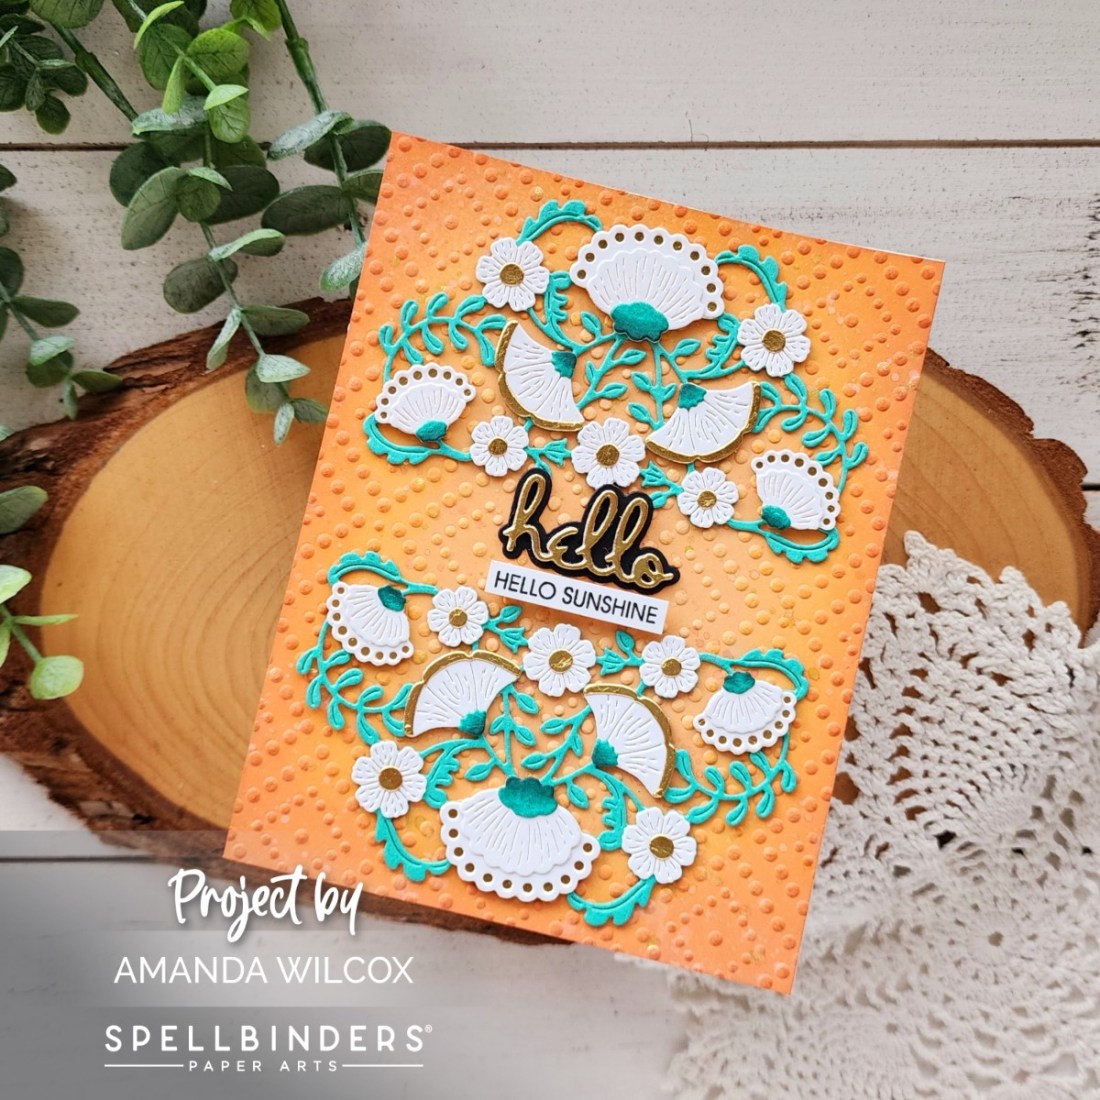
Hi again! I’m back with another card featuring more of the Spellbinders Four Petal Collection. I am in love with these dies. It’s really fun to cut all the different layers from various colors and build your flower displays. They’re so pretty and you can’t mess it up no matter what colors you choose.

For this card, I went simple but elegant. The greenery is more of a teal than green and my accents are all cut from gold foil cardstock for the flowers too. The flower layers are white which I felt gave me license to have a bolder background color.

After cutting and gluing the floral pieces together, I cut and embossed an orange panel with the Dazzling Dots embossing folder. Once that was embossed, I inked the edges with a darker orange distress oxide ink and splattered the panel with gold watercolor. I glued the florals down and placed and acrylic block on top for a while to help keep things flat on the bumpy background.
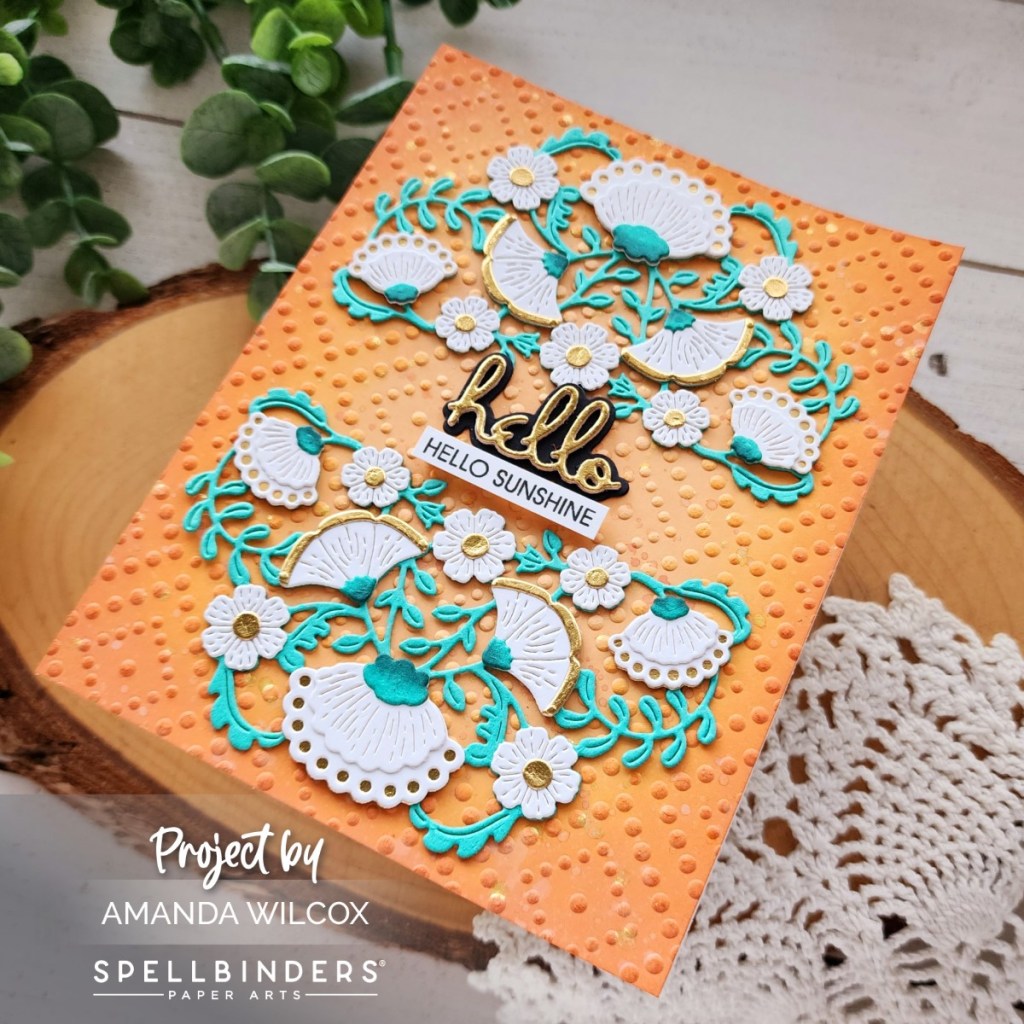
While that was drying, I cut the “hello” sentiment using the Thanks Enclosed sentiments die set. The shadow is black cardstock and the top layer of hello is matching gold foil with 3 layers of white cardstock underneath it for dimension. I stamped a sub sentiment from I’ve Got You Covered stamp set and cut it into a strip. The die cut sentiment is attached with liquid glue and the stamped one is popped up with foam strips.

Do you have this amazing die set yet? What color combos have you tried or would you like to try? I’d love to know!

Products used:
Four Petal Reflection dies
Thanks Enclosed Sentiments dies
I’ve Got You Covered stamps
Dazzling Dots embossing folder
Bearly Art liquid glue
Foam strips

I appreciate you sharing your time with me. Have a fabulous day!
Pink & Main – Welcome Spring Wreath

Happy Wednesday everyone! I’m over on the Pink & Main blog welcoming spring with some sweet little bunnies!

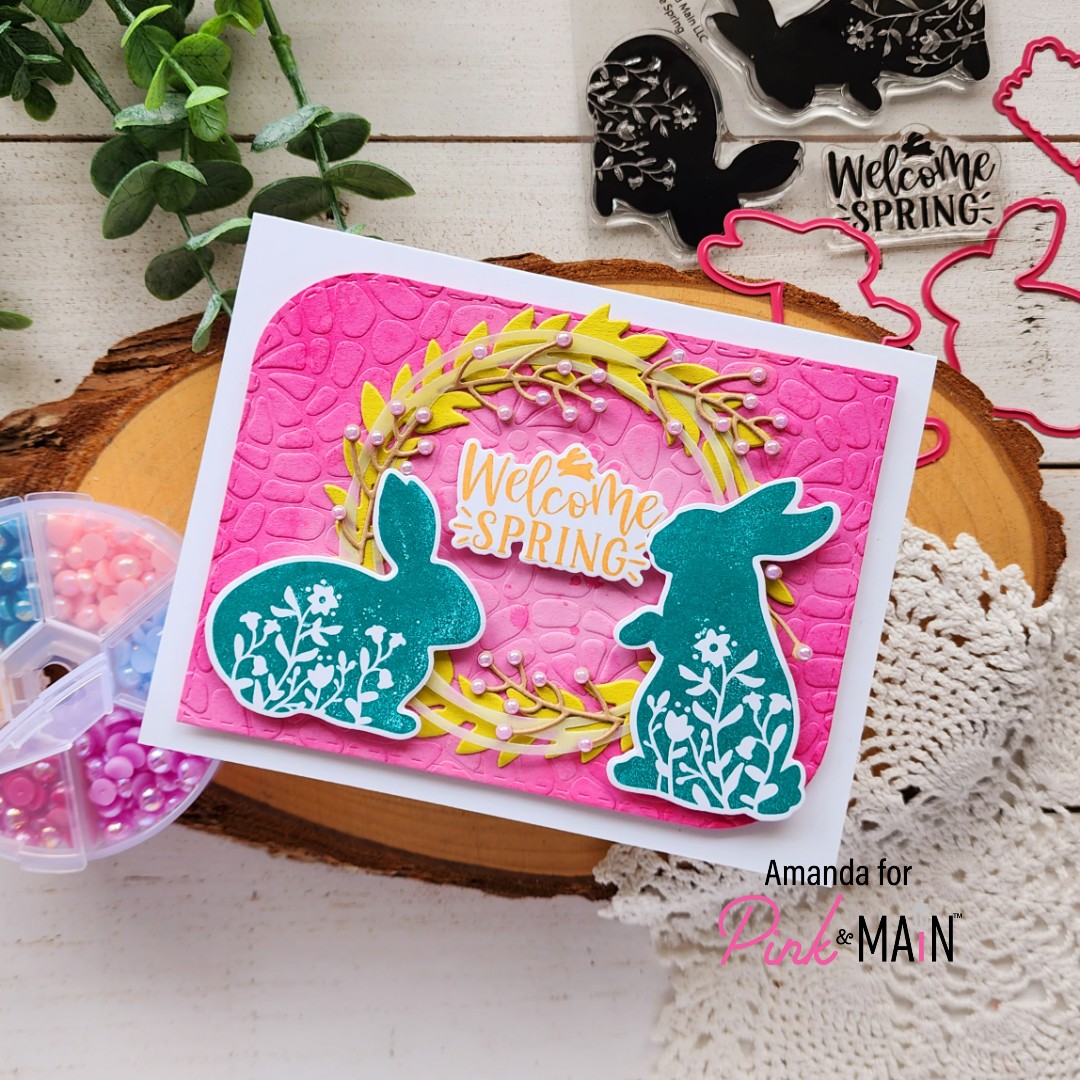
To create my card, I cut a mod stitched rectangle from dress shop cardstock and ran it through my die cutter with the new Cobblestone embossing folder. Then I used a blending brush and the coordinating ink to add depth to the edges and also splattered some watered down ink on the panel for extra texture.

I stamped and die cut the bunnies and sentiment from Welcome Spring using construction and lakeside inks. Then I cut both Wreath Base die sets – one from the park cardstock and the other from vellum. The the Wreath Base 2 die set I used the spring die to cut 5 sprigs using pebble cardstock. The sprigs are strategically adhering themselves and the vellum wreath to the leafy wreath and then that is glued to the embossed panel using EZ Squeeze glue.

The bunnies and sentiment are attached with foam squares. Then, for finishing touches I pulled out the Rainbow Pearls 2 collection and glued the purple color pearls to the ends of the sprig pieces. I feel like these add so much to the ending look and feel of the card.

Is anyone else done with winter and ready for sunshine and rainbows? I sure am!

Products used today:
Welcome Spring stamps and dies
Wreath Base dies
Wreath Base 2 dies
Cobblestone embossing folder
Mod Stitched Rectangles dies
Foam tape and squares
EZ Squeeze liquid glue
Ink – dress shop, lakeside and construction
Cardstock – dress shop, the park and pebble
Rainbow Pearls 2 embellishments
Ergonomic blending brush

I appreciate you sharing your time with me. Have a fabulous day!

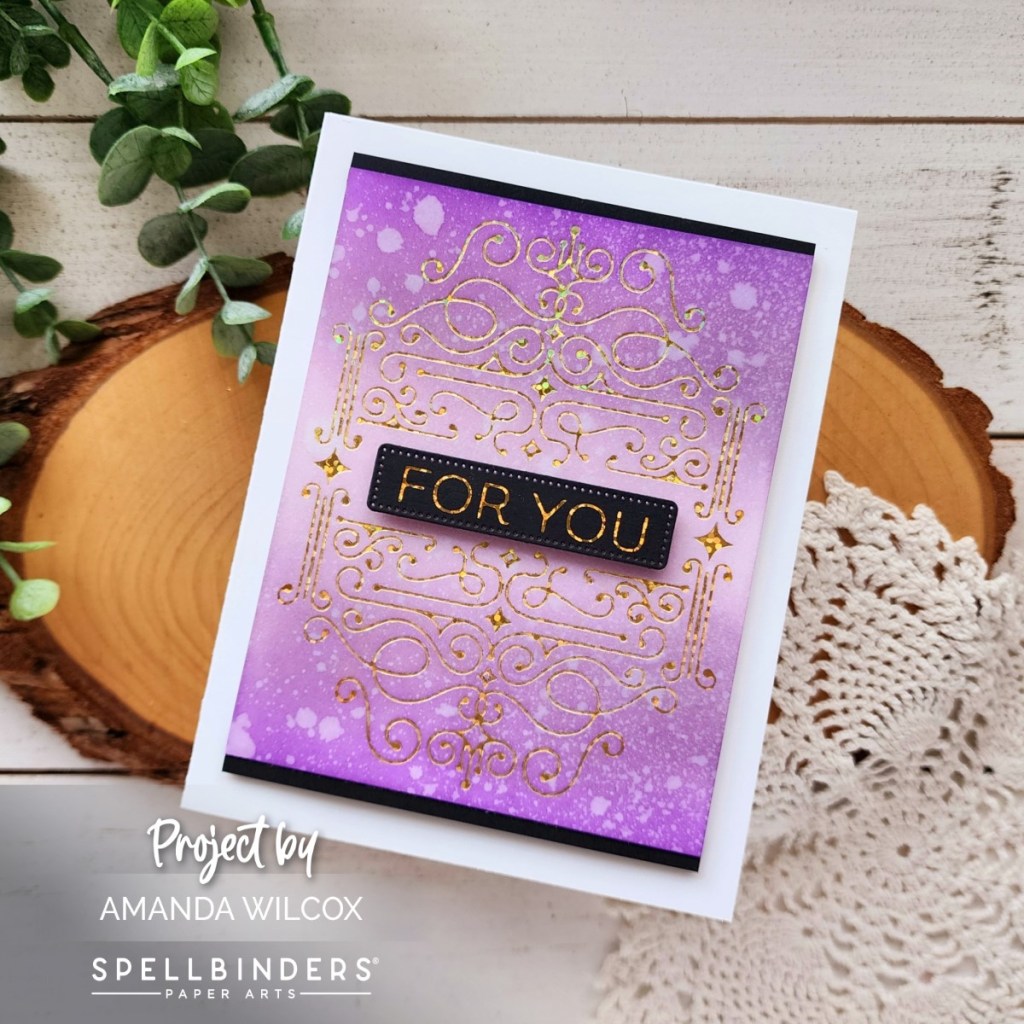
Spellbinders – For You Foiled Four Petal Scroll

Hello again! I’m stopping by with a quick and eye catching card to share with you featuring Spellbinders Four Petal Scroll hot foil plates. This one simple set makes it incredibly easy to create eye catching cards quick and easy.

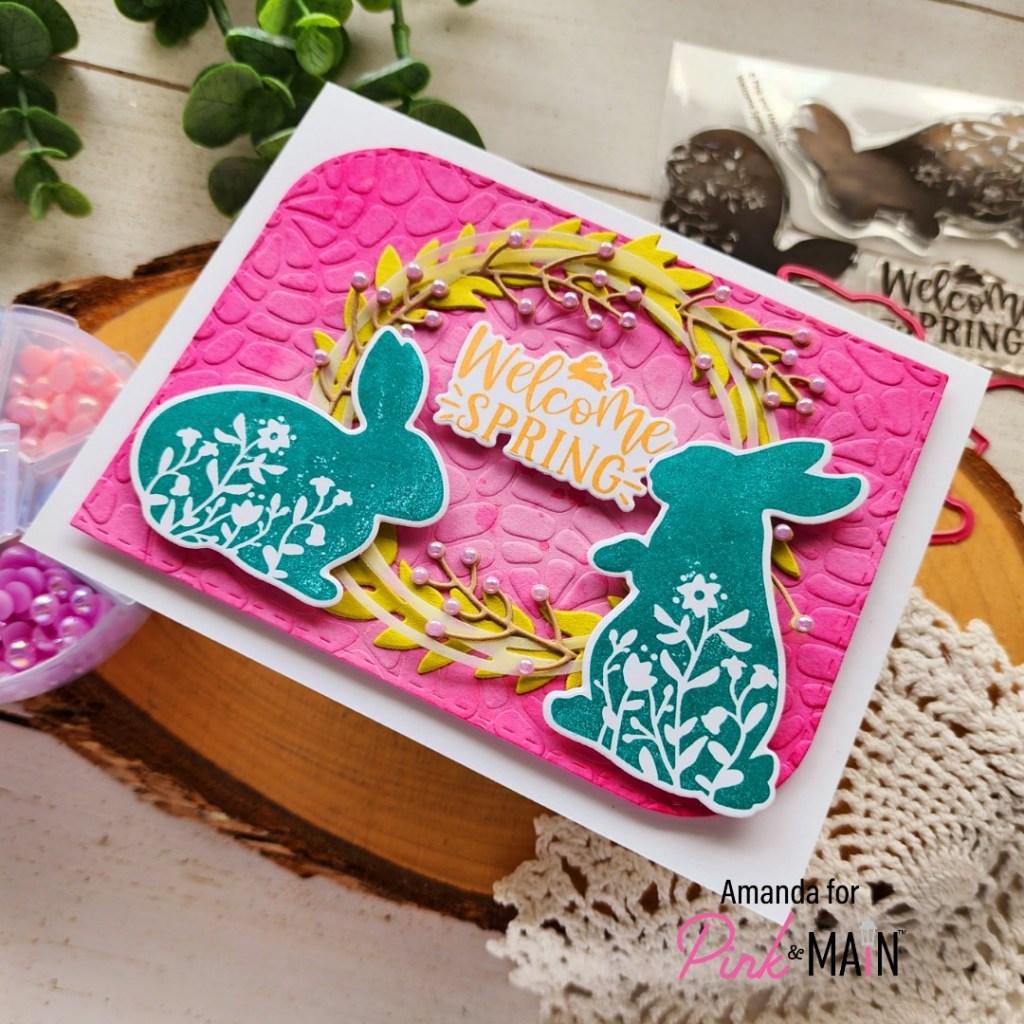
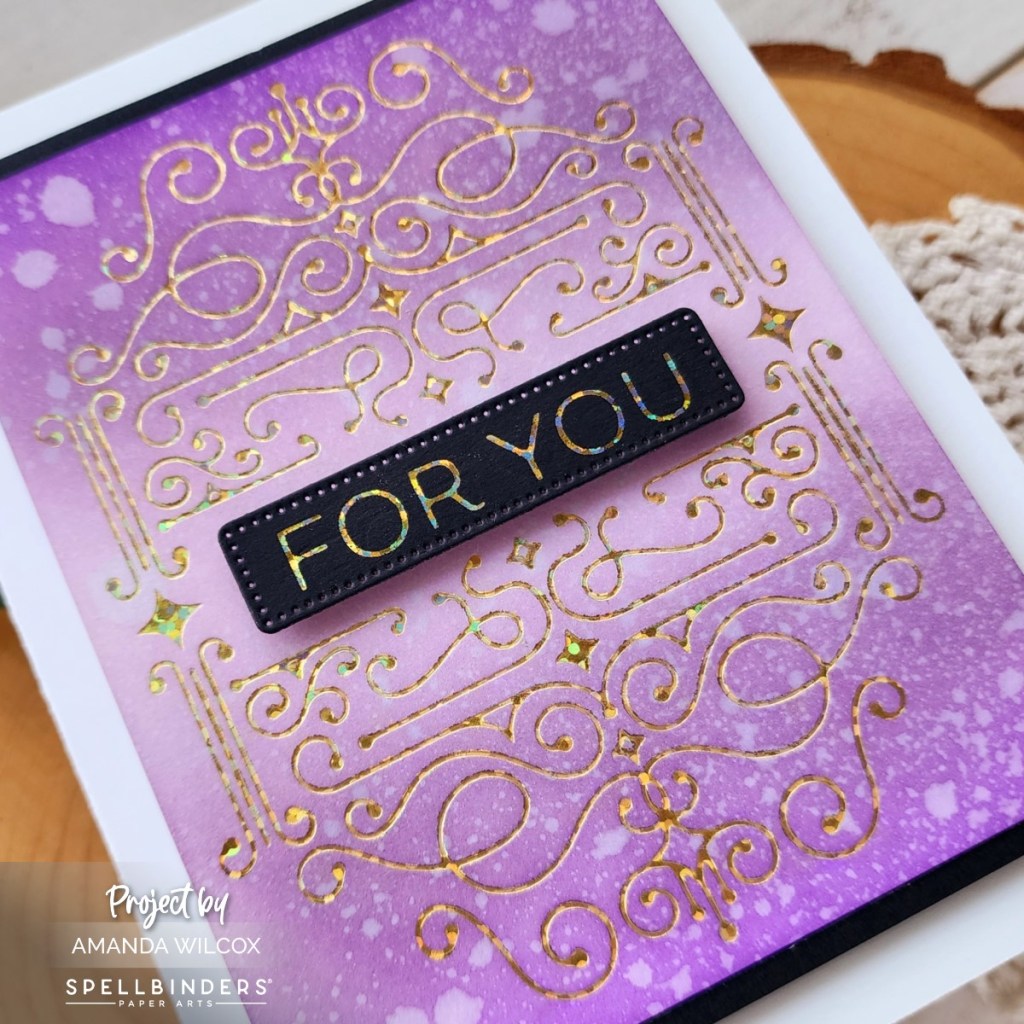
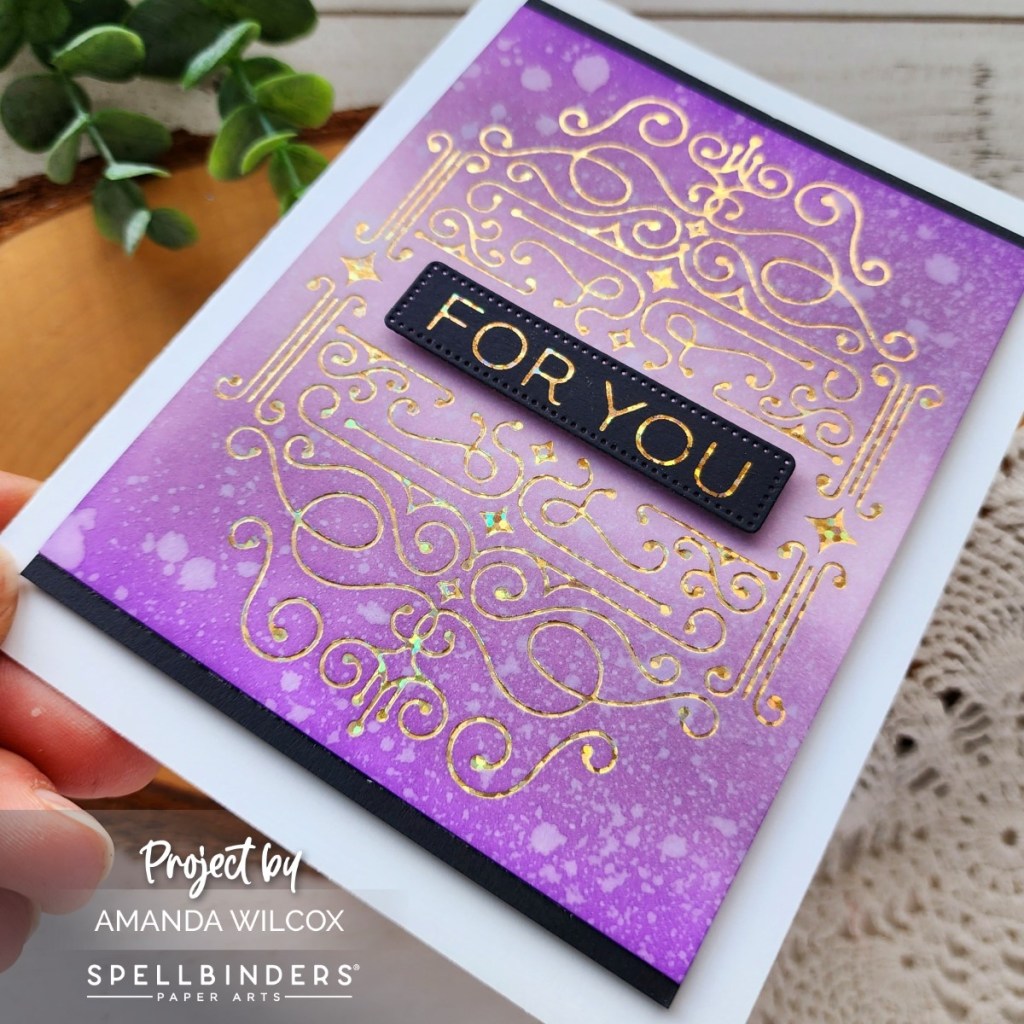
With hot foil plates, you can ink your paper before or after you foil, which is awesome and so helpful when you can’t decide what to do. Today I foiled my panel and trimmed it down before using distress oxide inks to blend a purple ombre, fading into the center. Then I foiled the sentiment on black and cut it out with the die that comes in the set.

I popped it up with foam squares and then added black strips to my foiled panel to tie the black in a bit more. I popped the whole panel up on a white card base with foam tape and my card is all finished!

It’s really that easy! Sometimes I can’t believe you can get such stunning results from one set of dies. And changing out the foil you use will give you completely different looks too. It’s wonderful!

Products used today:
Four Petal Scroll glimmer foil plates
Glimmer Foil – spellbound multipack
Distress Oxide Ink – wilted violet, shaded lilac and dusty concord
Foam squares and tape
Liquid glue

I appreciate you sharing your time with me. Have a fabulous day!

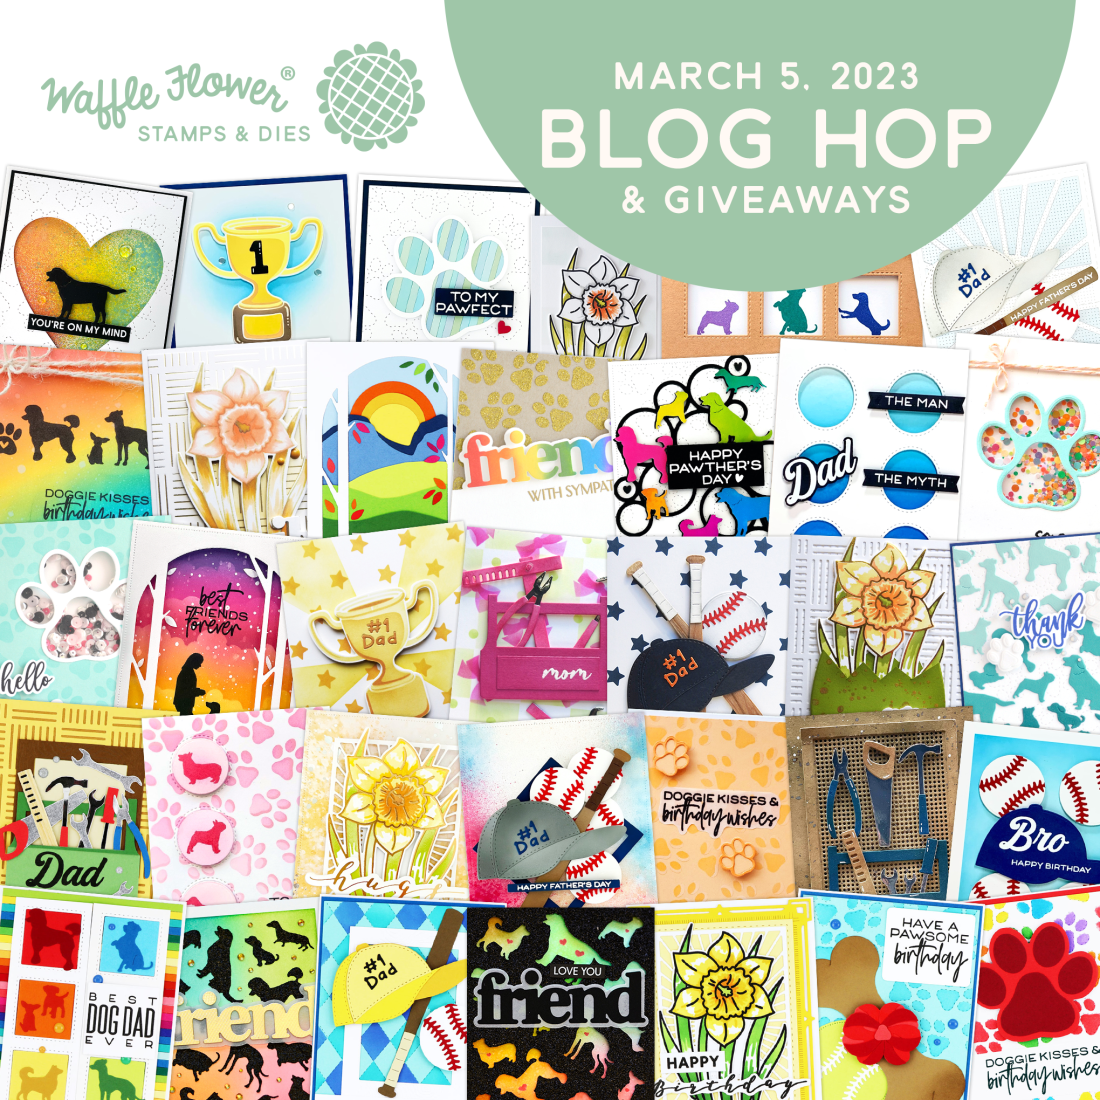
Waffle Flower – March Release Blog Hop

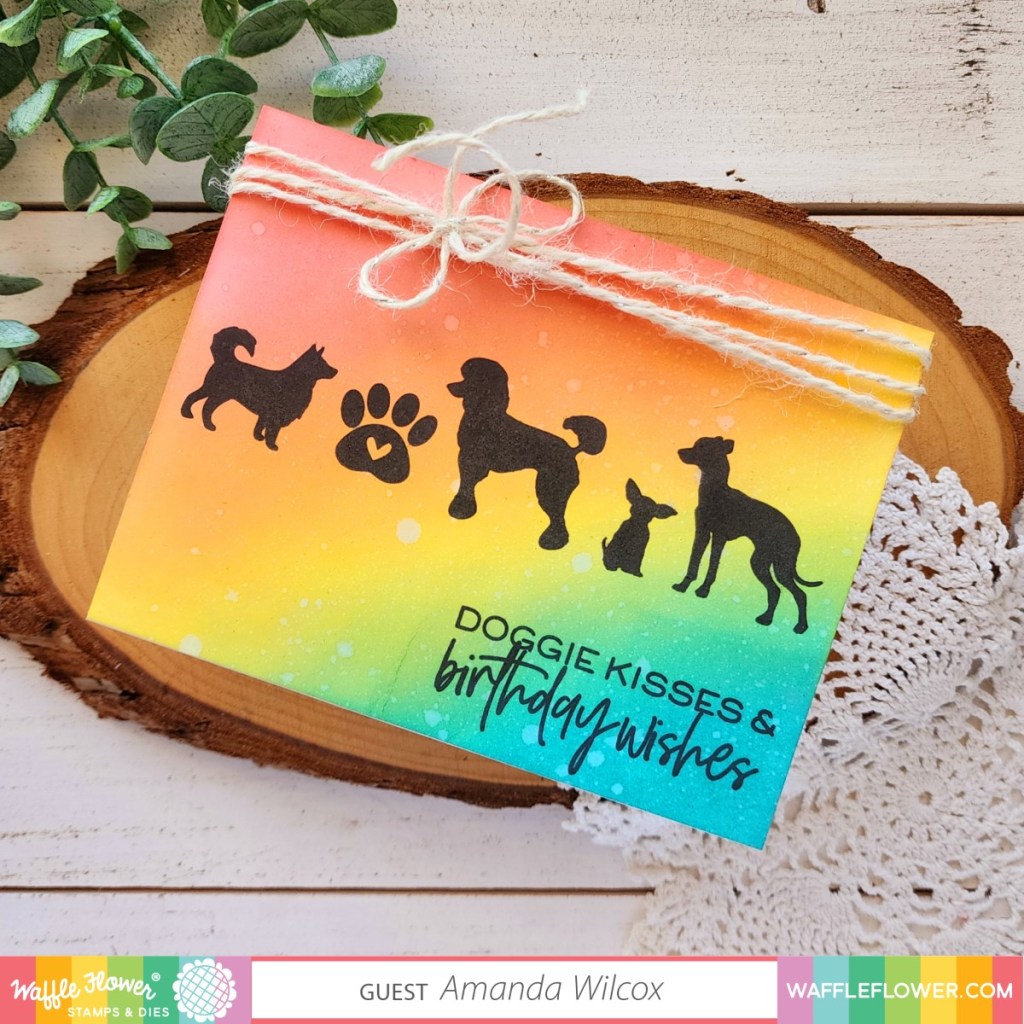
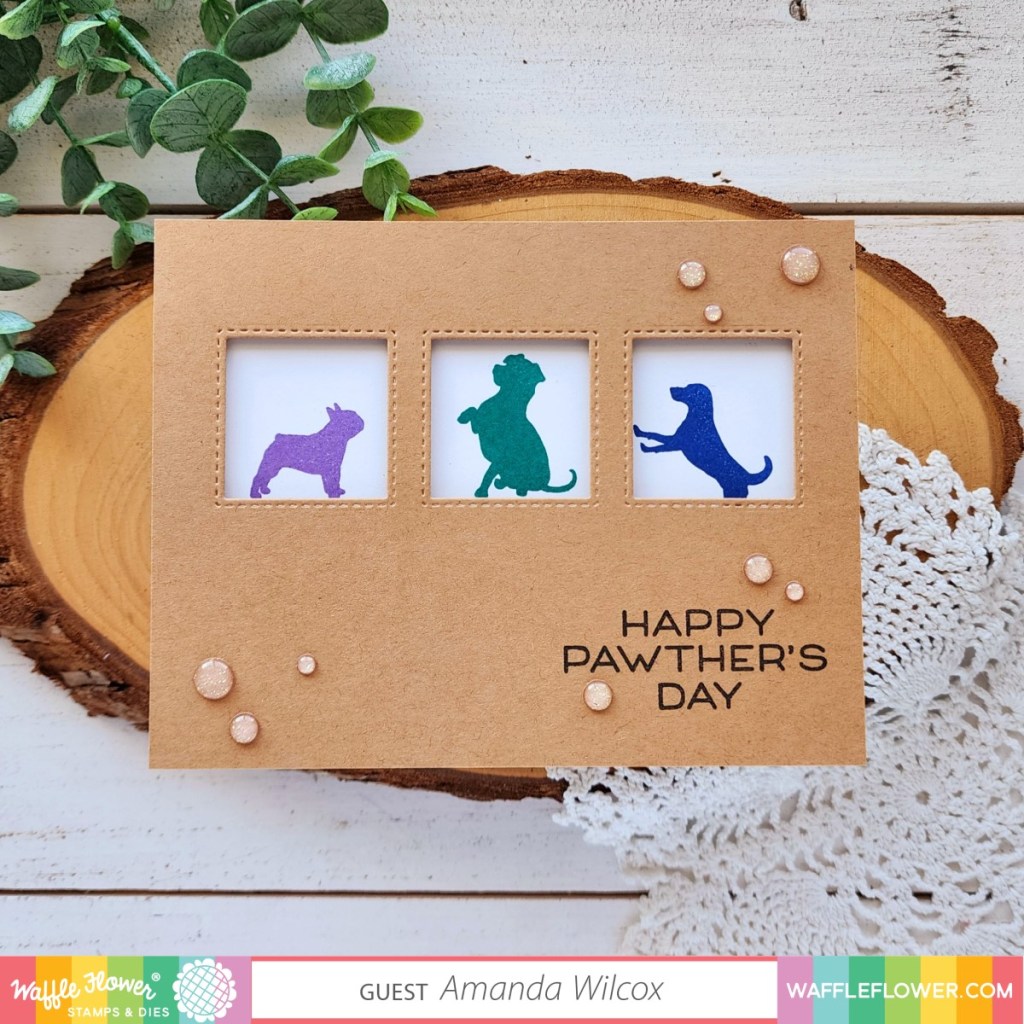
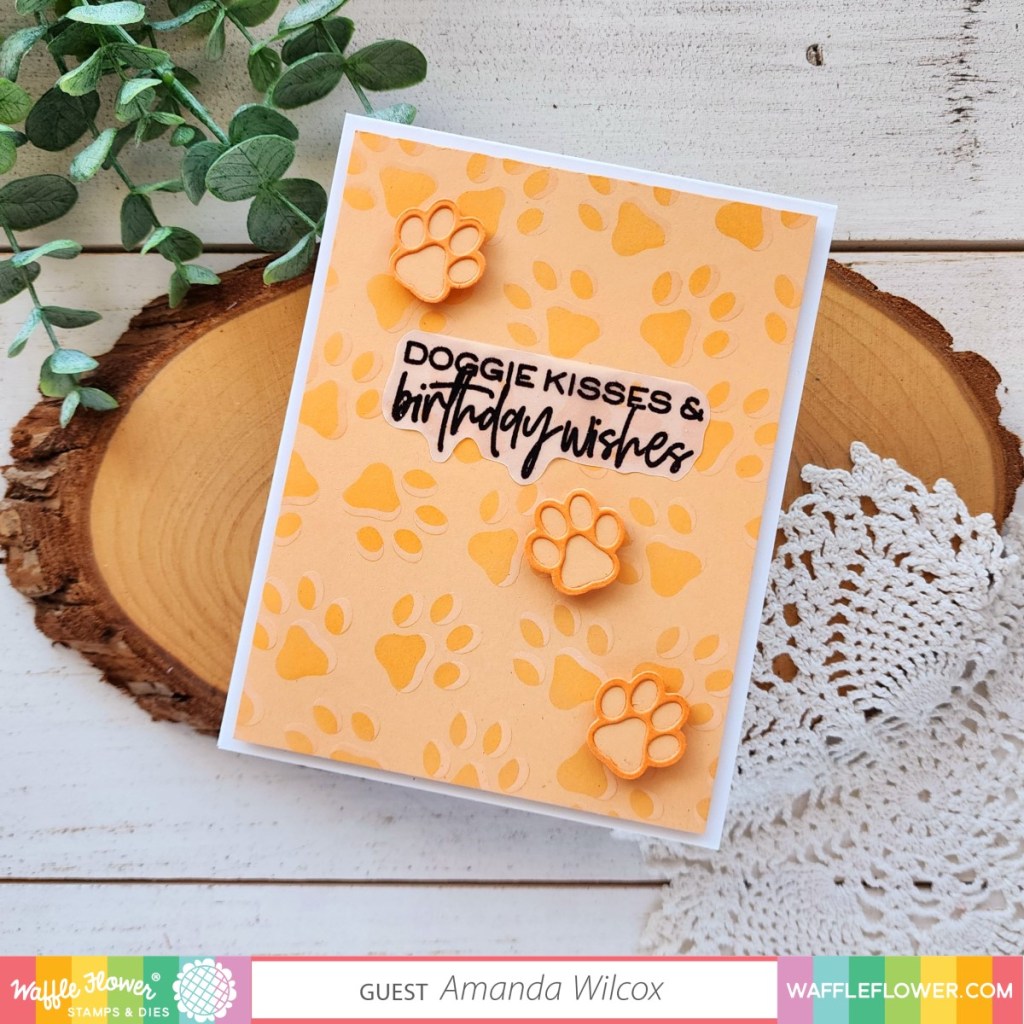
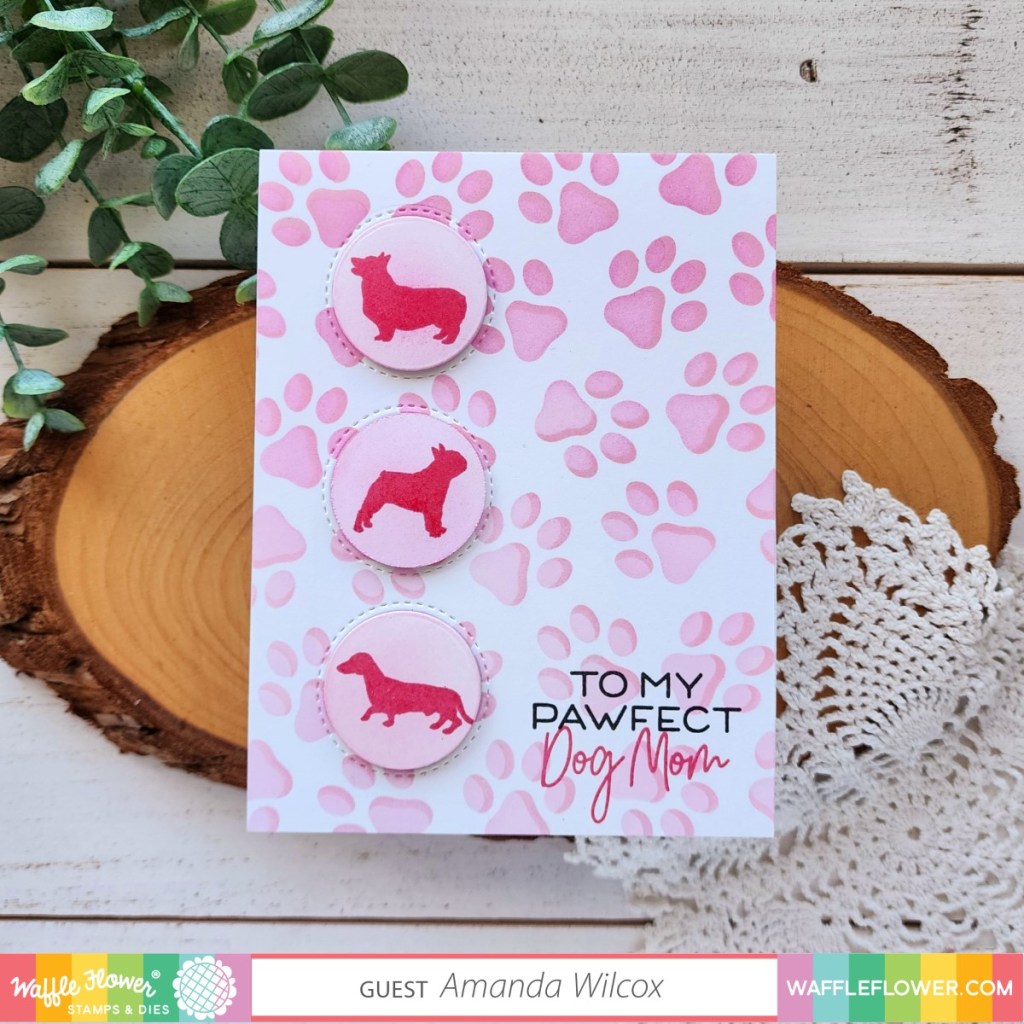
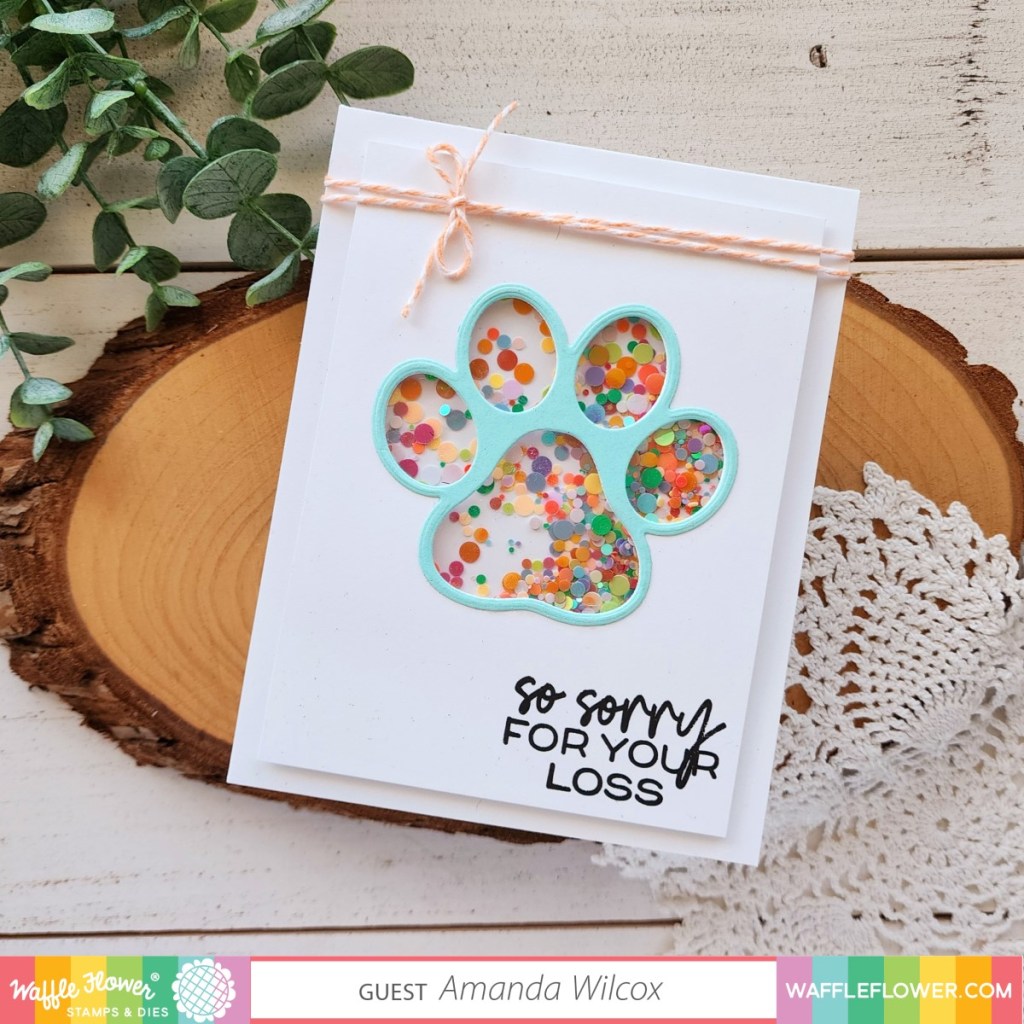
Hello friends! I’m very excited and honored to be guest designing with Waffle Flower for their March release! I had a blast creating with their products and am very excited to share my creations with you.

Giveaways:

For today’s hop, Waffle Flower is giving away $25 gift certificate to THREE lucky winners. You can leave a comment on this blog and along the hop by 11:59pm EST on Thursday March 9th, 2023 for your chances to win. Winners will be chosen at random from the comments left on any of the posts in this blog hop and will be announced on the Waffle Flower Blog on 03/10/2023.

Specials:

From now till March 8th, 2023, all orders placed at waffleflower.com will receive a mysterious gift (No code required!).

For those of you who are new to Waffle Flower, they have a Last Chance section on their website that lists many goodies for 25% off until they are gone! This would be a great place to start your collection! And don’t forget to check out their monthly Flash Sales!

Blog hop:

Next on the hop is Michele Ferguson! If you get lost along the way, head back to the Waffle Flower blog to get reoriented.

Spring sale:

2023 Spring Sale

  • 25% off this collection; most items are on sale for the first time
  • No minimum required; while supplies last
  • Valid now through 3/25 for Club members (Use code in the Early Access email for the discount)
  • Open for everyone on 3/15, no code required.

Please note that all sales items are not eligible for returns/refunds.

Mama Elephant – Go Bananas

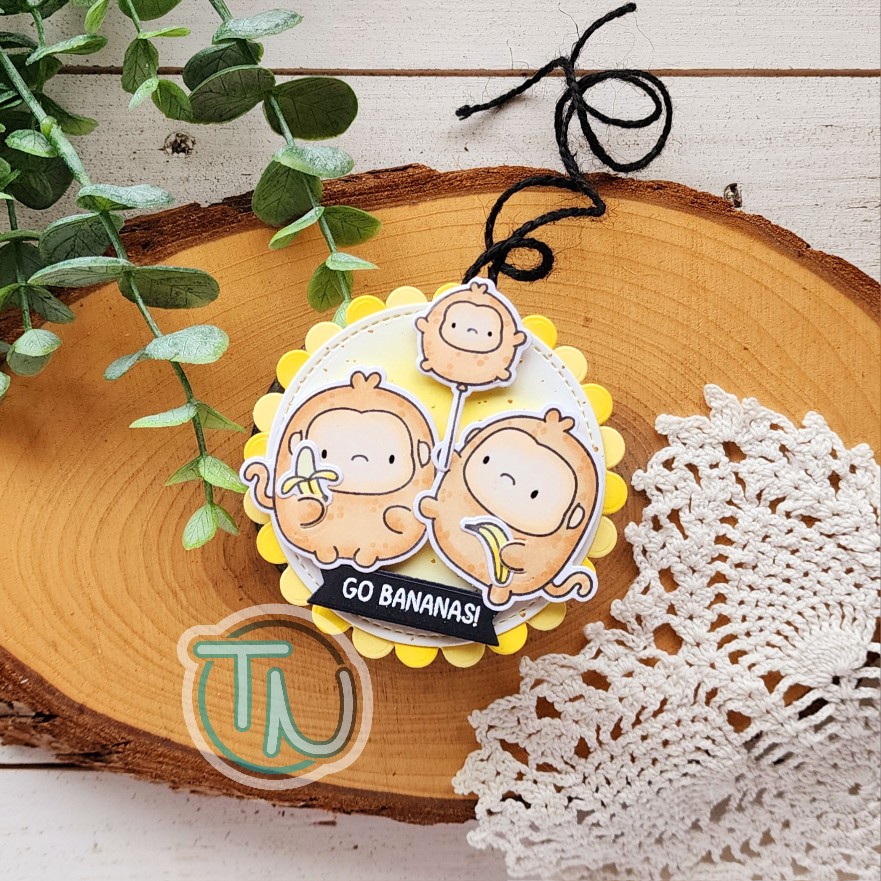
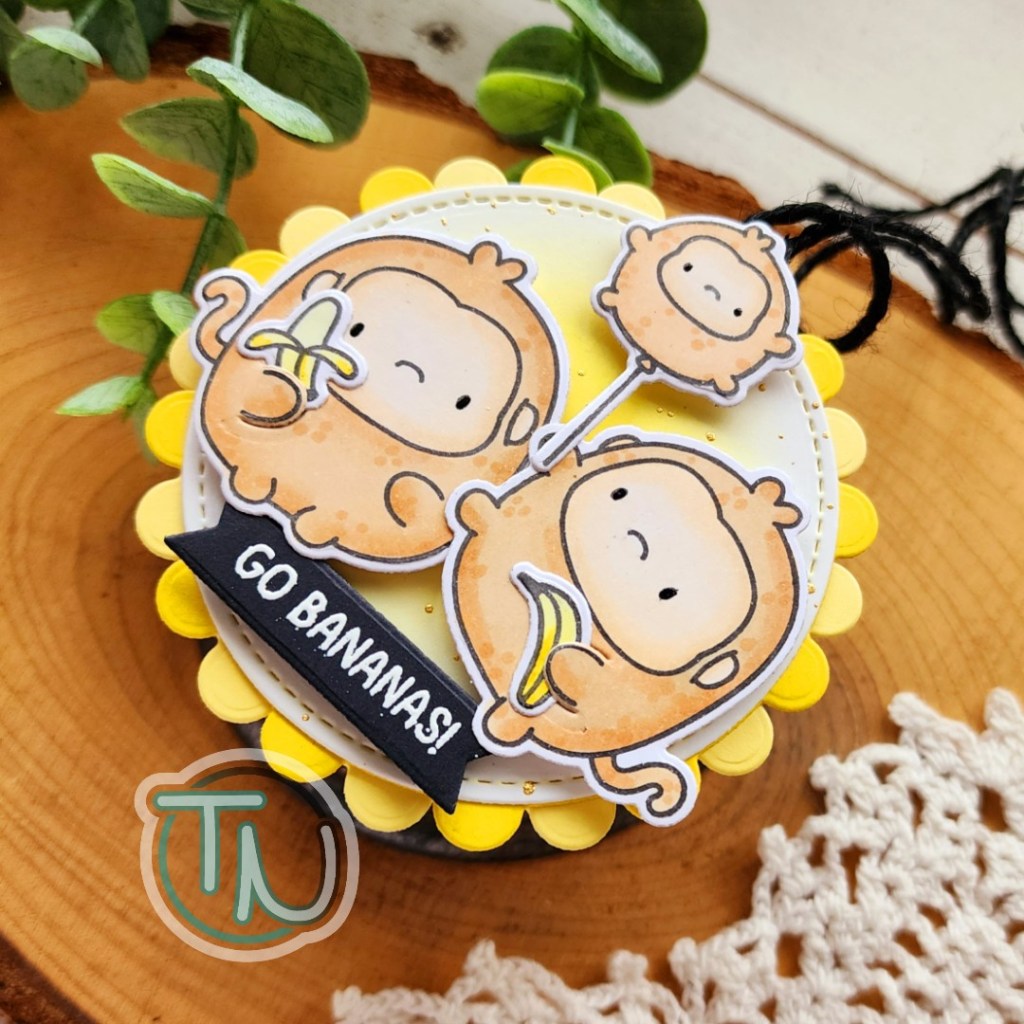
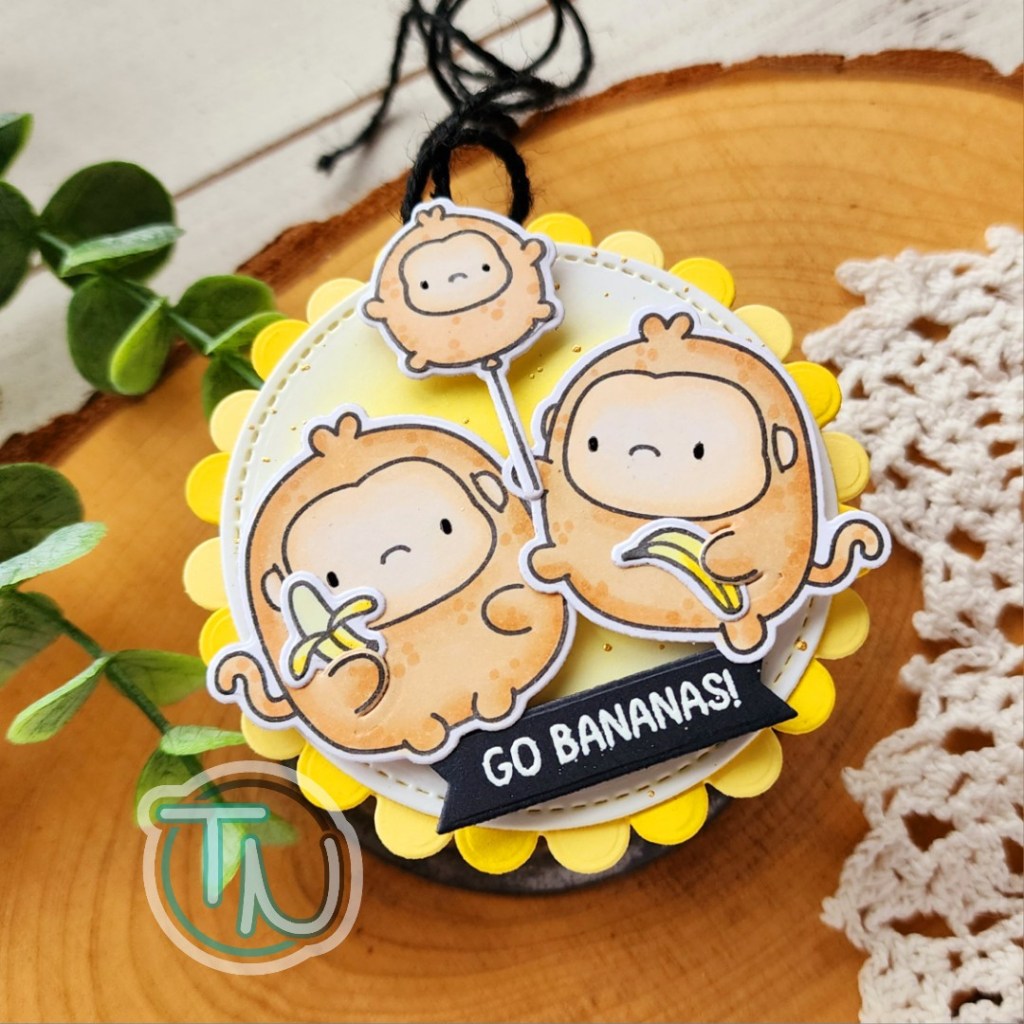
Hello and welcome to another #tagtimesaturday! It’s still competition season in our house until the middle of March so I’ve got more fun tags to make and share with you! Today I pulled out the Mama Elephant Zodiac Monkeys and had a little fun.

I really wanted to use the sentiment in the set so I made sure to choose my monkeys but also stamp a few bananas for them to hold. Also, how can you resist these adorable coordinating balloons in all of the zodiac sets!?! So fun! I colored everything with copic markers. The monkeys are E30s with E50s faces and the bananas are Y10s. I used the coordinating dies to cut them out and glued everything together with liquid glue.

I made my tag base out of the Combo Circle dies. The scallops are die cut from the same yellow cardstock but I ink blended one set to make it a touch darker. Then I cut the stitched circle from white cardstock but I ink blended the center of that with yellow and splattered it with gold watercolor from LH Colors too. It’s subtle but still pretty and I love the texture!

I adhered the circle pieces with liquid glue, placing black twine between the scallop layers and holding it in place with reverse tweezers until the glue dried. I did add a white stitched circle to the back of this since it’s a tag so I had somewhere to write a message.

Next, I stamped part of the sentiment in the set and heat embossed it on black cardstock. I used a banner die to cut it out and added foam to the back of all my images and banner. I removed the release paper and popped everything in place.

For finishing touches I went back to my images and added dot detail with the darkest marker – E34 – so there was subtle texture but it’s not distracting. Then I added black glaze pen to all of the eyes and set it aside to dry.

My daughter loves monkeys and yellow so I’m sure she’s going to giggle at this silly tag today.

Products used:
Mama Elephant Zodiac Monkey stamps and dies
Mama Elephant Combo Circle dies
Lawn Fawn Extra Sentiment Strip dies
Pink & Main embossing ink, powder and anti-static brush
Foam squares
LH Colors watercolor – gold
Bearly Art glue

I appreciate you sharing your time with me. Have a fabulous day!
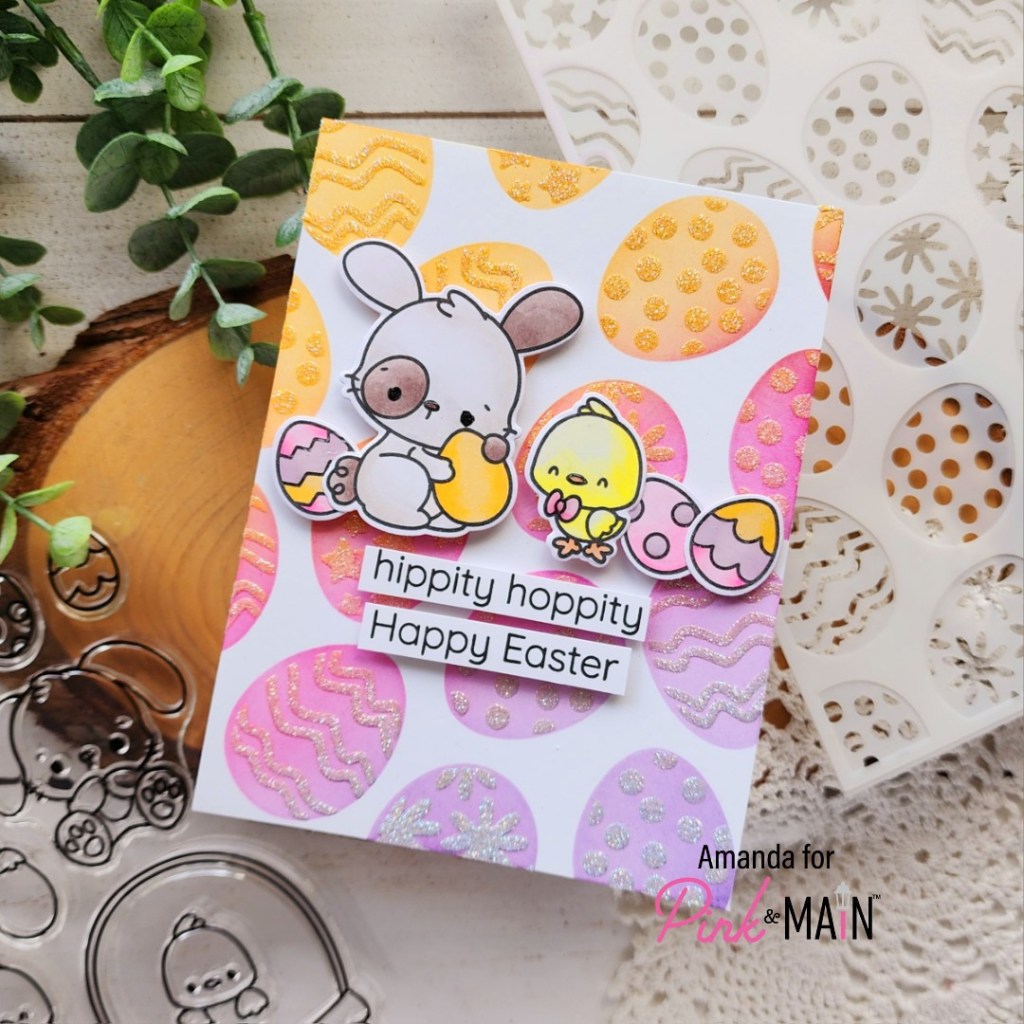
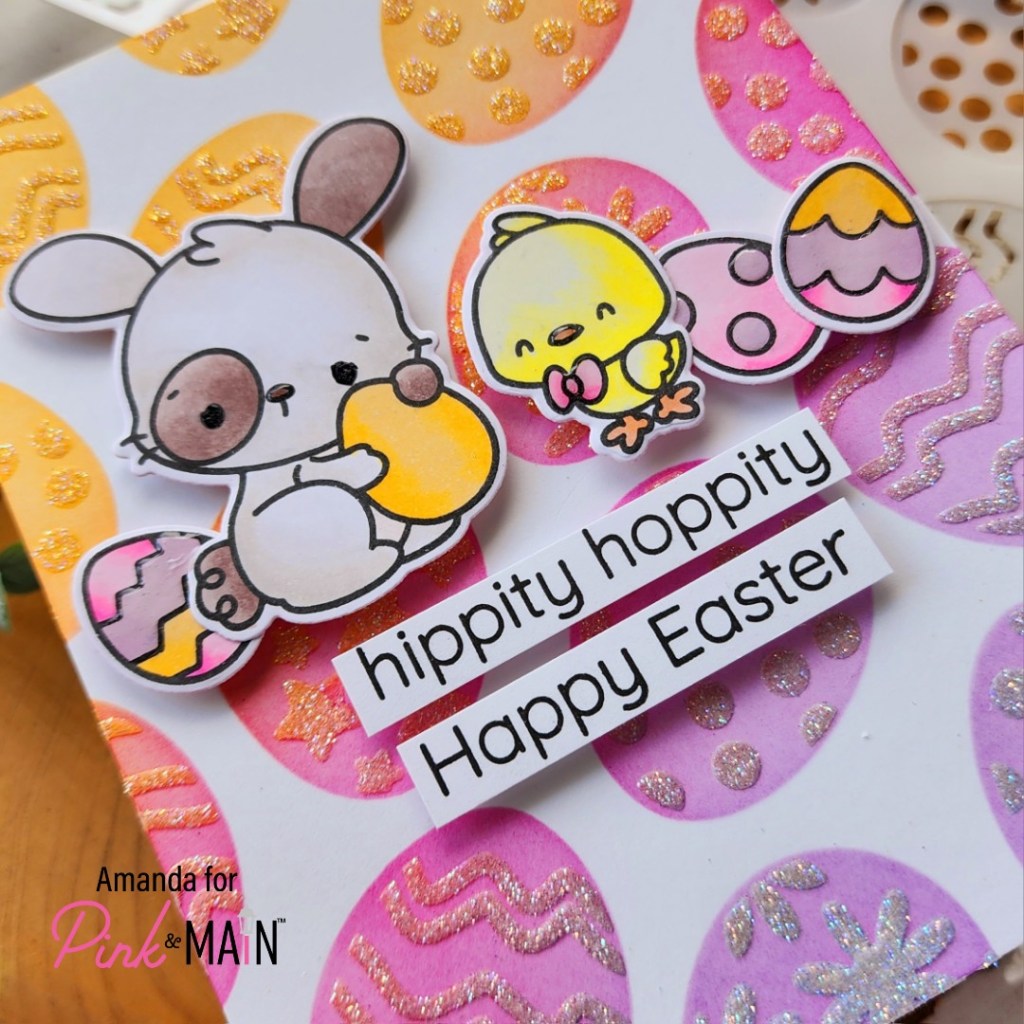
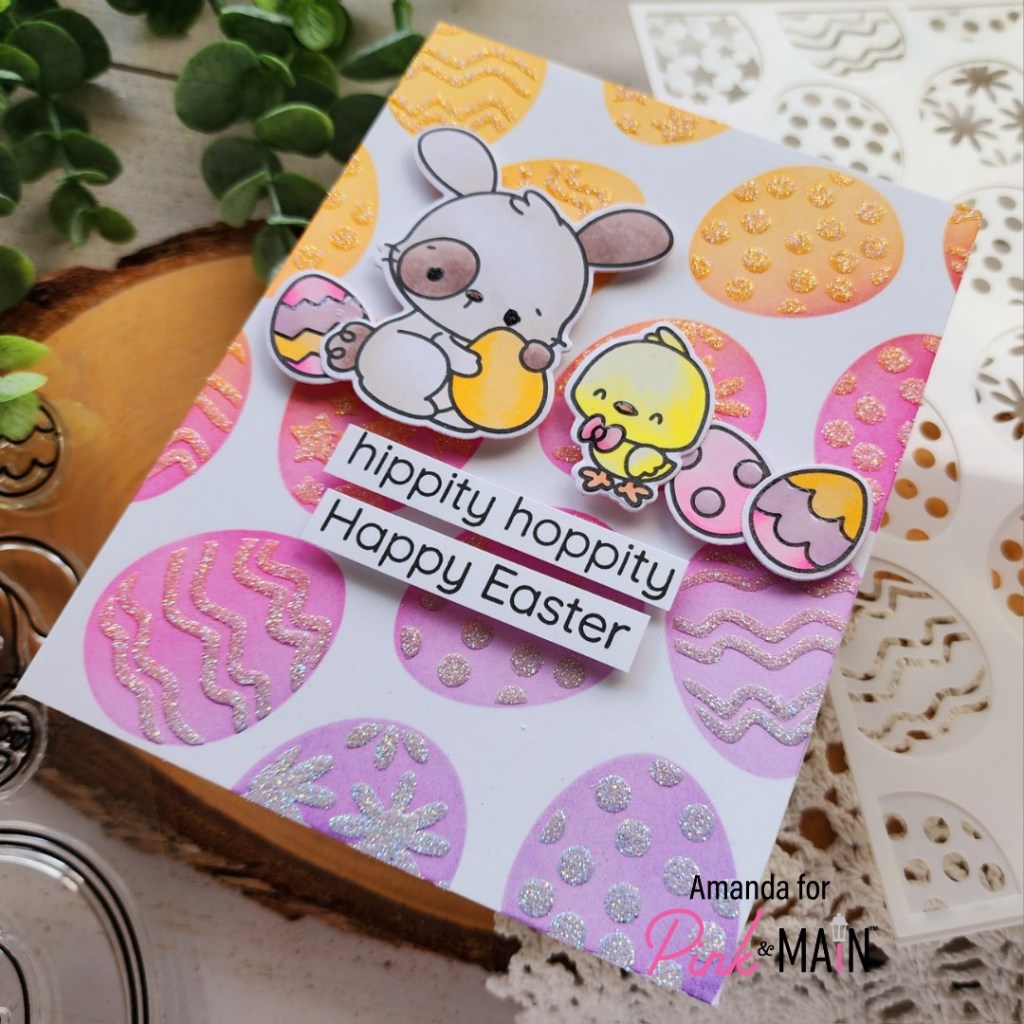
Pink & Main – Hippity Hoppity Happy Easter

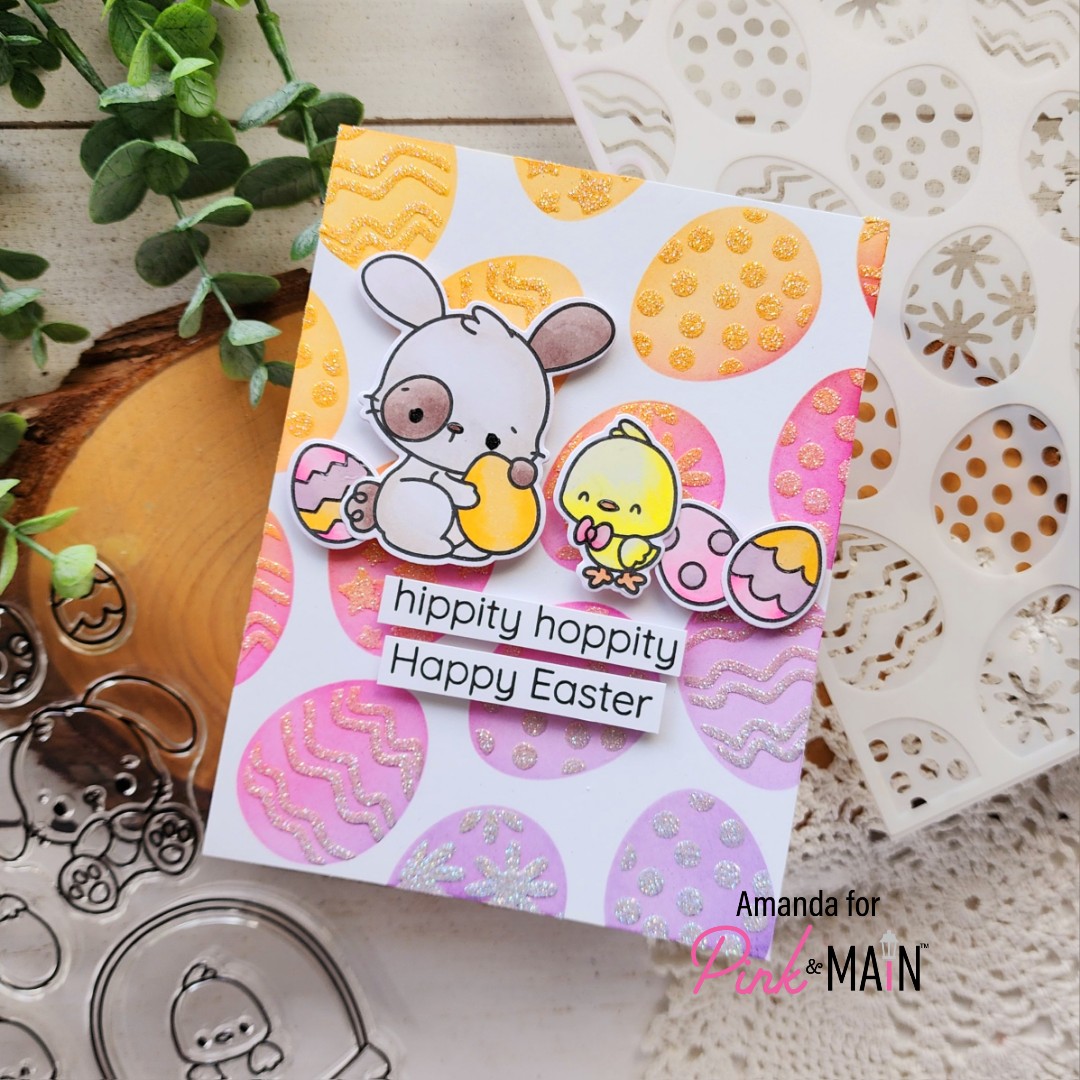
Happy Friday friends! Today I’m hippity hopping over on the Pink & Main blog with some sweet Easter inspiration to share. I got inky and messy and had so much fun doing it!

I started this card by creating my background with the Layered Eggs stencils and Pink & Main dye inks. Today I blended Night Sky, Dress Shop and Construction for a springy happy color palette. Starting lighter with the first layer, then adding the detail stencil over the top and using the same colors again. Then I spread Glossy Gel through the detail stencil and sprinkled the panel with Ice Ring super fine glitter.

I set that panel aside to dry while I stamped and color adorable critters from Hippity Hoppity. I used the ink blending as my color palette for the eggs and accessories. Then I stamped sentiments from the set and trimmed them into strips.

Once the panel was dry, I added it to a card base. Then I popped the images and sentiment strips up with foam squares. For finishing touches I added black glaze pen to the bunny’s eyes and Touch of Gloss to the eggs, chick’s beak and bowtie and bunny’s nose too.

Aren’t they just the sweetest ever?!? I love the art in this whole set!

Products used:
Hippity Hoppity stamps and dies
Layered Eggs stencils
Ink Pads – night sky, dress shop, construction
Touch of Gloss
Glossy gel
Super fine glitter – ice rink
Blending brushes
Foam squares

I appreciate you sharing your time with me. Have a fabulous day!
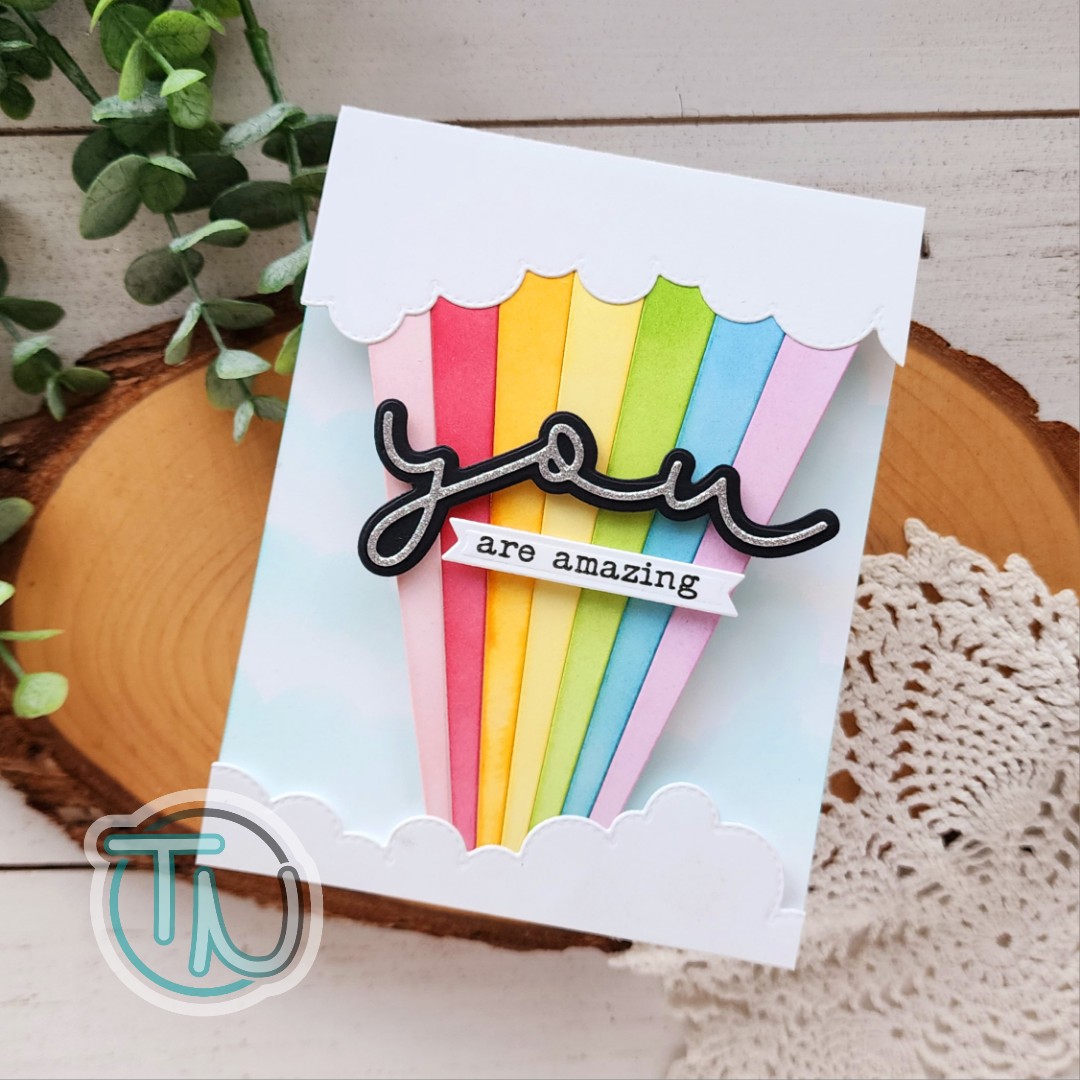
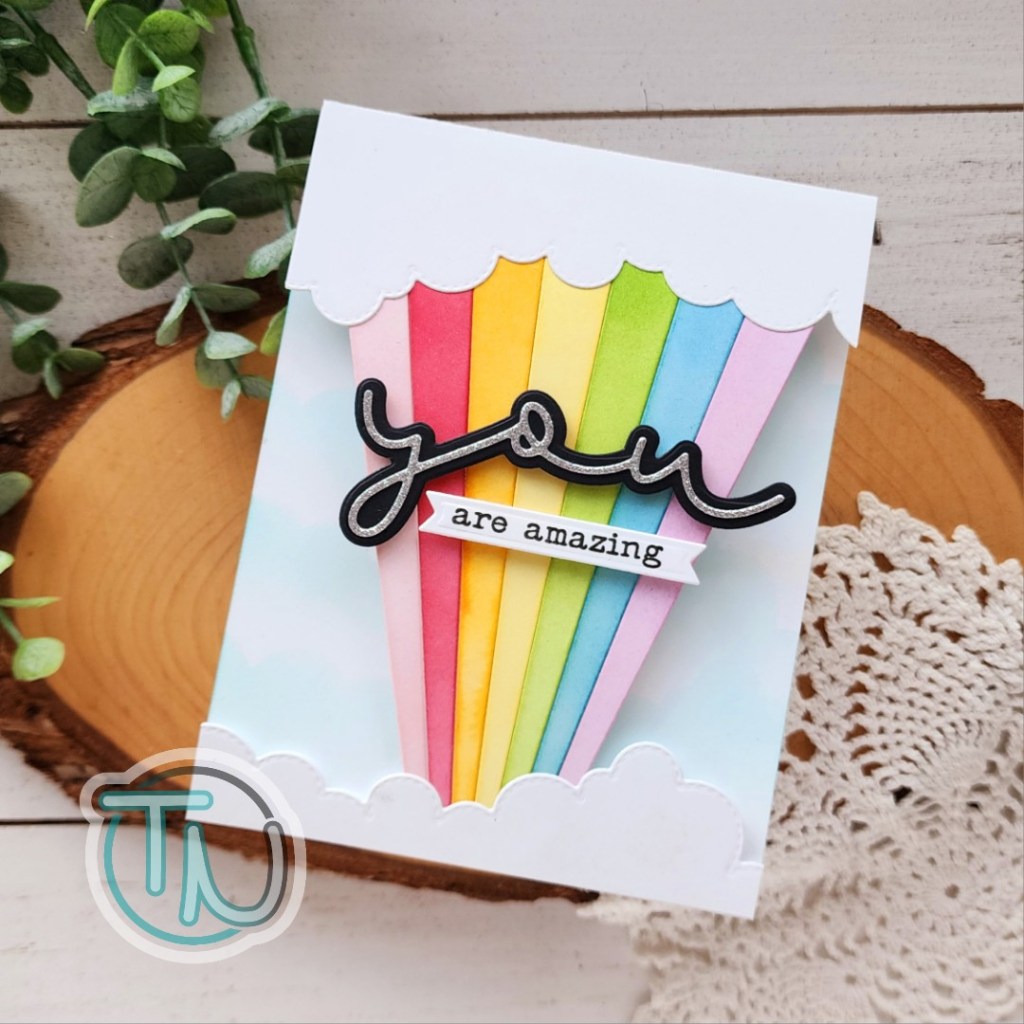
Trinity Stamps – You Are Amazing

Hello friends! We’re having another bit of snow this morning so I wanted to pop in and share some rainbows and happiness with you. My daughter and I are dreaming of summer and sunny days so this card definitely comes from that mind set.

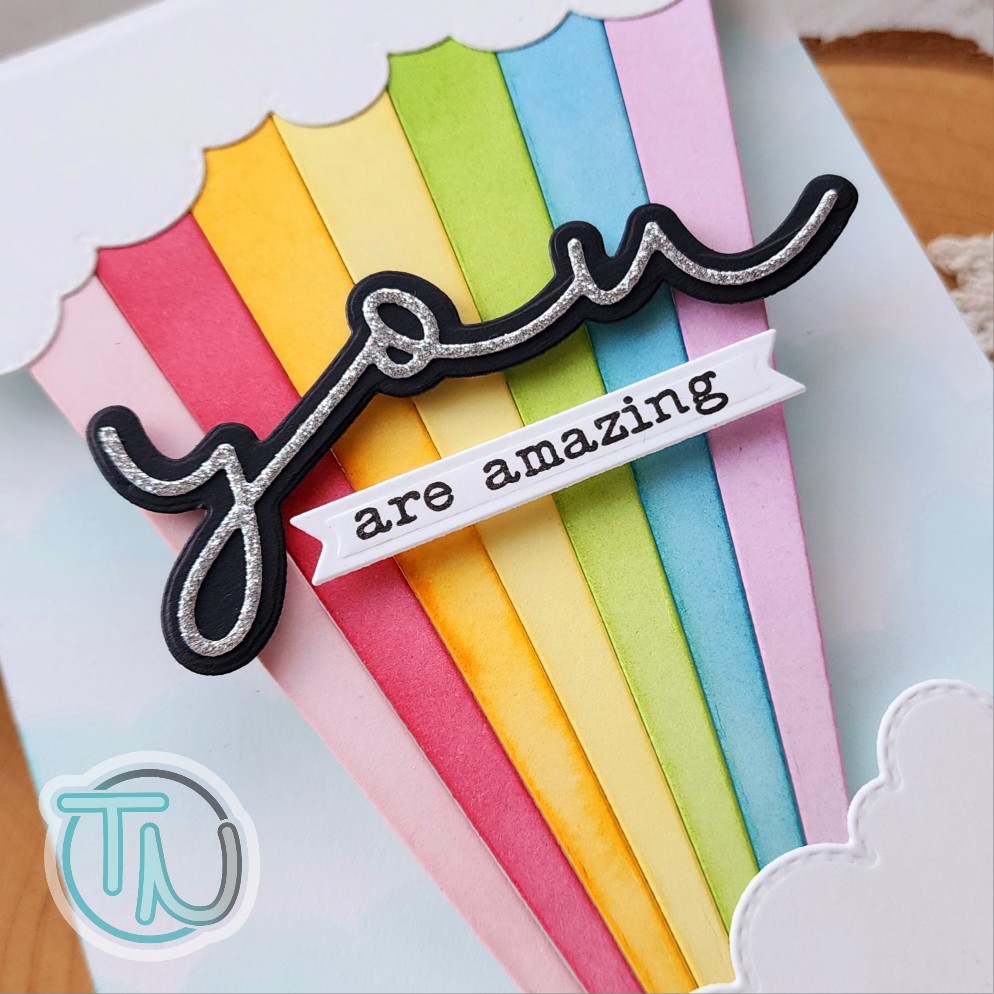
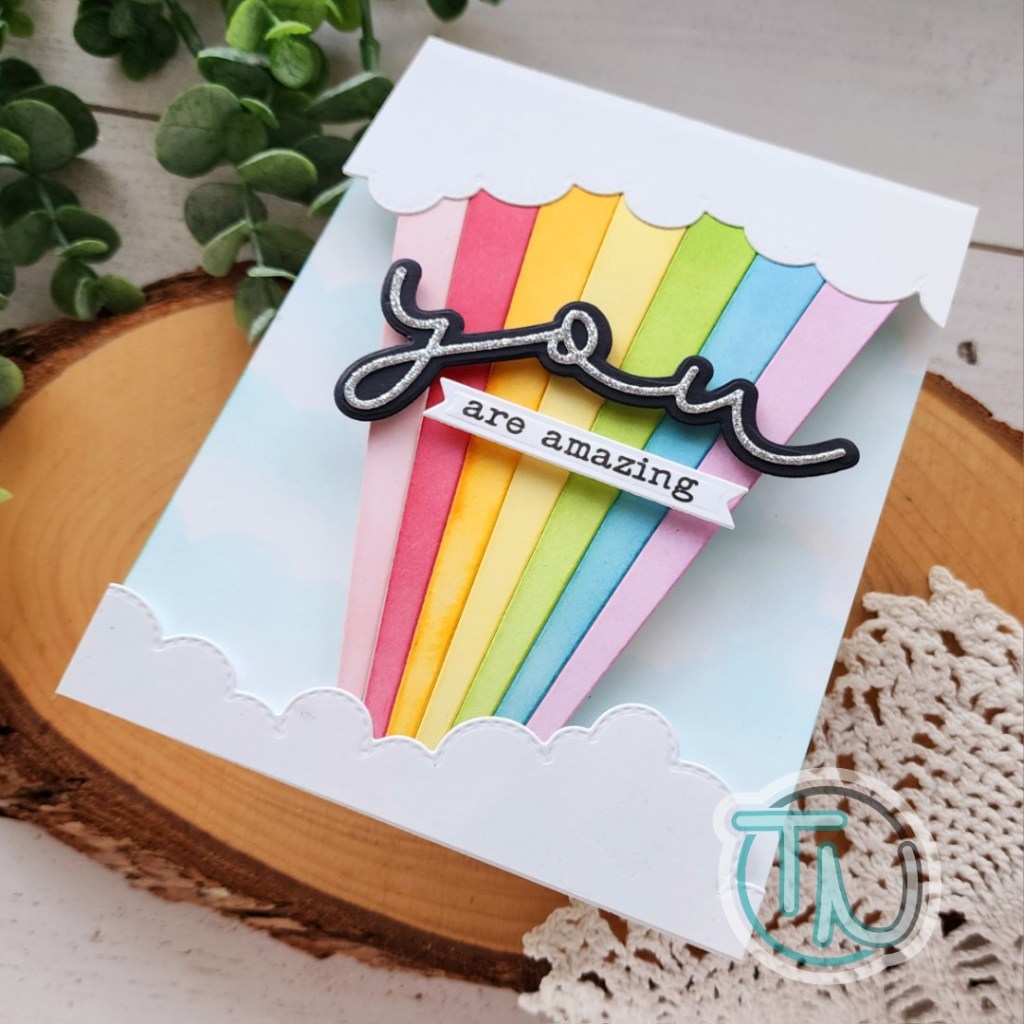
I used the new Trinity Stamps Ray Bow die set to create a fun see through front card. I started by cutting the rainbow rays from white cardstock and used blending brushes to add color to each one. Then I took a top fold A2 size card and used the cloud border die in the set to cut the front short. Using the rest of the card front, I cut another matching cloud strip, plus a second set for the bottom too.

I chose my sentiment from the Simply Sentimental – You stamp and die set. I stamped and cut the banner for the second part of the sentiment and die cut “you” from black and silver glitter cardstock. Now to assemble everything.

I glued the rays to the back of the short flap on the card front and then glued the second layer of clouds behind that. It keeps everything more secure and looks nicer on the inside too. Following the rays to the bottom I glued another set of matching cloud borders to that end as well. Next, I used foam squares and strips to add the sentiment to the rays.

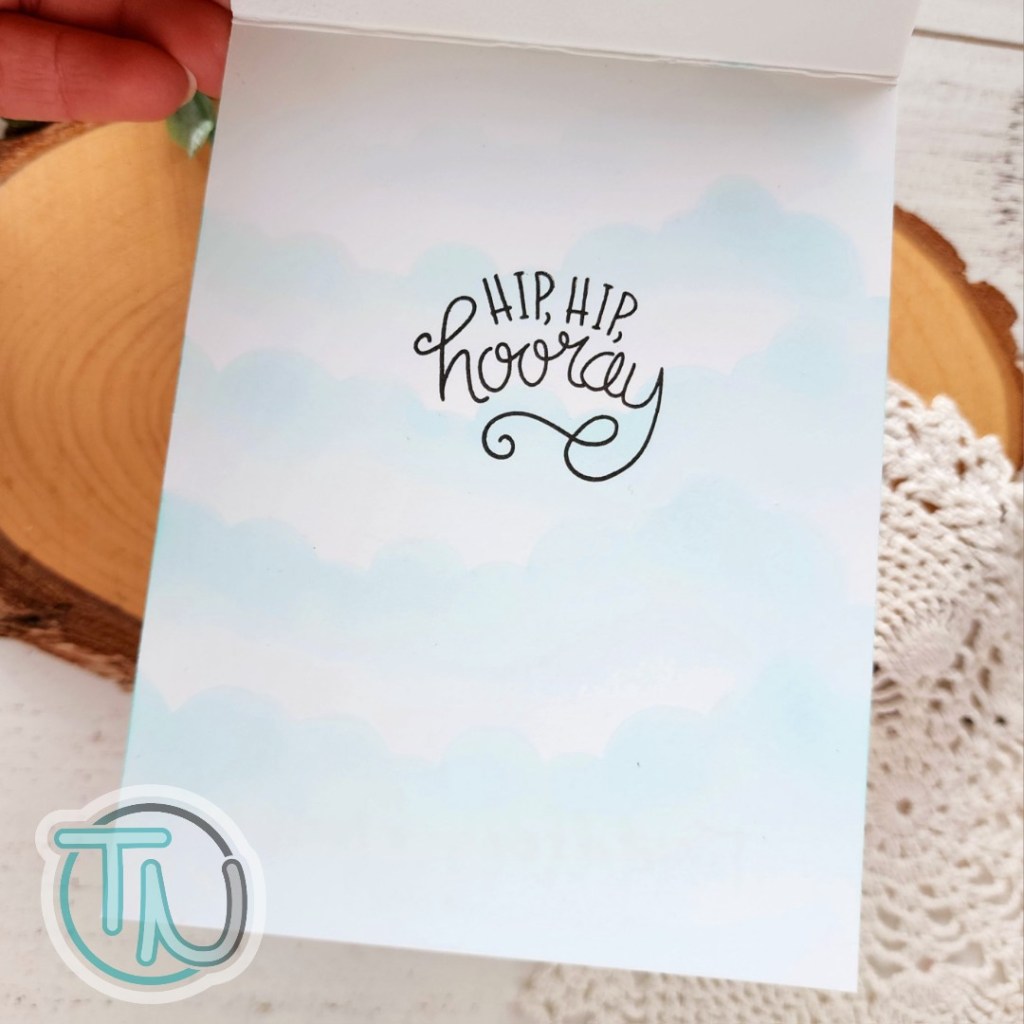
After using the excess from the front panel to cut those extra strips of clouds, I ended up with a scrap that had different cloud formations on each side. I used that as a stencil to ink light cloud borders all the way down the inside of the card. Then I added a sentiment from Newton’s Nook on the inside.

Products used today:
Ray Bow dies
Simply Sentimental – You stamps and dies
Newton’s Nook Uplifting Wishes stamps
Blending brushes
Liquid glue

I appreciate you sharing your time with me. Have a fabulous day!
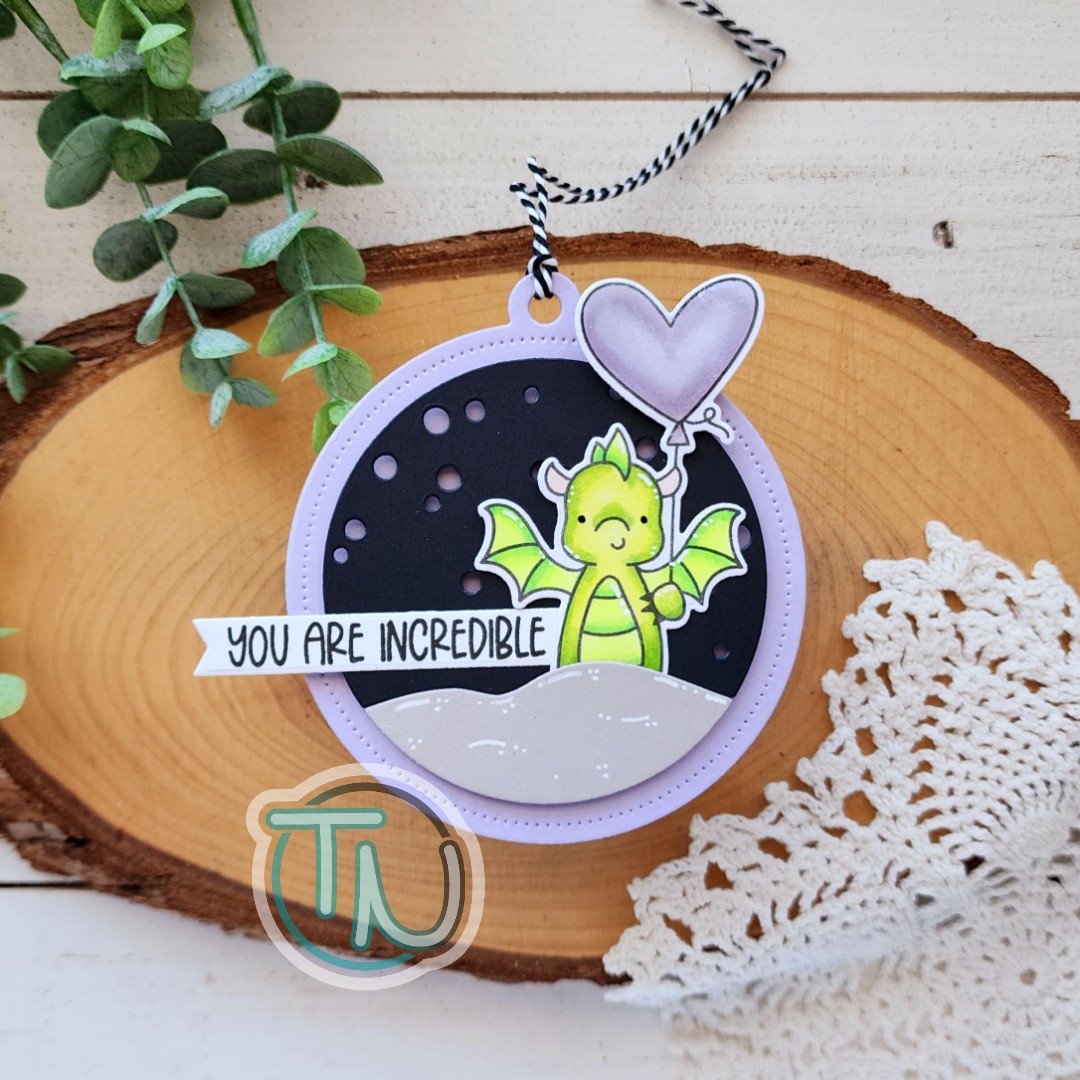
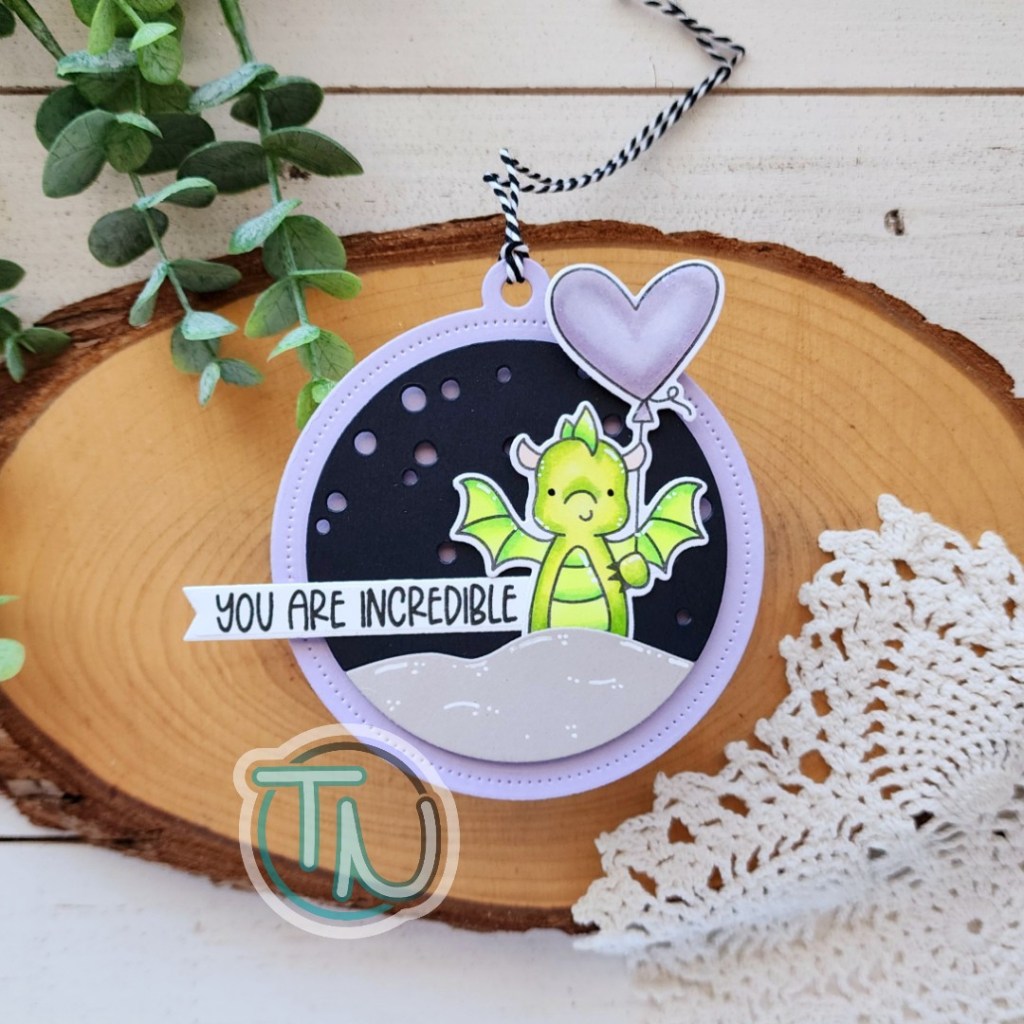
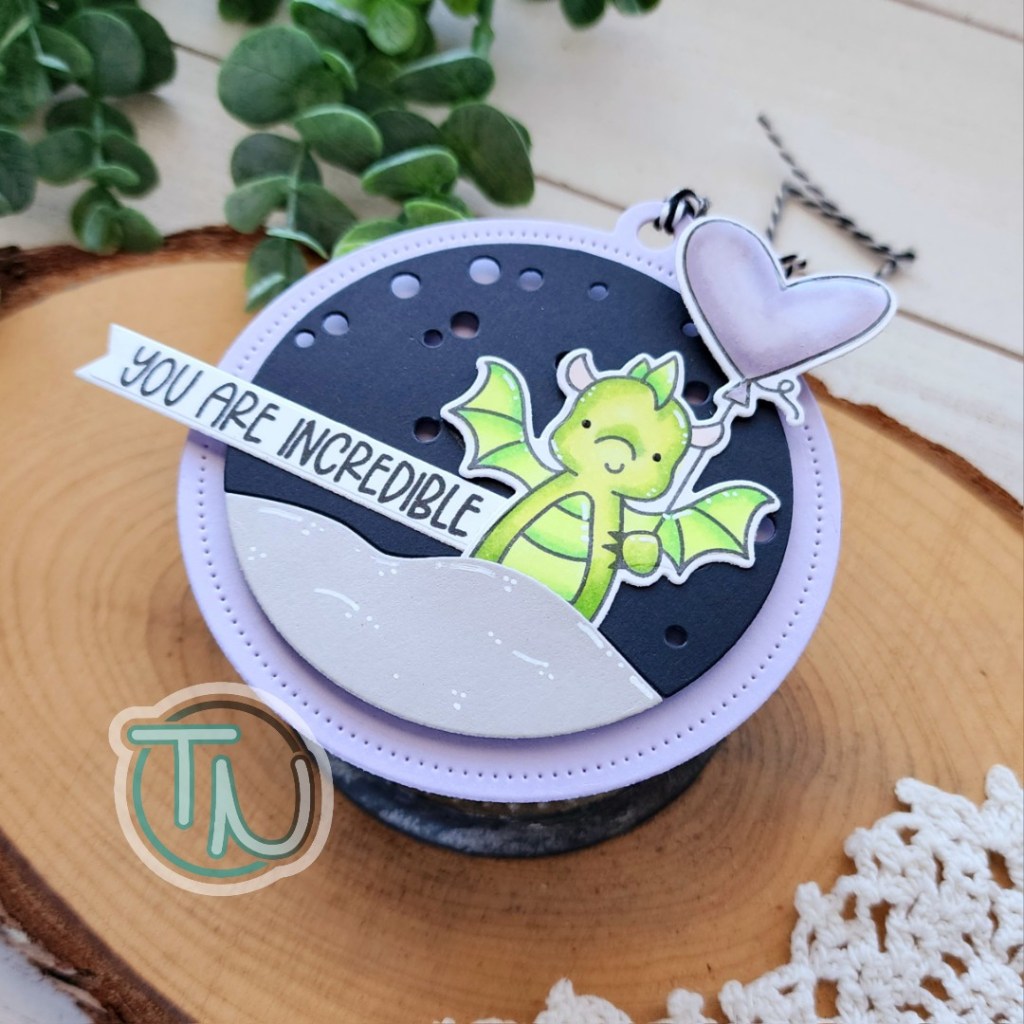
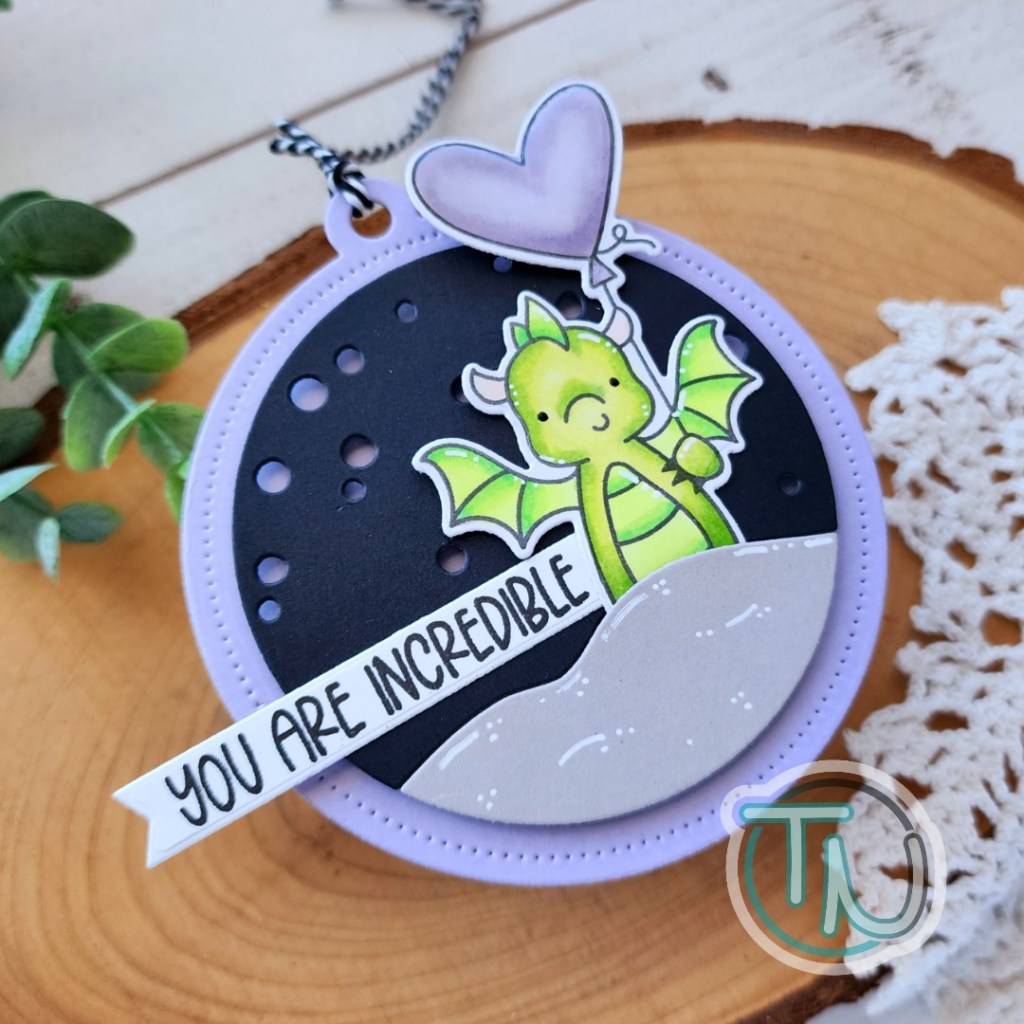
Avery Elle – You Are Incredible Tag

Hello everyone! I’m so glad you’re here today. This week’s #tagtimesaturday features stamps and dies from Avery Elle. This is one of my favorite companies that I feel like I don’t find the time to create with enough. So when this idea came to mind I was very excited to start crafting!

We are hosting the competition this weekend that this tag is for. And since yours truly runs the gift table, I know what my daughter’s delivery gift will be so I took the opportunity to create a coordinating gift tag.

I started by stamping and coloring the sweet image from Dragon Love with my copic markers. I used the coordinating dies to cut him out and set him aside. Then I cut the elements for my tag using the Snowy Tags dies.

I cut the background piece from purple to match the way I colored the dragon’s balloon. Then I cut the scene elements from black and gray cardstocks. I used foam squares to add those to the purple tag and tucked the dragon into the ground piece.

Next, I went looking for an appropriate sentiment and found this gem in Banner Celebrations. I cut a small banner and stamped it before tucking the end behind the dragon and gluing it in place.

For finishing touches today I added black glaze pen to the dragon’s eyes and then white gel pen highlights all around the dragon and the ground. I covered the balloon with glossy accents so it’s really shiny in the light too. So fun!

Products used today:
Dragon Love stamps and dies (on sale, retiring)
Snowy Tags dies
Banner Celebrations stamps
Foam squares
Glossy accents

I appreciate you sharing your time with me. Have a fabulous day!
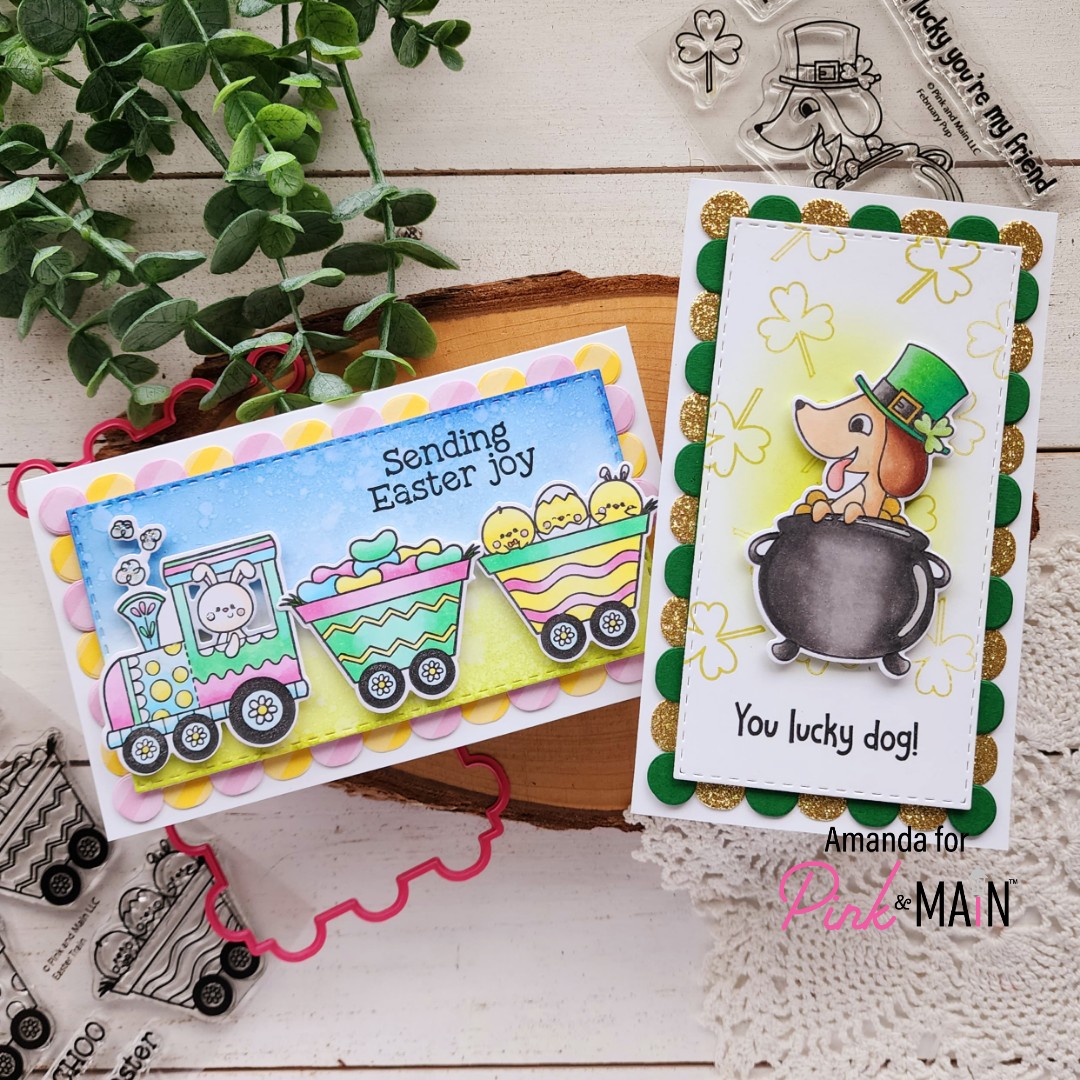
Pink & Main – Layered Scallops Mini Slimline Cards

Hello again! Today I’m over on the Pink & Main blog sharing two versions of the mini slimline layered scallops die set. I’m totally loving these dies and how adorable the borders they create are! I paired them with the freebie of the month and the stamp and die of the month subscription.

I had so much fun creating both of these cards! I started with the St. Patrick’s Day cuteness because I really wanted to see the scallops in gold glitter and green. Aren’t they so fun!?!

After cutting the scallop layers and gluing them together I pulled out the new stitched mini slim rectangles set 2 and found the one that fit just inside the scallops. I cut that from white and stamped the shamrock in the February Pup stamp set with The Park ink – first and second generation for different darknesses. Then I used a blending brush and inked a little shadow with the same ink. I stamped the sentiment on the bottom and popped the panel up with foam tape.

I stamped and colored the pup with my copic markers and used the coordinating die to cut him out before popping him up with foam squares.

Then, for finishing touches I added Touch of Gloss to the puppy’s eyes and tongue, shine spots on the pot and buckle on the hat. Then I used Wink of Stella glitter brush pen on the shamrock in his hat and the coins in the pot.

For my second card, I created the scallops using striped paper from the Year Round Dots & Stripes paper pad. I cut another stitched mini slim rectangle and inked it with a blending brush using The Park and Barbershop ink pads. I stamped images from Easter Train and colored them with my copic markers.

I used the coordinating dies to cut them out and assembled everything with EZ Squeeze liquid glue and foam tape or squares. Honest to goodness, I forgot about my sentiment until the end so I placed my card in my MISTI and held my breath. It stamped beautifully but I highly recommend doing that before adding it to your scallop layers.

For finishing touches on this card I used Touch of Gloss on things like flower centers, dots and stripes. Then I added stardust Stickles to all cheeks and steam clouds. Isn’t this Easter train just the cutest ever!

What would you create with these sweet mini slim scallop dies???

Products used today:
Layered Scallops Mini Slim dies
Stitched Mini Slim Rectangles Set 2 dies
Easter Train stamps and dies Stamp of the Month
February Pup stamps and dies – freebie for February with qualifying purchase
Ink pads – The Park and Barbershop
Cardstock – On the Green
Year Round Stripes and Dots paper pad
Touch of Gloss
Ergonomic Blending Brush
EZ Squeeze liquid glue
Foam tape and squares
Stickles – stardust

I appreciate you sharing your time with me. Have a fabulous day!
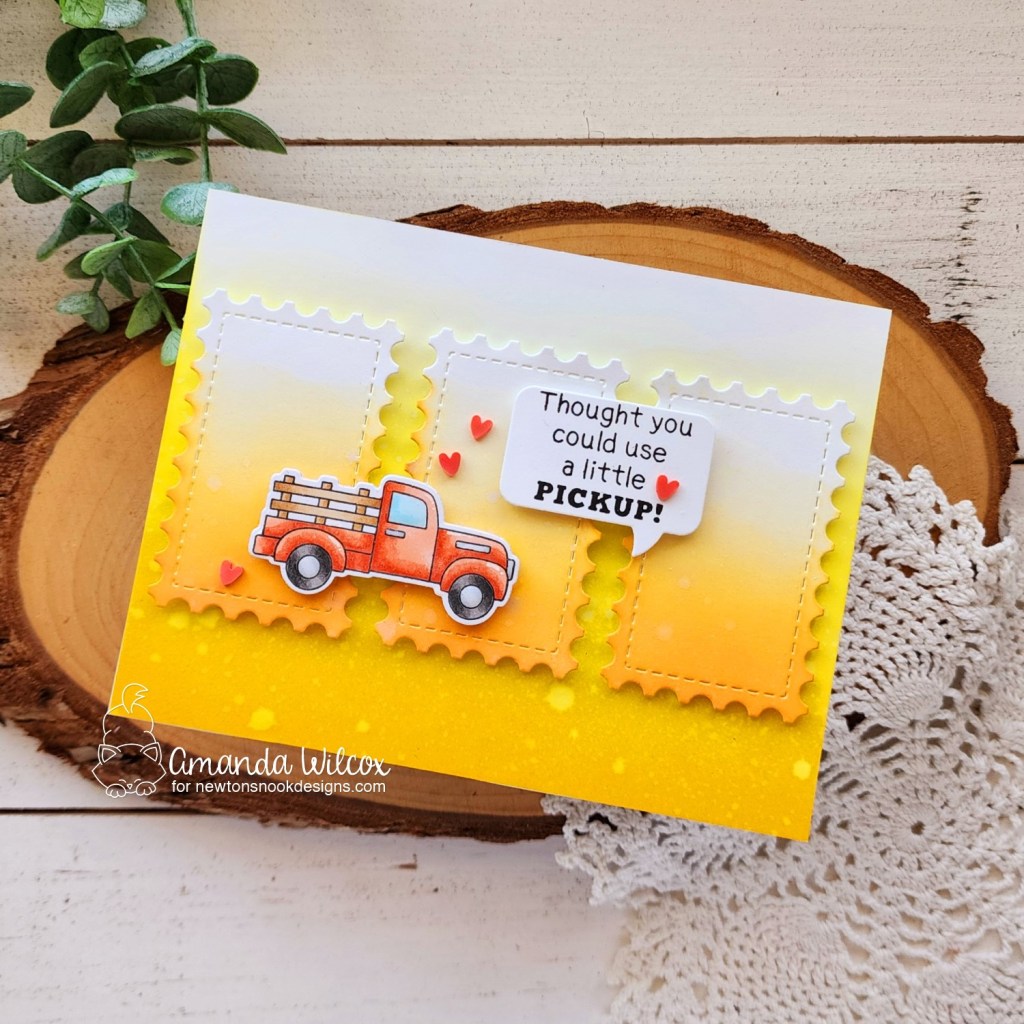
Newton’s Nook – A Little Pickup

Welcome friends! Today I’m over on the Newton’s Nook blog sharing a little “pickup” card for someone who could use a smile. Oh, goodness I love a good pun! This Farming Fun set from Newton’s Nook is not short on them either! They’re so good!

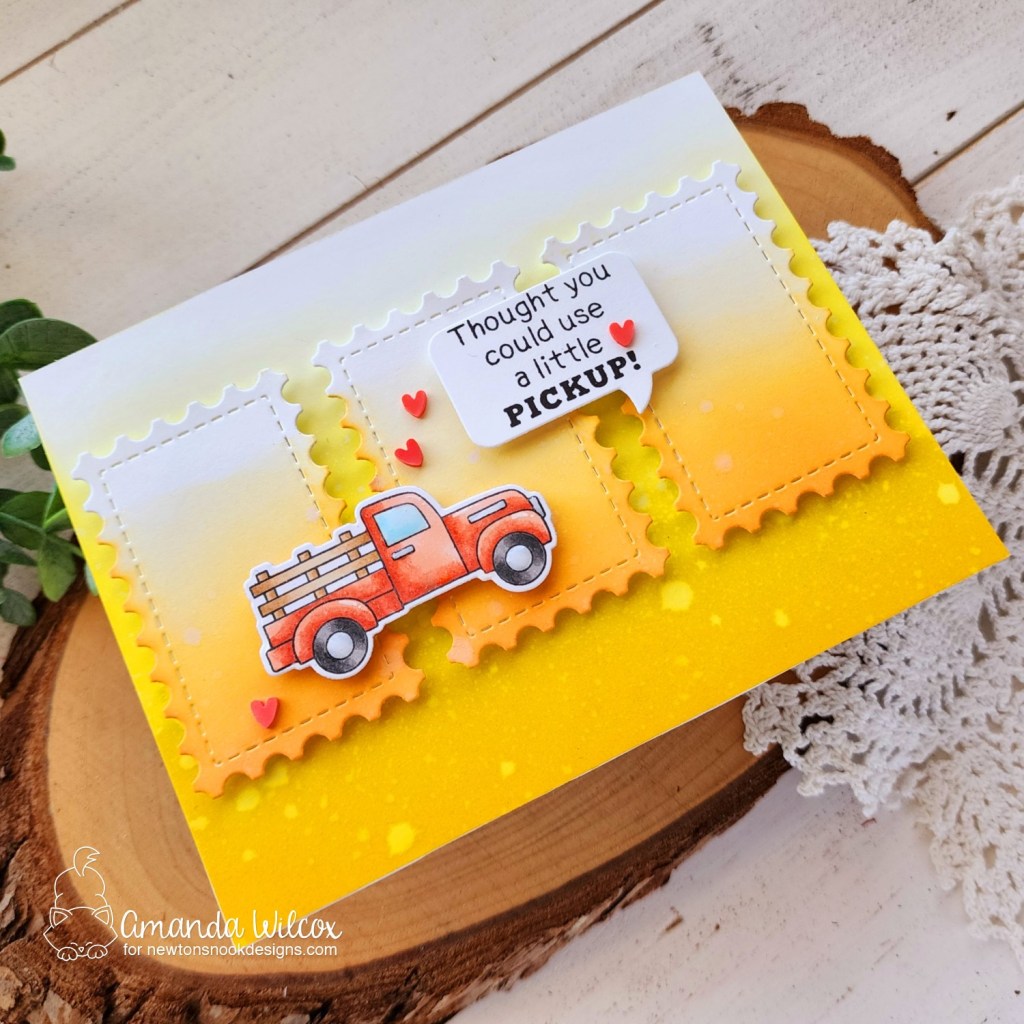
I thought a sunshine feel for my card giving a “pickup” could use some warm tones, so that’s what I stuck to for my color palette. I stamped and colored the truck with copic markers and cut it out with the coordinating die. The speech bubbles are solid dies so I cut that out and then stamped the sentiment on it.

For my background panel, I blended distress oxide ink in mustard seed and squeezed lemonade fading to nothing at the top. Then I cut 3 of the next-to-smallest die in the Framework set and blended distress oxide ink in carved pumpkin, fading up to nothing. I spritzed them all with a distress sprayer and let them dry.

Next, I adhered the background panel to a card base and popped the rectangles up with foam tape. Finally I added the truck and speech bubble with foam squares.

For finishing touches I added red clay hearts from the Twiddler’s Nook Sweethearts embellishment mix with liquid glue. Then I came in with a bit of glossy accents on parts of the truck -anything “metal” and the window.

Products used today:
Farming Fun stamps and dies
Framework dies
Speech Bubbles dies
Distress Oxide Ink – mustard seed, squeezed lemonade, carved pumpkin
Foam tape and squares
Glossy accents
Liquid glue
Sweethearts clay embellishments

I appreciate you sharing your time with me. Have a fabulous day!