Ellen Hutson – Merry Christmas Reindeer Die Cut Card

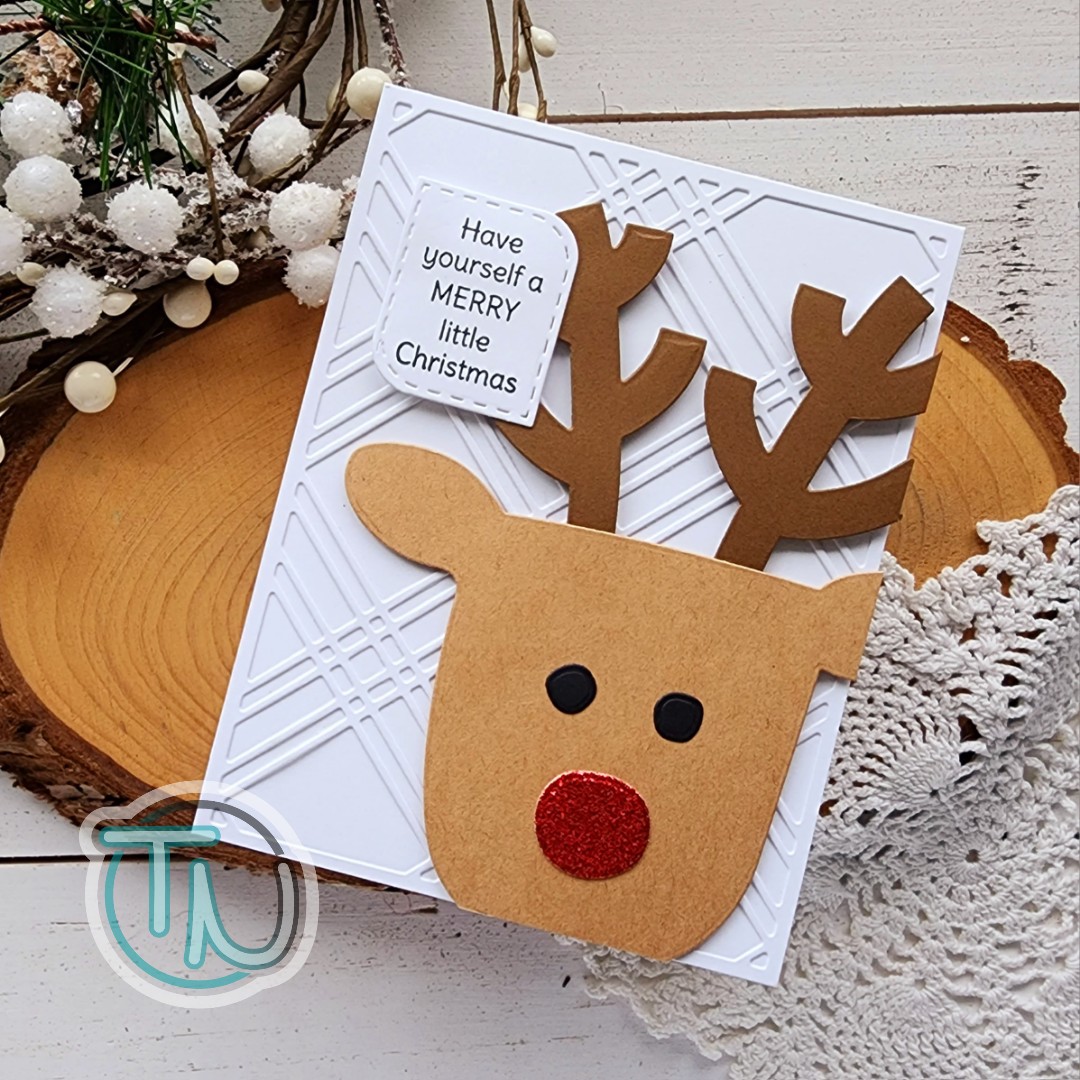
Welcome to my crafty space! I’m so glad you’re here today! I have a (mostly) die cut card to share with you today that is totally adorable and super fun! I used the new Ellen Hutson Sew Cute Deer die set with paper instead of felt stitching. Don’t worry, I’ll be stitching him up in felt very soon too! I just love making those fun ornaments!
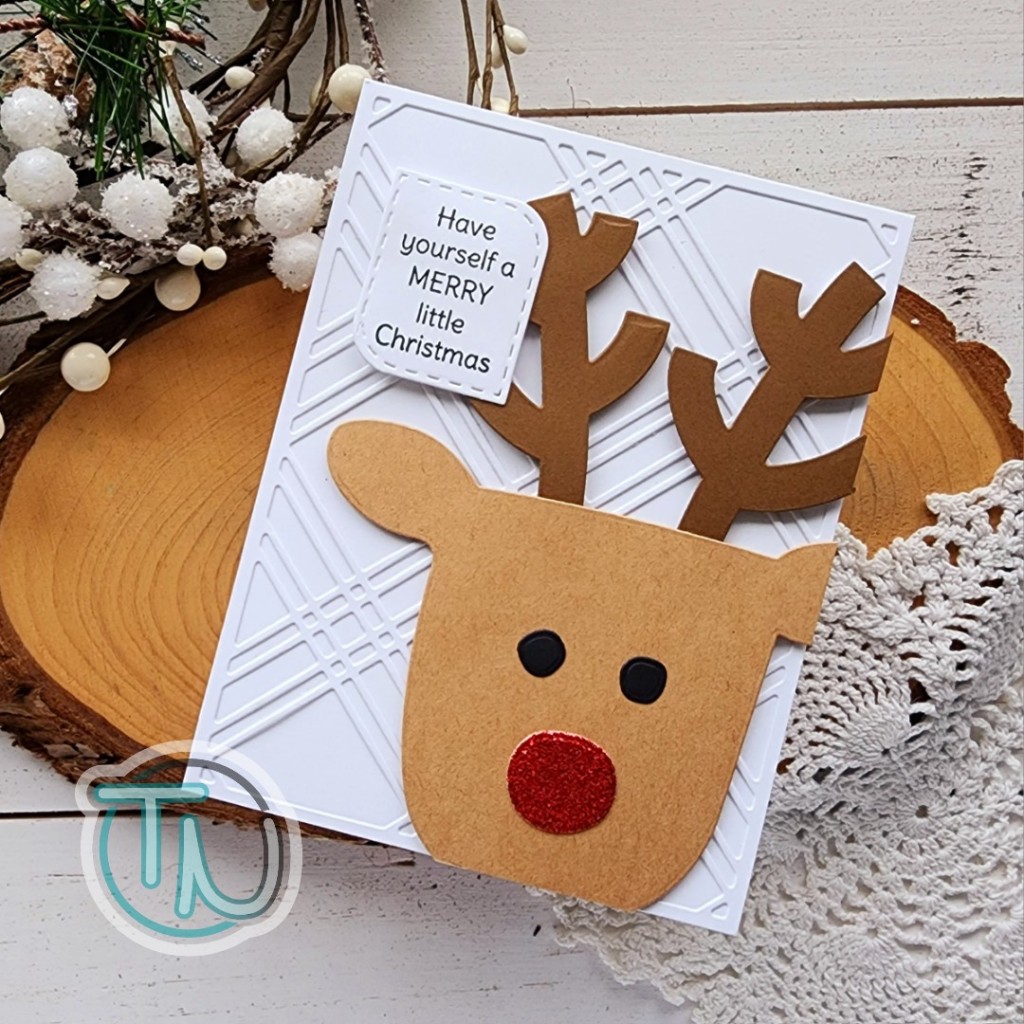
Today though, I have this really fun card to share using him as a fabulous focal point on your Christmas cards! I cut all the pieces from various cardsotck colors, using glitter cardstock for the nose. I used liquid glue to adhere all the pieces together and set him aside.
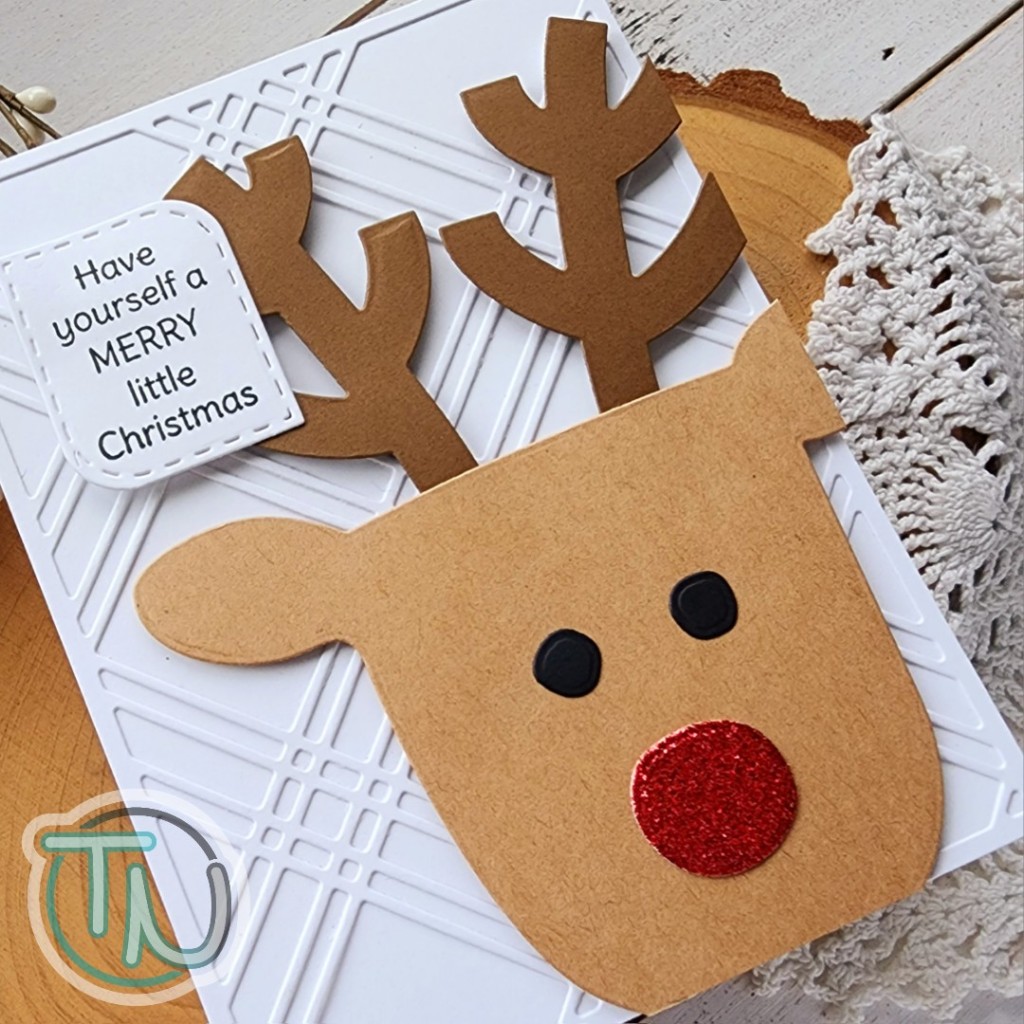
Then I cut a piece of white cardstock from the Pink & Main Plaid cover die and adhered it to a white card base. Next, I stamped the sentiment and used a Pink & Main Mod Stitched Rectangle die to cut it out. Laying the reindeer and sentiment on my card front, I decided on placement. Holding the reindeer in place, I flipped it over and made marks where I would be trimming it off. This helped me keep the foam tape inside those areas to pop him up.
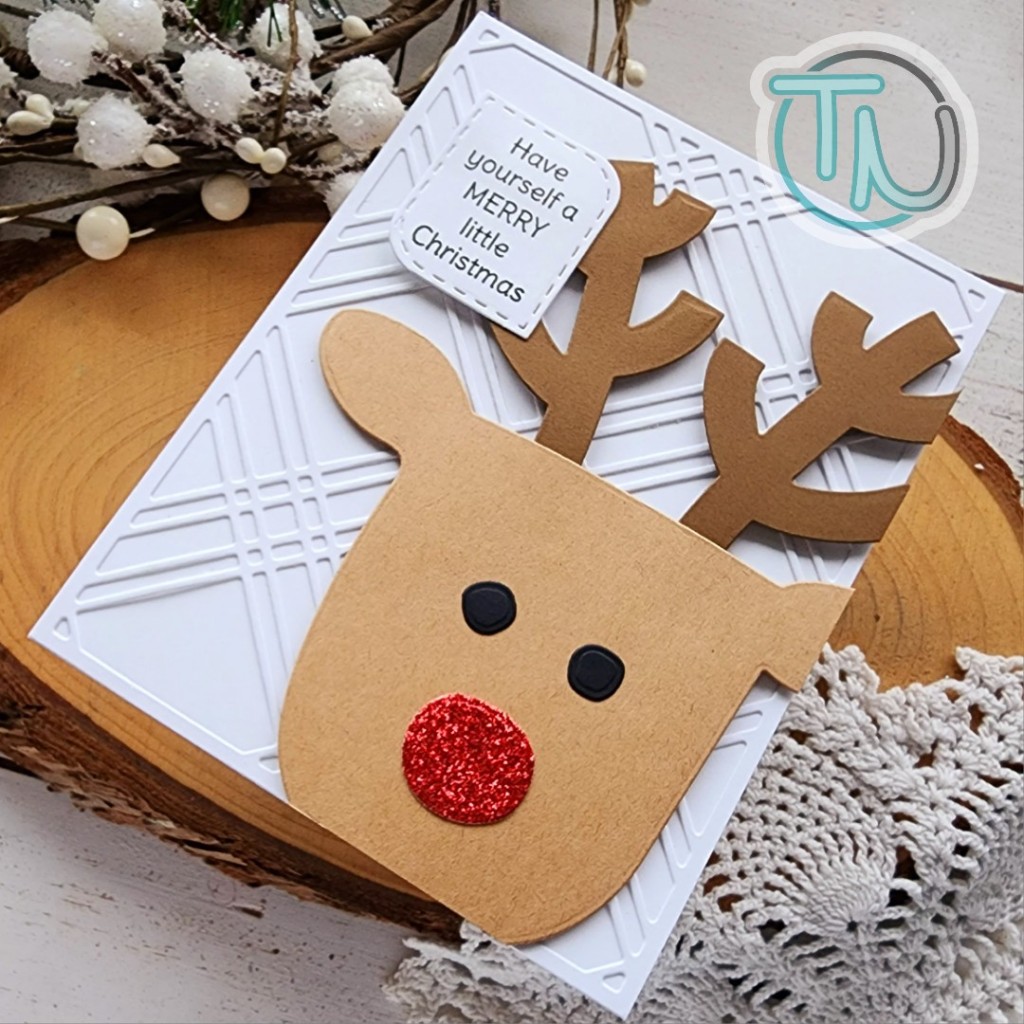
So, then I added the foam tape, adhered the reindeer and trimmed the edges. I used a combination of foam squares and liquid glue to adhere the sentiment rectangle.

Isn’t this just adorable and fun!?! It would be a fun design to mass produce if you have a lot of cards to make but still give great visual texture and interest.

Products used today:
Ellen Hutson Sew Cute Deer dies
Ellen Hutson It’s Christmastime stamps
Pink & Main Plaid cover die
Pink & Main Mod Stitched Rectangle dies
Liquid glue
Foam tape

I appreciate you sharing your time with me. Have a fabulous day!
Lawn Fawn – Fortune Teller Tabby

Happy weekend crafty friends! I”m back with another Tag Time Saturday because, you guessed it, we are headed to another dance competition for me daughter.

After last time and finally getting to see the shows for the first time I switched gears to play off one of the girls’ performances for today’s tag.

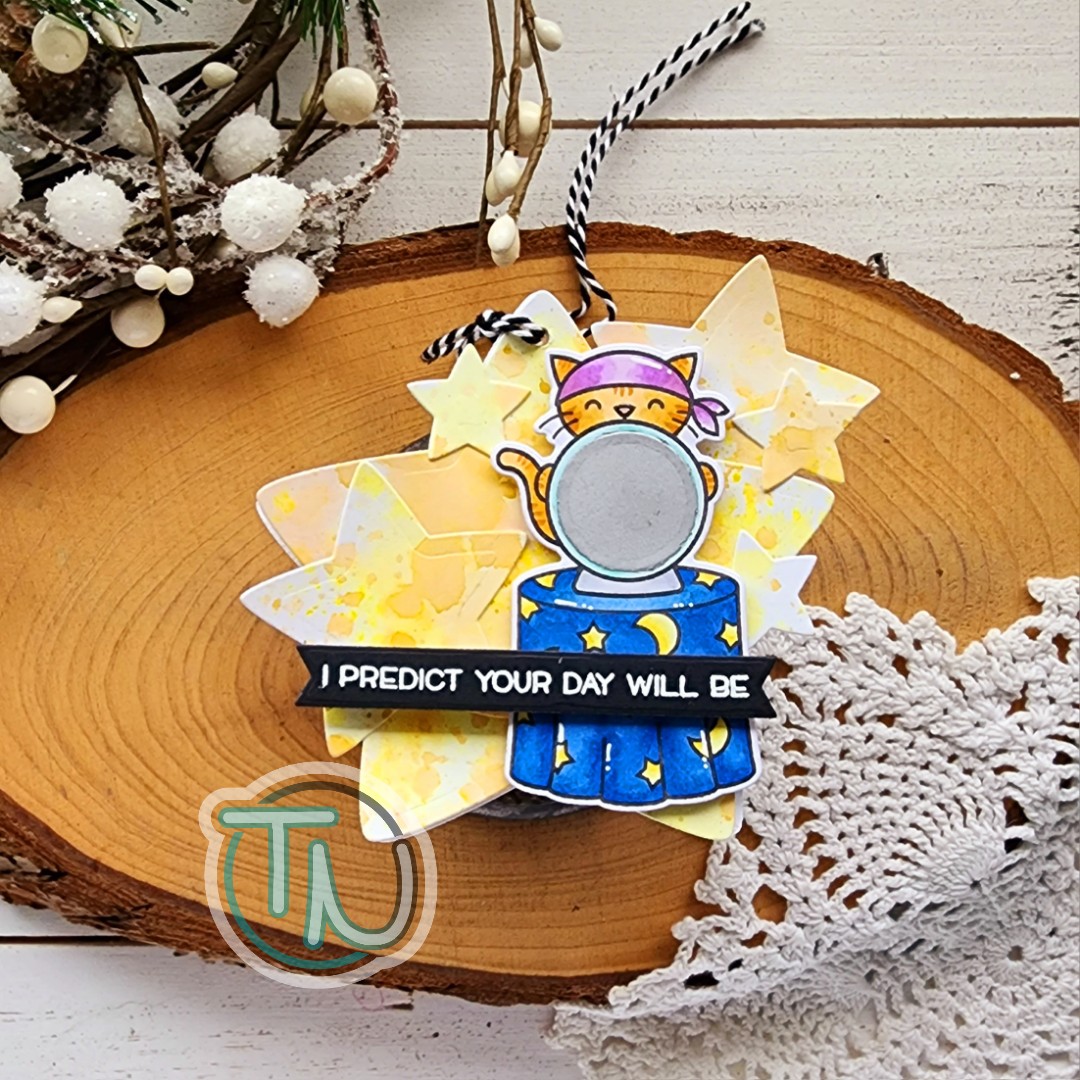
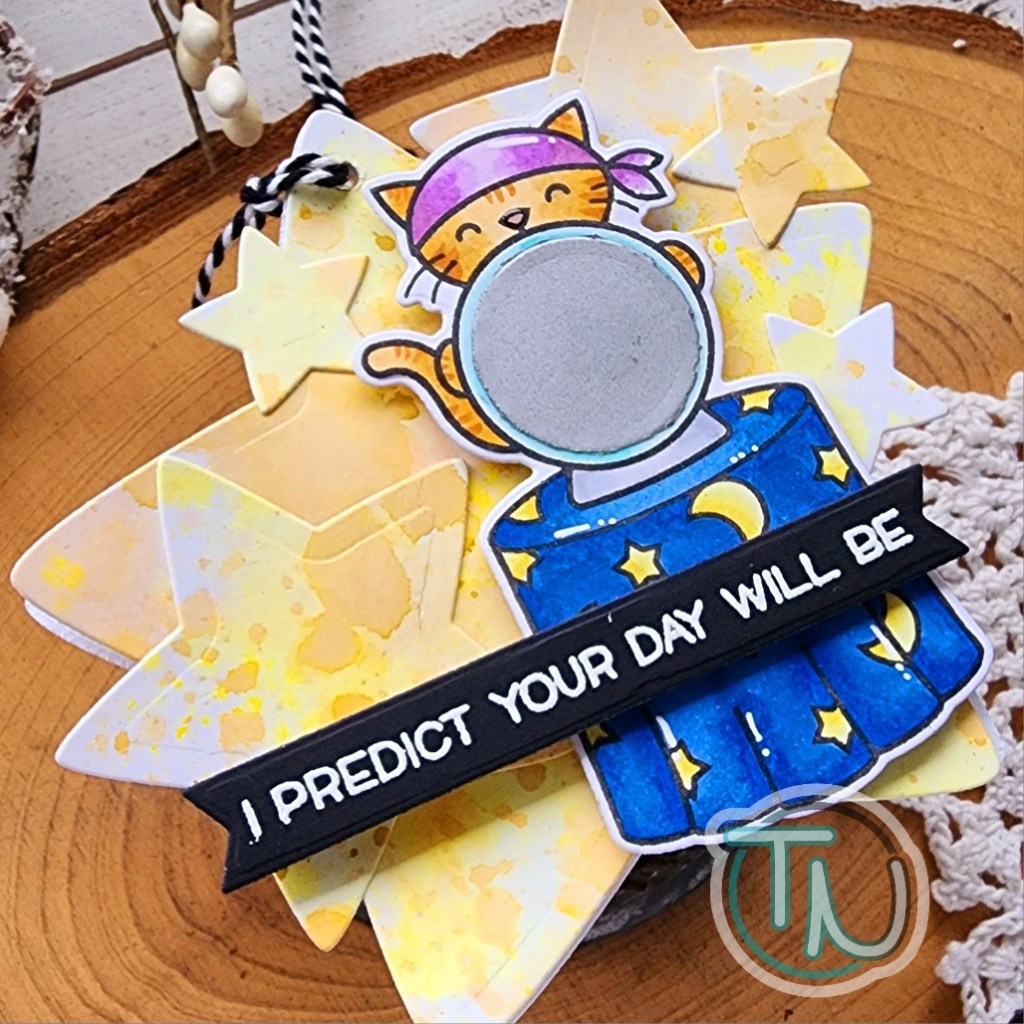
I started with the Lawn Fawn Fortune Teller Tabby set and stamped the kitty to color with my copic markers. After that, I used the coordinating die to cut her out. I stamped and heat embossed a sentiment, using a sentiment strip die to cut that out too.

For my tag shape, I used the Lawn Fawn Puffy Stars dies. I took a scrap of white cardstock and ink smooshed different yellows all over it. Then I cut three sizes of stars from the panel plus two additional white stars from the largest one. I used liquid glue to adhere all the inked stars together and popped my fortune teller up with foam squares. I used a combo of liquid glue and foam strip to add the sentiment.

On one of the white stars, I stamped a sentiment from Lawn Fawn Lucky Stars and wrote a message to my daughter. Then, on the second white star I wrote her name and school so they know where to deliver it to. I layered them together and used a Fiskars punch to punch a hole and thread baker’s twine through.

To add a little whimsy to the fortune teller theme, I took the Pink & Main scratch off sticker sheets and die cut a circle to stick over the crystal ball. I used washi tape to stick a Pink & Main scratcher to the inside star so she can reveal the secret message when she gets it!

For finishing touches I just added glossy accents to the kitty’s nose and white gel pen highlights to the image.

Products used today:
Lawn Fawn Fortune Teller Tabby stamps and dies
Lawn Fawn Puffy Stars dies
Lawn Fawn Extra Sentiment Strip dies
Lawn Fawn Lucky Stars stamps
Pink & Main Scratch Off sticker sheet
Pink & Main Magic Anti-static brush
Pink & Main Frosting embossing powder
Pink & Main Embossing and Watermark ink
Pink & Main Scratchers
Foam squares and strips
Glossy accents

I appreciate you sharing your time with me. Have a fabulous day!

Ellen Hutson/Newton’s Nook – Greetings from the North Pole

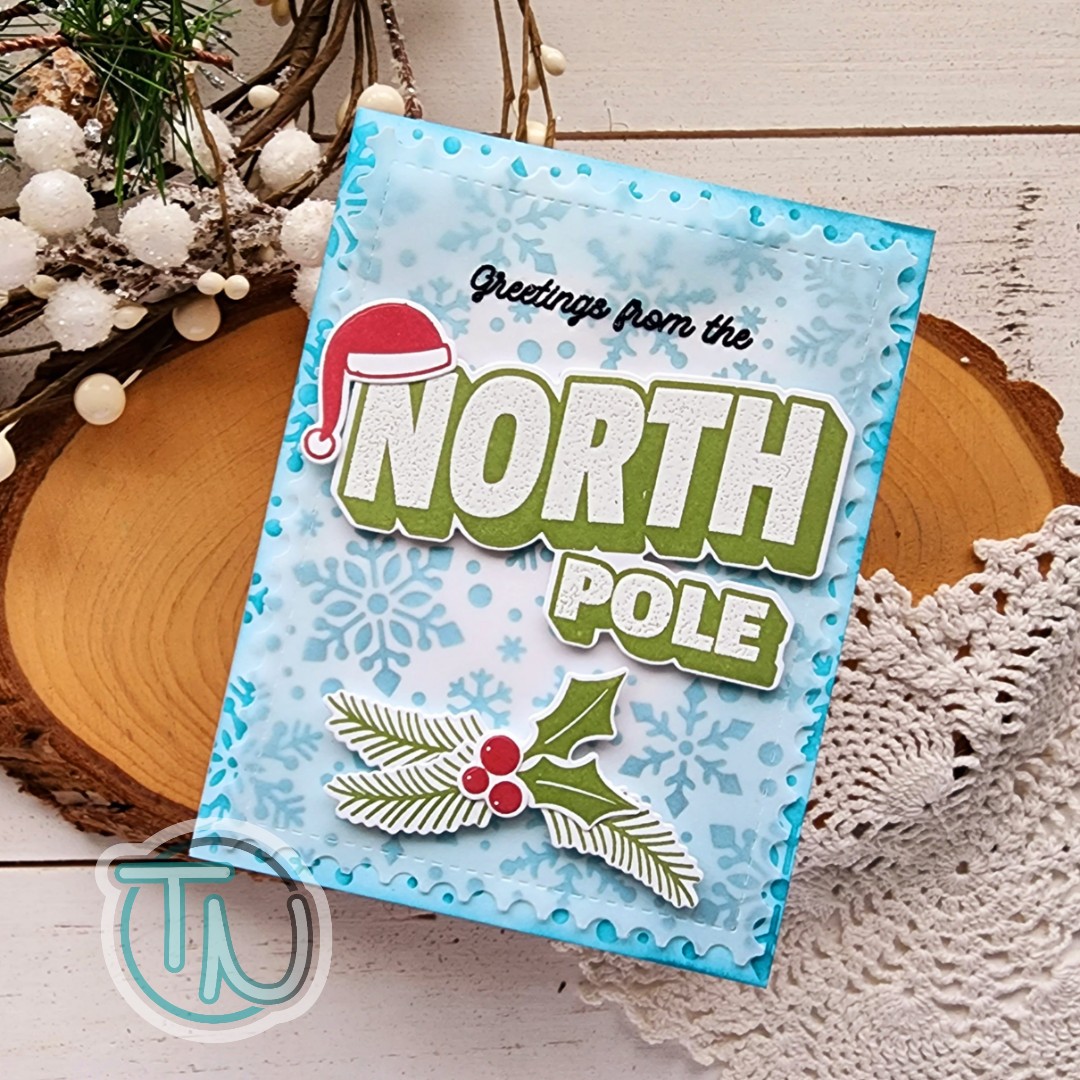
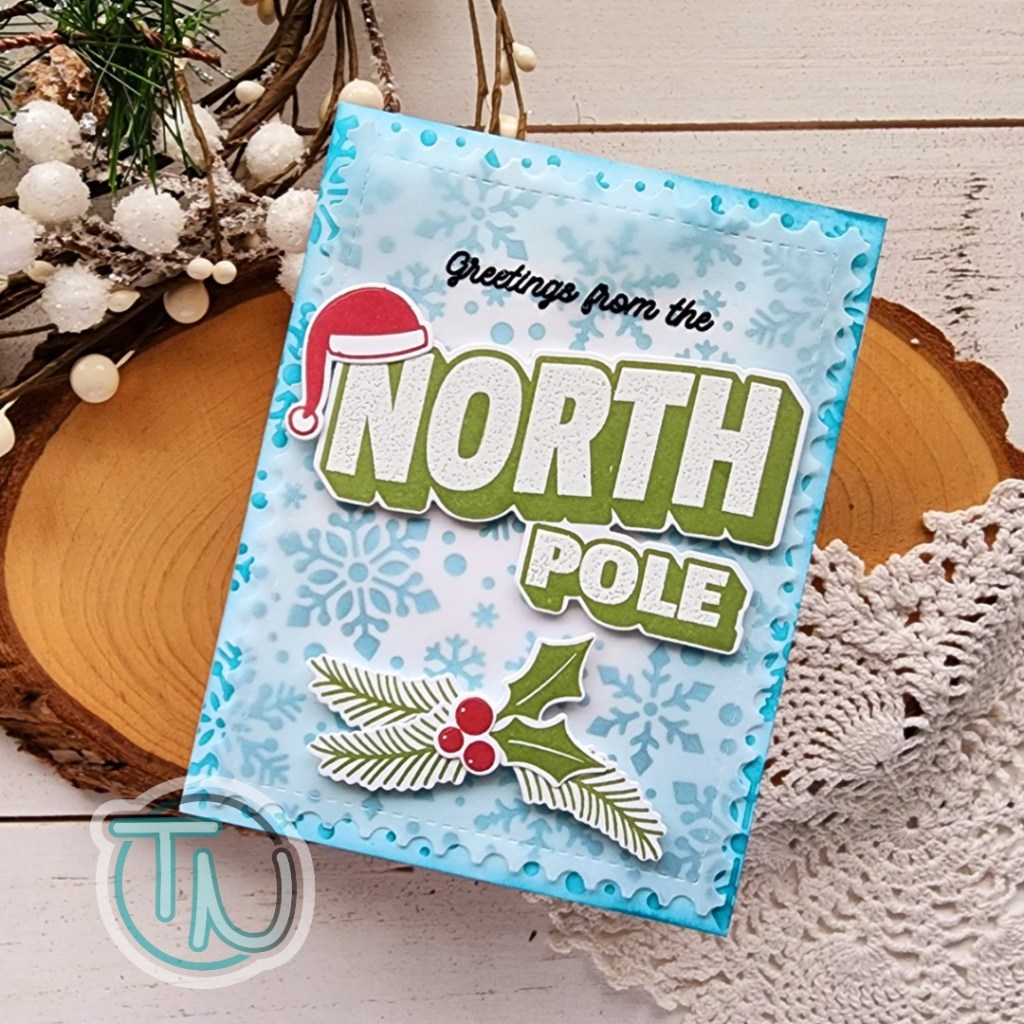
Hello everyone. Thanks for stopping by today. I was able to play with some new things that have been sitting on my desk for a minute this last weekend and I’m excited to start sharing them with you. Today I have a card featuring one of the new amazing sets from Ellen Hutson. It’s a little out of my comfort zone to try stamping in color rather than grabbing my copics and coloring everything in. But I really had a blast playing around and creating this card.

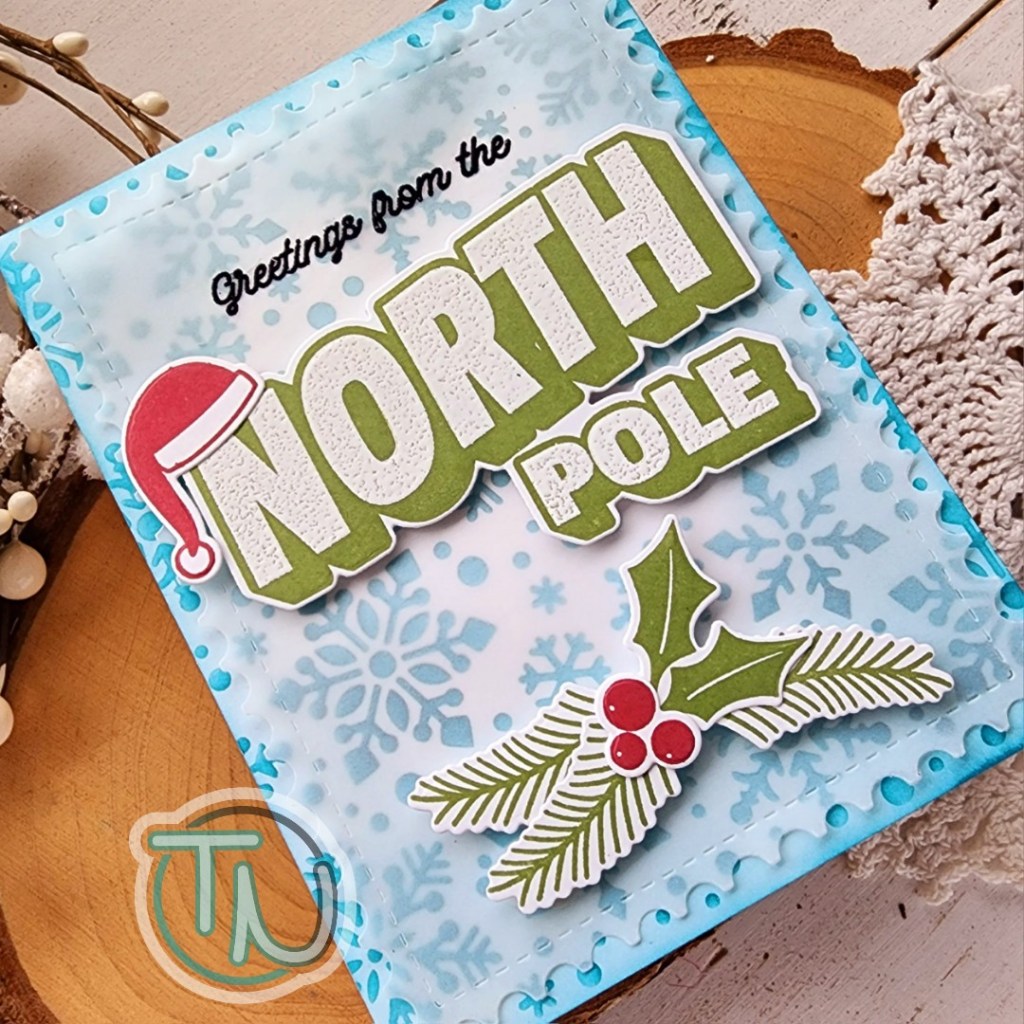
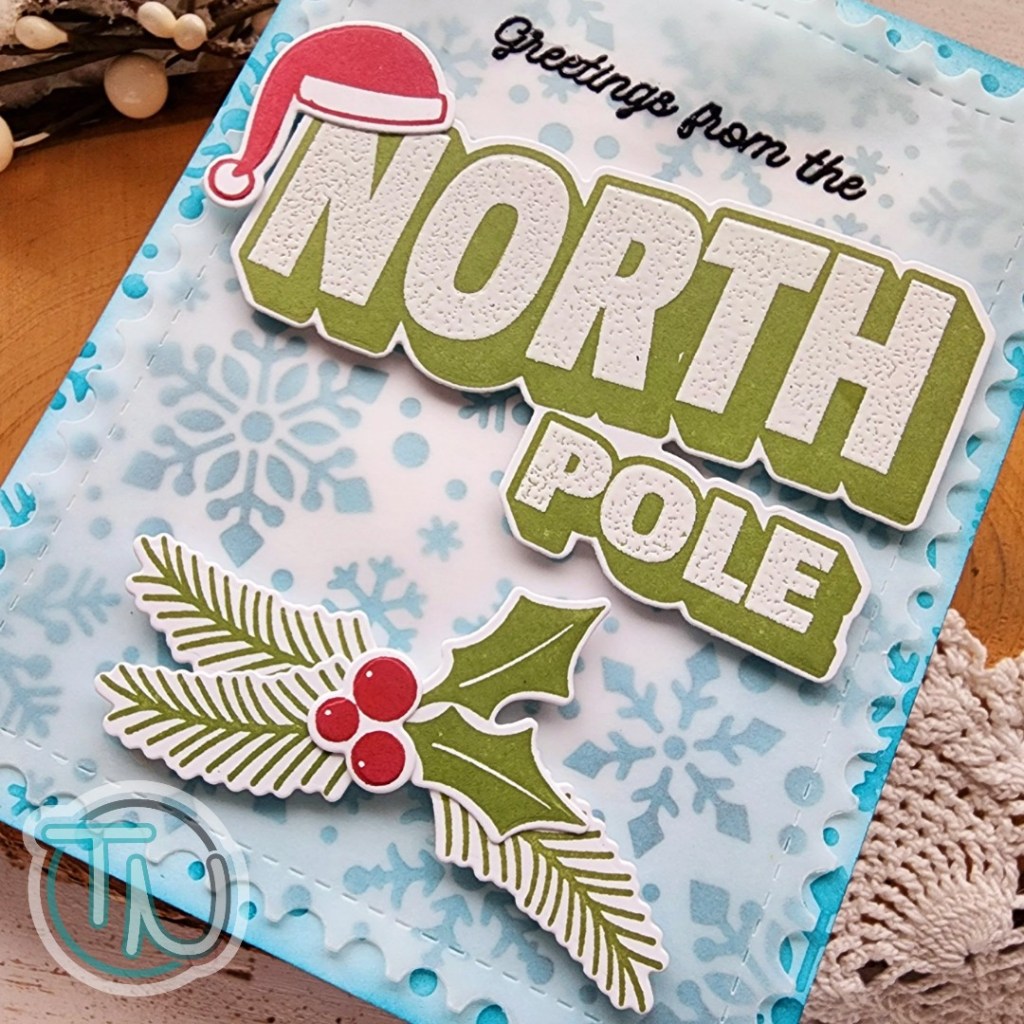
The stamp set is called North Pole Greetings. I used Catherine Pooler inks to stamp the images and Pink & Main embossing powder for the words. I cut everything out with the coordinating dies and liquid glue to adhere the little pieces together.

For my background, I inked up a white panel with the Newton’s Nook Snowfall stencil and more Catherine Pooler ink. Once the stenciling was finished, I used the ink left in my blending brush to add a little color around the edges and take away the stark white. Then I die cut the largest Newton’s Nook Framework die from vellum and heat embossed the rest of my sentiment in black.

I adhered the stamped images to the vellum with foam squares and hid tape runner behind them on the vellum to attach that to the stenciled panel. Then I added the panel to a white card base and my card is all finished.

Isn’t this super cute! I just adore that “greetings from” sentiment for Christmas. I think it’s whimsical and sweet.

Products used:
Ellen Hutson Greetings From stamps and dies
Newton’s Nook Snowfall stencil
Newton’s Nook Framework dies
Catherine Pooler Ink – Zen Garden and Urban Oasis mini collections
Foam squares
Liquid glue
Twiddler’s Nook Blending brush
Pink & Main embossing powder – licorice and frosting
Pink & Main Magic Anti-static brush
Pink & Main Watermark & Embossing ink

I appreciate you sharing your time with me. Have a fabulous day!

Pink & Main – Santa Claws is Coming to Town

Hello everyone! I’m over on the Pink & Main blog today shopping my stash for some adorable Christmas critters. I can’t believe it but I still need more Christmas cards this year! How are you doing on your list?

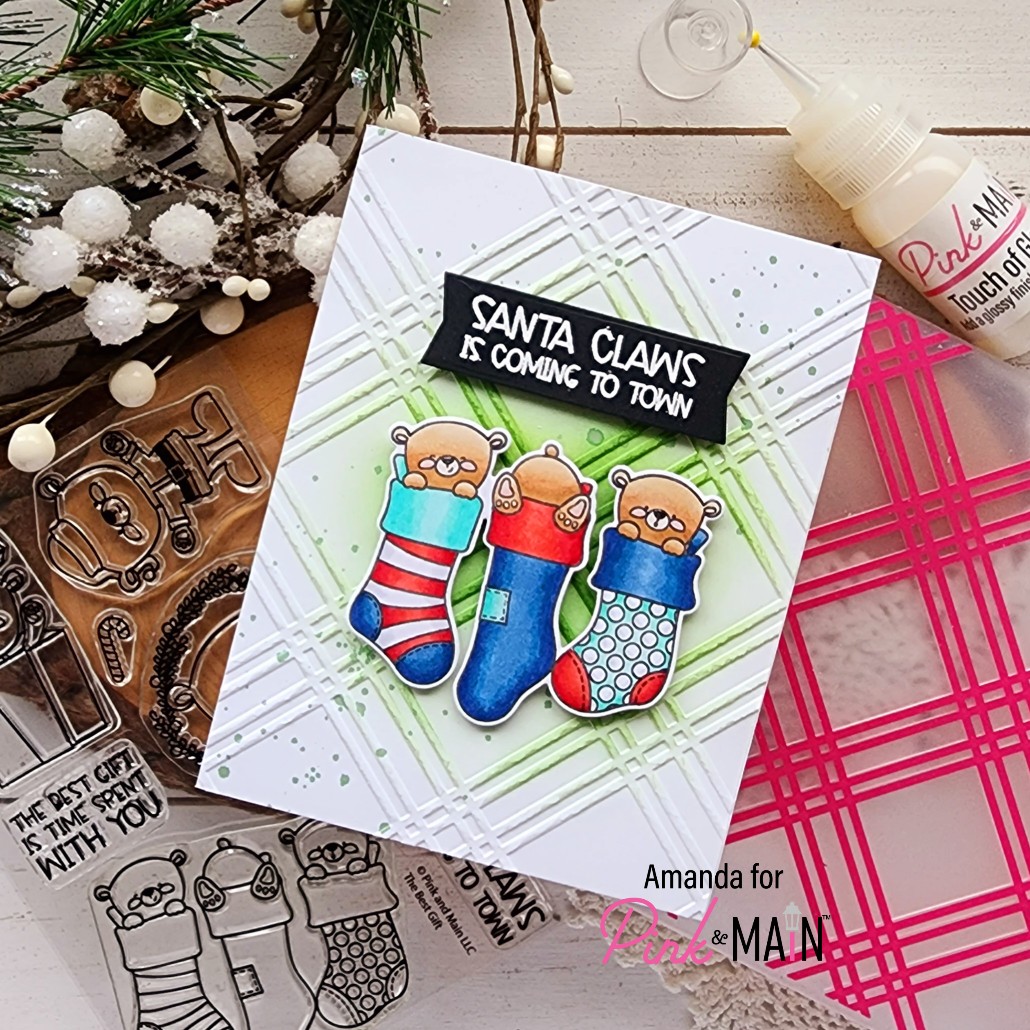
After a bit of deliberation, I decided on these absolutely adorable bears from The Best Gift. I stamped and colored them with copic markers before using the coordinating die to cut them out. Then I chose a sentiment from the set to heat emboss on black cardstock and use an Extra Large Sentiment Strip to cut it out.

I used the plaid embossing folder on an A2 piece of white cardstock and a blending brush with green dye ink to give a little interest to my background. Then I splattered the background with the same ink and adhered it to a white card base.

I added foam squares to the back of my sentiment strip and image and popped them in place. For finishing touches I used Touch of Gloss on their noses, cheeks and toe beans.

Aren’t they just adorable!?! I love all the images in this set. Next up is the Santa bear for a gift tag this year!

Products used:
The Best Gift stamps and dies
Plaid embossing folder
Extra Large Sentiment Strip dies
Touch of Gloss
Magic Anti-static Brush
Embossing & Watermark ink
Frosting embossing powder
Foam squares

I appreciate you sharing your time with me. Have a fabulous day!
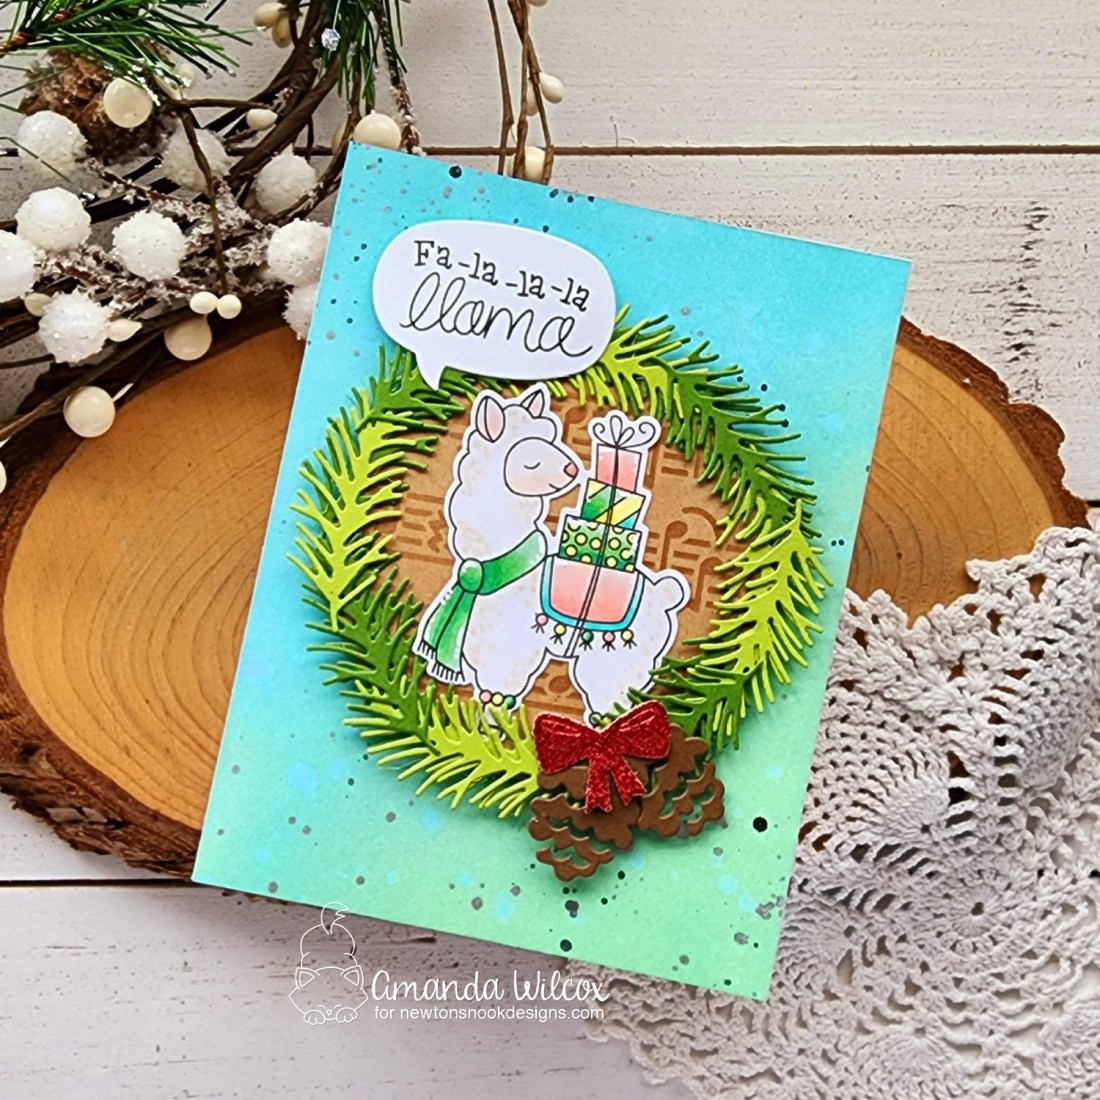
Newton’s Nook – Llama Delivery

Hey crafty friends! I know I’ve been sparse lately and I apologize. I’ve been posting some fun on Instagram and Facebook so be sure you follow me there. Also, if there is something that doesn’t have a blog post and you’d like one, just reach out! I can always write one or answer questions if you wonder a specific color or technique.

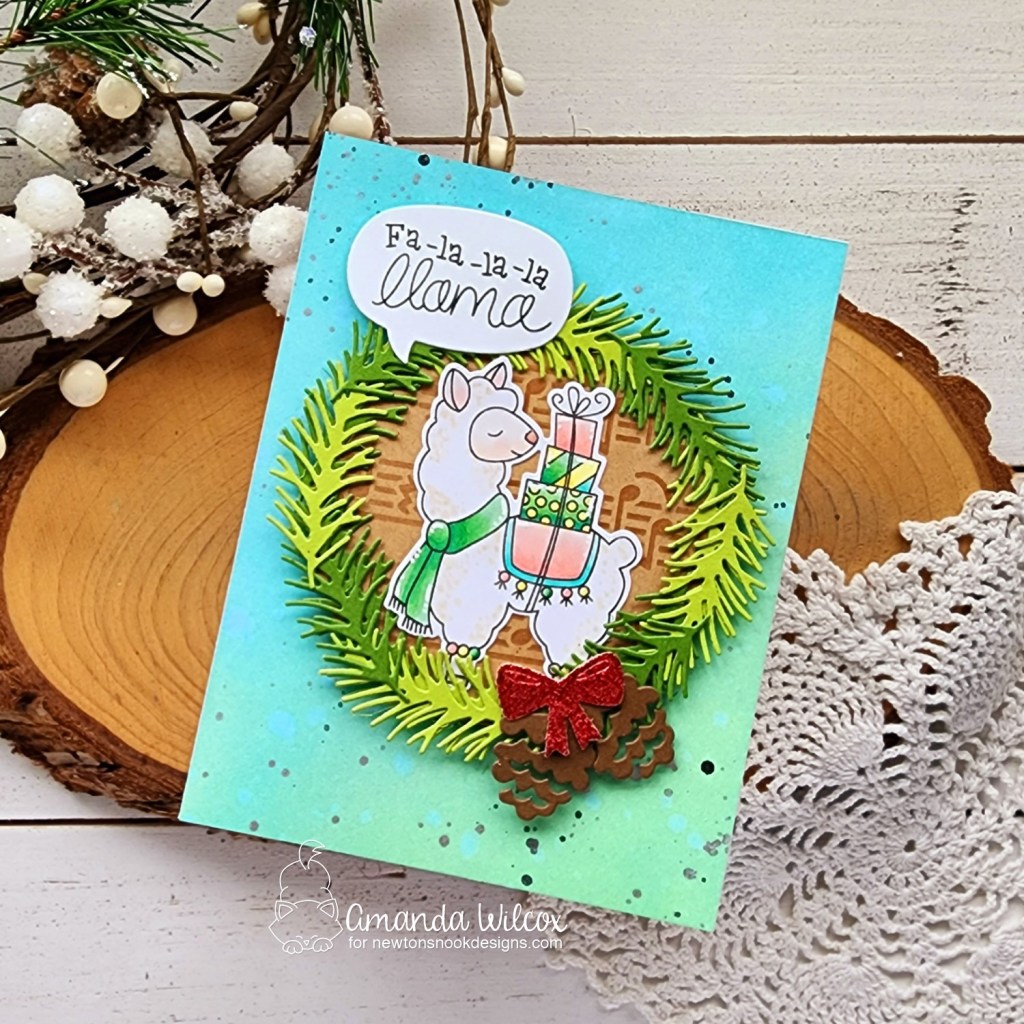
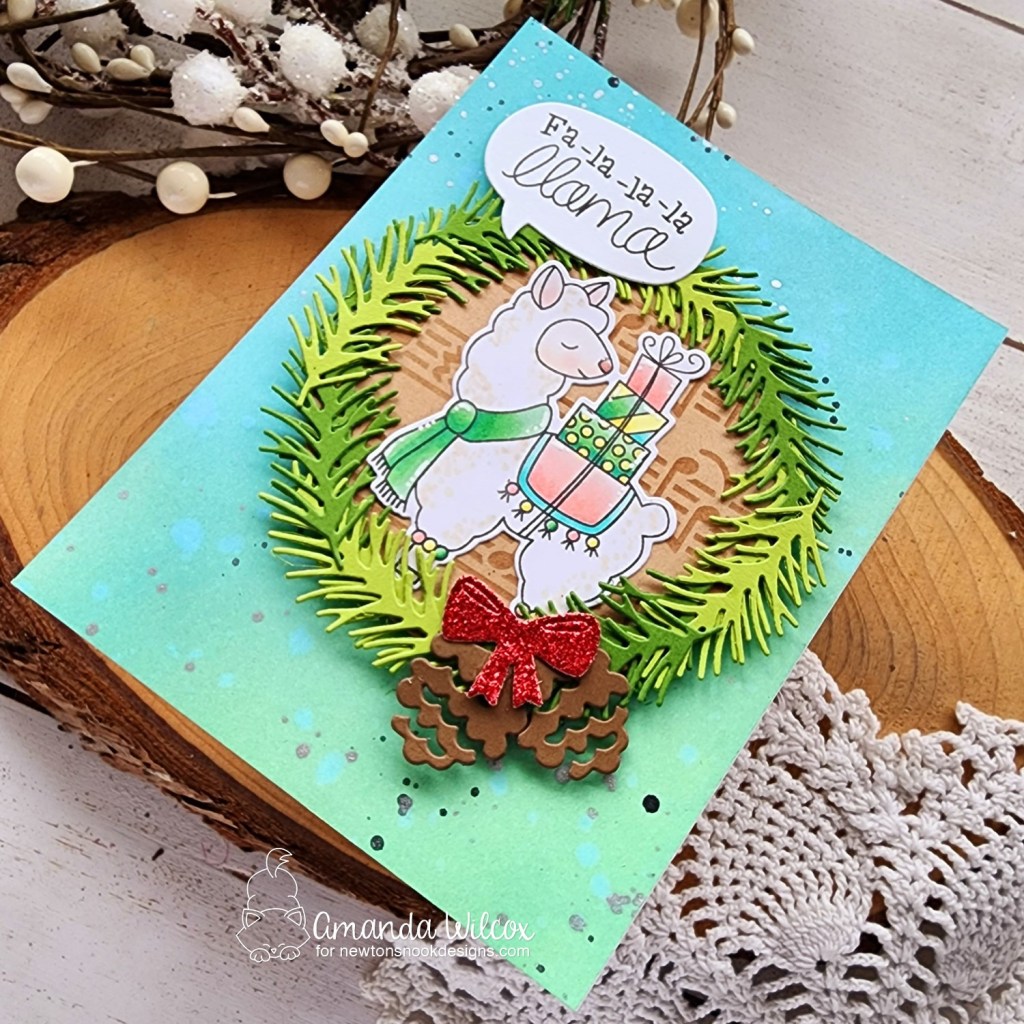
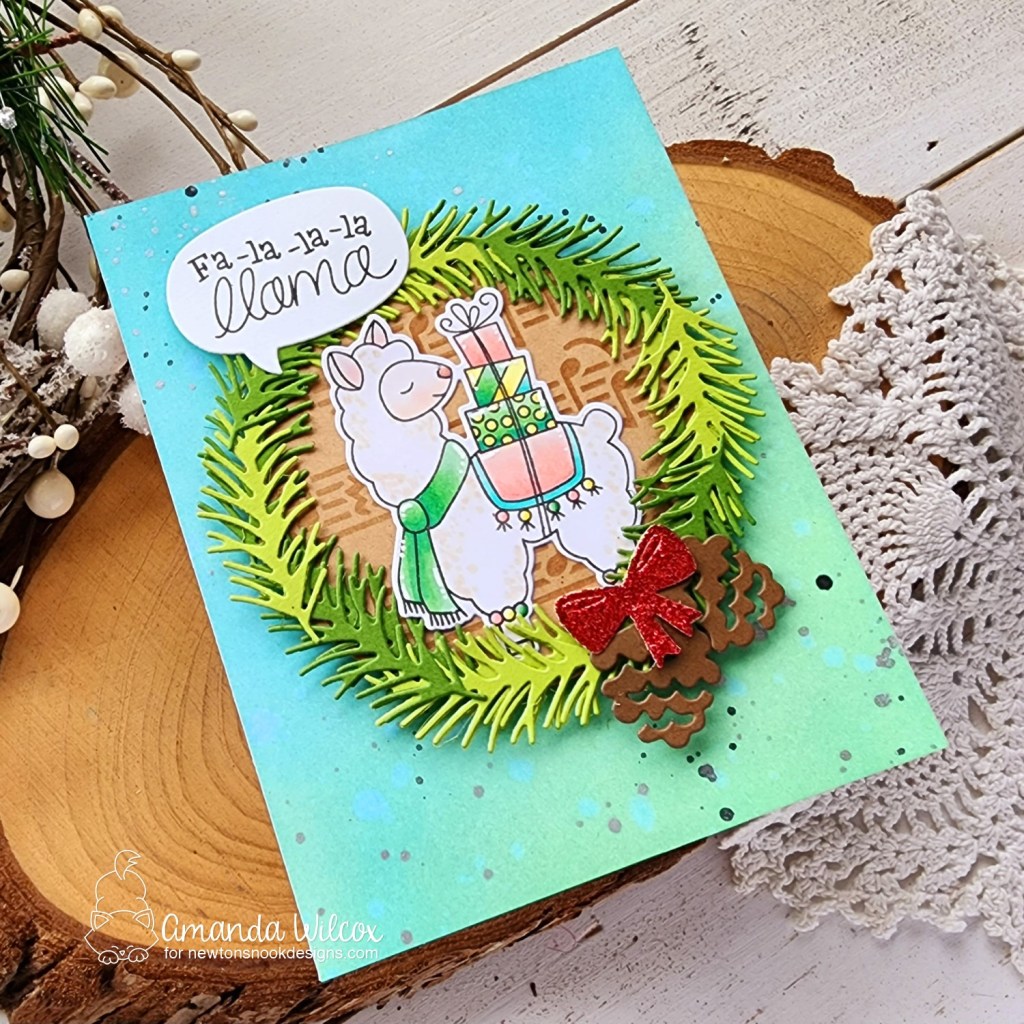
Anyway, back to the real point for today’s popping in…super cute Newton’s Nook goodness for Christmas! I’m over on their blog today with some fa-la-la-la-llama delivery to share! I love this guy and just couldn’t have a Christmas season without a card or tag with him on it.

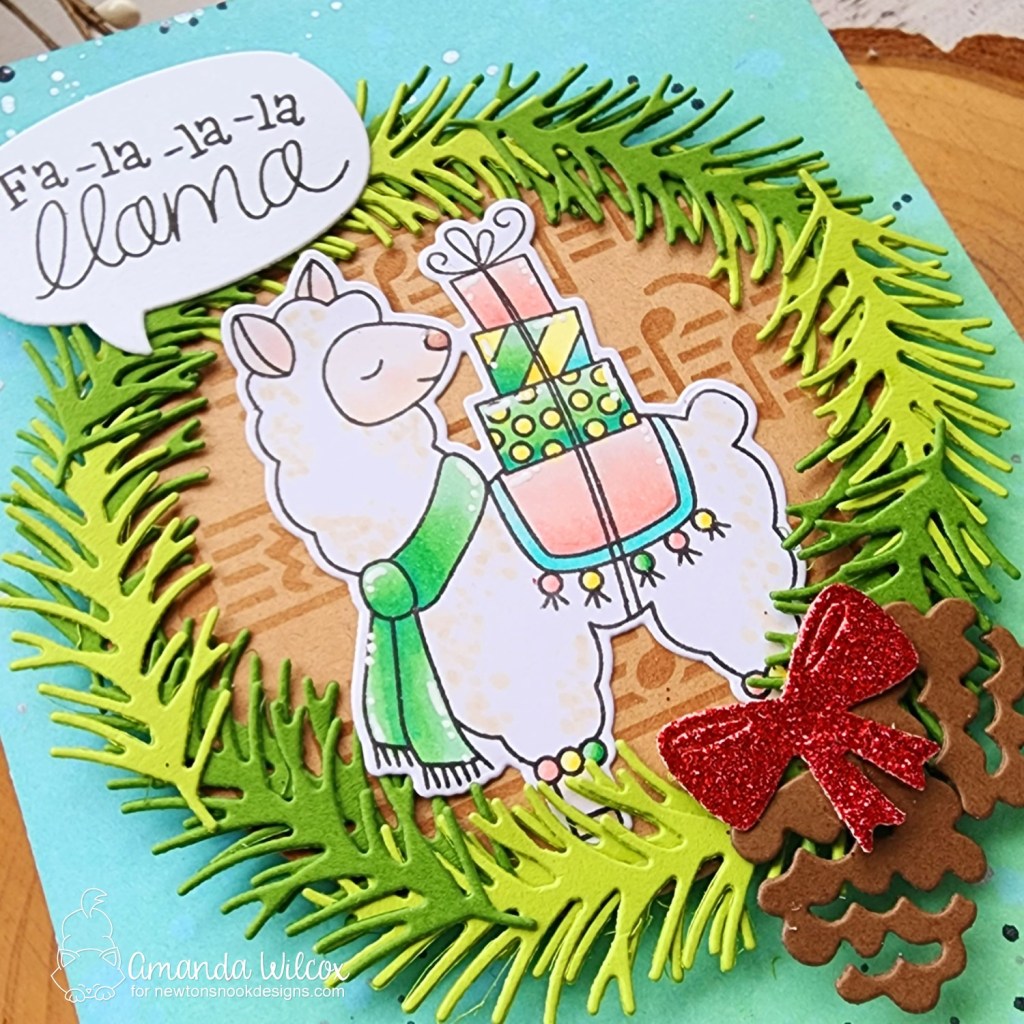
I had a plan in my head from the beginning, so today I started with all of the die cutting. I cut the pine branch, pinecones and bow from the Pines & Holly die set. Then I chose a circle size from the Circle Frames die set to arrange them around to create a wreath. I inked up the kraft circle with the Music Notes stencil before gluing the foliage down.

I stamped and colored the llama from Llama Delivery and used the coordinating die to cut him out. I used liquid glue to adhere him inside the cute wreath. Then I die cut a speech bubble and stamped a sentiment from the same set on it. Now for the background before we adhere all the pieces together.

I took an A2 white panel and blended at an angle cracked pistachio and salvaged patina distress oxide inks. I splattered water on the panel and blotted it dry. Then I splattered black paint and silver watercolor on it for extra texture. I popped my wreath up with foam tape and then added the speech bubble with half liquid glue and half foam squares so it lays flat.

For finishing touches, I added white gel pen highlights to the image and glossy accents to the llama’s nose. Full disclosure, I added white gel pen to the pine cones and hated it. I let it sit over night and hated it more in the morning. That’s okay though. I just die cut two more and glued them right on top. No one will every know!

Remember, it’s only paper and if you don’t like it you can probably fix it or cover it up!

Products used today:
Llama Deliver stamps and dies
Circle Frames dies
Pines & Holly dies
Music stencil
Foam tape
Liquid glue
Glossy accents
LH Watercolors – silver
Distress Oxide Ink – salvaged patina and cracked pistachio

I appreciate you sharing your time with me. Have a fabulous day!
Pink & Main – Season’s Greetings

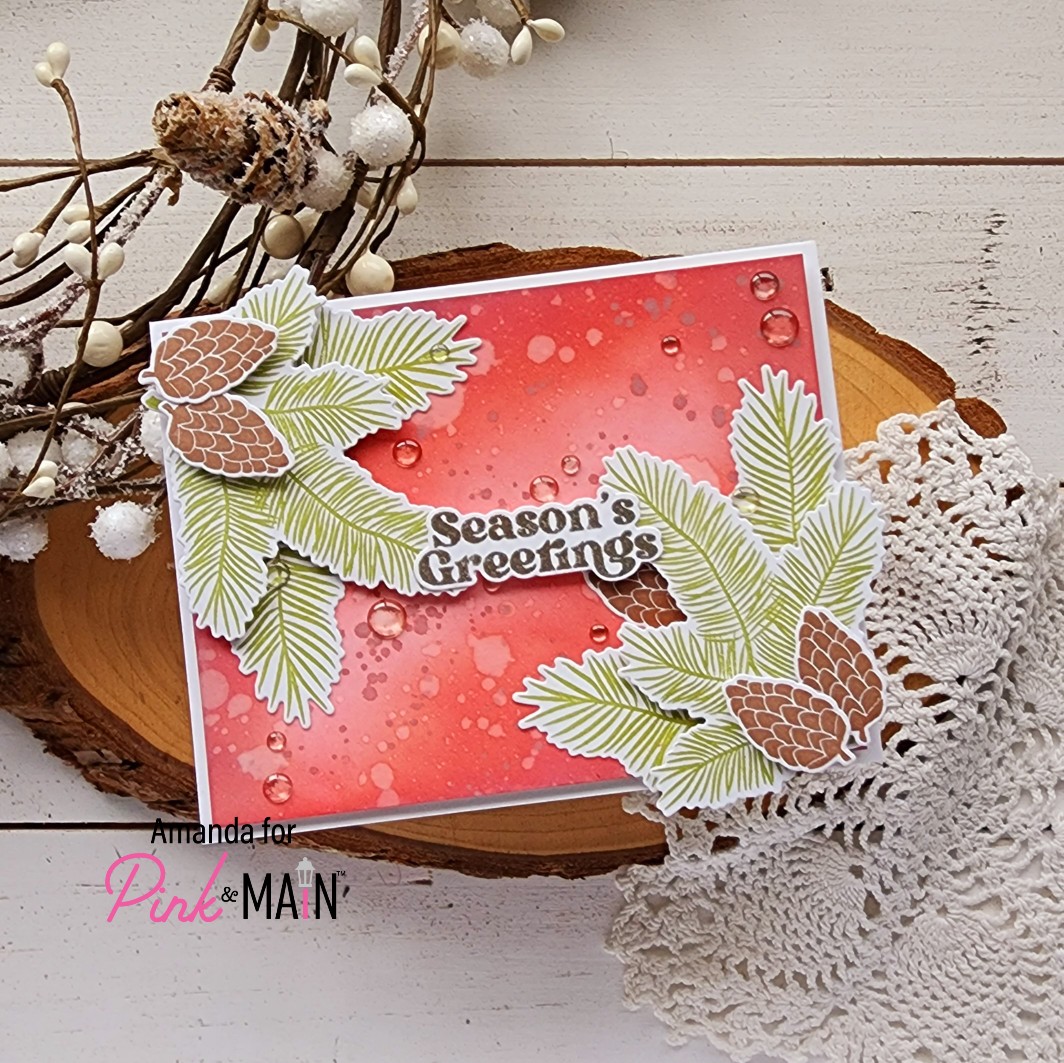
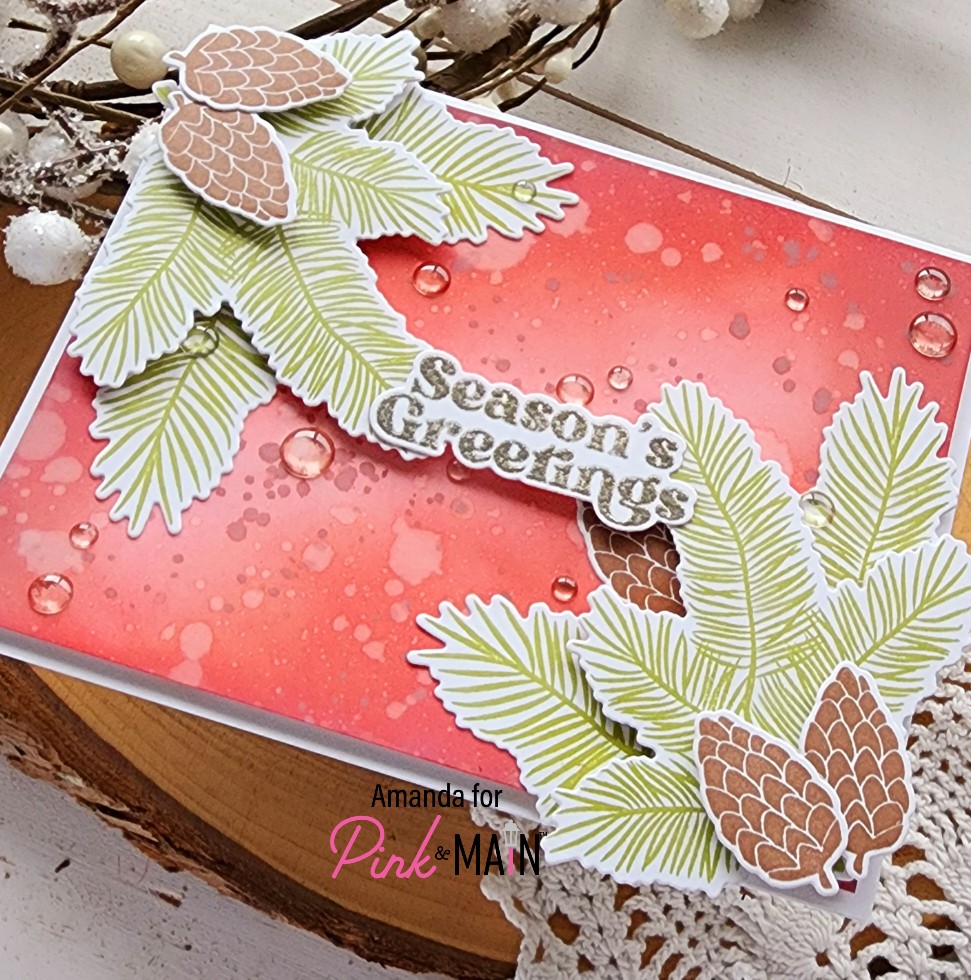
Hello crafty friends! Have you been working on Christmas cards yet? I am feeling a bit behind this year so I’m still working on some. Today I have this gorgeous, no coloring needed, card to share featuring Pink & Main stamps, dies, ink and embossing powders. So pretty!

I started this card by stamping a bundle of pine branches and pinecones from the Pine Boughs stamp set. I used the coordinating dies to cut everything out and started arranging them in the corners of an A2 blank card base. Once I had my placement, I taped them together with Pixie Tape and carefully added glue between the layers from the back side so I didn’t lose my positioning.

Next, I blended distress oxide ink on a 4×5.25 inch piece of white cardstock. I chose candied apple and festive berries today. I blended lighter toward the center at an angle. Then I splattered the panel with water and aged mahogany distress oxide ink. Once the panel was dry, I popped it up on an A2 card base with foam tape.

Next, I adhered the pine boughs with a combination of liquid glue and foam squares for the different sections. I stamped and heat embossed a sentiment from the same stamp set with platinum ring embossing powder, die cut it and popped it up as well.

For finishing touches I added a scattering of crystal clear enamel dots across the whole design. You could trim off the excess branches hanging over the edge but I really liked how they looked so I plan to just make a larger envelop to send this one out in.

Products used:
Pine Boughs stamps and dies
Magic Anti-static powder brush
Embossing & Watermark Ink
Platinum Ring embossing powder
EZ Squeeze liquid glue
Crystal Clear enamel dots
Pixie tape
Foam tape and squares
Distress oxide ink – festive berries, candied apple, aged mahogany

I appreciate you sharing your time with me. Have a fabulous day!
Pink & Main – November Sneak Peek

Hey friends! I’m super excited to share with you my sneak peek for the November Pink & Main release! It’s not huge but it’s absolutely amazing and you’re going to LOVE IT!!!

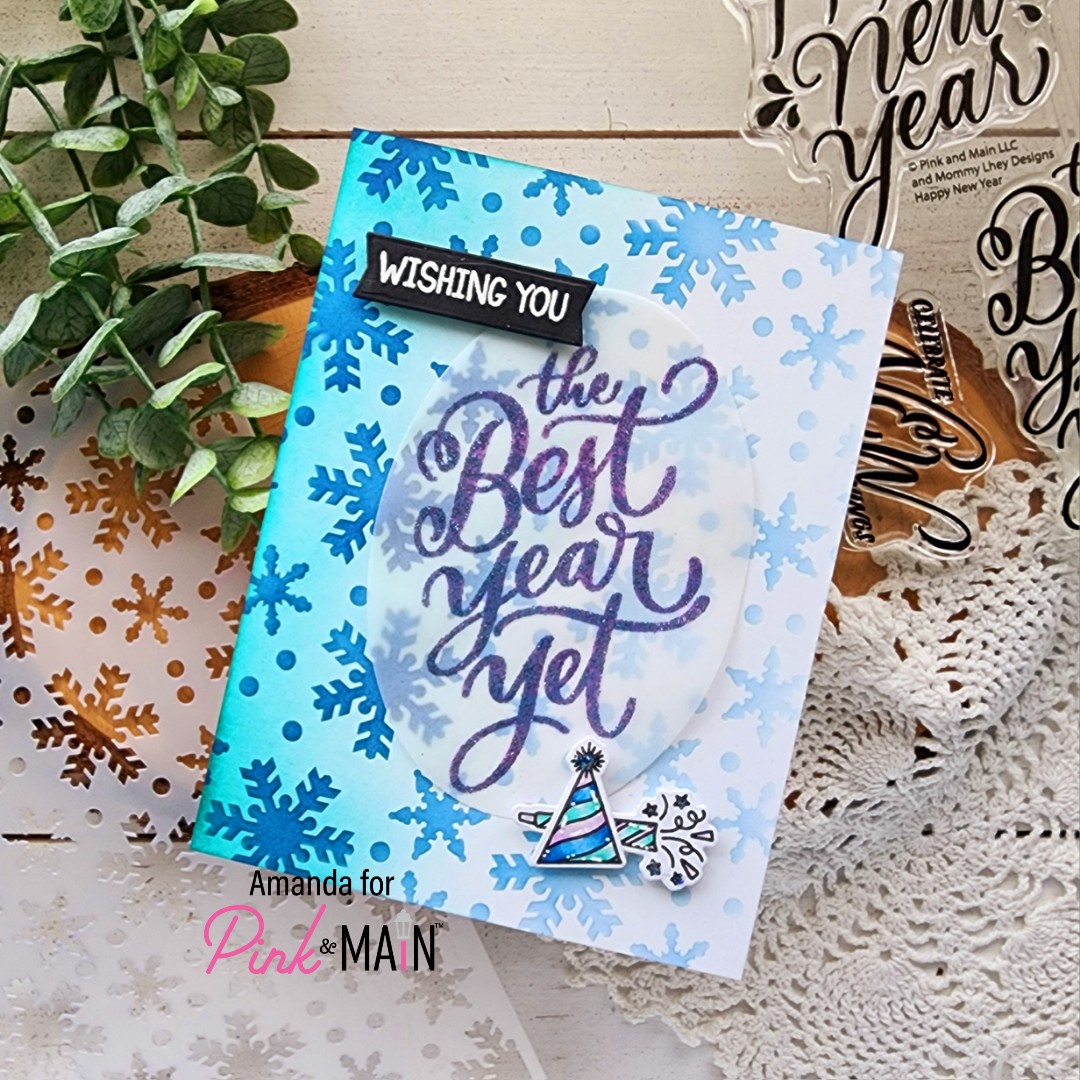
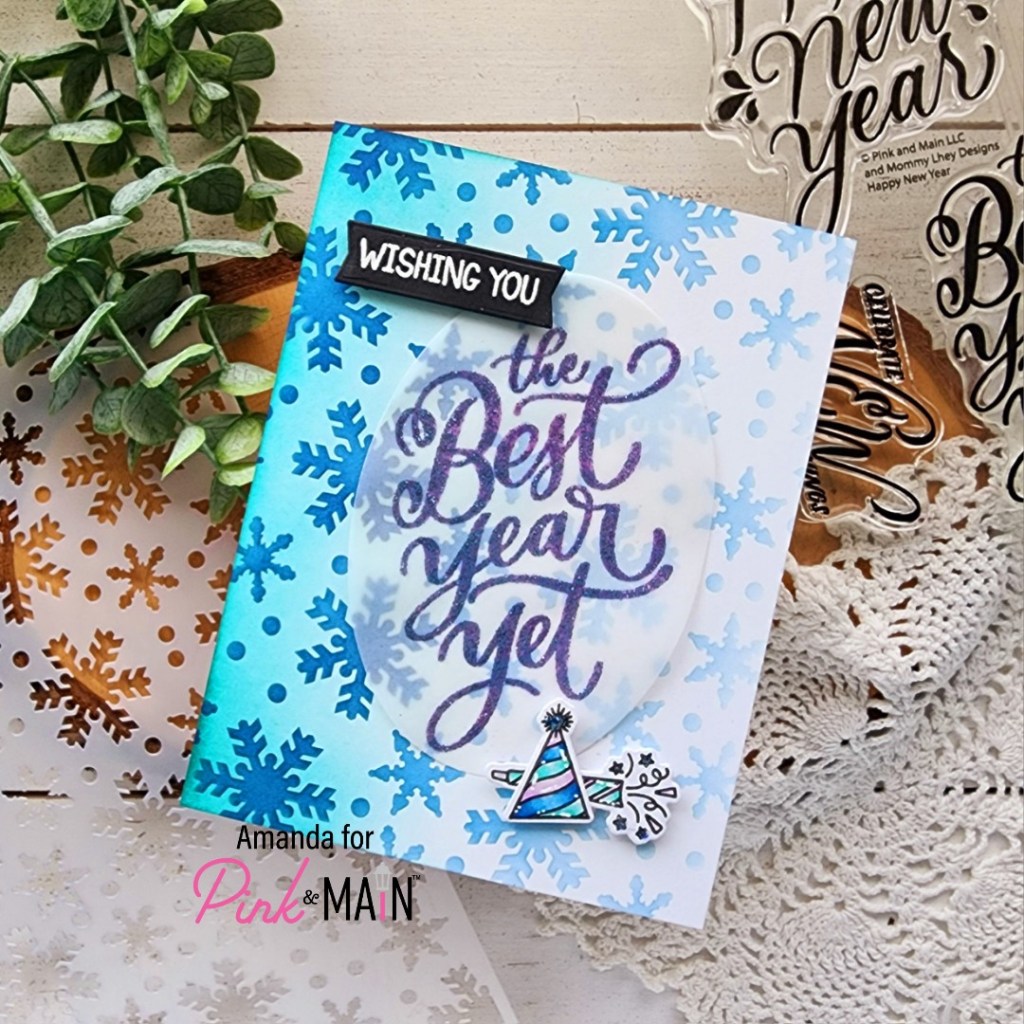
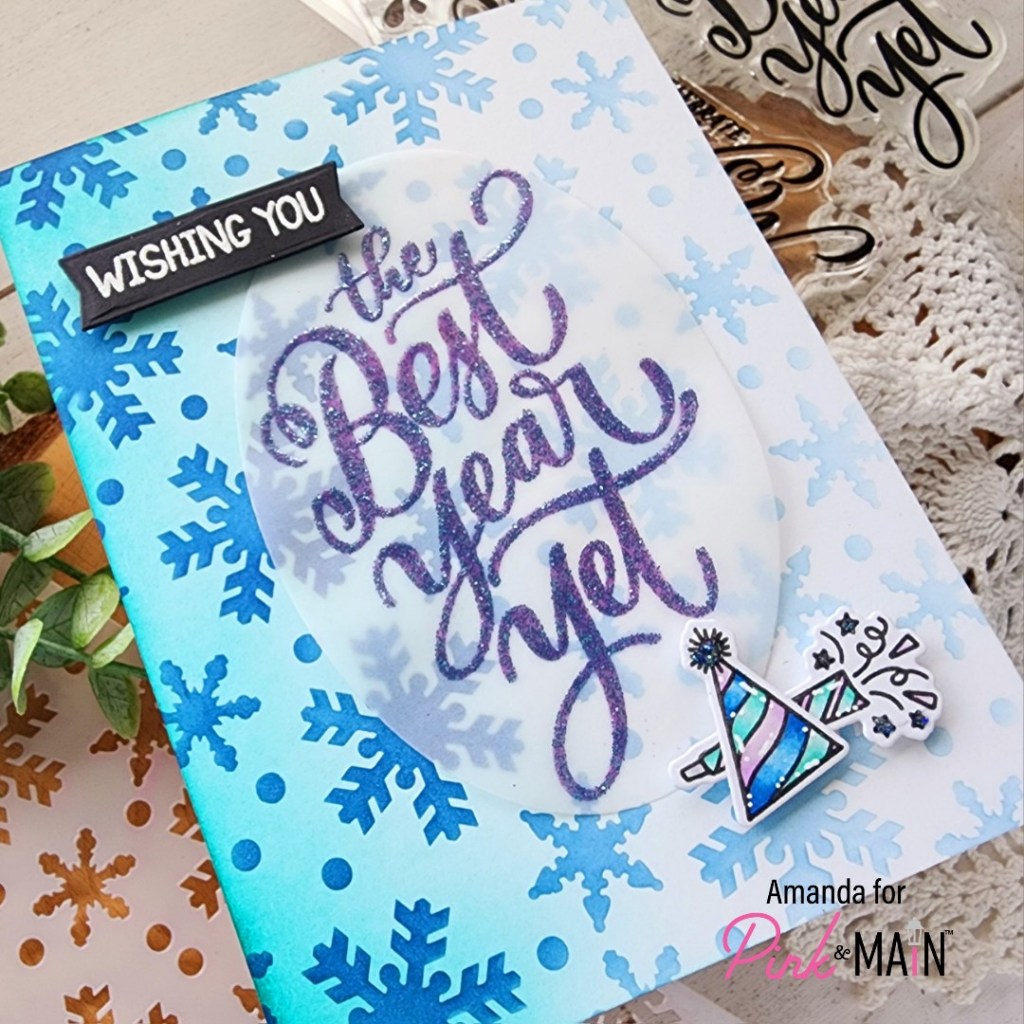
Today I’m sneaking images and sentiments from Party Time and Happy New Year stamp sets. But, that’s not all friends!!! I’m doing a little ink blending using brand new ink pads!!! The colors I used today were Barbershop and Lakeside. They blended like butter and are gorgeous colors!

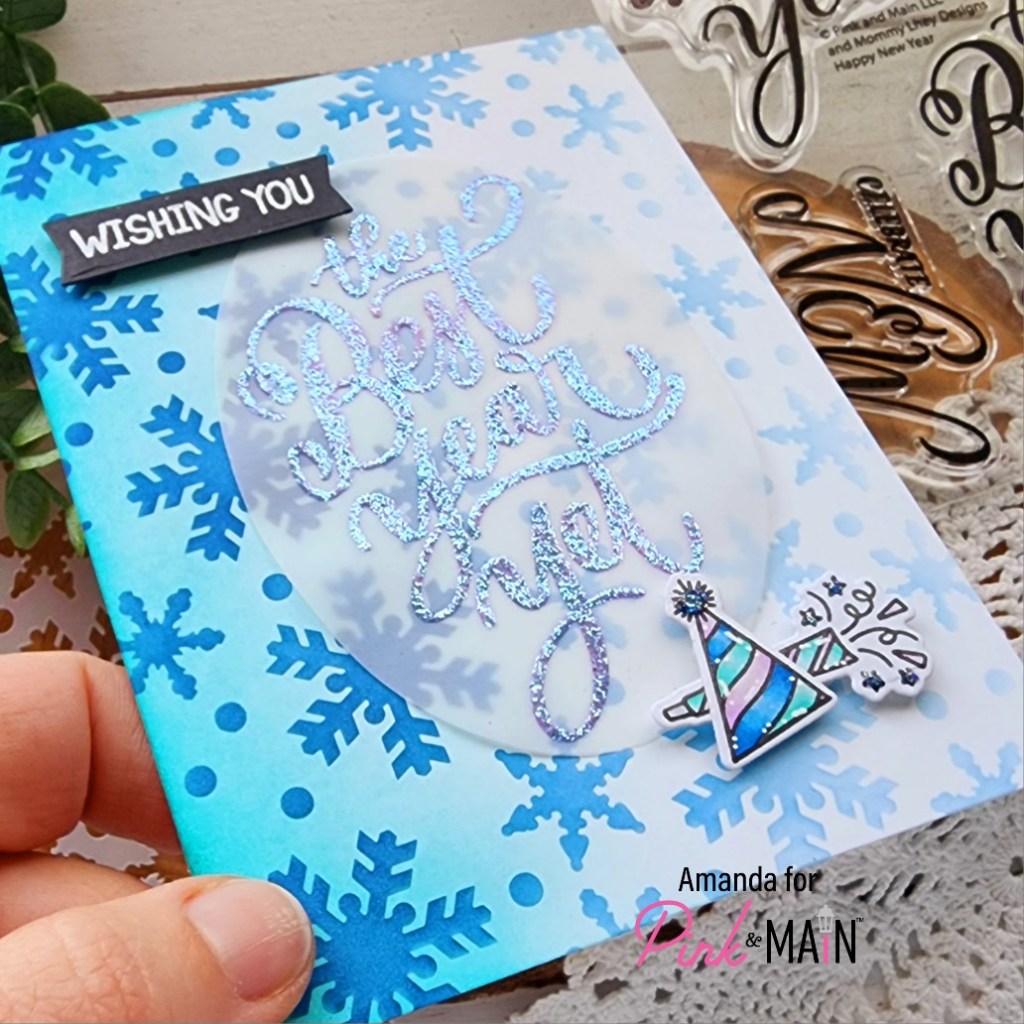
Still not done though. I stamped and heat embossed that gorgeous bit sentiment using the brand new Hydrangea embossing powder. It’s the most beautiful color shifting embossing powder I’ve ever seen! You’re going to love this!

The most sparkles ever, I swear! This isn’t even close to everything in the release. So much amazing coming your way on Friday, friends!

Products used today:
Party Time stamps and dies
Happy New Year stamps
Blizzard stencil
Large Sentiment Strip dies
Ergonomic Blending Brushes
Ink Pads – embossing & watermark, barbershop and lakeside
Embossing powder – hydrangea and frosting
Magic Anti-Static Brush
Touch of Gloss
Foam squares
Tape runner
Stickles – star dust

I appreciate you sharing your time with me. Have a fabulous day!
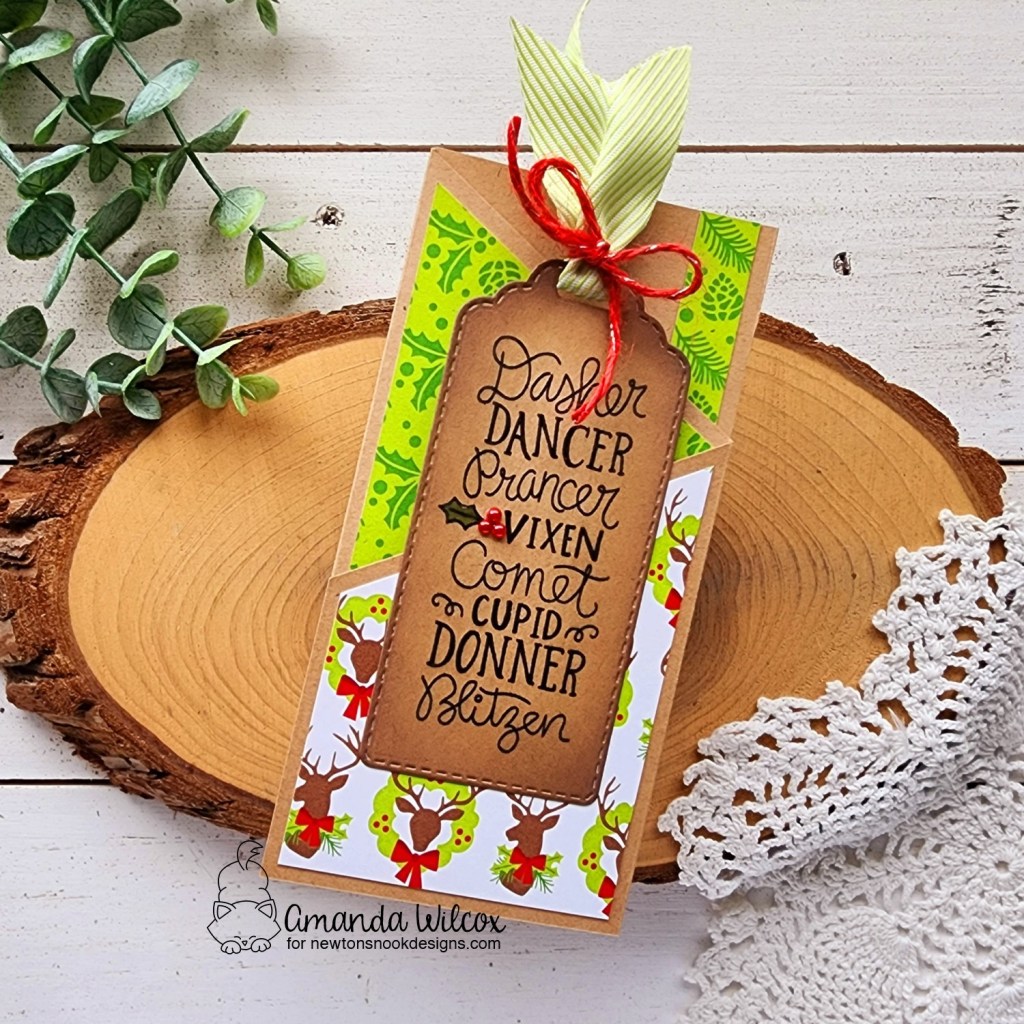
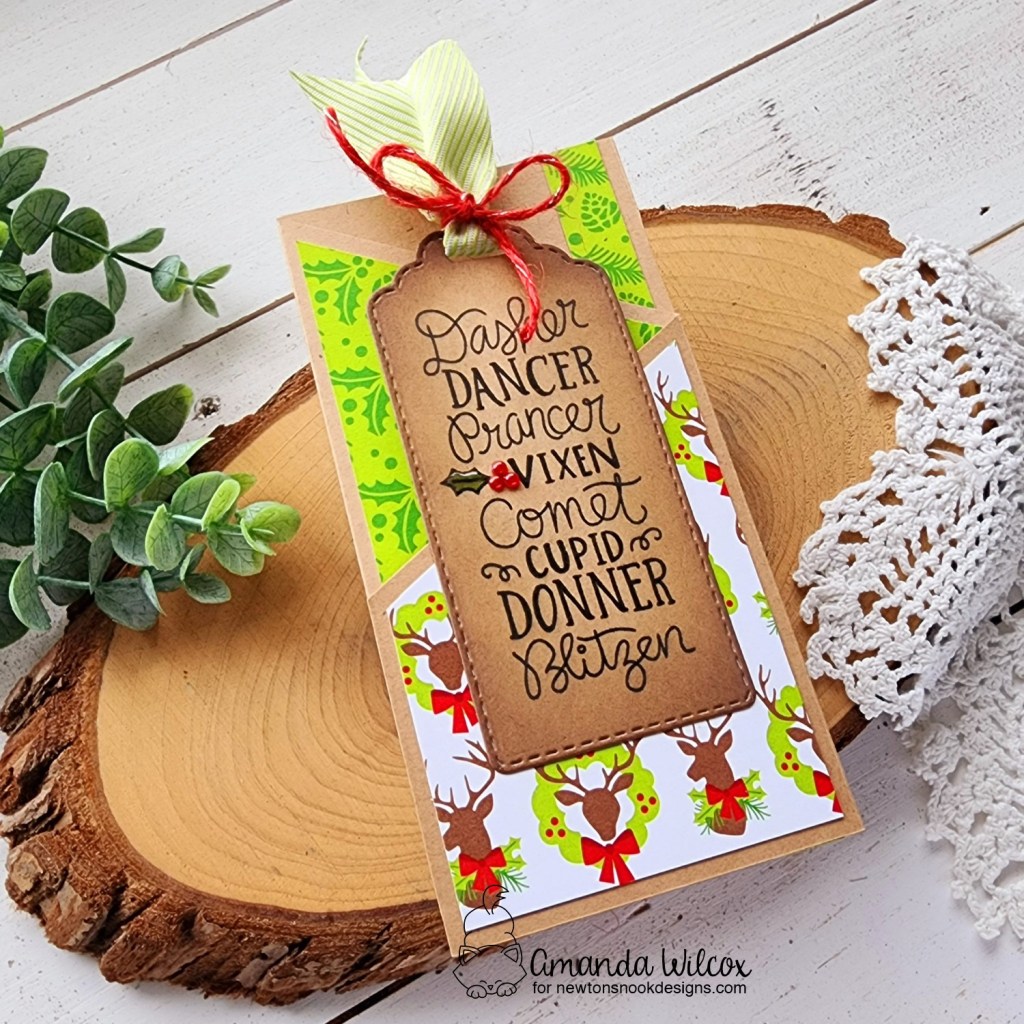
Newton’s Nook – Reindeer Roll Call Z-Fold Mini Slimline

Hello everyone! I’m stopping by today to share a really fun take on the mini slimline size. It’s a Z-fold card which gives lots of room to write a message and also a great way to be able to stand the card up for display after the recipient opens it. I feel like Christmas cards are the top occasion people do this with so I pulled out some fun Christmas Newton’s Nook goodies and started crafting.

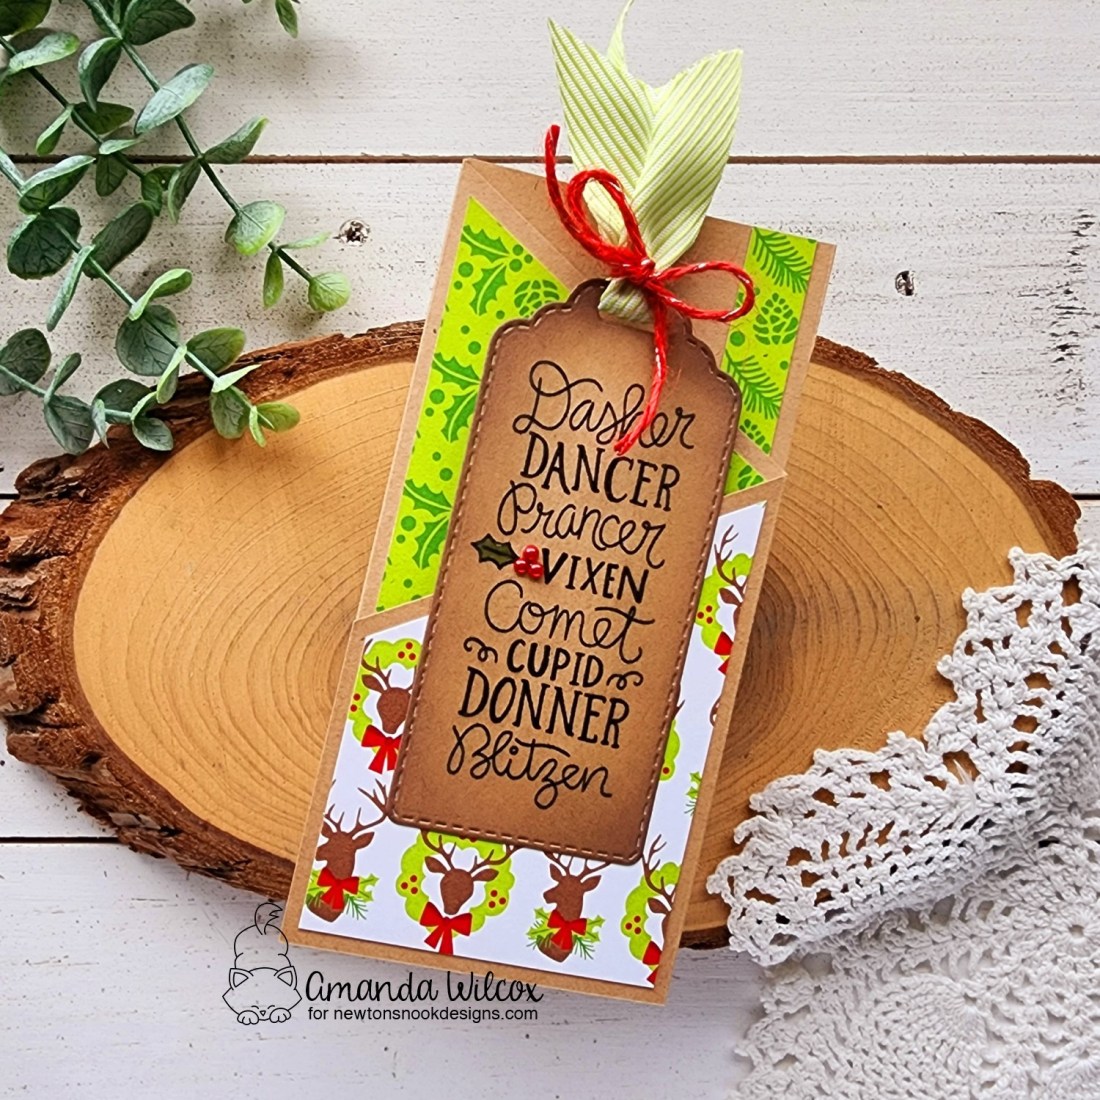
Here’s what the card looks like when it’s all folded up, coming out of the envelope. Isn’t that Reindeer Roll Call stamp just super fun!?! I love it! And found out that it fits perfectly on the new Bookmark dies! BONUS! After I stamped and die cut the bookmark into a shorter tag, I colored the holly and inked up the edges with brown ink and a blending brush. I threaded some ribbon through the slot and tied a bow to secure it.

Next, I switched gears to creating the card base. I cut a piece of kraft cardstock to 6×9 inches and scored it at 3 and 6 inches. Then you just alternate your fold directions to create the main card base. Next, I measured 2 inches up from the base on the left side and positioned it in my paper trimmer to cut that angle off from the 2 inch mark to the top of the second fold line. This gives you a peek into the different levels.

I chose a piece of patterned paper matching the images in Reindeer Roll Call from the new Christmas Time paper pad and trimmed it down to fit each of the panels on my card. At the end I was left with a 1/2 inch strip that I adhered to the inside most panel for a little decoration. Then I stamped Merry Christmas from the Holiday Heights stamp set in black and a reindeer from Reindeer Roll Call in brown under it for extra fun.

For finishing touches, I glued 3 red pearls on the holly and added glossy accents to the holly leaf. Isn’t this card so fun!?! You could easily step this up or down depending on your likes and how many you’re making.

Products used today:
Reindeer Roll Call stamps
Holiday Heights stamps
Bookmark dies
Christmas Time paper pad
Bearly Art liquid glue
Pretty Pink Posh red pearls
Glossy accents

I appreciate you sharing your time with me. Have a fabulous day!
Coffee Loving Cardmakers – Fall | Winter Hop

Hello everyone! Very happy to be a super sponsor for another Coffee Loving Cardmakers hop! I actually think I’m a little extra excited this time because we’re also having a new release of super fun products today too!!!

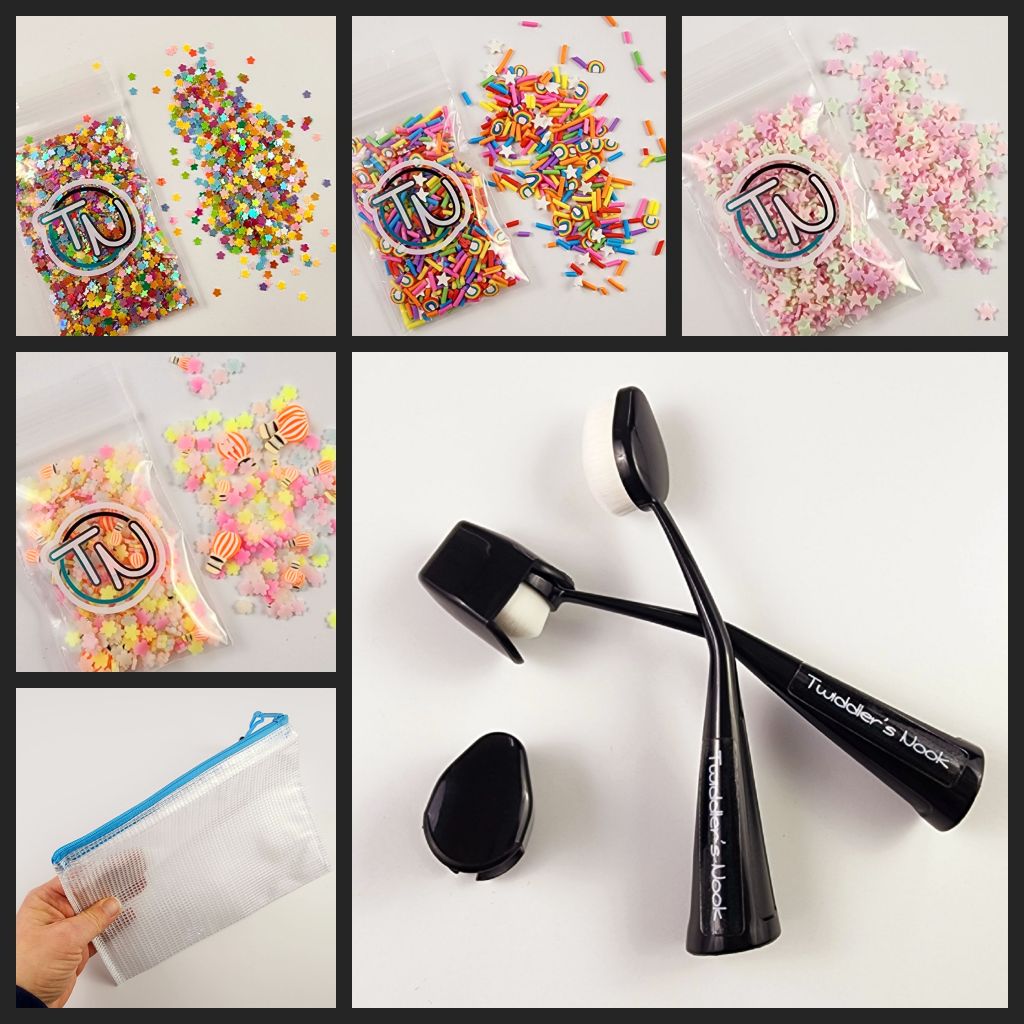
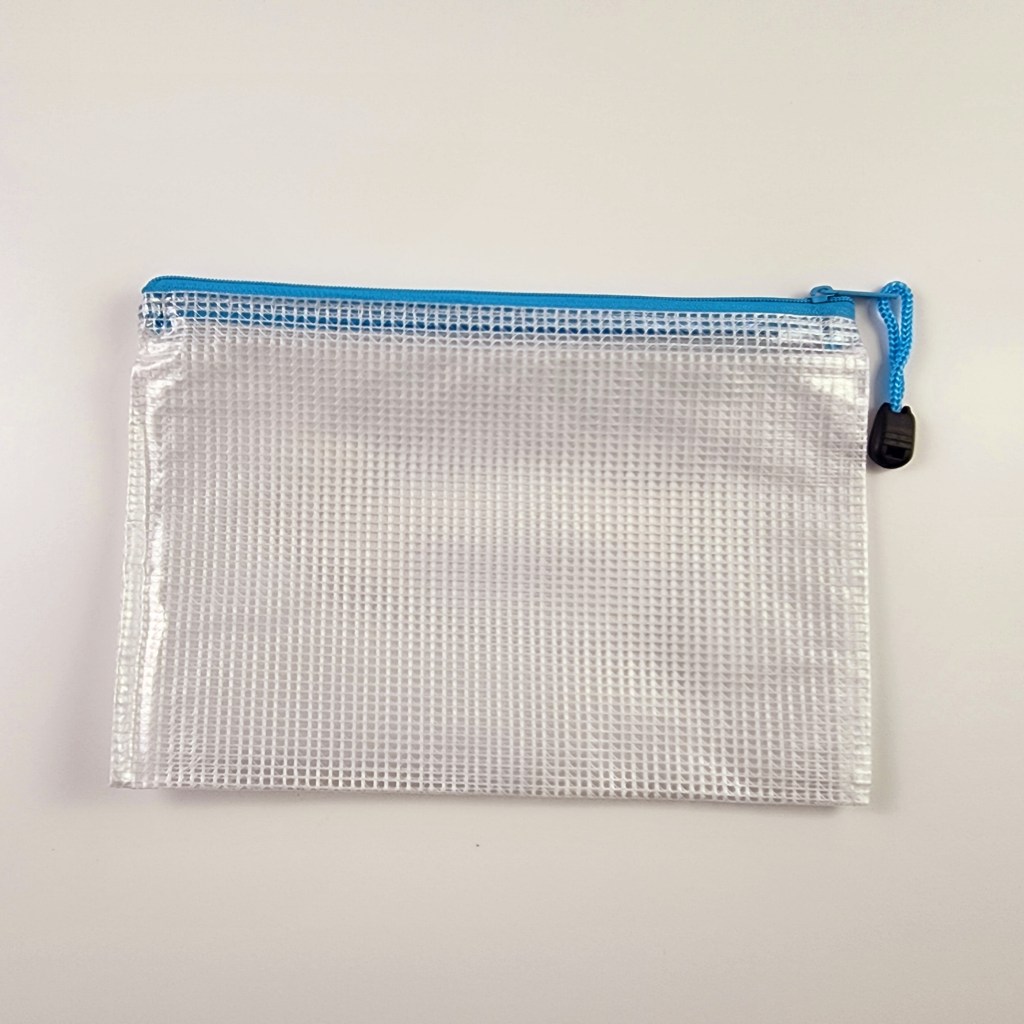
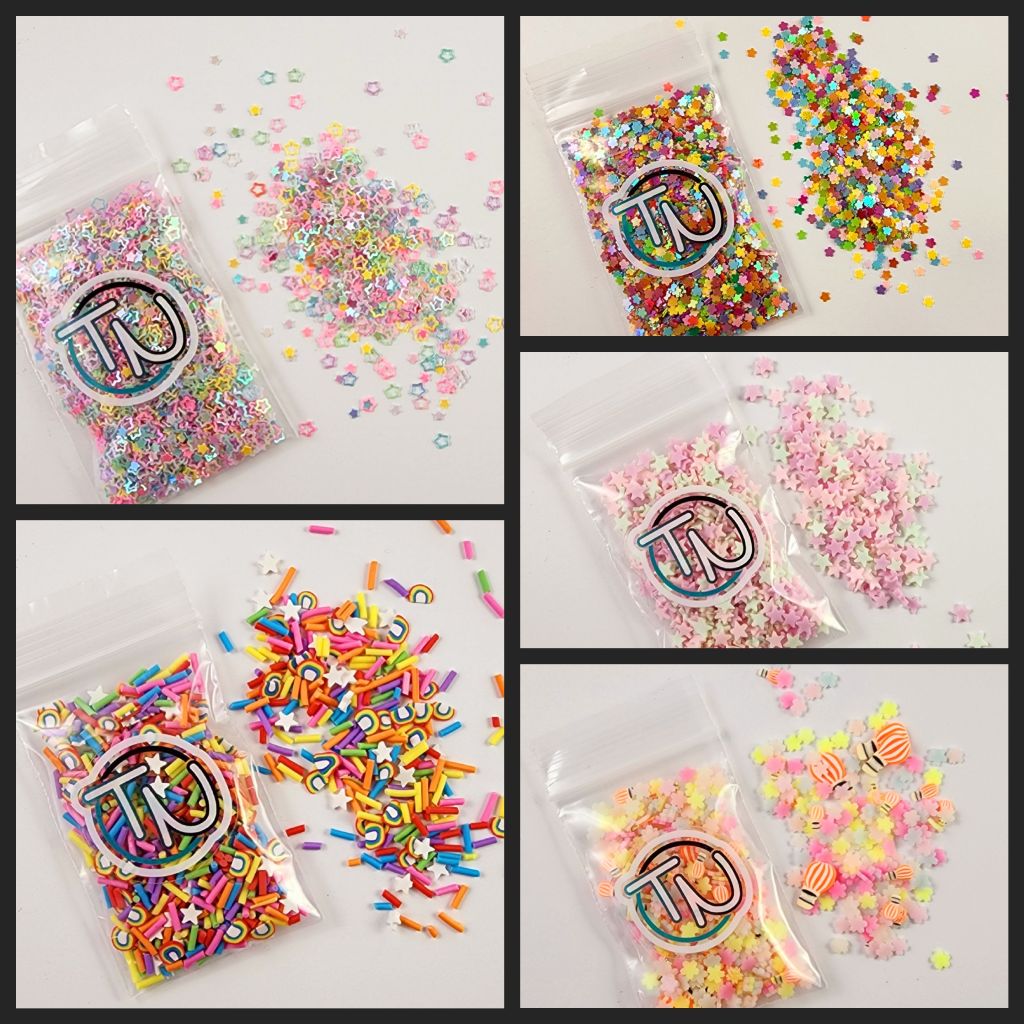
We’re releasing a handful of new embellishments along with two new other products too! We have Twiddler’s Nook Stand Up Blending Brushes available! I’m so excited about this and hope you love them too! We also have mesh zipper pouches to hold your embellishments or project pieces! I know, so many exclamations points. Sorry not sorry. I’m really excited, friends!

Okay, so we’ve got our own blending brushes now. They have bright white bristles, come with a cap and stand up on their own. However! They coordinate with our magnetic color coding caps which also coordinate with all of our platforms so they have a place to be. The magnets in the color caps stick to the metal in our platforms so you can have your brushes at your fingertips and they don’t fall over if you bump your desk. Click HERE to check it all out!

Our new mesh zipper pouches measure 6×9 inches and have a gorgeous blue zipper. They work great to keep embellishment bags under control or pieces to your projects that are in process. These are also amazing if you’re a traveling crafter to pack things in manageable amounts. Click HERE to check them out!

Pro Tip: I love cleaning the outside with rubbing alcohol and decorating them with my waterproof stickers!

We also have 5 new embellishment mixes to share with you today! So much fun and so much great color! I hope you enjoy creating with them.

I would love it if you headed to the shop to check out all the great things we have to offer! If you see something you like, use the code COFFEE10 to save 10% on your order from today through November 18.

I appreciate you sharing your time with me. Have a fabulous day!
Pink & Main – Happy Harvest

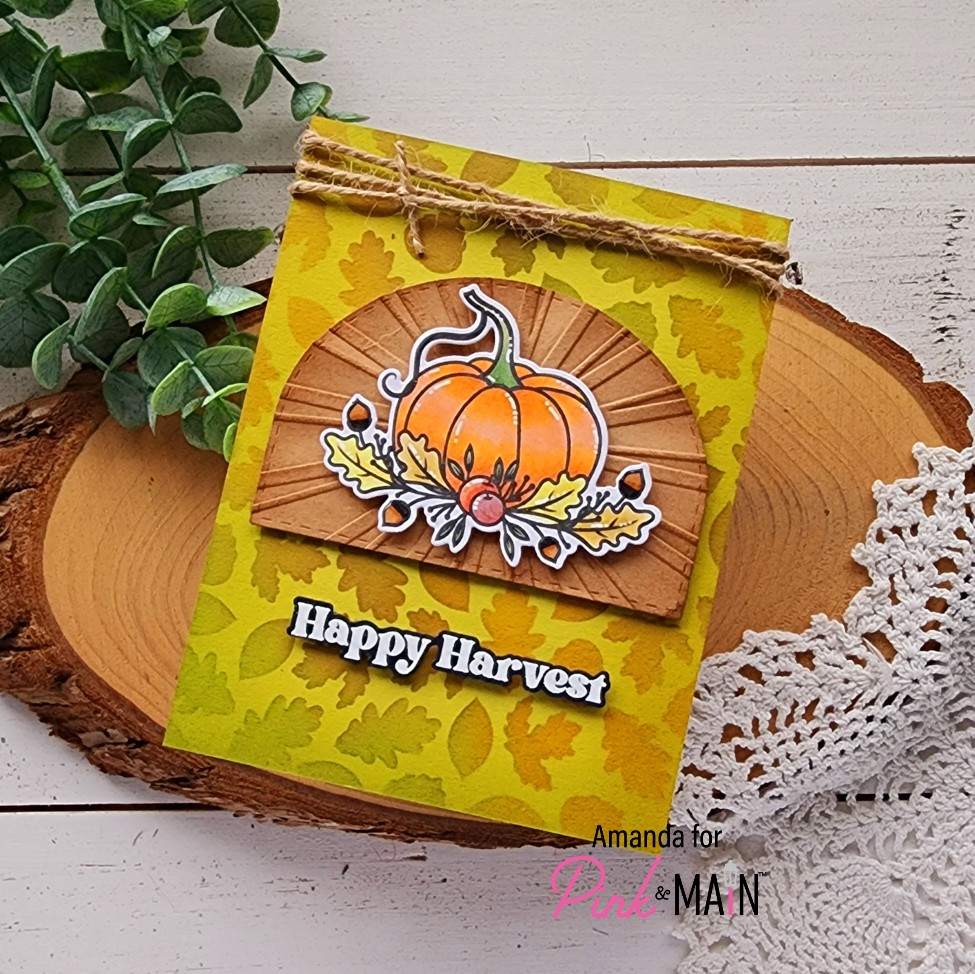
Welcome everyone! I’m over on the Pink & Main blog today sharing some harvesty fall inspiration for you. Most everyone has switched to Christmas crafting but I really enjoy holding on to fall themes as long as I can. I love these colors and pumpkins are one of my favorite things!
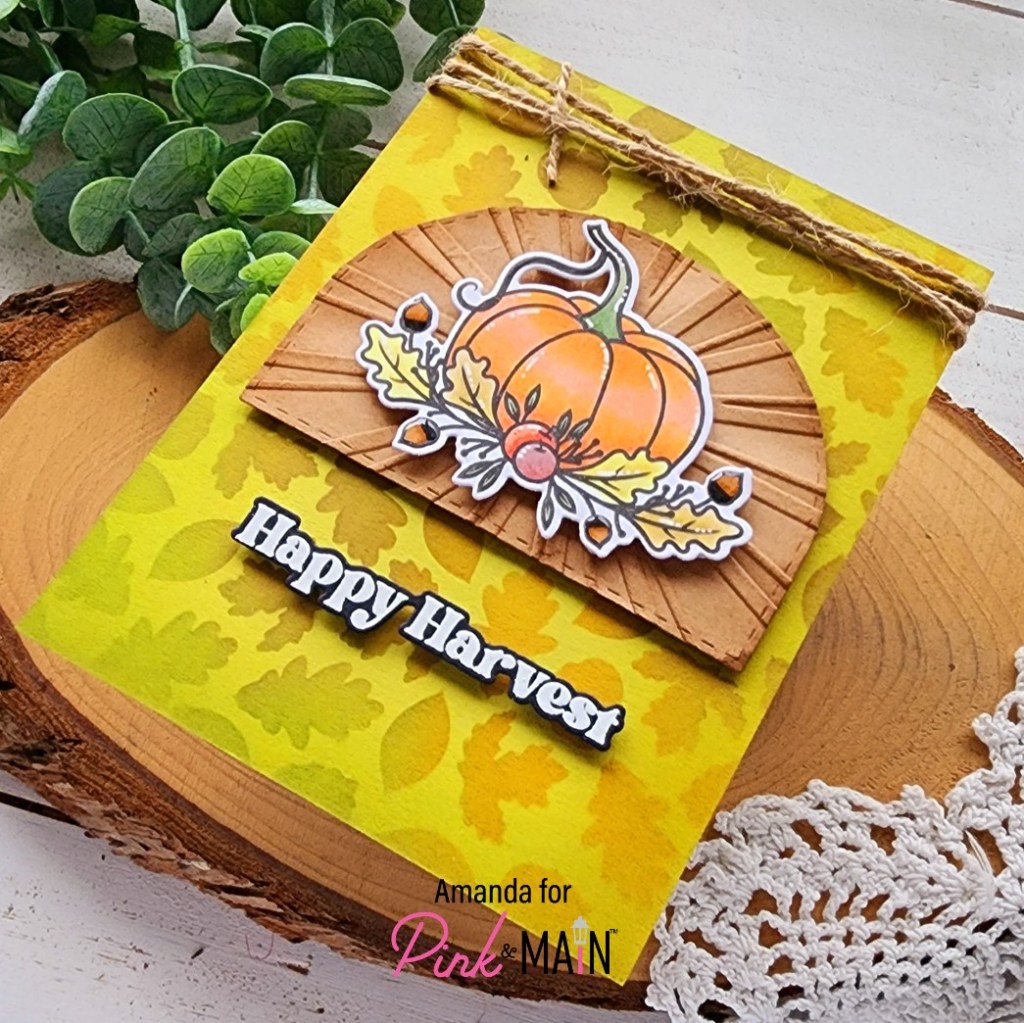
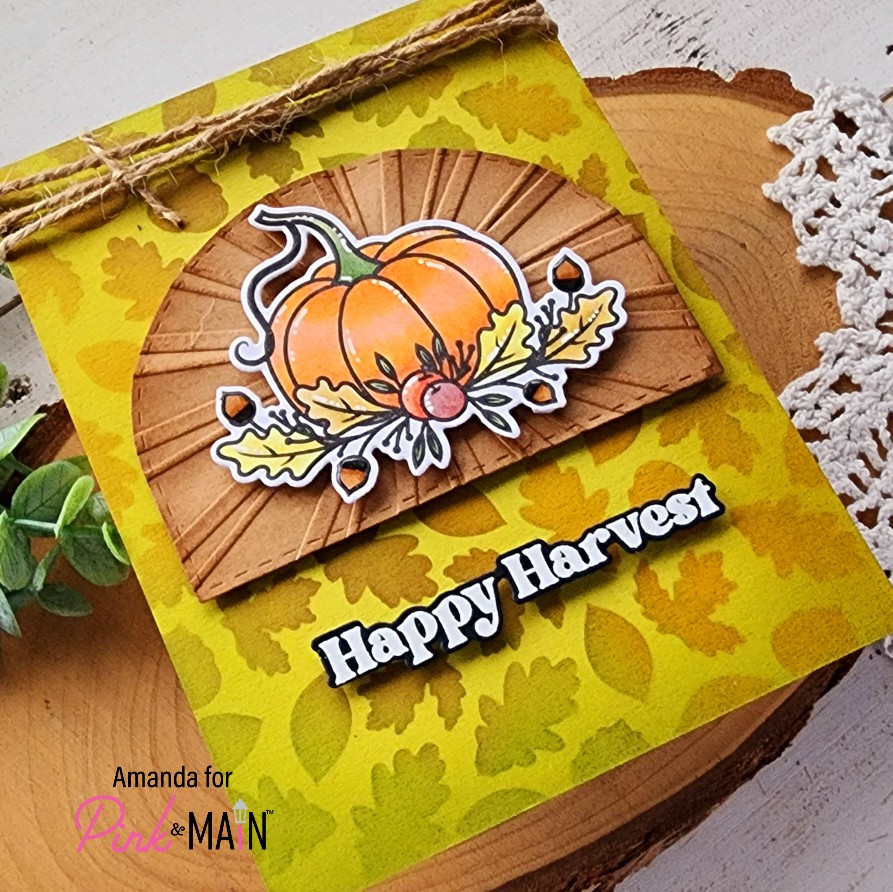
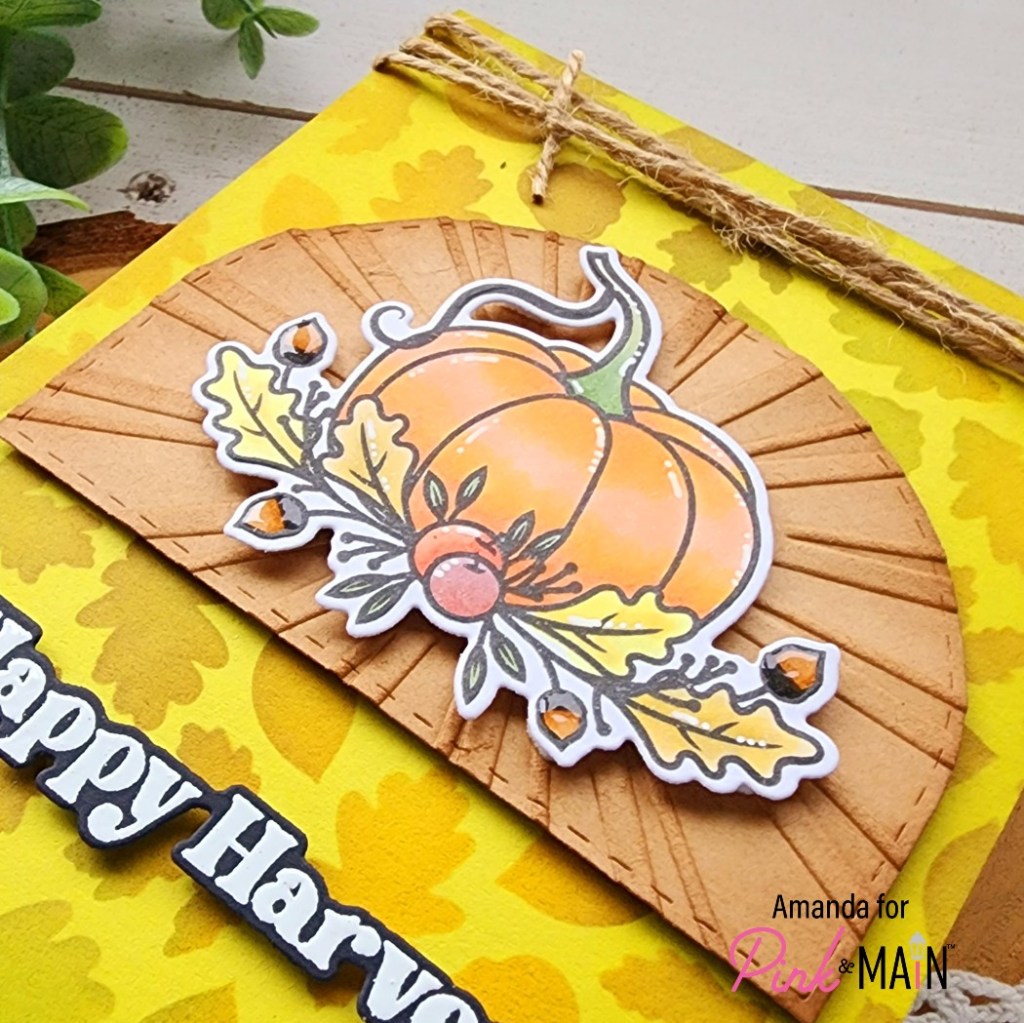
I started by stamping and coloring the image in Happy Harvest with my copic markers. I used the coordinating die to cut it out. Then, I used the image as a guide to choose which size Wide Stitched Arch to use. Once I decided, I cut it from kraft cardstock and embossed it with the Sun Ray embossing folder.

I trimmed a piece of The Park cardstock down to A2 size and used the Leafy stencil to ink it up. I used green, brown and orange on the stencil, then came in with green around the edges. Next, I used what brown was still in my blending brush to ink up the kraft arch too.

For assembly, I glued the background panel to a white card base and popped the arch up with foam tape. Then I added the pumpkin image with foam squares. I stamped and heat embossed a sentiment from Happy Harvest and used the coordinating die to cut it out before popping it up too.

For finishing touches, I added A Touch of Gloss to all of the acorns and then wrapped jute twine around the top, tying it in a knot. I added white gel pen highlights to all the other parts of the image and my card is finished.

I hope you enjoyed a bit more fall inspiration before Thanksgiving and here and gone.

Products used:
Happy Harvest stamps and dies
Wide Stitched Arches dies
Sun Ray embossing folder
Leafy stencil
Ergonomic Blending Brushes
EZ Squeeze liquid glue
Embossing and Watermark Ink
Magic Anti-Static Brush
Embossing powder – frosting
Foam tape and squares
A Touch of Gloss

I appreciate you sharing your time with me. Have a fabulous day!