Hey friends! I’m popping in today with a fun, mini slimline card to enter into the Lawn Fawnatics challenge. I didn’t get a chance to play along with the last one and really loved the vision board so I pulled my color palette from there but created a scene to go with this challenge too.
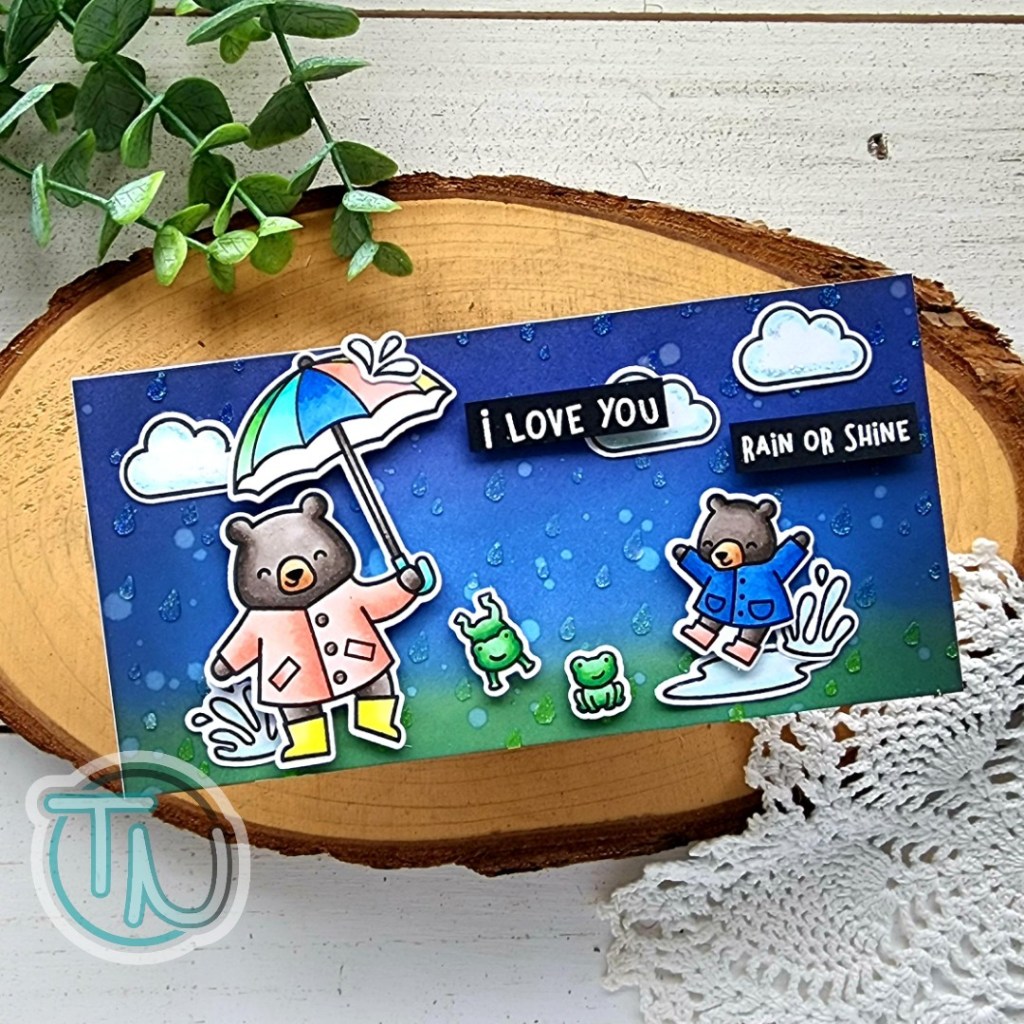
I chose images from Beary Rainy Day and colored them with my copic markers using the vision board as a reference to my color palette. I had a blast doing this and trying to match the colors with theirs.

Next, I cut a mini slimline panel at 3×6 inches and inked it up with distress oxide inks – rustic wilderness is my ground and faded jeans, chipped sapphire and black soot are my sky colors. I splattered water on the panel and let it dry. Then I taped down my Rainy Sky stencil and spread fairy dust stencil paste through it.
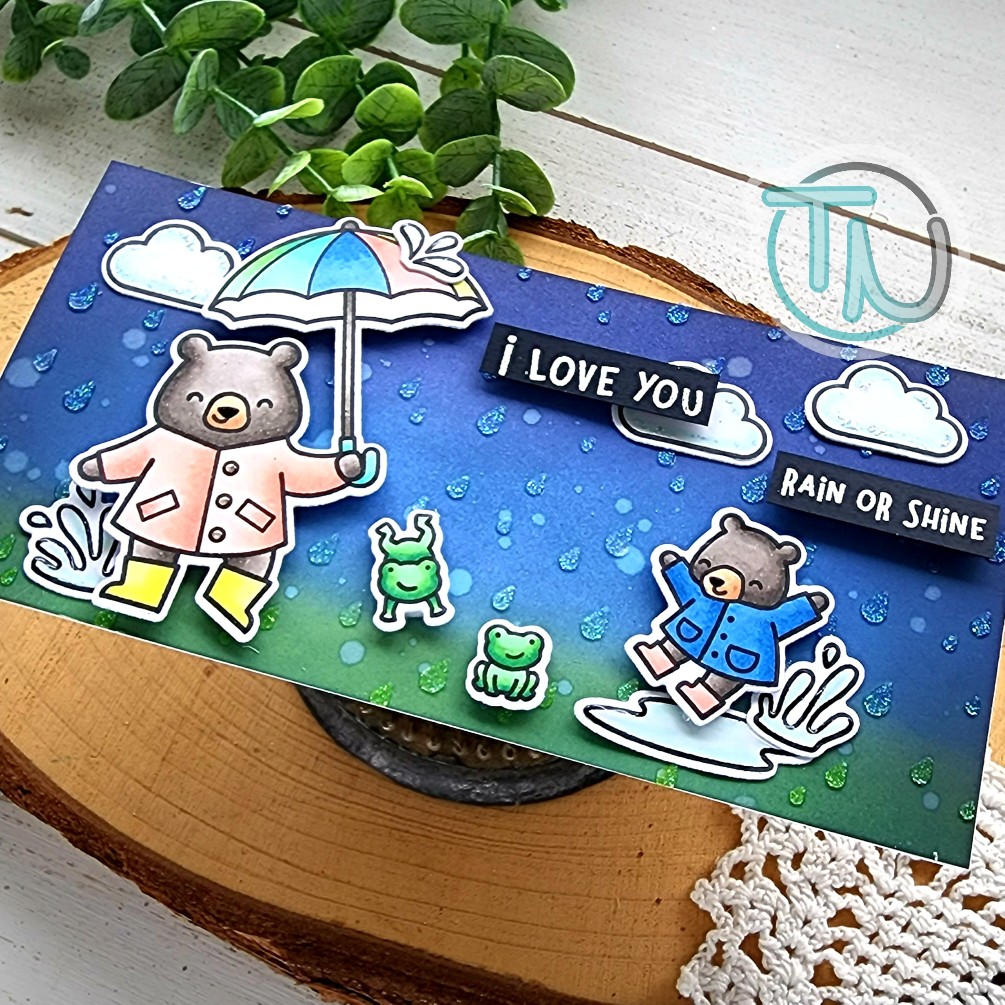
While that was drying I added foam squares to my images and then stamped and heat embossed sentiments to trim into strips. Once the panel was dry I added it to a card base and started adding everything to my scene. Some of the images are added with liquid glue directly to the card front but all the critters and sentiment strips are popped up.
Then I finished the design off with some glossy accents on the water and buttons on the jacket, unicorn stickles on the clouds and black glaze pen on the bears’ noses.
It’s a little out of my typical comfort zone to create a darker sky background but I love how it helps the images pop so much and show that they are really enjoying this rainy day.
Products used today:
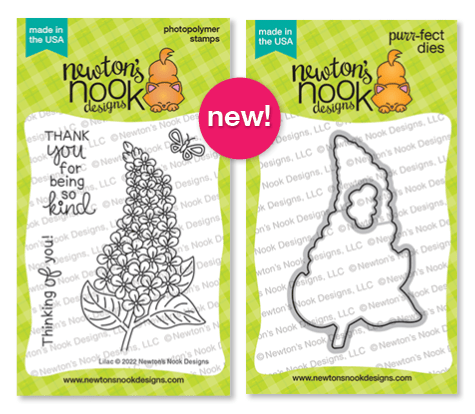
Beary Rainy Day stamps and dies
Rainy Sky stencil
Fairy Dust stencil paste
Distress Oxide – rustic wilderness, faded jeans, chipped sapphire, black soot
Foam squares
Bearly Art liquid glue
Stickles – unicorn
Glossy accents
Copic markers
I appreciate you sharing your time with me. Have a fabulous day!