Blog

Pink & Main – Sweet Summer Greetings

Happy Wednesday everyone! This week is chugging along and I’m happy to be on the Pink & Main website with some mid-week inspiration to share. I am dreaming of summer vacation and playing on the beach so these sweet penguins were perfect to fit my mood.

They were the stamp of the month in May but don’t worry, you can still snag them in the shop and sign up for this months stamp of the month so you don’t miss out anymore. I’ll share links at the bottom of this post.

I chose these two sandy cuties to create a mini scene with today. I stamped and colored them with copic markers before using the coordinating dies to cut them out.

Then I cut out a wide stitched arch from white cardstock and inked it up lightly with distress oxide inks for sand and sky. I started with tea dye for the sand and added a little gathered twigs at the bottom. Then I added mermaid lagoon to the top for a pretty sky and spritzed the whole panel with water. Then I flicked ground espresso ink on the sandy part of the panel and more mermaid lagoon on the top.

This die set can cut your sentiments out if you’d like but I chose to stamp mine on the scene panel today. Once that was done, I added my images with foam squares and then added foam tape to the back of the arch panel.

I cut down a piece of yellow gingham paper from the Warm Basics paper pad and added it to a white card base before adding the scene panel to that.

For finishing touches I added some white gel pen highlights to the images. Then black glaze pen to the penguin’s eyes that are open and finally some Touch of Gloss to the sun and penguin beaks.

We’re spending a week camping at the beach for 4th of July and it can’t come quick enough! I’m so excited and start daydreaming every time I create with these fun beachy stamps.

Products used today:
Summer Penguins stamps and dies
Stamp of the Month Subscription
Wide Stitched Arches dies
Warm Basics paper pad
Foam tape and squares
Touch of Gloss
Ergonomic blending brushes
Distress Oxide Ink – gathered twigs, tea dye, ground espresso, mermaid lagoon

I appreciate you sharing your time with me. Have a fabulous day!
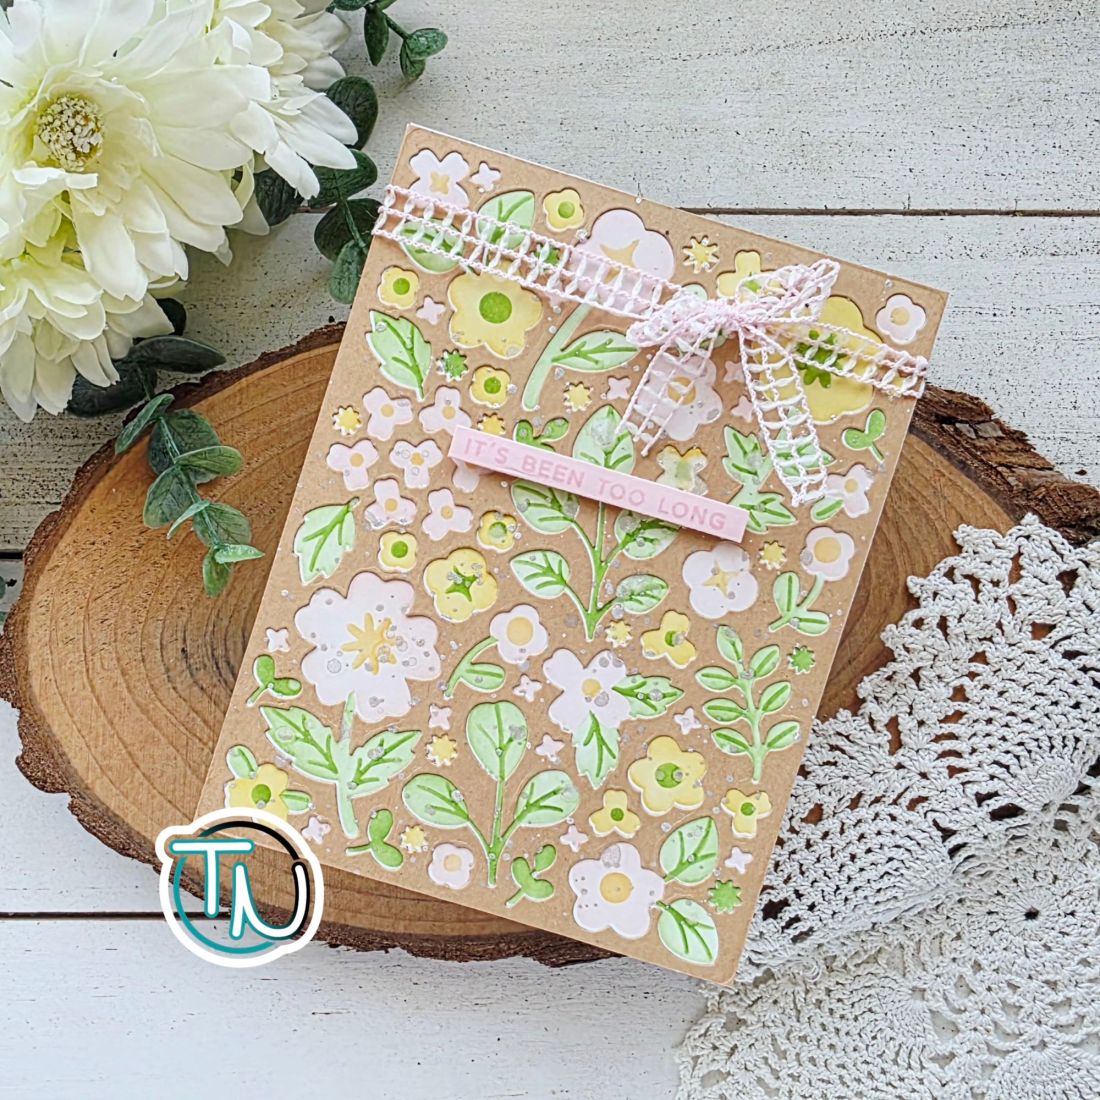
Mama Elephant – Feel Better Soon

Welcome crafty friends! Today I have a get well card to share featuring Mama Elephant stamps and dies. These stamps and dies are so fun to create with and make all kinds of “get well” cards really easy to create.

Mine is more of a feel better from being sick card but there are images in the stamp set for injuries and things too. It’s great!

I stamped and colored my images with Zig Clean Color Real Brush Markers and a water brush pen which made it easier for me to keep the colors soft and light which is what I wanted. It’s also fun to color with different mediums from time to time. Kind of refreshing. Once everything was colored and dried, I used the coordinating dies to cut everything out and liquid glue to assemble my mini scene together.

I had some of the diamond stripes left over from another card I shared a couple weeks ago and thought they were perfect for the background here. So I chose my pieces and used liquid glue to adhere them down to a card base. Then I die cut “Feel better soon” from the Wellness Wishes die set 4 times from white cardstock. I used liquid glue to adhere the layers and then went over it with orange ink and a blending brush.

I glued that down with liquid glue and popped my images up with foam squares. Then, for finishing touches, I added Touch of Gloss to the rabbit’s glasses and nose.

One tidbit about this Feel Better stamp and die set – it has dies to cut the hands for the bunnies so they can hold anything you want and the bed cuts a slit so that the bunny can get in bed too! It’s perfect and totally fool proof!

Products used today:
Feel Better stamps and dies
Diamond Stripes dies
Wellness Wishes dies
Foam squares
Liquid glue
Zig Clean Color Real Brush Markers
Blending brushes
Lawn Fawn Ink – carrot

I get all of my Zig markers and Mama Elephant supplies from Doodlebugs. If you’d would like 15% off your first purchase, click HERE to shop with my affiliate link.

I appreciate you sharing your time with me. Have a fabulous day!
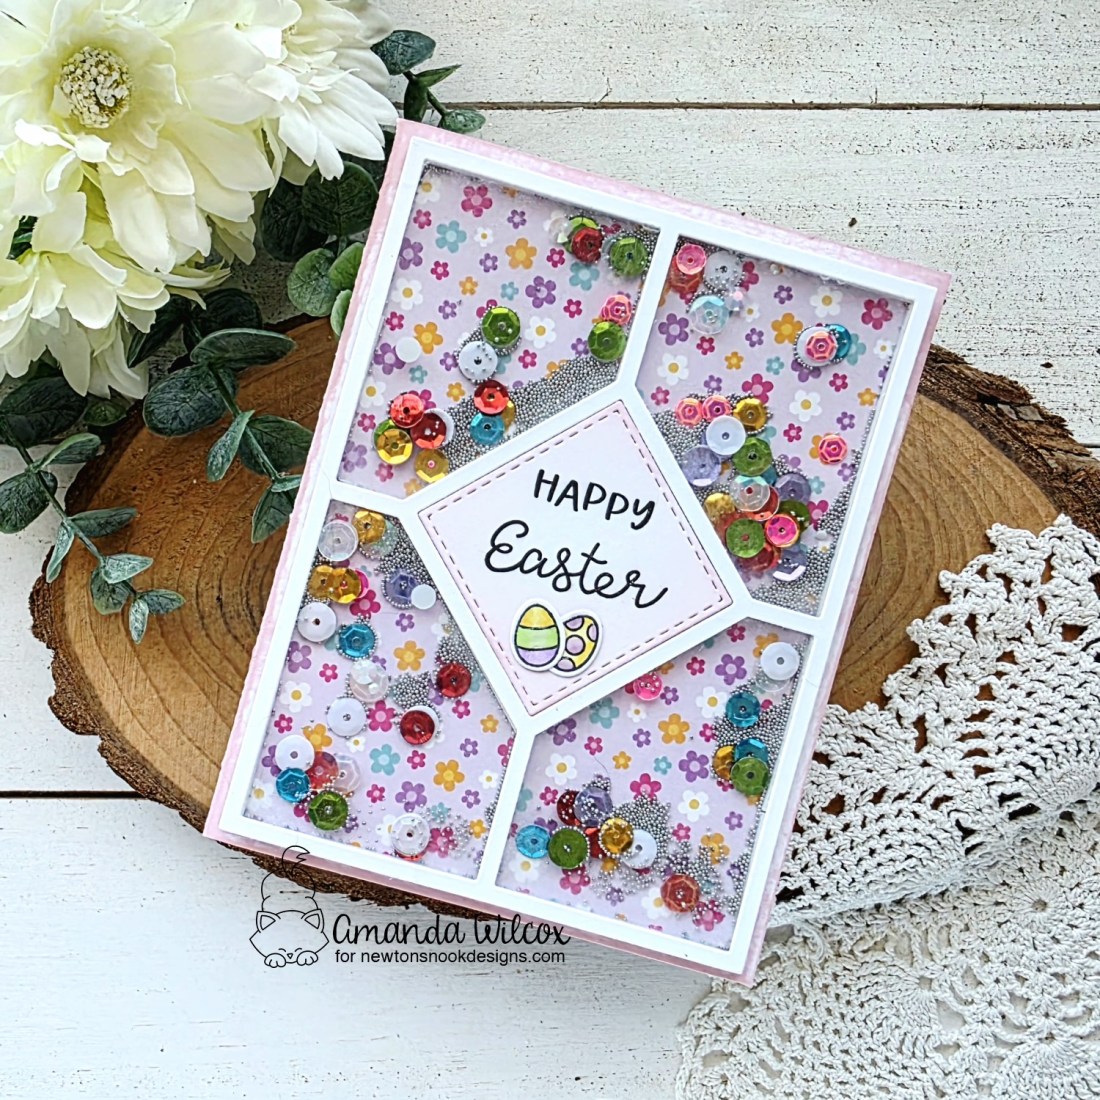
Miss Ink Stamps – Release Day Enjoy the Ride Card and Tags

Hello everyone! I’m really excited to share a new card and coordinating tags featuring some of the new products being release by Miss Ink Stamps today! I’m using new stamps, dies and stencil from the release!

I started by just stamping and coloring a bunch of sweet images from Enjoy the Ride. It’s a packed full stamp set that has coordinating dies available. After everything was colored, I cut it all out and started arranging it. My card was over full so I switched gears and created some fun coordinating tags.

I used a new stencil for texture on my ink blended background and the Oh Happy Day frame dies to ground my scene. I cut the frame from kraft cardstock and used a W7 copic marker to color the inner frame so it stood out a little. I glued it to the stenciled panel and popped it all up on a white card base. Then I added my images and sentiment with a combination of liquid glue and foam squares.

Next, I started filling my tags with the leftover images. Once the tags were die cut I thought it would be nice to coordinate them with the same background so I inked them up using the same stencil. I added all the images and sentiments with liquid glue and foam squares here as well.

I threaded ribbon from my stash through the holes and tied them with twine for the rustic vibe. For finishing touches on everything I added black glaze pen to eyes with white gel pen highlights after the black was dry. Then I added glossy accents to noses, beaks and flower centers, with stardust Stickles to the butterfly wings.

Be sure to head over to Miss Ink Stamps and check out the whole release. It’s huge and so amazing!!!

Products used:
Enjoy the Ride stamps and dies
Oh Happy Day dies
Stencil

Foam tape and squares
Blending brushes
Lawn Fawn Inks – mermaid and jalapeno
Touch of Gloss
Stickles – stardust

I appreciate you sharing your time with me. Have a fabulous day!
Ellen Hutson – Birthday Hat Slimline Cards

Hi there! Happy Friday everyone! If you remember, I was on the Ellen Hutson blog last Friday with a trio of cute birthday things to share featuring the most recent Essentials By Ellen release. Today I’m back with a couple of slimline cards featuring the polka dot part of the Party Hat Add On die set. I couldn’t ignore it, they were too cute! I even used the same color scheme because the cardstock was still out staring at me.

For these cards, I cut the solid backer 6 times from white cardstock and the polka dot die from each color twice. This gave me enough hats for both cards you see today.

To start, I glued the main part of the polka dot hat to the white backer with liquid glue. Then I fit one set of hats with dots from the opposing two colors until the spots were full. Then I used my embellishment wand to pick each one up, dotted some glue and placed it back down. Once I thought I was done, I turned it over to see if anything fell out…I got lucky. 😉

For the background on this card, I used my scoring board to add emboss lines every quarter inch at a diagonal. I glued that panel to a slimline card base, glued each hat in place and popped the pom pom up with foam squares.

Then I used the HB2U stamps and dies to stamp and cut out my sentiment in a coordinating ink color, then popped those up with foam squares too.

For my second card, I left the polka dots white which was much quicker but also just gives a totally different look. I like them both equally but sometimes time is not our friend and we need to be fast so this is a great option.

For the background I scored lines again – every inch, flipped it and did it again for a criss cross pattern. Notice that I glued this to the card front the other way so the emboss lines go in instead of popping up. Look at both sides if your paper when you emboss…they give different looks and both are great to use!

I used the same stamp and die set for my sentiment but pulled in all three colors this time. I also glued my hats down askew instead of straight. It’s more playful and I love that!

Products used:
Party Hat Add-on die set
HB2U stamps and dies
Foam squares
Lawn Fawn ink – sunflower, guava and mermaid

Scoring board

I appreciate you sharing your time with me. Have a fabulous day!
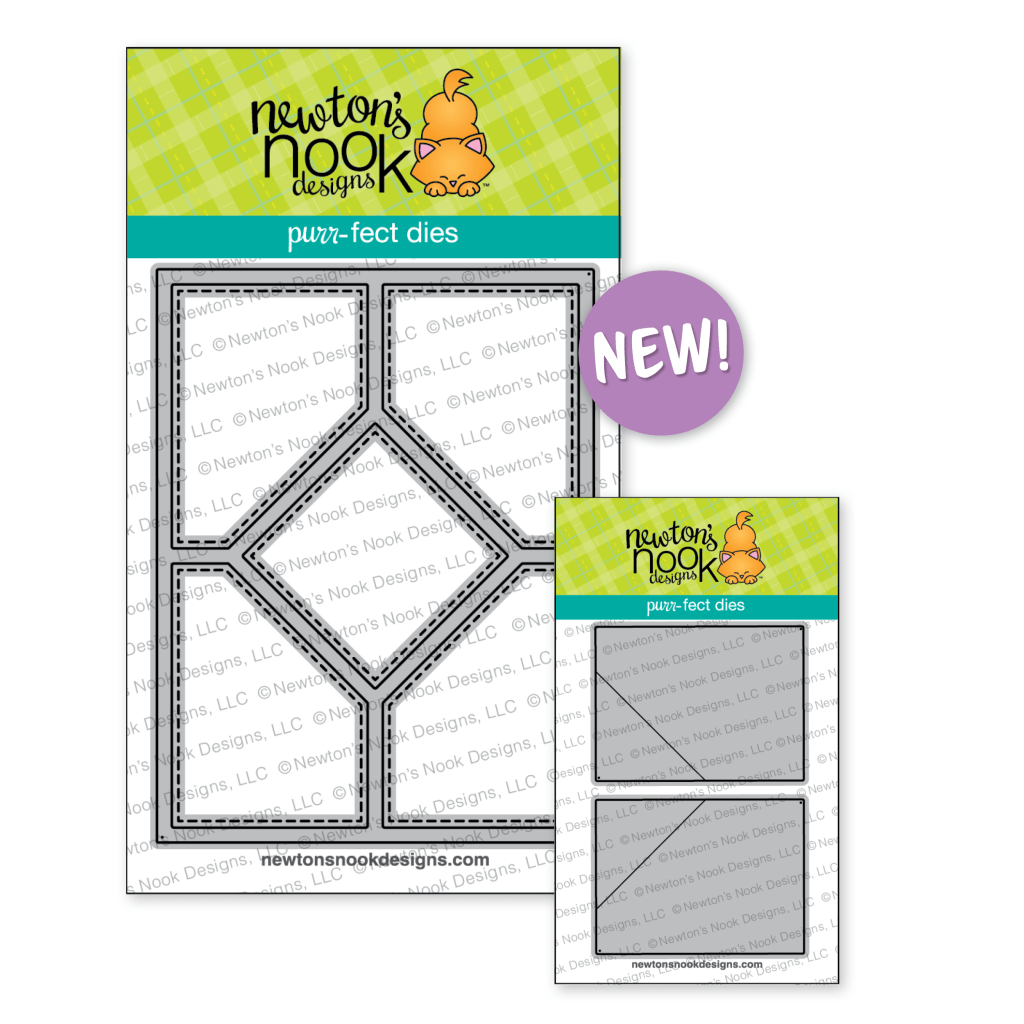
Spellbinders – Photosynthesis Collection with Distress Oxide Sprays

Welcome! Today I have a pair of cards to share with you using dies and hot foil plates from the Spellbinders Photosynthesis Collection. This collection has an array of wonderful products that play perfectly together but also great with others too! Today I used the Zig Zag Chevron cover plate frame and negative pieces to create two cards.

For the first card, I wanted to use the frame the chevron gives you with a textured background. The best way I could think to accomplish that was with distress oxide sprays.

I used mermaid lagoon and scattered straw on a piece of white cardstock. Once it was dry I spritzed it with water for extra oxidization and it blended the colors a bit too. Then I adhered the zig zag chevron panel over the top with liquid glue.

While that was drying, I die cut and glued together three flowers from the Floral Stems die set. I still have some sentiments I created using the Must-Have Sentiments hot foil plate and die set and there was a perfect one for the this card so I didn’t even have to create more.

I glued the flowers directly to the card front and popped the sentiment up with foam squares.

Next, I had the negative chevrons still in perfect placement in the die so I was able to create a second card really easily.

I just added glue to the back of the pieces and placed it on a white cardstock panel. I used my Tool-in-One to pop them out and removed the die. I couldn’t believe it but I only had to adjust one piece before placing an acrylic block on top to help it all dry flat.

While that was drying, I die cut and created more florals from the Floral Stems die set again. This time I added a little copic marker to the tips of the flower and I also added stems and foliage.

Same story with my sentiment…having a bundle already created is so cool! I highly recommend this trick.

I trimmed the chevron panel down to 4×5.25 inches and popped it up with foam tape on a card base. Then I added the flowers and greenery with liquid glue before popping the sentiment up with foam squares again.

I can really see this whole collection being a go-to for a variety of cards in the future. It’s relaxing and fun to create with using different techniques.

Products used today:
Zig Zag Chevron cover plate
Floral Stems dies
Go-To Sentiments hot foil plates and die

Distress Oxide Sprays – scattered straw and mermaid lagoon
Foam squares and tape
Bearly Art liquid glue

I appreciate you sharing your time with me. Have a fabulous day!
Pink & Main – Aloha

Hello everyone. I’m so glad you stopped by. Today I have a tropical tiki card featuring a new stamp and die set from Pink & Main called Tiki Time. I’m always drawn to these sort of tropical themes, they make me want to go on vacation.

I stamped and colored my images with copic markers before using the coordinating dies to cut everything out. Then I cut 4 concave rectangles from white cardstock and ink blended each in a gradient with different Pink & Main dye inks. I wanted things bright and fun so I chose construction, night sky, lakeside and the park.

Next, I used an embossing folder to add texture to my background panel and adhered it to a card base. I added foam tape to the back of the concave rectangles and popped them up at an angle, leaning toward the center of the panel.

Then I popped my images up on those with foam squares. I kept the tiki guys opposite each other and made sure the lizard and toucan were on contrasting colored panels.

I stamped and heat embossed aloha on black cardstock and trimmed it out with my scissors. Then I popped it up in the center with foam squares as well. For finishing touches I added Touch of Gloss to the critters’ eyes and stardust Stickles to their spots and dots for a little sparkle too.

Anyone else ready to run away to a tropical island with me? I promise I can pack really fast!

Products used today:
Tiki Time stamps and dies
Concave Rectangles dies
Catch a Wave embossing folder (Retired, I apologize I forgot. Try substituting curly waves stencil or rough waters foilables)
Ink – construction, the park, lakeside, night sky, embossing and watermark
Magic anti-static brush
Embossing powder – icicle
Blending brushes
Foam tape
Liquid glue
Stickles – stardust
Touch of Gloss

I appreciate you sharing your time with me. Have a fabulous day!
Doodlebugs | Mama Elephant – Page Huggers

Happy Hump Day everyone! I’m thrilled to be on the Doodlebugs blog again today with another sweet card using Mama Elephant stamps and dies. These Page Huggers released quite a while ago but are so adorable and very fun to create with!

Today I chose three out of the four critters in the set to stamp and color with my copic markers. At first I was going to have them each hold something different in their hands but that envelope is just so sweet, I went with happy mail from each of them instead. After coloring everything, I used the coordinating dies to cut them out.

Full transparency, I die cut the Six Window cover plate from white cardstock and then used distress oxide ink to add color. Highly recommend learning from me and inking your paper before die cutting. Lol! It’s doable but it was a pain trying not to bend and fold the skinny parts between the windows.

I went with picked raspberry on the outer edge and kitsch flamingo for the center. Then I spritzed it with water and blotted it dry.

Then, I took a white piece of cardstock and inked up lost shadow distress oxide behind the windows I wanted critters in. I mocked up my critters in the windows to see how things were looking and wanted more texture. So that’s where I flicked lost shadow ink on the white panel before stamping sentiments in the open windows from To My Dearest stamp set.

Another funny for you and a way to salvage what might be lost. I had the tiny heart below “hey you” at the same time I was stamping the sentiments and I also had the grid window in place in my MISTI to make sure things lined up. Between inking the stamps and closing the lid, the heart fell and stamped on my pink panel. I almost lost it. But I took a breath and stared at it for a minute before thinking this could work. And now we have tiny hearts all over the cover panel.

Now we’re finally ready for assembly. Glue the sentiment panel to a card base and add your critters to the open windows with liquid glue where you can. Then flip the window panel over and line it with foam strips and squares. Pop that in place on the card front and you’re ready for finishing touches.

This is one of my favorite parts of creating a card. Things really come to life here. I added black glaze pen to all of their eyes and glossy accents to the critter noses and the hearts on the envelopes. Then at the very end I also added it to the heart under “hey you.” It was the problem child after all so I thought it needed some extra attention.

I hope you enjoyed this creation and find some humor and comradery in my flubs. We all make them. You’re not alone. Message me if you’re ever having a moment. I’m happy to chat!

Products used today:
Page Huggers stamps and dies
Six Window Cover die
To My Dearest stamps
Distress Oxide Ink – lost shadow, picked raspberry, kitsch flamingo
Foam strips and squares
Bearly Art liquid glue
Sakura black glaze pen
Glossy accents

I appreciate you sharing your time with me. Have a fabulous day!
Remember that if you use my link to make your first purchase with Doodlebugs, you get 15% off. Plus she’s got crazy awesome free shipping thresholds, rewards program and AMAZING customer service! Click HERE to shop your heart out!

Pixi Dust Designs – Bee Happy

Welcome everyone. I’m so happy you’re here today. I’m back with a second card featuring the Pixi Dust Designs Bee Happy die set. Today I’m pairing it with one of their awesome tag dies and finding A2 uses for my slimline dies as well!

I started my card by cutting the pieces to my bee and bee hive from colored cardstock. Then I used blending brushes and dye inks to add depth to them. I always use liquid glue to adhere the layers because it gives me a second to wiggle things into perfect placement and it holds strong when it’s dry.

Next, I die cut the main tag shape and topper from the Tag B dies and then used the Slimline Clouds die to cut a stencil. I used the cloudy border to ink pink clouds on my pink tag. It’s subtle but adds interest instead of the flat cardstock. Then I added ribbon through the hole in the tag and popped my bee and hive up with foam squares.

I used the third largest Stitched Rectangle Slimline die to cut a strip of teal cardstock for my card front. After inking the edges for some shading, I popped it up on a card base with foam tape. Then I splattered it with iridescent watercolor. While that was drying I die cut the “Bee Happy” sentiment from black cardstock three times and glued the layers together.

Deciding on final placement for the sentiment and tag, I thought it would be fun to add texture so I cut the honeycomb from yellow cardstock and used the same watercolor to paint random spots for shine and shimmer.

Finally, I glued the honeycomb and sentiment down with liquid glue. Then I popped the tag up with foam squares. I hadn’t washed my watercolor brush out yet so I went ahead and added some shimmer to the bee antennae and wings and the hole in the beehive too. It’s subtle but fun.

Products used today:
Bee Happy dies
Tag B dies
Stitched Rectangle Slimline dies

Liquid glue
Foam tape and squares

LH Colors watercolor – iridescent
Blending brushes
Lawn Fawn dye inks – sunflower, mermaid, walnut

I appreciate you sharing your time with me. Have a fabulous day!
Ellen Hutson – Essentials By Ellen Birthday Celebration

Oh my goodness everyone! I am SO EXCITED to be guest designing over on the Ellen Hutson blog today with goodies from the most recent birthday release. There was so many amazing products but I absolutely had to use the new party hat add on dies to the pyramid box and those sweet new birthday critters too. They’re my favorite!

I’ve got a fun box and a pair of gift tags to share with you today. As we go through the process you’ll see how I literally fell into the tags while creating the gift box. It was so perfect and really fun!

First, I chose a color palette that struck me in the moment and grabbed my dies. I cut the box pieces (2) and base for the sides (6) from white cardstock. Then I decided to try the striped hat first so I cut the stripes from each color twice.

I started at the top of each triangle and just followed the same color pattern down, starting with the next in the order for each side. It worked perfectly and the stripes spiral around the box. It’s soooo cool! This also meant that I had two extra panels at the end…perfect for tags!!!

I cut two additional bases from white cardstock and used my scoring board to score them 1 1/2″ down from the point. This gave a good size area to glue the pieces to the striped panels but also left enough area to write to, from and a small message. I prefer liquid glue to adhere things like this but you could use tear tape or tape runner if you prefer.

With all of my pieces assembled, it was time to decorate them! I often play with my stamps like this before actually stamping and coloring. It gives an idea for how things will fit and if I’ll need duplicates of an image. Remember, it’s not a guarantee for not needing to go back and stamp more or switch things out in the end but it really helps the process for me.

Next, I used my copic swatch chart to find colors that matched my cardstock, then I toned them all down to the pastel shade of those. This way my images were soft and popped off the bright tags and gift box. I colored everything and used the coordinating dies to cut them all out. Aren’t they the cutest!?!

For my gift tags, I punched a hole in the top and threaded twine through the hole. Then I cut the pom pom shape in the die set and added it with a foam square so I let the twine move freely. I added my images with foam squares as well and finished them off with stardust Stickles.

Something was missing not having a sentiment though so I stamped and heat embossed the new Birthday Vibes stamp set and used the sentiment strips die to cut them all out. This is totally genius and so wonderful to have all of these sentiments at my fingertips so quickly! I trimmed the strips down and added them to the tags with liquid glue.

Now, you can totally use the paper pom pom in the die set to add fun to the top of your pyramid box as well but I just couldn’t resist adding a yarn version to my box for that something extra. Isn’t it silly and so fun!?! I love it!

There are lots of pom pom makers out there, which is what I use, but you can also just create your own with cardboard or a fork too. Just search “diy pom pom maker” on google, pinterest or youtube and you’ll see lots of ideas.

I prefer instant adhesion with things like this so I used hot glue to add mine to my box and then foam squares to add the cake and sentiment strip to the side. I finished the candles off with glossy accents for a little shine.

Products used today:
Pyramid Box die
Pyramid Box Party Hat Add-on dies
Birthday Vibes stamps
Sentiment Strips die
Party Time stamps and dies
Foam squares
Glossy accents
Stickles – stardust
Bearly Art liquid glue

I appreciate you sharing your time with me. Have a fabulous day!
Spellbinders – Glimmer Cardfront Collection

Hi crafty friends. Today I have a pair of cards using the Spellbinders Glimmer Cardfront Collection. This is a small collection with large hot foil sentiments and a beautiful layering stencil. The stencil also has a coordinating die available if you weren’t going to hot foil sentiments over the top. I used it in my card earlier this month. Today I have two cards featuring the hot foil sentiments though.

I started with the card on the left because I wanted to pair the stenciled panel with the die cut frame you see and that sentiment fit so perfectly, I couldn’t ignore it.

So, I inked up the Hello Blooms stencil on a piece of white cardstock and then used my Glimmer Foil Press to hot foil the Giant Thank You sentiment over the top of the stenciling. Then I die cut the Scrolled Punch and Pierce Plate from white cardstock. I inked up the inside edge of the largest frame with yellow ink and then glued it to the foiled panel. I didn’t like how much white there was so I went around the outer edge with the same orange ink I used on the flower in the stenciling.

Once that was how I liked it, I just glue the panel to a card base and my card was all finished. I really couldn’t believe how cool this looks and how easy it was to create.

So I couldn’t stop at just one and wanted to try some non-traditional colored flowers next. Why not?!?

This one turned out so pretty! After stenciling the flowers, I hot foiled my sentiment and trimmed the panel down to 4×5.25 inches. I was going to pop it up on a white card base but there was too much white for me. So I simply took the same blending brush I used for all the blue flowers and inked up the edge of a white card base with whatever ink was left.
Then I popped the panel up with foam tape for a little dimension. For this card, I thought it would be fun to add some silver baubles for added shine and interest. I seriously love it! Don’t you?!?
Products used today:
Hello Blooms stencil
Card Full of Hugs hot foil plate
Giant Thank You hot foil plate

Scrolled Punch & Pierce plate
Spellbound hot foil variety pack
Foam tape
Bearly Art liquid glue
Blending brushes
Lawn Fawn dye inks
Silver baubles

I appreciate you sharing your time with me. Have a fabulous day!