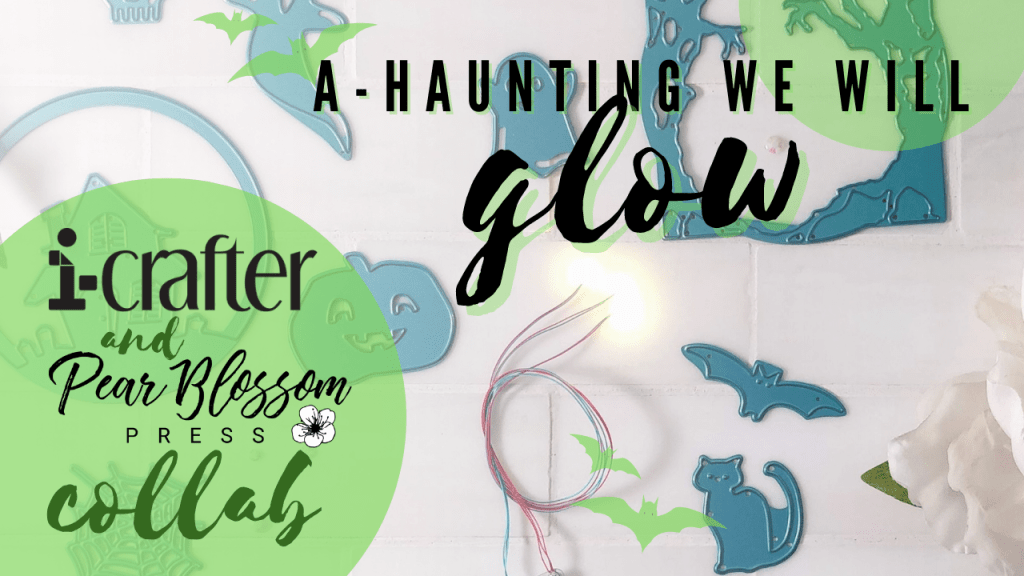
Welcome to the A-Haunting We Will Glow Collab Hop with i-Crafter and Pear Blossom Press! We’re sharing spooky sweet projects for Halloween. Featuring interactive dies from i-Crafter, and with help from Pear Blossom Press, they all really light up! Be sure to hop along with us for lots of inspiration; we’ve come up with some brilliant cards. Let me show you mine…
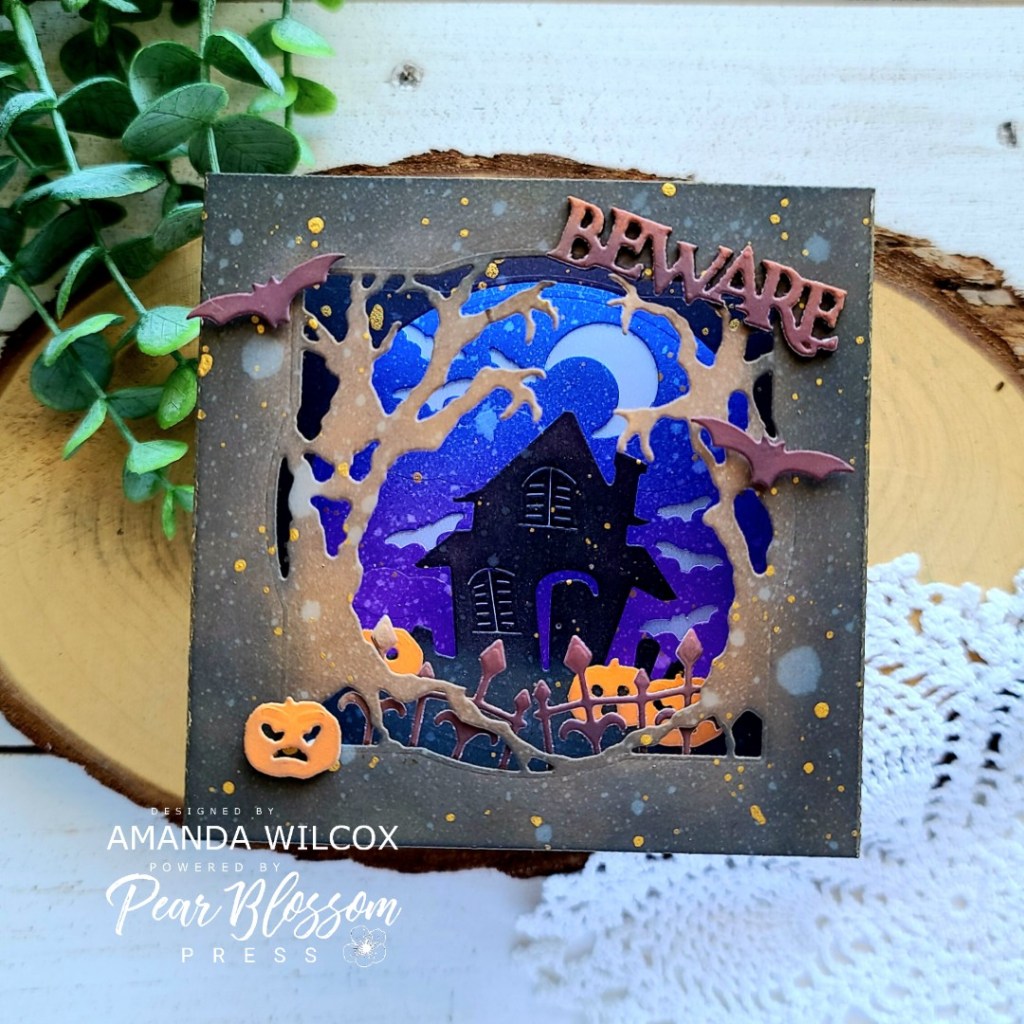
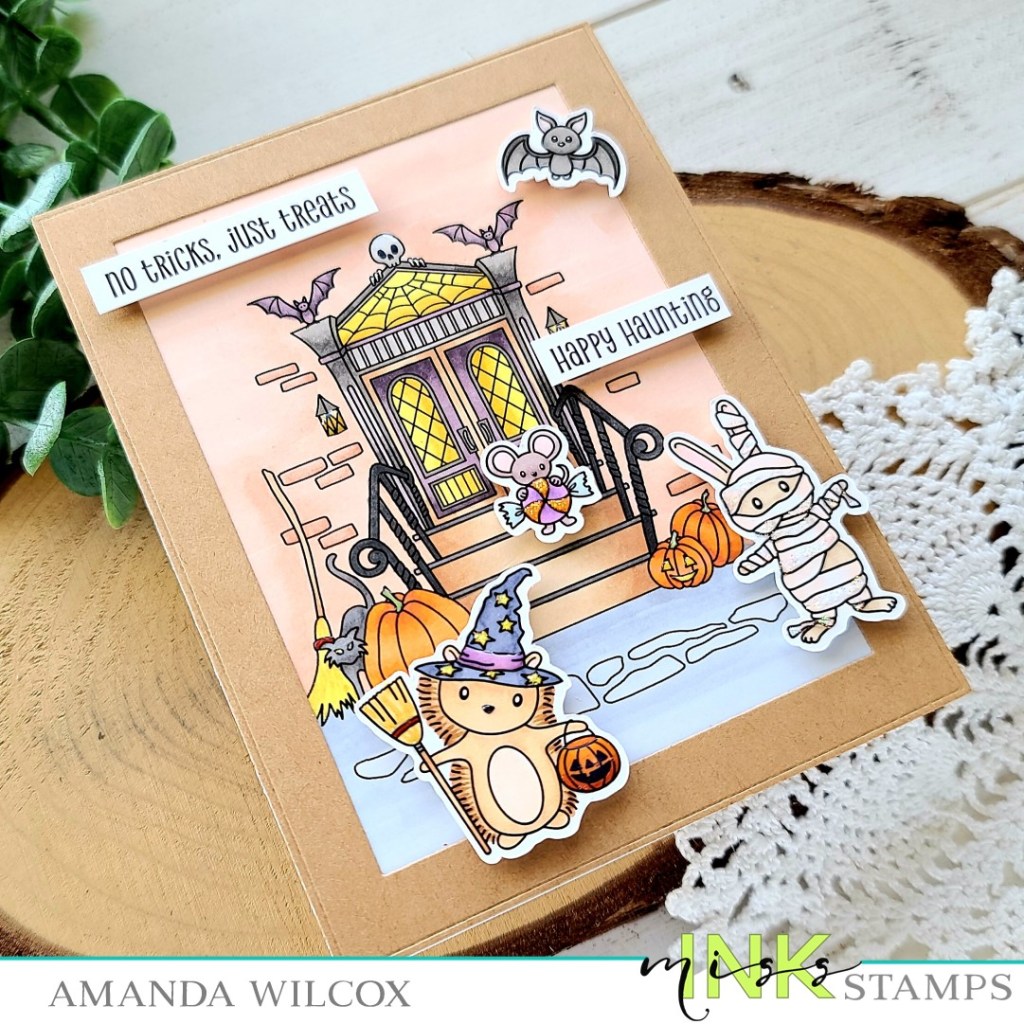
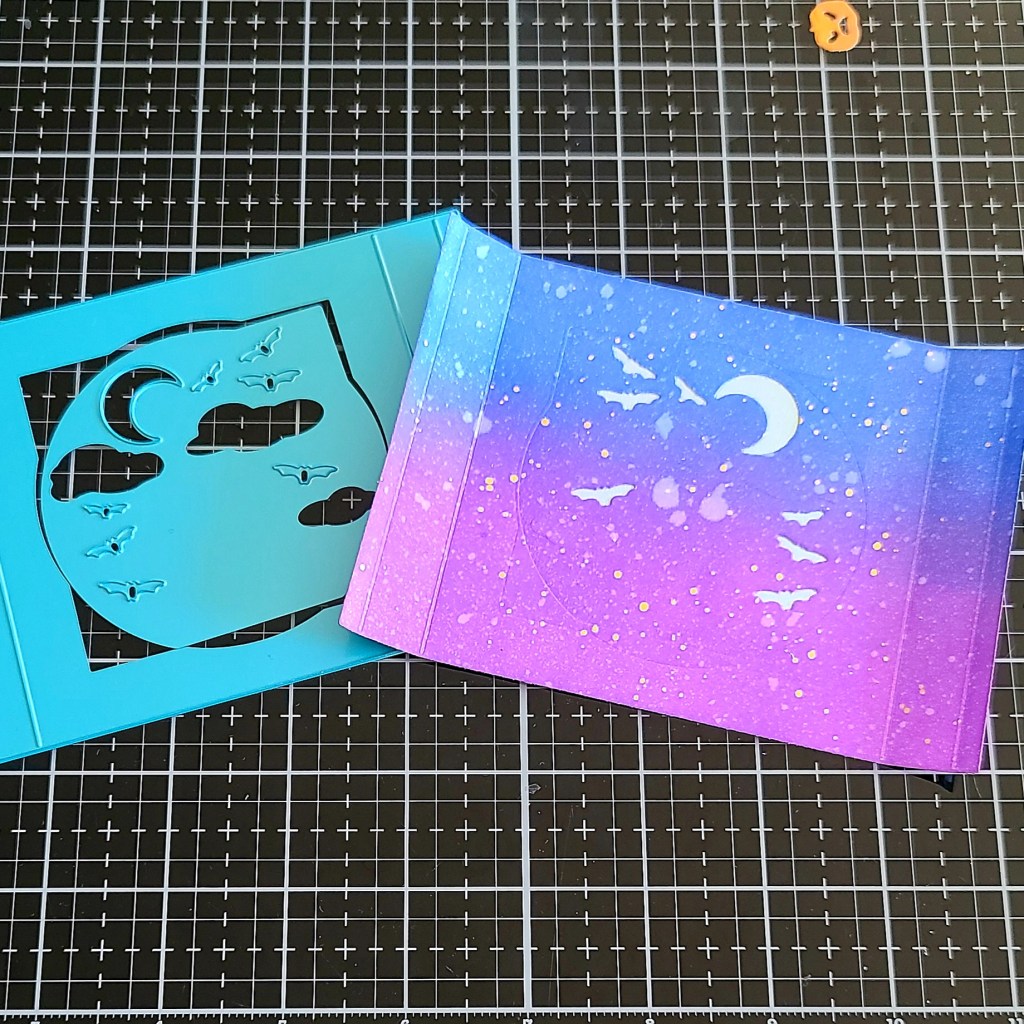
To create my card I die cut the base panel for the tunnel card from white cardstock 4 times. I ink blended one with distress oxide in blueprint sketch and seedless preserves and another with gathered twigs and black soot. The third panel was inked with distress ink in black soot. Then I used the haunted house add on dies to cut the windows from the 3 inked panels. I spritzed each with water and flicked gold watercolor on them too.
I completed my light up mechanism before assembling the card. This way if I mess up I only have to recreate 1 panel, not 3.
To do that I started with the back panel and adhered iridescent vellum to the back covering the bat and moon openings. I like how this diffuses the light.
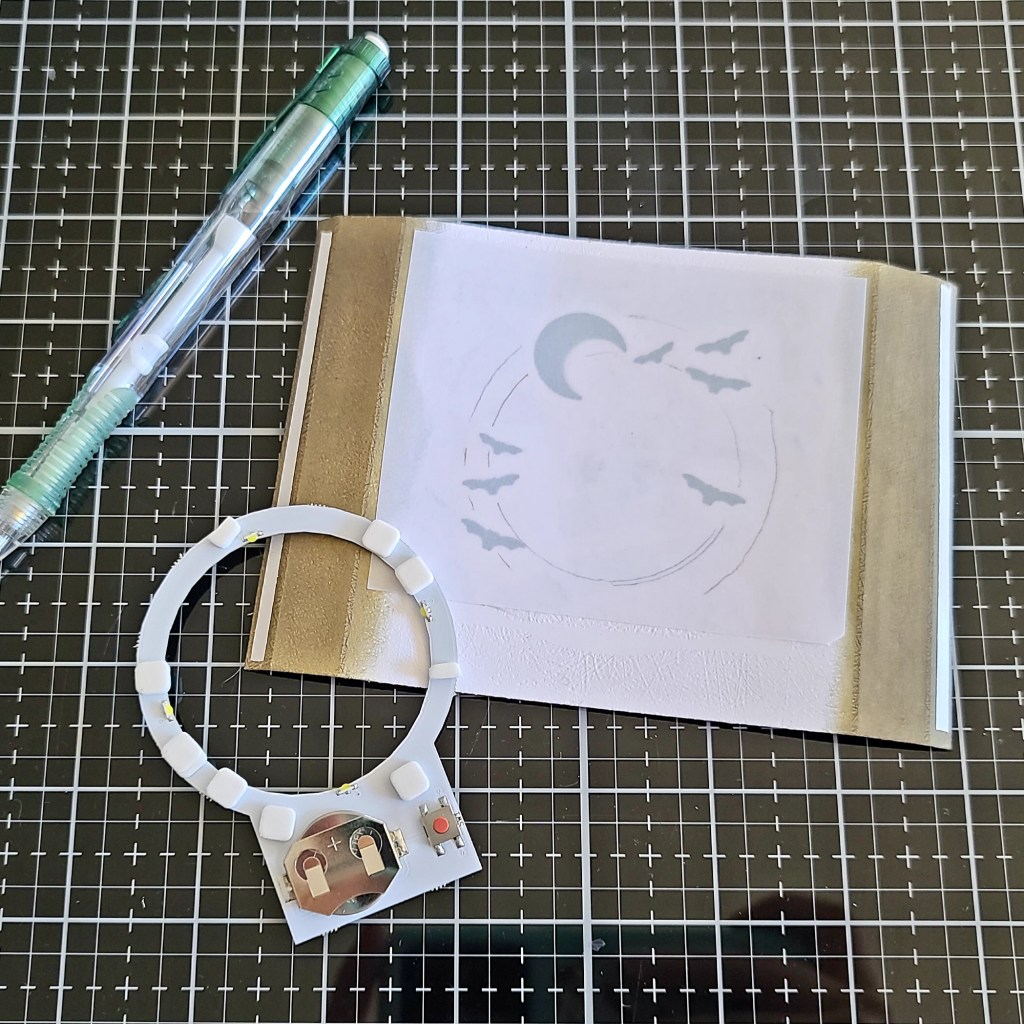
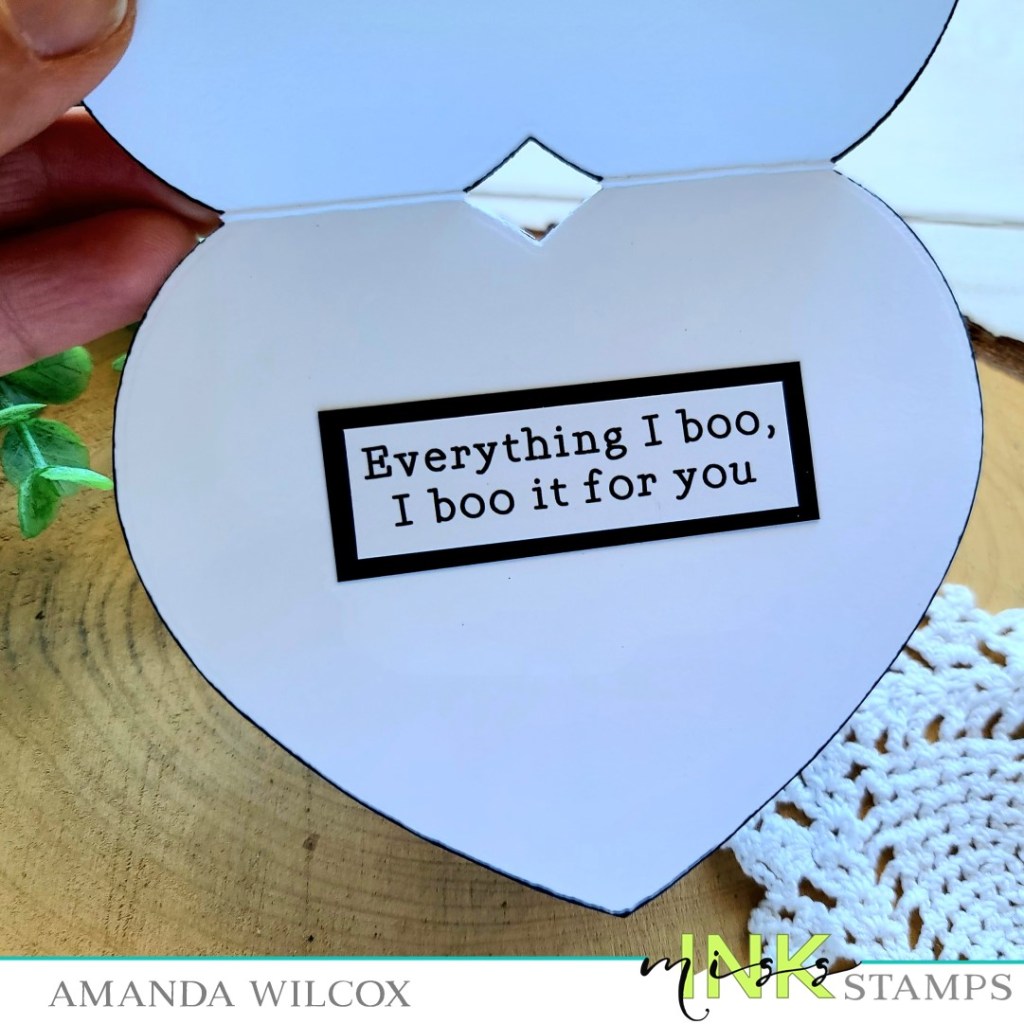
I took the halo light and traced the ring on the back of the panel so I could see where to add foam squares. I added those between the cut outs. I also marked where the button sits and stamped “push here” on the other side.
I adhered my light in place and framed the rest of the back with double thick foam tape. Then I took the last tunnel card base I had, trimmed off the edges and adhered it down, securing and hiding my light mechanism.
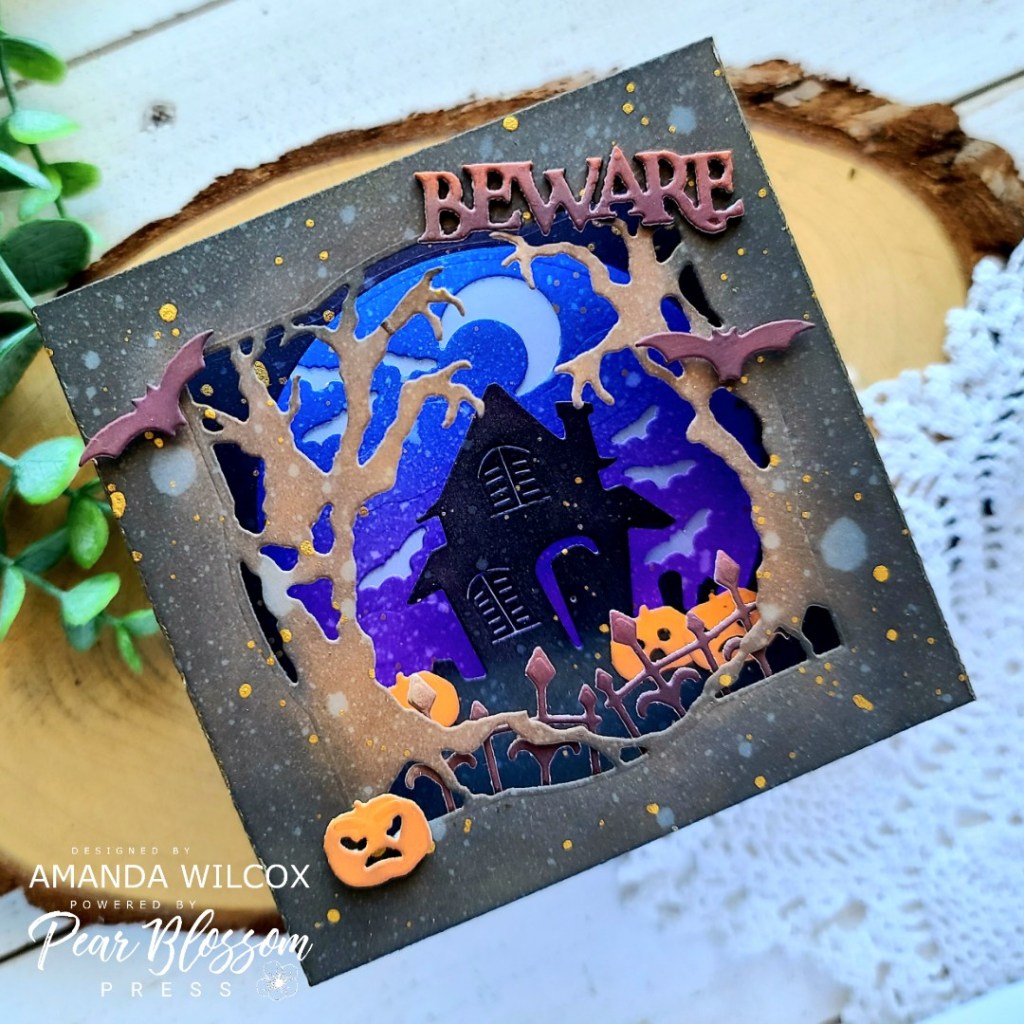
Next, I followed the general instructions and assembled my tunnel card. After that was done I used some of the smaller dies in the set to decorate my scene.
For the bats, beware and fence I inked up a scrap with carved pumpkin and seedless preserves layered together, then cut them out. For the pumpkins I used carved pumpkin and inked the edges with gathered twigs. Images on the front are adhered with foam squares and anything inside the tunnel is added with liquid glue.
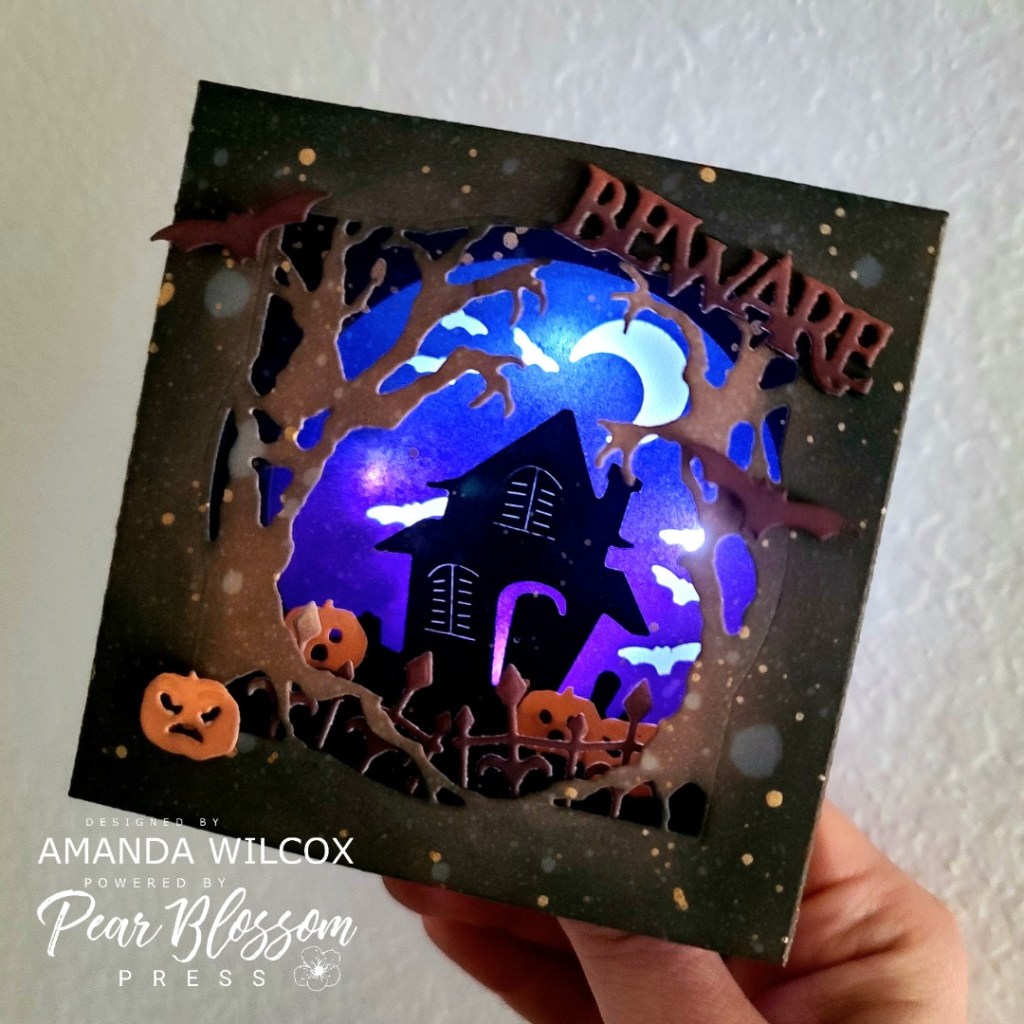
Here’s a look at it all lit up! Spooky and so much fun! I hope you enjoyed this card. I alleviate you sharing your time with me!
BLOG HOP
You should have started at the i-Crafter blog and the next inspirational stop on the hop for you is Niccole!
Every good hop has prizes, right? So i-crafter, and Pear Blossom Press are each giving away a $25 store credit! Comment on this post by October 4, 2021 to be entered to win. Winners will be announced on October 8th. Ready for more inspiration? Amanda from Pear Blossom Press will be live on YouTube today, and Lynda from i-Crafter will be live on Facebook today at 11:00am. Be sure to tune in!