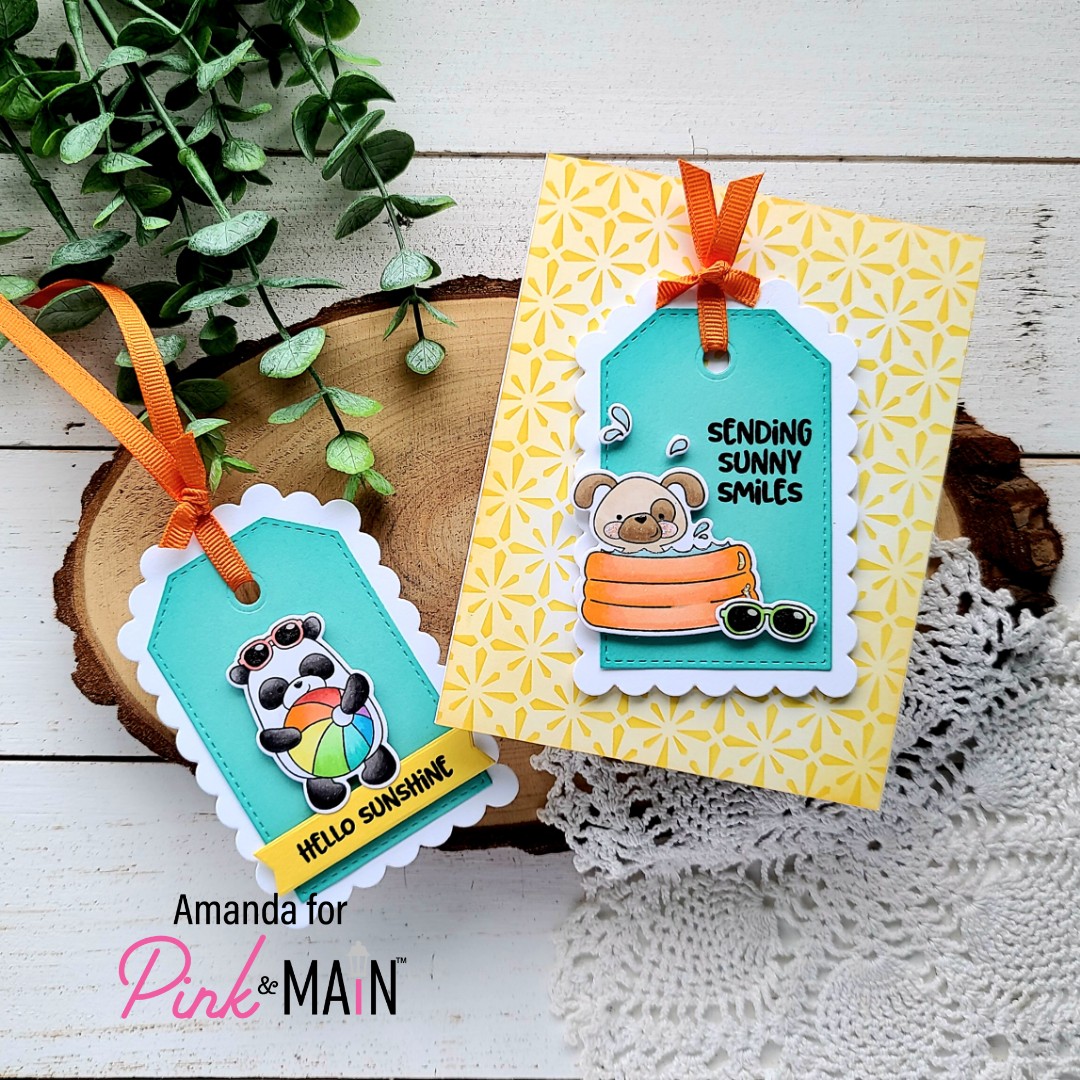
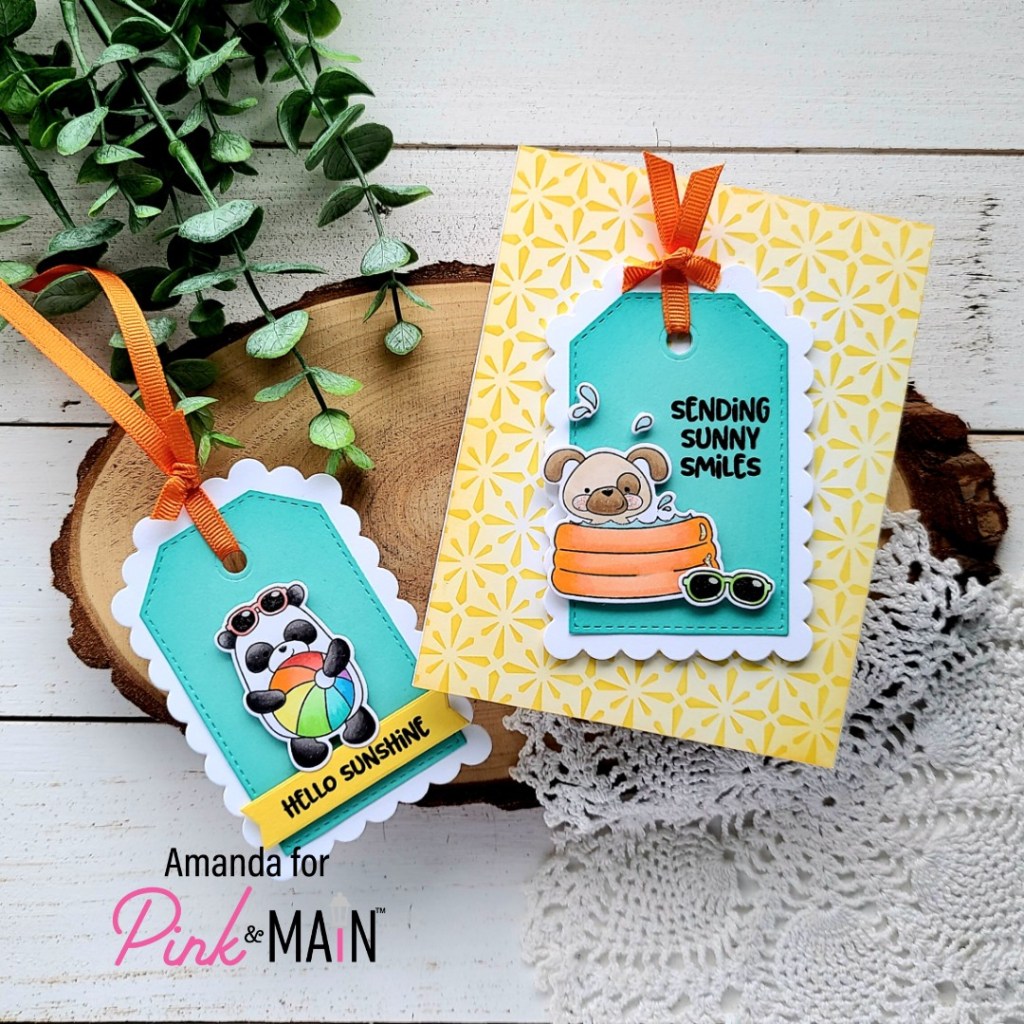
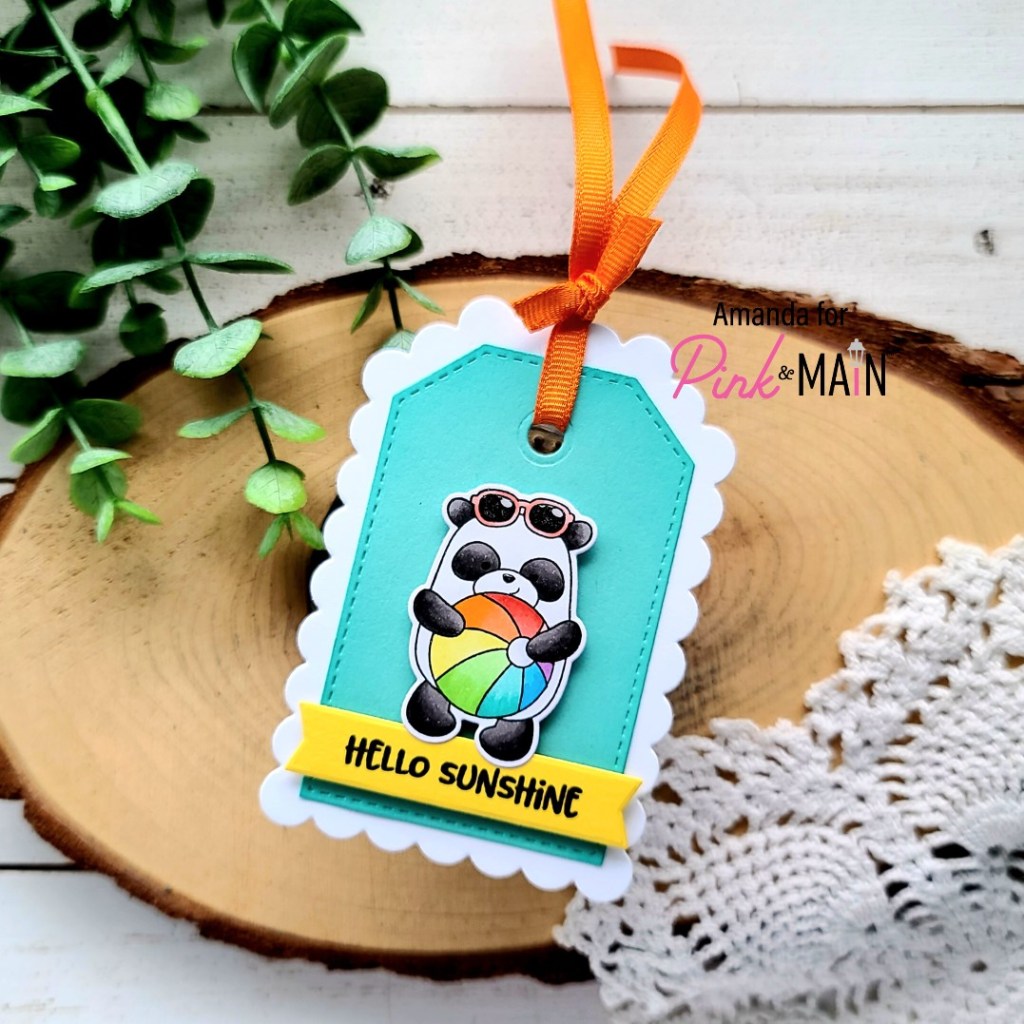
Welcome back everyone and thanks for stopping by! Today I have another beachy awesome Pink & Main card to share with you! This one is all die cut but I did color some of it so it’s not technically no coloring…although you could totally alter it to that if you’re not feeling the coloring thing at the moment.
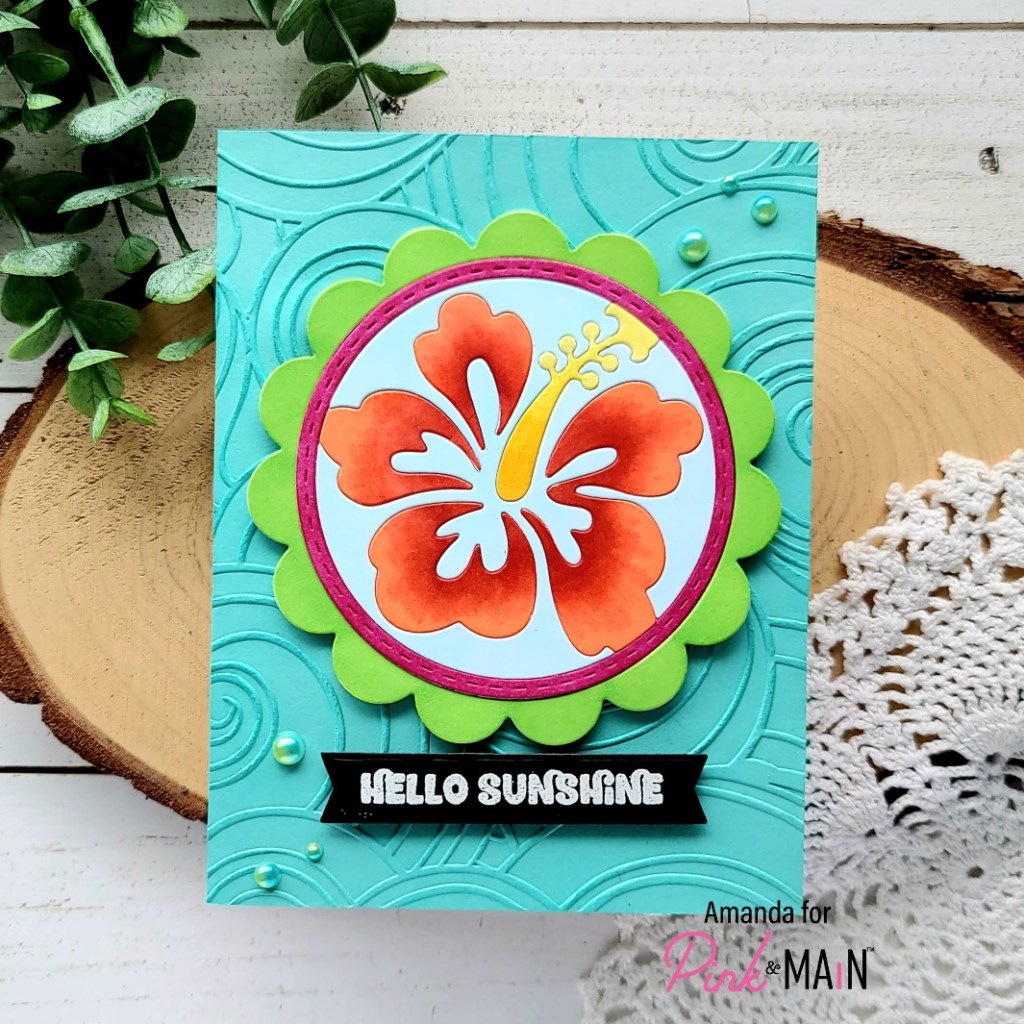
For this card, I die cut the scalloped circle die from the Aloha die set from white cardstock. Then I used copic markers to color all of the pieces in. This is where I’m talking that you could die cut the whole thing multiple times and paper piece if you’re not in the mood to color. However, I find this kind of copic coloring relaxing and very forgiving because there are no lines to go outside of.
Once everything was colored, I die cut a circle from copy paper and adhered all my pieces to it. Then I used the new Catch a Wave embossing folder with some teal cardstock for my background. After that panel was embossed, I trimmed it to A2 size and adhered it to a white card base with EZ Squeeze liquid adhesive. Then, I popped my hibiscus circle up with foam tape.
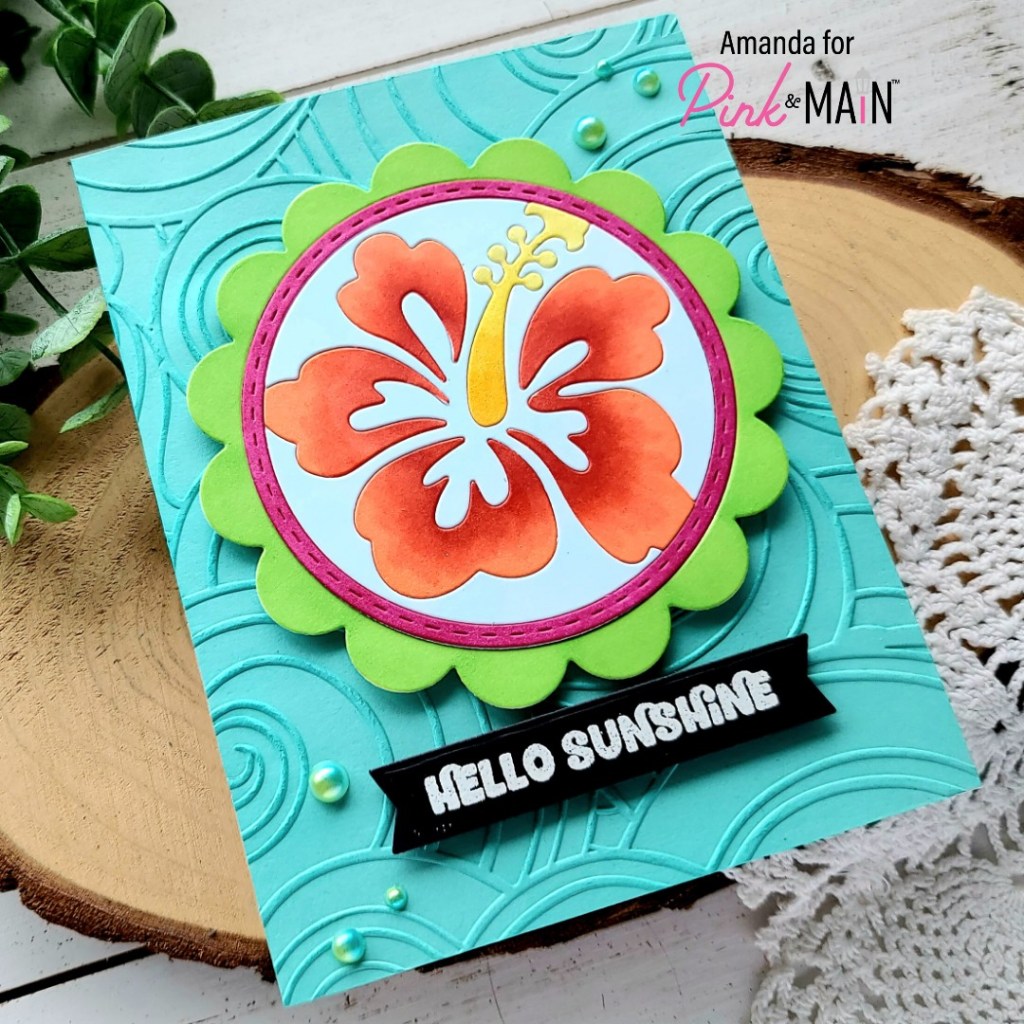
I stamped and heat embossed a sentiment from the new Sunkissed stamp set in white on black cardstock. Then I used a large sentiment banner die to cut it out. I popped it up with foam tape as well.
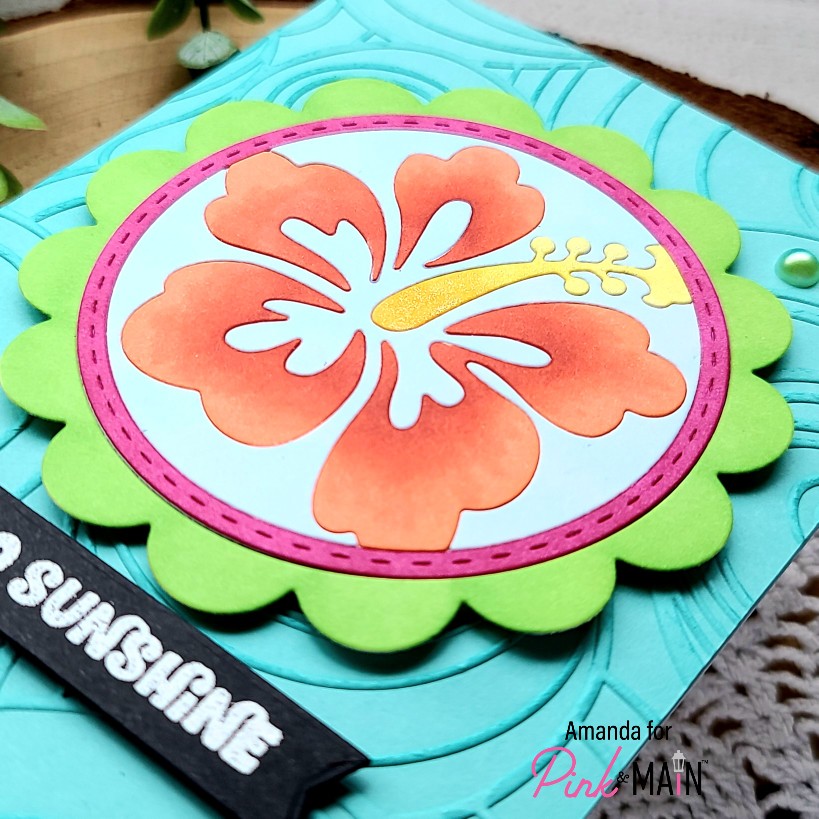
For finishing touches, I added a scattering of the halftone green/teal pearls from the Unicorn Pearls set across the design. Then I took my Wink of Stella glitter brush pen to just the stamen on the flower for a little added shimmer in the light.
Products used on today’s card:
Aloha dies
Catch a Wave embossing folder
Sunkissed stamps
Large Sentiment Strip dies
Layered Circle dies
Unicorn Pearls
Wink of Stella glitter brush pen
EZ Squeeze Liquid Adhesive
I hope you enjoyed today’s card and found some inspiration to create something wonderful and share it with someone!
I appreciate you sharing your time with me. Have a fabulous day!