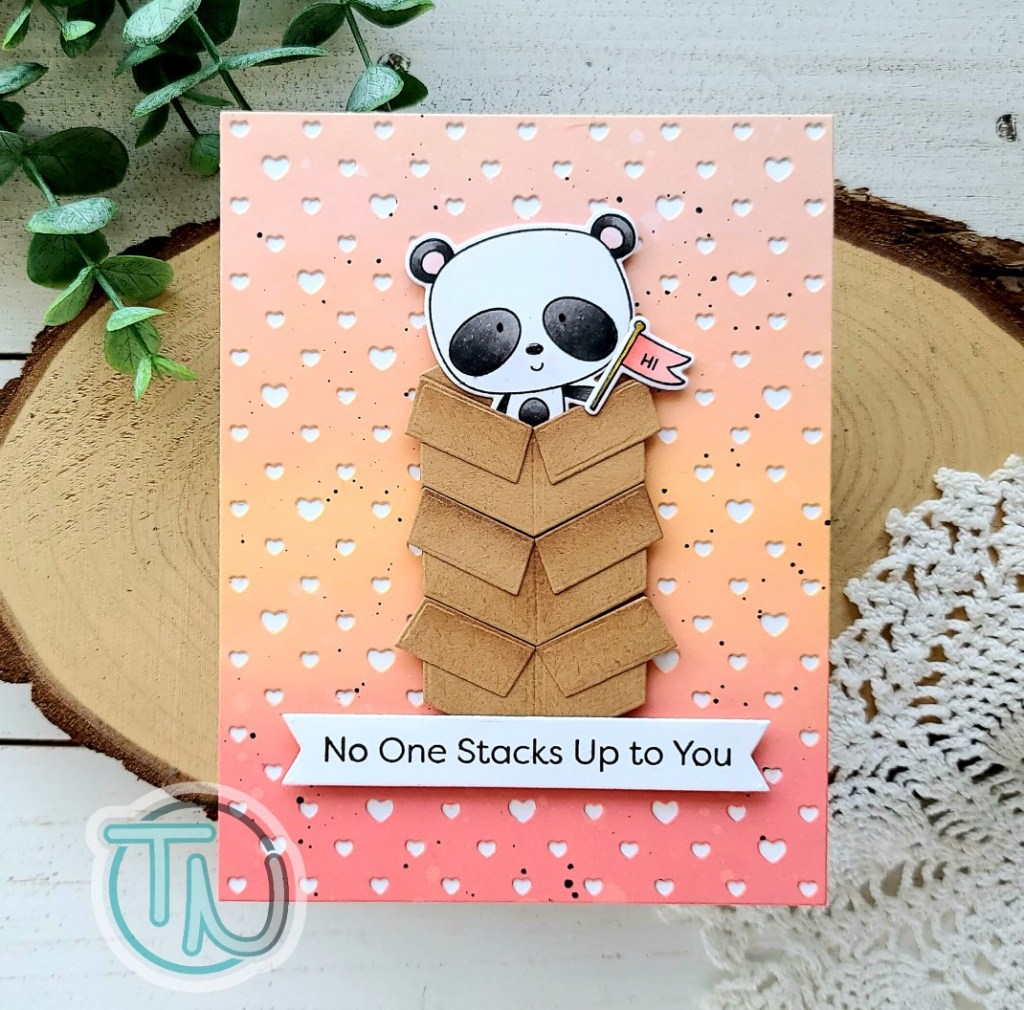
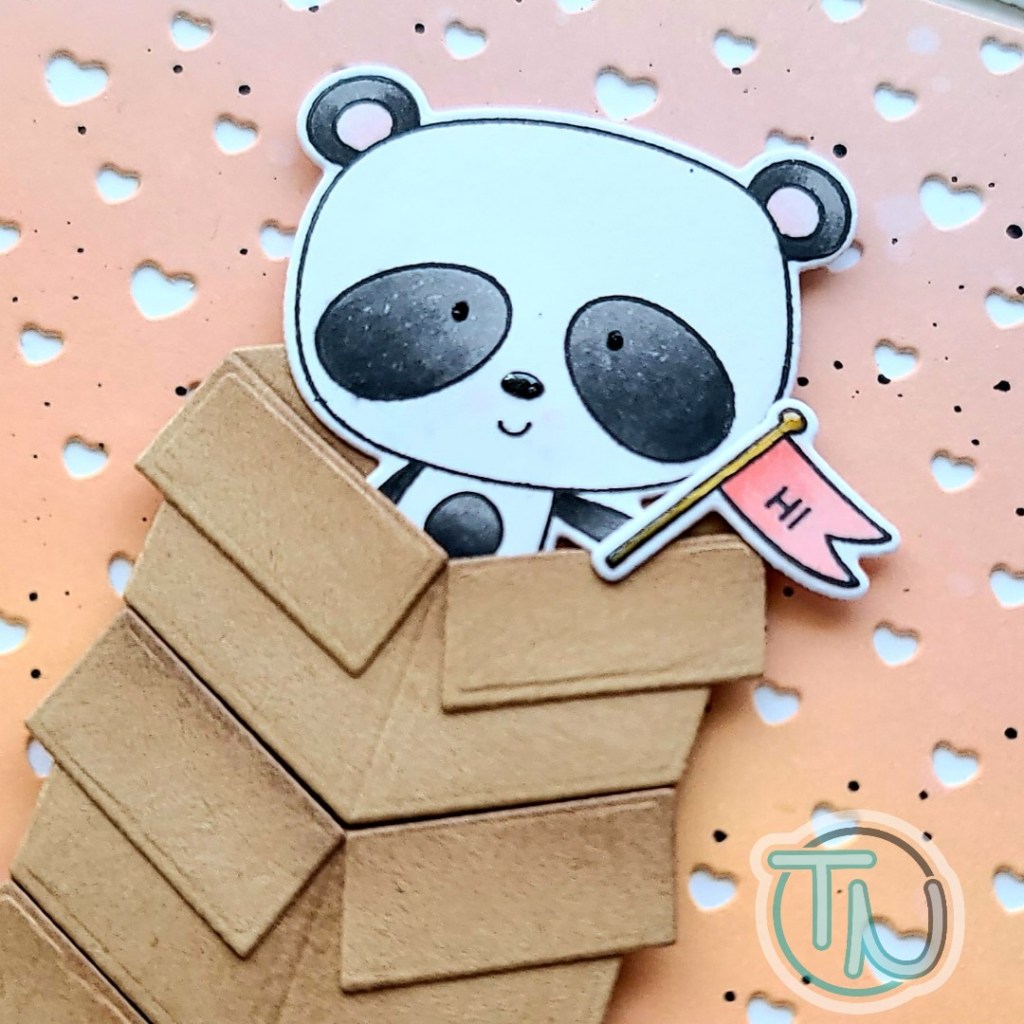
Welcome, welcome everyone! Just popping in to bug you on this fine Sunday morning. Haha! These sweet Paperie Ink ladybugs were just too cute to resist and the sentiments in the set are equally as adorable! Today I’m sharing a fun, just because card and it cracks me up every time I read the sentiment.
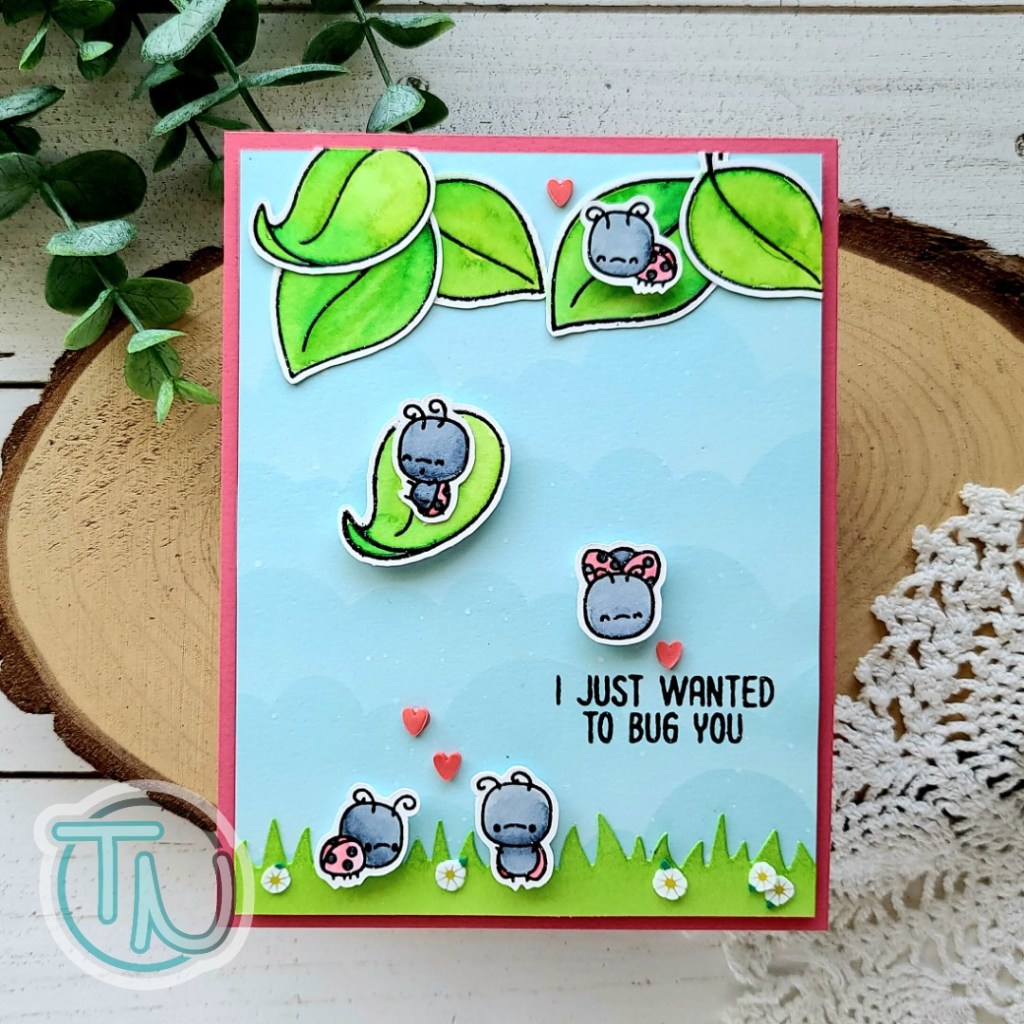
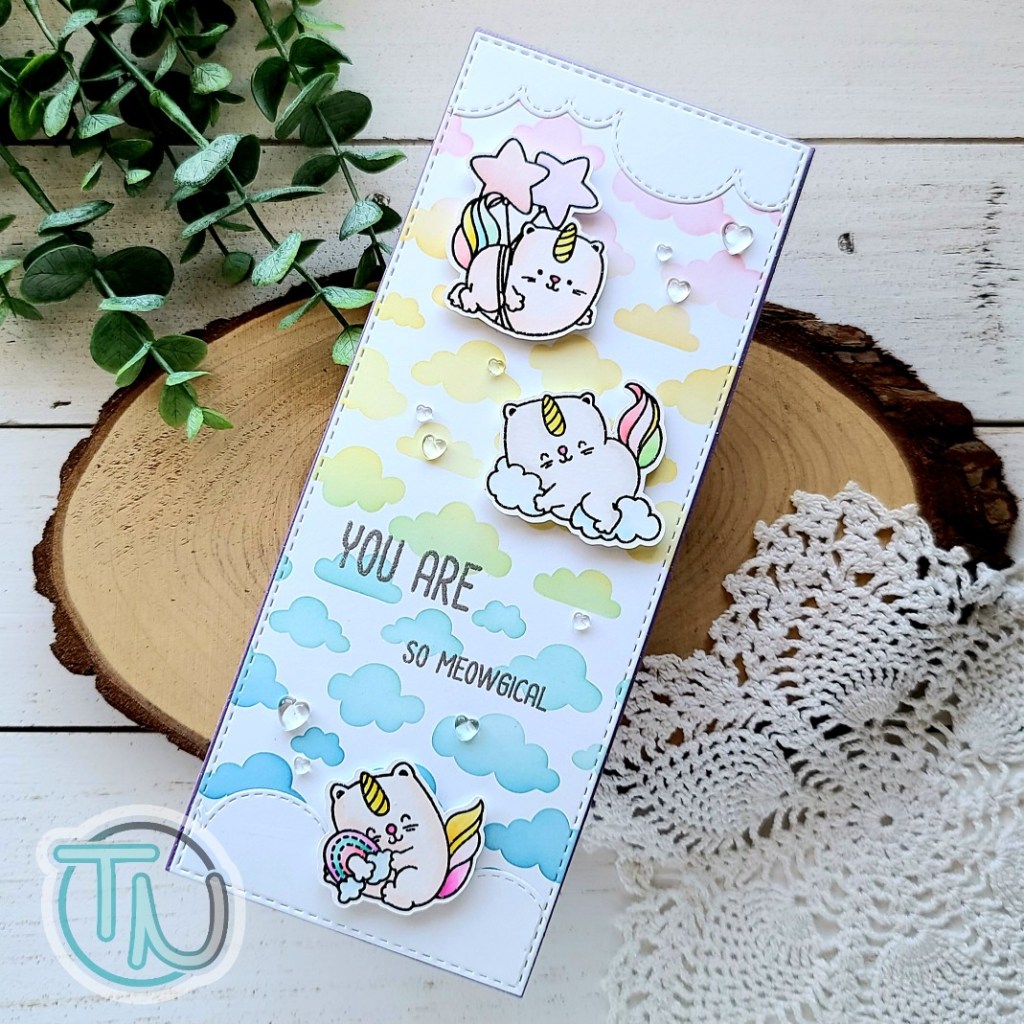
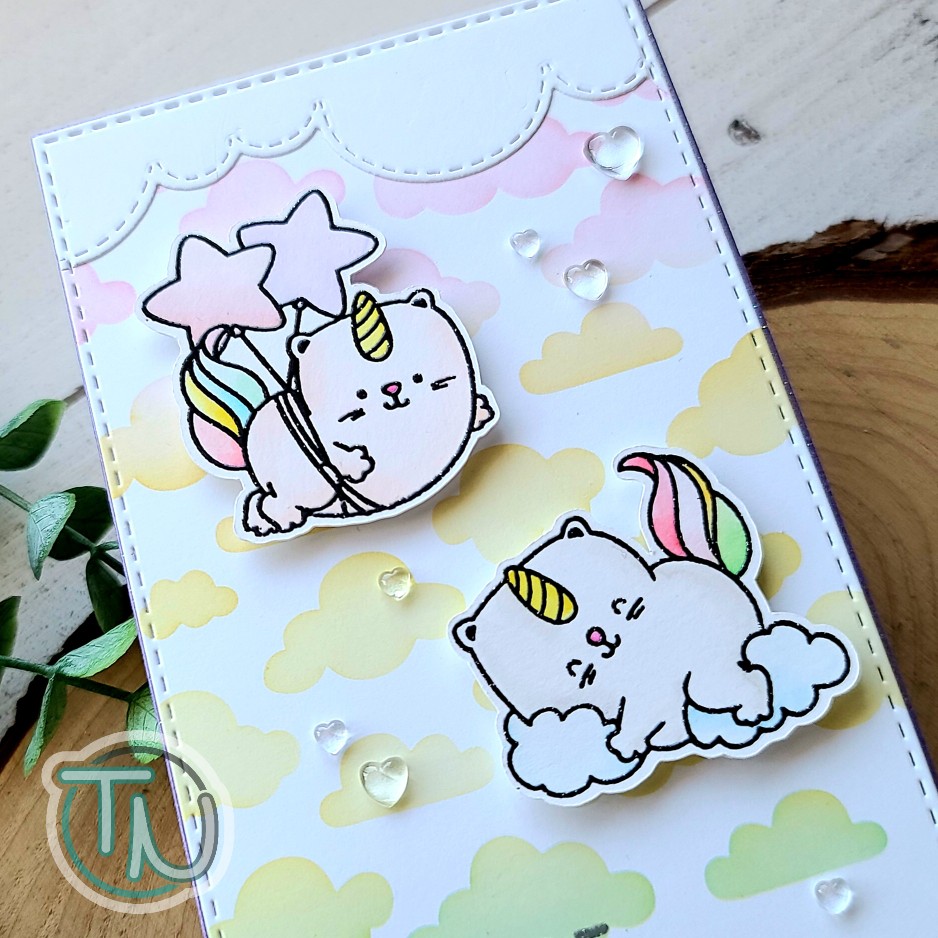
I stamped and heat embossed images from Bug For a Hug stamp set on Bristol Smooth cardstock. I watercolored them all with Zig Clean Color Real Brush markers and a water brush pen. Then I used the scan-n-cut to cut them all out.
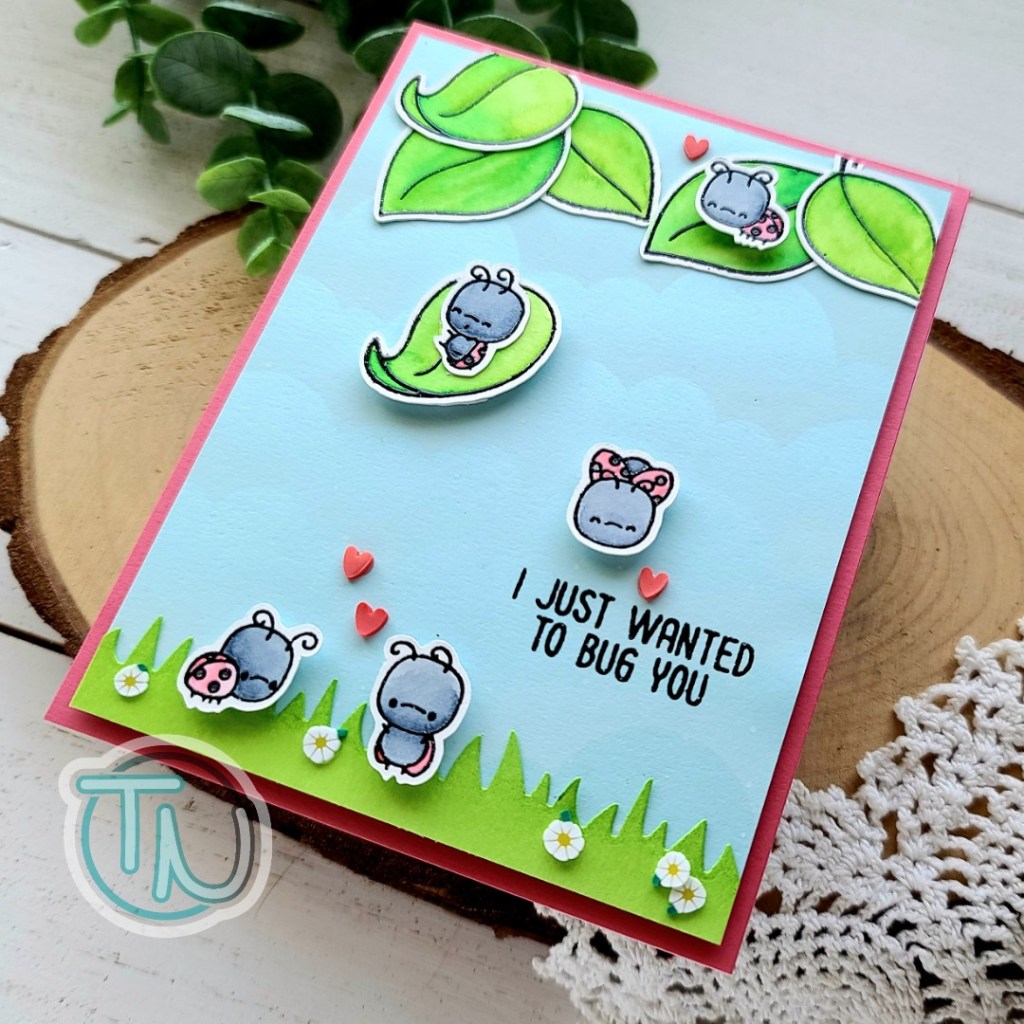
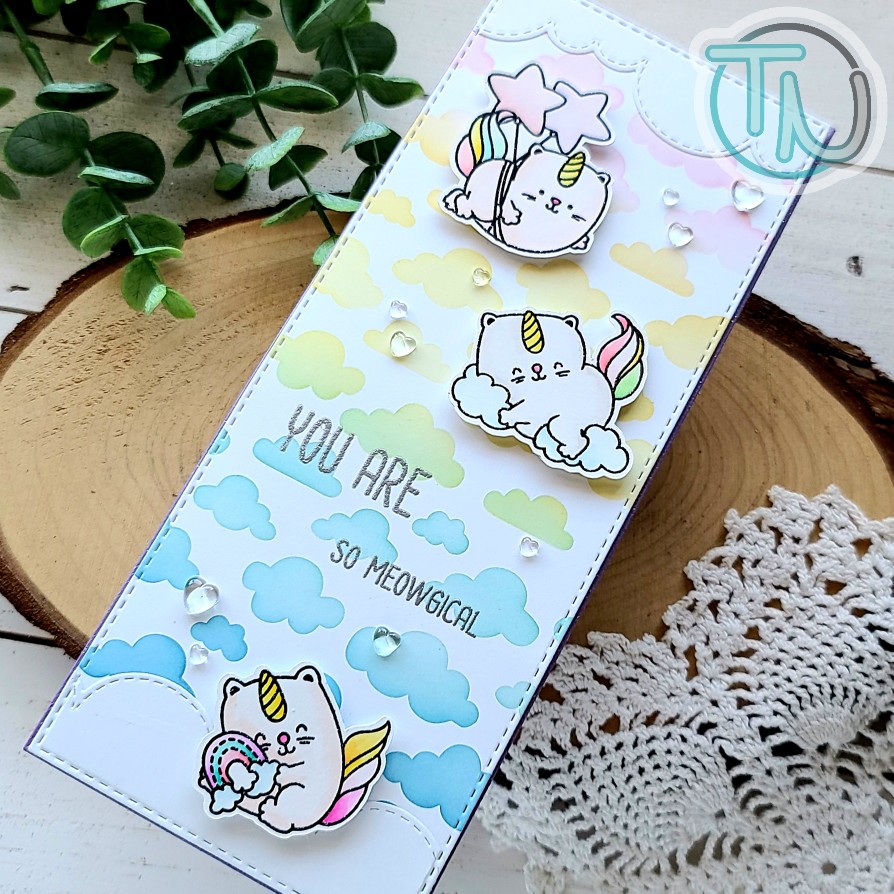
Next, I took a light blue panel and used white pigment ink with a blending brush and the Newton’s Nook clouds stencil. Then I used a Newton’s Nook land borders die to cut some grass from a green panel and inked up the edges with a blending brush for some dimension. Next, I used liquid glue to adhere the grass to the sky and the leaves to the top of the panel too. I did put acrylic blocks on the leaves until the glue was dry to make sure they stayed flat.
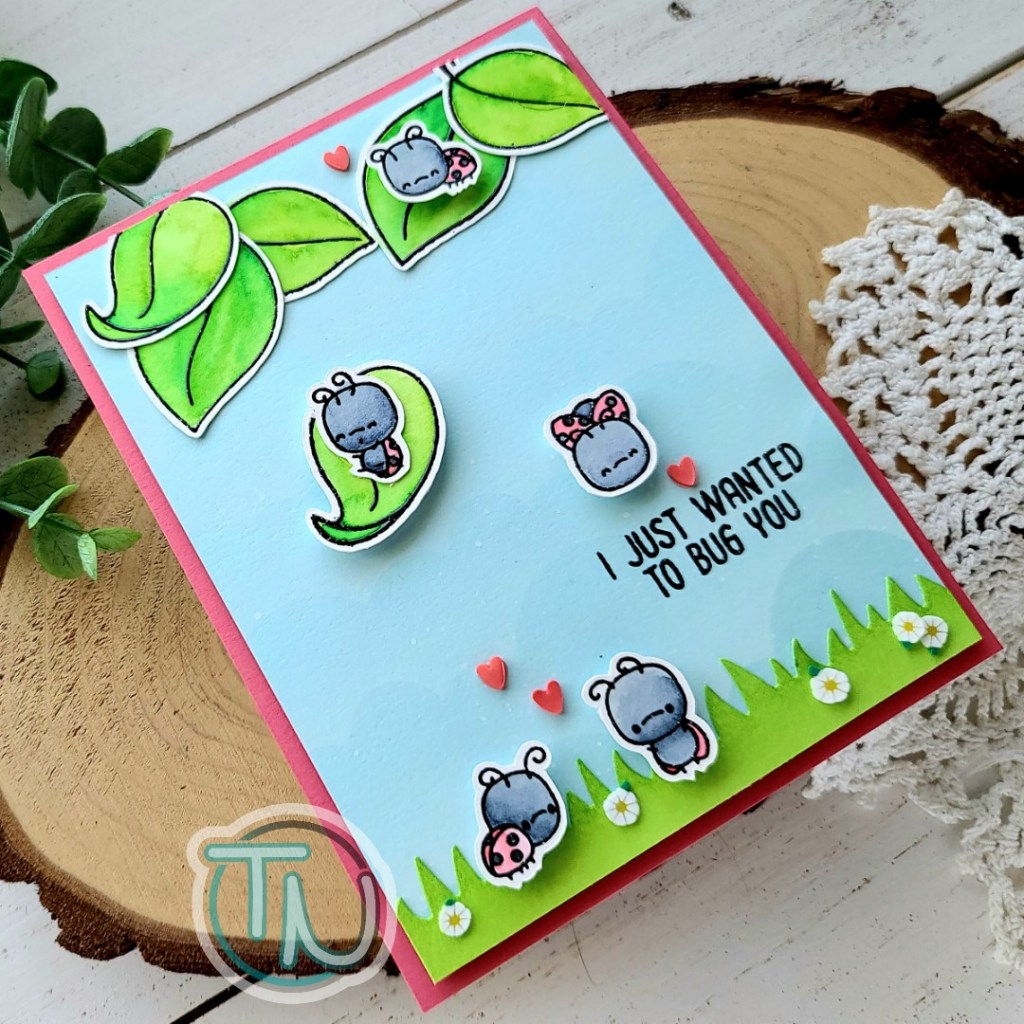
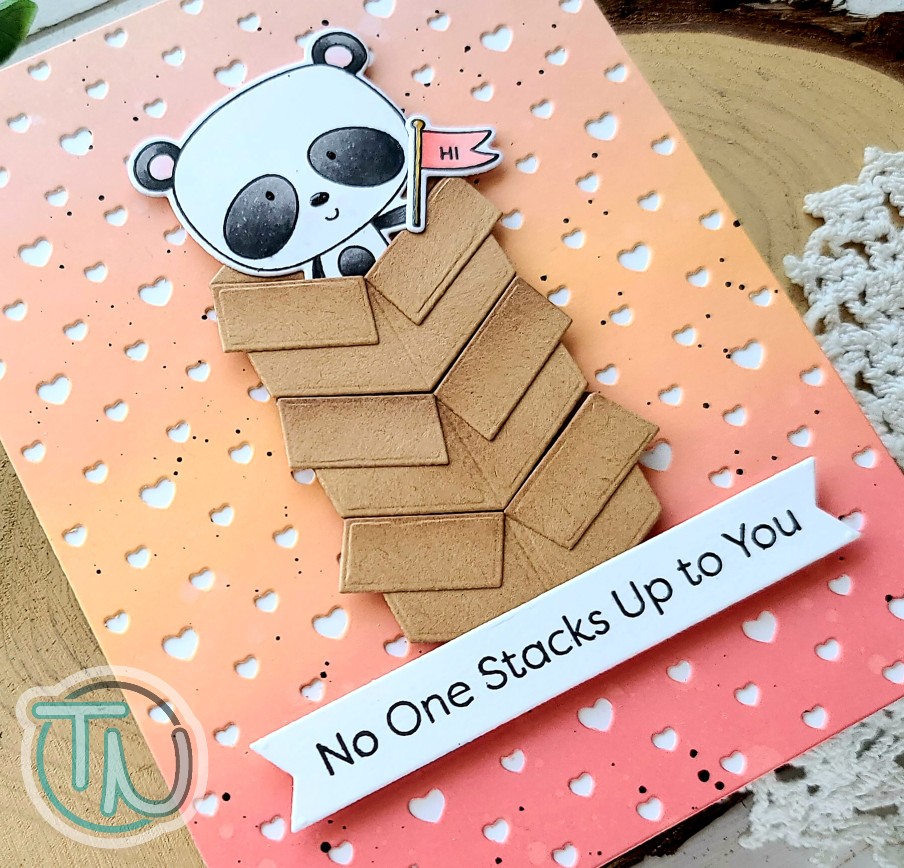
To keep things looking the same, I stamped and heat embossed my sentiment before adding the ladybug images. Then I popped those cuties up with foam squares. For finishing touches, I added some red hearts from Twiddler’s Nook Sweethearts embellishment mix and some Fresh as a Daisy embellishments in the grass too.
Last, I popped the panel up with foam tape a melon card base and this card is all finished. Cute as can be!
Products used on today’s card:
Paperie Ink Bug For A Hug stamps
Newton’s Nook Clouds stencil
Newton’s Nook Land Borders dies
Twiddler’s Nook Fresh as a Daisy embellishments
Twiddler’s Nook Sweethearts embellishments
Foam squares
Foam tape
Blending Buddy brush
I appreciate you sharing your time with me. Have a fabulous day!