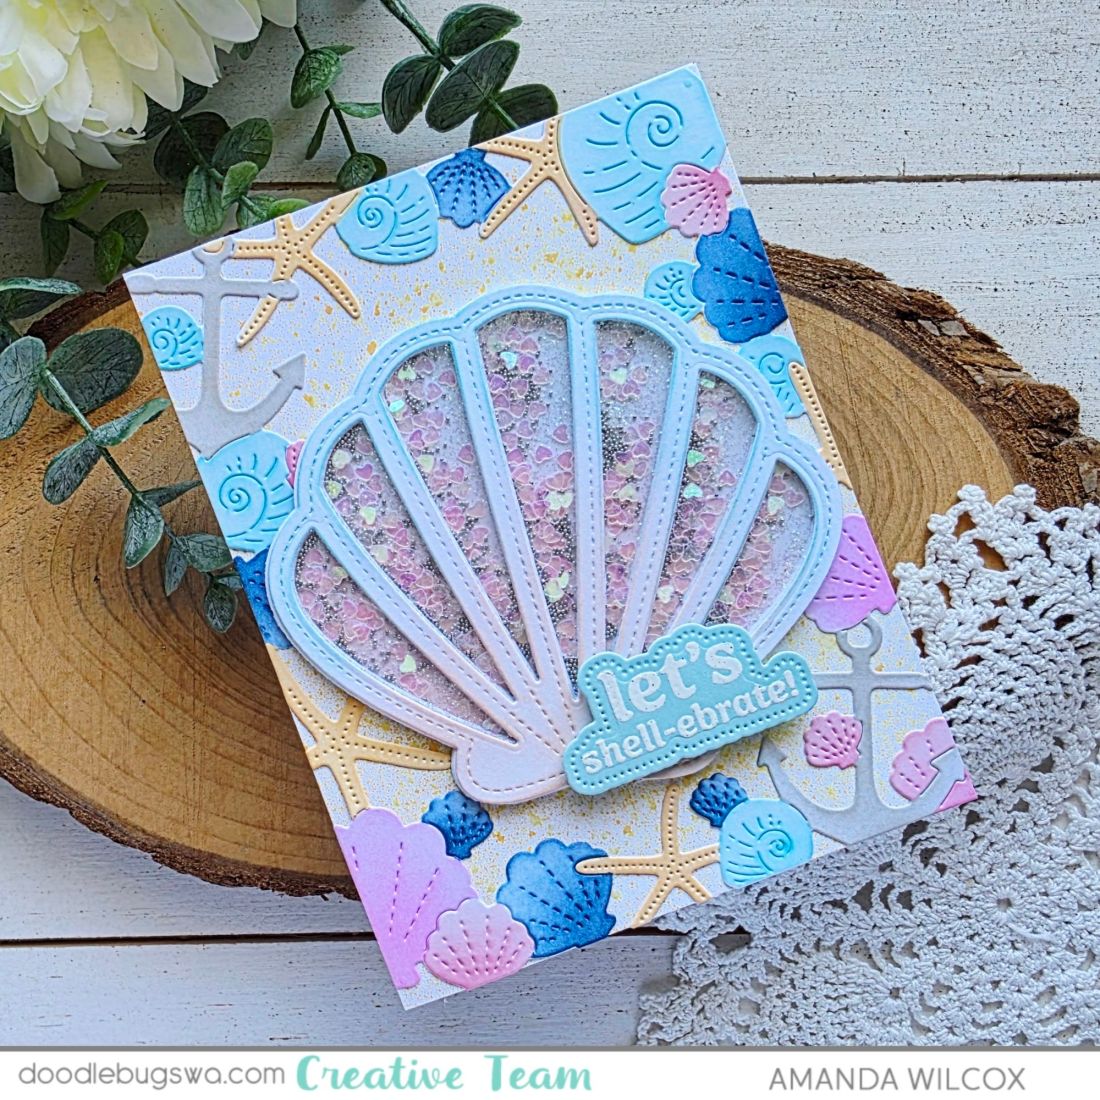
Hi friends. I’m honored to be sharing my card with you today. Spellbinders released this sweet die set called Sharon’s Scissors in honor of Sharon Kilma, a longtime craft shop owner who suddenly passed from heart disease earlier this year. A portion of the proceeds for this die set are being donated to the American Heart Association.
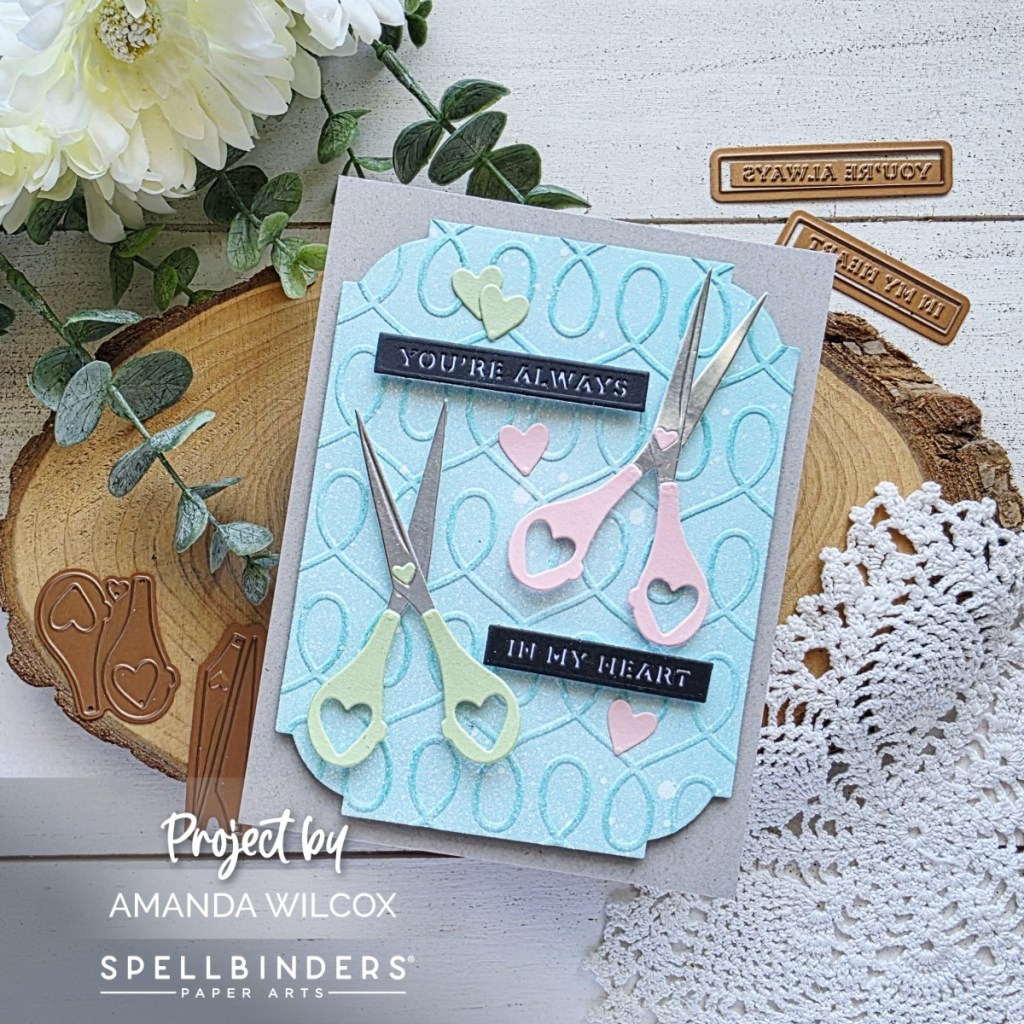
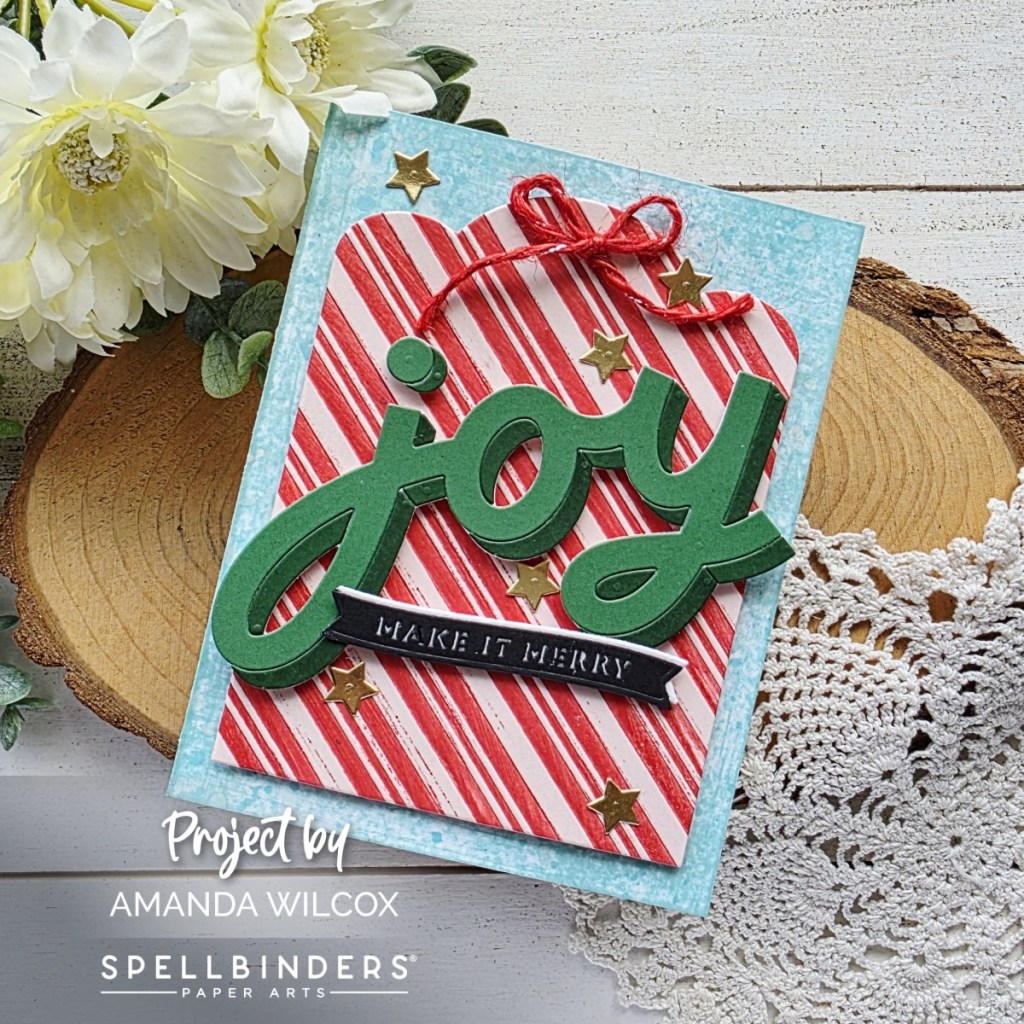
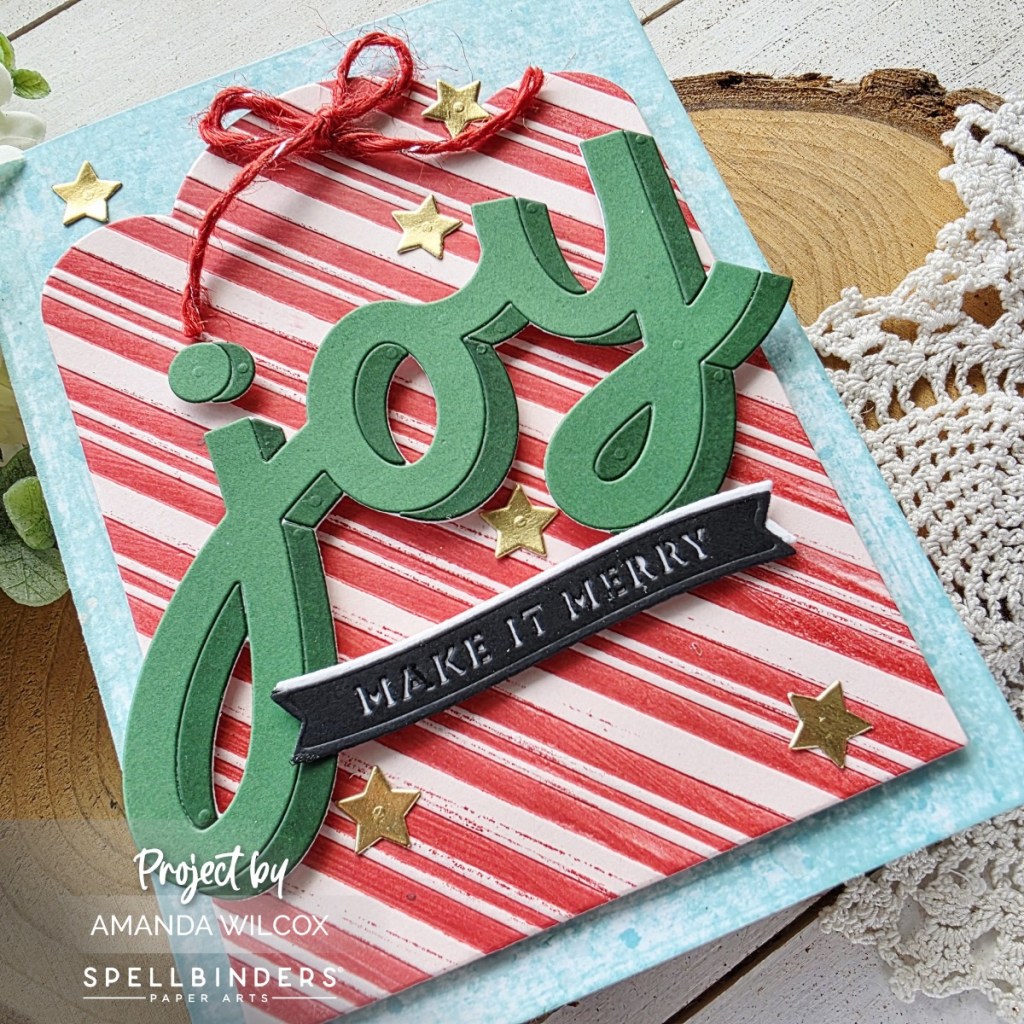
It’s a wonderful small die set, including a sentiment and everything. Today I cut the scissors from pink and light green cardstocks, with the blades from silver foil cardstock. I used liquid glue to adhere the pieces together. Then I cut my sentiment strips from black and a backer in white to help the sentiment show better.

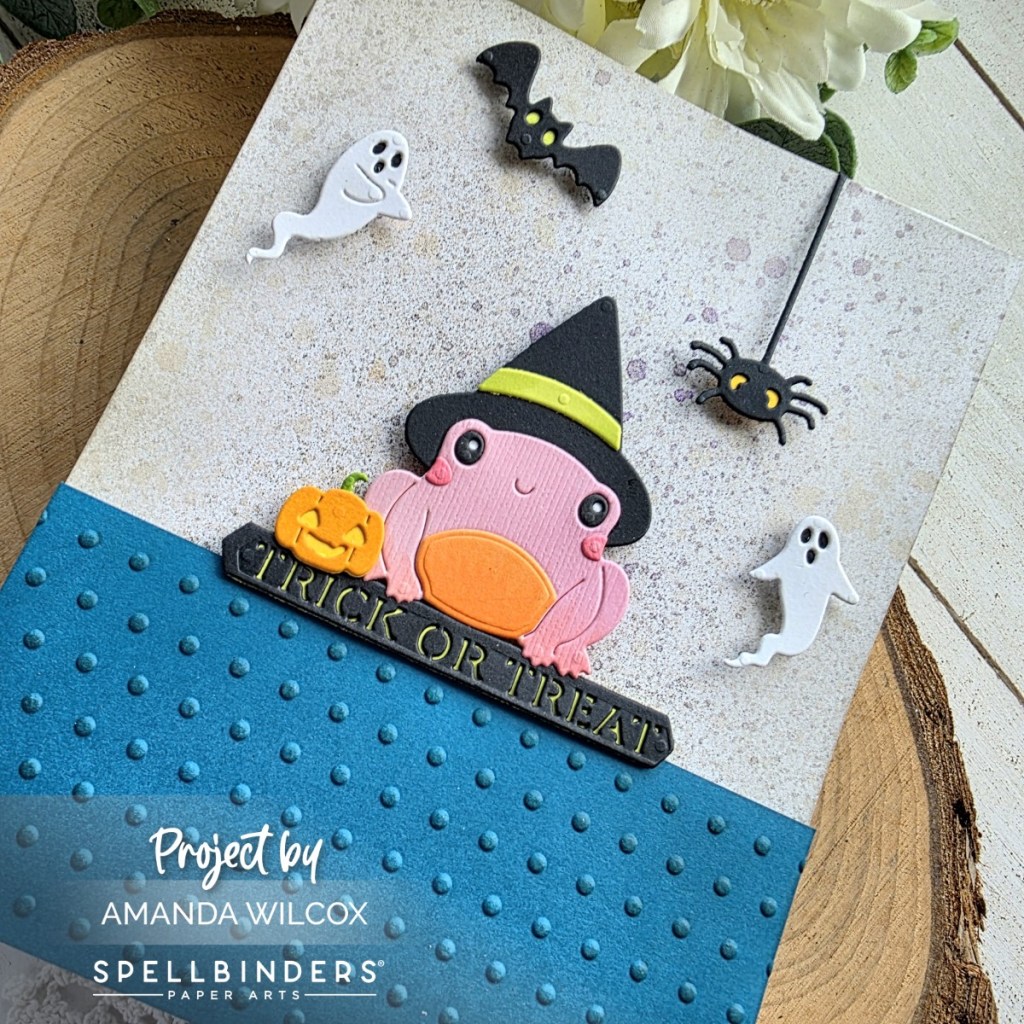
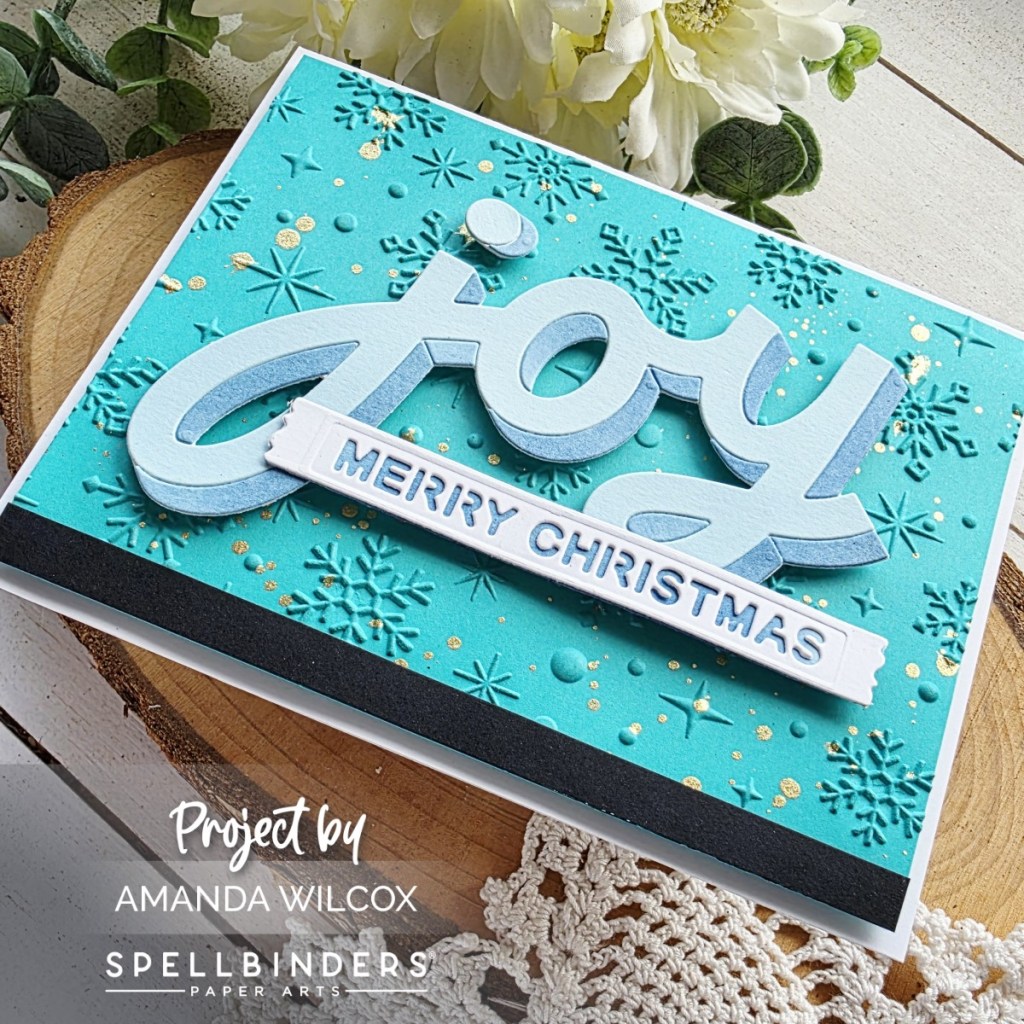
Next, I die cut a Notched Rectangle from teal cardstock and embossed it with the Loops embossing folder. I ink blended it with darker teal ink and splattered it with white. I chose gray as a soft neutral for my card front and then popped the loops panel up with foam tape.
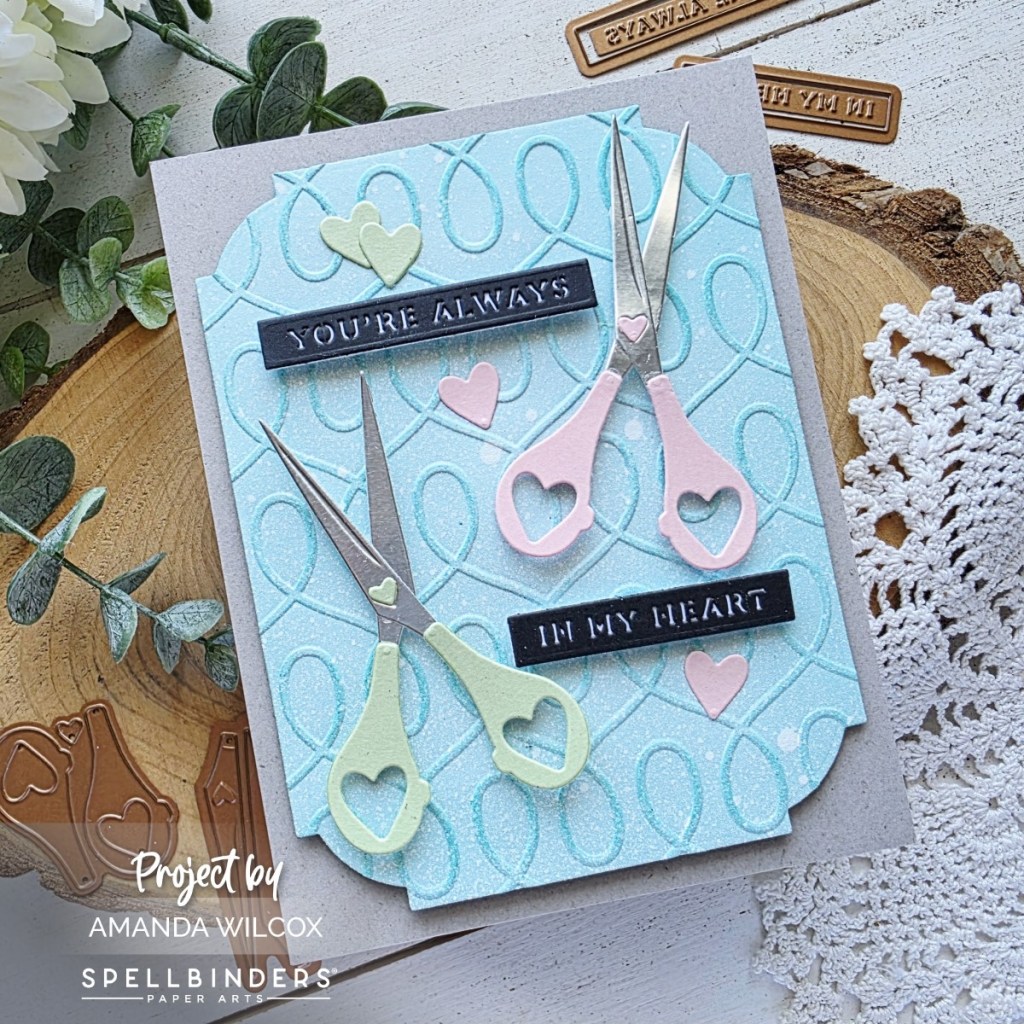
Next, I glued the hearts directly to the panel and popped the scissors and sentiment strips up with foam squares and strips.
Products used today:
Sharon’s Scissors dies
Loops embossing folder
Notched Rectangles dies
Foam squares and strips
Liquid glue
Reverse tweezers
Blending brush
Lawn Fawn mermaid ink
I appreciate you sharing your time with me. Have a fabulous day!