Hi friends! I’m here with my installment of Mix it up Monday for Doodlebugs. I’m still intermittently playing with my summer goodies and having fun before it’s all things holiday! I have two cards to share today and they happened by accident in a really cool way.

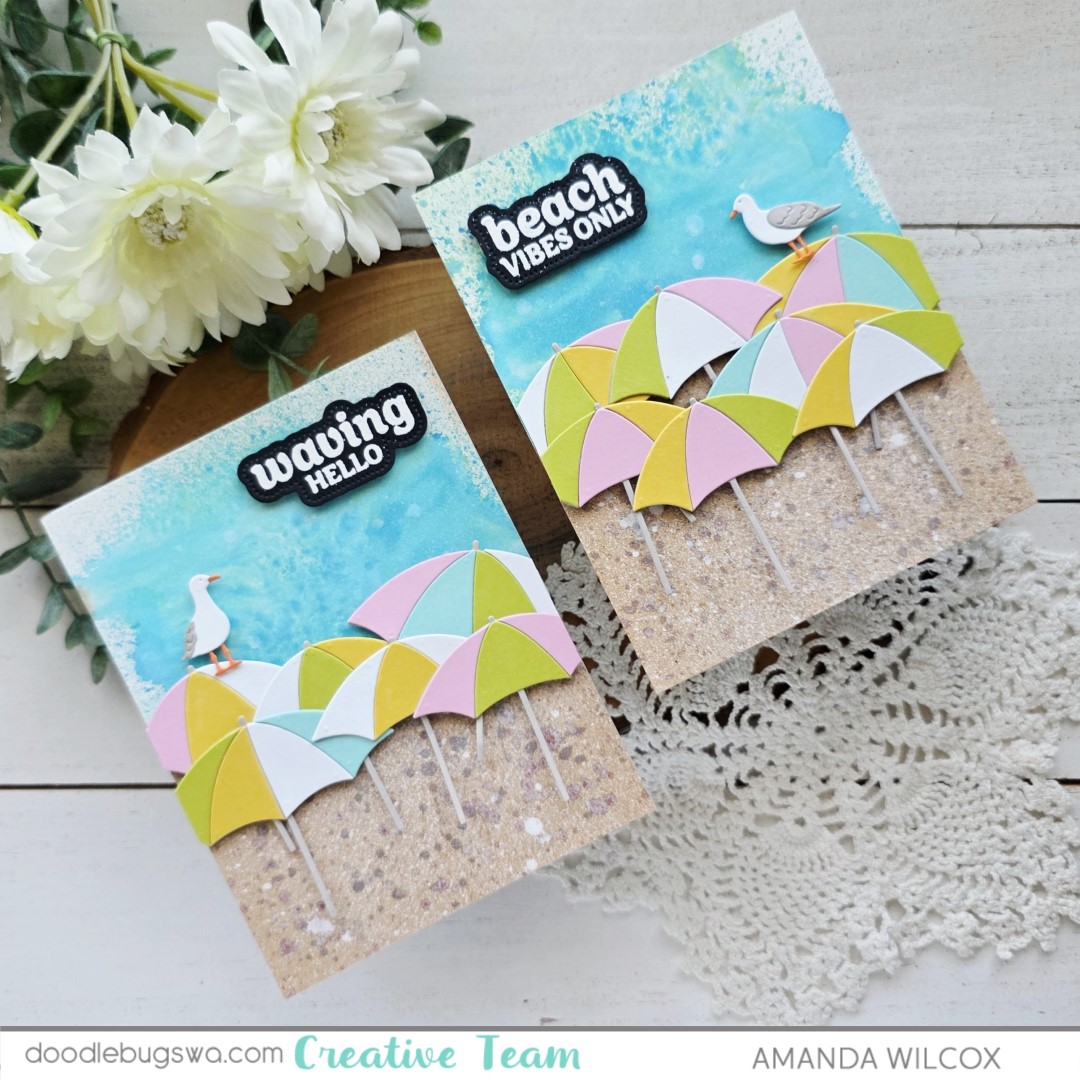
I wanted to play with my recently ordered Concord & 9th Beach Days dies so I pulled out some colored cardstock and started cutting umbrella pieces. Once I had a good variety I just started assembling, honestly thinking it would be enough for one card. Nope, easily enough for two.
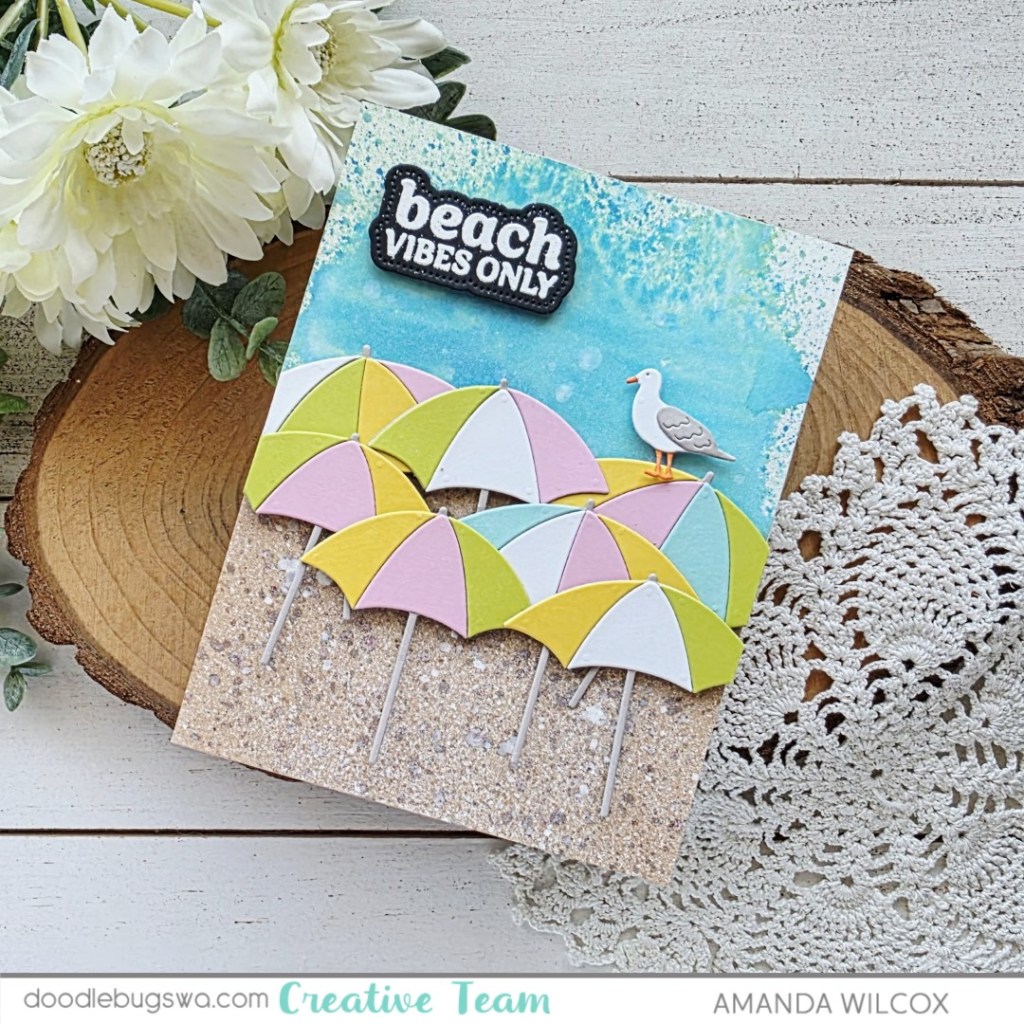
Once I figured that out, I pulled out watercolor paper and kraft cardstock to start making some sky and sand. I used distress oxide sprays for my sky and a splattering of watered down ink and paint for my sand. Those panels ended up being the perfect size to cut in half and use on both cards too. The umbrellas perfectly span the seam.
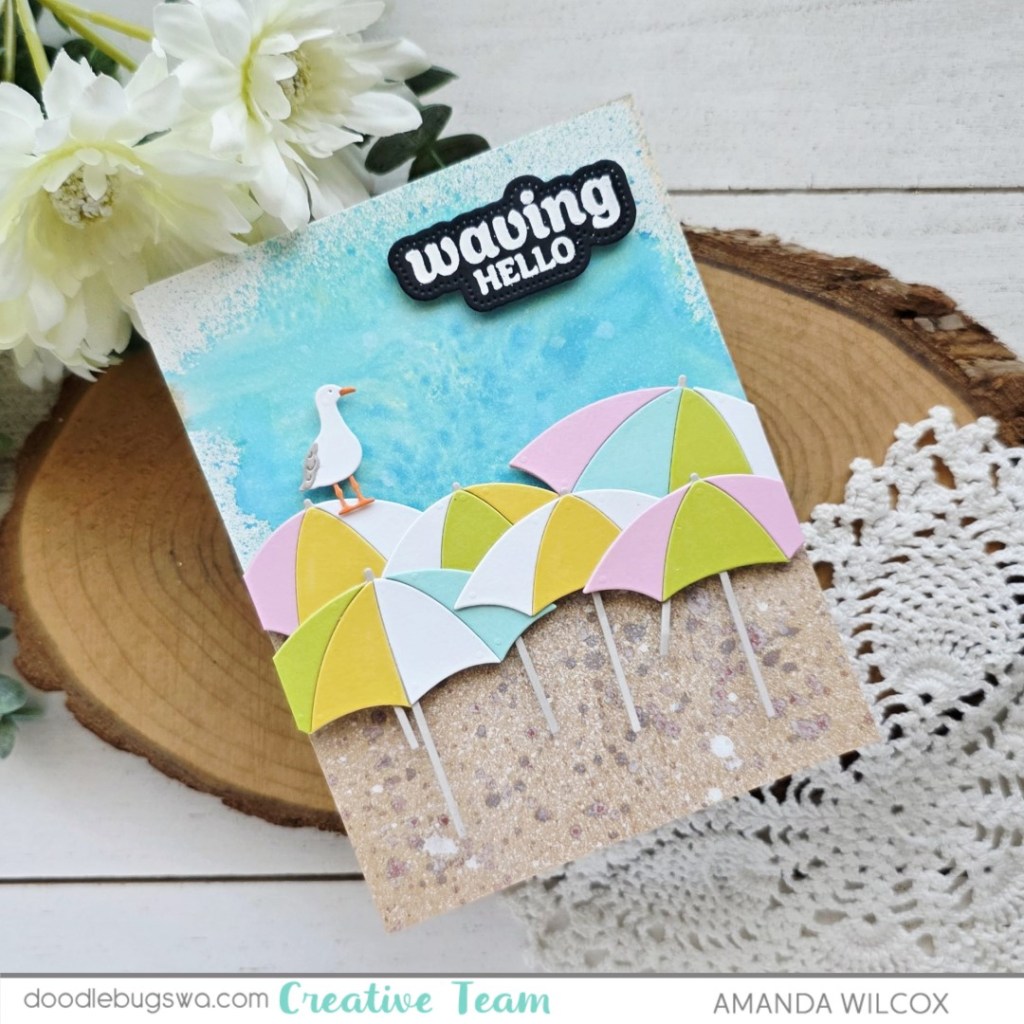
Once all of that was assembled, I stamped and heat embossed sentiments from the Waffle Flower Coastal Greetings set and used the coordinating dies to cut them out. But things were still a little empty so I die cut and added a sea gull to each card. Aren’t they funny up there?!? They make me giggle.
I appreciate you sharing your time with me. Have a fabulous day!