Blog

Pink & Main – Fired Up!

Good morning friends! I’m over on the Pink & Main blog today sharing a super fun card featuring a new, awesome stamp set. But there’s something special about this one…

Pink & Main has started a special stamp and die of the month subscription box! Their starting set is absolutely adorable and is definitely going to be something you reach for often!
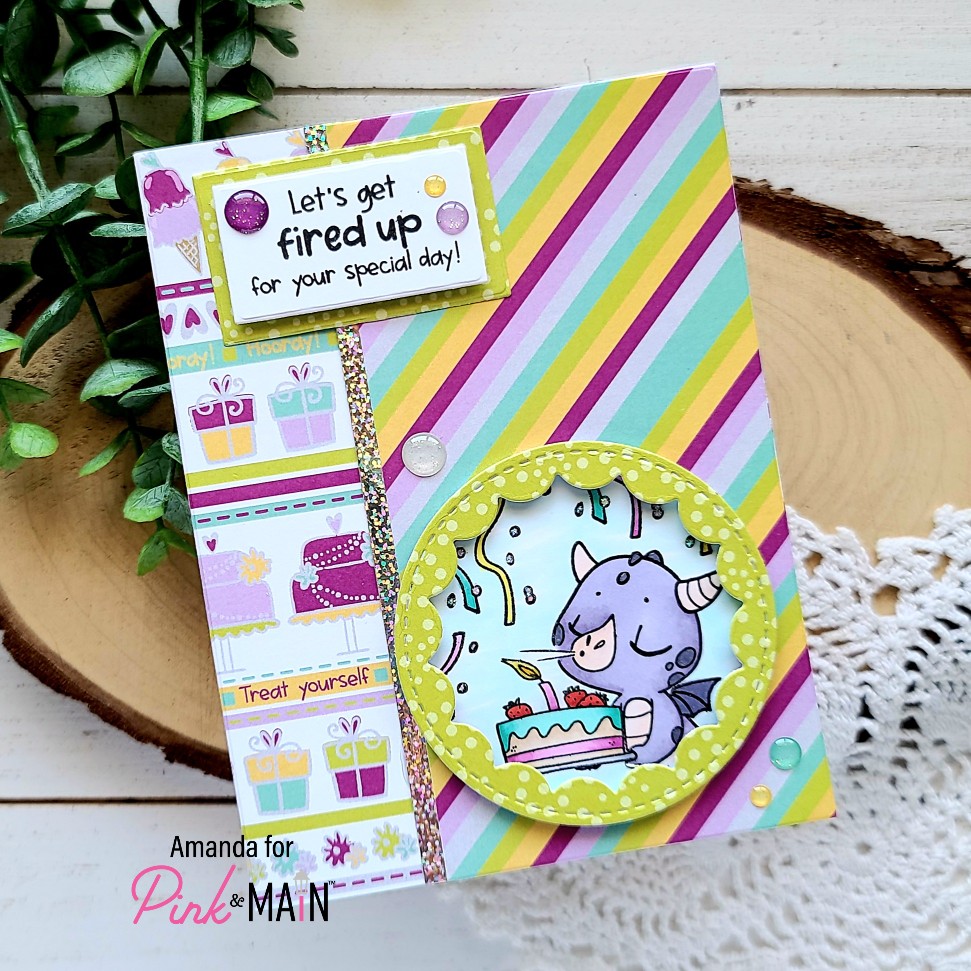
For today’s card, I pulled the elements out that I thought I wanted to use and laid everything in the general design I was thinking. Once I had that figured out, I die cut a circle that would fit under the reverse scalloped circle I was using and stamped my dragon image on it. I colored the image with copic markers and set it aside to get my paper layers finalized.
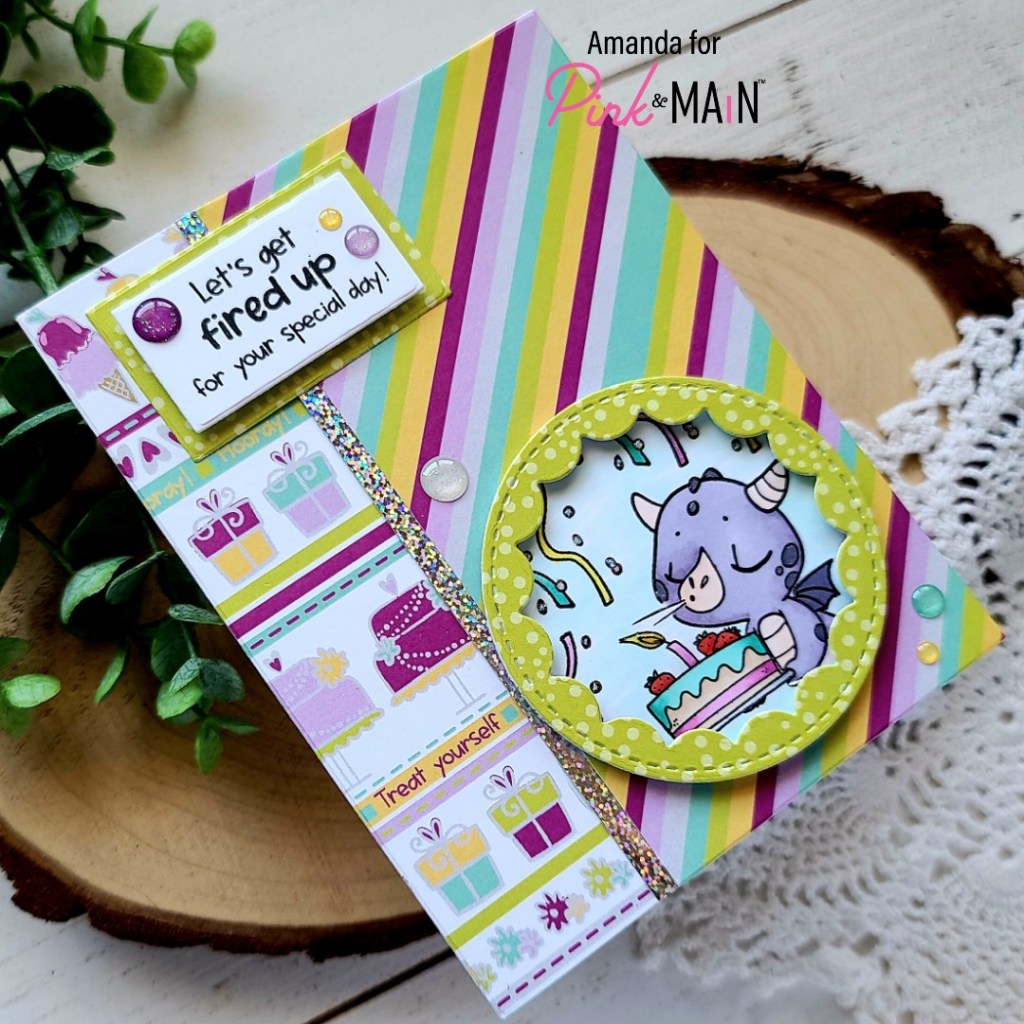
For those, I chose the patterned papers from Hooray paper pad that I wanted to use and started die cutting. I cut stripes and birthday images from the largest Layered Rectangle dies. I trimmed off part of the stripes and adhered the two together with EZ Squeeze liquid glue. Then I adhered this to a white card base. I cut a thin strip of the glittery pattern in the Holographic 2 paper pad and glued it down next.

I cut a Reverse Scalloped Circle from green dot paper and popped it up on my image circle with foam strips. Then I glued it to the card base. Finally, I stamped my sentiment and used the Layered Slim Line dies to cut custom rectangles from the sentiment panel and another slightly larger one from the same green paper as the circle. The sentiment is popped up on the green and they are adhered down with liquid glue as well.
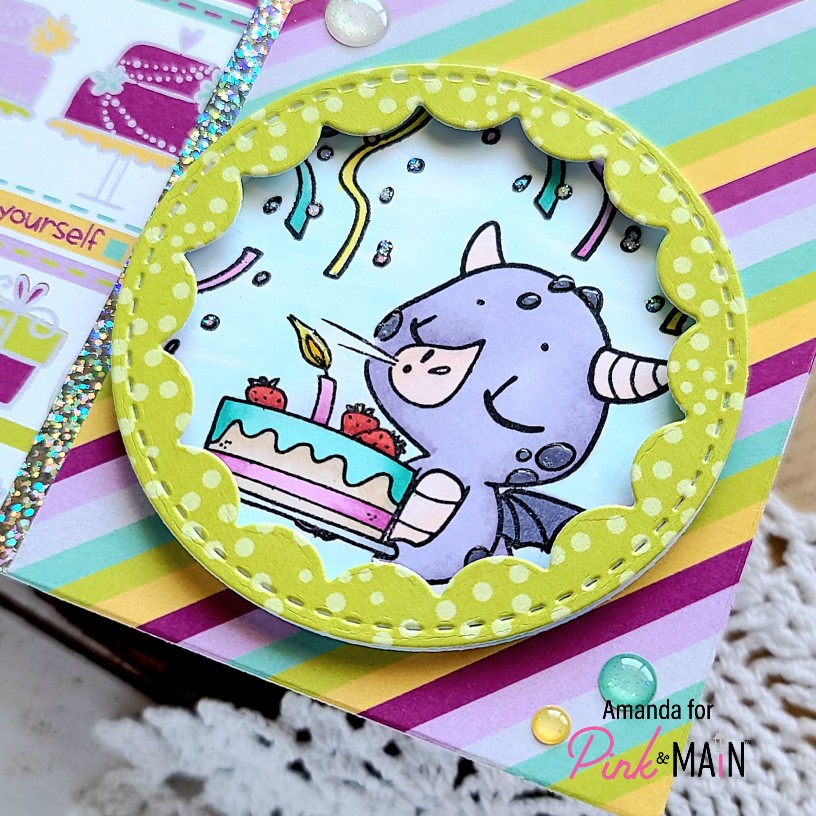
Moving on to finishing touches for my card today, I added a scattering of Hooray glitter enamel dots to the sentiment and around the circle. Then I came in to the image with glossy accents on parts of the dragon and the candle flame, and finished everything off with some star dust Stickles on the confetti in the air.

I hope you’re all as excited as we are about the new stamp of the month box! Head HERE to subscribe and get this first adorable set!

I appreciate you sharing your time with me. Have a fabulous day!
Trinity Stamps – Happy Easter

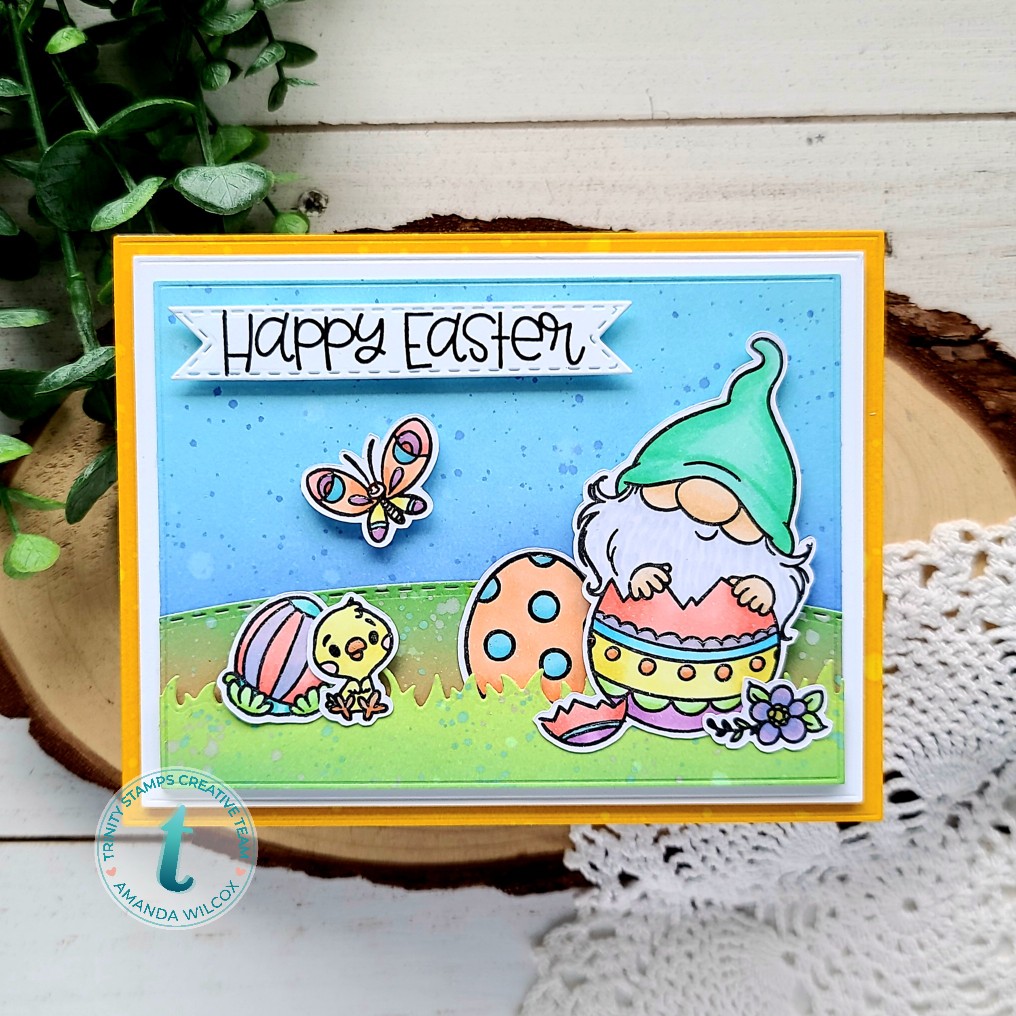
Hello again! Today I’m over on the Trinity Stamps blog sharing this really bright and fun Easter card featuring come products from the most recent release. I love how these sets work so well together and had a blast putting this fun card together. I hope you enjoy it!

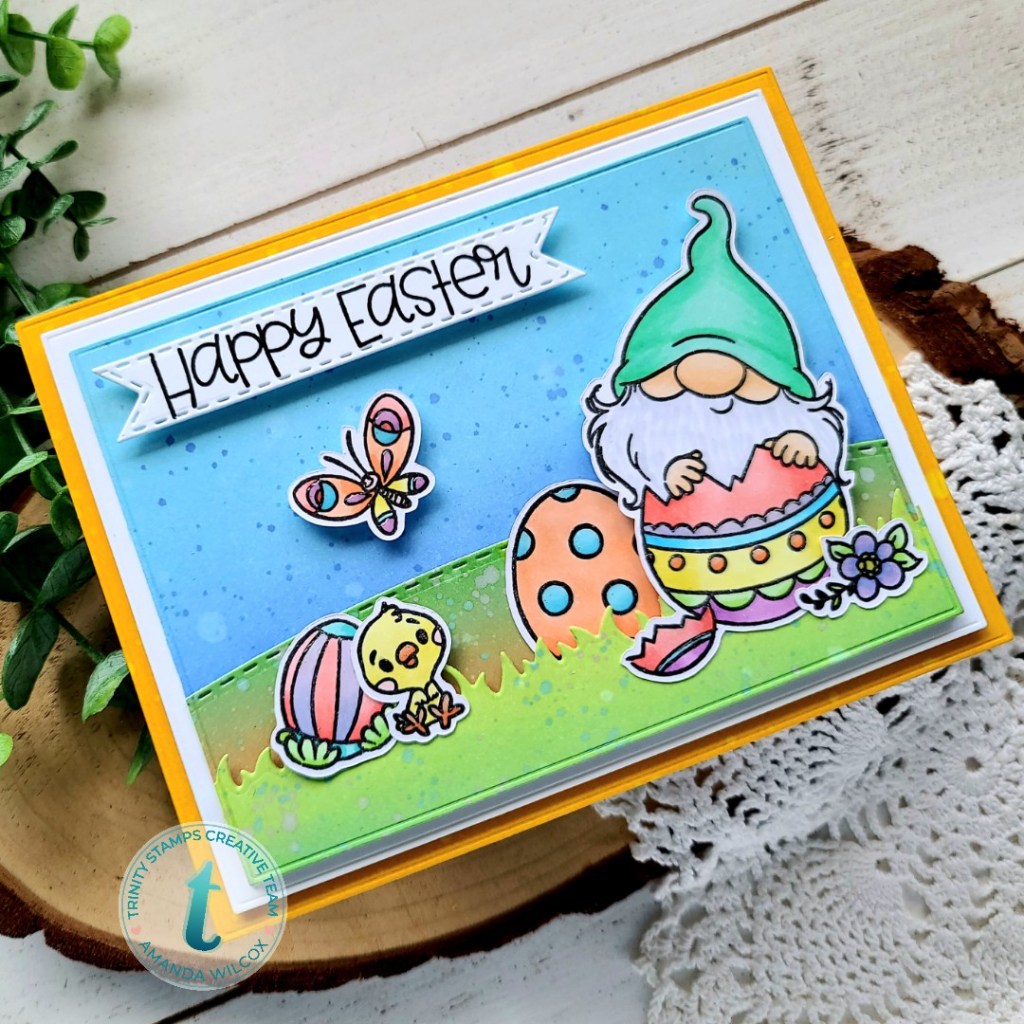
I used images from the new Gnome Bunny, All Cracked Up and Spring In My Step stamp sets for today’s card. I colored the images with my copics and cut them out, then started setting my scene.

I inked up panels with distress oxide inks and used the Slimline Great Outdoors Borders, Slimline Scenic Borders and Embossed Edge Rectangle Stack dies to cut everything out.

I glued the yellow panel to a white card base and popped the white panel up with foam tape. I glued the sky and hill with liquid glue and popped the grass panel up with foam tape as well. I used a combination of foam squares and liquid glue to adhere my images. Then I stamped a sentiment a cut it out with a Slimline Banner and placed it with foam squares.

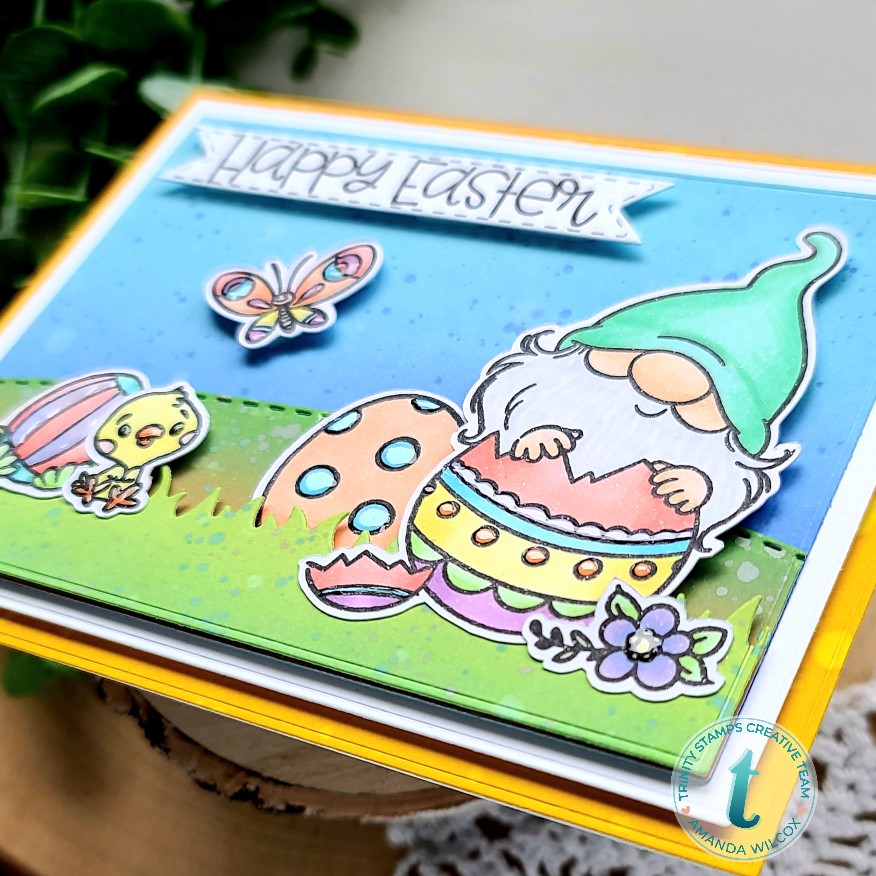
For finishing touches, I added glossy accents to the flower centers, chick’s beak and legs, parts of the butterfly and parts of the Easter eggs too!

I just love this sweet scene and had so much fun playing with all that rainbow color!!!

I appreciate you sharing your time with me. Have a fabulous day!
Birch Press Design – Slimline Mosaic Watercolor

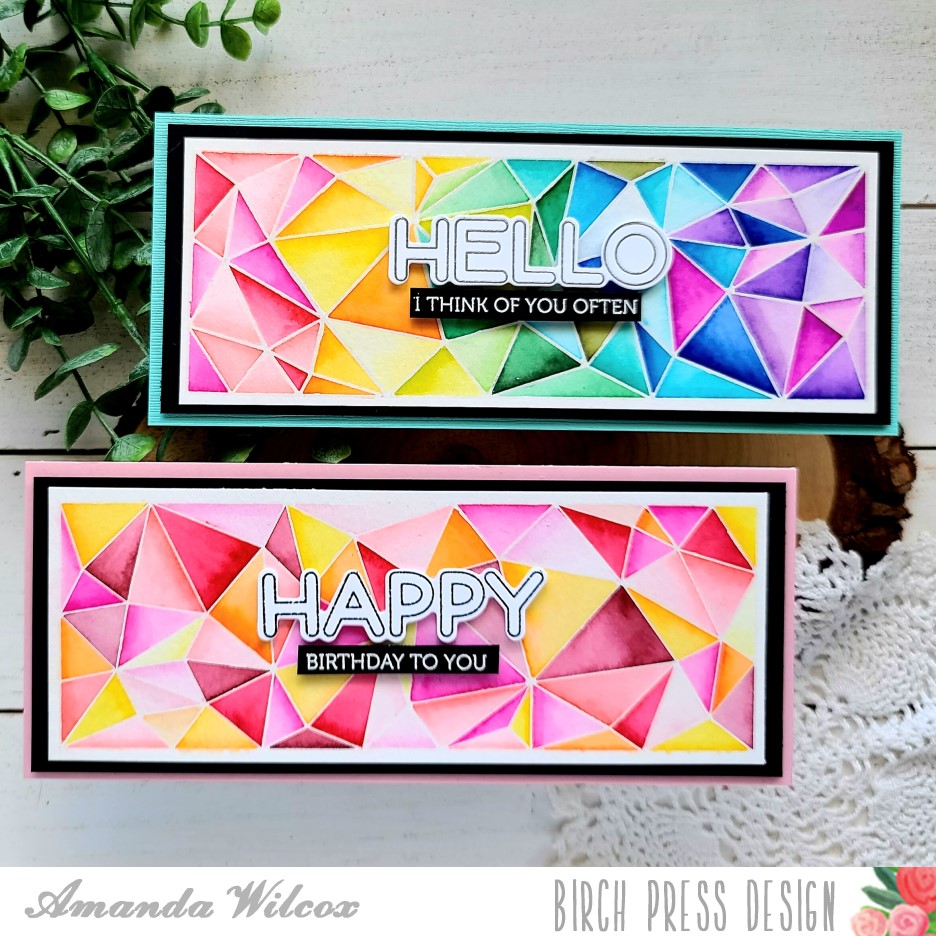
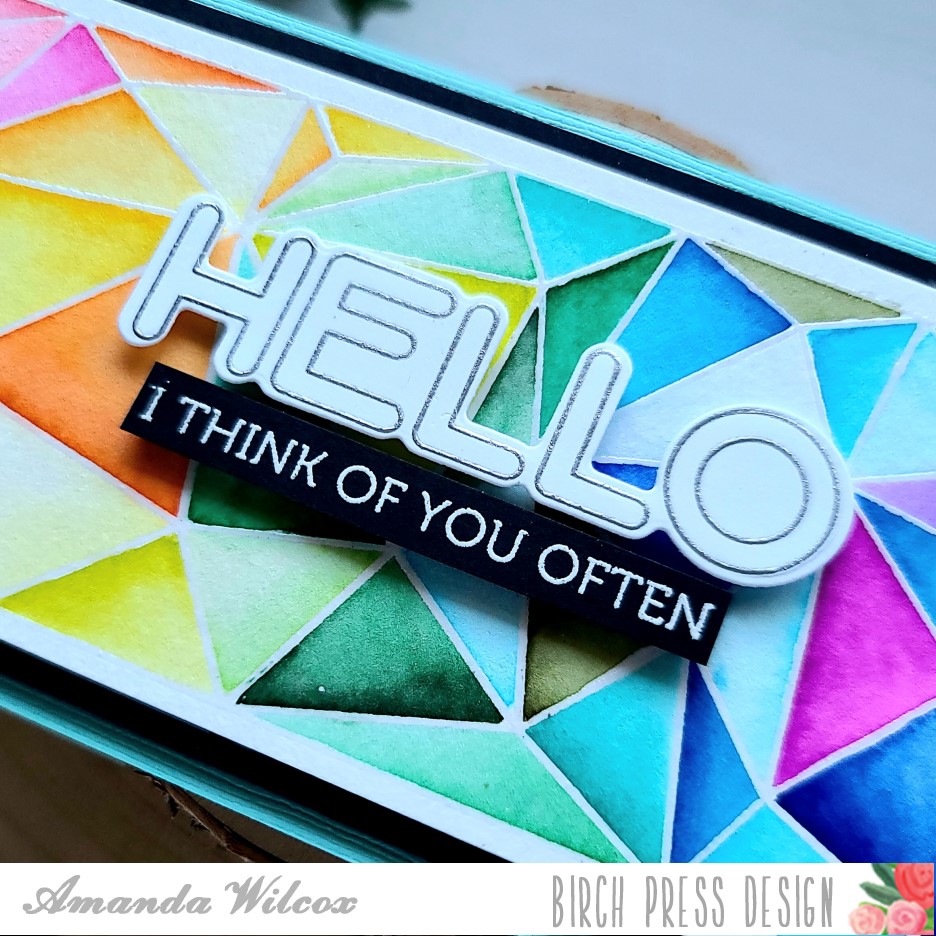
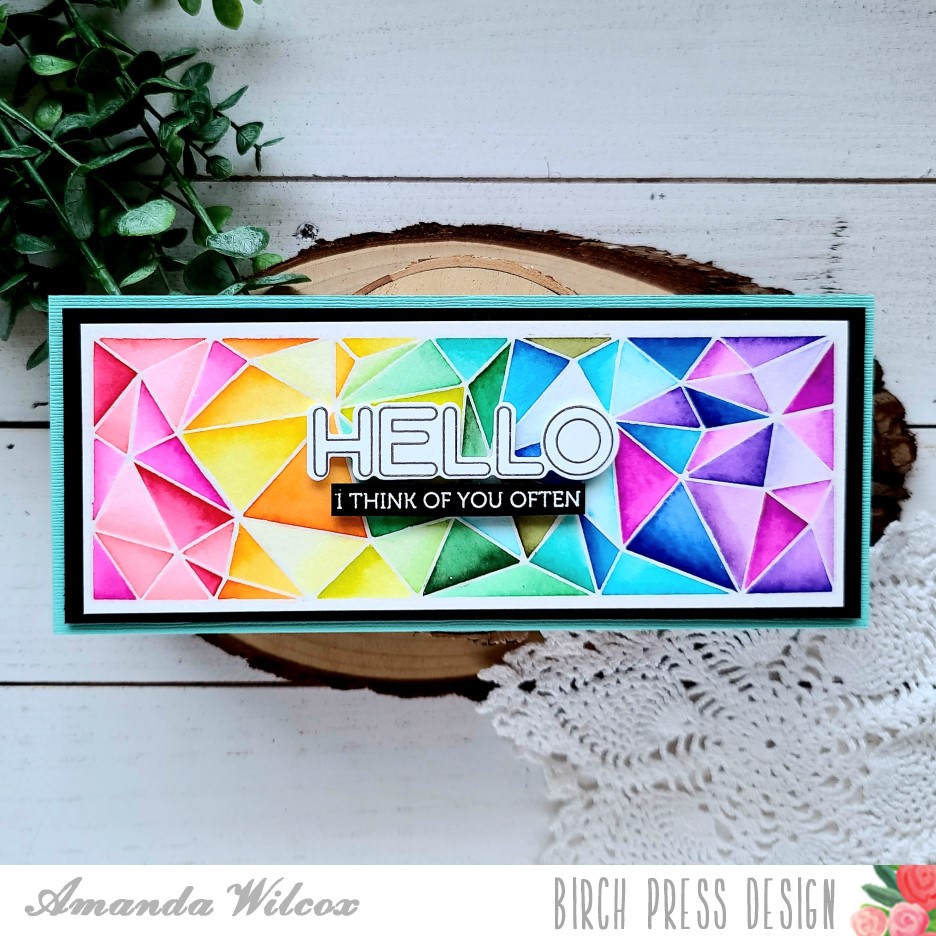
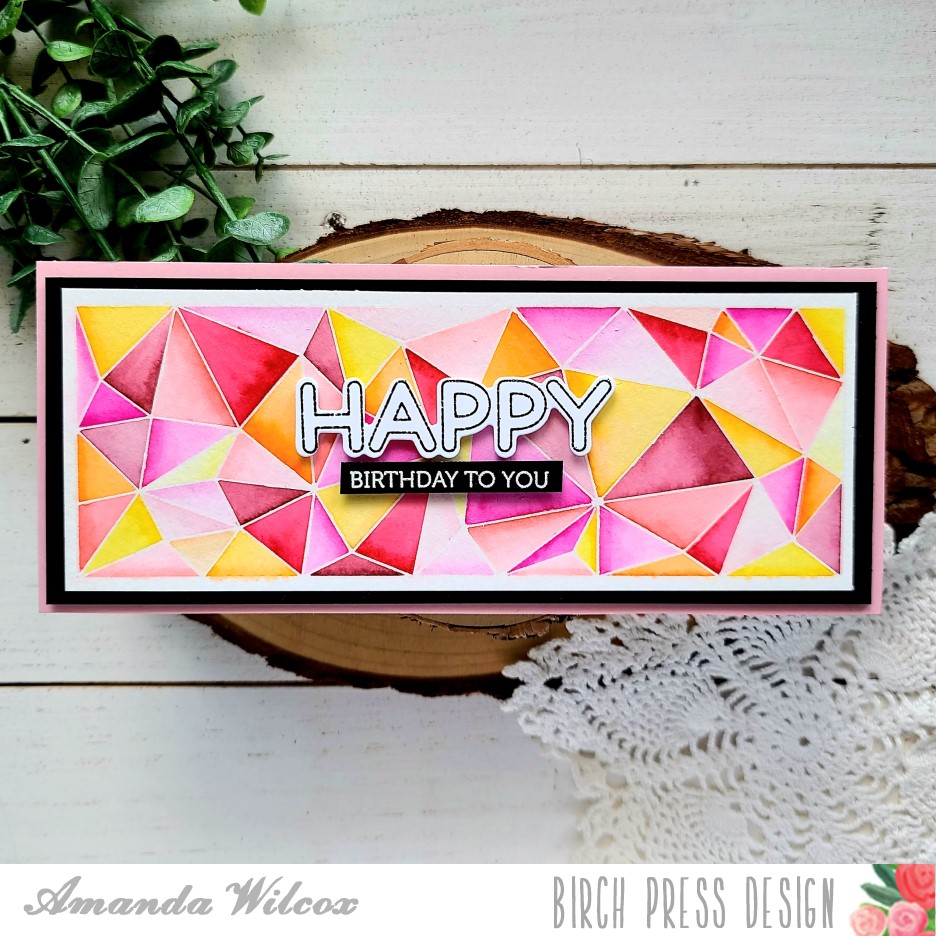
Hey friends! I’m really excited to share today’s card with you! Birch Press Design released this awesome stamp set a while ago called Crystal Lingo and I’ve used the sentiment numerous times but had yet to attempt the cool mosaic image that’s included in the set. I finally did and I’m in love with the results!

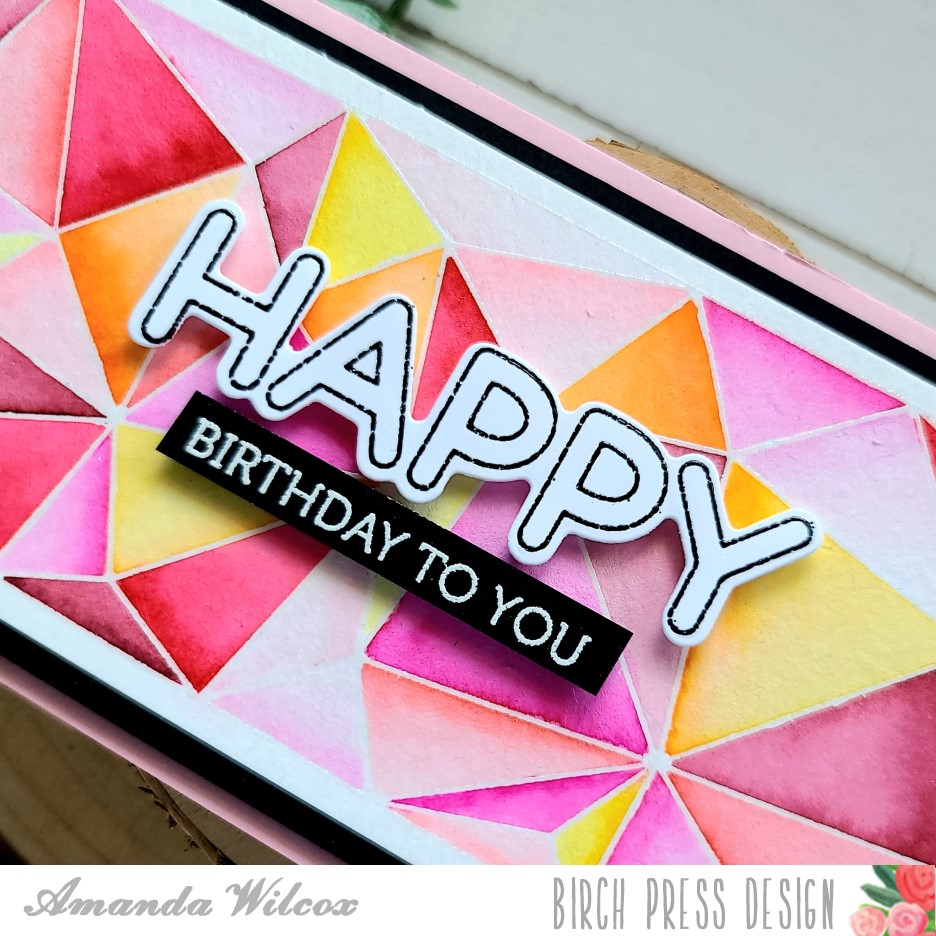
The piece of watercolor paper I was heat embossing my image on was big enough for 2 of these so I thought, why not!?! And I’m so happy I did because the rainbow one was a blast to create but taking it down to just the red/pink tones down to yellow turned out so cool too!

The sentiments were all heat embossed in white black or silver. The large words were die cut using the coordinating dies and the smaller ones were just trimmed with my scissors. You all know I love dimension so there is no shortage of that on these cards either.

I glued the watercolor panels to black cardstock slightly larger and added foam tape to the back of them. Then the rainbow one was added to a teal card base and the other was added to a pink base. The sentiments are all popped up with foam squares too.

I don’t know if I can choose a favorite this time at all…I keep looking at both of them and they are so striking in different ways it’s impossible to choose.

Do you have a favorite? I would absolutely love to hear in the comments! Also, if you’d like a tutorial how I put these together, head over to the Birch Press Design blog and check it out.

I appreciate you sharing your time with me. Have a fabulous day!
Pink & Main | Heffy Doodle Collaboration

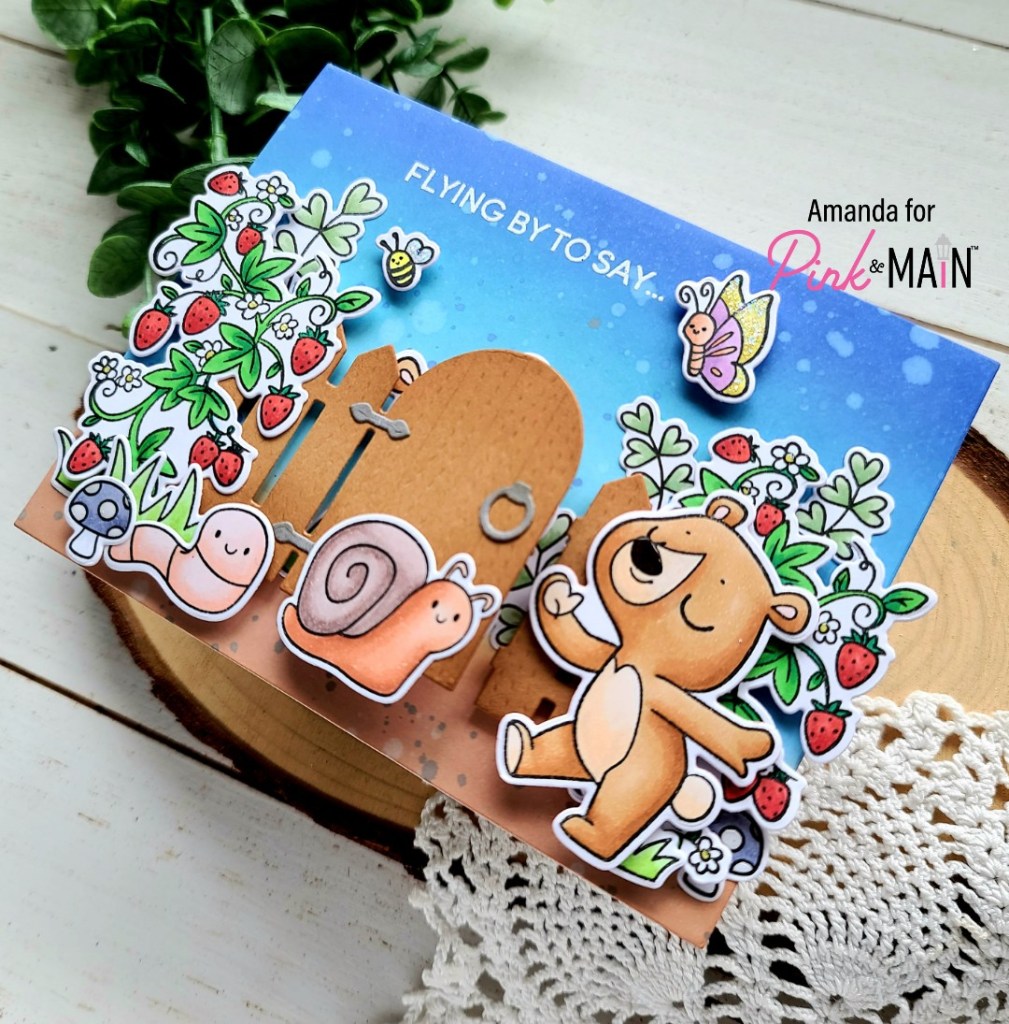
I am SO EXCITED to be joining in on the fun of the Pink & Main | Heffy Doodle collaboration hop! It was a total blast to mix and match products from these two amazing companies and create a super fun, surprise card! I hope you enjoy it.

To create my card, I pulled out the Pink & Main Berry Sweet stamp set and the Heffy Doodle Big Bug Hugs stamp set and started stamping images, lots of images. I colored everything with my copic markers and used the coordinating dies for each stamp set to cut the images out. Then I moved on to my background panel. For that, I blended chipped sapphire, broken china and tumbled glass distress oxide inks for the sky and tea dye and vintage photo for the dirt. Then I spritzed the panel with water. I wanted extra texture so I flicked watered down chipped sapphire on the top portion and ground espresso on the bottom portion. I didn’t cover it at all, just aimed my flicking one way or another.

Next, I used the Close the Gate die by cutting the gate and fence twice from kraft cardstock. Then I cut the hinges and handle from dark gray. I used blending brushes to ink up the edges of the wood with tea dye distress ink and the metal pieces with a teeny bit of black soot distress ink. I trimmed the gate off of one of the wood pieces so I just had fence for the other side of my card.

I started playing with final placement of my images so I knew what I was gluing directly to the card panel and what I was going to pop up with foam squares and strips. Once that I was decided I used their placement to decide where to stamp and heat emboss the first half of my sentiment, which is from Big Bug Hugs. I did this before actually gluing any images down.

Now for the fun part! I adhered images like some foliage and that sweet bear nomming on his strawberry directly to the inked panel. Then I popped everything else up with a combination of foam strips or squares, except the snail which I glued directly to the gate. Finally, I added the whole panel to a white card base.

Moving on to the finishing touches, I added glossy accents to the bear’s noses, flower centers, and mushroom spots. I used black glaze pen on the bug’s eyes and last I added star dust Stickles to the bee and butterfly wings.

To complete my card and really show how awesome these adorable sets work together, I pulled a sentiment from Berry Sweet, plus images from both stamp sets to stamp on the inside of my card.

Isn’t this just adorable!?! I love it so much and can’t get over how amazing these products play together!

I appreciate you sharing your time with me. Have a fabulous day!
BLOG HOP DETAILS:
To be entered to win the giveaway, all you need to do is comment at each stop along the Blog Hop!
Pink and Main will be giving away a Surprise Package worth $25 and Heffy Doodle will be giving away £25 to their respective stores!  Be sure to comment before 11:59 PM on April 1st to be entered to win!

Each company will post their random winner on April 2nd at 10AM EST!  Make sure to check the Heffy Doodle Blog and Pink and Main Blog to see if you’re a winner!


Blog Hop Lineup:

Heffy Doodle Blog
Ashley Young
Amanda Wilcox
Cassie Trask
Ilina Crouse
Leica Palma
Lynnea Hollendonner
Carrie Rhoades
Donna Lewis
Pink and Main Blog

Newton’s Nook – Easter Blessings

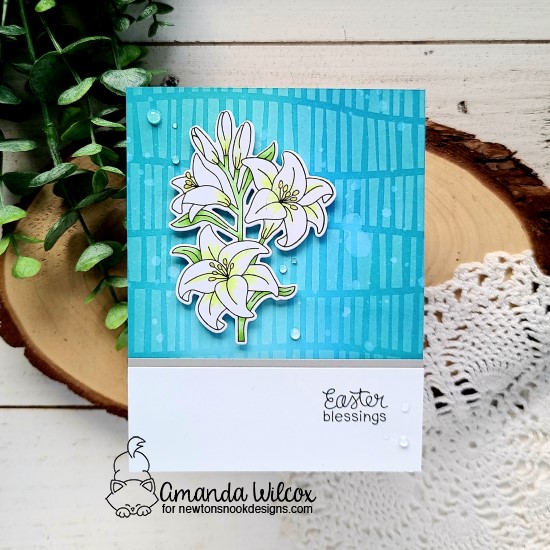
Hey friends! I have a bonus Newton’s Nook card for you this week with a beautiful Easter theme. I just love how this card turned out and thing it’s perfect for the Easter season.

I started by stamping and coloring the Easter Lily image with my copics. Then I used the coordinating dies to cut it out and set it aside. Next, I cut an A2 panel and inked it up with mermaid lagoon, salty ocean and tumbled glass distress oxide inks. Then I put the serene stripes stencil over the top and inked it up with white pigment ink. I spritzed the panel with water and adhered it to a card base.

Next, I cut a white panel about 2 inches wide and stamped a sentiment from Easter Lily on the right side. I added a thin strip of gray cardstock behind the top edge and popped this panel up on the stenciled one with foam tape. I added foam squares to my Easter Lily image and popped it in place.

For finishing touches on this card, I added glossy accents to the stamen of the Easter Lilies and then scattered different size droplets of Nuvo Crystal Drops in morning dew.

I appreciate you sharing your time with me. Have a fabulous day!
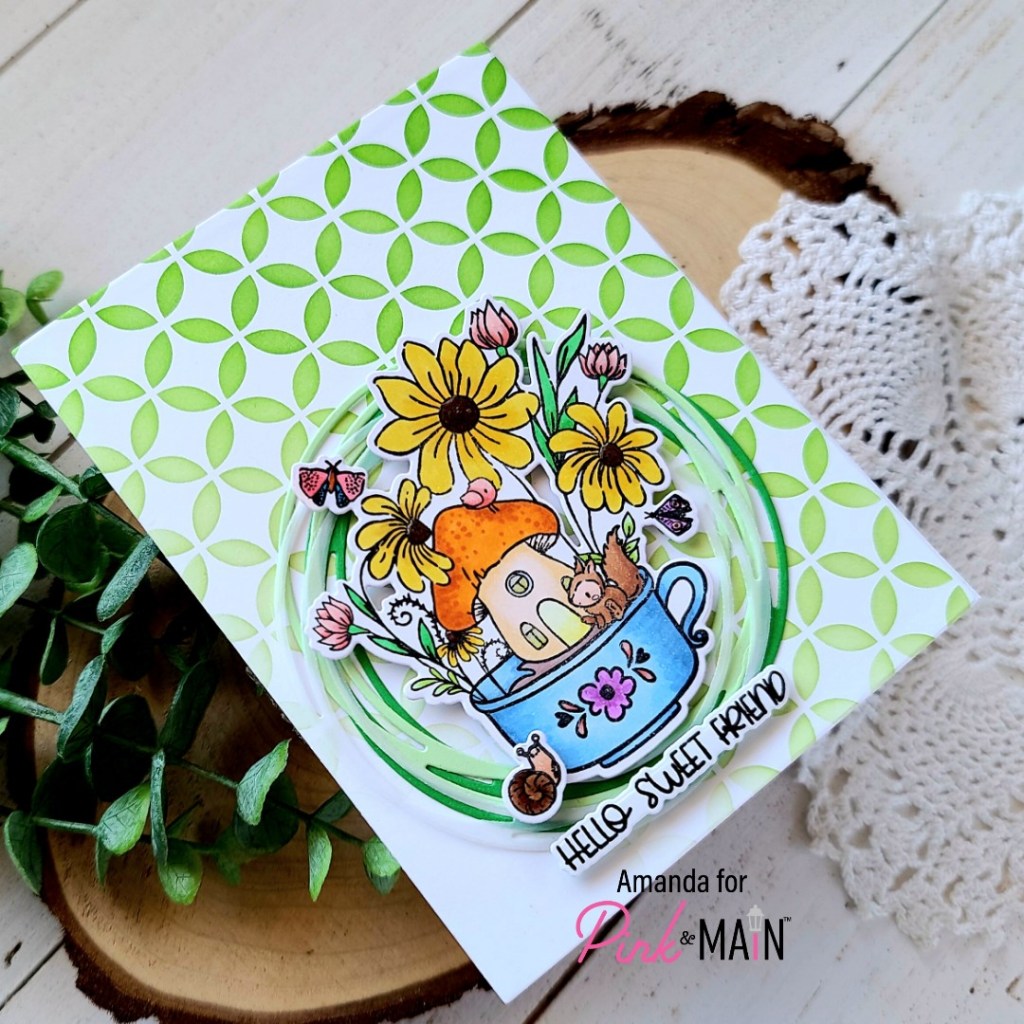
Pink & Main – Hello Sweet Friend

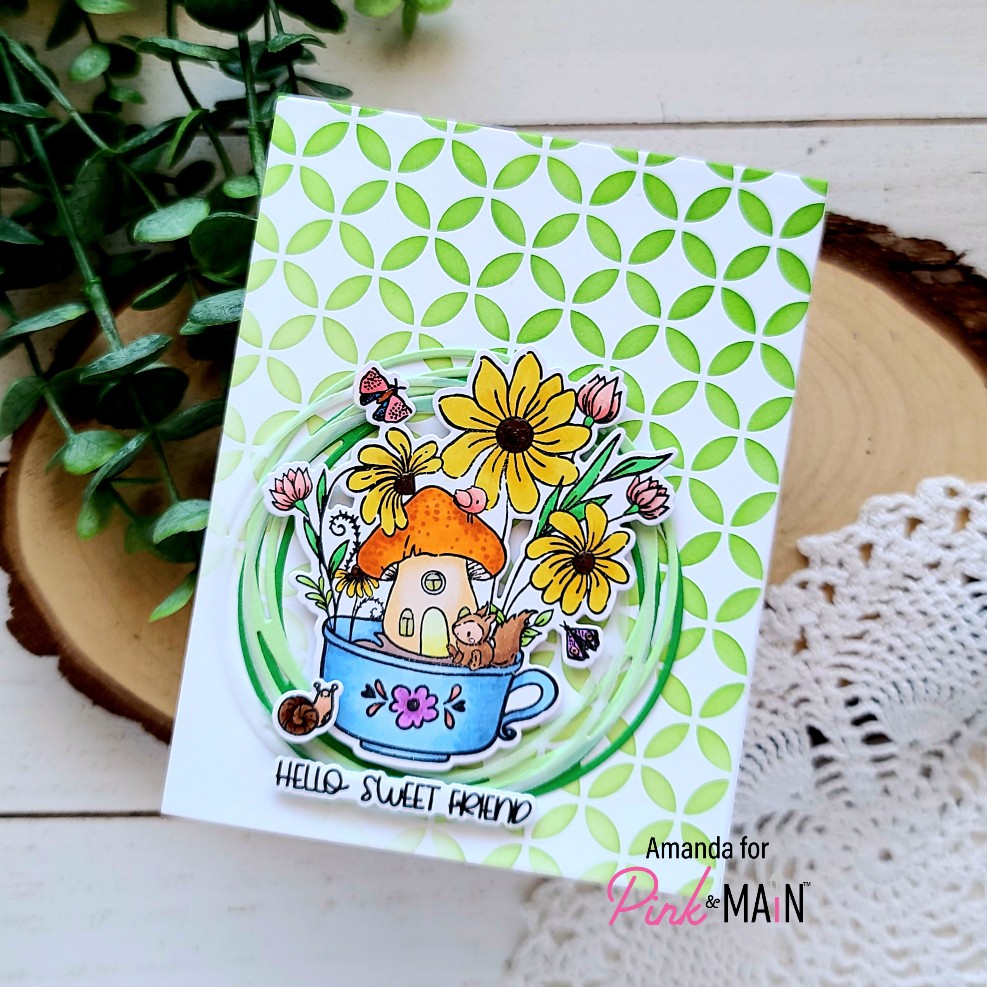
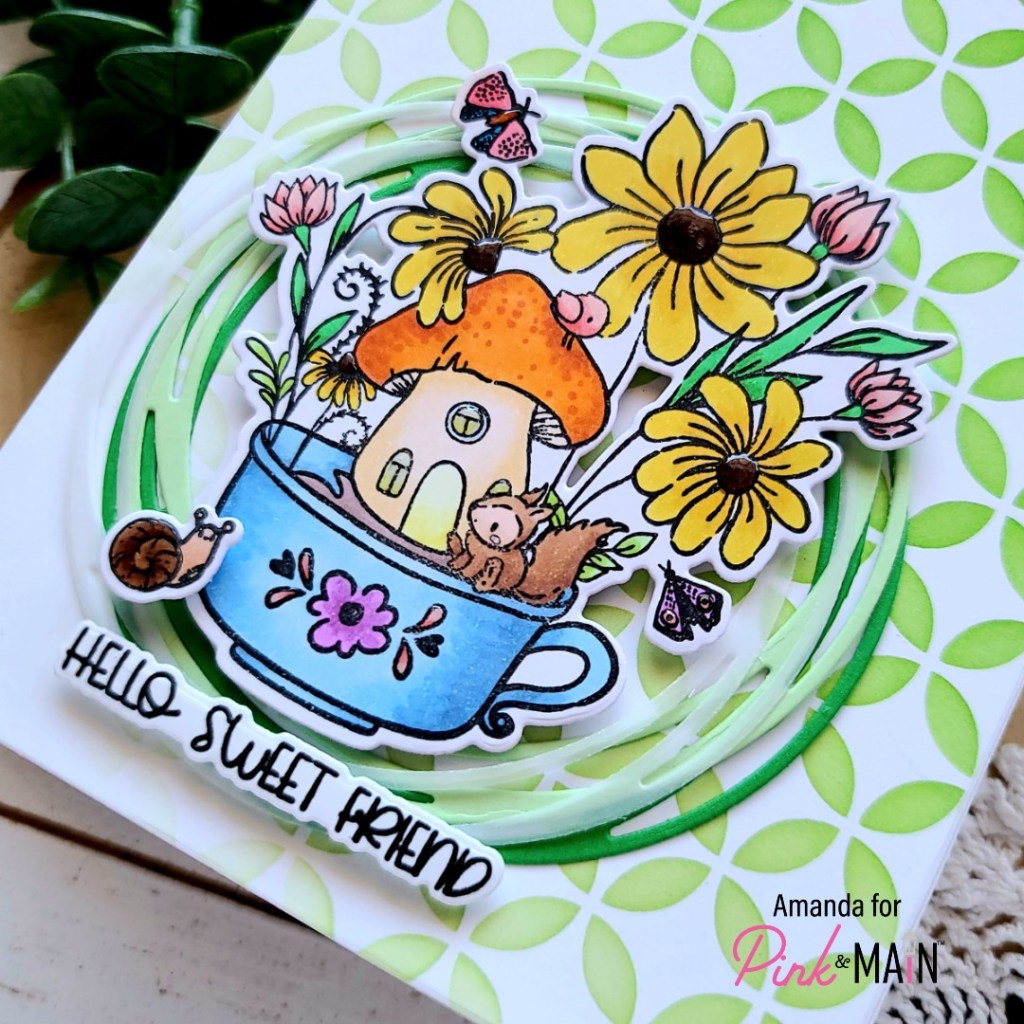
Hey everyone! I’m over on the Pink & Main blog today with this sweet card featuring one of the newly release stencils that I’m just in love with – Deco, and another image from the Gnome Matter What set. I’m also playing along with the Coffee Loving Cardmakers hop, which Pink & Main is a Super Sponsor of!

I started my card by stamping and coloring the large image from Gnome Matter What with my copics. Then I used the coordinating dies to cut it out and set it aside. Then I cut a white panel with the largest of the Layered Rectangle dies and inked up the Deco stencil over top with two different green dye inks, using my blending brush.

I used the new liquid glue to adhere my stenciled panel to a white card base and pulled out the wreath base 2 dies and cut three of the wreaths out. One from vellum and the other two from different green cardstocks. Then I glued them down and popped up my image with foam squares on top. I went back to choose a sentiment and thought it would be fun to add the cut little snail to the scene too. I stamped them both, colored the snail and used the coordinating dies to cut them out. I also used foam squares to adhere these to my card and moved on to finishing touches.

I kept it simple for finishing touches on this card by just adding glossy accents to certain areas of the images like the flower centers, snail shell, windows of the mushroom and parts of the mug.

I appreciate you sharing your time with me. Have a fabulous day!
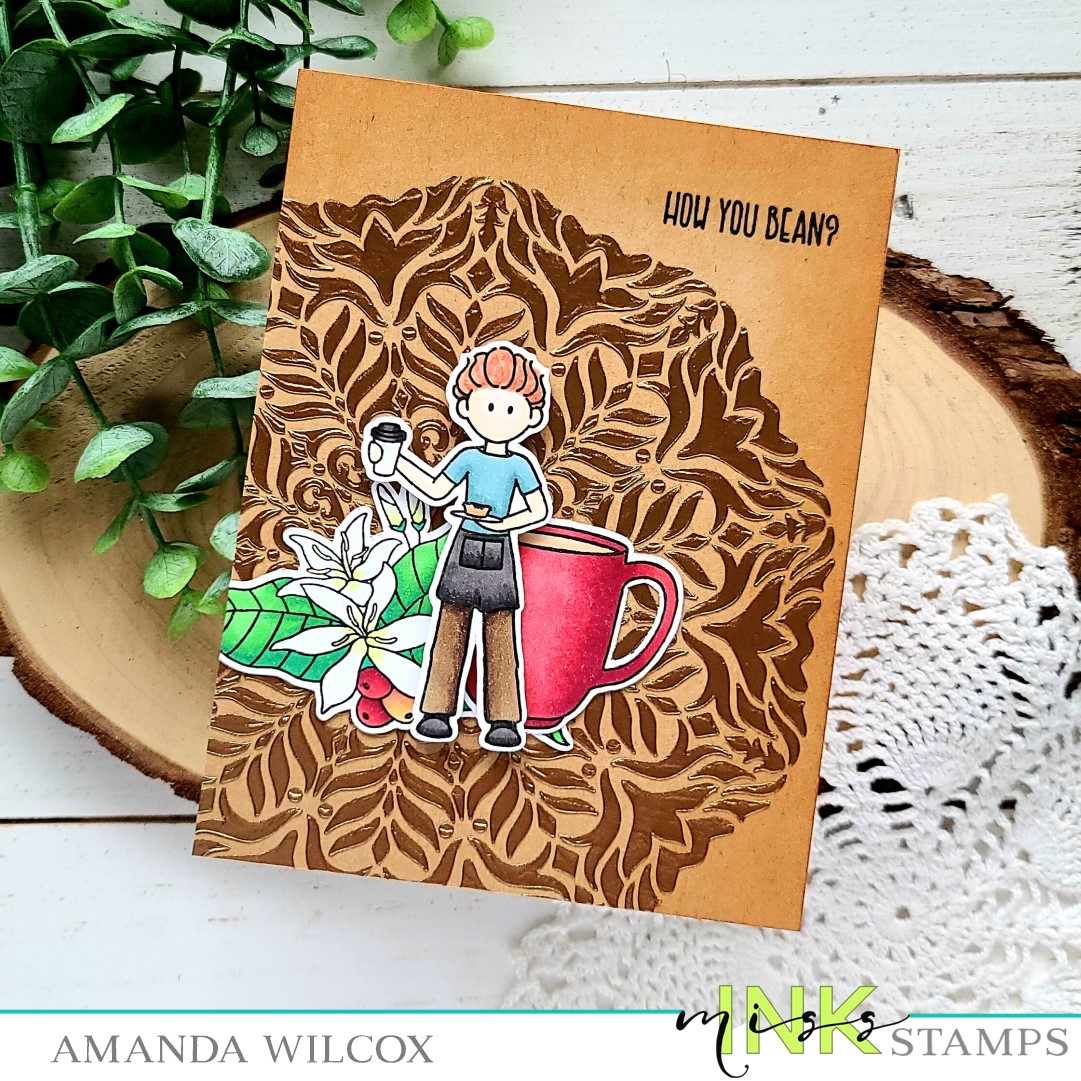
Miss Ink Stamps – How You Bean?

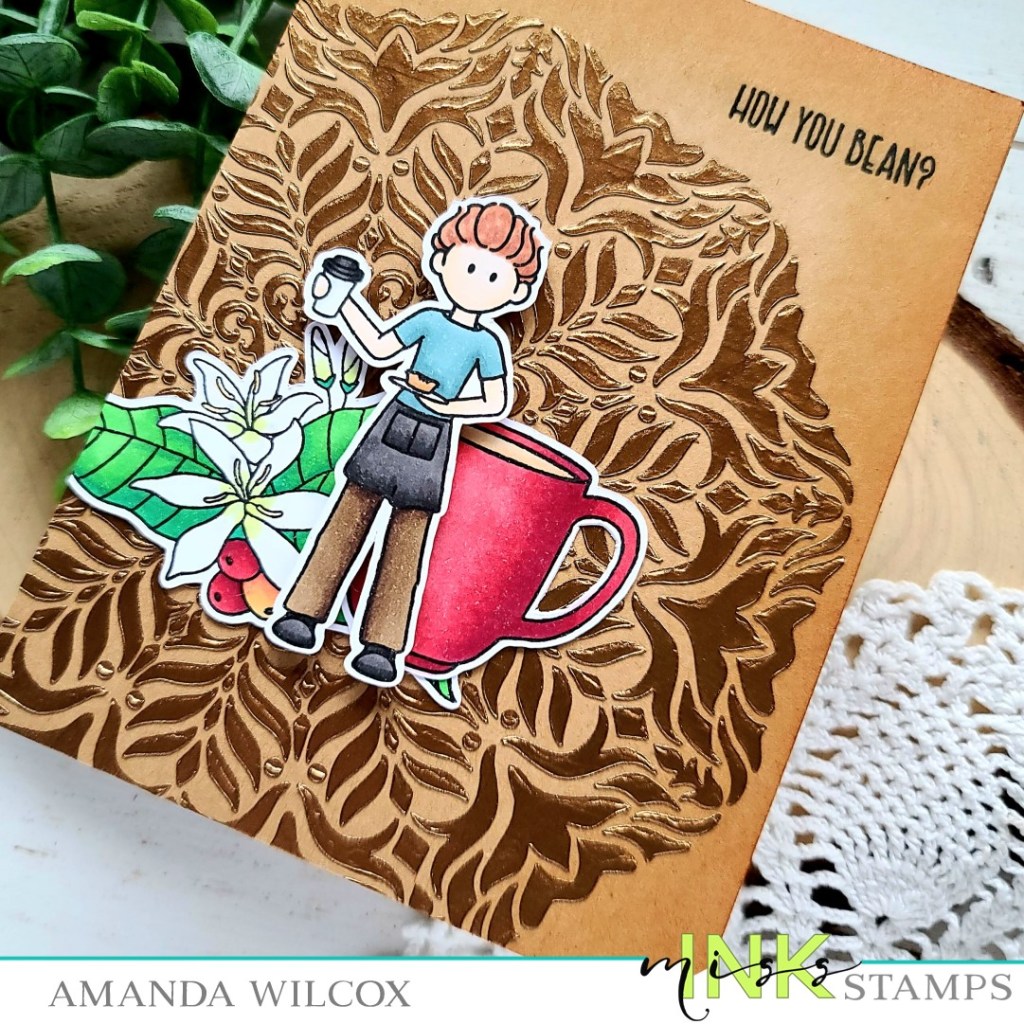
Welcome friends! Today I have some Miss Ink Stamps caffeinated inspiration to share with you. I’ve combined a couple of stamp sets with one of the recently released stencils for my super fun background!

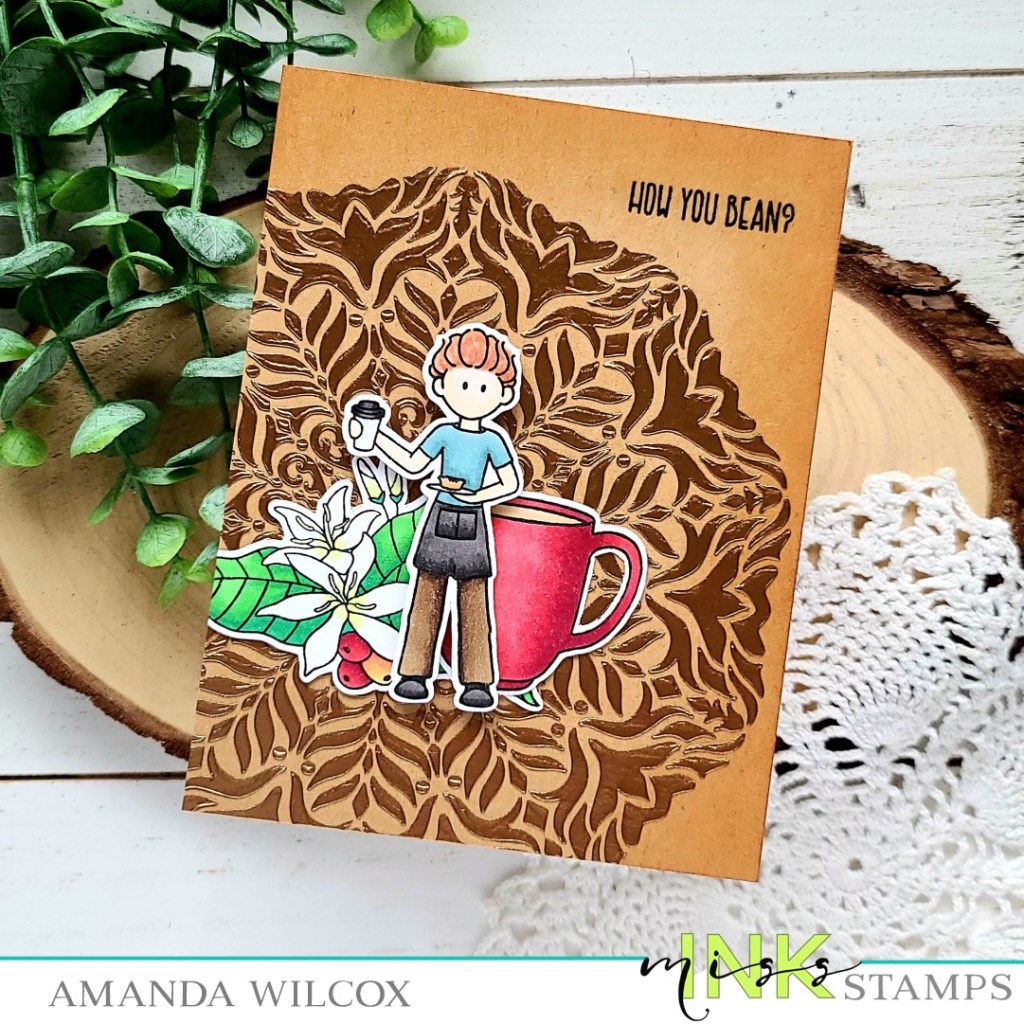
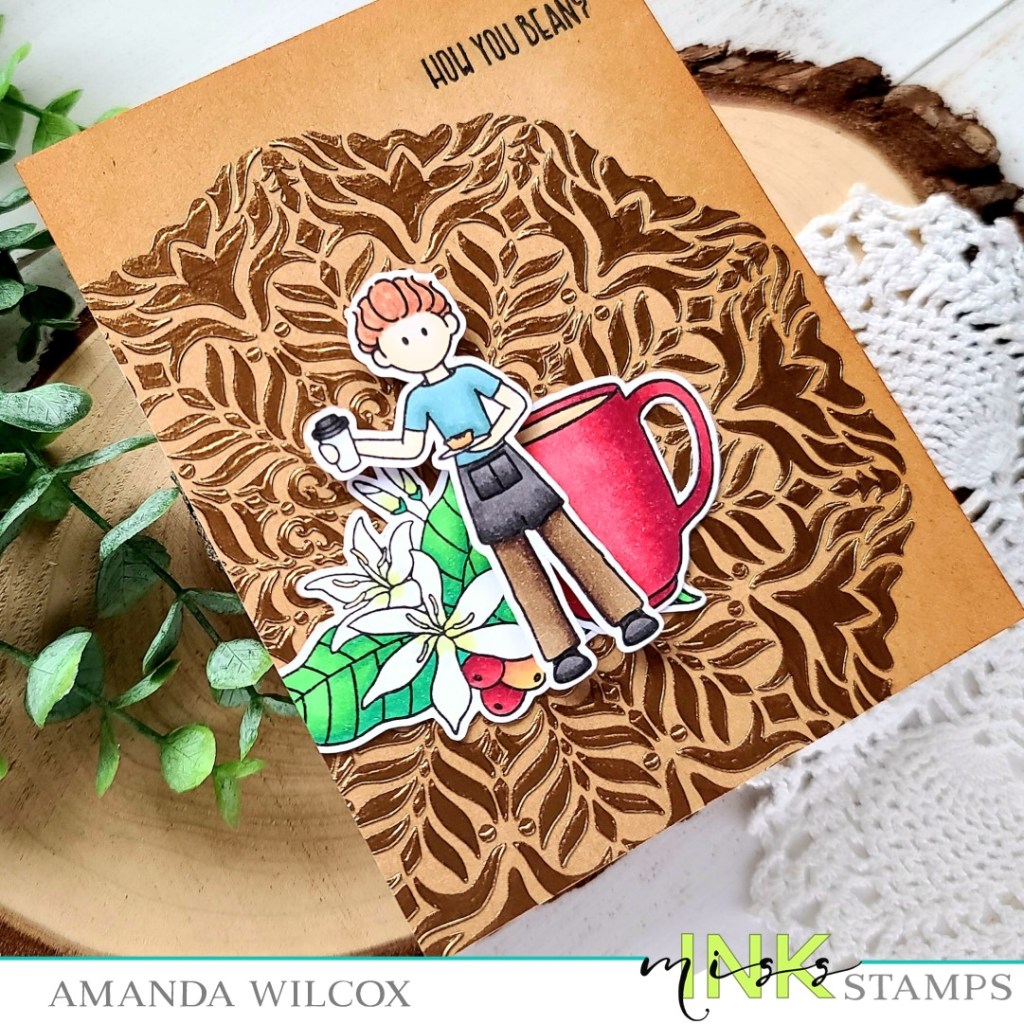
When I got my new stencils from Miss Ink, I just cut up a bunch of cardstock to card front size or a little bigger and started playing. The moment I created this background I had a card layout in my head and it actually worked out exactly how I was hoping. I love it when that happens.

I used deco foil metallix gel in aged copper on kraft cardstock with the latte love stencil for the background. Once it was dry I inked the edges with tea dye distress ink for a little dimension and interest. Then I stamped images from Java Joe’s and Brewtiful, colored them with my copics and used the scan-n-cut to cut them all out. I used liquid glue to adhere the flowers and mug to the stenciled panel and then popped Joe up with foam squares.

I couldn’t decide on a sentiment because between the two stamp sets there are SO MANY awesome options, so I took them downstairs and had my family vote on their top two favorite. Lucky for me they both happened to choose “How you bean?” so I took it as a sign and used that one.

I’ll be linking this fun card up to the Coffee Lovers Spring|Summer Hop. There’s still time to play along! I hope you’ll join in on the fun!

I appreciate you sharing your time with me. Have a fabulous day!
Trinity Stamps – Some Bunny Mug

Hi everyone! I’m back with another fun caffeinated card to share with you featuring some goodies from Trinity Stamps‘ most recent release.

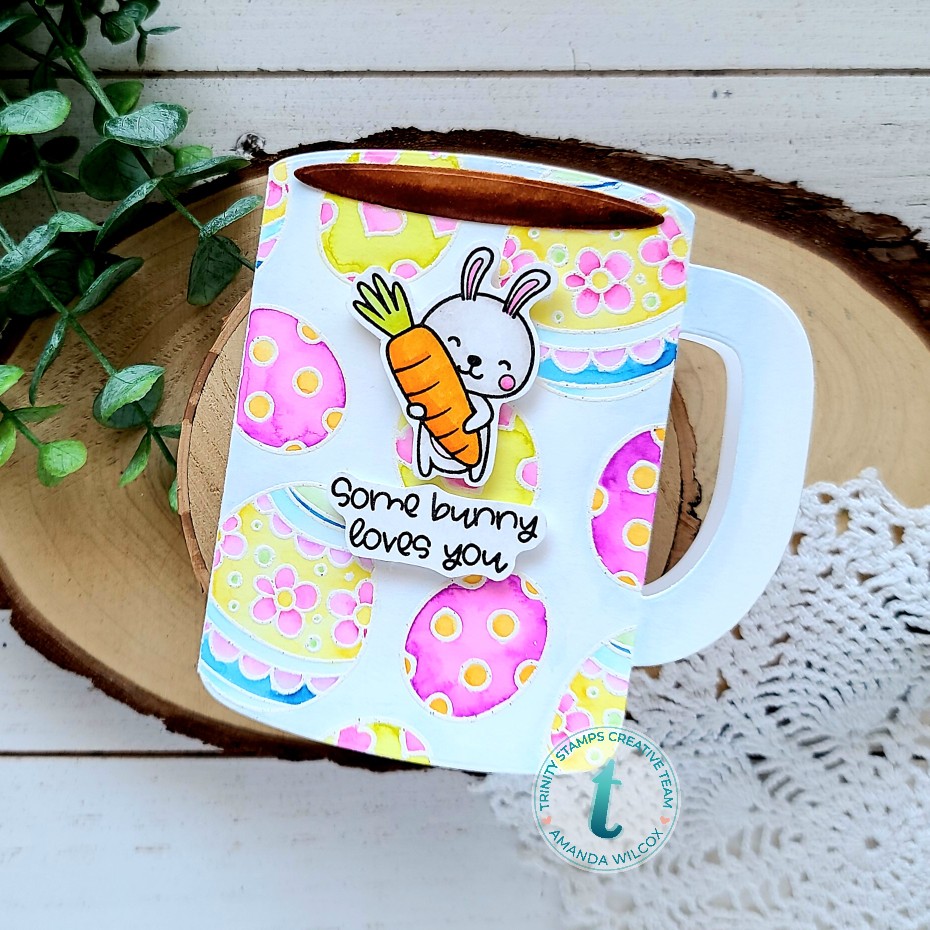
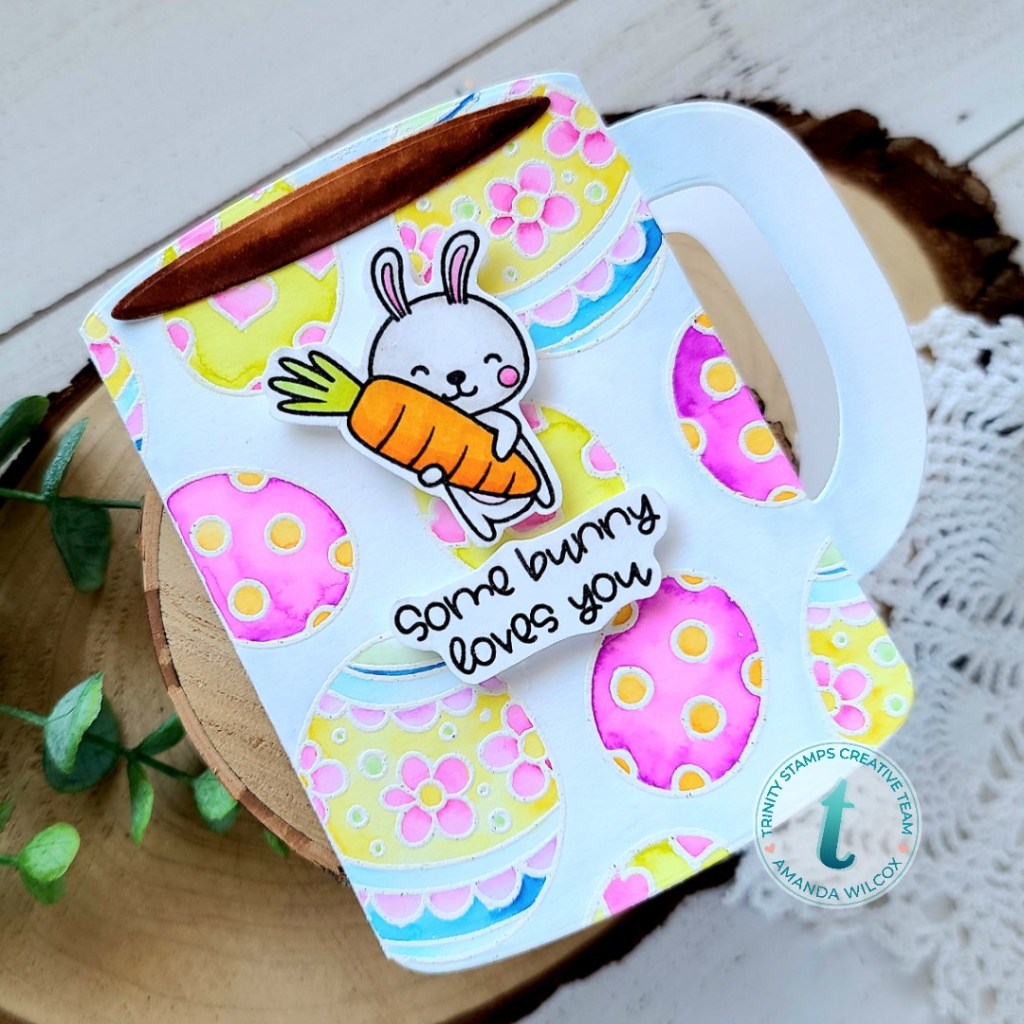
For today’s card, I die cut the coffee mug card die from Bristol Smooth cardstock and heat embossed the Easter eggs from Gnome Bunny in white. Then I watercolored them with my zig clean color real brush markers. Then I took one of the extra bunny images in Slimline Bunnies, stamped him and colored him with my zigs too. I also stamped a sentiment from that set and fussy cut them both out. I popped them up on my cute mug with foam squares and this quick and fun card is all finished!

This die set comes with an optional insert for a gift card too! I haven’t decided who is getting this fun card yet but I just might add that insert to the inside and make this an extra fun surprise for someone!

Remember, the Coffee Lovers Spring|Summer Hop is still going on! I’m linking this cutie up and hope you’re playing along with us!

I appreciate you sharing your time with me.

Newton’s Nook – Kit-tea Cat

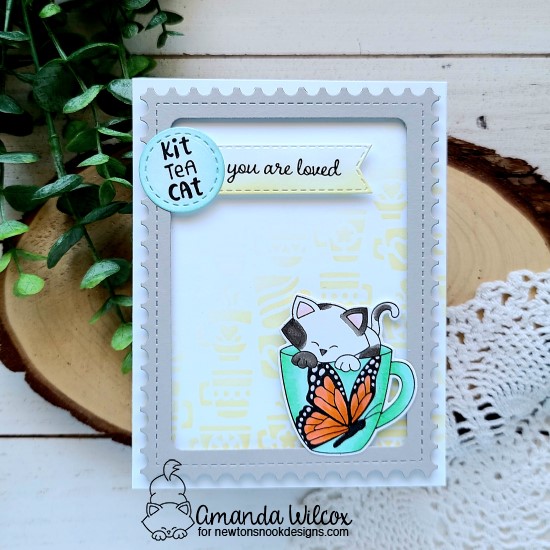
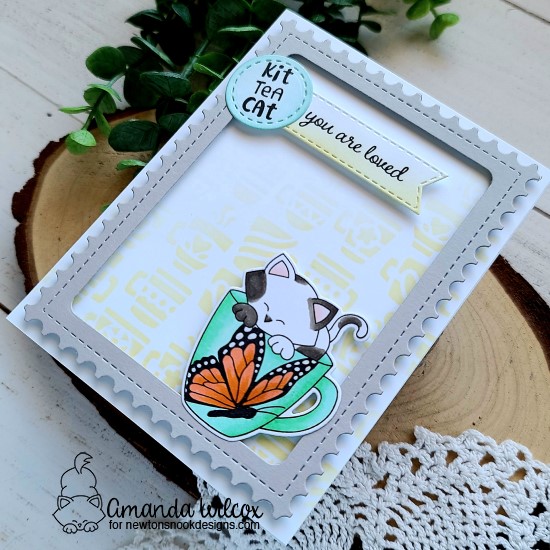
Hello again! I’m over on the Newton’s Nook blog today with a super fun caffeinated creation to get your juices flowing today! I’ll be entering it into the Coffee Loving Cardmakers Spring|Summer Hop. I really hope you’re playing along with us. It’s so fun and there is so much inspiration to be had and prizes to be won!

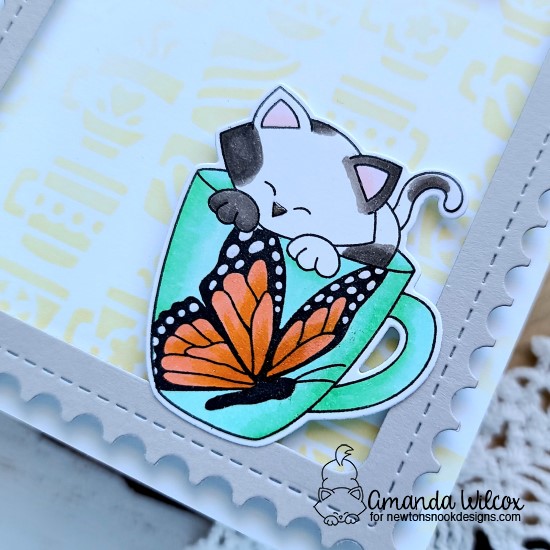
I am honestly, SUPER EXCITED to share this card with you today! I had the fun idea to mask off the mug from Newton’s Mug and stamp one of the Monarchs images inside it for a decorated coffee cup! I love it! I colored the image with my copics and used the coordinating dies to cut it out.

Then for my background I cut a white panel to A2 size and inked up the Mugs stencil with light yellow ink. I took the Framework dies and cut the largest rectangle, then cut the rounded rectangle from the Frames & Flags set out of the center to create a frame.

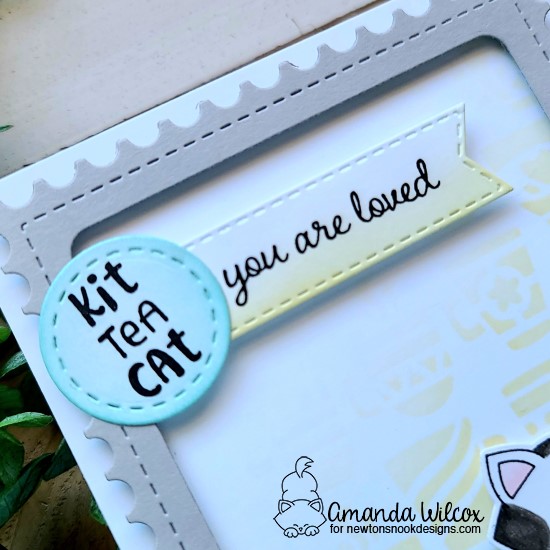
For my sentiment, I chose the first one from Newton’s Mug and stamped it on a stitched circle from the Frames Squared set. Then I added a sentiment from Heartfelt Essentials to a banner from the Banner Trio set. I inked up the edges of the circle with a light green ink as close to the mug color as I could get, then I inked up the bottom of the banner with the same yellow as the mugs stenciling.

Moving on to assembling my card, I added the stenciled panel to a white card base, then popped the frame up with foam strips. I added foam squares to Newton’s Mug and popped it in place. I used liquid glue to adhere the circle to the banner and added foam squares to the back of that before placing it at the top of the design.

For finishing touches, I added a little glossy accents to Newton’s nose and Wink of Stella glitter brush pen to the butterfly on the mug and the circle sentiment.

I appreciate you sharing your time with me. Have a fabulous day!
Coffee Loving Cardmakers – Coffee Time

Hi again! Today is Tuesday Tea over on the Coffee Loving Cardmakers blog, in the middle of the Spring|Summer Coffee Lovers Hop! Today I have a pair of cards featuring Super Sponsor Jane’s Doodles to share with you.

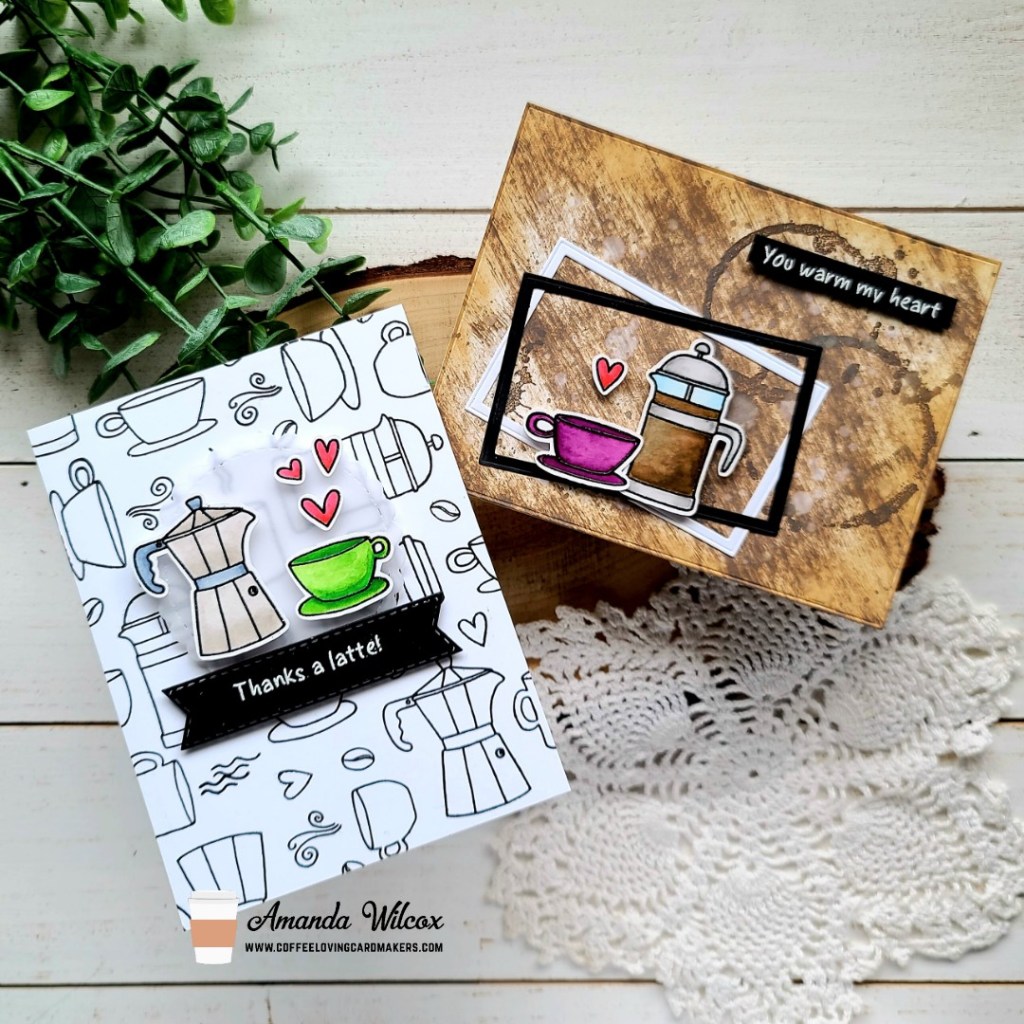
I started these cards by stamping the images from Coffee Time on Bristol Smooth cardstock and heat embossing them in black. Then I used my Zig Clean Color Real Brush markers to watercolor them in. Then I ran them through the scan-n-cut and started playing with them to decide on final designs.

For this first one, I inked up a white panel with ground espresso distress oxide by dragging the pad across the paper. Then I used gathered twigs distress oxide around the edges. I spritzed it with water and die cut it with Super Sponsor Trinity Stamps’ embossed edge rectangle die. Next, I dug out a very old Bo Bunny stamp set and stamped the coffee stain rings on the panel with ground espresso distress oxide ink. Then I chose 2 smaller embossed edge rectangle dies and cut out frames in white and black and glued them down with liquid glue. I popped up my images with foam squares. Last, I stamped and heat embossed a sentiment from Coffee Time, cut it into a strip and popped it up as well.

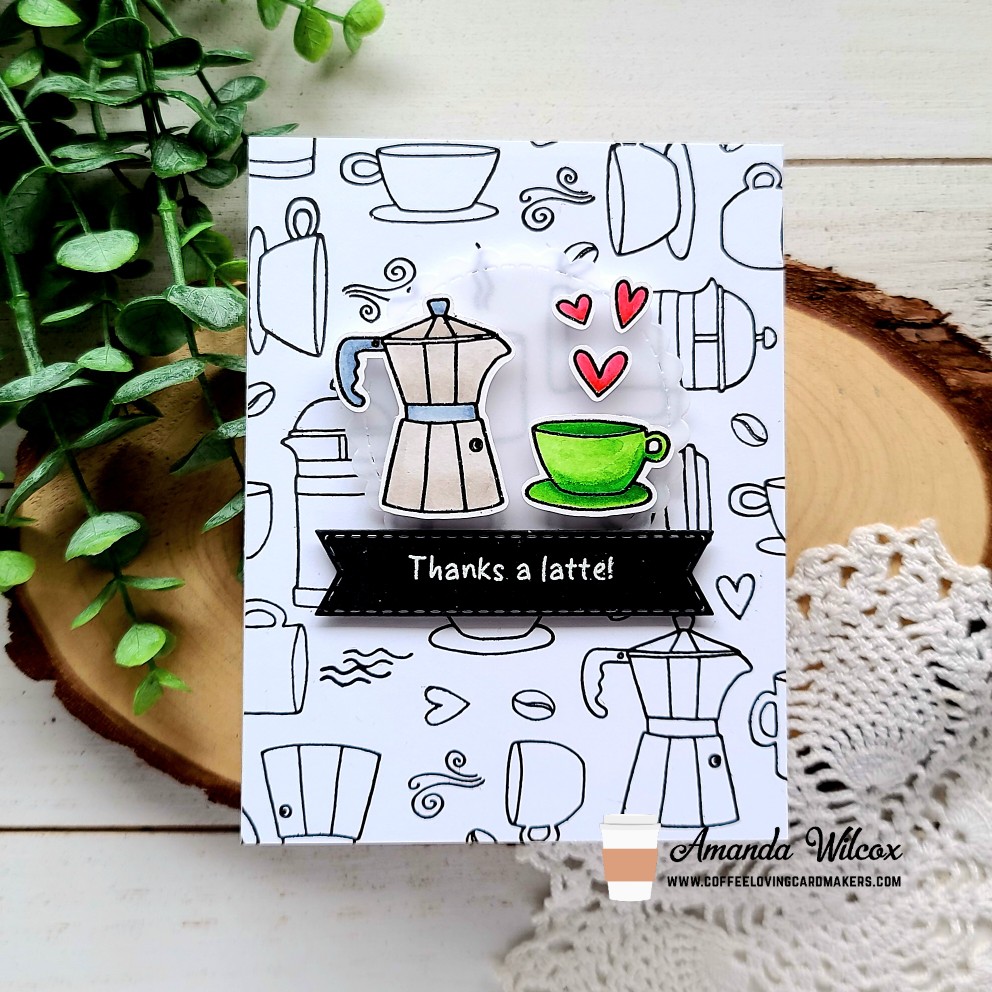
For the second card, I took a white panel and arranged all the images from Coffee Time on them and stamped them repeatedly creating my own patterned paper. I had so much fun placing each image and seeing how I could make them fit together like a puzzle. Then I pulled out two die sets from Super Sponsor Newton’s Nook – circle frames and banner trio. I cut a circle from vellum and a banner from black. I heat embossed a different sentiment on the banner and adhered it to the bottom of the circle. Then I popped my images up with foam squares and hid more foam squares behind those on the vellum circle so both layers have dimension.

I hope you’re having a fun week with all of the caffeinated inspiration and that you’re playing along with us too! Remember to head HERE to link up your coffee creations before Friday.

I appreciate you sharing your time with me. Have a fabulous day!