Happy Friday everyone! I’m over on the Pink & Main blog today with another thank you card but I twisted things a bit and had some fun creating word art with a few sentiment sets.

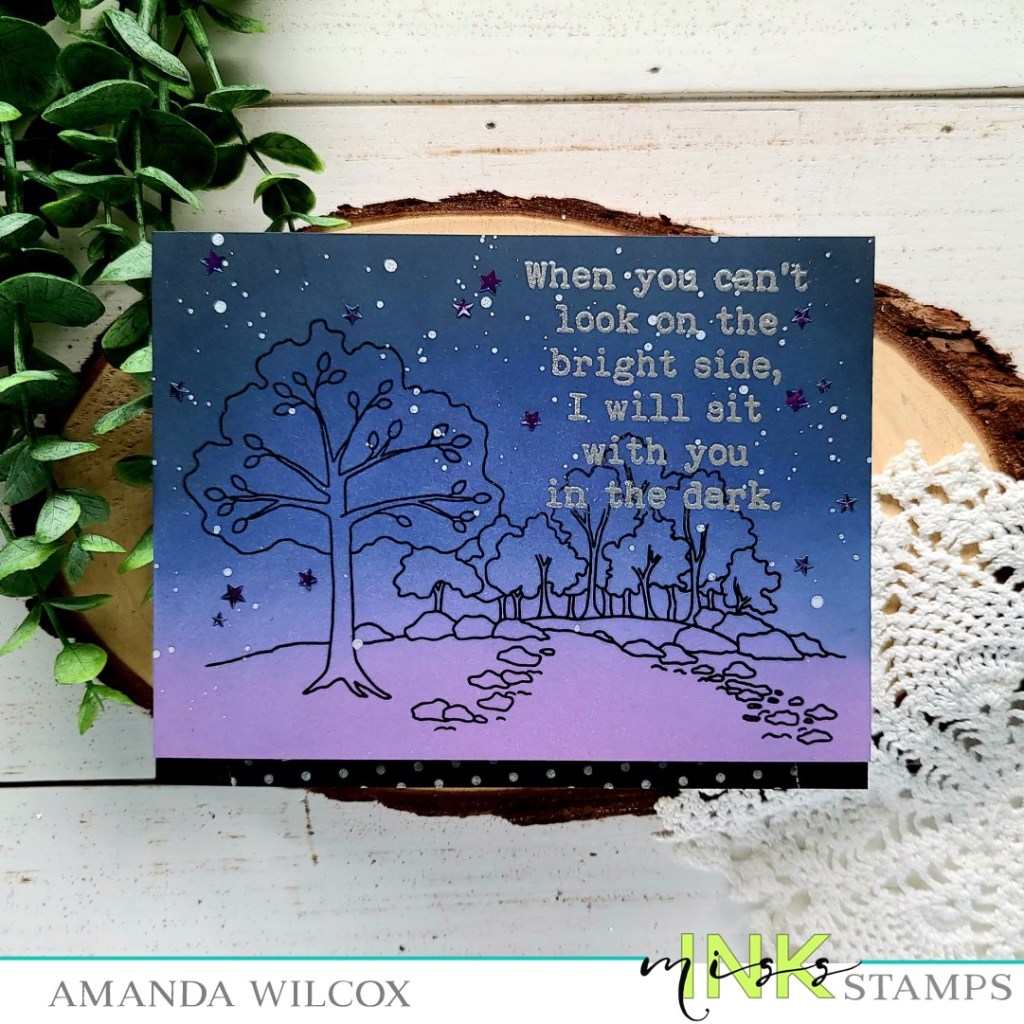
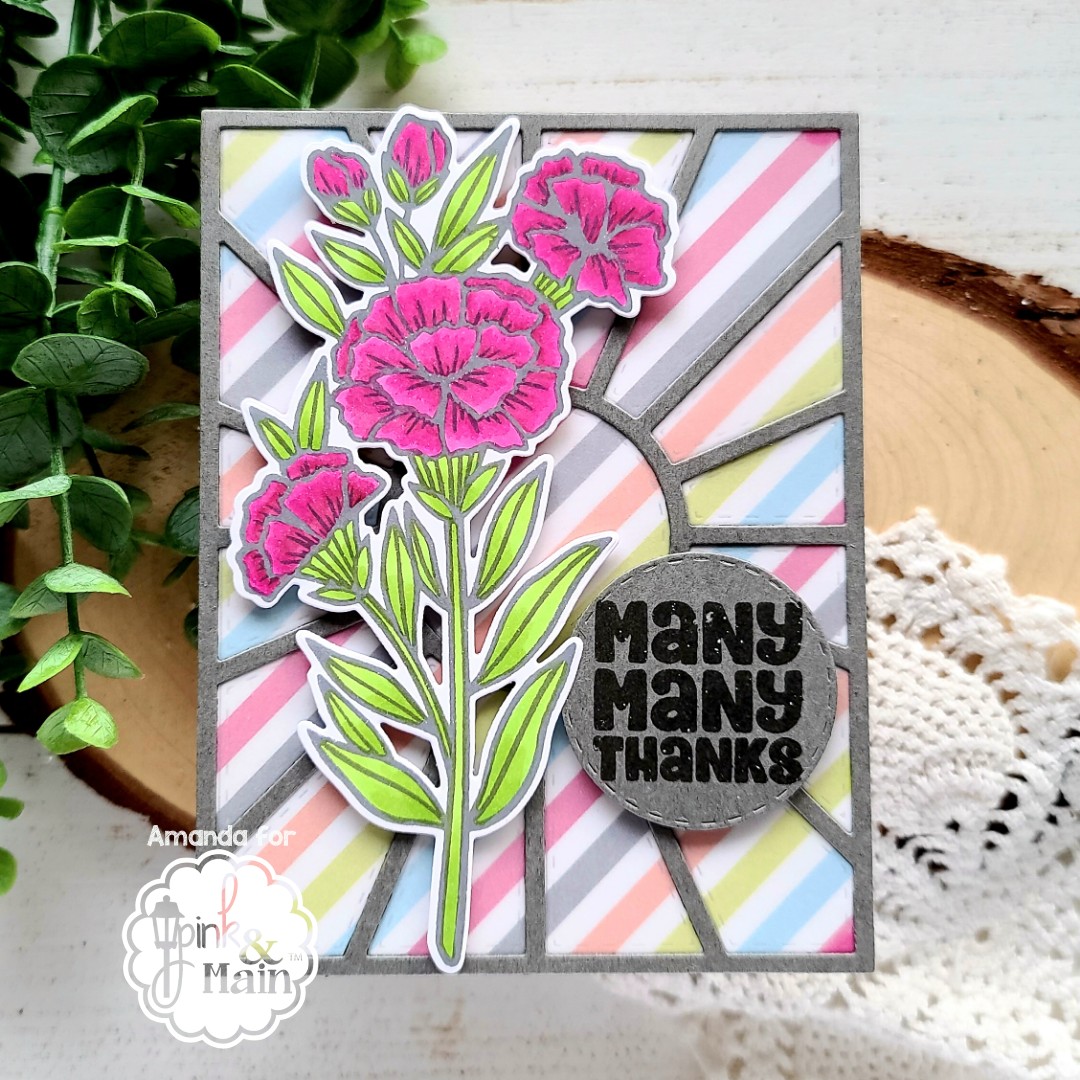
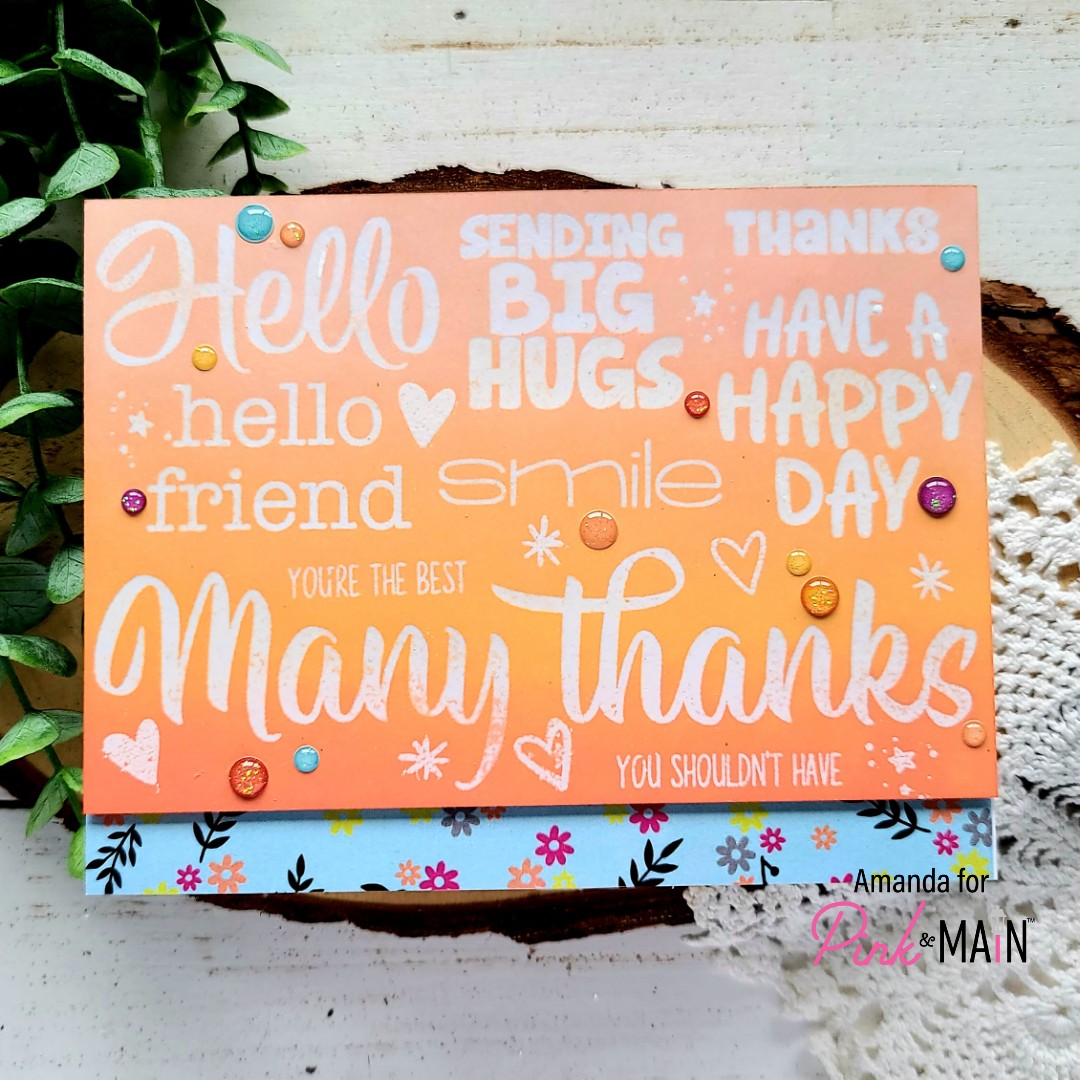
To create today’s card I started with an A2 white panel and started arranging sentiments from Slimline Sayings and Spotlight Sayings all over the front. I stamped them with VersaMark ink and heat embossed with clear embossing powder. Then I took some of the small star and heart images from Little Angels and did the same with those to fill in some of the blank space.
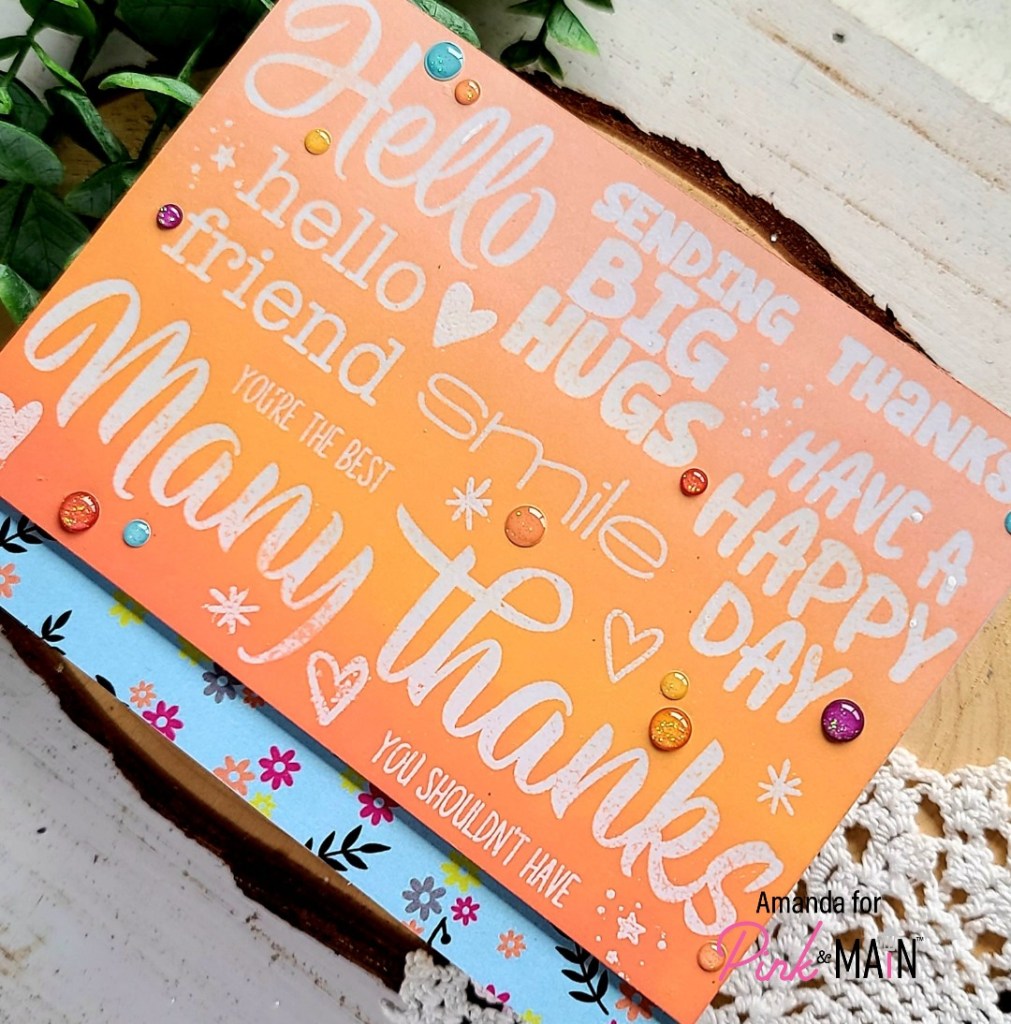
I trimmed the bottom half inch off my panel and pulled out distress oxides in tattered rose, dried marigold and abandoned coral and blended them over the panel. Once that was finished I took a dry cloth and wiped away the ink that sat on top of the embossing. I knew I wanted to use patterned paper so I pulled out a few stacks that had colors similar to my inked panel and settled on the blue flowers from Best Friends. I trimmed it down to A2 size and used liquid glue to adhere it to a white card base. Then I added foam tape to the back of the sentiment panel and attached it.
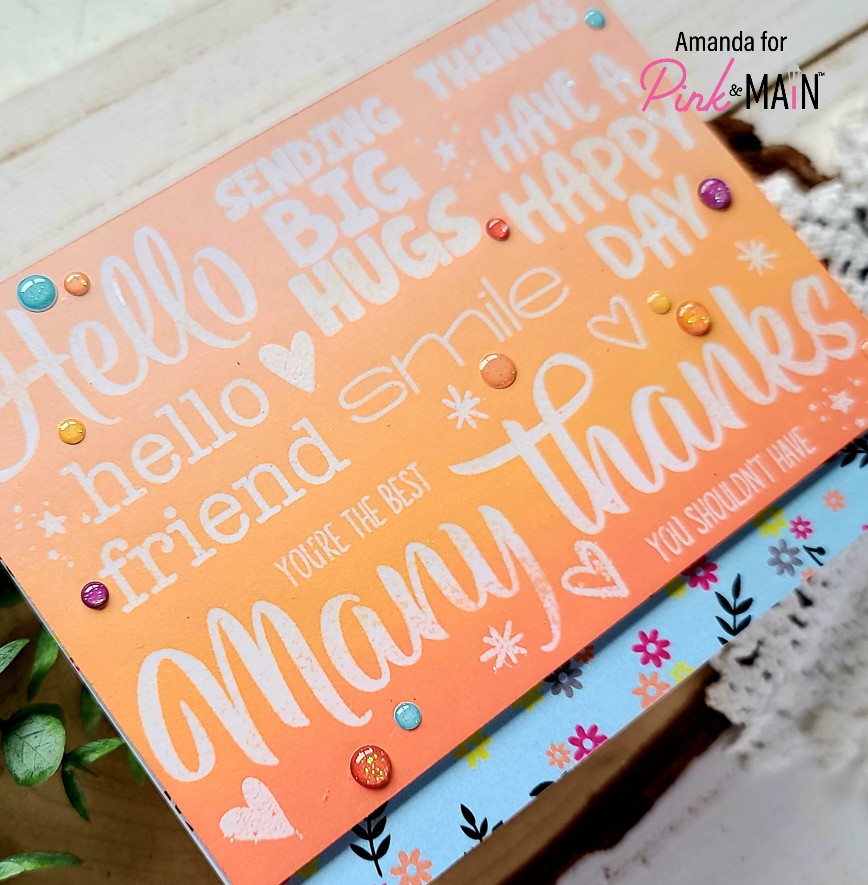
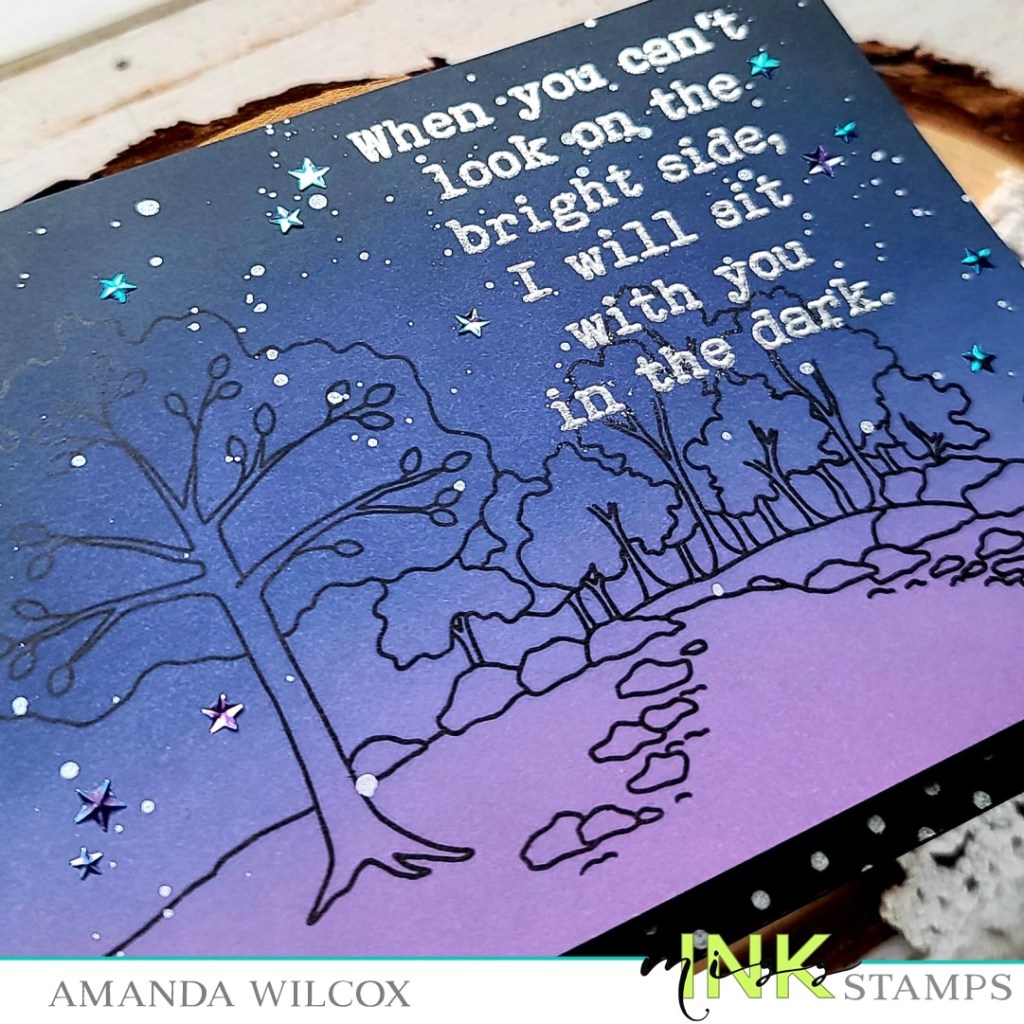
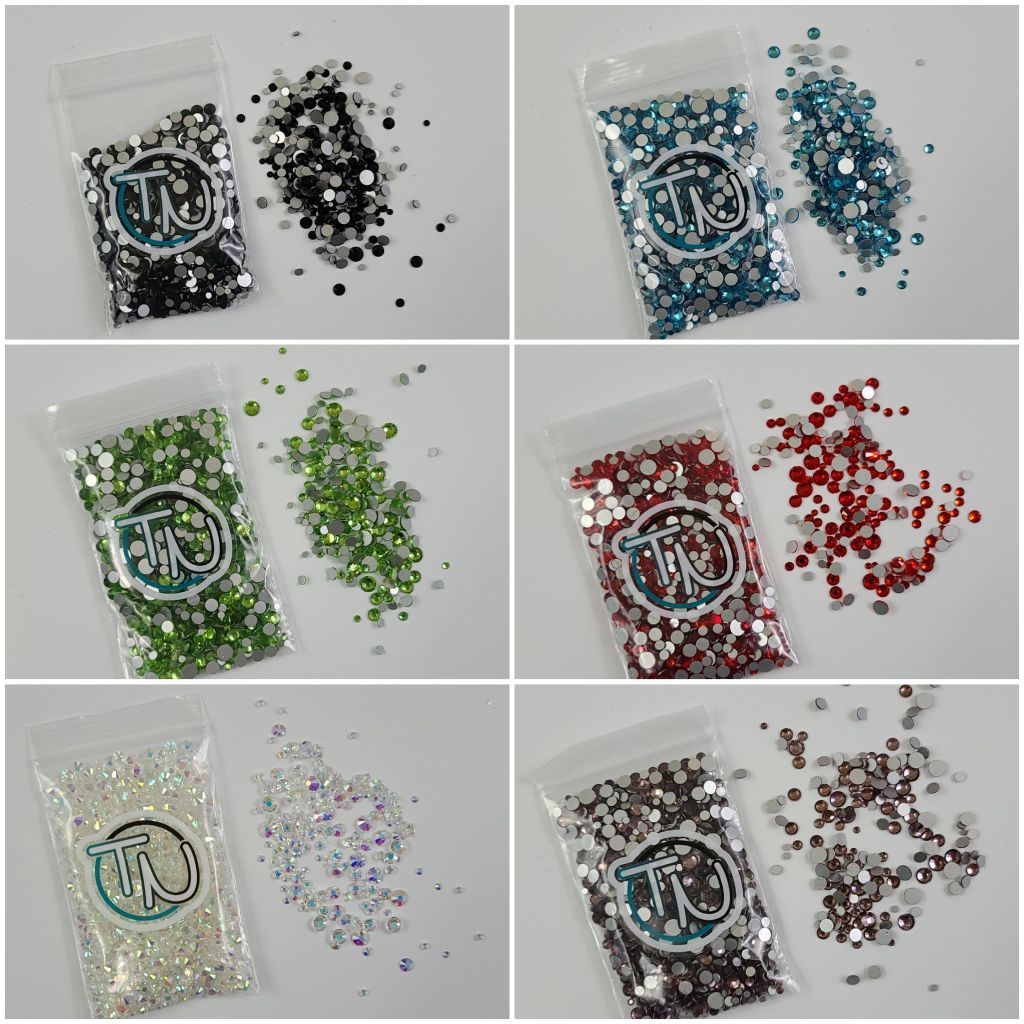
I thought the panel could use a little fun bling and interest so I added some glitter enamel dots from the Falling For You and Thankful sets scattered in various empty spots.
I love how this card turned out and hope the recipient feels the love when they open it too!
I appreciate you sharing your time with me. Have a fabulous day!