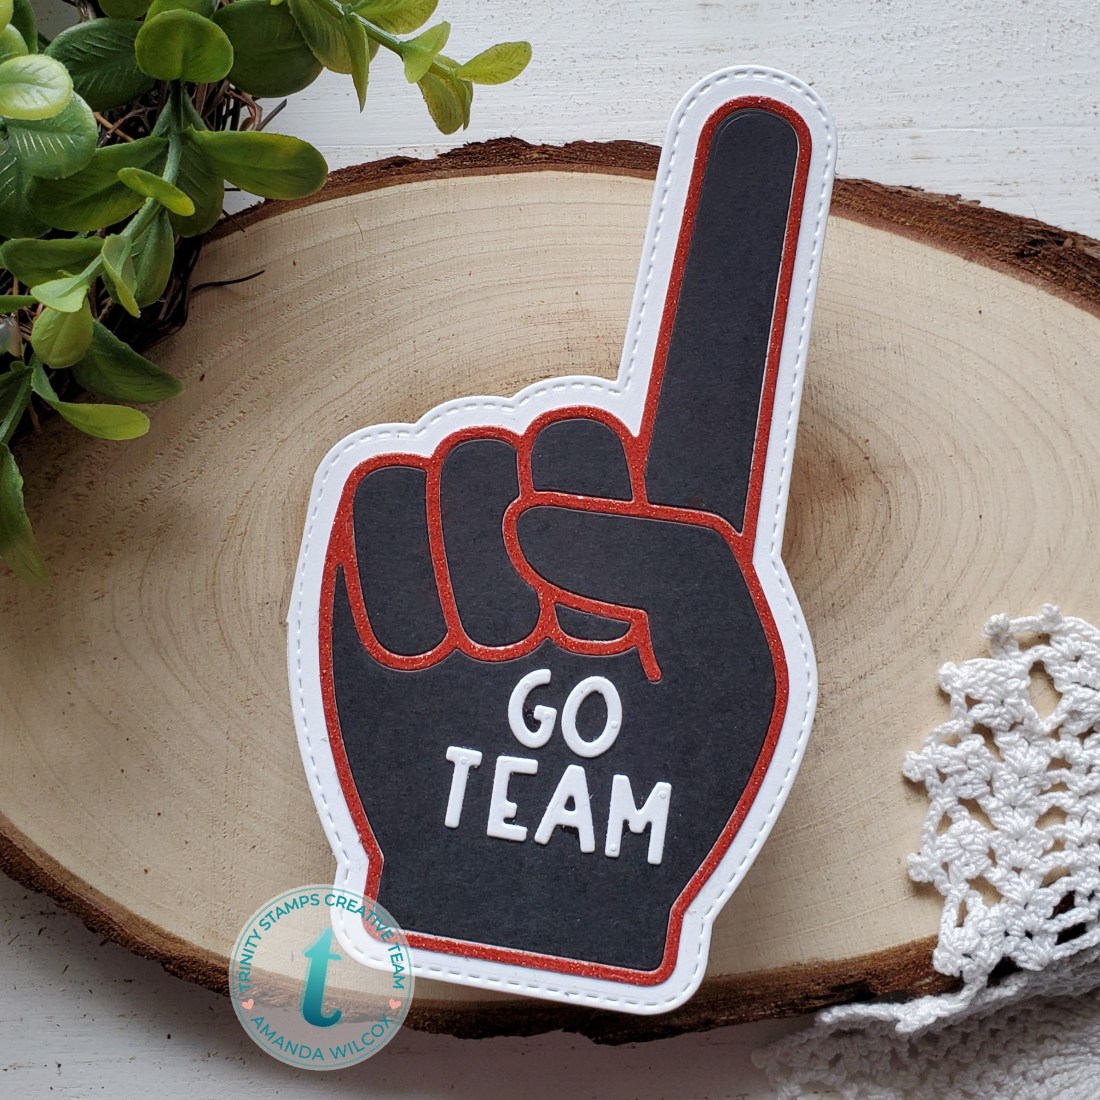
Hello everyone! This Friday, April 10, Trinity Stamps is releasing their Spring Release. It’s so amazing, there is something for everyone in it! I’m here today to show you a little sneak peek of what’s coming your way!
Who doesn’t love a shaped card??? Seriously, they are so fun to make and a blast to give. Sports lovers? We’ve got your covered this time and just in time for Father’s Day coming up and all those sports loving dads out there!
We will be having an Instagram hop on release day so be sure to join us for tons of inspiration and comment for chances to win! Stay tuned throughout this week for more sneaks from me and other design team members too!
I appreciate you sharing your time with me. Have a fabulous day!
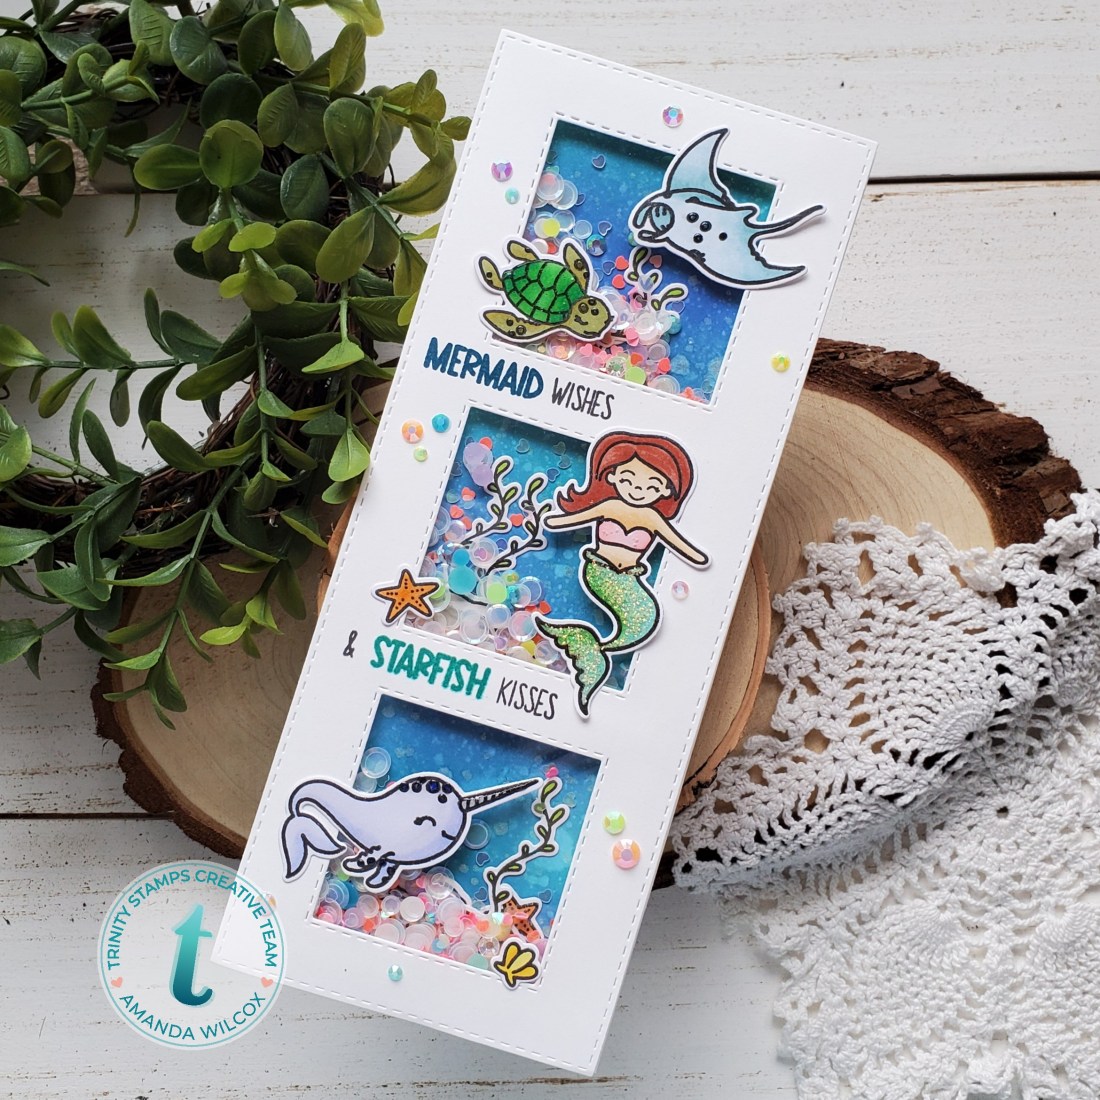
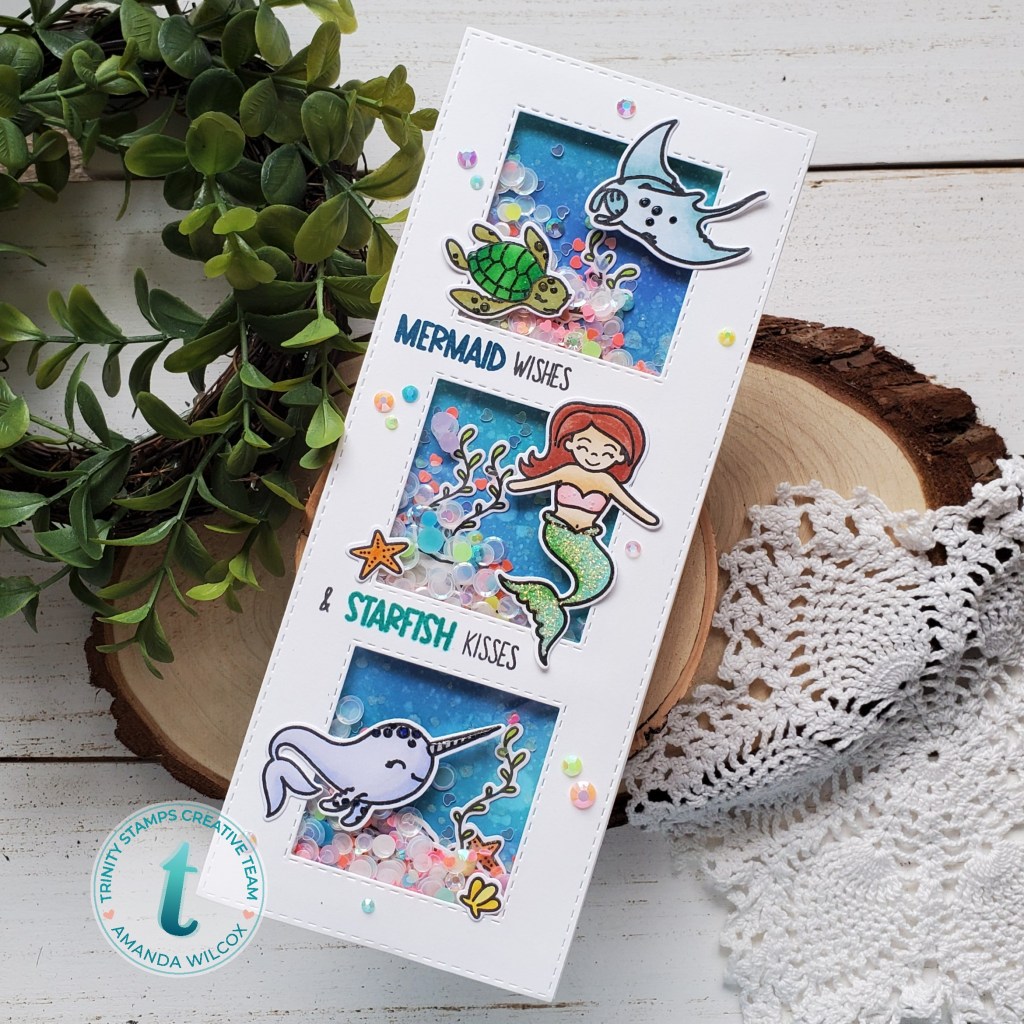
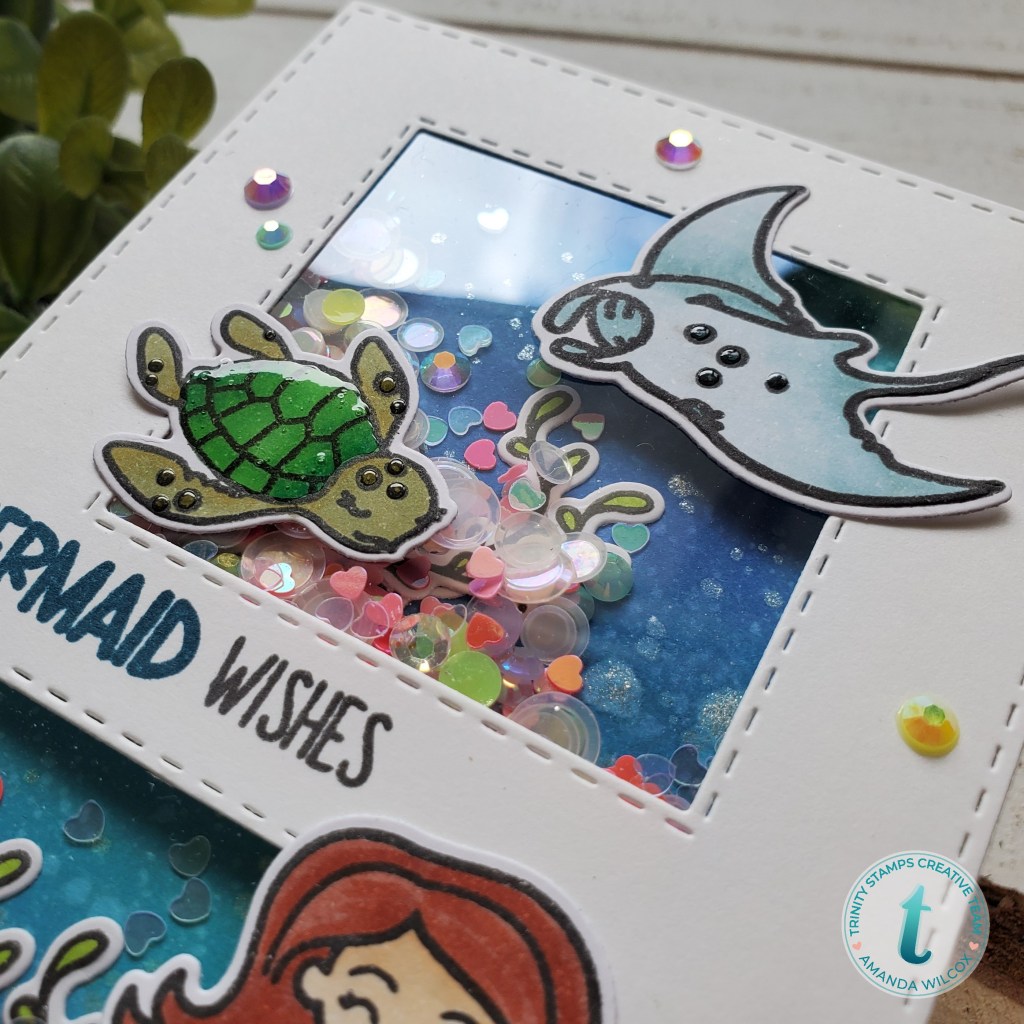
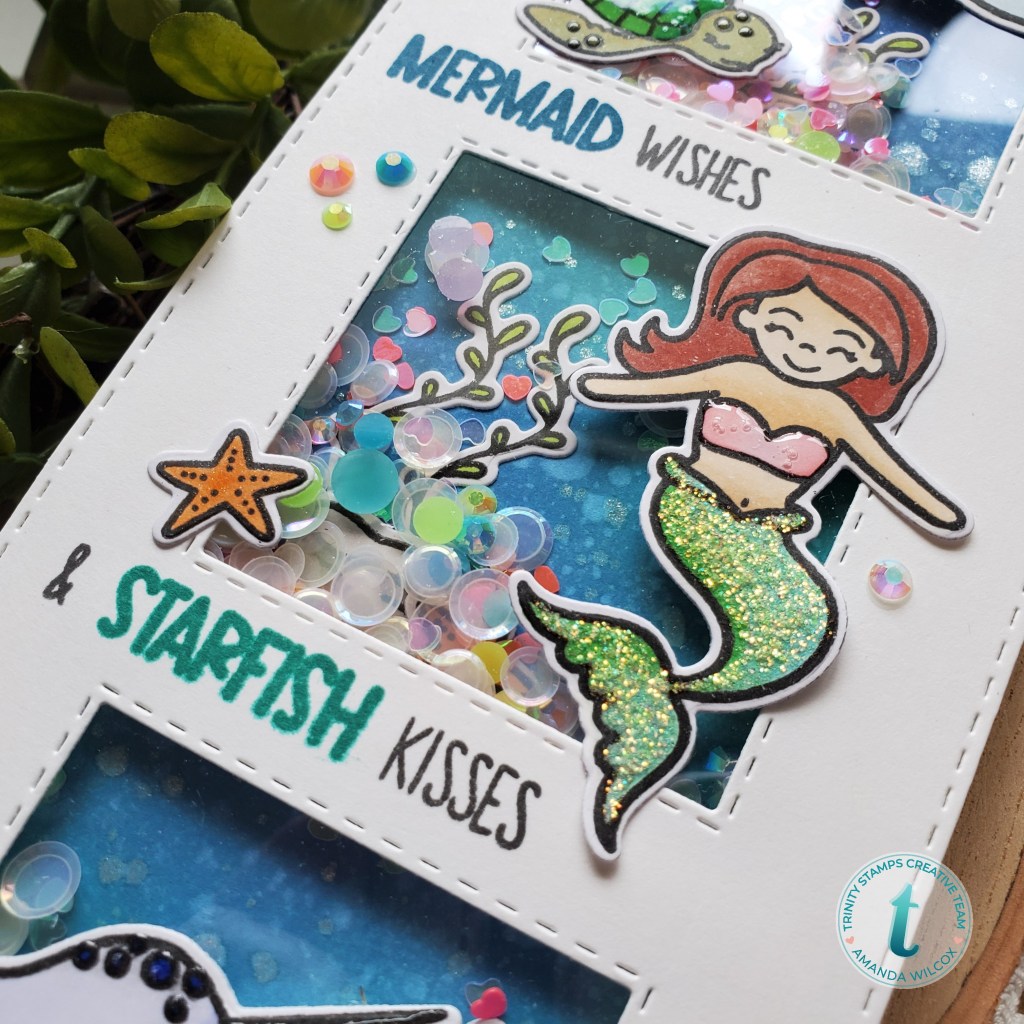
Happy Friday everyone!!! Today I’m sharing a fun shaker card set down in the depths of the sea! This was really fun to put together and is even more fun to play with now that it’s finished. I love shaker cards but they don’t always cross my mind to make.
I started my card by die cutting the largest panel from the Trinity Stamps Slimline Stitched Panels and Windows set twice, then cut the window from one of them. I took the solid panel and blended Distress Oxides on it to show through the windows. I used Blueprint Sketch and Peacock Feathers. Then I spritzed it with water and flicked InkOn3 liquid pixie dust for some shimmer.
Next I grabbed my stamp sets – Mermaid Wishes and Turtley Awesome – and inked them up. I colored them with my copics and die cut them with the coordinating dies. I took some of the scene building images like seashells, starfish, rocks and seaweed and glued them to the inked panel to show through the windows and set the rest of the images aside to build my shaker.
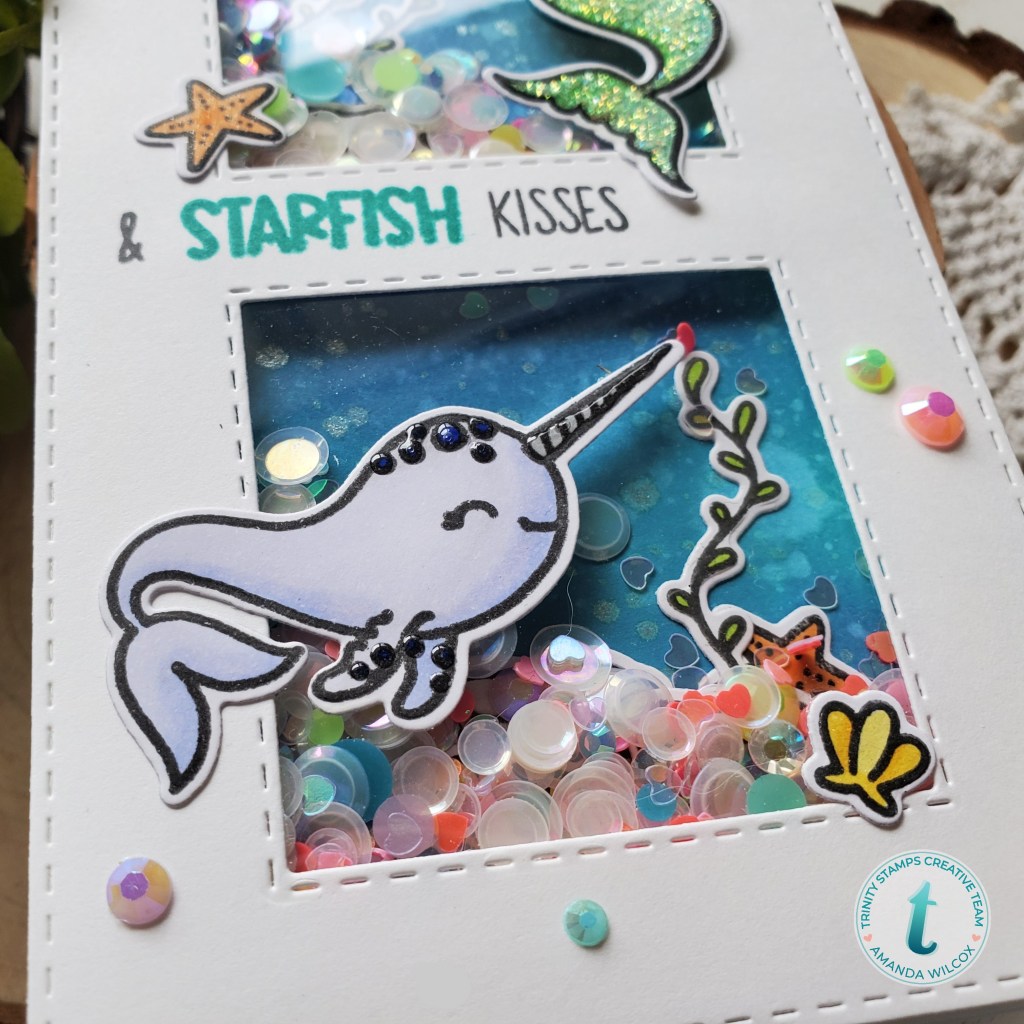
I glued acetate sheets to the inside of the window panel and lined it with doubled-up foam tape. Then I sprinkled some different embellishments into each scene area and closed it up. The embellishments I used were jellyfish jewels, glass slipper confetti and lovely heart itty bitty confetti. I thought it gave some shimmer and pops of color against the blue background.
Finally I added my final images to the front and stamped my sentiment as well. For finishing touches I added some glossy accents here and there and Stickles to the mermaid tail. The last thing I did was glue down some jellyfish jewels around the front of the card.
I think this card turned out so fun! Do you make shaker cards? Any tips or tricks to share? I’d love to hear. Leave me a comment if you have any.
I appreciate you sharing your time with me. Have a fabulous day!
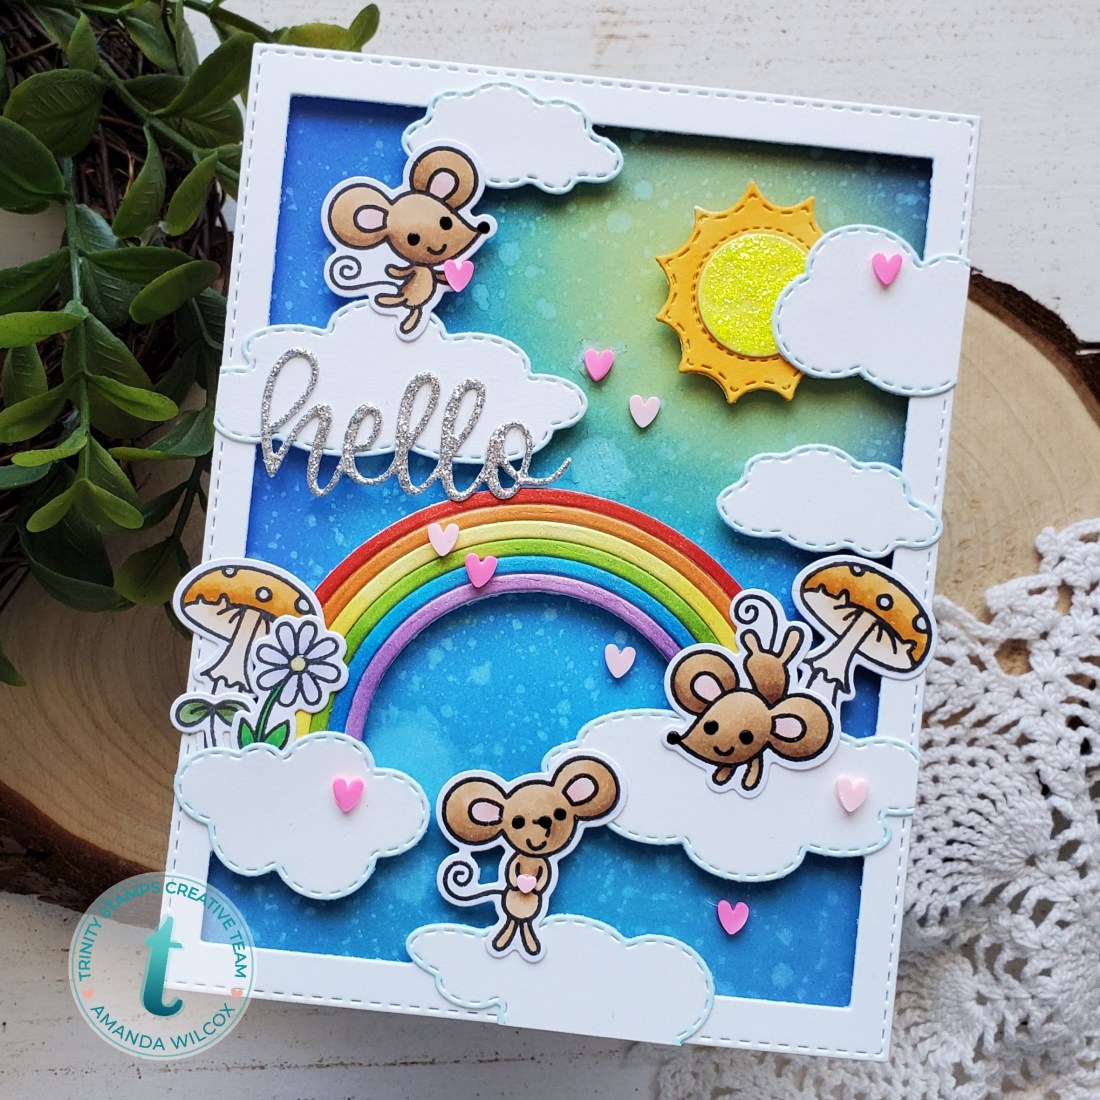
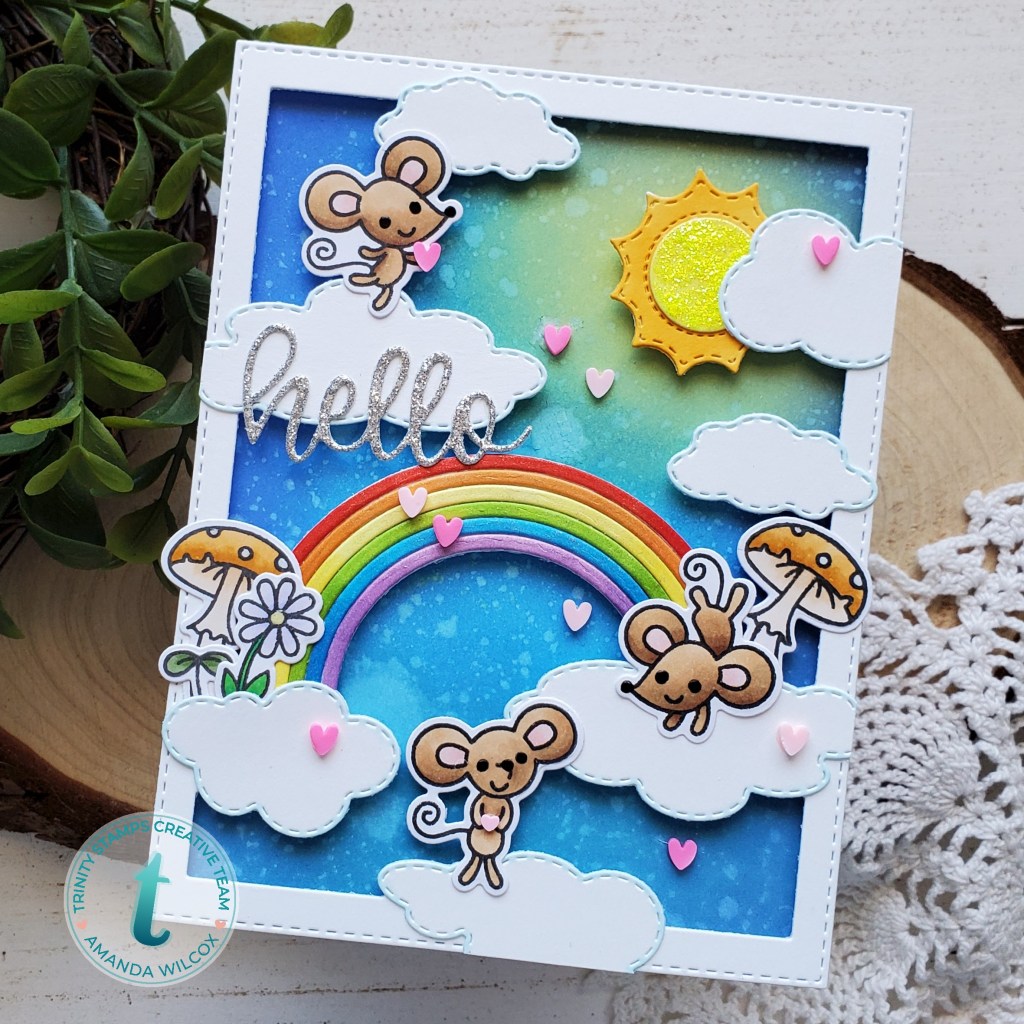
Hey there! Today I’m up on the Trinity Stamps Blog sharing nothing but sunshine and rainbows!
I started off this fun card by ink blending a panel for my sky. I had an idea where I wanted my sun so I was sure to leave a space for a little yellow glow. Then I die cut all my pieces from the Cloudy Day Scene Builder dies and also the Rainbow dies. I used my copics to give everything color and started to decide on a final layout with my Mouse House stamps as placeholders.
From there I stamped, colored and die cut all of my images with the coordinating Mouse House dies. Then I started assembling my card. I popped the Cloudy Day panel up with foam strips and then added my rainbow and additional clouds with foam squares. Finally, I glued down my mice with a combo of liquid glue and foam squares where needed and moved on to finishing touches.
I used black glaze pen on the mouse eyes and noses, Stickles on the sunshine and Wink of Stella glitter brush pen on the rainbow. I also added dots of glossy accents on the mushrooms and flower center. Finally I added some clay hearts from a special embellishment mix that was handed out at Creativation – but you can get most of the ones I used in this mix called Crafty Love.
Funny thing…it wasn’t until now that I realized I didn’t have a sentiment (or a real space for one) on my card. Oops. I suppose it’s not totally necessary but I thought it would be fun to add something, so I grabbed my Hello Senti-mini dies, cut it from silver glitter cardstock and glued it below the mouse on the top left. It filled in a little empty space and added some extra sparkle, which I love!
I appreciate you sharing your time with me. Have a fabulous day!
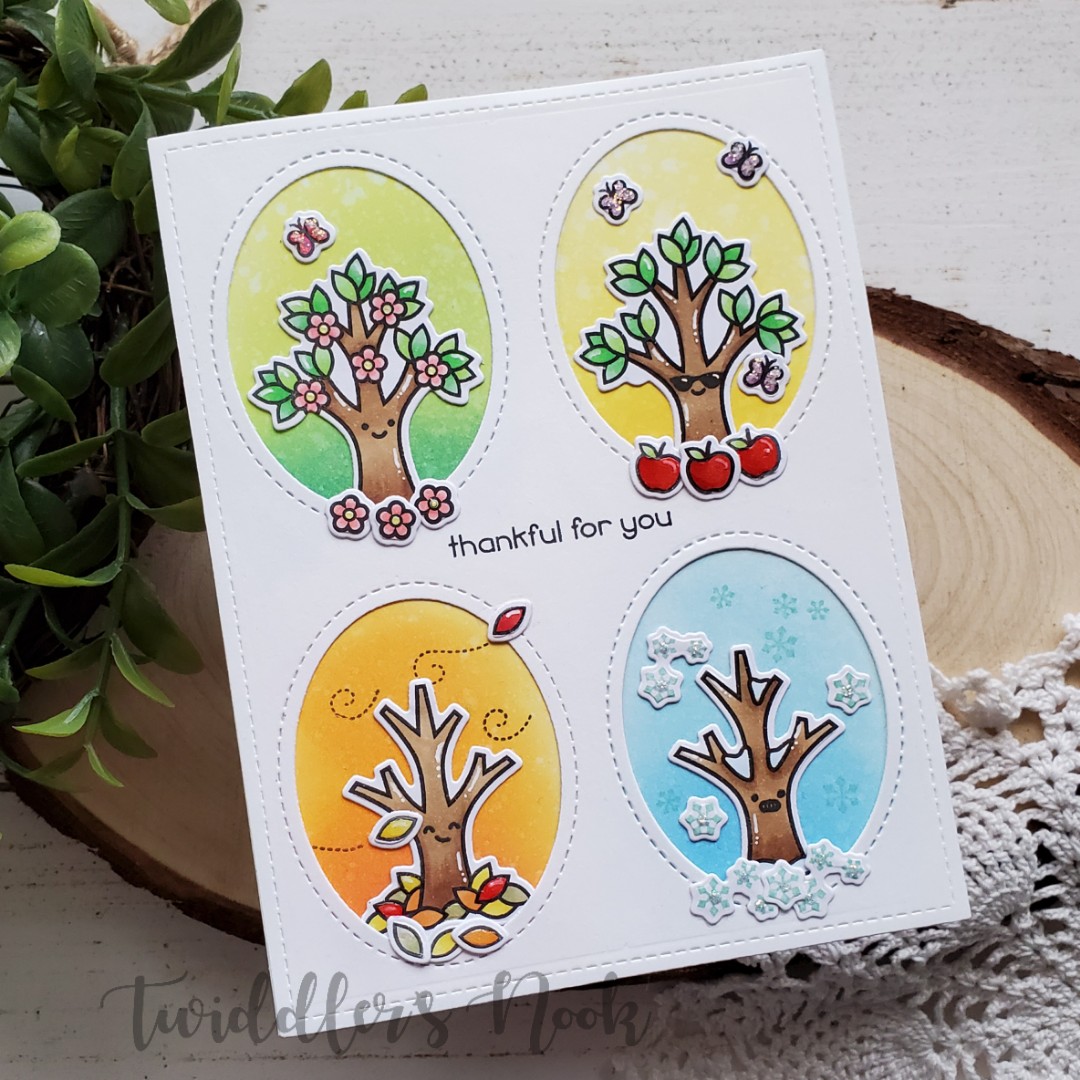
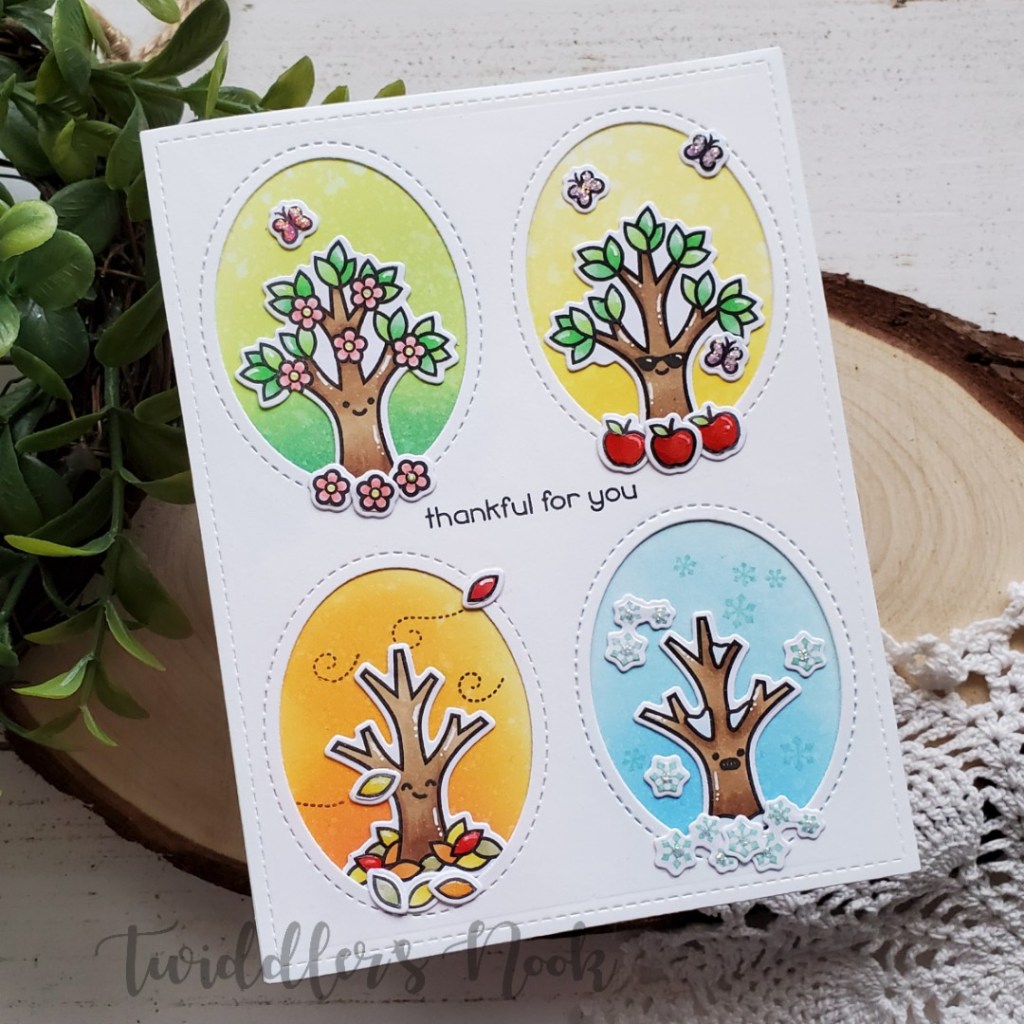
Thanks for stopping by today! I’m sharing a fun card that was inspired by my friend Tammy at Paper Pretty Boutique. She made a great design with the new Pretty Pink Post hedgehogs and while I love those hedgehogs I immediately wanted to try the design with what I had at home. I showed my daughter and told her my idea but she got SO EXCITED and shared a totally awesome idea that I had to jump on it immediately!
To make this awesome card, I die cut the largest rectangle from the Lawn Fawn large stitched rectangles set and then lightly marked it into four equal quadrants. Then I went searching through my dies to find something that would cut windows in all the sections. I ended up landing on the oval window from the shadow box die set. I die cut it four times and erased my pencil lines.
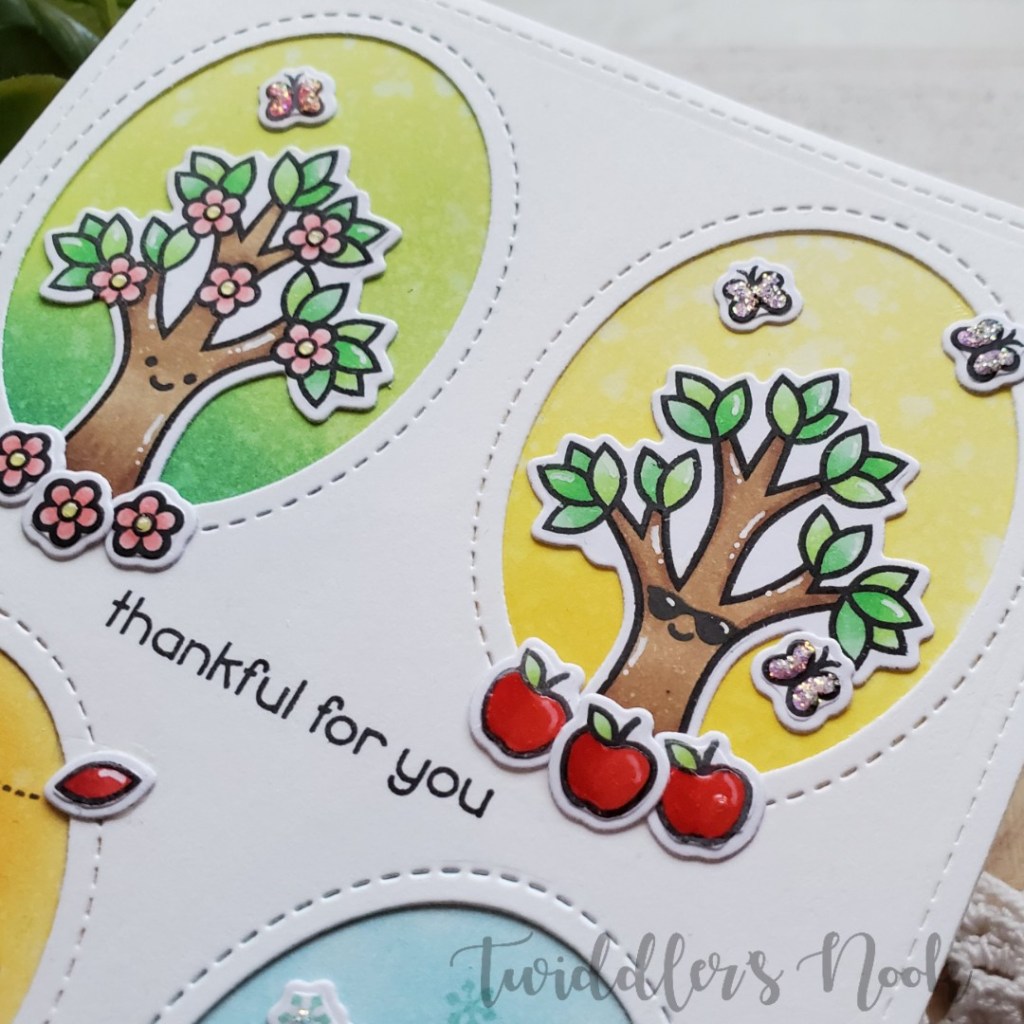
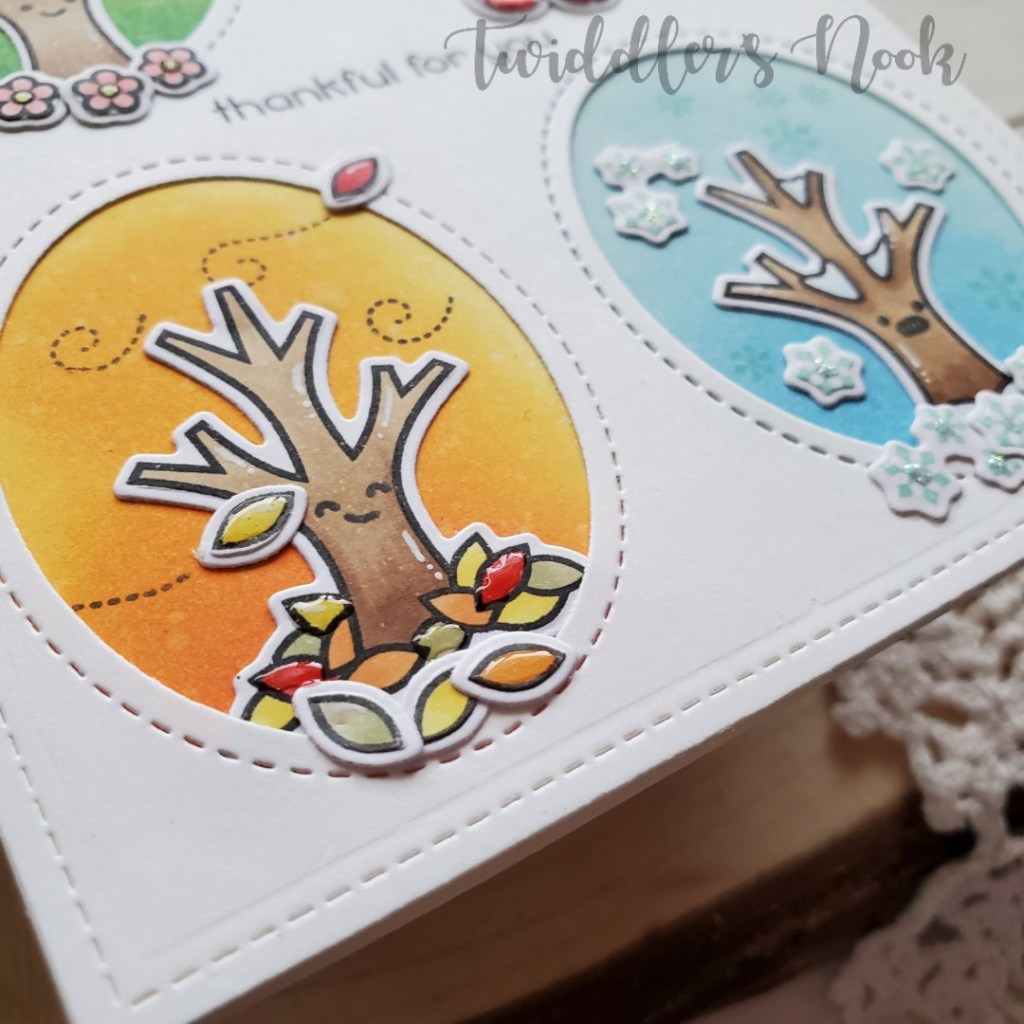
Next, using my windows as a guide, I used distress oxides to ink up the card front so the colors showed through each window and spritzed it with water. Going clockwise from top left, I used twisted citron and mowed lawn, scattered straw and mustard seed, spiced marmalade and wild honey, and tumbled glass and salty ocean.
Then I stamped, colored and die cut my images from the Tree Before n’ Afters set. I adhered my images to each window and chose a sentiment for my card. I liked how versatile this one was and how it perfectly fit in the center of the windows. After stamping that I moved on to finishing touches for my card.
For those I stamped additional things for interest in some of the windows like extra snowflakes and the windy lines for the leaves. Then I added white gel pen accents throughout, glossy accents to the apples, flower centers and leaves and Stickles to the butterflies and snowflakes. At this point I thought my card was missing something, so when it was completely dry, I went ahead and used my MISTI to stamp faces on the tree trunks for a little extra fun.
I love how this turned out and think this is a really fun card to send to someone any time of the year.
I appreciate you sharing your time with me. Have a fabulous day!
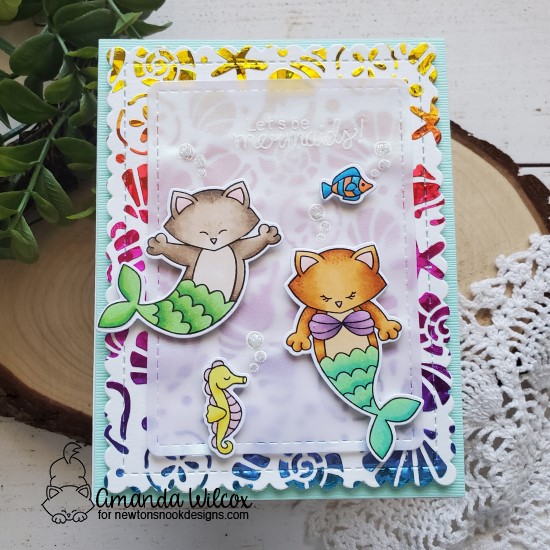
Hello everyone! I’m super excited to be up on the Newton’s Nook blog today featuring this super bright and colorful purr-maid card.
I had a general idea of what I wanted to do with this and it definitely started with deco-foil on that awesome seashells stencil. I spread transfer gel over the stencil and set it aside to dry. Then ran it through my laminator with shattered rainbow deco-foil and look at that awesomeness!!!
Next, I laid out my dies and stamps for a general layout so I could stamp and color my images from Purr-maid and cut them with the coordinating dies. Then I die cut a rounded rectangle from iridescent vellum and used my images for guide where to stamp and heat emboss some fun bubbles and the sentiment. At this point I also die cut my deco-foiled panel with the scalloped rectangle. Both of those are from the Frames & Flags die set. Then I moved on to assembly.
To do this I worked kind of backward. I popped my images up on the vellum panel and then hid glue behind those to adhere it to the seashell panel. Then that whole thing is popped up on a textured teal cardstock panel and finally it’s all attached to a card base.
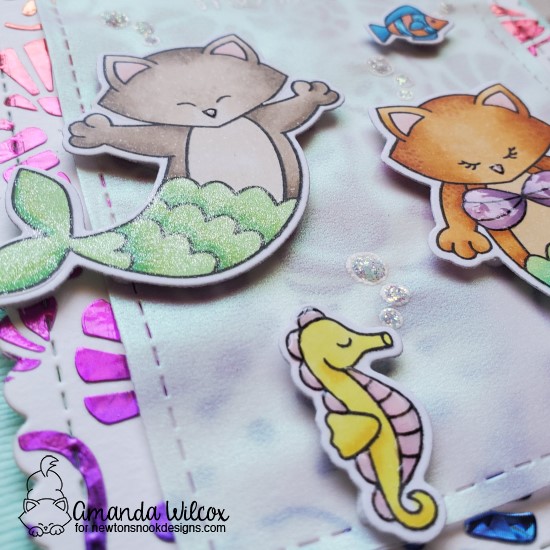
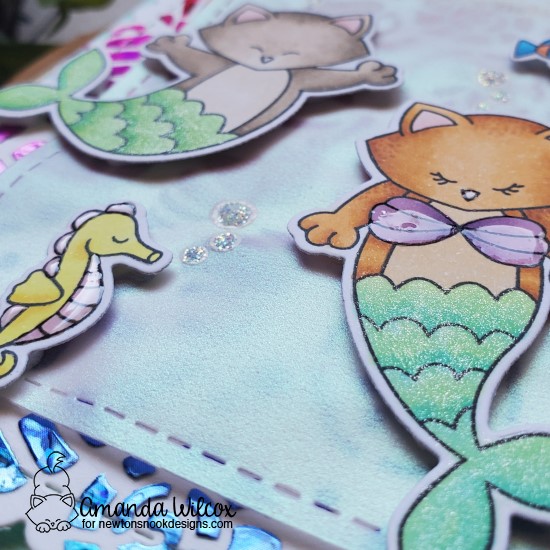
Last I finished things up with some Wink of Stella glitter brush pen on the mermaid tails, glossy accents on the kitty noses, seashells, seahorse and fish, and lastly Unicorn Stickles on the bubbles.
There is so much bright and fun going on with this card. I just love each piece of it! I hope you do too!
I appreciate you sharing your time with me. Have a fabulous day!
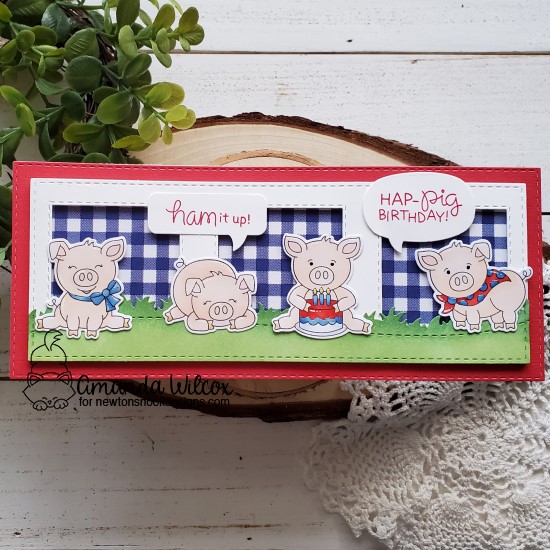
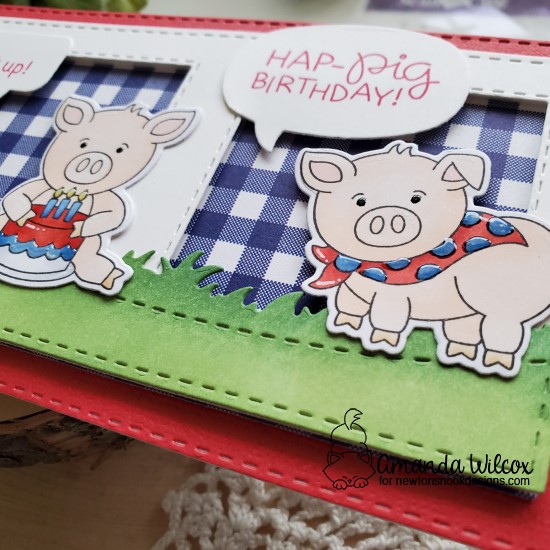
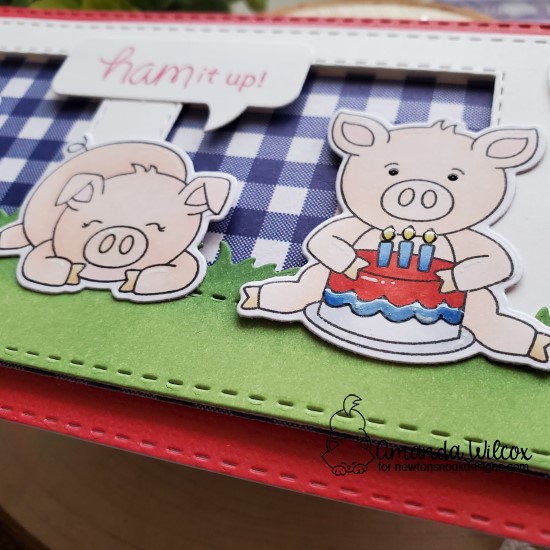
Hi there! I’ve been making so many thinking of you cards that I decided to go a different route for today’s card. I’m using Oink from Newton’s Nook with some Trinity Stamps dies. The punny sentiments in this set are just the best for many occasions but the birthday one made me giggle.
I started this card by stamping out all of the images from the Oink set and coloring them with my copics. Then using the coordinating dies, I cut them out…one was lost because the die shifted in my die cutter, such a bummer but the ones left worked out great for this design.
Wanting to use all of the images on one card, I decided to make it a slimline. Using my Trinity Stamps Slimline series dies, I cut out all the layers and started deciding on a final layout. At this point I thought it would be fun to have some grass for my piggies to sit on so I inked up a panel and die cut it with the Slimline Borders grass die.
Now for the actual assembly, I adhered the red panel to a card base, then the blue patterned paper to that. I popped up the white frame with foam squares and adhered the grass to that. The piggies are attached with a combo of tape runner and foam squares where they overlap the window openings.
I decided on the sentiments I wanted to use and found speech bubbles from the Newton’s Nook speech bubble die set that fit them. Once those were die cut and stamped, I added them to the card front and moved on to finishing touches.
I kept those pretty simple with a black glaze pen to the eyes, white gel pen accents throughout and glossy accents to a few key places like the bow, bandana and cake.
This fun card is all finished and ready for the world. These piggies seriously make me smile every time I look at them! I can’t wait to make more fun cards with them, especially with the one image I didn’t get to include here.
I appreciate you sharing your time with me. Have a fabulous day!
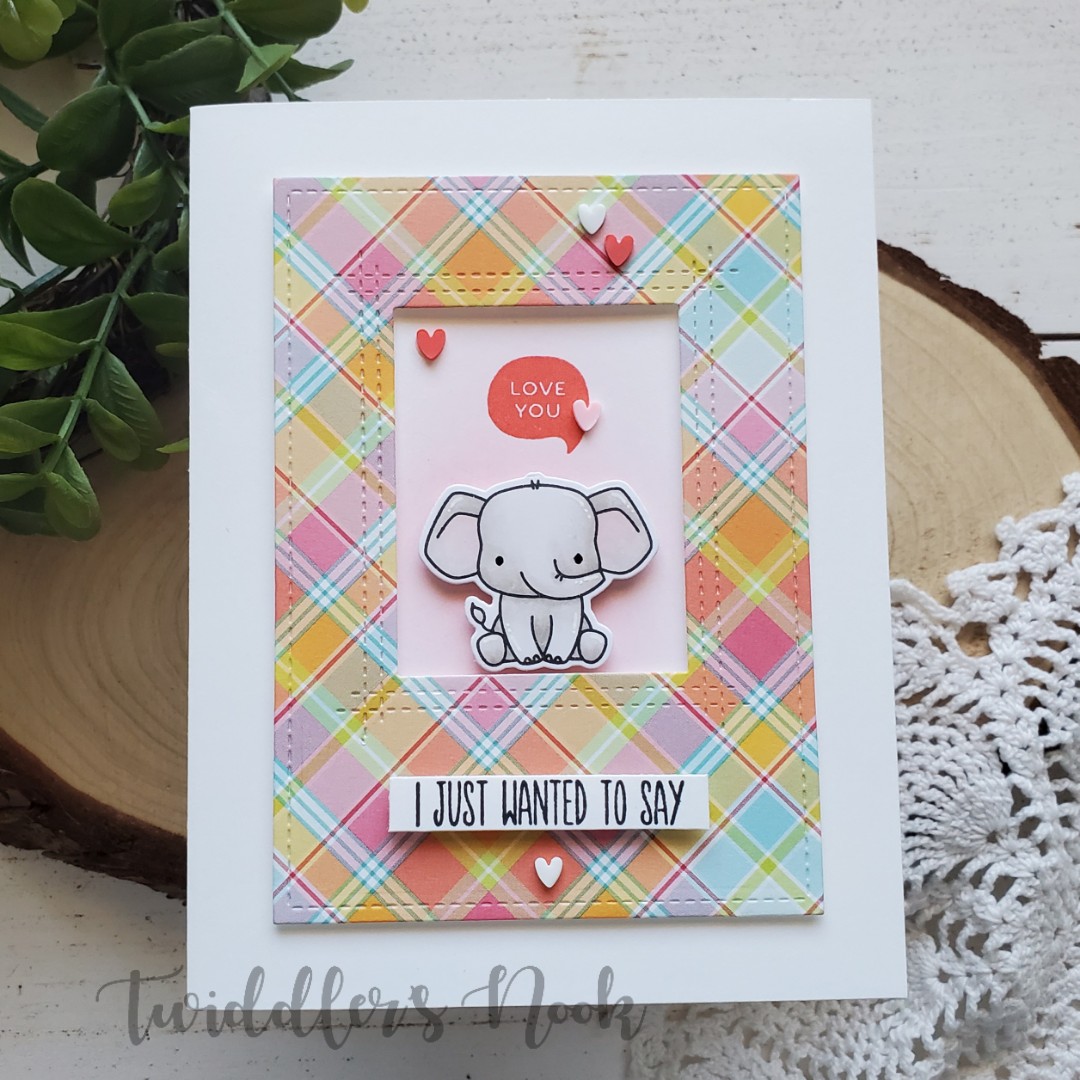
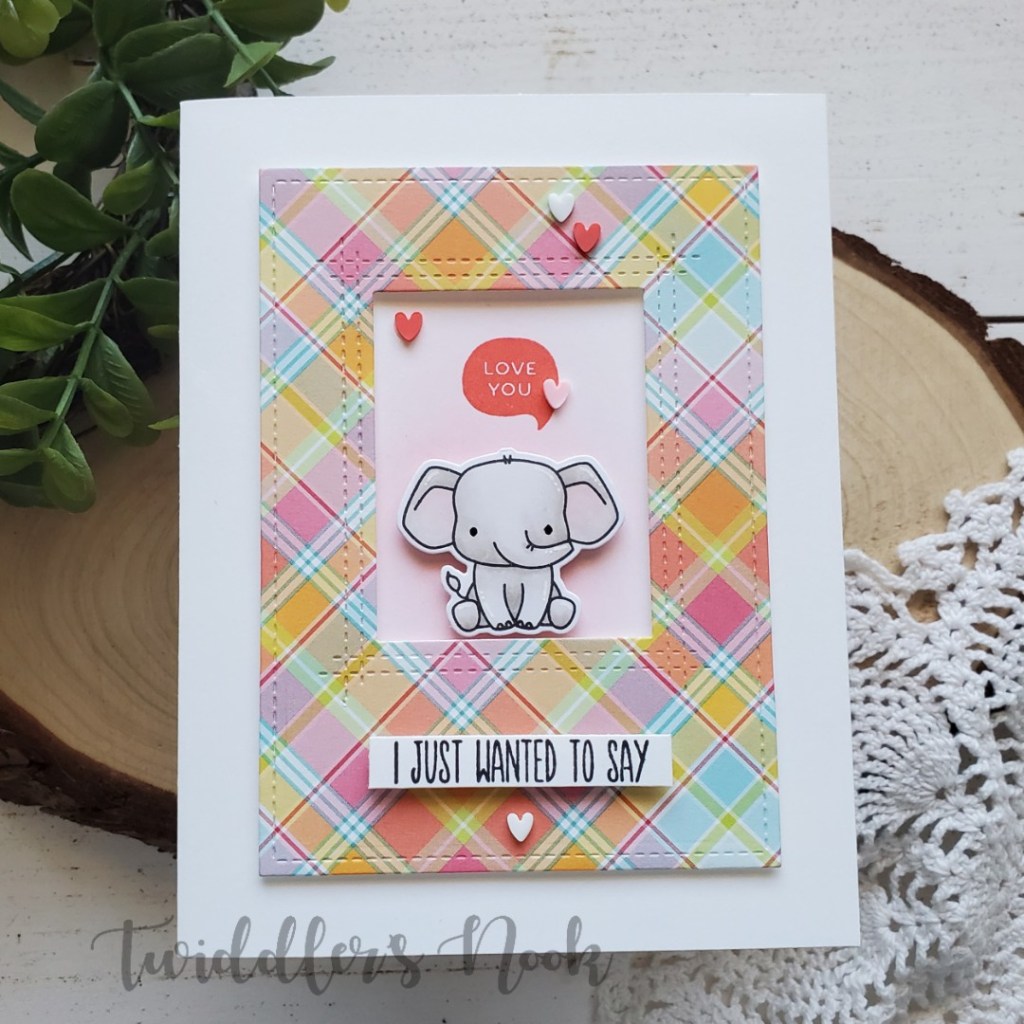
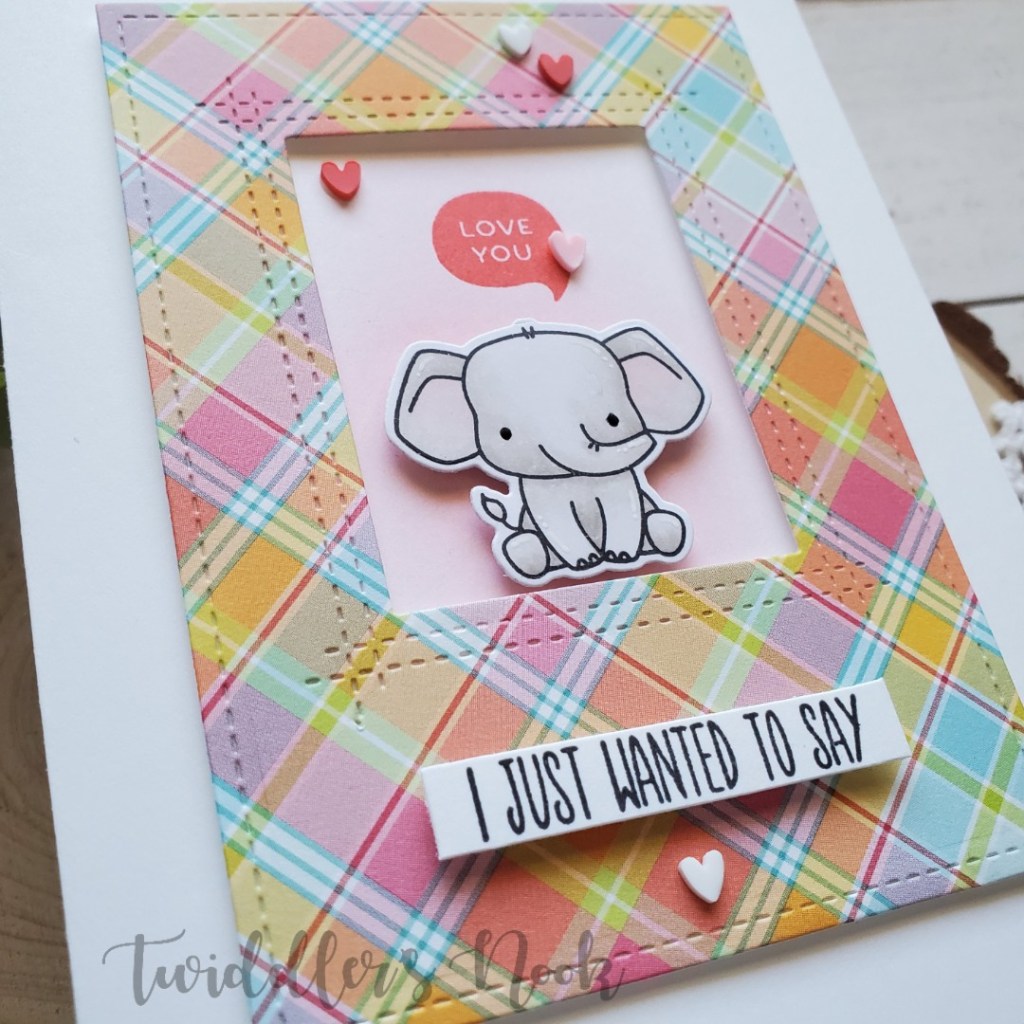
Hi there! I’m back with another card from the bundle of Mama Elephant Stackable Cutie cards I made. This one was super quick to come together but it’s so adorable! I just love it!
Using my MISTI I stamped a speech bubble above the elephant with the same ink I used for the background. I also stamped part of a sentiment from the Trinity Stamps Hello Senti-mini set and popped it up with a foam strip. Next, I stamped the hello from the same set on the inside of the card in a light blue dye ink.
For finishing touches I added black glaze pen to the eyes, white gel pen accents and a scattering of clay hearts around.
A simple, super sweet card perfect for someone in my life!
I appreciate you sharing your time with me. Have a fabulous day!
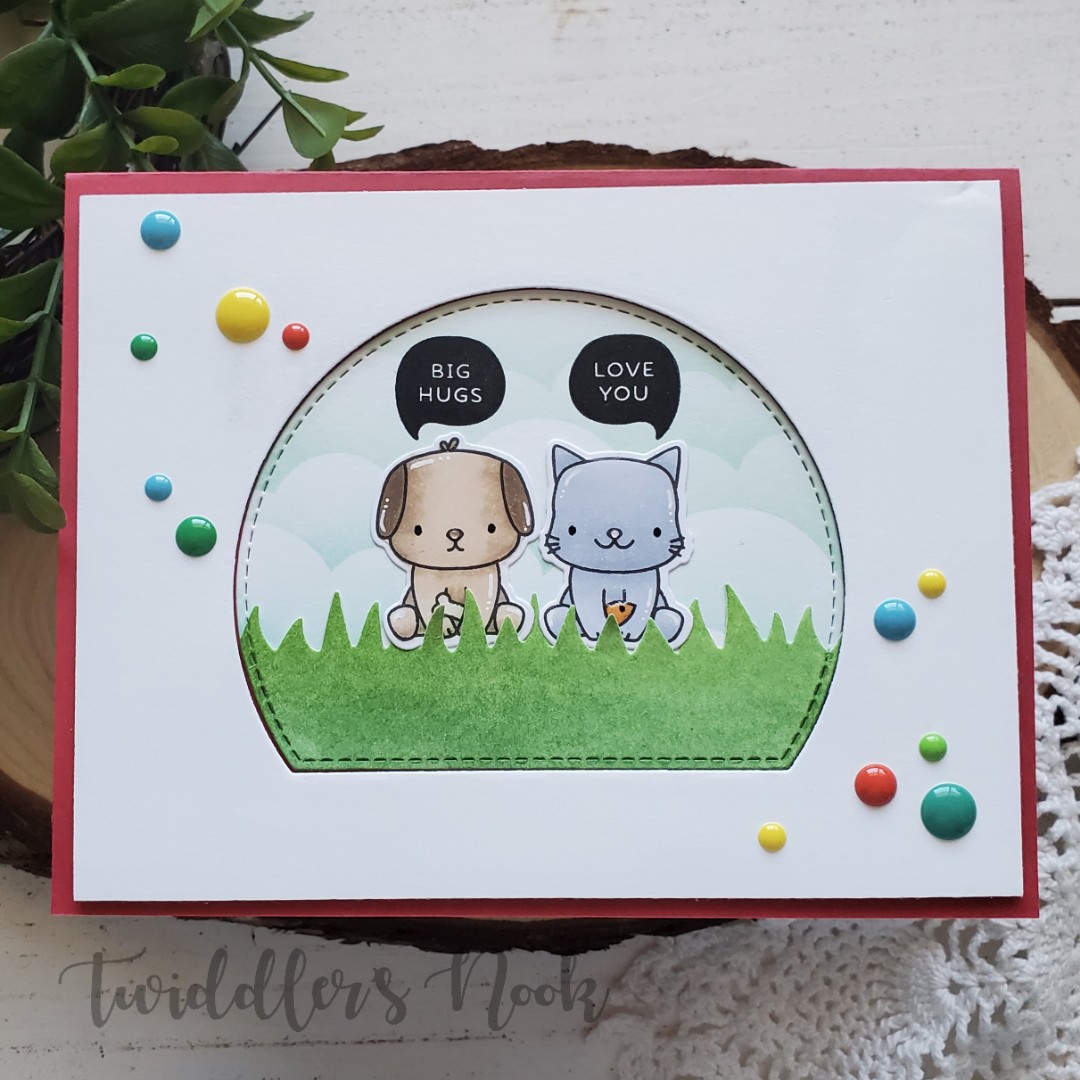
Hello everyone! I’m still making cards to send to friends and family for a little break in the day. I hope it’s making them smile and as fun for them as it is for me to make and send. I recently pulled out my Mama Elephant Stackable Cuties to play with and made a couple of cards with them.
When I get an inkling like this, I usually stamp and color a bunch of images and make cards afterward. Here is the first one.
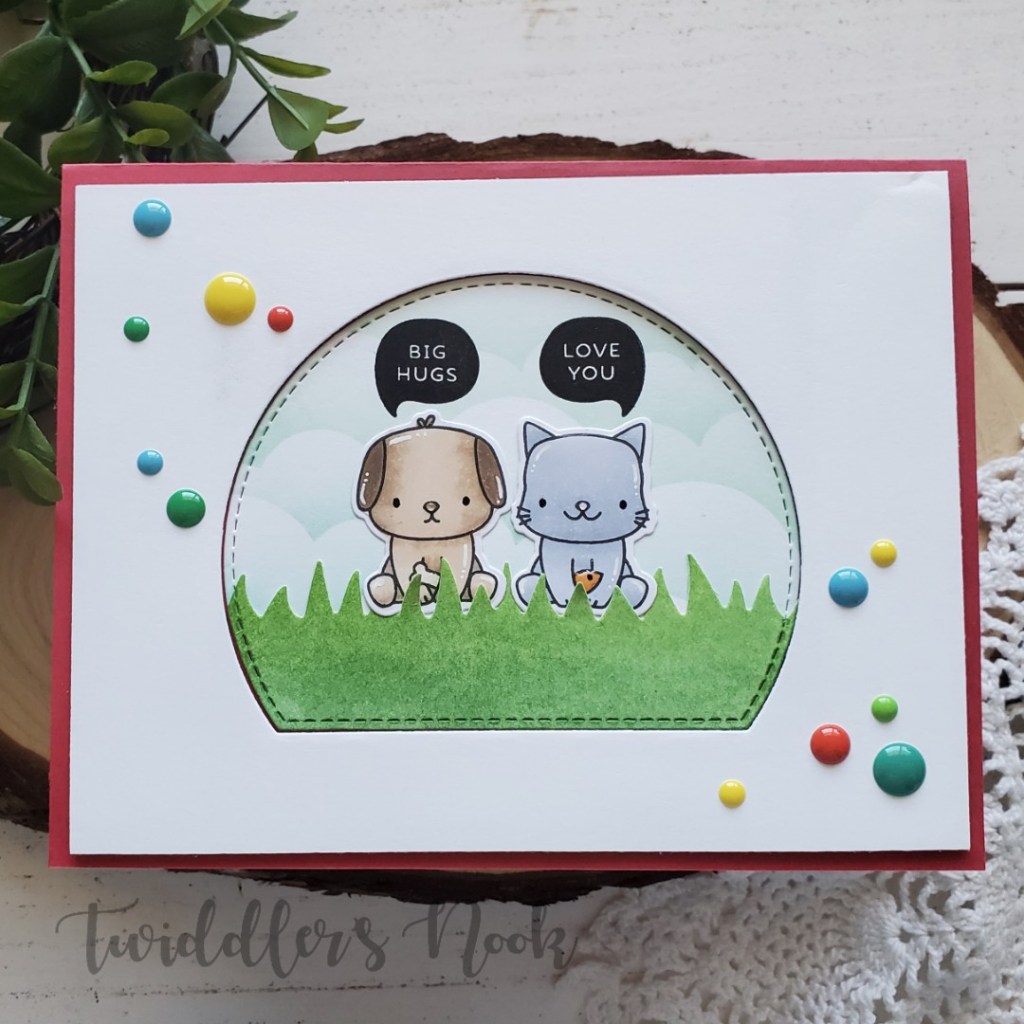
Using my MISTI, I added a couple of appropriate speech bubbles from the same stamp set and then popped my frame up around the scene with foam tape.
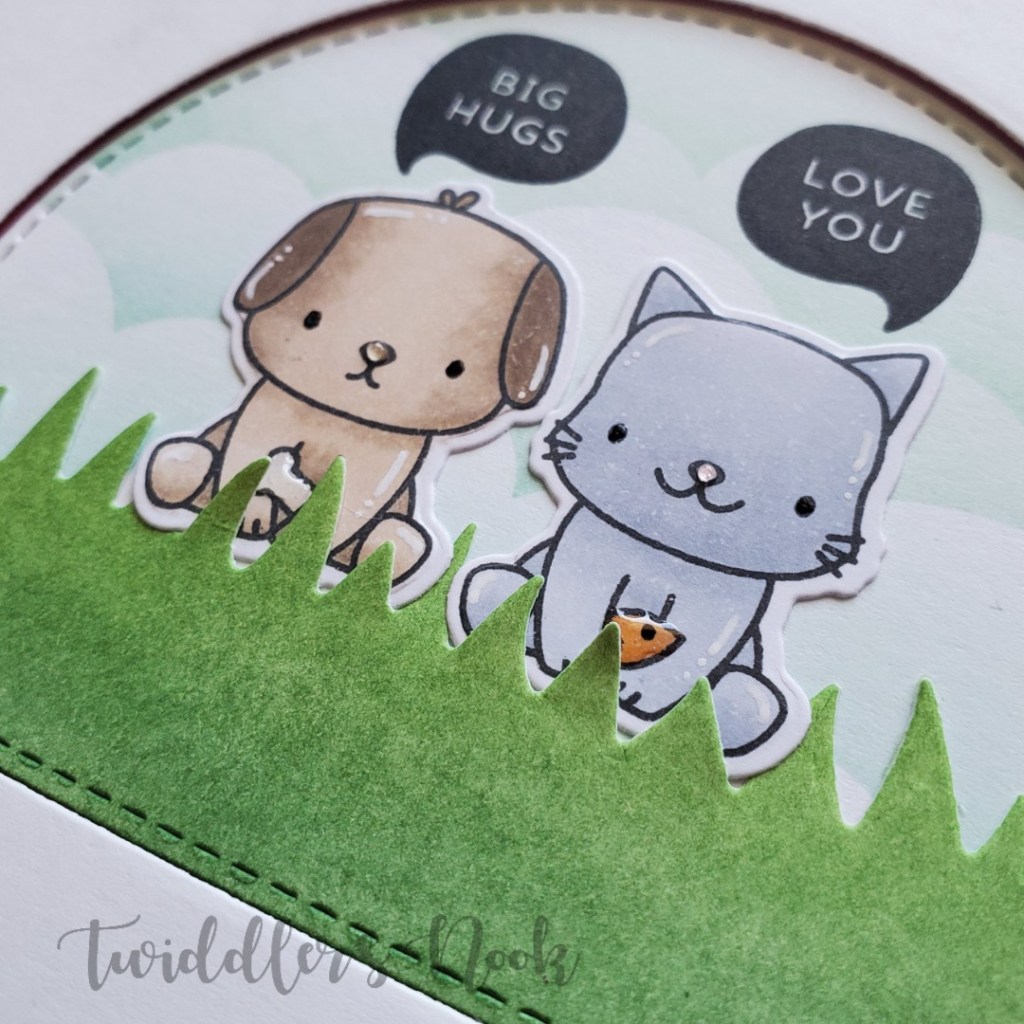
I finished this card off with glossy accents on the noses, kitty’s fish and puppy’s bone. Then I scattered some Your Next Stamp gumdrops across the design. Very last, I added black glaze pen to the eyes and white gel pen accents to the images.
I appreciate you sharing your time with me. Have a fabulous day!
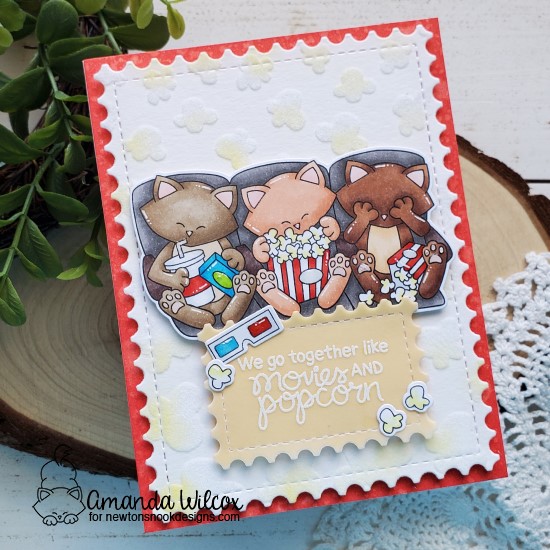
Thanks so much for stopping by! I’m super excited to share today’s card for a whole bunch of reasons! Mostly being…it’s awesome!!!! I hope you enjoy it too!
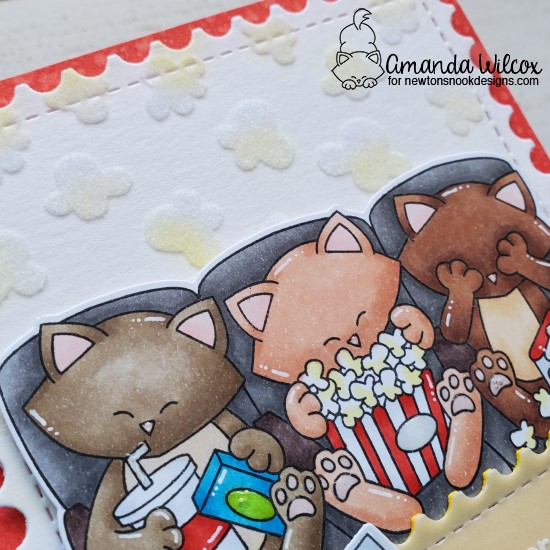
I started today’s card by stamping Newton’s Movie Night images and coloring them with my copics. Then I die cut them and set them aside.
I knew I wanted to use Therm-o-Web flock on the popcorn stencil so I started by spreading my transfer gel and then set it aside to dry. Once it was I sent it through my laminator with white flocking and it came out perfect! Then I die cut the panel with the largest Frameworks die. I wanted a little more depth on the popcorn so I used a finger dauber and some yellow chalk to give it a buttery look. I love how this turned out!
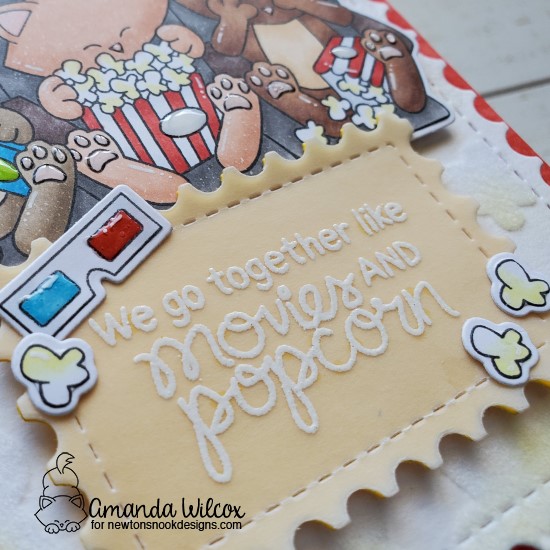
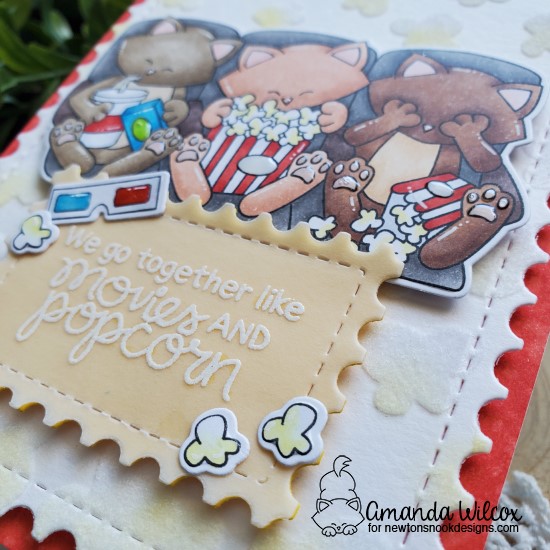
Next I stamped and heat embossed my sentiment on vellum and then die cut it from another Frameworks die. I cut a second layer in bright yellow to go behind it and adhered the two together.
I wanted the popcorn panel to pop off the card base so I took candied apple distress oxide ink and inked up a panel and spritzed it with water. I popped the popcorn panel up with foam tape and then popped the images up with foam tape as well.
For finishing touches on this fun card, I added white gel pen accents to the images, glossy accents to kitty noses and toe beans, popcorn boxes and candy box and also to the 3-D glasses.
I’m so excited how I was able to take an idea from my head and so perfectly make it a reality. I absolutely love how this card turned out.
I appreciate you sharing your time with me. Have a fabulous day!
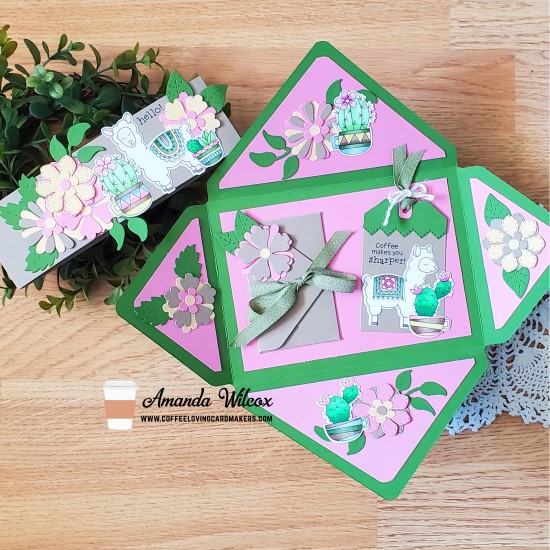
It’s Tuesday Tea with Twiddler’s Nook over on the Coffee Loving Cardmakers blog. Today I’m excited to finally share a project I’ve been wanting to try for a while…an exploding envelope. I used my We R Memory Keepers envelop punch board paired with a bunch of awesome Newton’s Nook goodies to create this awesome gift!
To start this project, I chose 2 main colors – green and pink and created my base envelope with my punch board and some trimmed inserts to cover the panels. The envelope is 5×7 inches so that I had extra surface area to play with. From there I chose the Newton’s Nook Flower Trio dies and cut out bunch of them in the same green and pink, along with some yellow and kraft to add a little contrast.
I knew that I wanted a tag and a mini envelope on the center panel so I cut those out and glued them together. With the main elements figured out, I took my stamps from Loveable Llamas and Cuppa Cactus and decided how many of each I needed to stamp. Once they were stamped, I colored them with copics and used the coordinating dies to cut them out.
I adhered all my pieces to the main envelope with liquid glue and moved on to create the belly band that will hold the whole thing closed.
I cut two 2×11 inch strips from the same kraft cardstock I used on the flowers and scored them both at about 7 1/4, then adhered the two together. (Pro tip: In the future, I would rework this so the glued seams are in the centers not at the edge. The band catches sometimes when you slide it off but it’s not horrible.) Once that was made, I adhered the extra images and flowers I had set aside and used my MISTI to stamp Hello! from the Cuppa Cactus set.
Here’s a closer look at the inside of the envelope. I plan to put a coffee gift card in the small envelope, along with a note for the recipient.
Isn’t this a fun way to give a gift? I’m super excited to make more of these in different themes! I hope you enjoyed today’s project and are inspired to go make something beautiful.
I appreciate you sharing your time with me. Have a fabulous day!









 twiddlersnook.blog