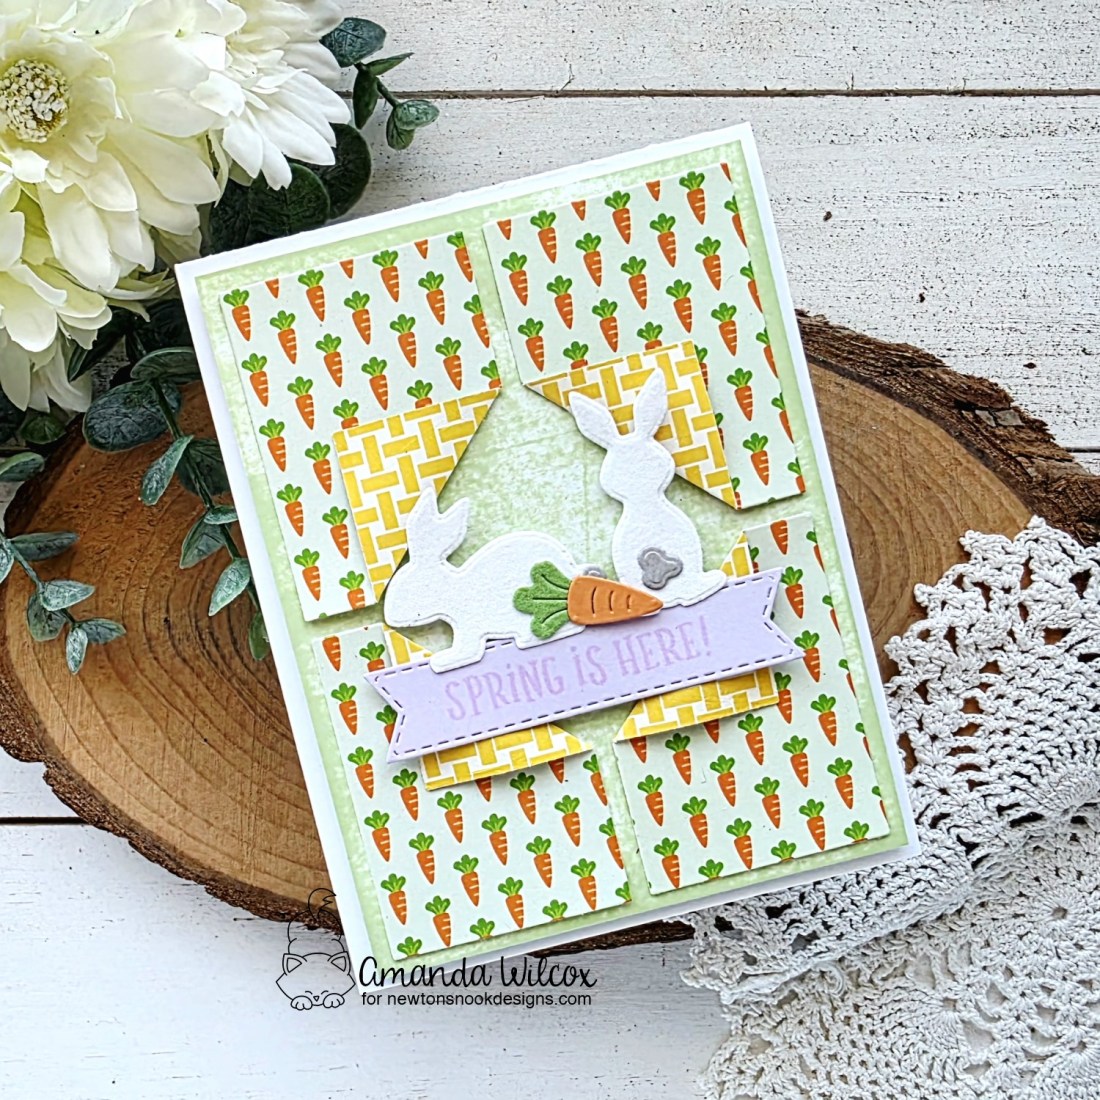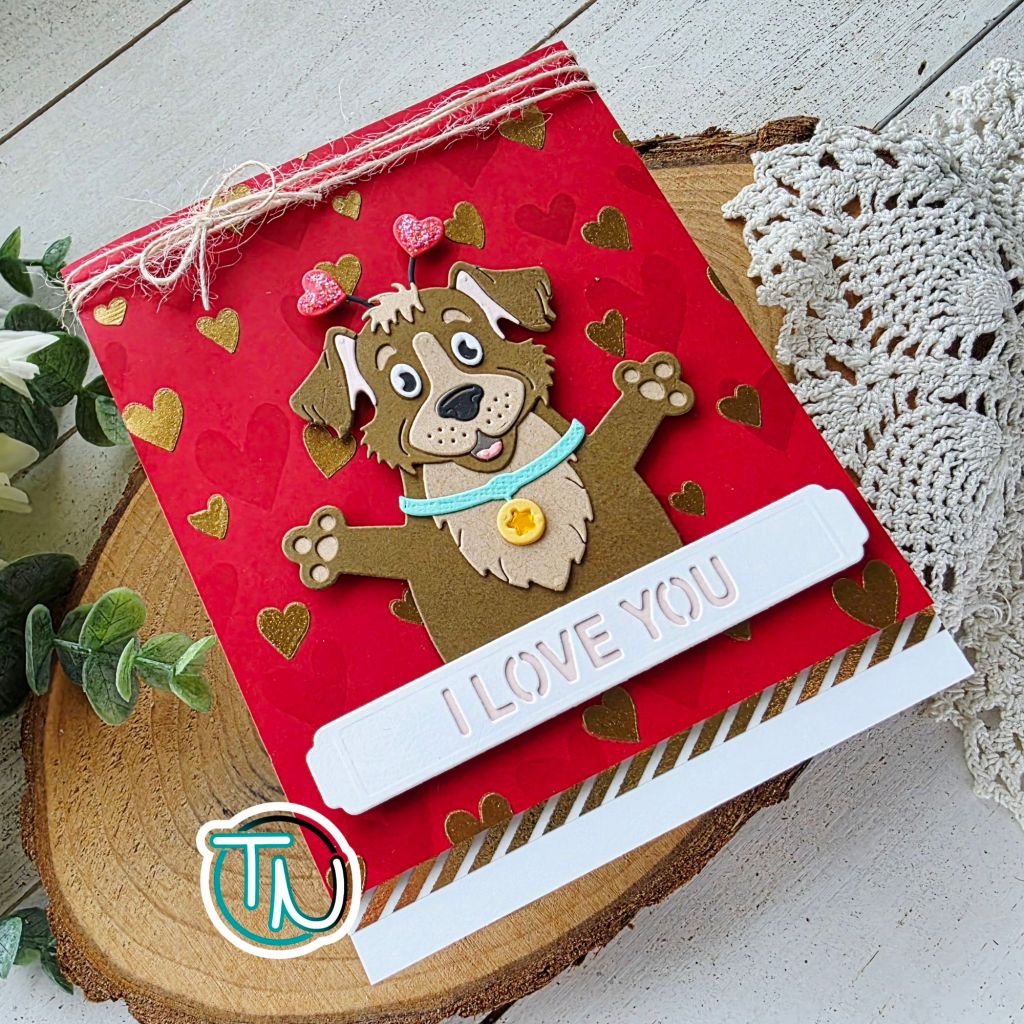
Hi friends! Happy Mix it up Monday! Today I’ve got a card to share plus a little giveaway at the end sponsored by Doodlebugs! Let’s get on with it!

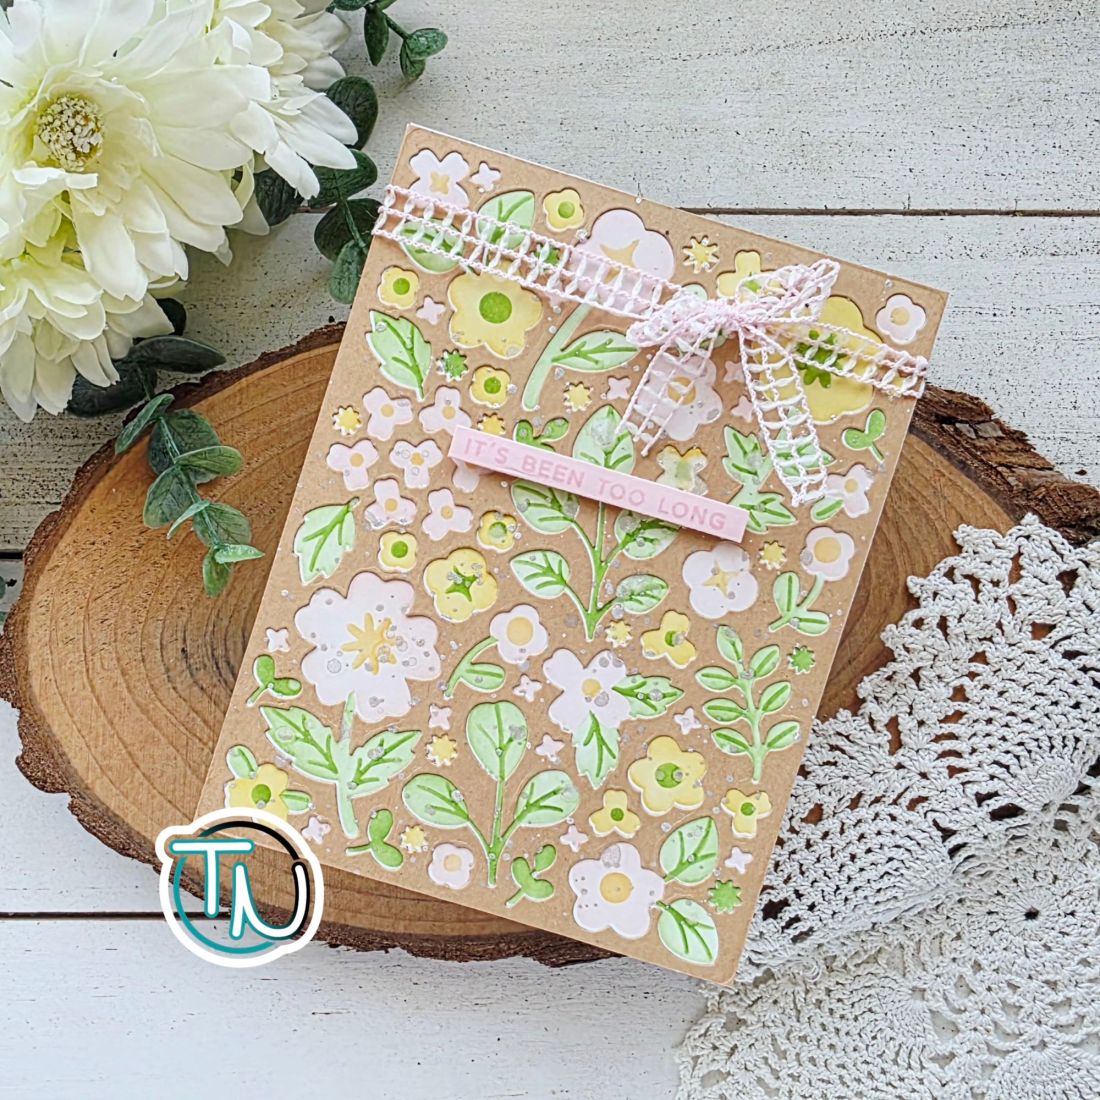
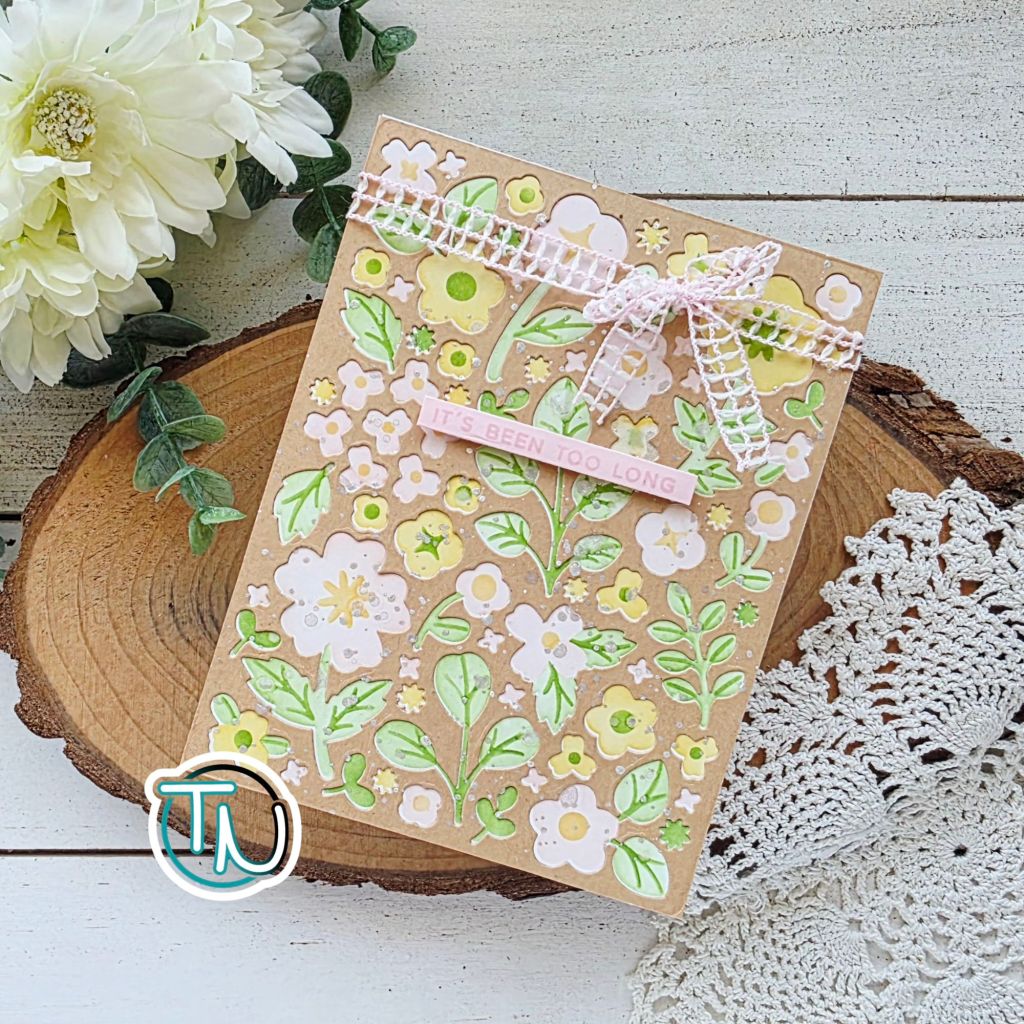
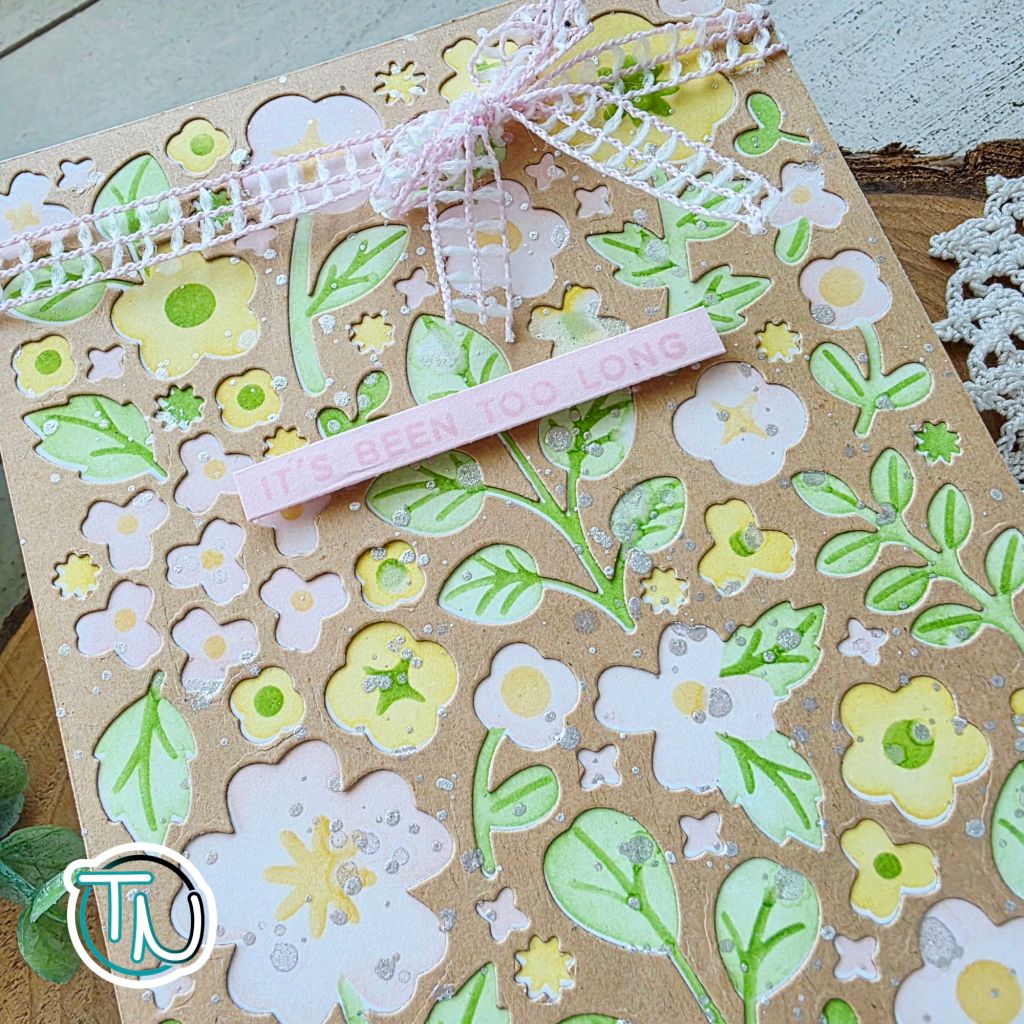
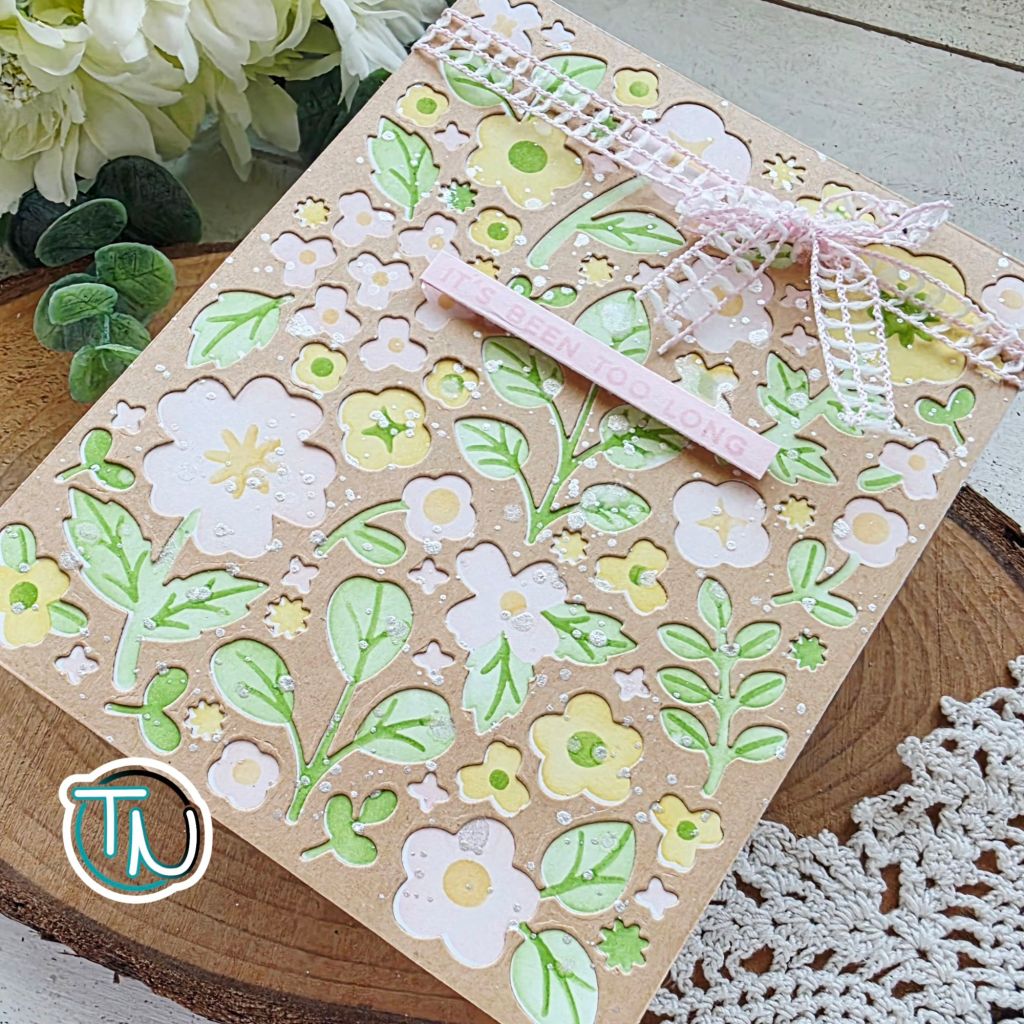
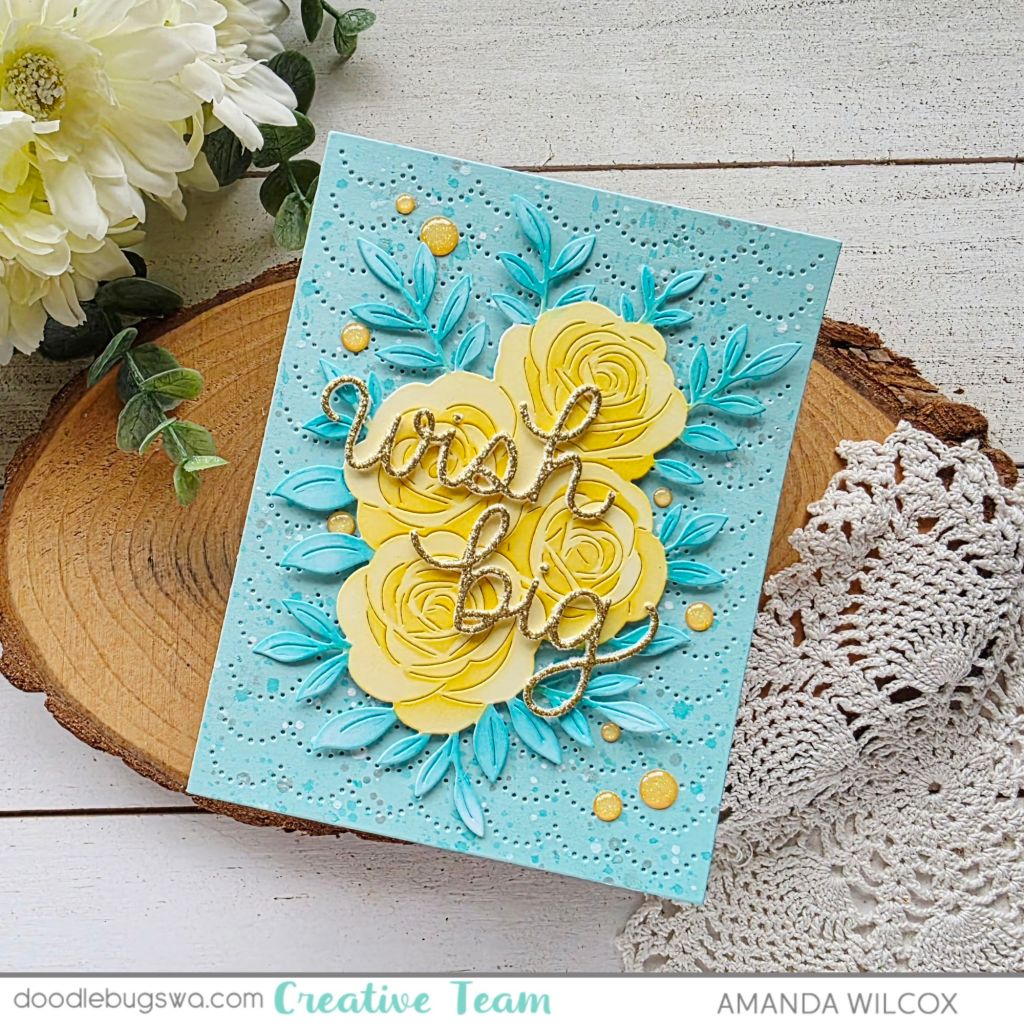
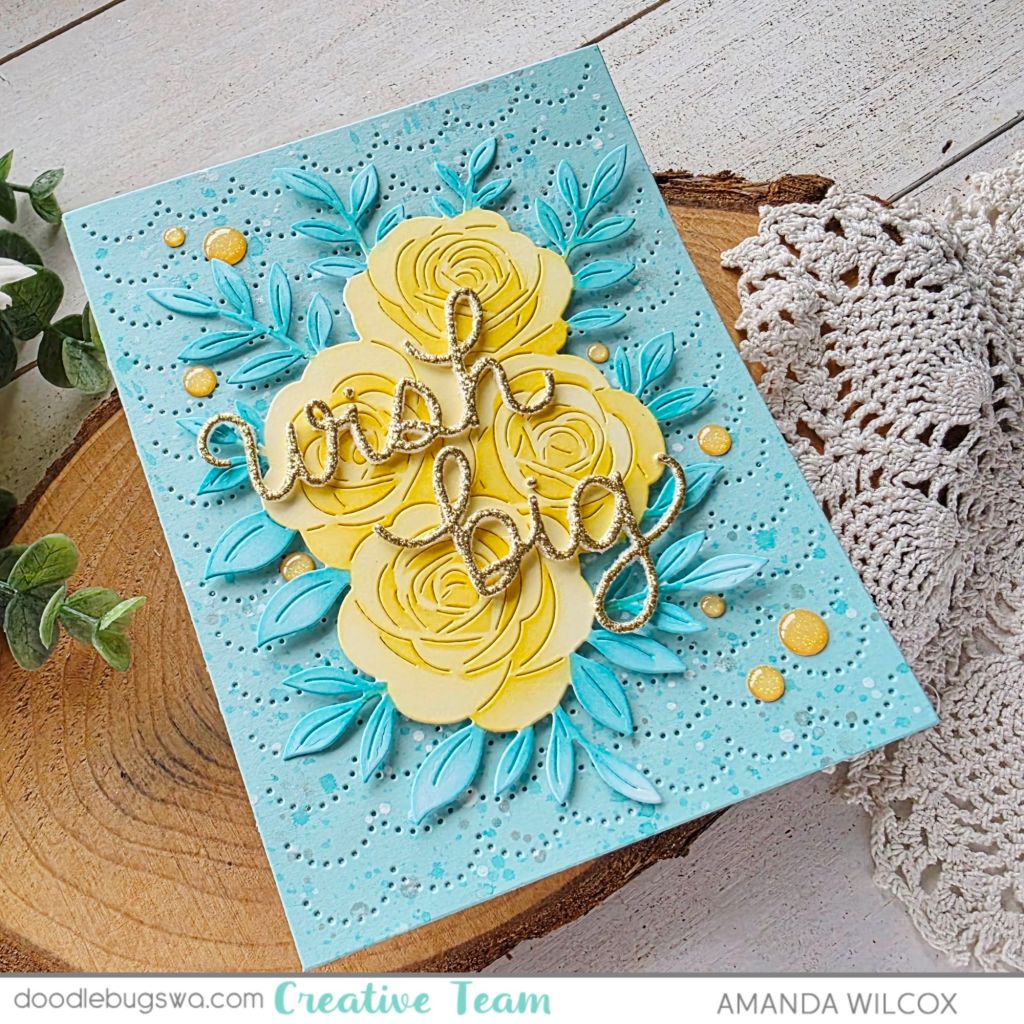
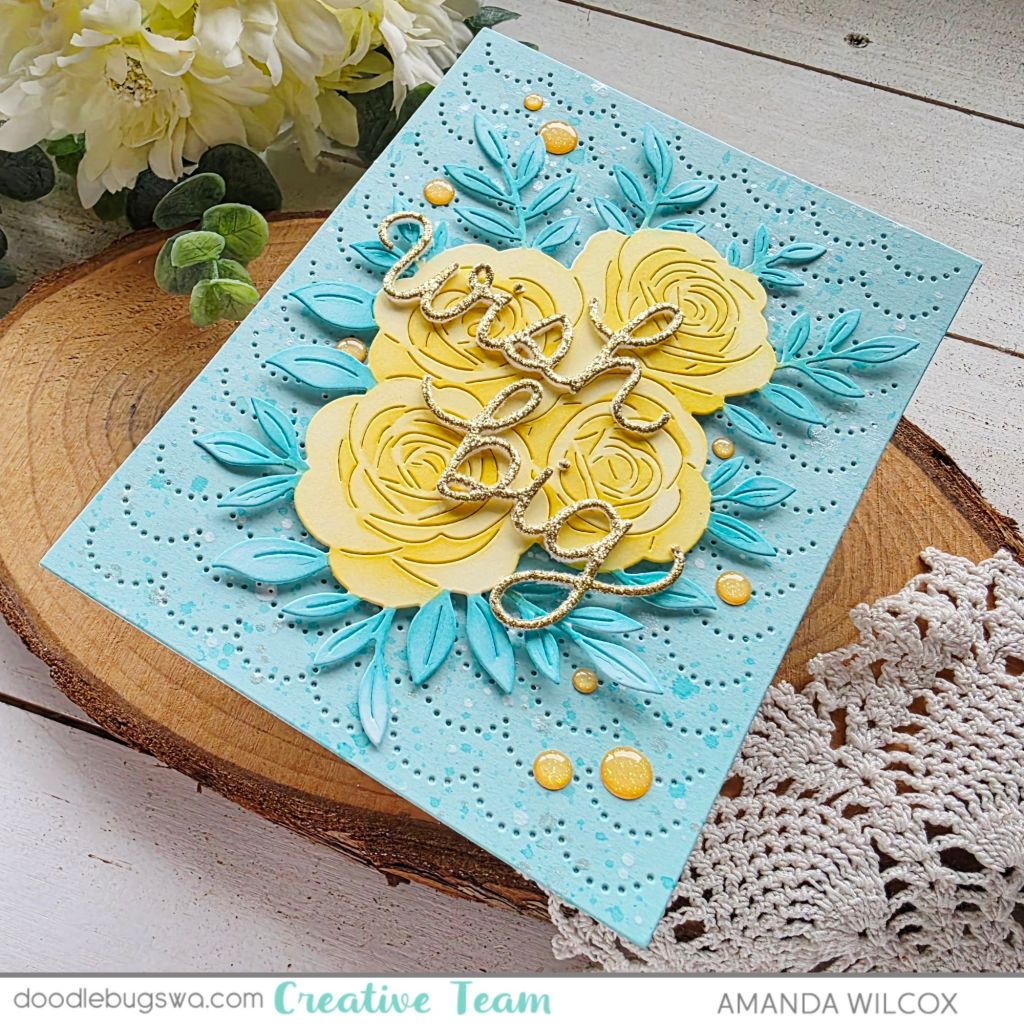
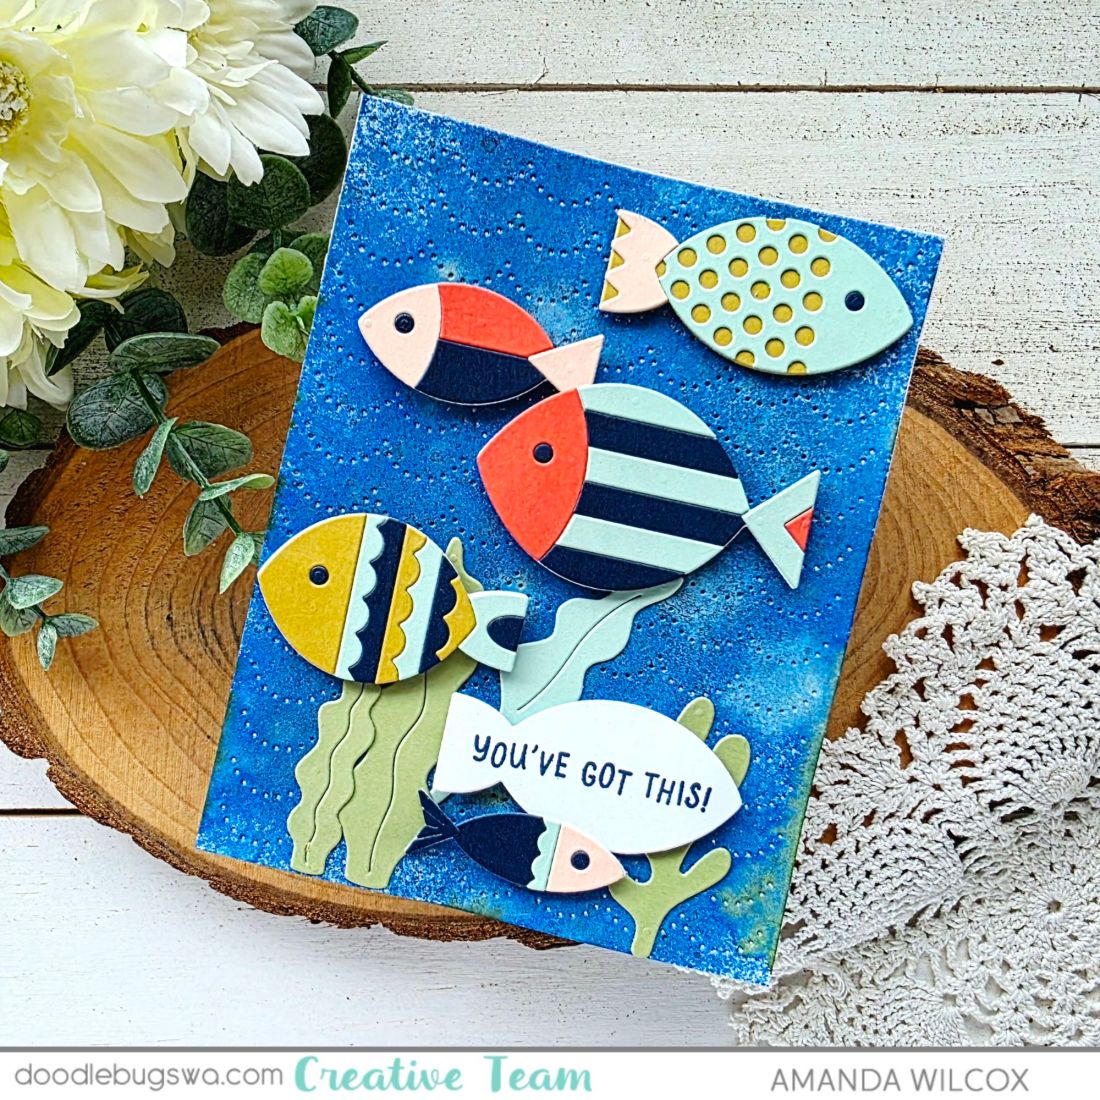
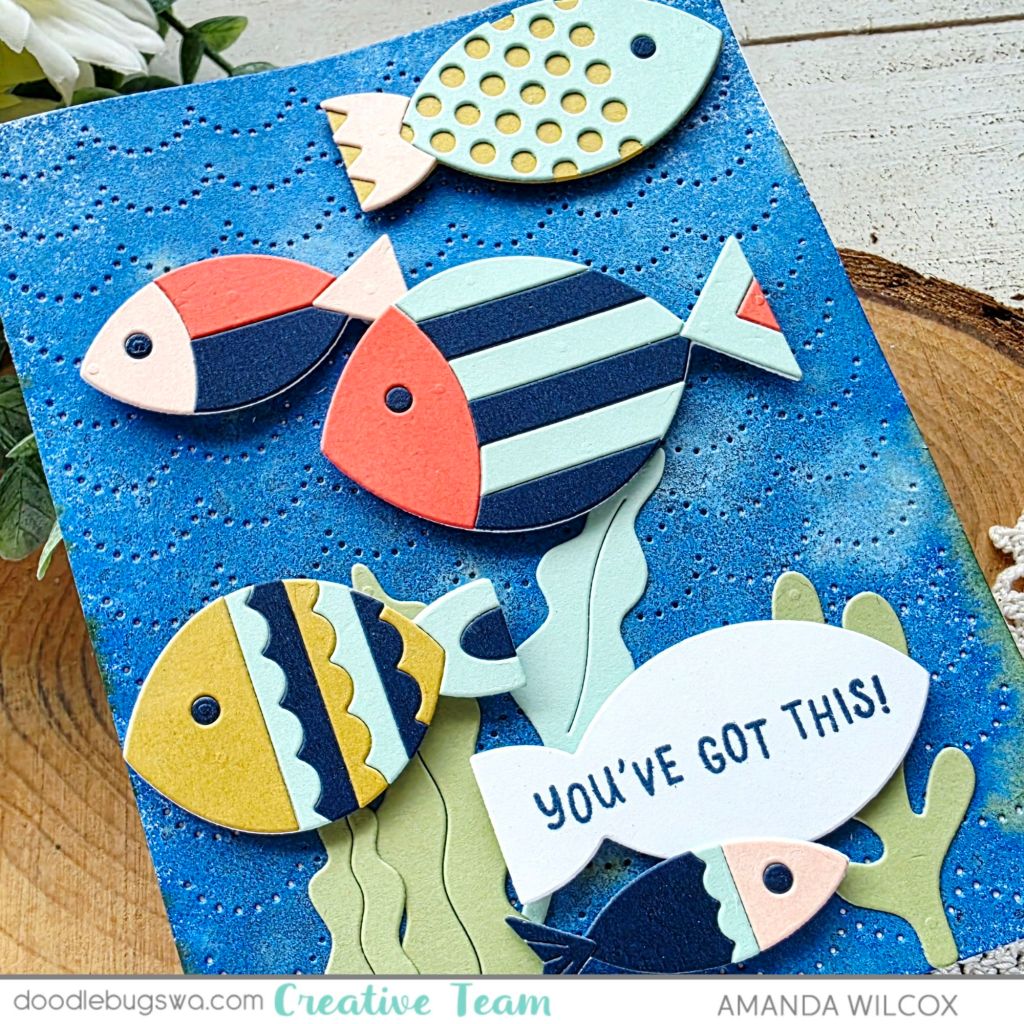
For this card, I pulled out the Concord & 9th Fish Friends stamps and dies. I cut the fish from a bunch of different colors, then mixed and matched creating fun and vibrant fish along the way. Then I cut the base to one of the fish shapes and stamped my sentiment on it for a fun and interesting look instead of a banner.

For my background, I took a piece of white cardstock and spritzed it with different Distress Sprays – stains and spritz for bold color and shimmer. After the sprays dried I splattered a little water for some texture too. Then I cut the panel with the Pretty Pink Posh Pierced Scallops cover plate.
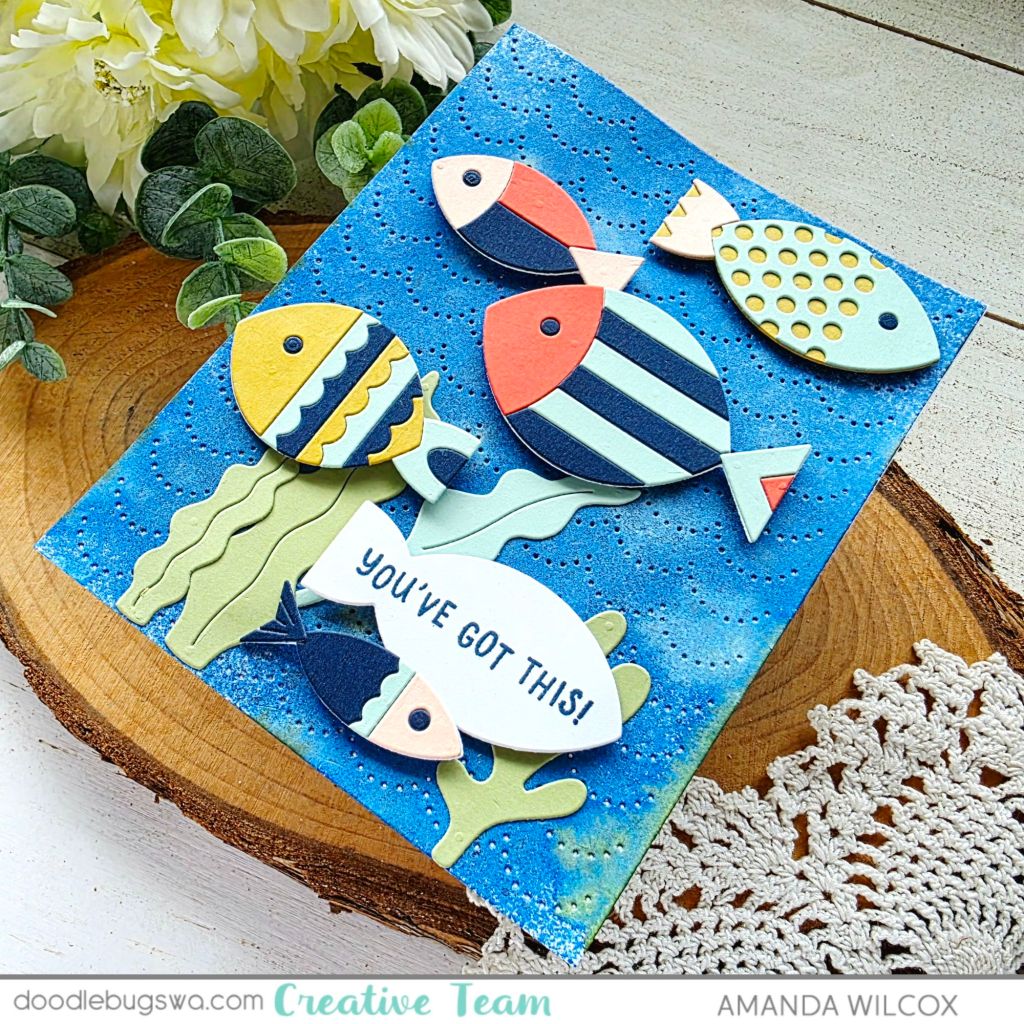
I arranged the fish and seaweed to my liking on the background panel. Then I glued the seaweed down with liquid glue and added all the fish with foam squares. It made a big difference to give them height. Last, I glued the panel to a white card base.
GIVEAWAY:
Today I have one of the new Mama Elephant Curly Screen Frame die sets to give away courtesy of Doodlebugs! Please leave a comment on this blog post by Friday, March 6 at noon PST. I’ll choose a winner later that day.
I appreciate you sharing your time with me. Have a fabulous day!