Happy Thursday everyone! I’m happy to be on the Newton’s Nook blog today sharing another card using bits from the new release. Something about the color palette in the new paper pad really spoke to me and I just ran with it. I loved how they went together and the types of colors just made me happy to create. Needless to say, today’s card follows those same colors again. Yay!

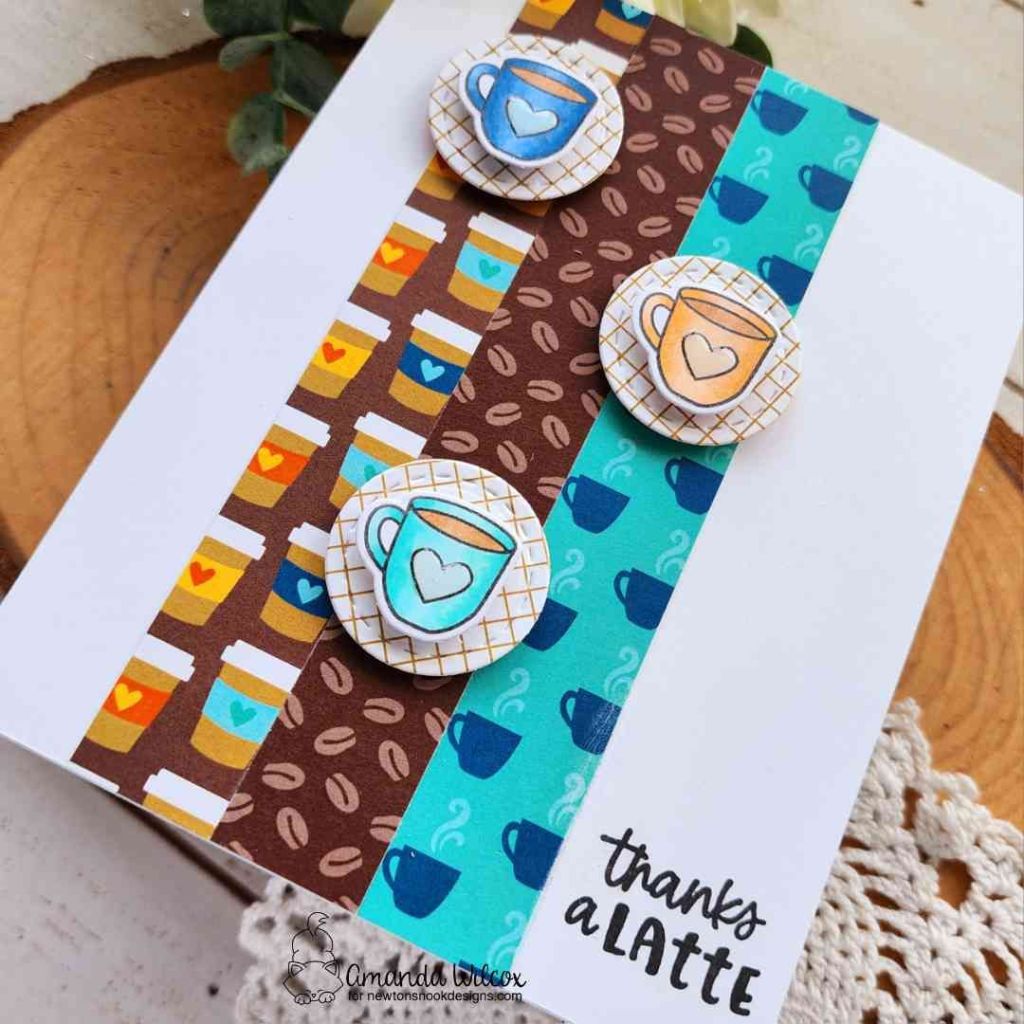
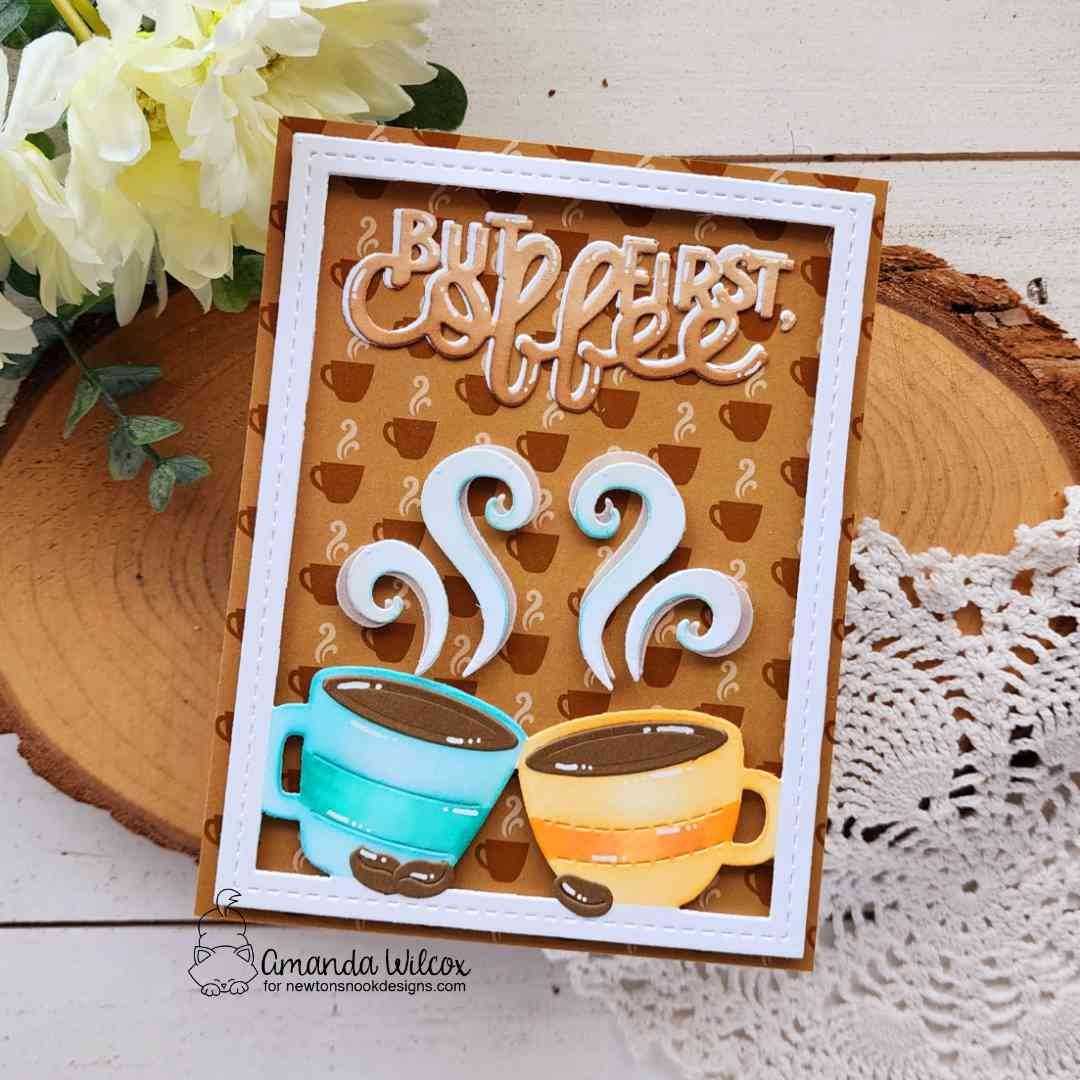
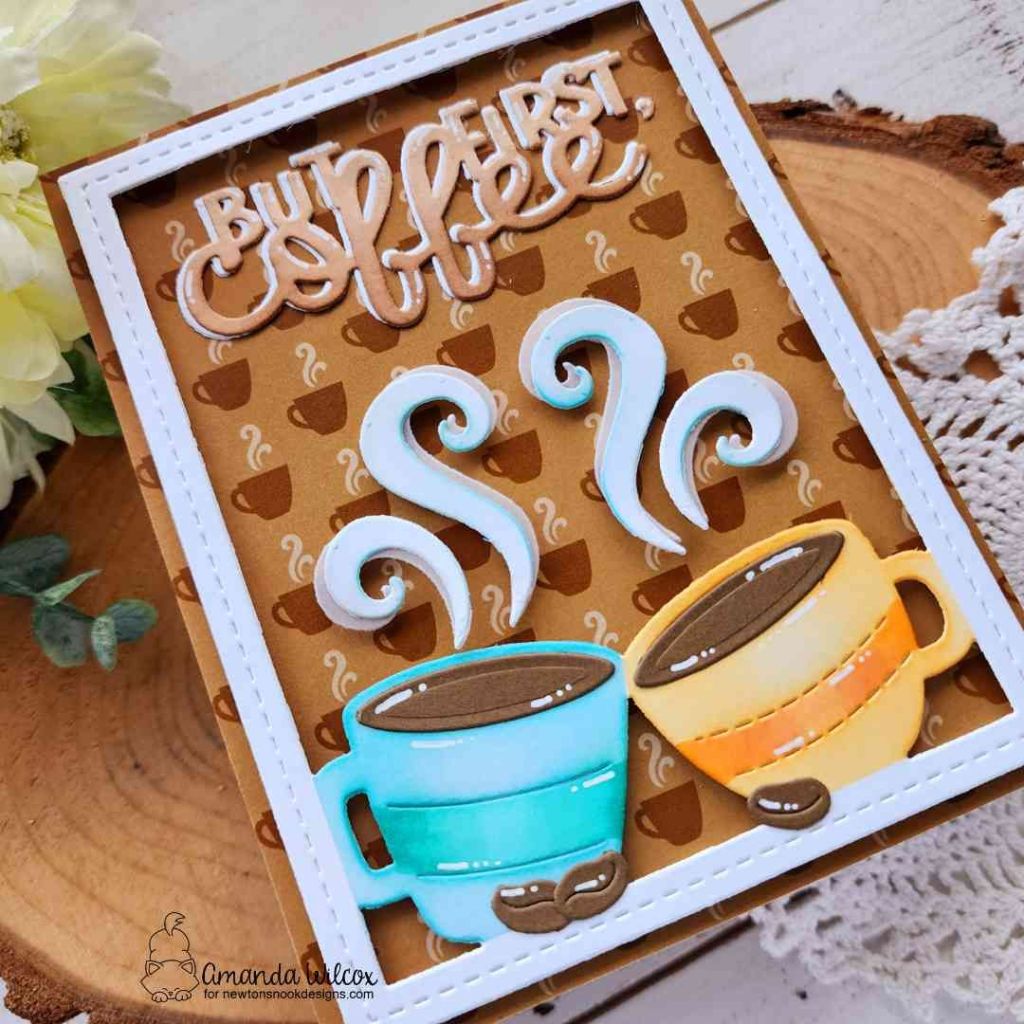
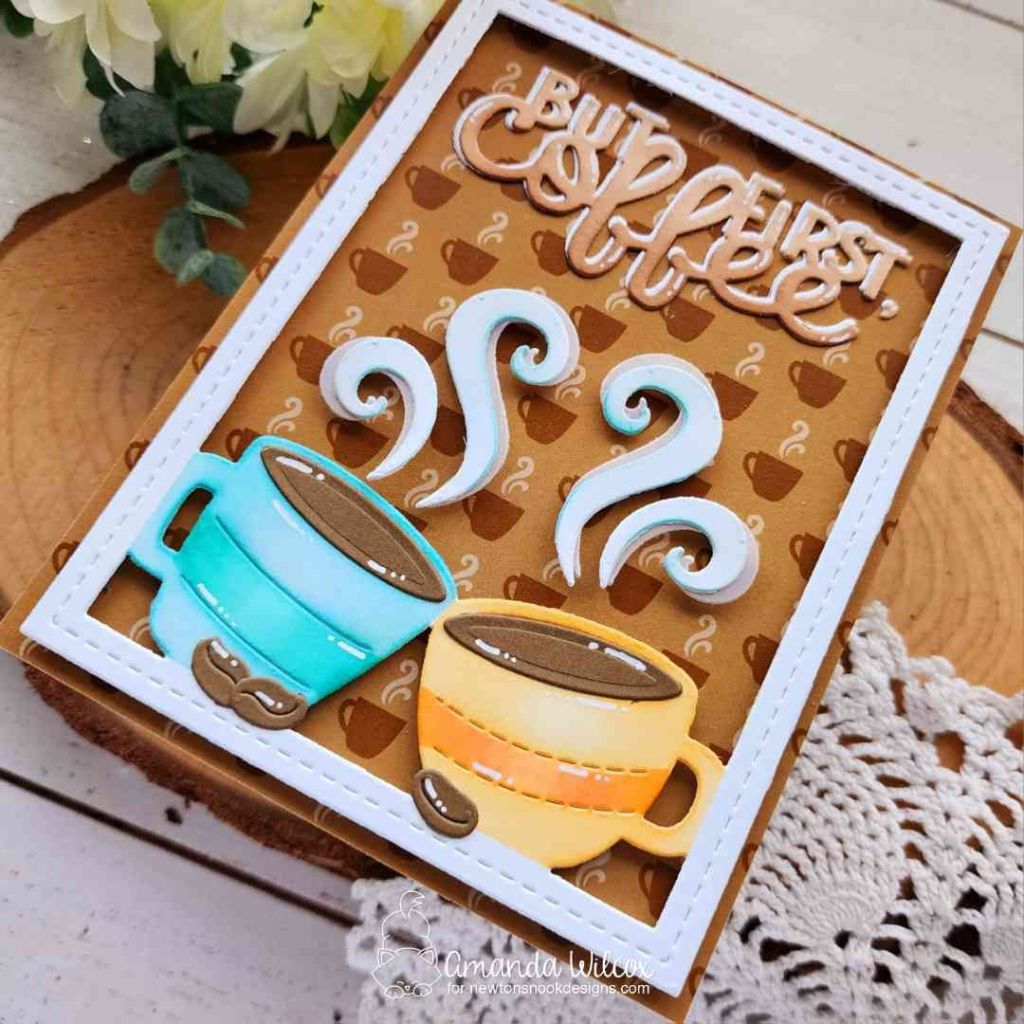
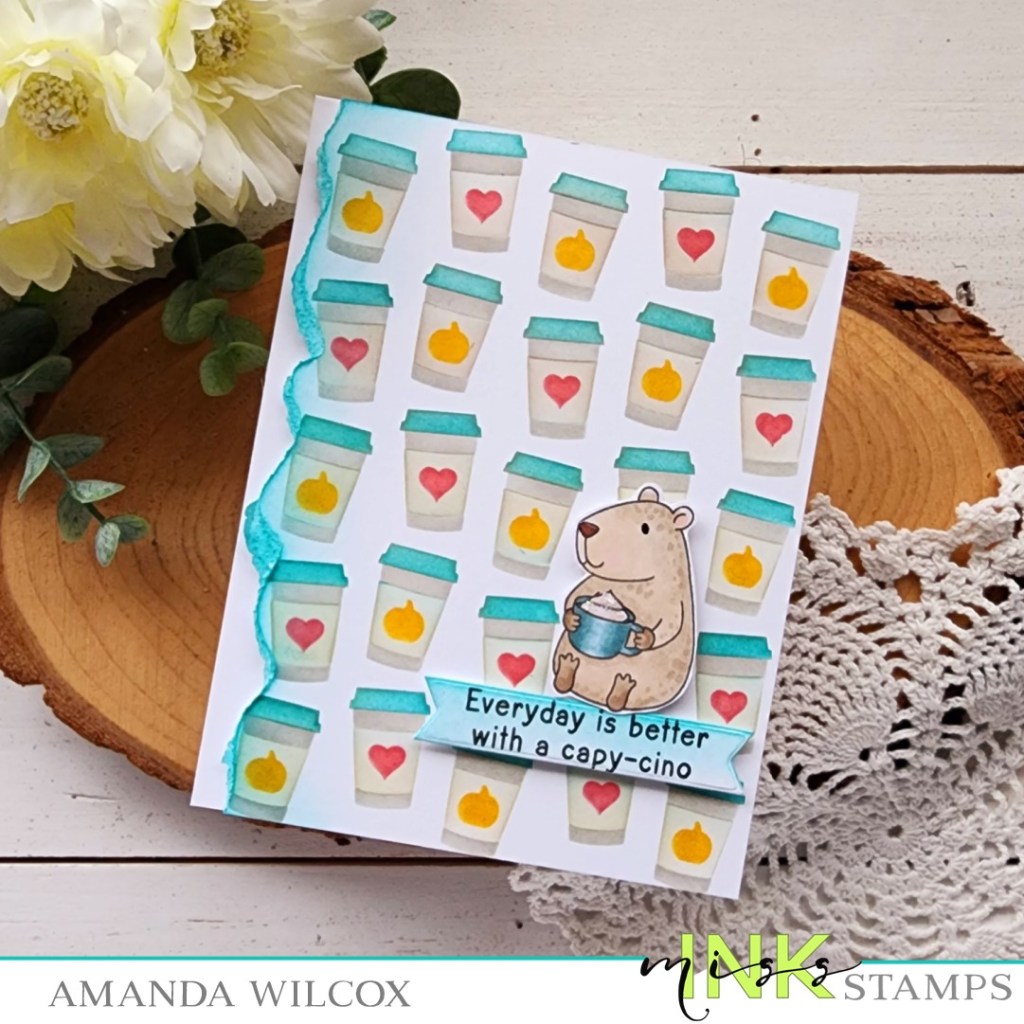
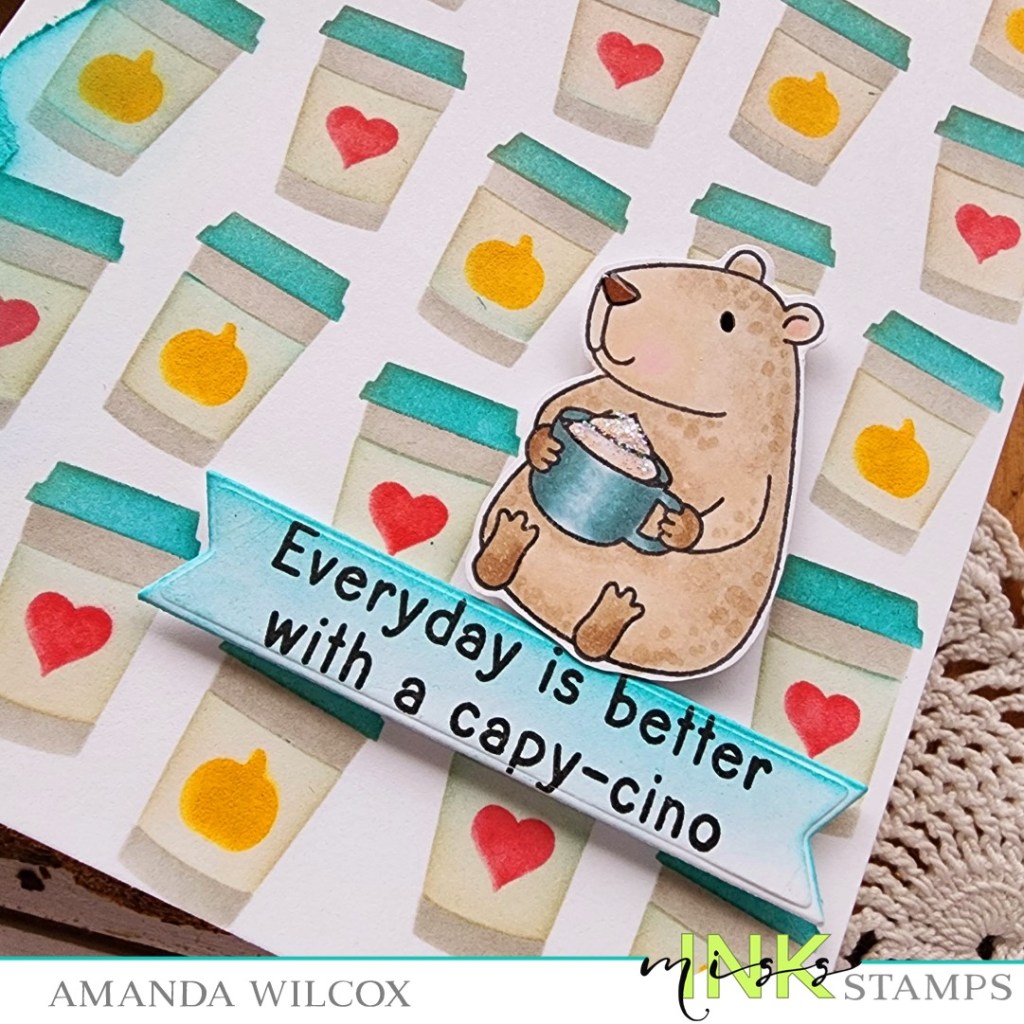
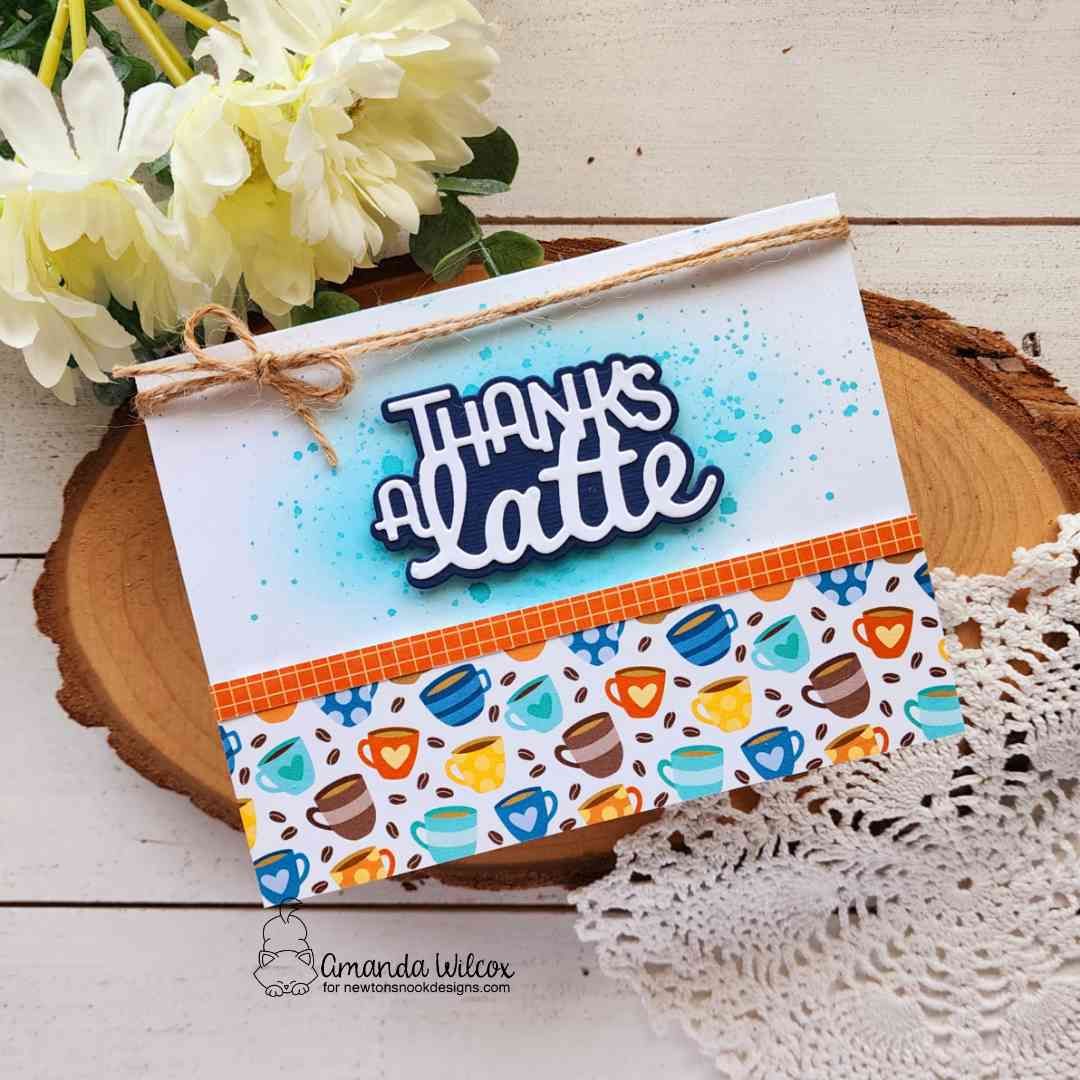
This time I cut my sentiment shadow from dark blue cardstock and the letters from white. I used liquid glue to adhere them together and lined the back with foam tape. Using that as a guide, I ink blended teal behind where I wanted the words to go on a piece of white cardstock. Then I splattered that with more teal ink for extra texture.

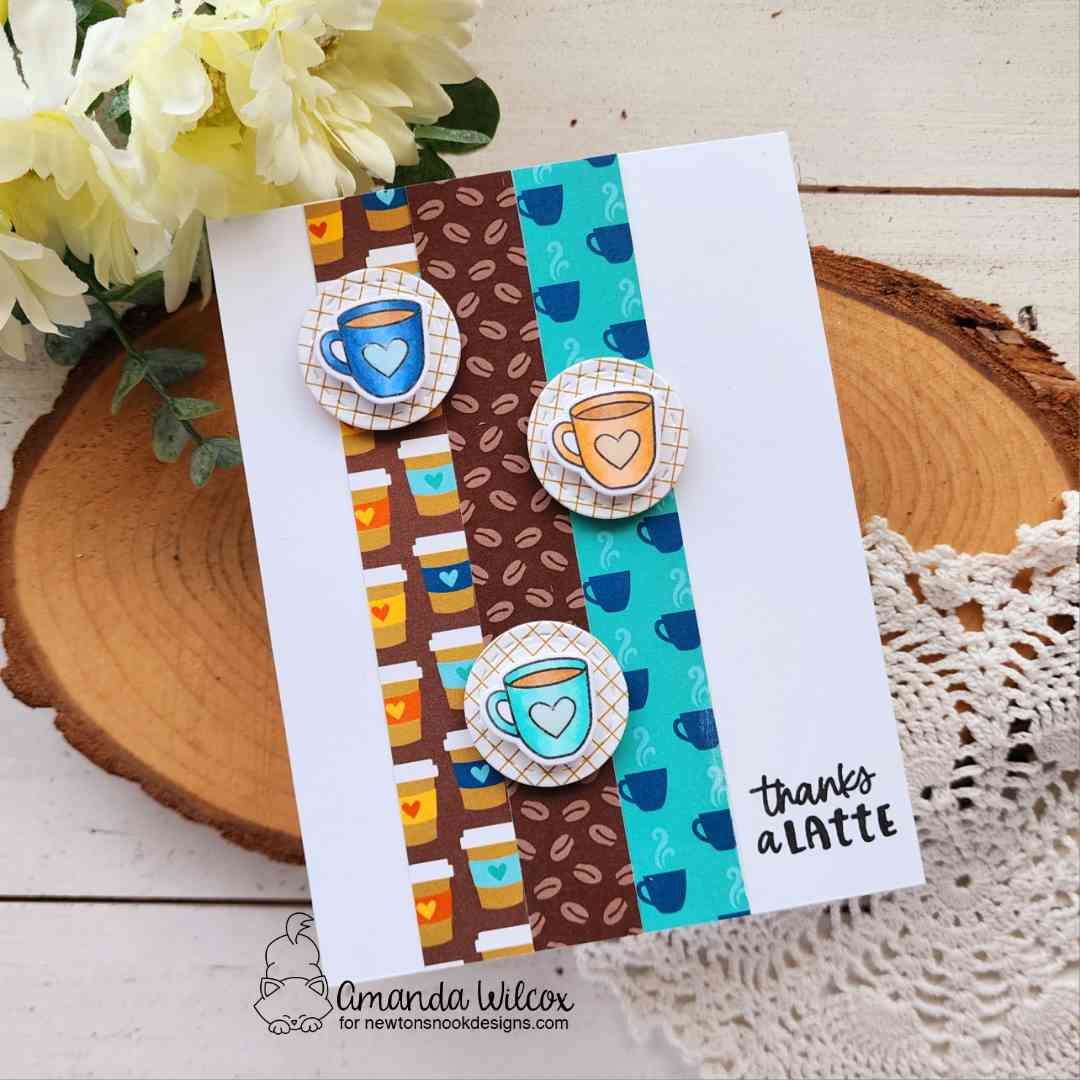
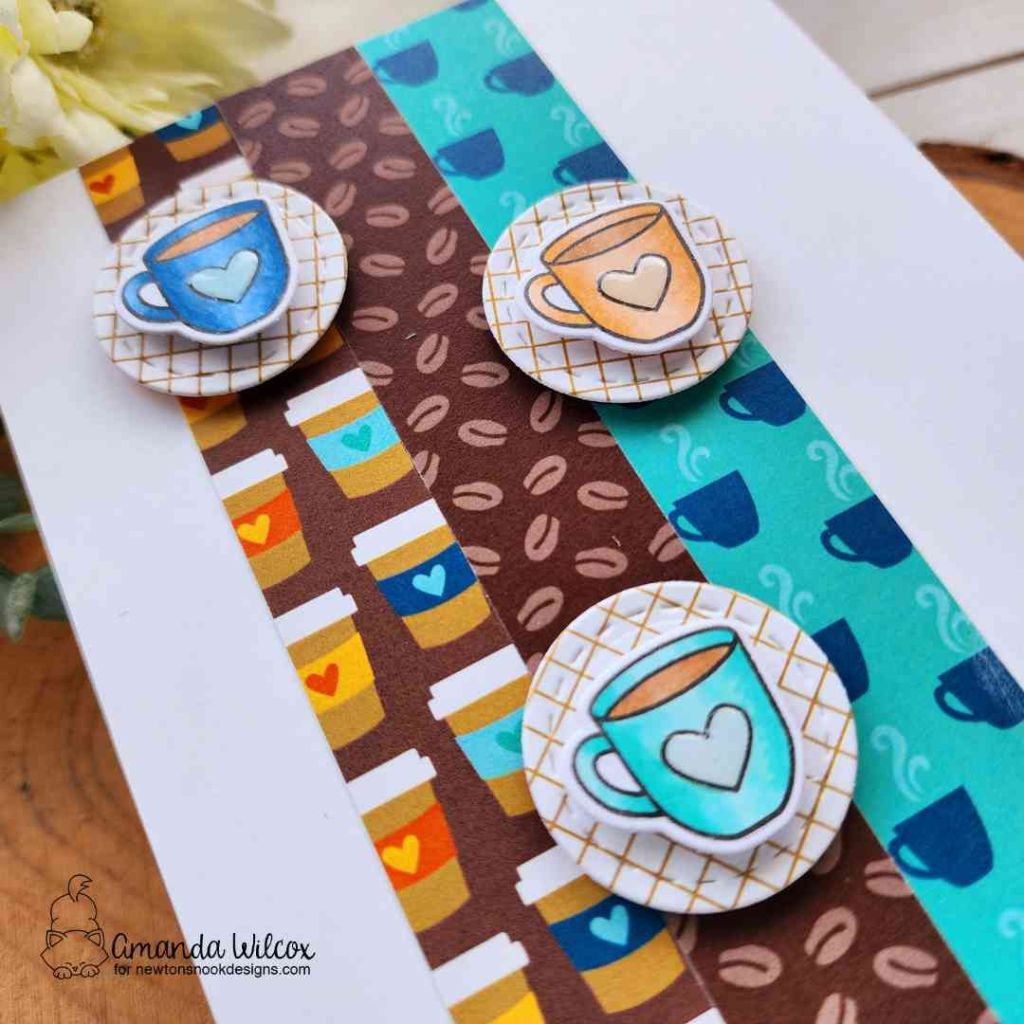
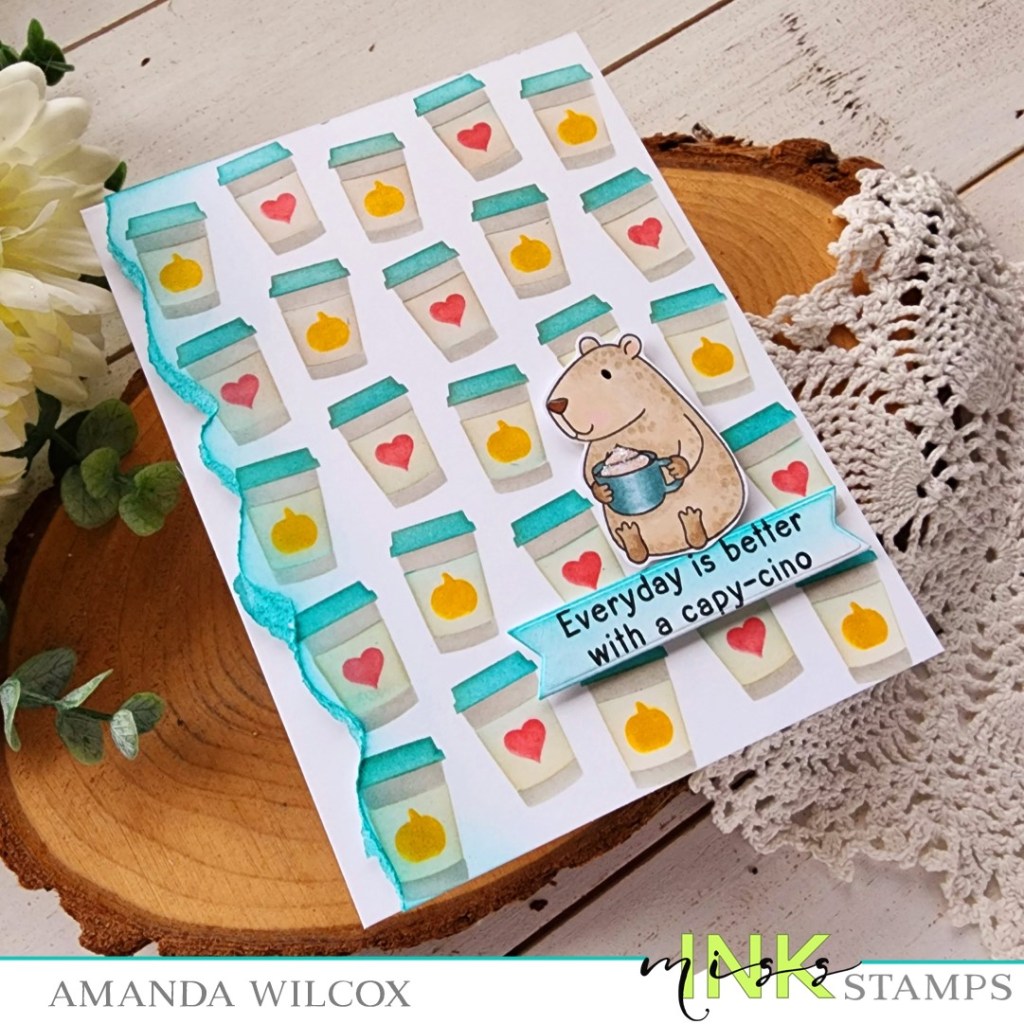
I chose a couple patterns from the new Coffee Shop paper pad and trimmed them down. The bigger portion measures 5.5×1.5 inches and the strip is 5.5x.25 inches. These are popped up in the ink blended panel with foam tape.
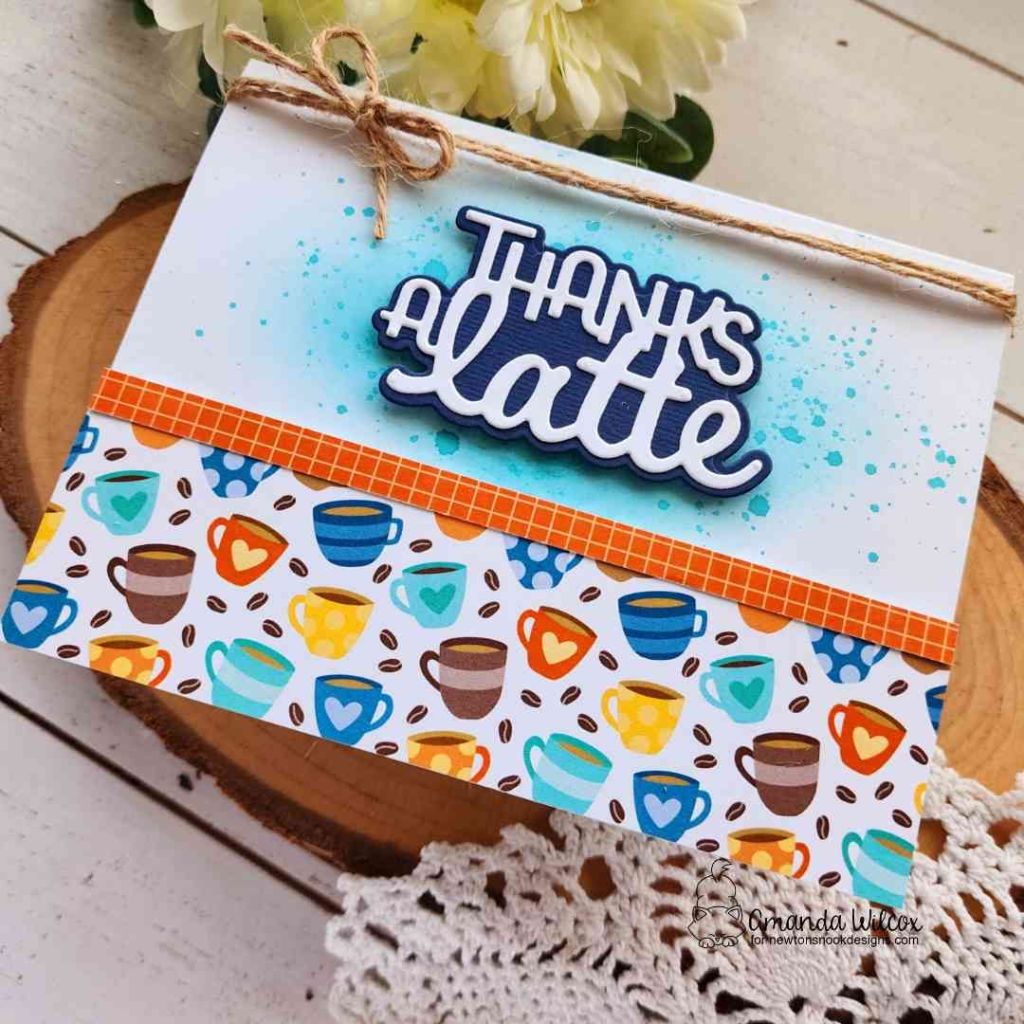
After adding the sentiment over the ink blending, I used liquid glue to adhere the panel to a white card base. Then, for a little extra, I wrapped the top with jute twine and tied it in a bow.
The vibe of this card wasn’t asking for sparkle and shine so I resisted. It’s pretty great without it. Also, noting that this new paper pad and set of products are going to be fabulous for masculine feeling cards!
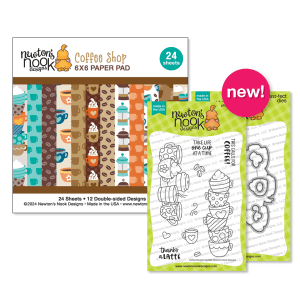
Products used:
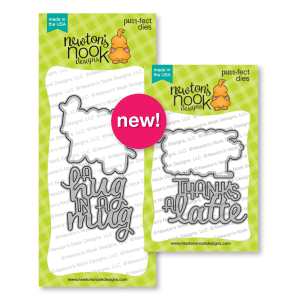
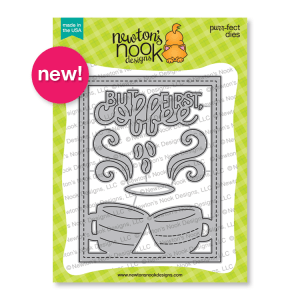
Thanks a Latte dies
Coffee Shop paper pad
Liquid glue
Foam tape
Blending brush
Lawn Fawn mermaid ink
I appreciate you sharing your time with me. Have a fabulous day!