Welcome back everyone! Today we have a new reveal to share with you and a fun shaker card too!
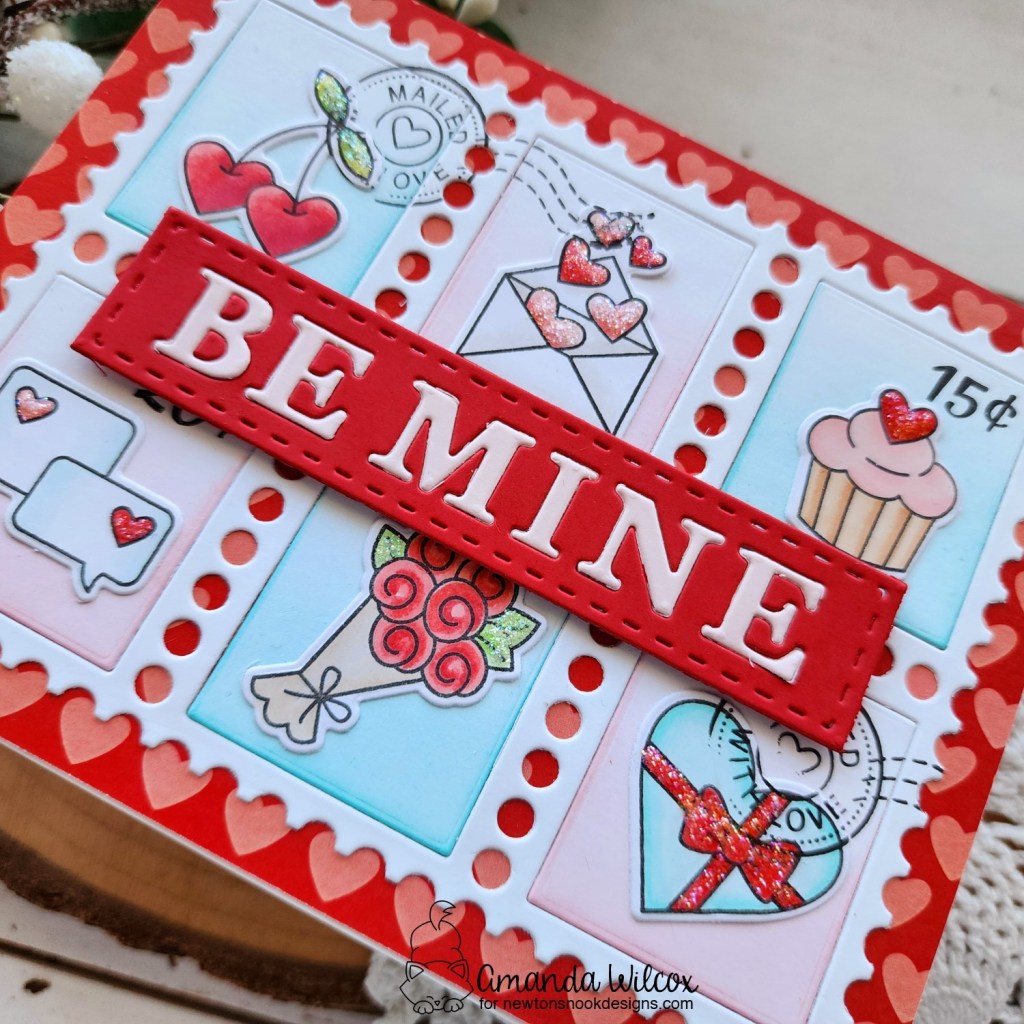
Charming Hearts Frame dies

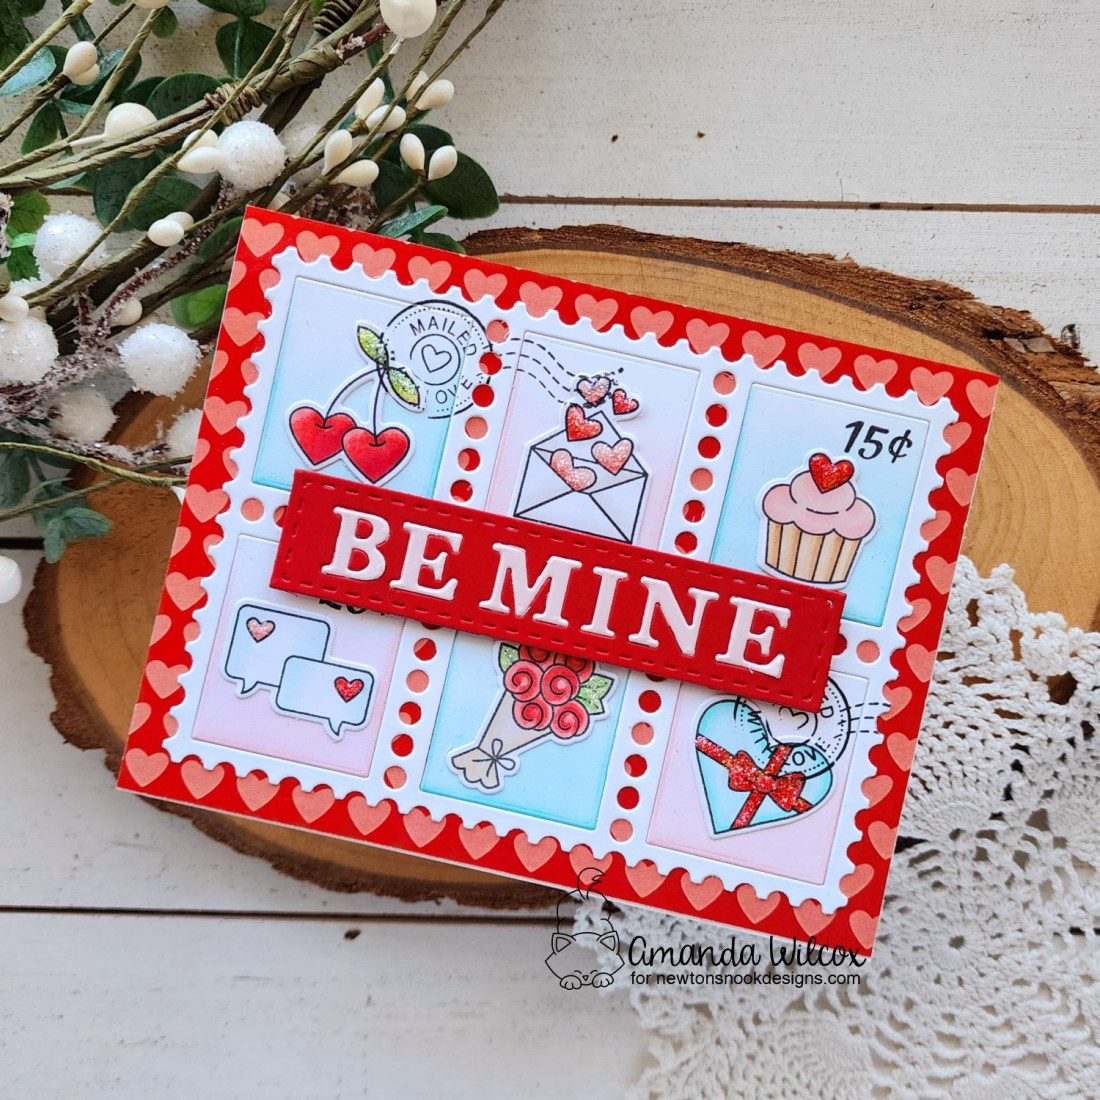
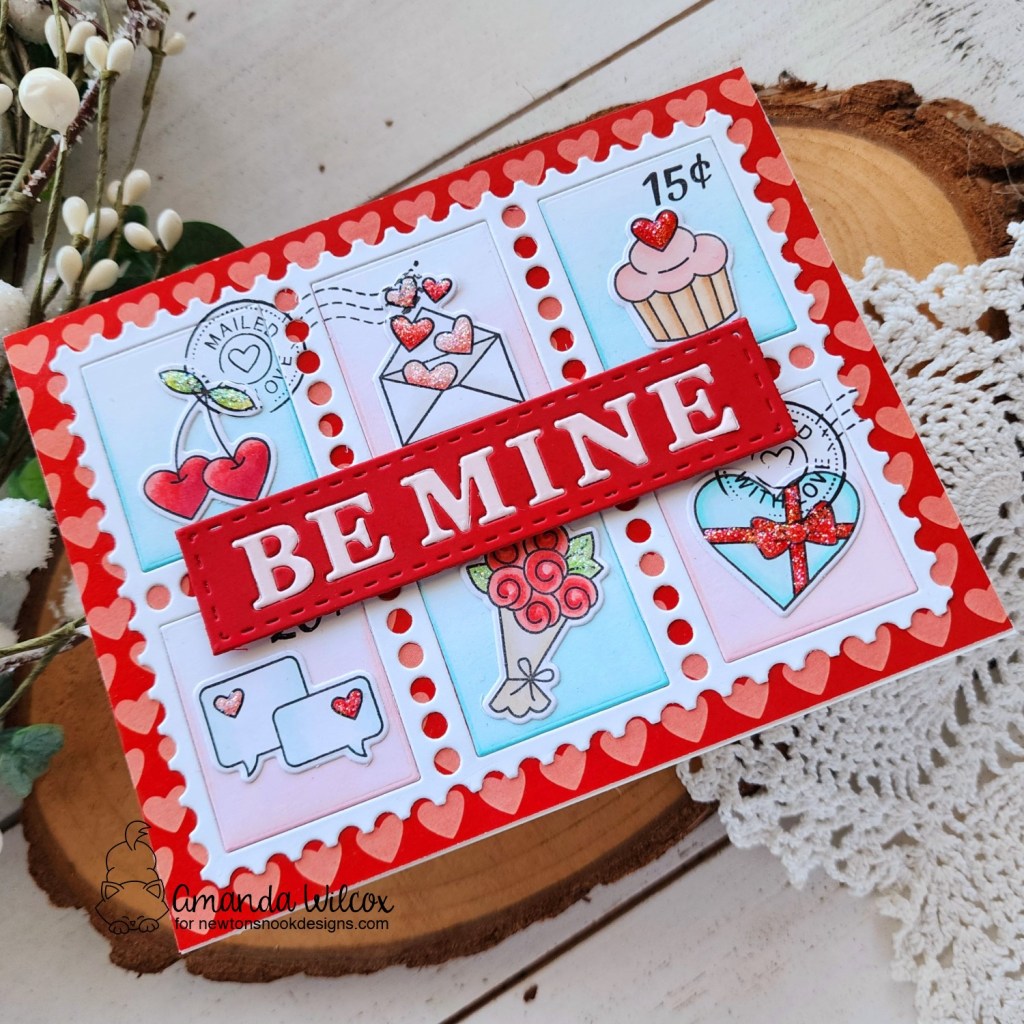
I love the pile of hearts inside the frame and the fact that this set also has an optional “Love” word die to use too!
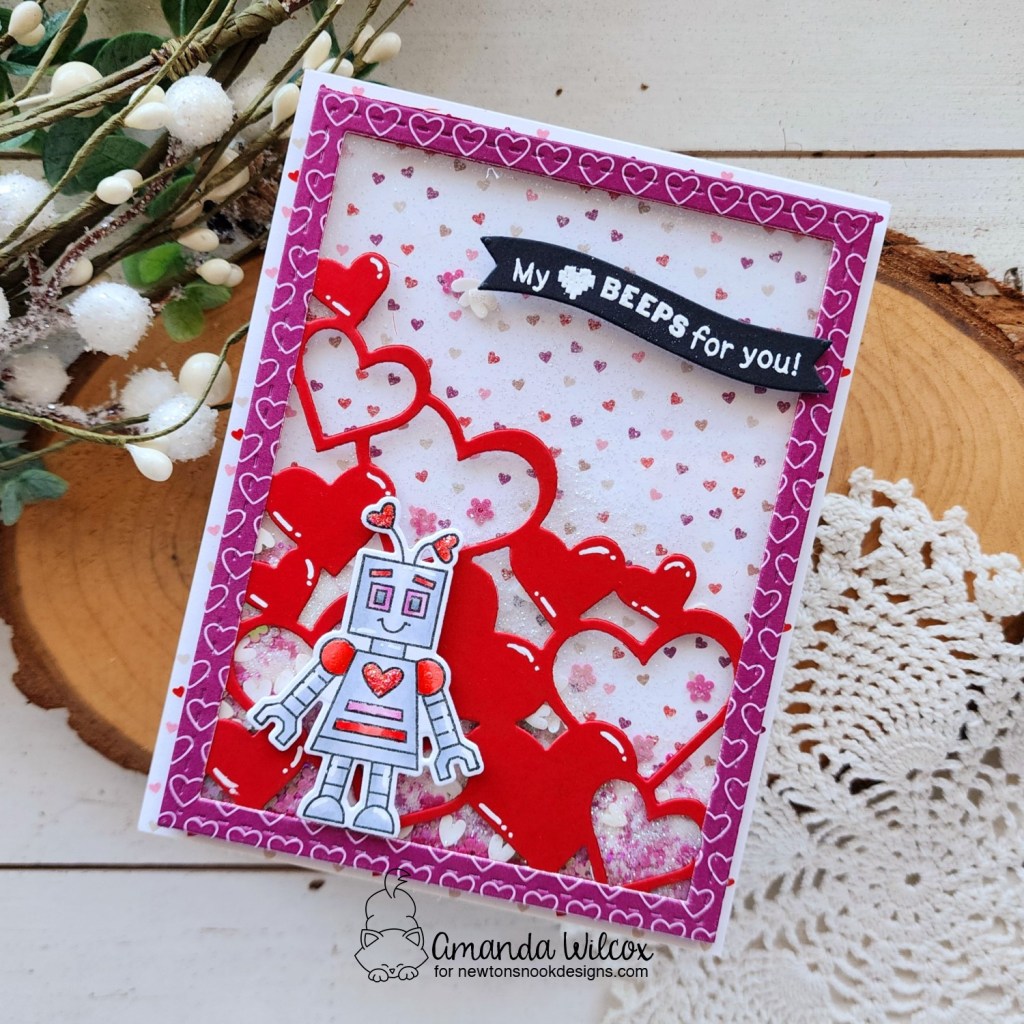
For my card today, I chose a couple patterns from the Lovely Hearts paper pad – one for the frame and another for the background. I also cut the frame from red cardstock for my actual hearts.

I pulled out a previous Valentine set – Love Bots – to add more cuteness to my card. I stamped and colored the image with copic markers and heat embossed the sentiment on a banner in the A7 Frames die set.

My shaker bits are a mix of flower confetti, glitter and white clay hearts. I love mixing and matching different shaker bits to create my own mix to fix the design of the card.
For finishing touches I added white gel pen highlights all over and some stardust Stickles to the robot.
Enter to Win a $25 Prize!
One lucky winner will receive a $25 store credit to spend at Newton’s Nook Designs online shop! The winner will be chosen at random from the collective blog posts featuring our new products this week. For a chance to win, leave comments on the Design Team Member Blog Posts (see list below) from Tuesday December 10th through Thursday December 12th. You will not know which blog has been chosen so the more you comment on the better your chances are of winning! You have until Thursday, December 12th at 9 pm ET to comment — winners will be announced on the NND blog on Friday, December 13th.
Check out all the awesome Design Team Blogs below to enter:
Newton’s Nook Designs
Donna Idlet
Larissa Heskett
Samantha Mann
Diane Morales
Farhana Sarker
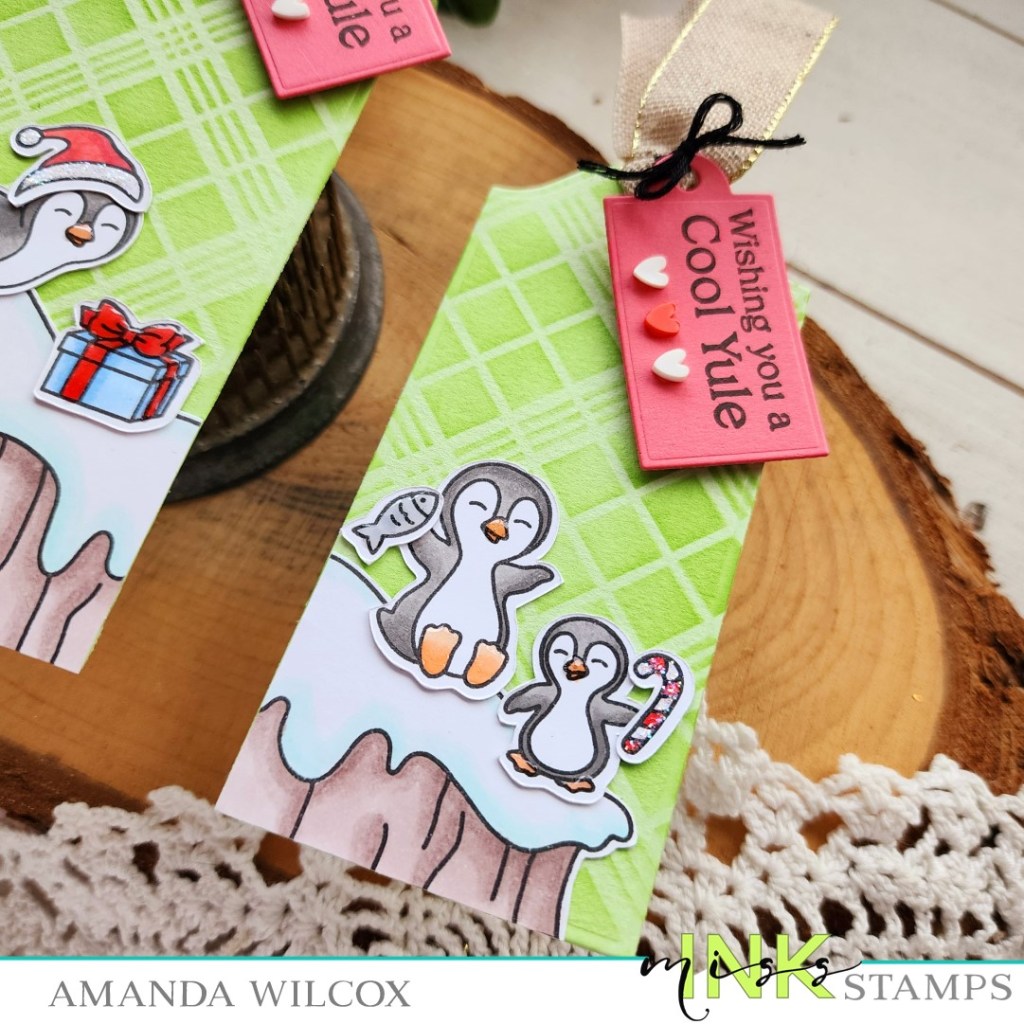
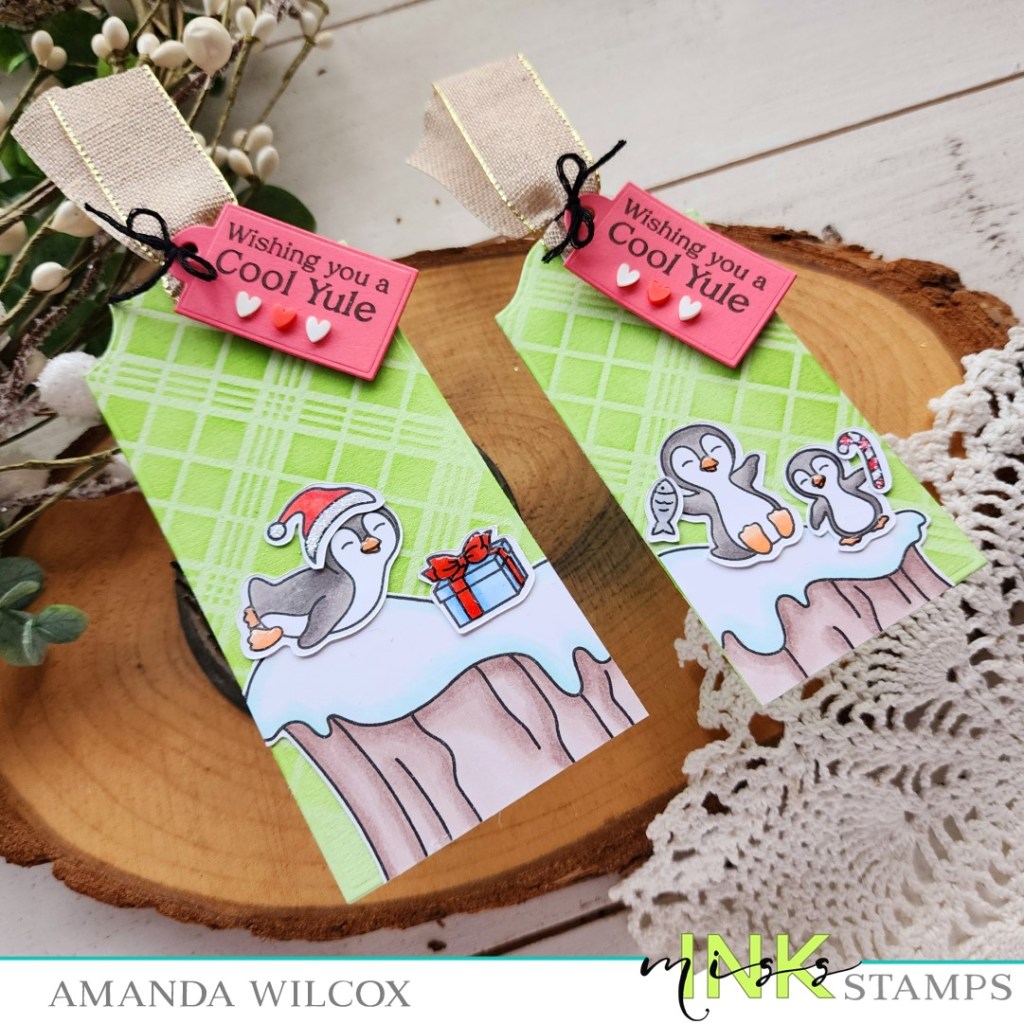
Amanda Wilcox