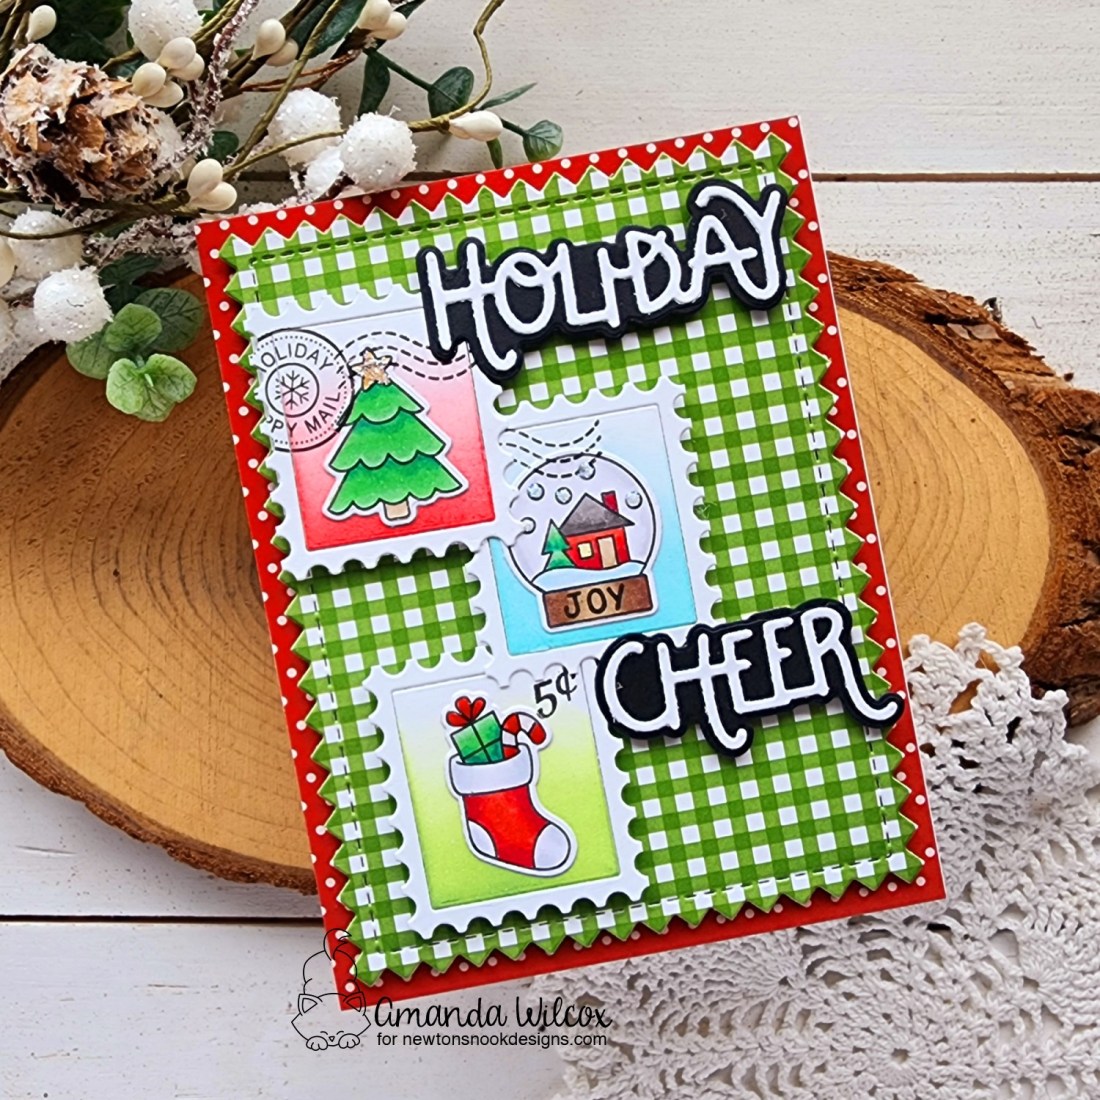
Happy Friday everyone! As always, I’m happy to sponsor the Build Your Stash Holiday Cardmakers hops. They’re so fun and a great excuse to use your holiday stash all year long! Today I have a fun card to share with you featuring Twiddler’s Nook products, perfectly paired with Newton’s Nook!
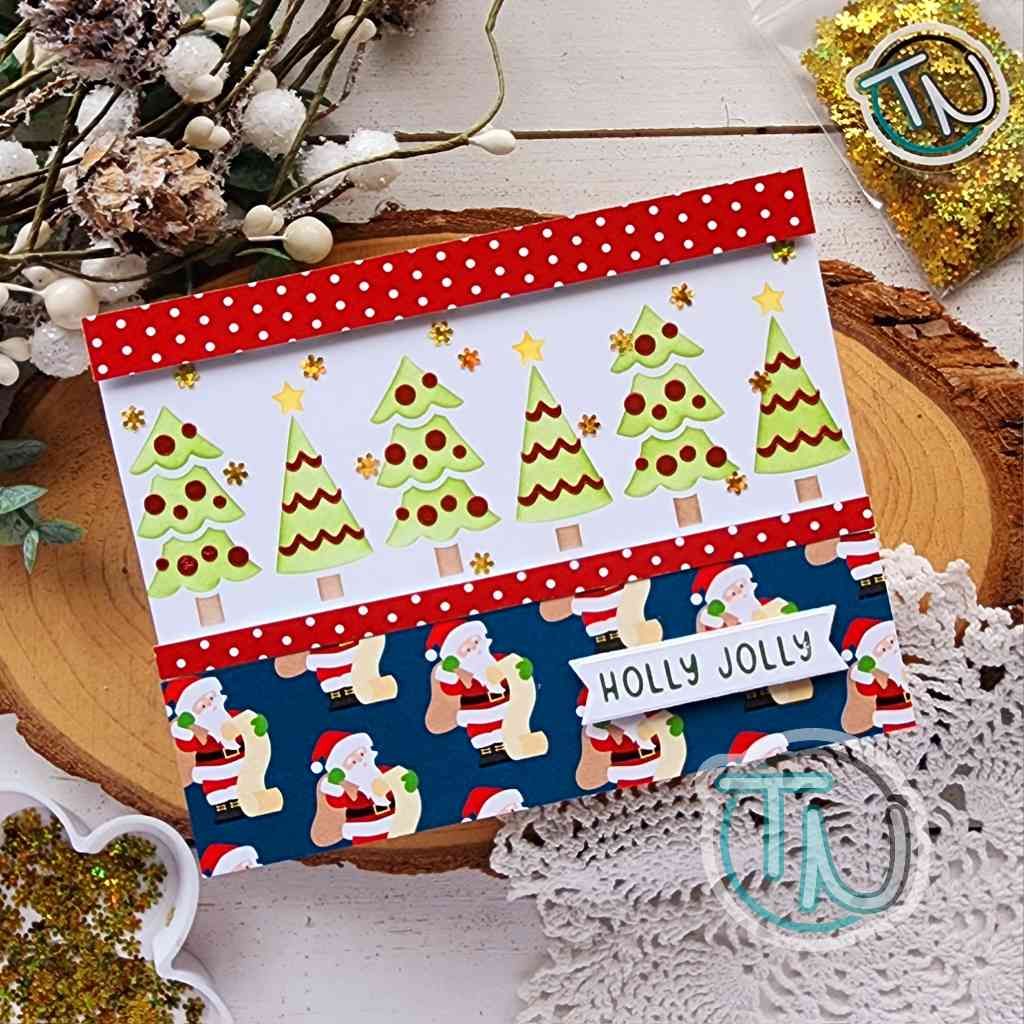
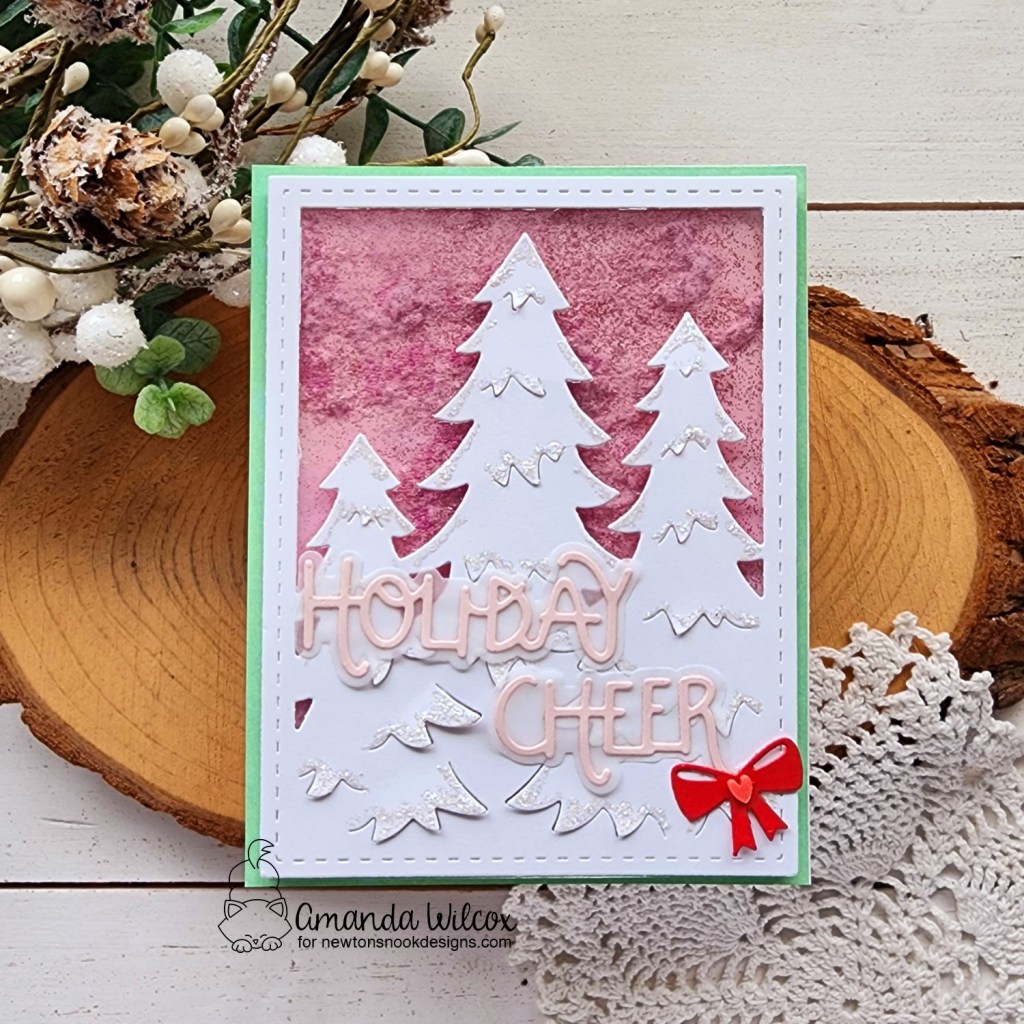
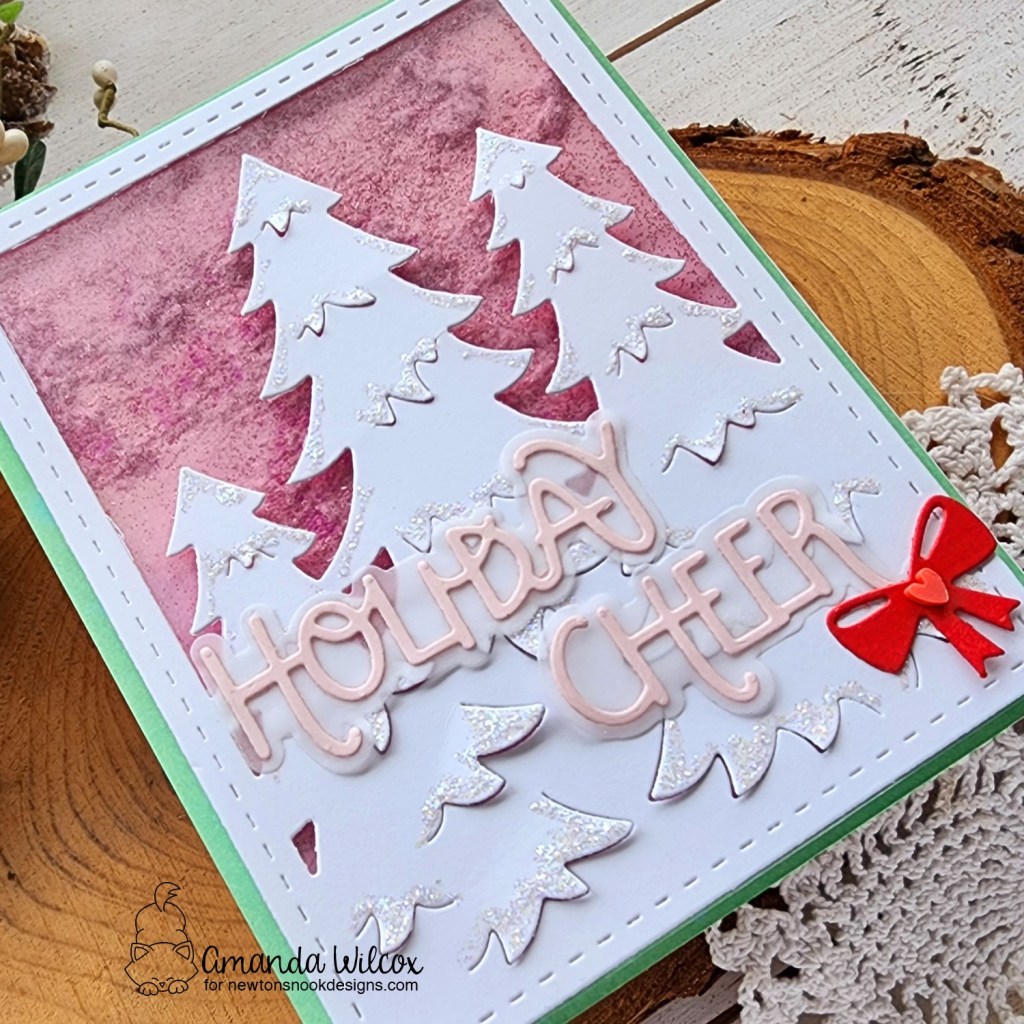
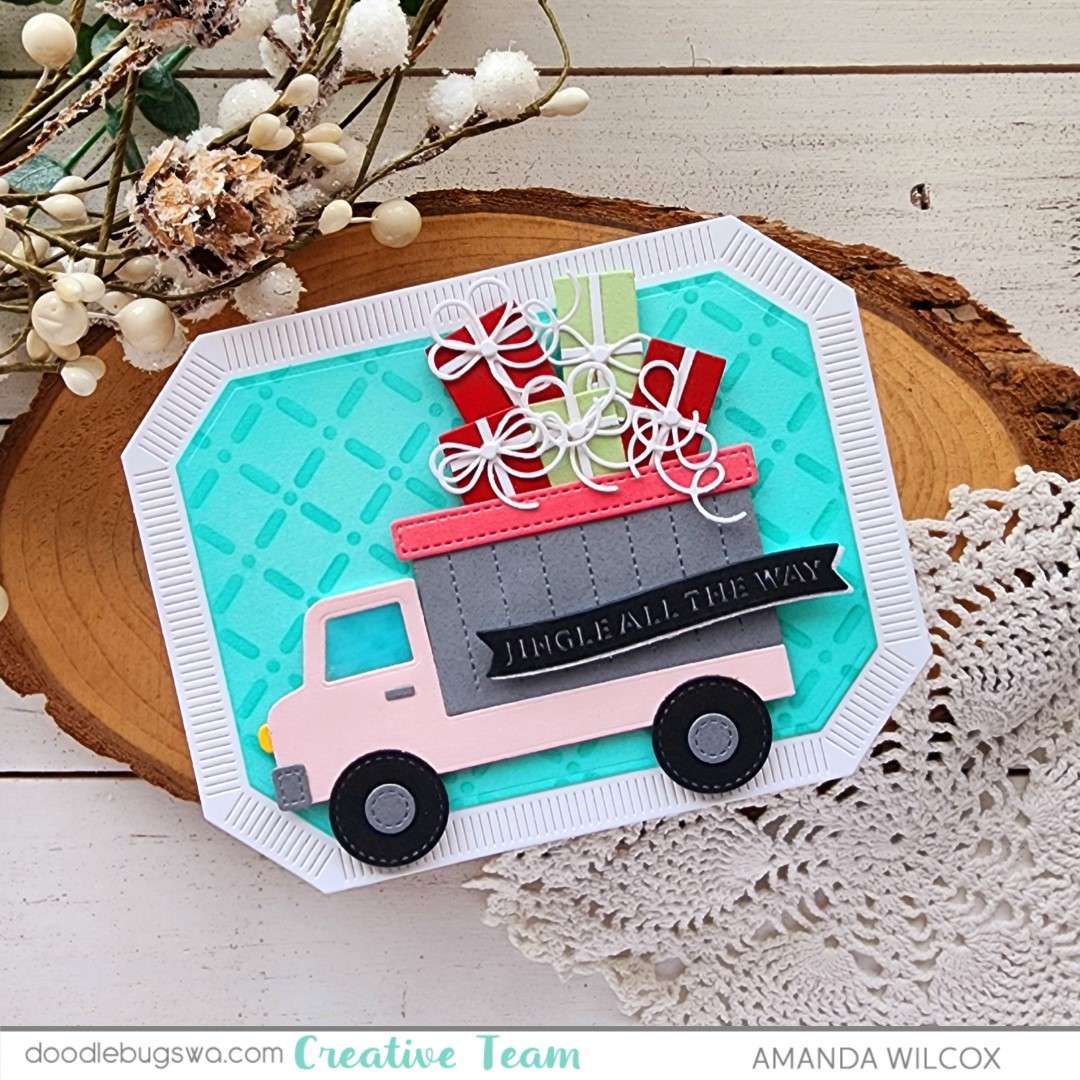
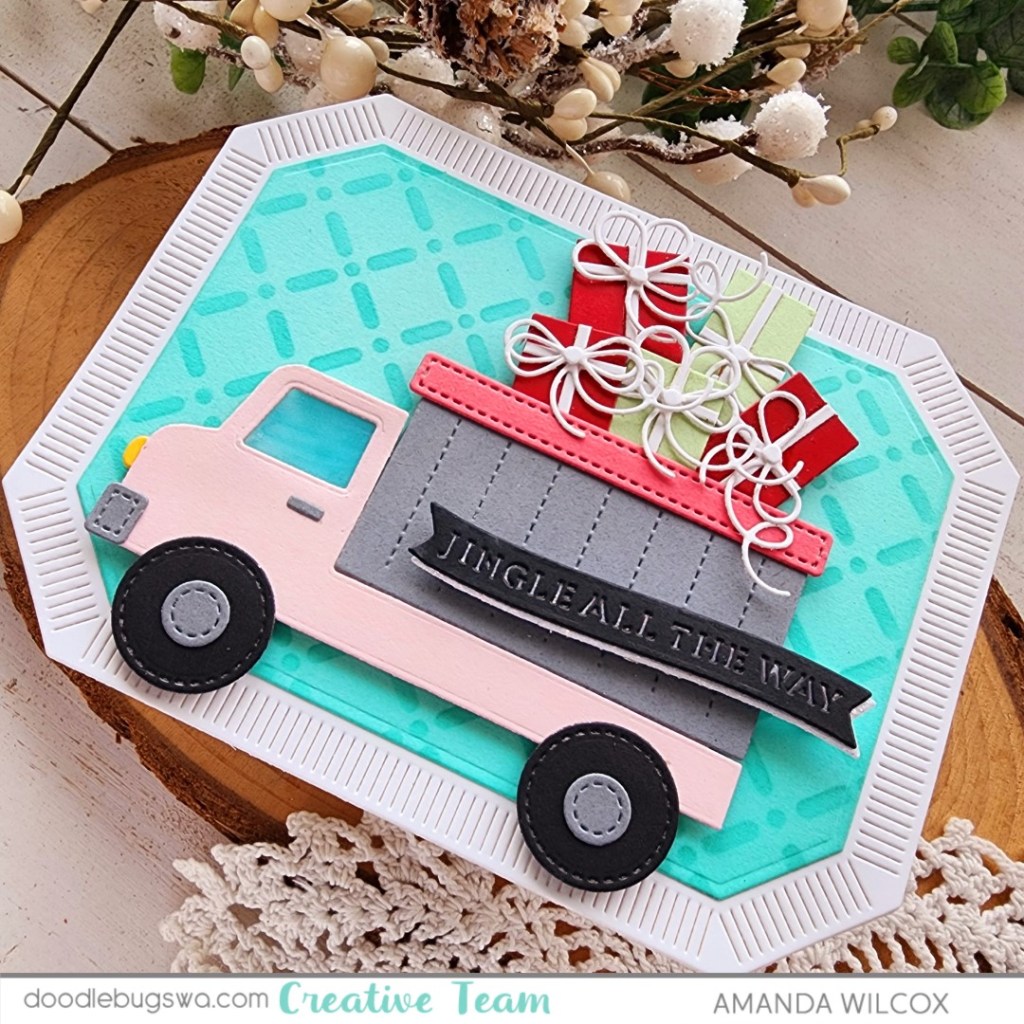
I had a little fun with the Christmas Tree Line stencil – inking the layers up with Twiddler’s Nook blending brushes, plus a layer of Lunar Paste for some shine. Then I glued a scattering of Twiddler’s Nook gold snowflake confetti embellishments for sparkle among the trees as well.
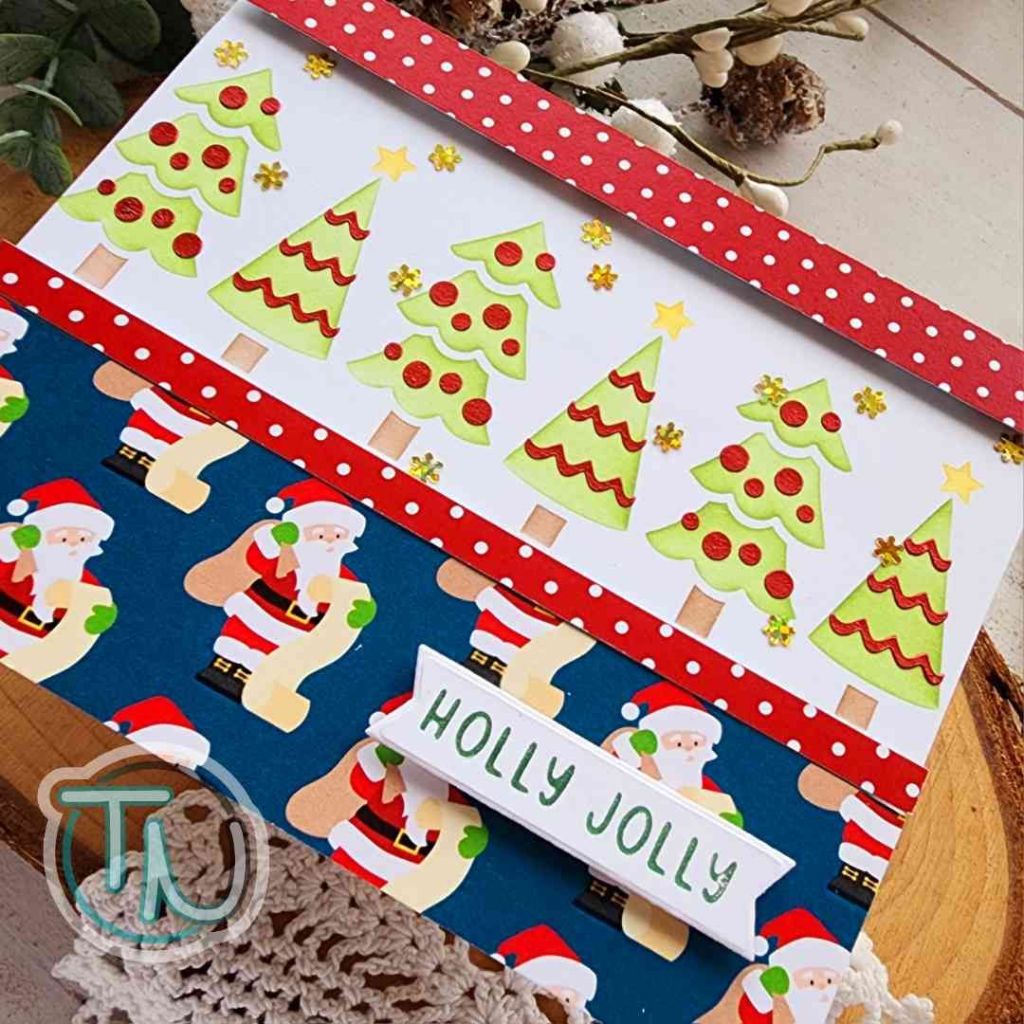
I pulled out the Newton’s Nook Christmastime paper pad and cut a few strips to pop up with foam tape above and below my stenciling. The top is 1/2″ and the bottom is 1 1/2″ with a 1/4″ extra strip to match the top.
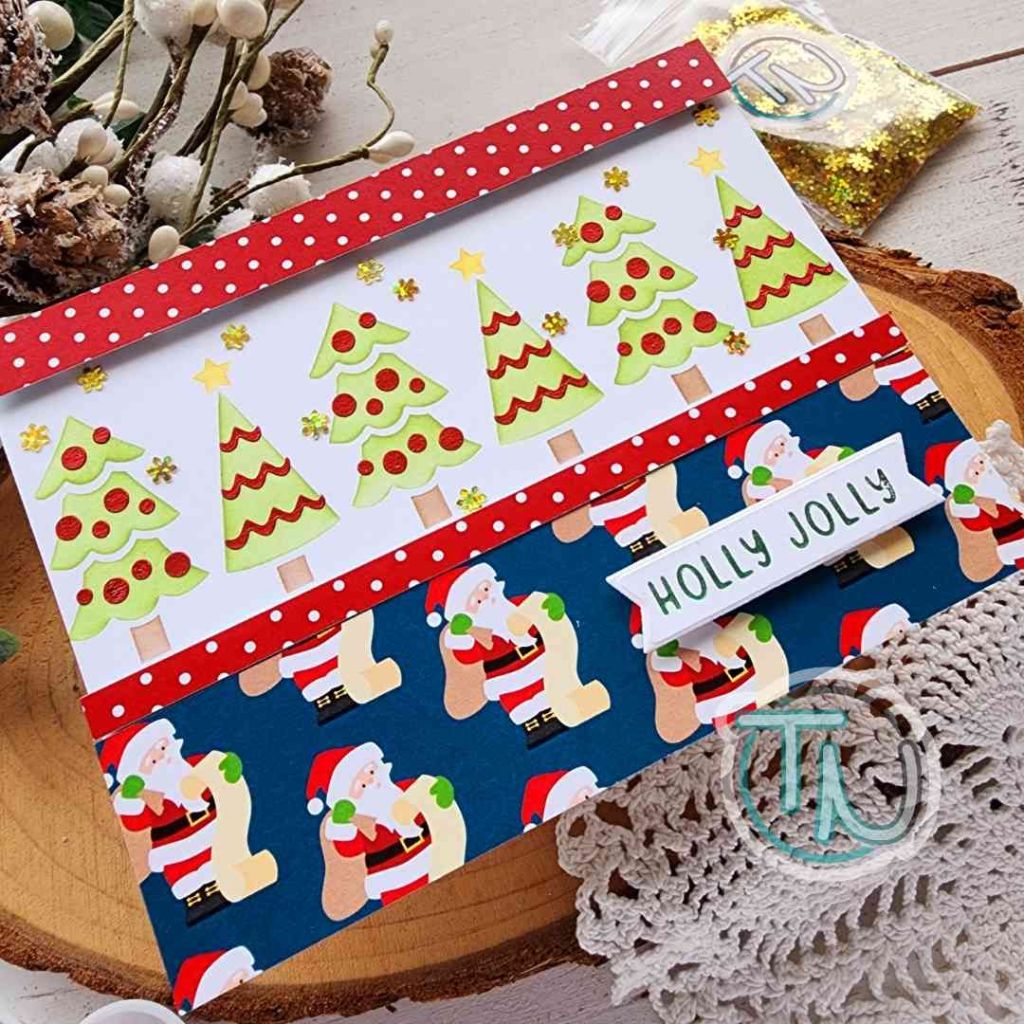
Last, I used a Holiday Greetings hot foil plate and one of the Banner Duo dies to cut my sentiment out. I popped that up with foam squares and my card is all finished.
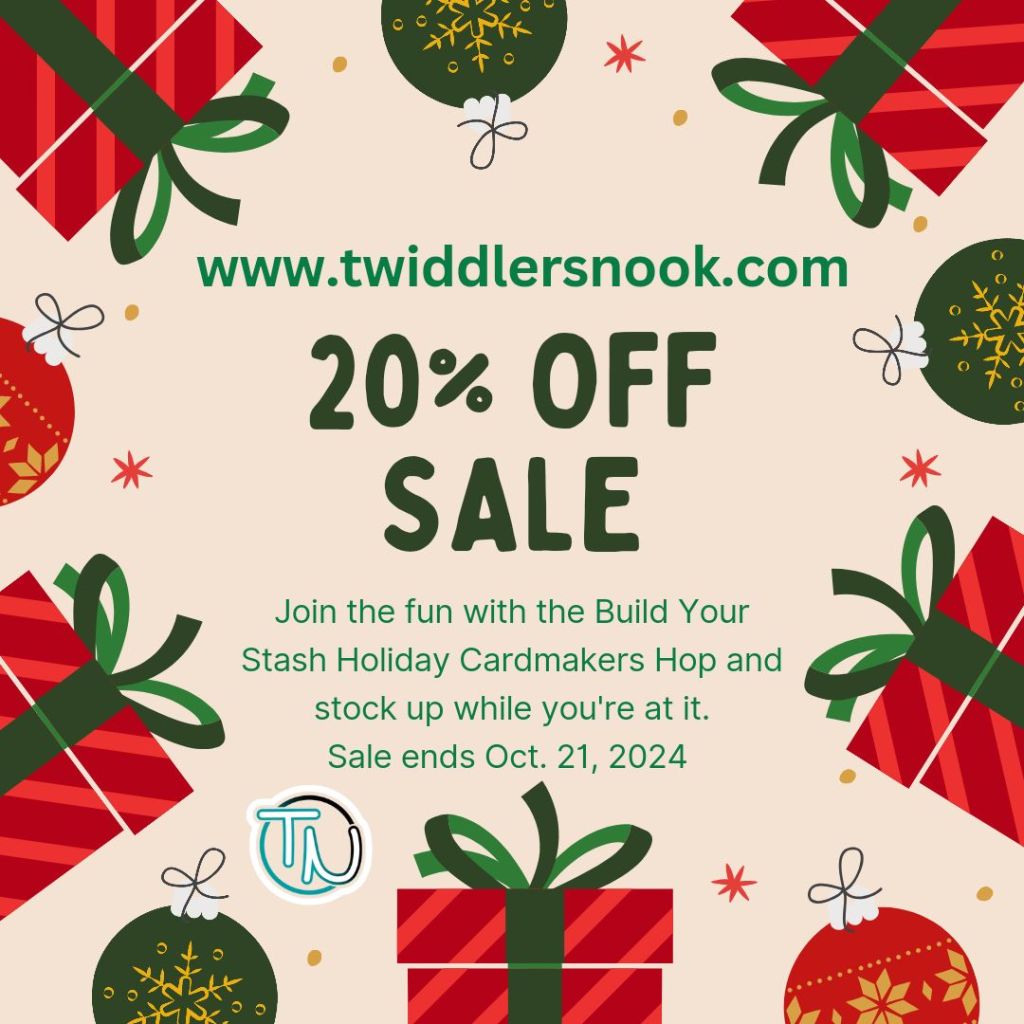
Surprise, we’re running a little sale for the opening weekend of the hop too! Stock up now and get holiday crafting!
Here’s a start on some awesome products for your craft room:
This little trio works like magic – the brushes magnet to the platform with the caps on the bottom so they don’t fall over but are easy to grab and craft with!
Twiddler’s Nook blending brushes
Twiddler’s Nook color caps (to color code those brushes)
Twiddler’s Nook double wide platform base (so your brushes have a place to live)
Love embellishments? Give this a try. Easy sorting and easy pouring back in the bags.
Twiddler’s Nook embellishment tray
Lose your dies all the time? Definitely look at this!
Twiddler’s Nook magnetic die stand
I appreciate you sharing your time with me. Have a fabulous day!