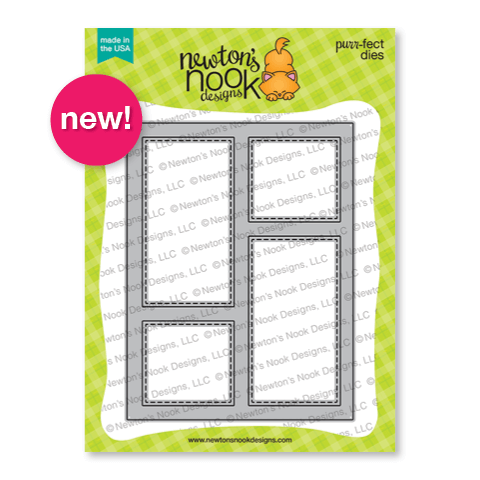
Welcome back everyone! Today we have another product to reveal to go with yesterday’s awesomeness! I love these background frame dies and am so happy to add another one to the Newton’s Nook repertoire.
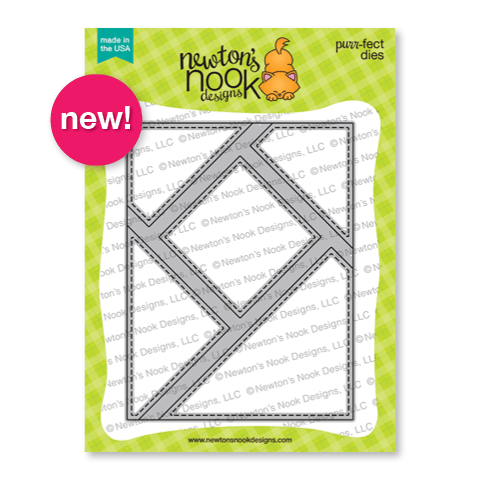
A2 Card Layout 2 die
Before we dive into the card I created for today. I also did a thing that I thought might help some people visualize other fun ways to use these types of dies.

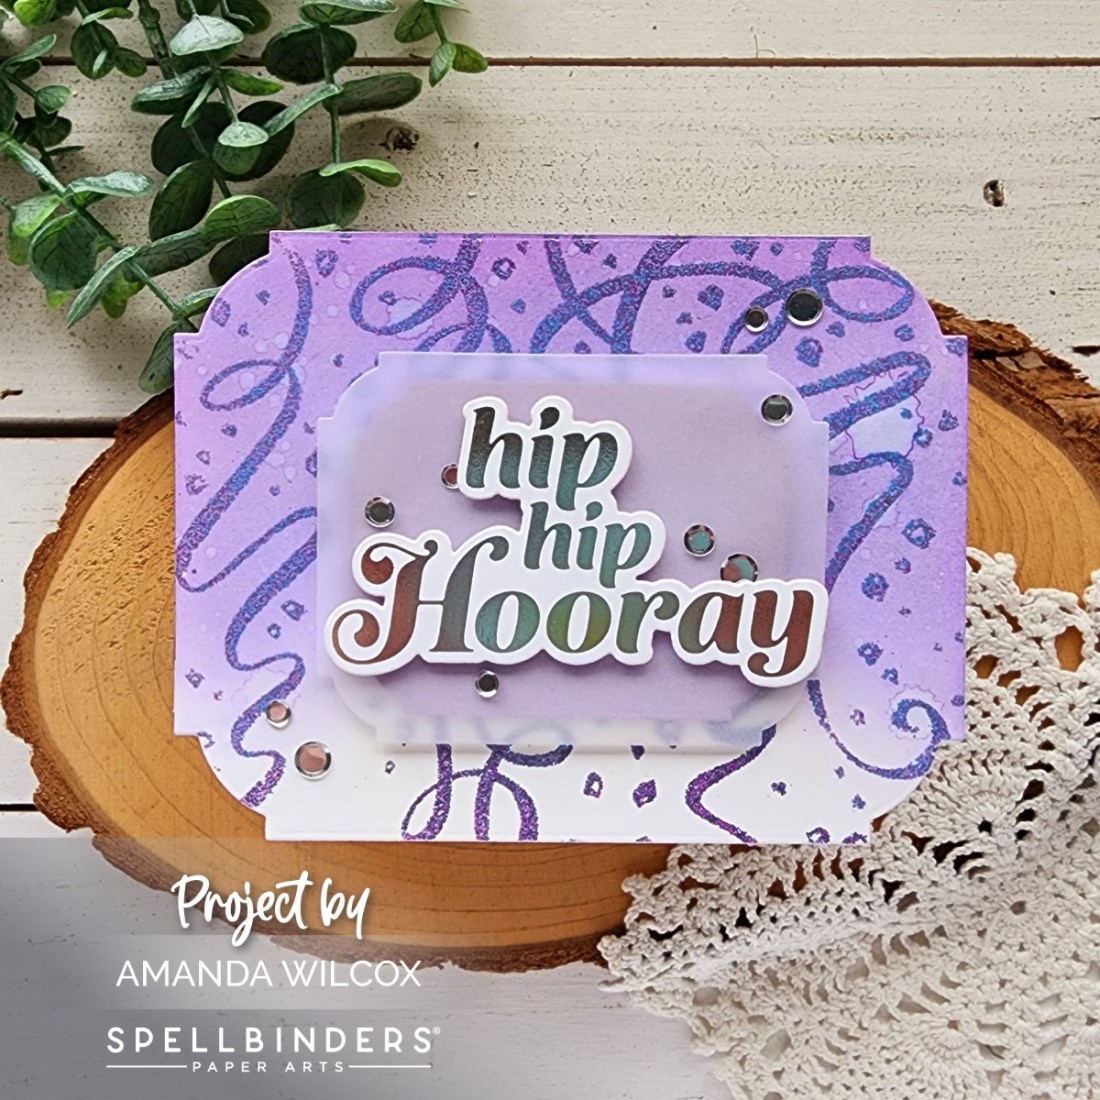
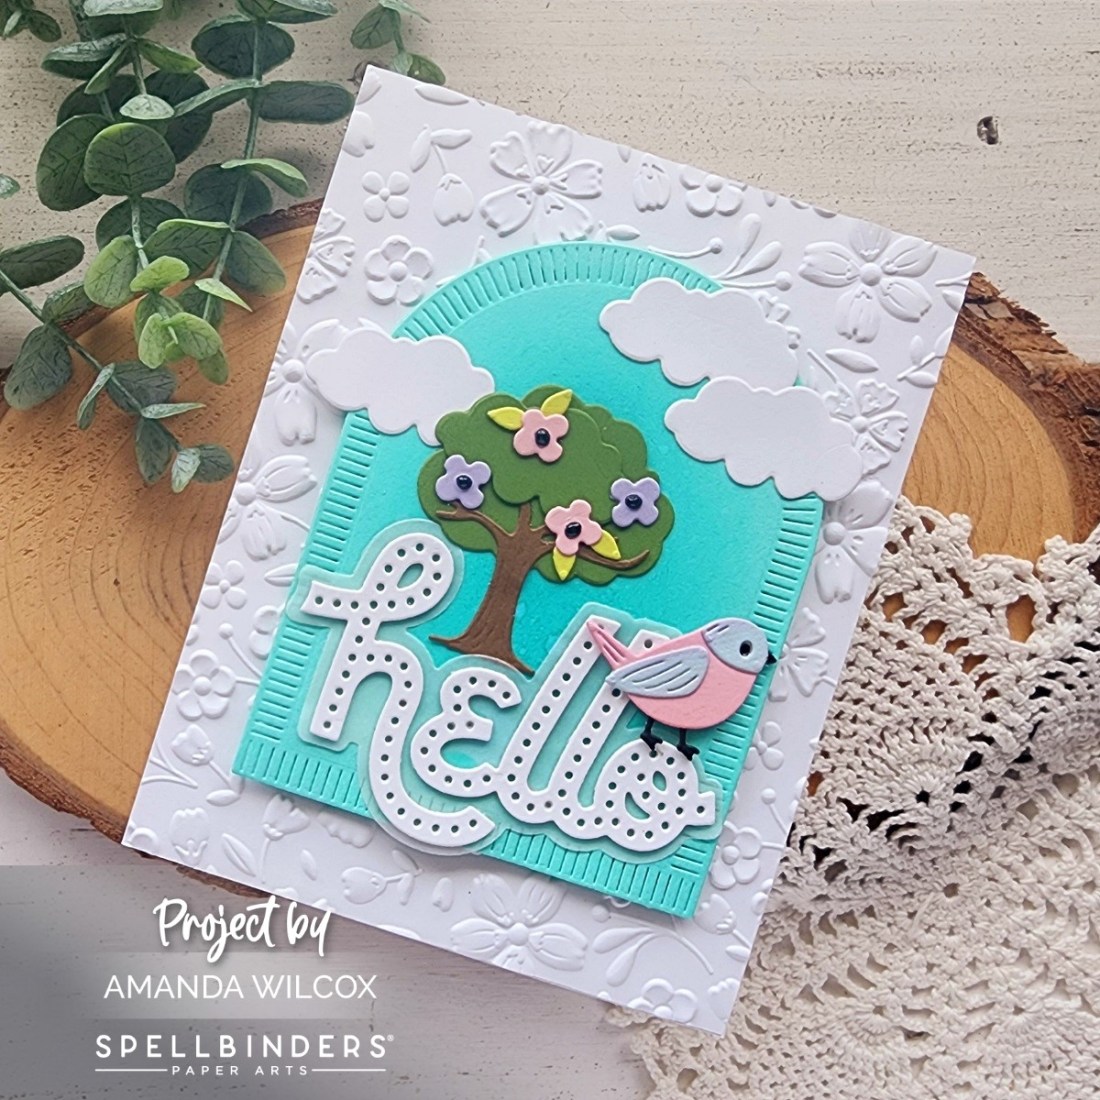
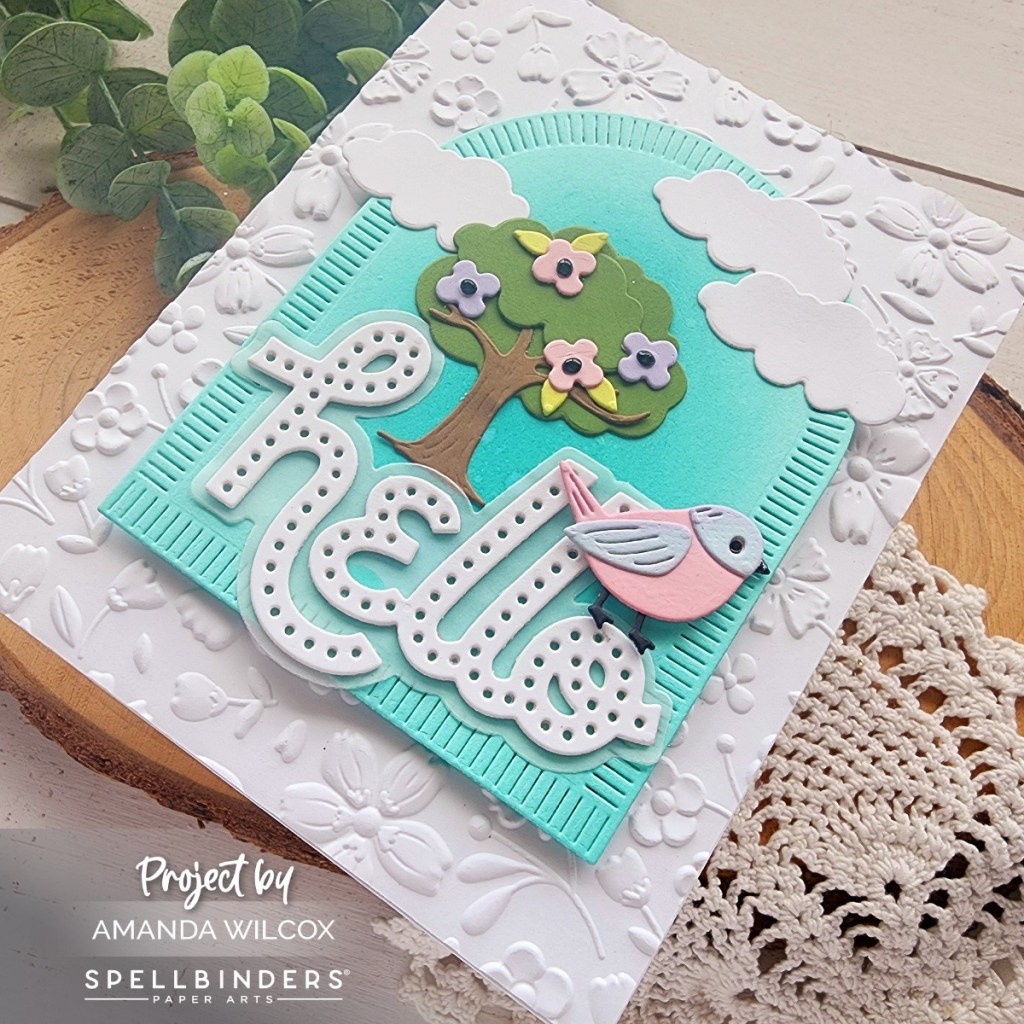
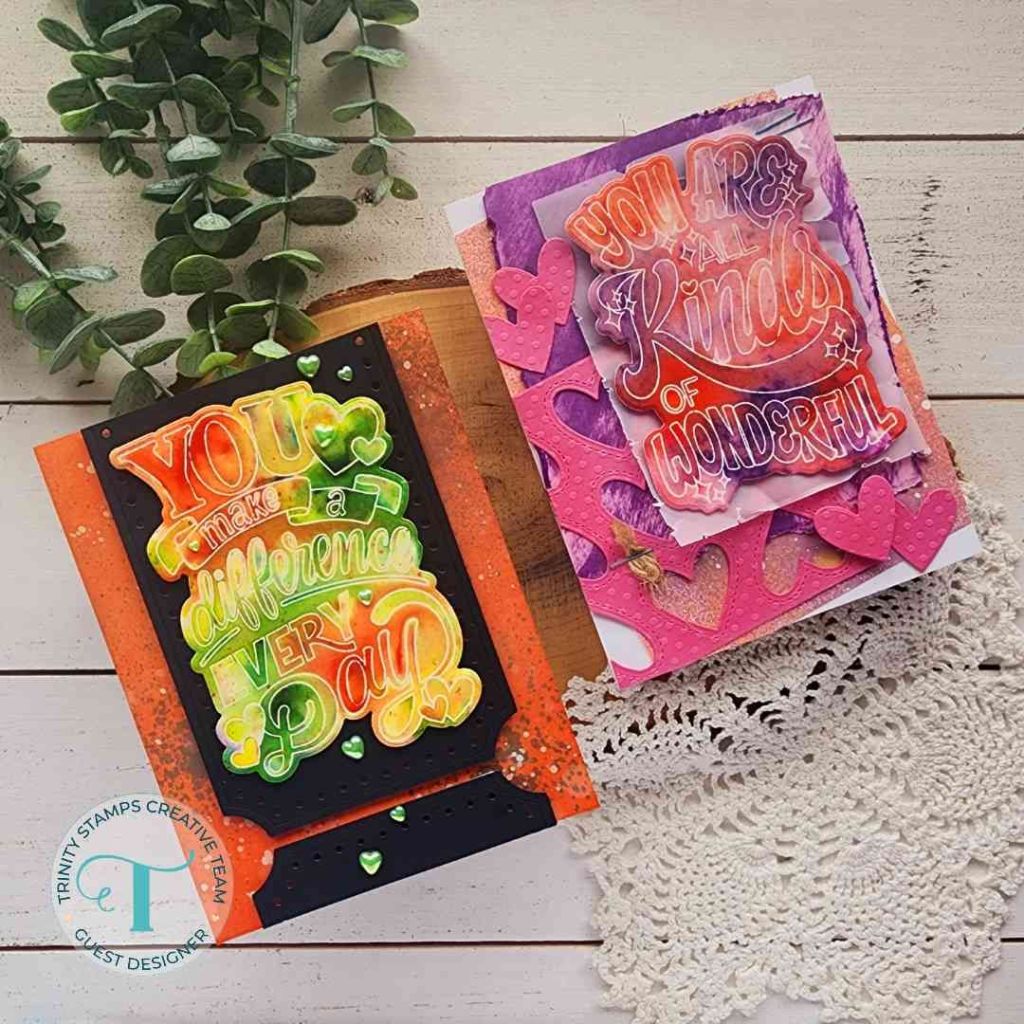
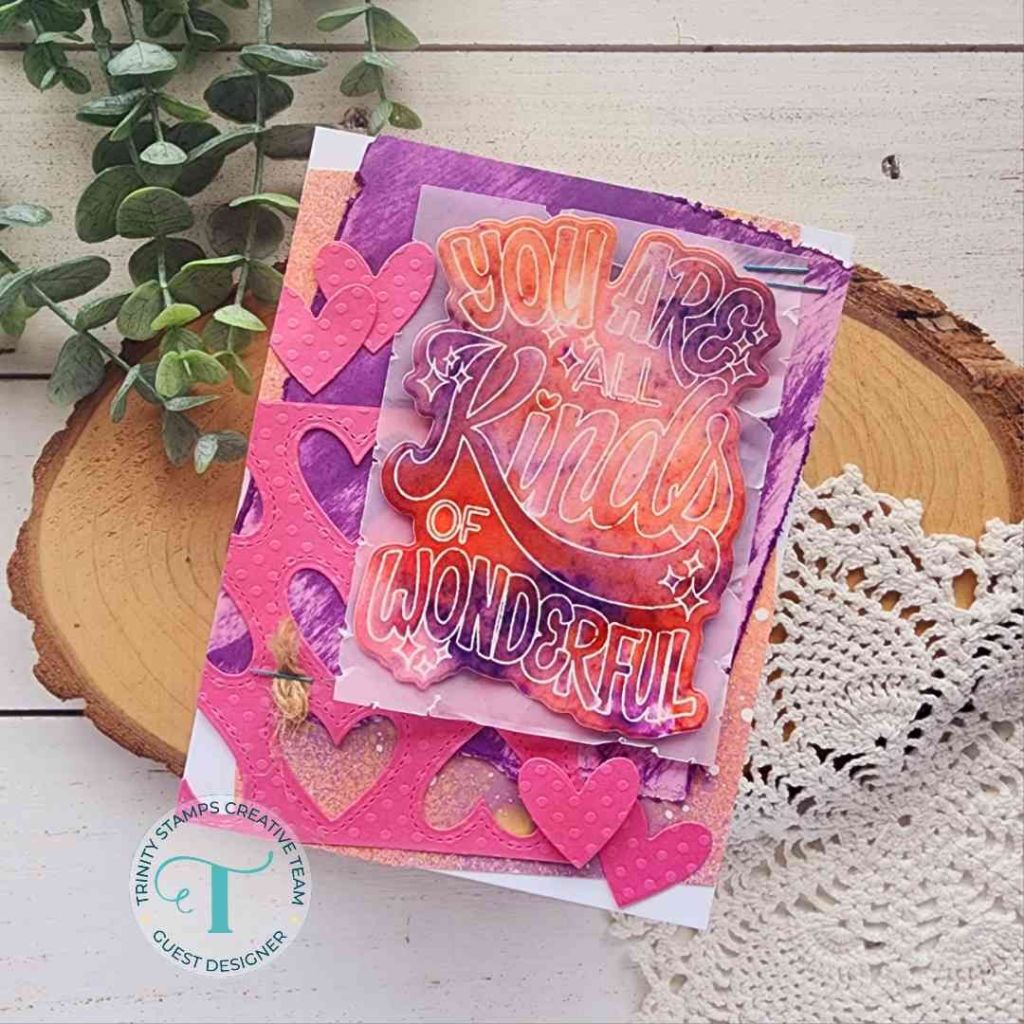
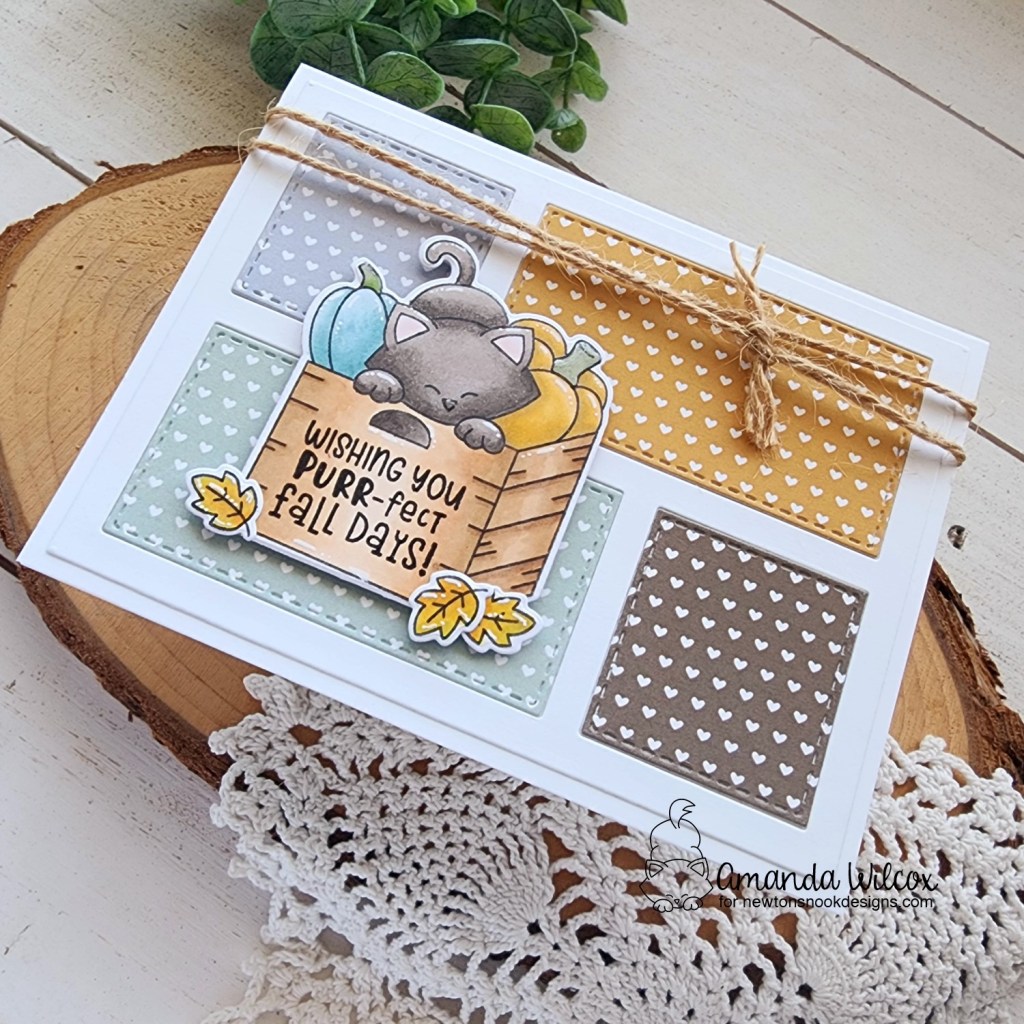
I chose 4 pieces of paper from the Natural Basics paper pad we revealed yesterday and cut the A2 Card Layout 2 die from each one. Then I cut a white frame for each set. I proceeded to create 4 card bases in different combinations with just the frames and inserts.
None of these are shakers but also remember that if you pop your frame up, any or all of the windows could become shaker wells too if you add an acetate layer to the back before your foam tape.
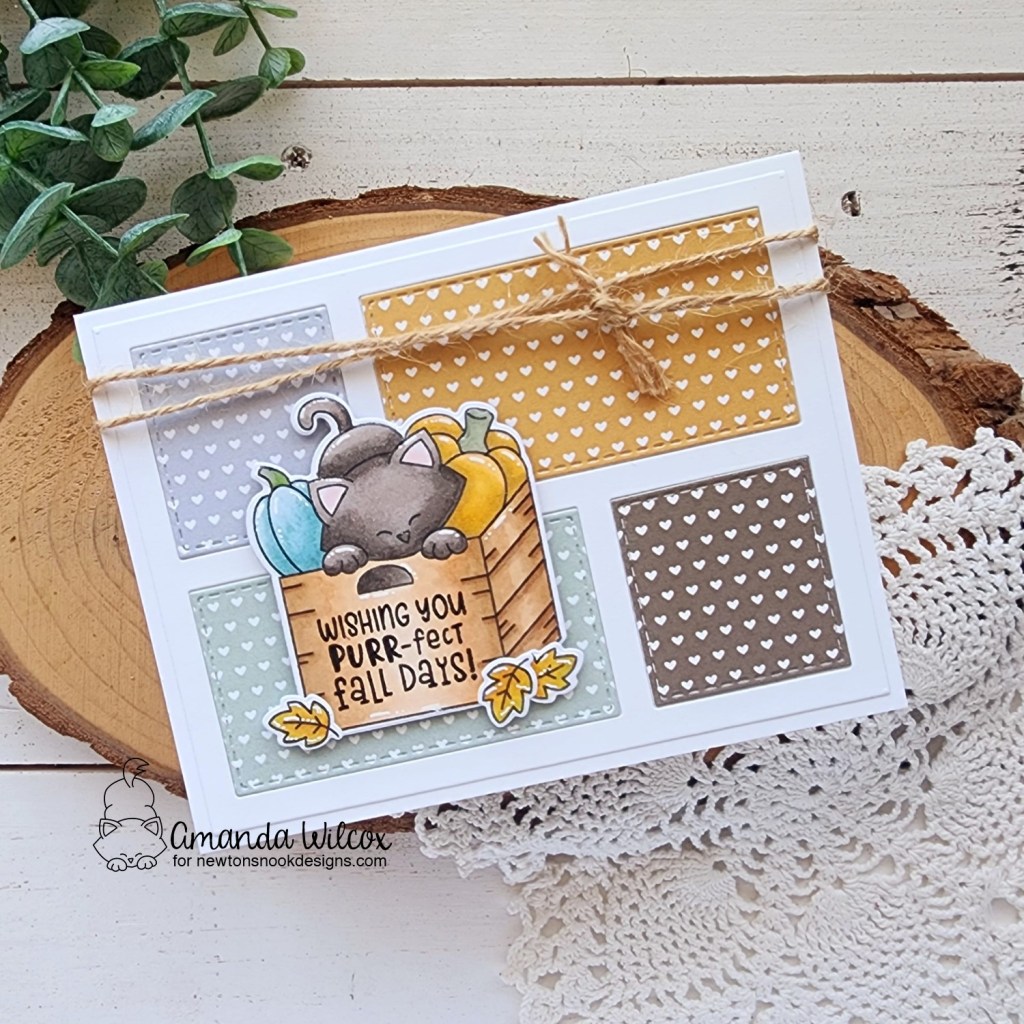
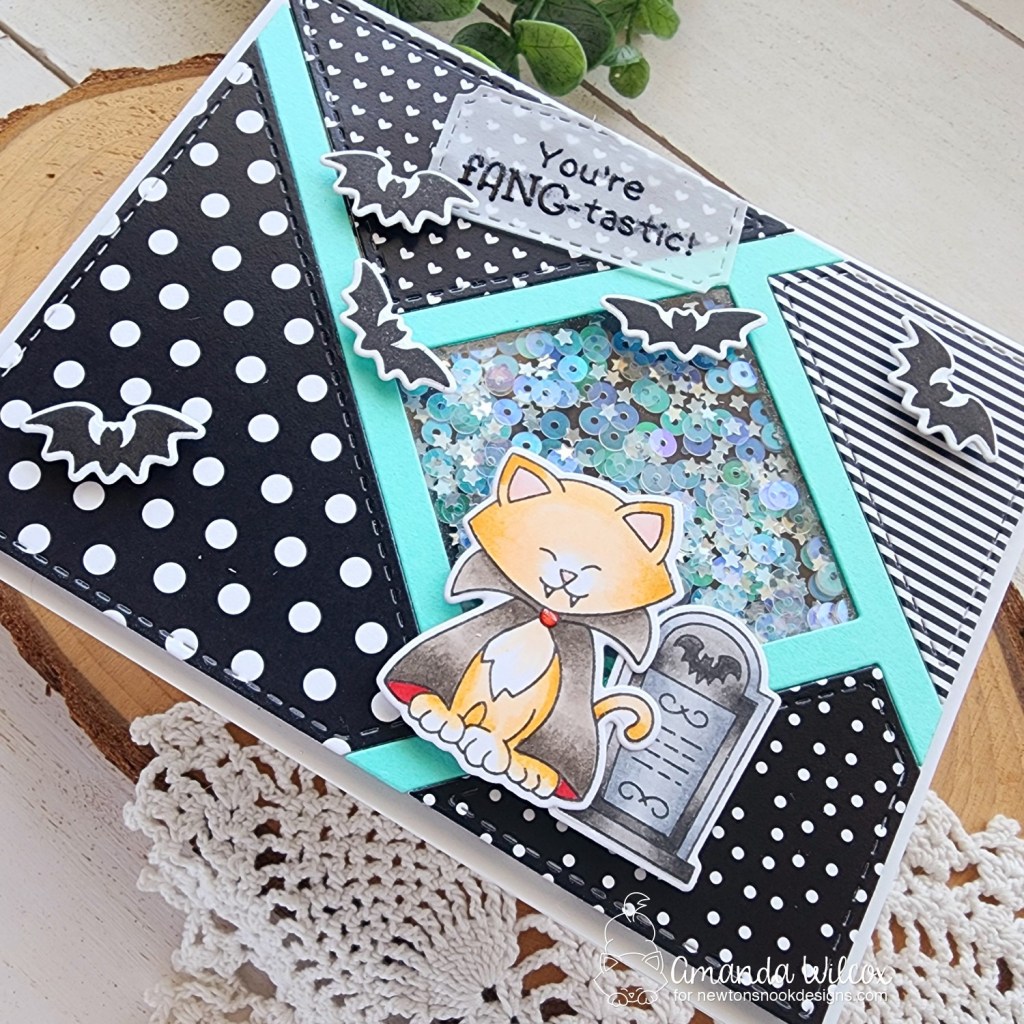
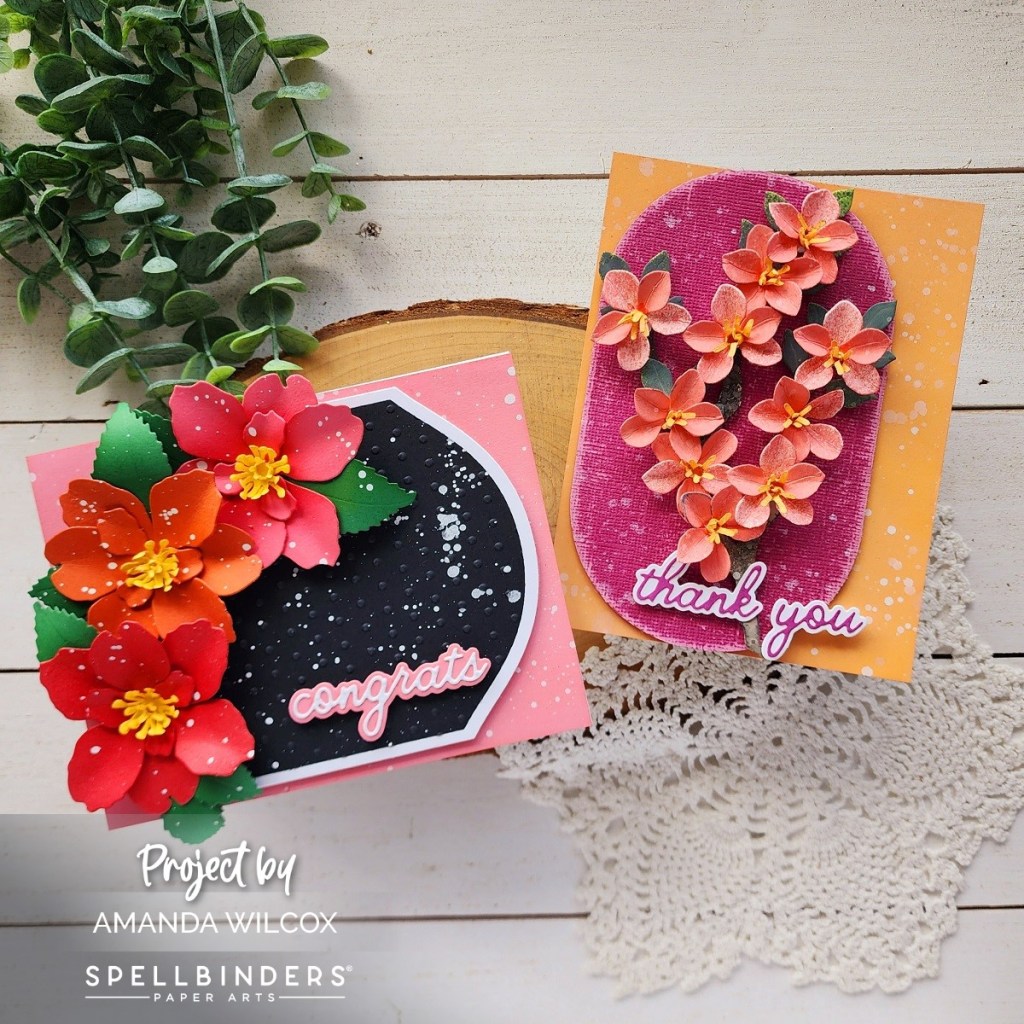
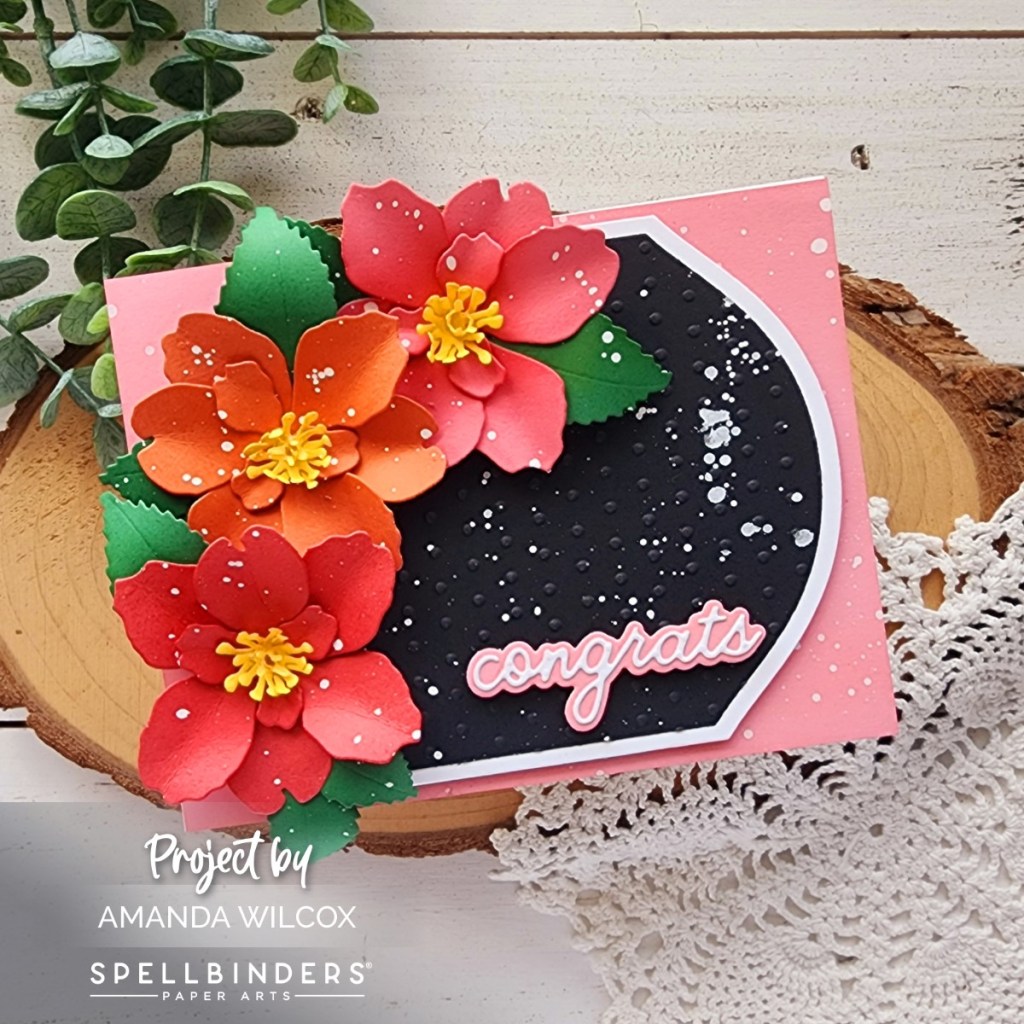
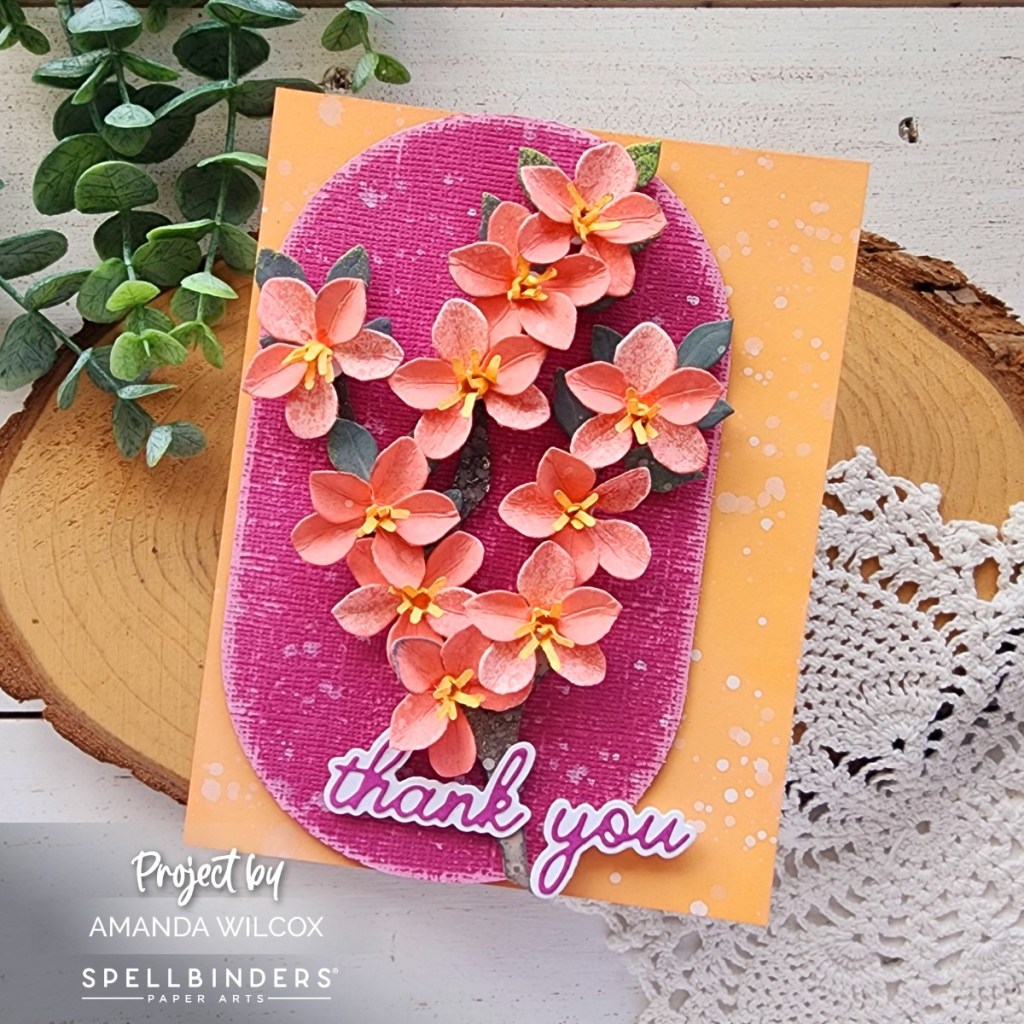
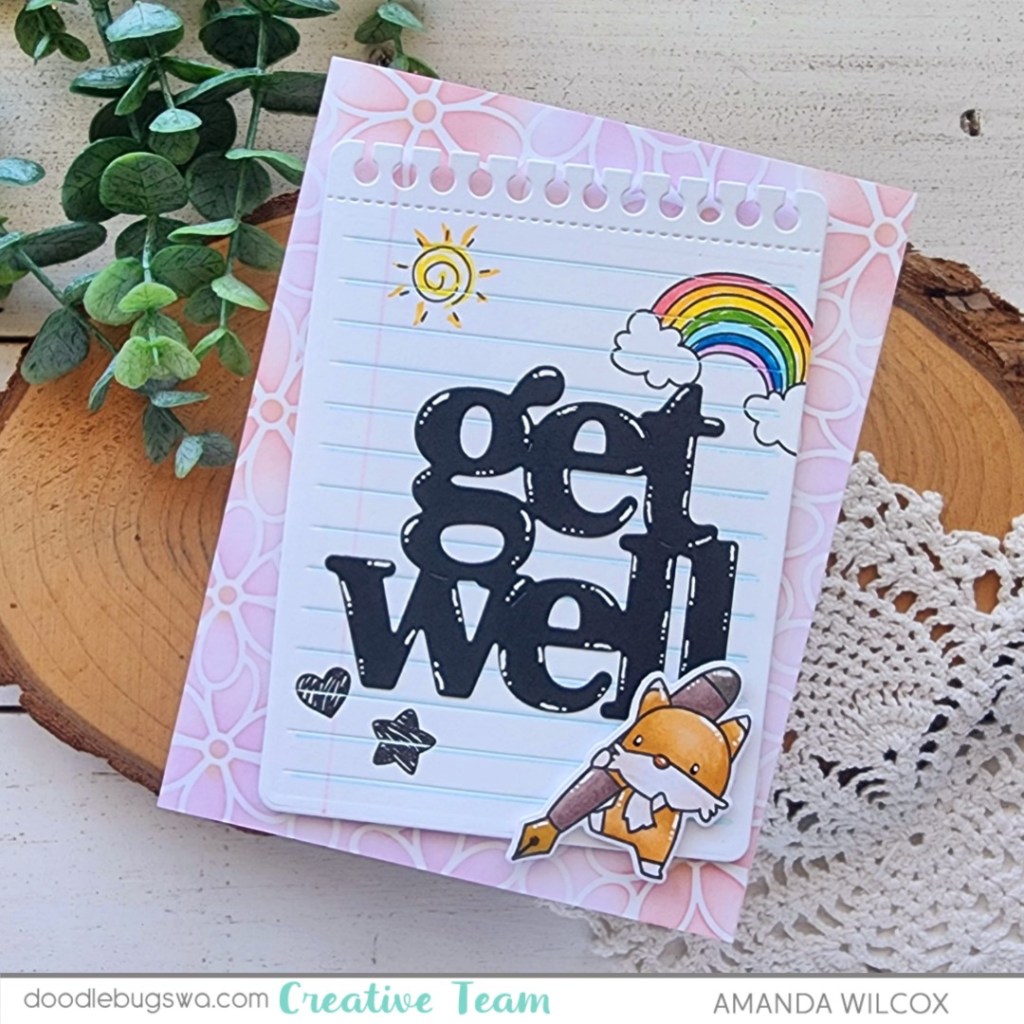
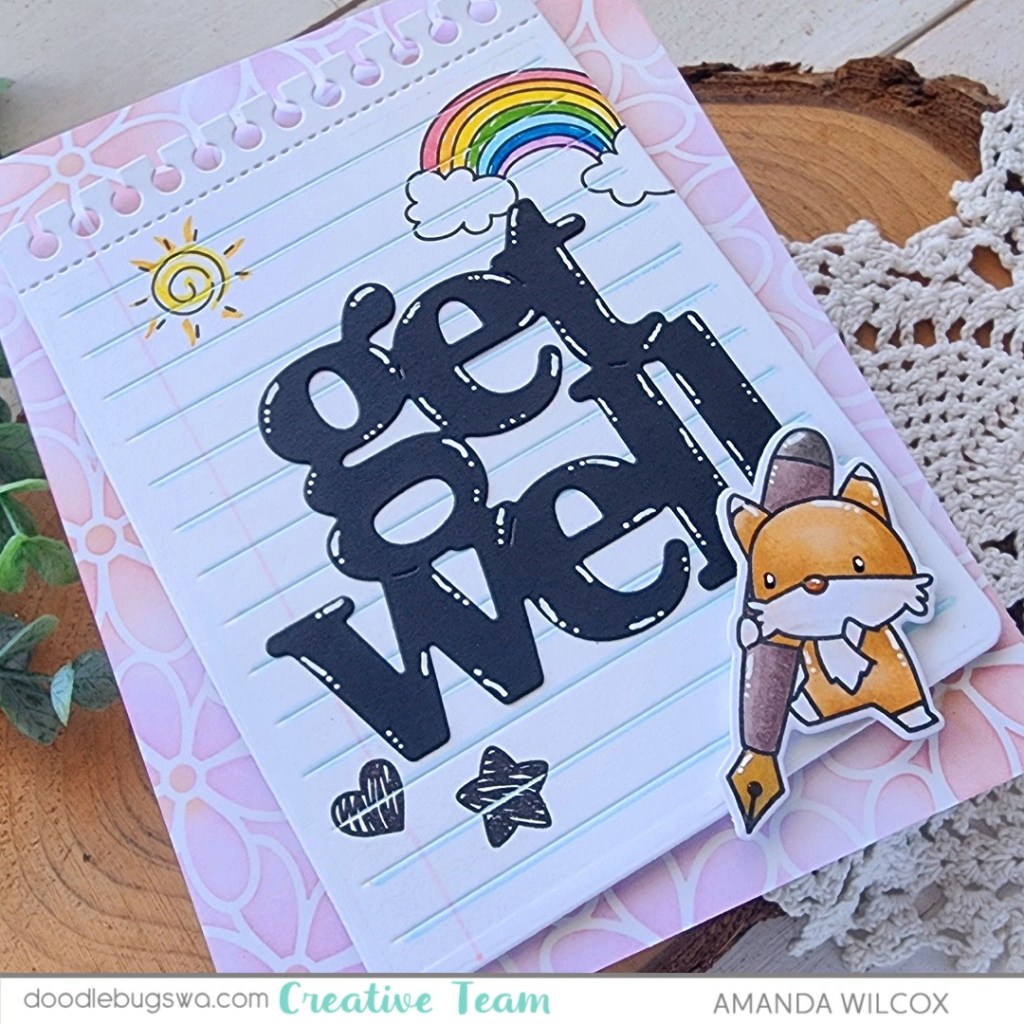
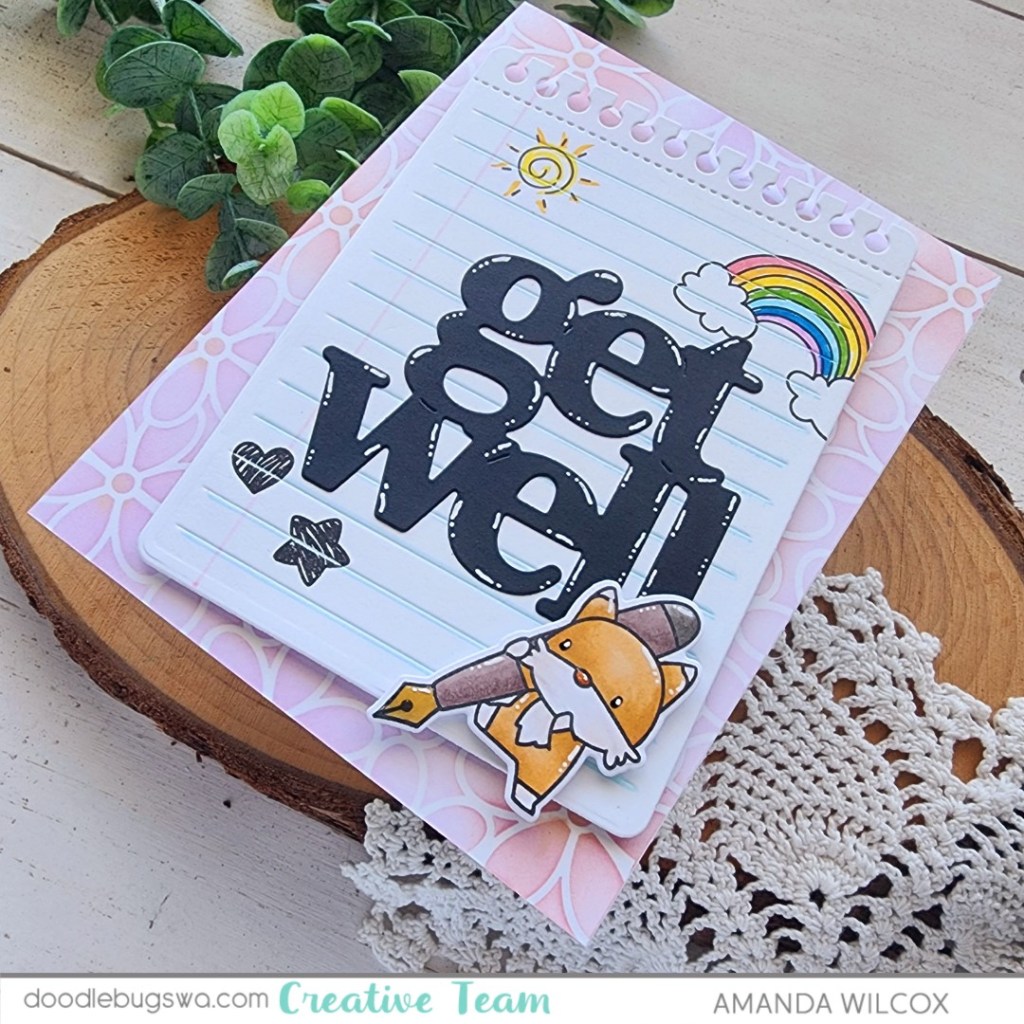
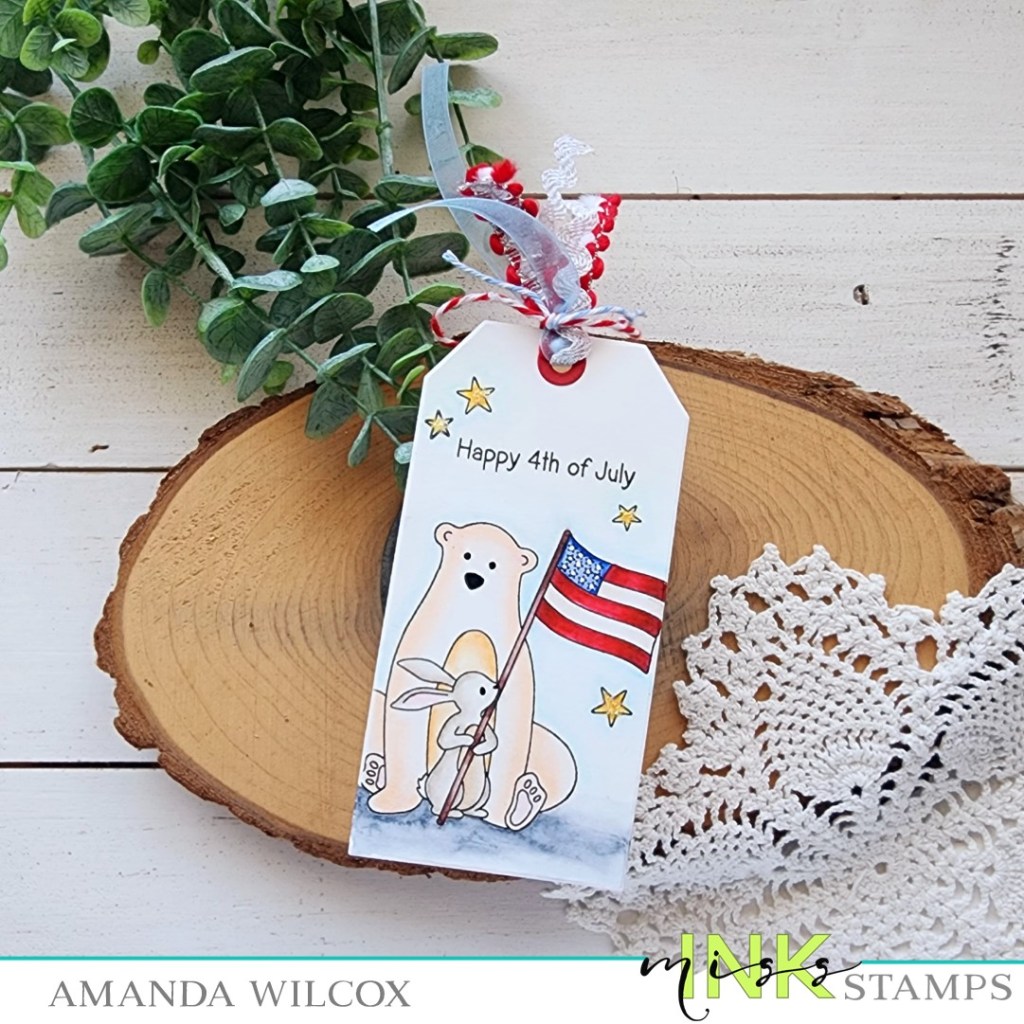
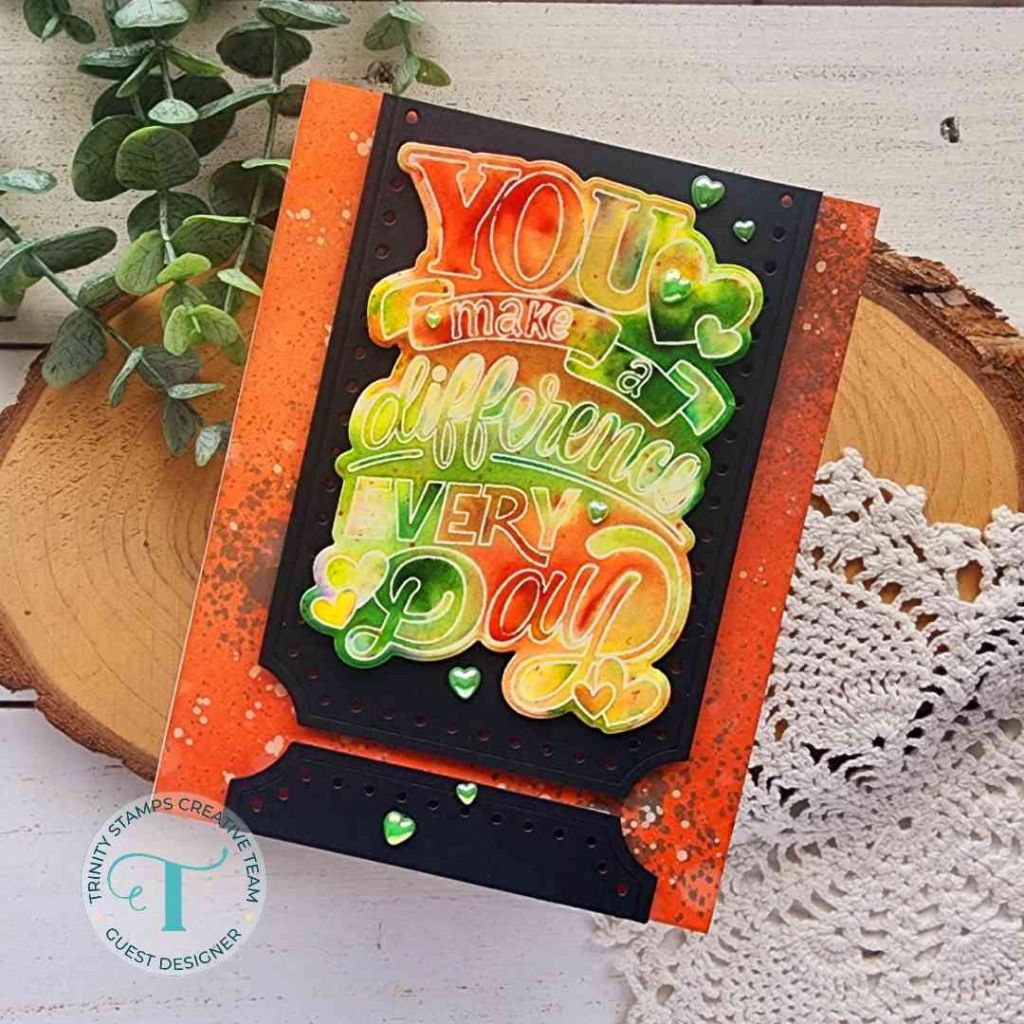
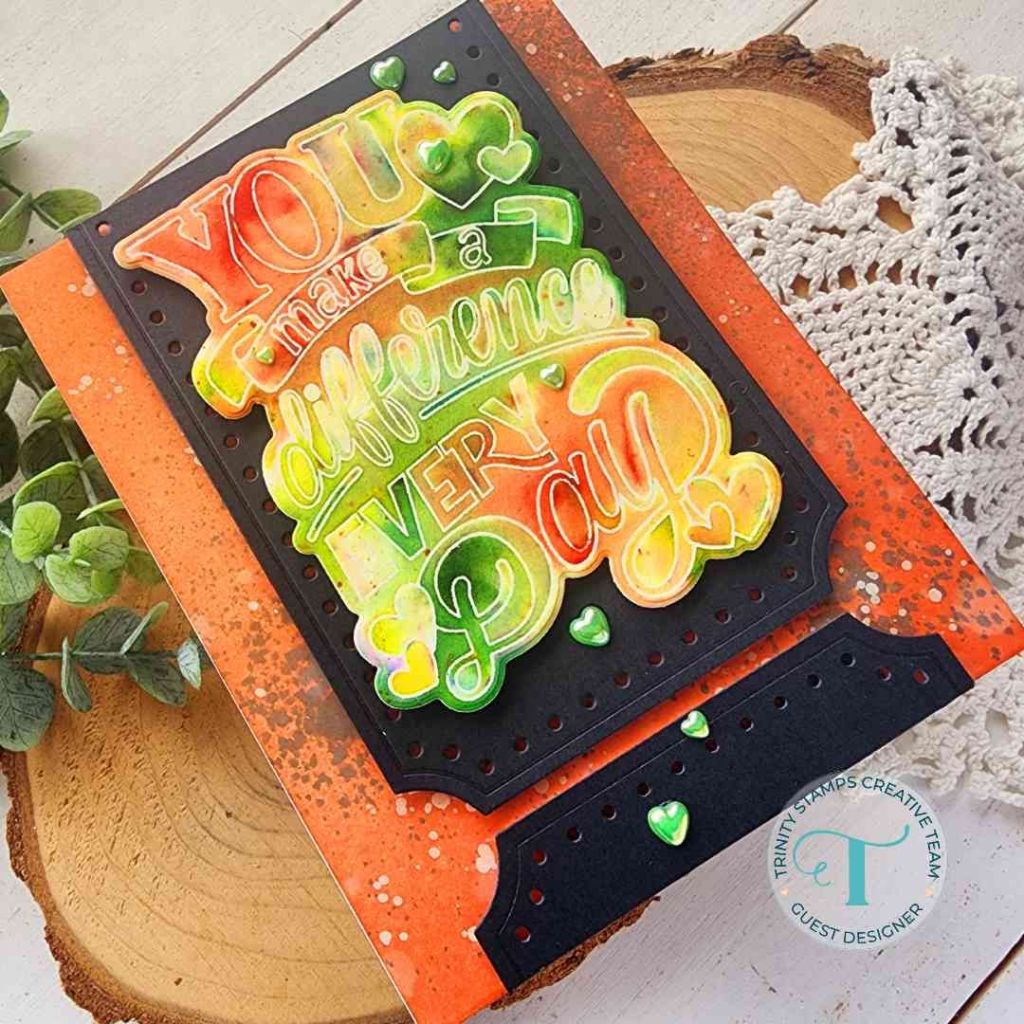
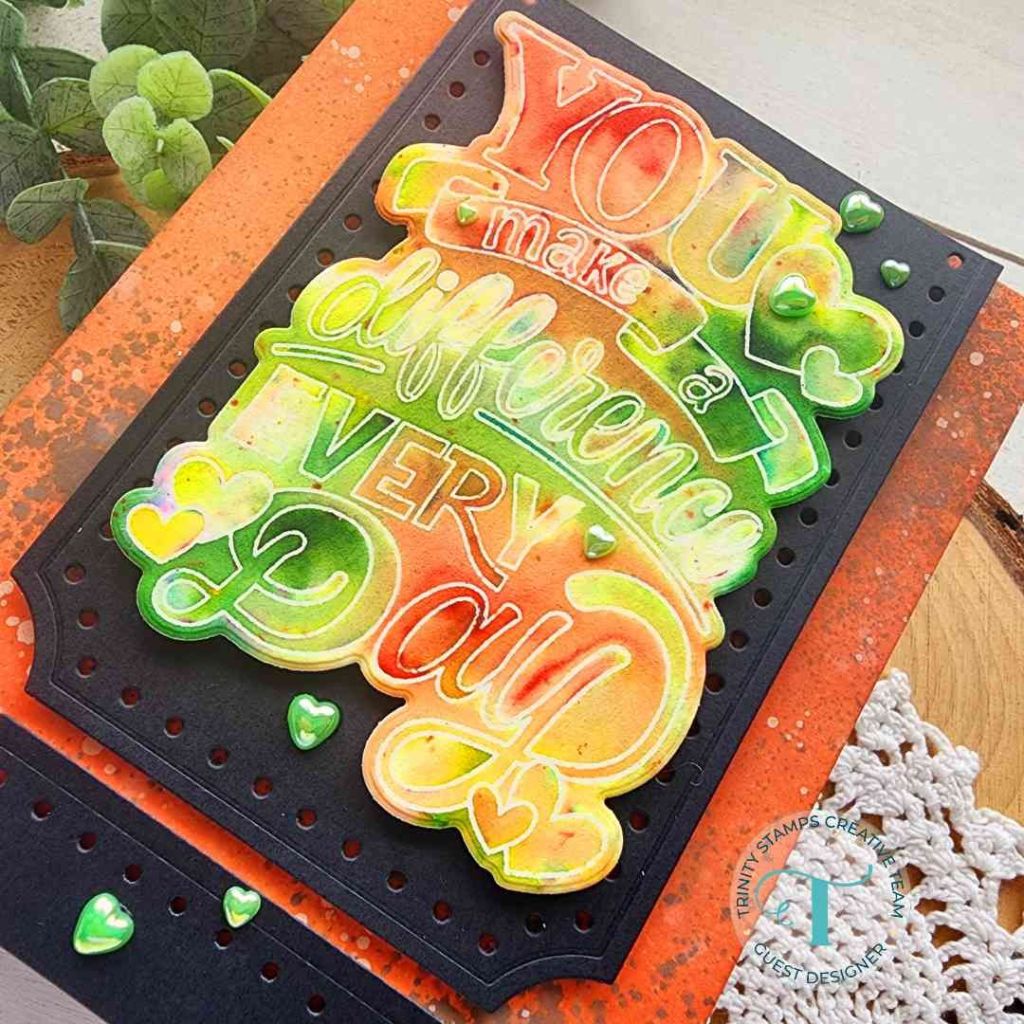
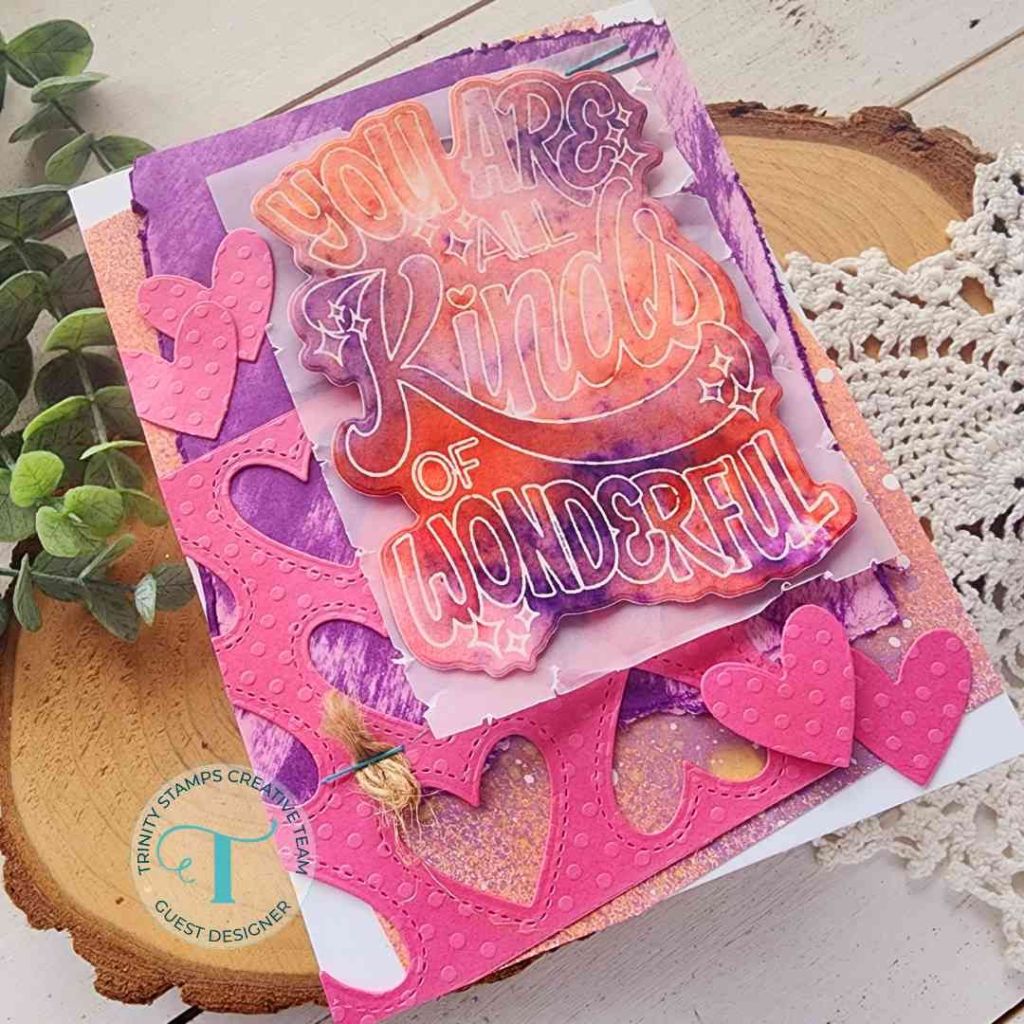
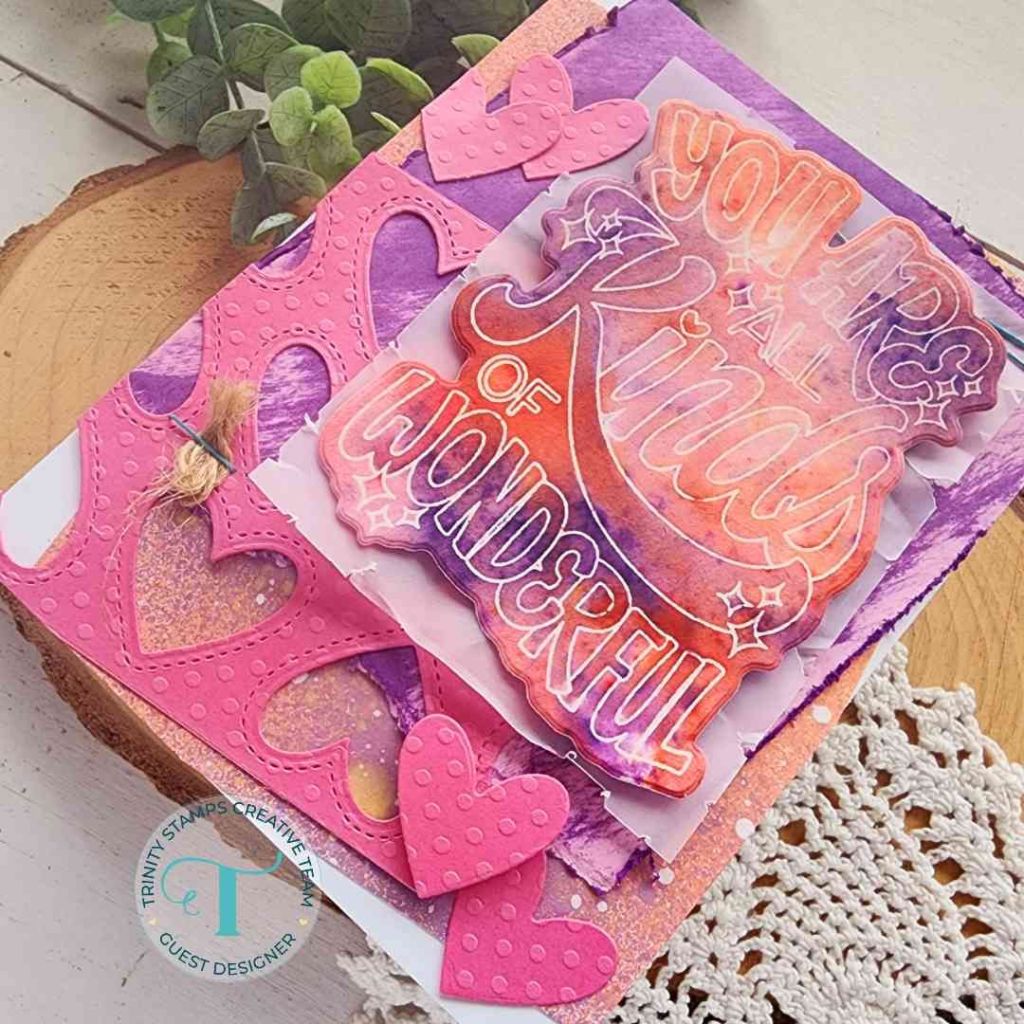
Today I used the simplest background where I just glued all of the pieces from the A2 Card Layout 2 die directly to a card base. No popping up of the background at all.
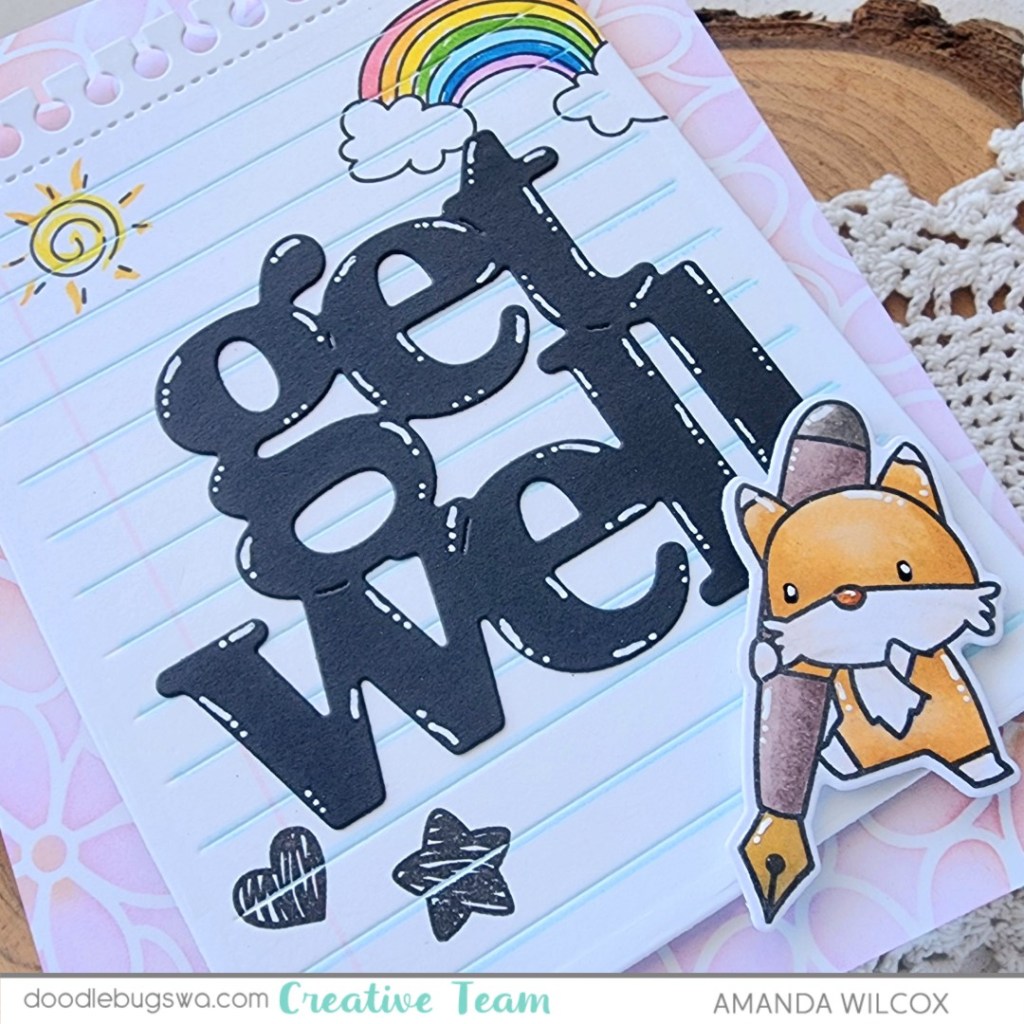
Then I chose the images from Newton’s Crate to stamp and color with my copic markers. I used the coordinating dies to cut it all out and a little liquid glue to adhere my leaves in place.
A little tip I found helpful over the years: If you’re stamping a sentiment where you’ll be coloring and the stamps are separate, color first and stamp the sentiment when you’re done. No change for bleeding while you’re coloring.
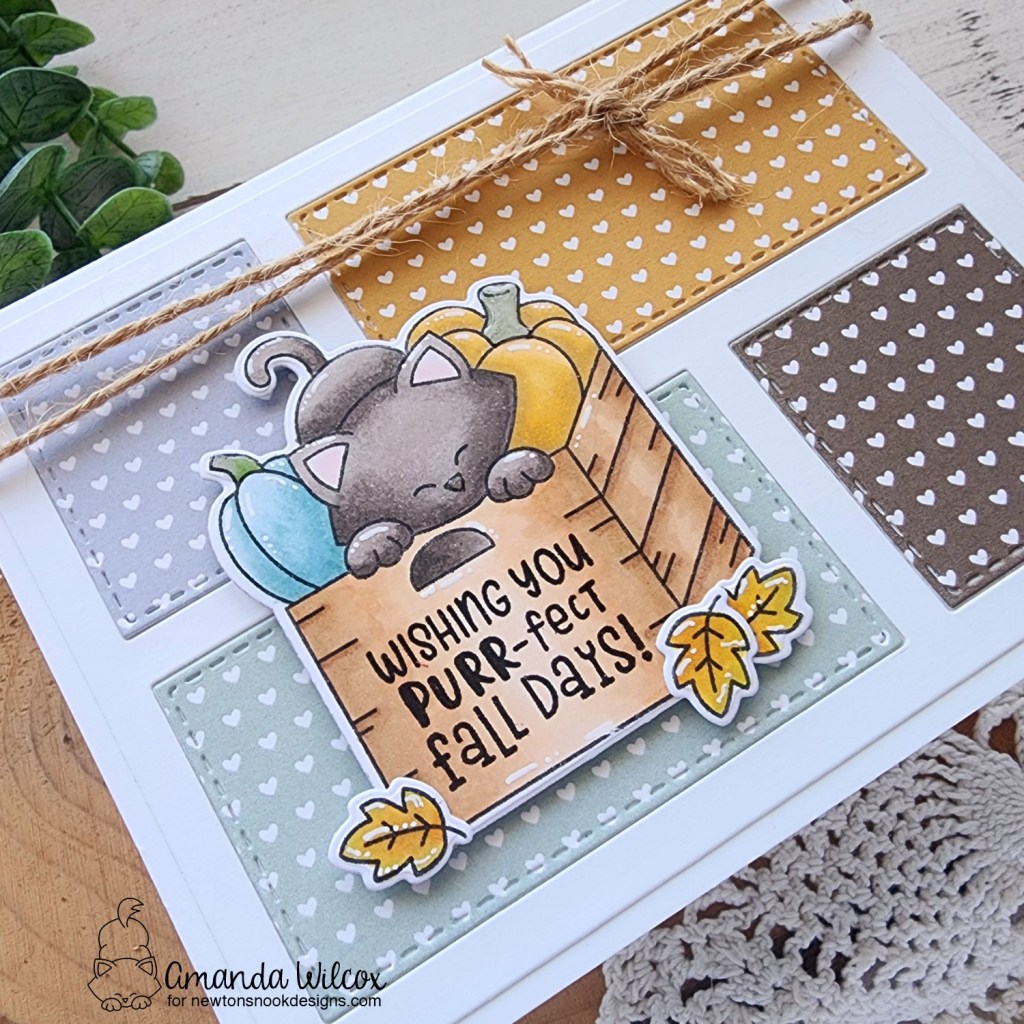
Finishing touches today include a little gloss accents on Newton’s nose and white gel pen highlights through all the images. Then I tied jute twine around the top of the card and frayed the edges for extra distressed interest.
Enter to Win a $25 Prize!
One lucky winner will receive a $25 prize to spend at Newton’s Nook Designs online shop! The winner will be chosen at random from the collective blog posts featuring our new products this week. For a chance to win, leave comments on the Design Team Member Blog Posts (see list below) from Monday July 15 through Wednesday July 17th. You will not know which blog has been chosen so the more you comment on the better your chances are of winning! You have until Thursday, July 17th at 9 pm ET to comment — winners will be announced on the NND blog on Thursday, July 18th.
Want another chance to win? We will be having an Instagram hop on Thursday with a second prize! Please join us over on Instagram on Thursday, July 18, for details!
Check out all the awesome Design Team Blogs below to enter:
Newton’s Nook Designs
Donna Idlet
Larissa Heskett
Samantha Mann
Diane Morales
Farhana Sarker
Amanda Wilcox