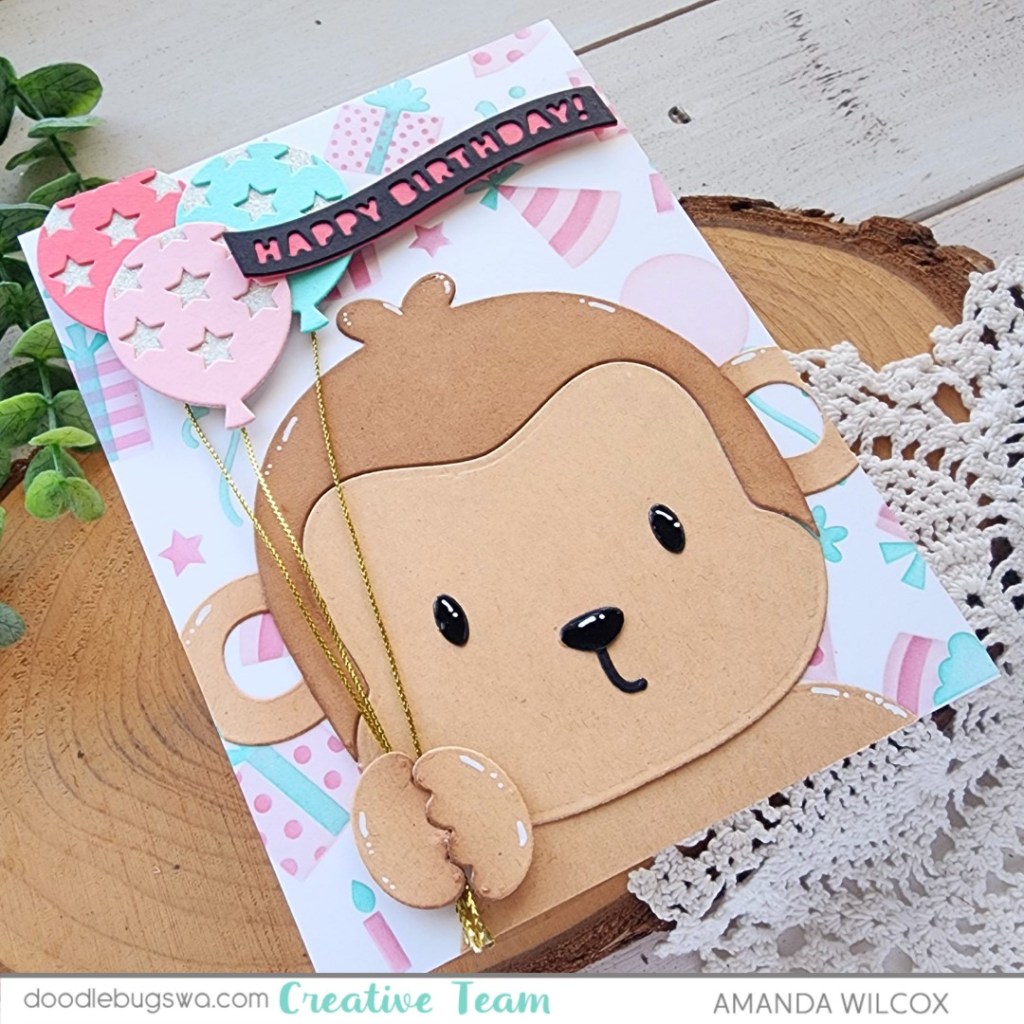
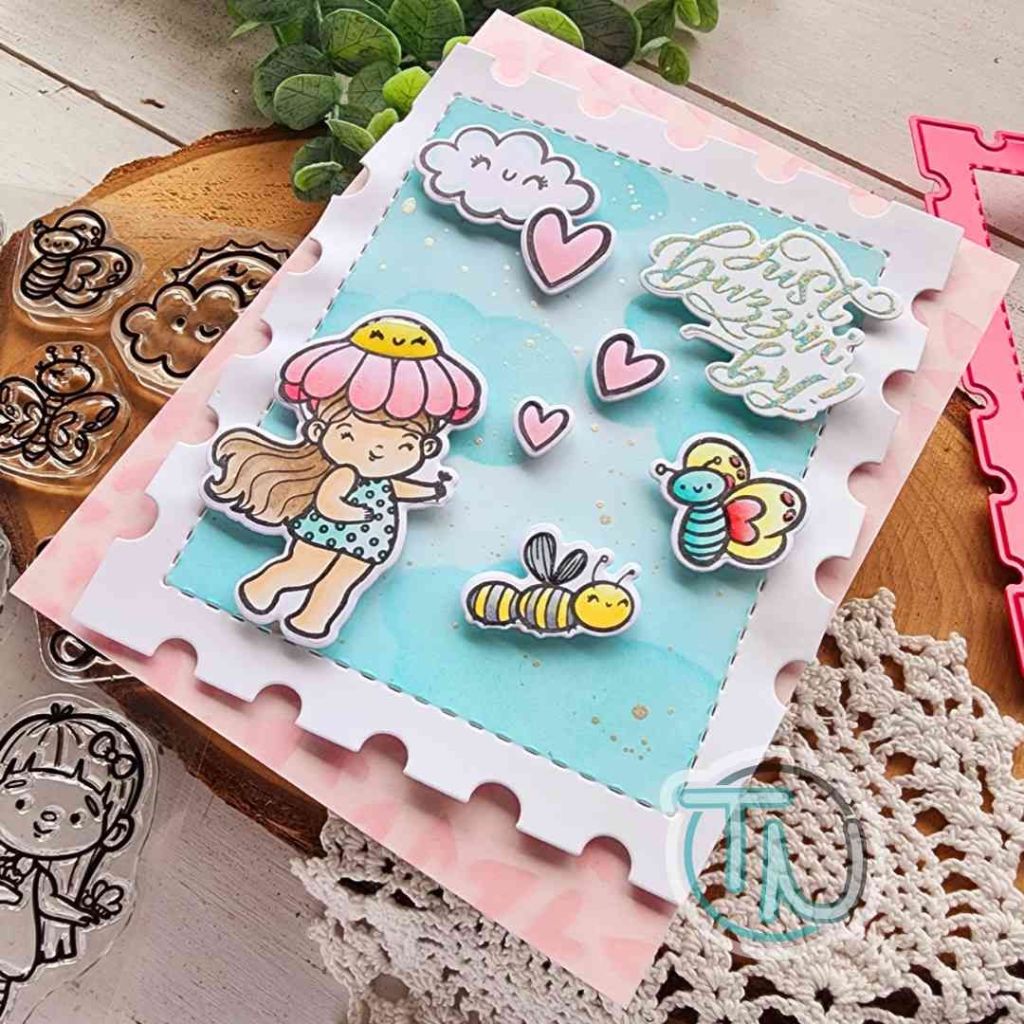
Hi there. I’m so glad you’re here. Today I’m happy to be on the Newton’s Nook blog sharing a fun birthday card with lots of texture and sparkle. I hope you love it!
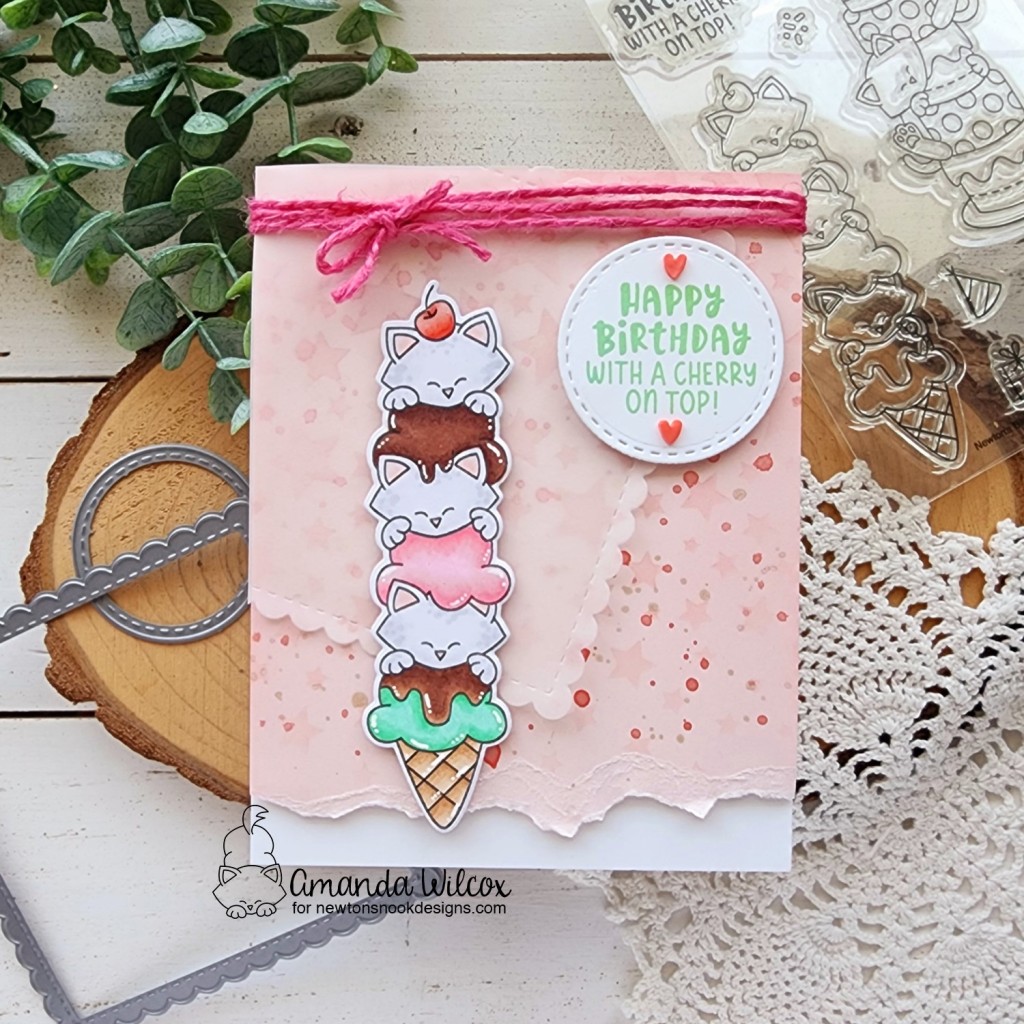
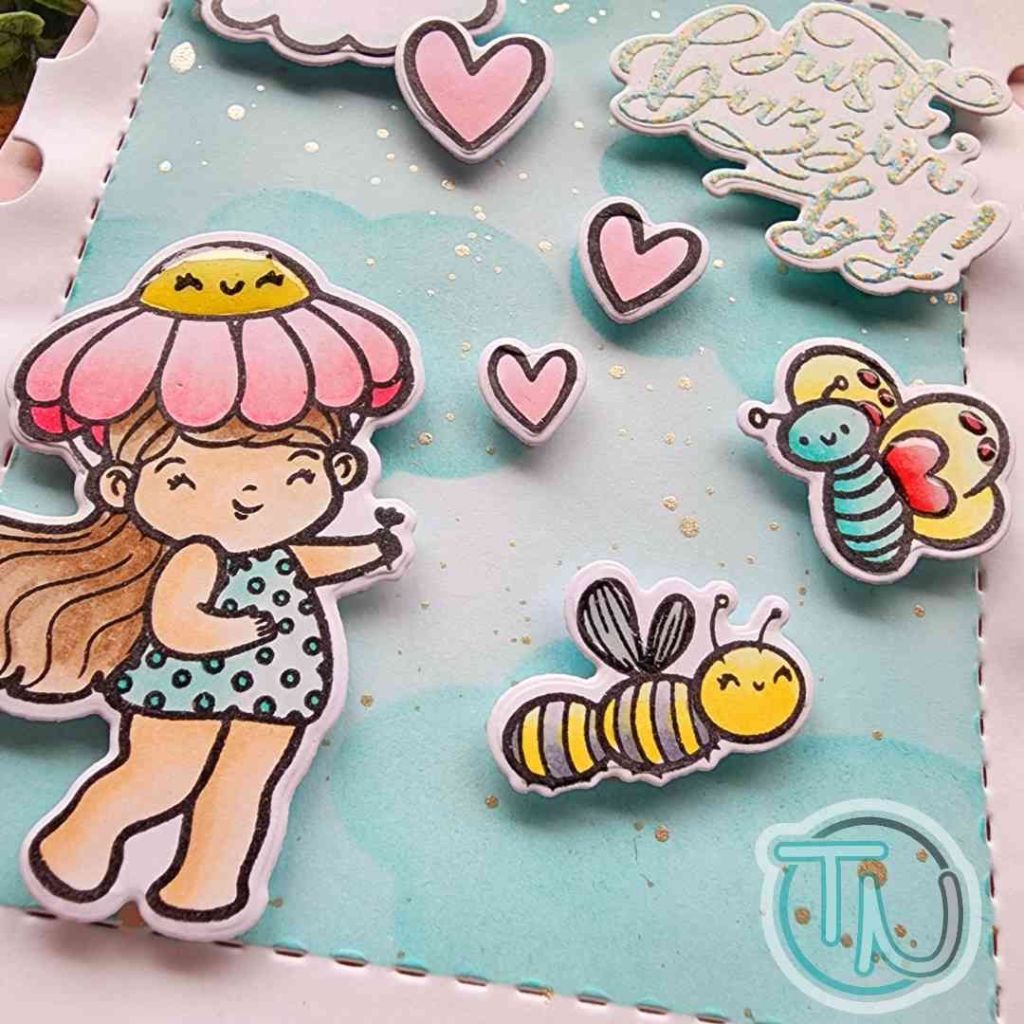
I started by stamping the ice cream image in Newton’s Birthday Delights and colored it with my copic markers. I used the coordinating die to cut it out and set it aside. Moving on to the background, I chose the Cascading Stars stencil and inked pink on pink cardstock for a subtle background. Then I splattered it with pearl and pink watercolors.
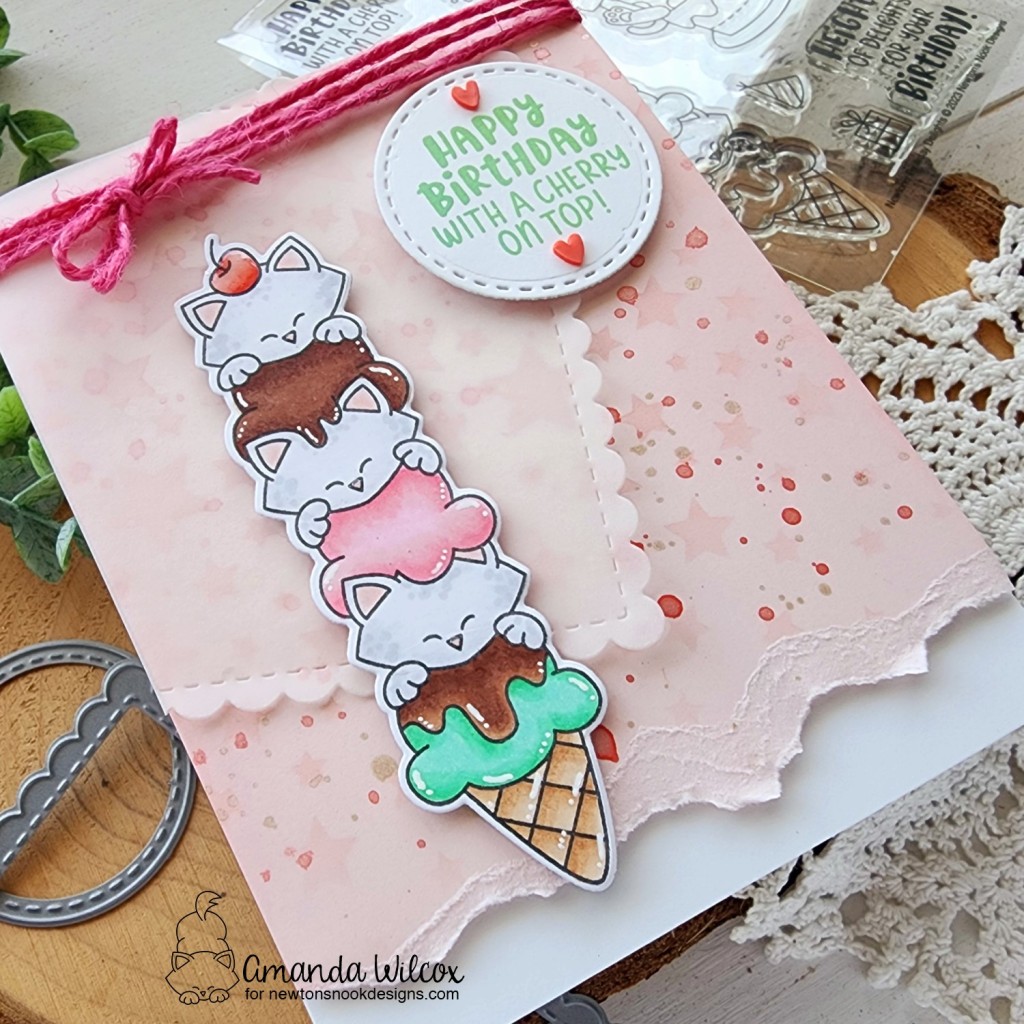
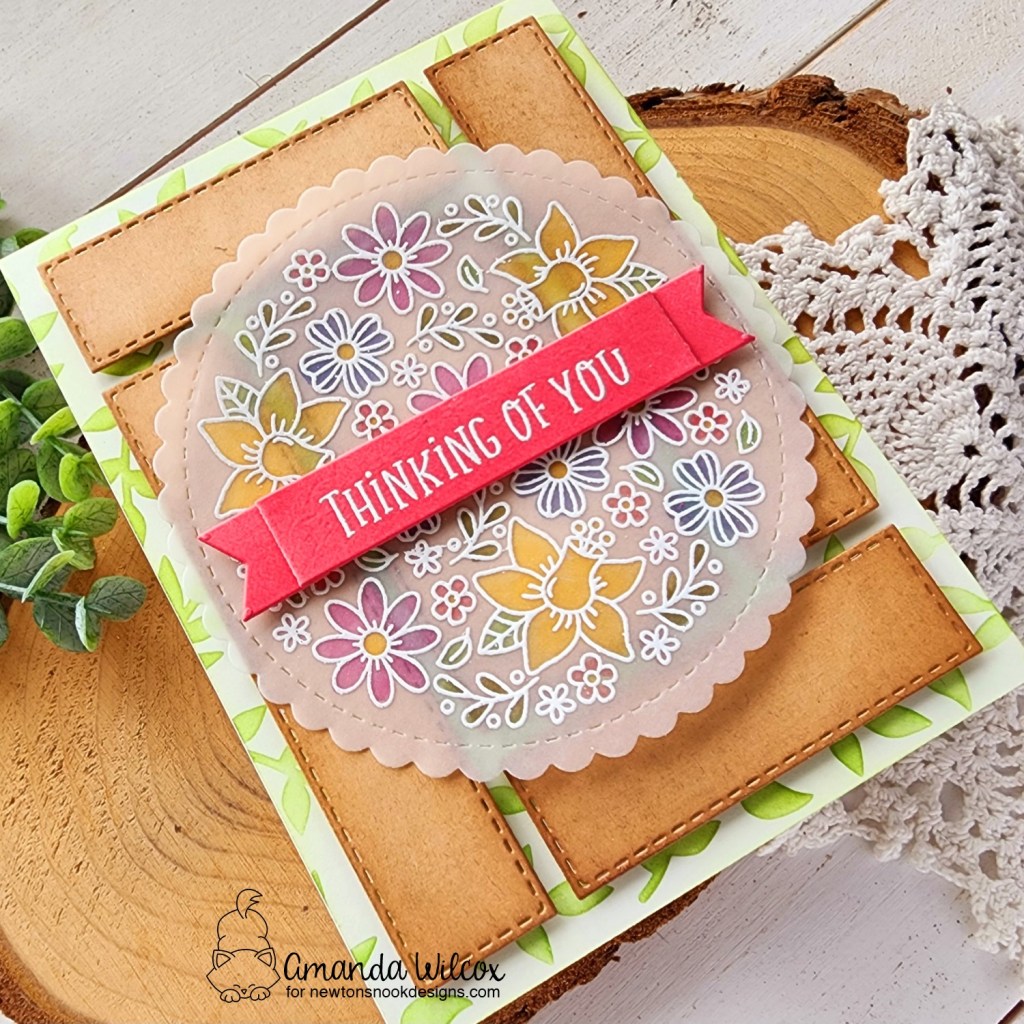
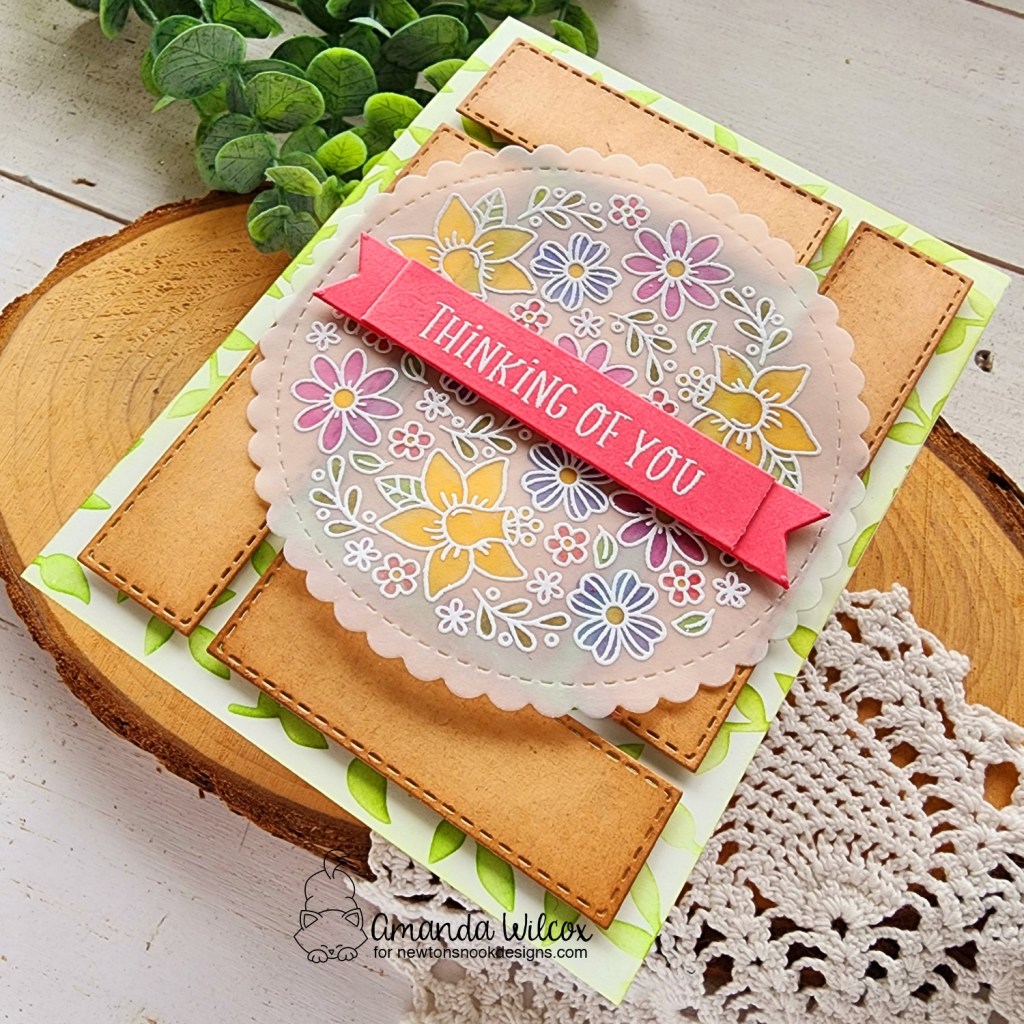
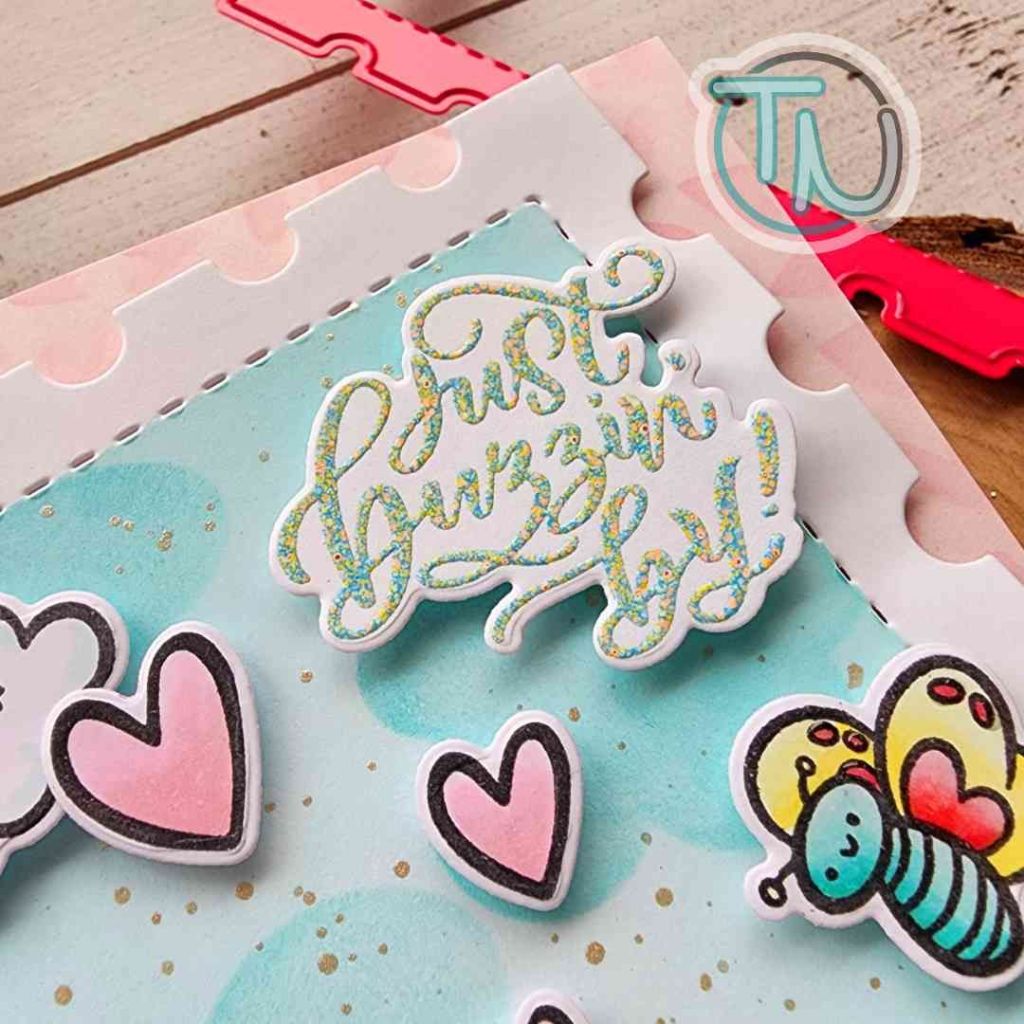
While the watercolor was drying, I cut a scalloped square from vellum using the Frames Squared die set. At that point I realized the larger circle in the same die set was the perfect size for my sentiment. So I cut a white one and used cracked pistachio distress oxide ink to stamp it. It matched my bottom ice cream scoop perfectly!
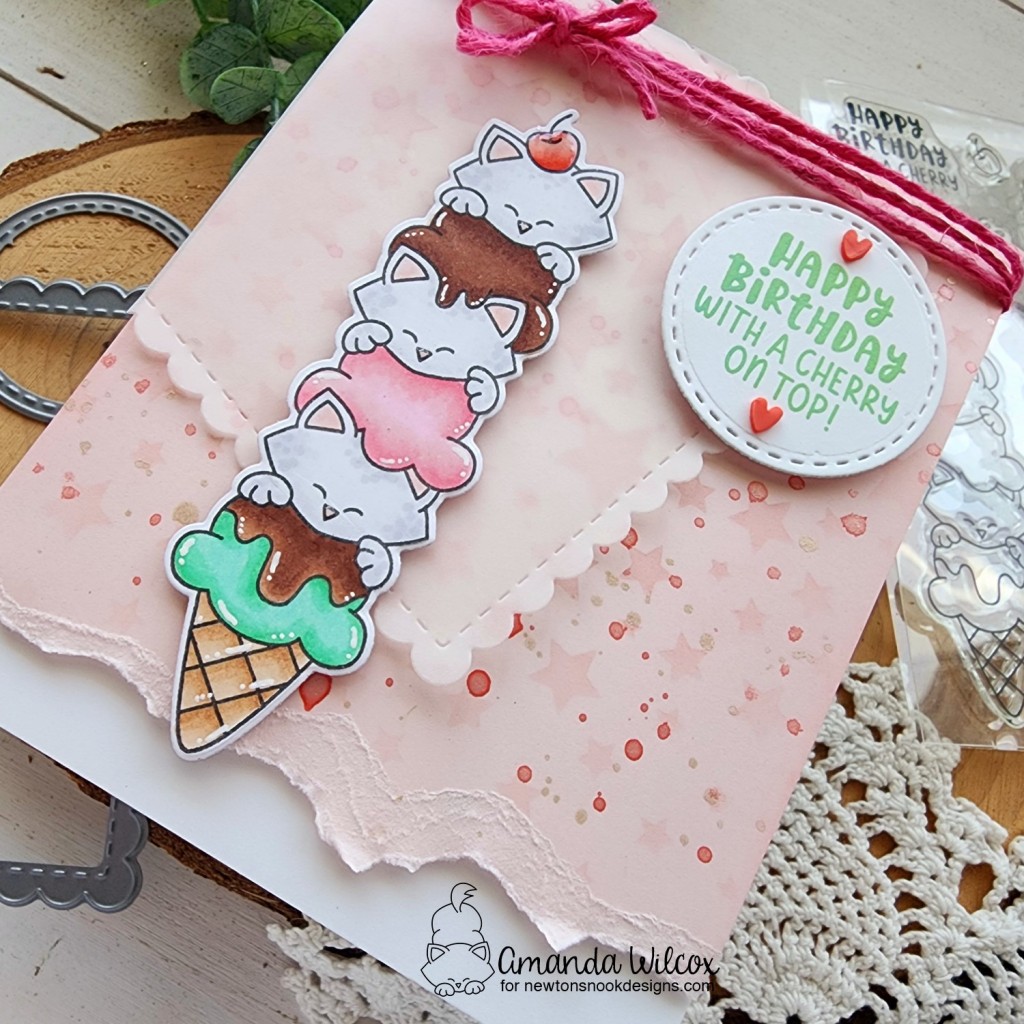
Once the watercolor was dry, I tore the bottom edge off and popped it up on a white card base. Then I added the ice cream image to the vellum square, hid tape runner behind the image and adhered that to the card base. I trimmed off the excess and popped my sentiment circle up on the other side of the card front. This also secures the other portion of the vellum without seeing any glue.
For finishing touches, I tied pink twine around the top of the card and tied it in a bow. Then I added white gel pen highlights to the image and glossy accents to the kitty noses and cherry on top. Last, but not least, I put two red clay hearts on the sentiment circle to carry the red over and balance things a little.
Products used:
Newton’s Birthday Delights stamps and dies
Frames Squared dies
Cascading Stars stencil
Blending brush
Watercolor – pink and pearl
Foam tape and squares
Tape runner
Sweethearts clay embellishments
I appreciate you sharing your time with me. Have a fabulous day!