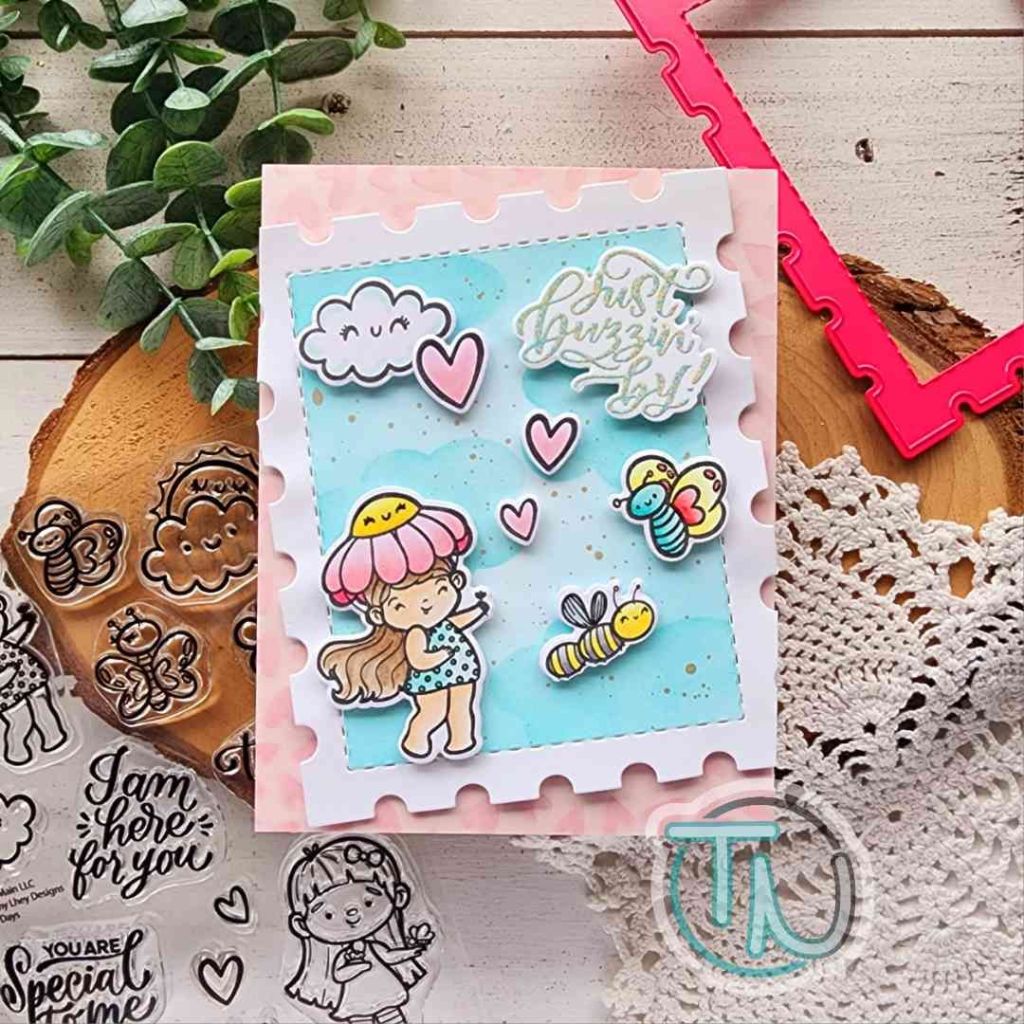
Hello friends! For this week’s Mix It Up Monday, I’m combining dies from Pretty Pink Posh and Mama Elephant to create a fairly fun and quick card with an awesome surprise inside! Let’s get inky!

I started with a piece of white cardstock and ink blended it with Lawn Fawn inks randomly. My color palette today was forget me not, fish tank and fresh lavender. I spritzed the panel with water and blotted it dry. Then I squished my Lawn Fawn deep sea ink pad on an acrylic block, spritzed it with water and flicked the darker color all over the panel. Once that was dry I went it with white paint splatters too. Once the whole panel was dry, I die cut it with the Pretty Pink Posh Butterfly cover plate.
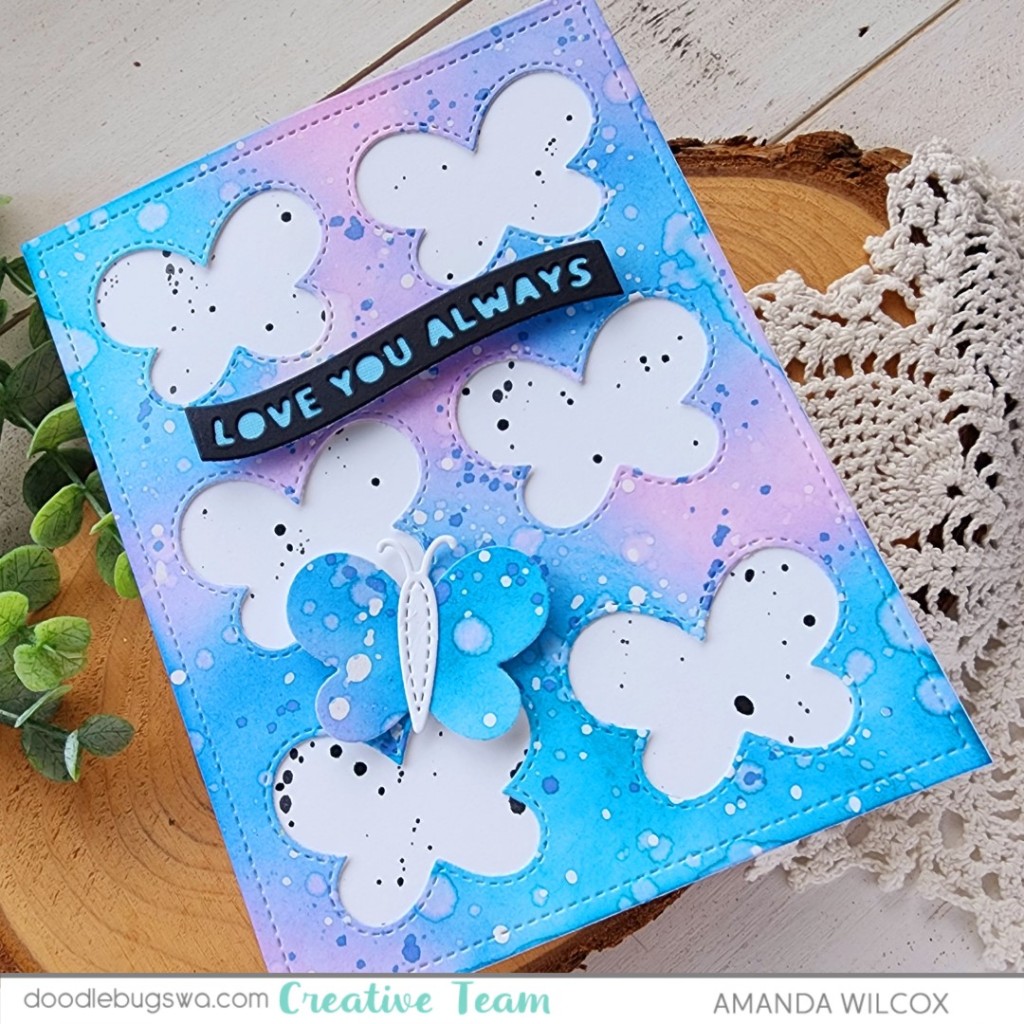
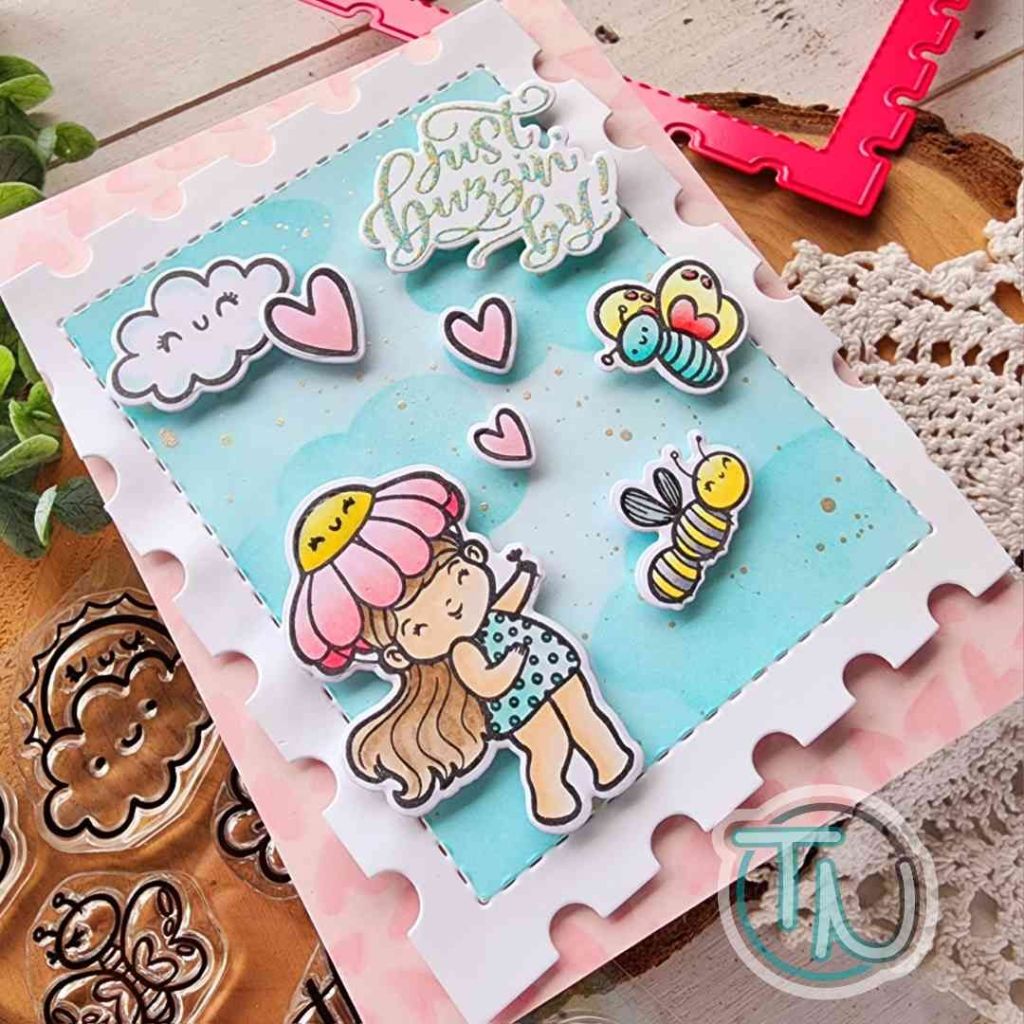
I removed and saved all of the butterflies. Die cutting the smallest body from the Pretty Pink Posh Stitched Butterflies set, I glued it to the solid butterfly and set it side. Keeping with my typical love for splatter, I used black paint to splatter the front of my card and then glued the panel over top of that.
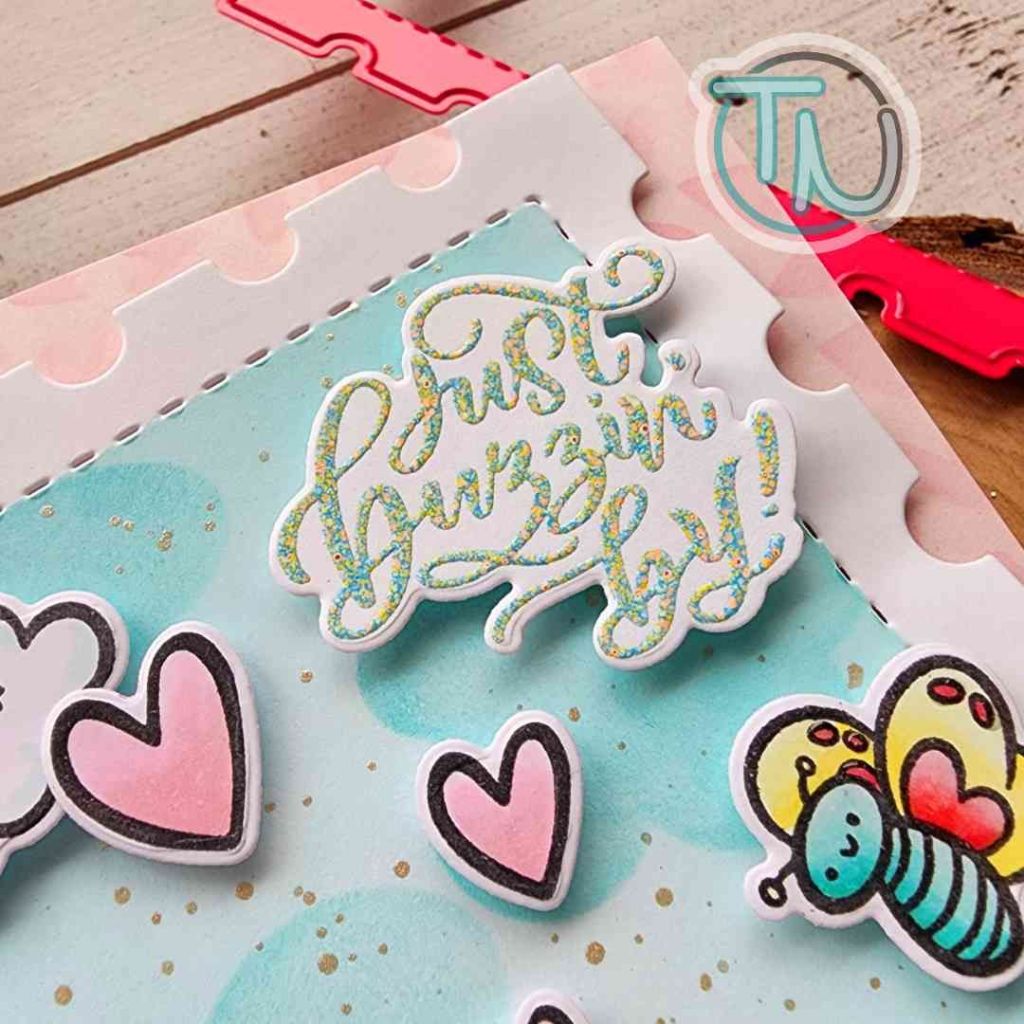
I chose a sentiment from Mama Elephant Banner Greetings dies, using liquid glue to adhere the layers together and foam strips to pop it up on the card front. Finally, I added foam squares to the edges of the butterfly wings and liquid glue to the center. Once it was in place I used reverse tweezers to hold the butterfly body down while the glue dries.
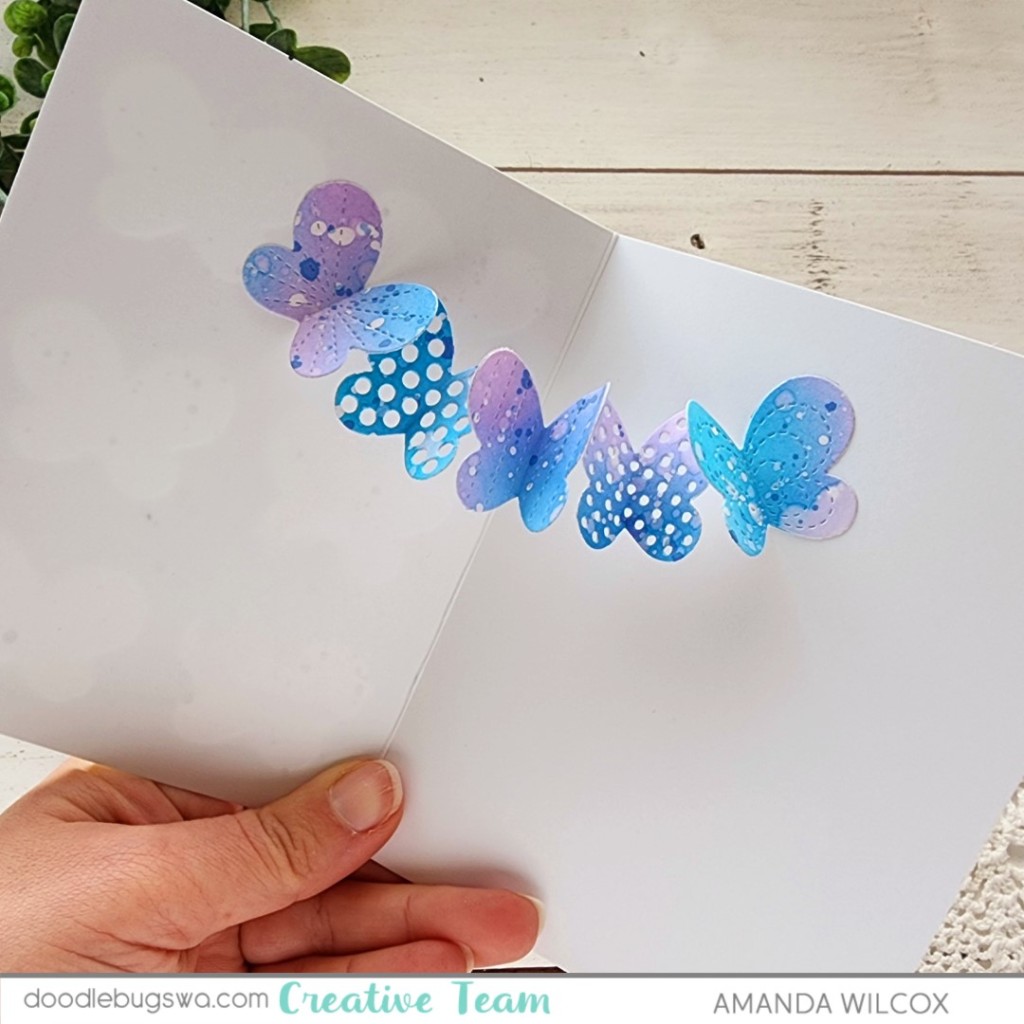
For the inside surprise! I took the remaining five butterflies from the plate and folded them in half. I glued the tips of the wings together with liquid glue. Once they were dry I glued the right butterfly inside the card, added glue to the left one and closed the card securing both end in place. I made sure to let this dry with heavy blocks on top for a while before trying to open it.

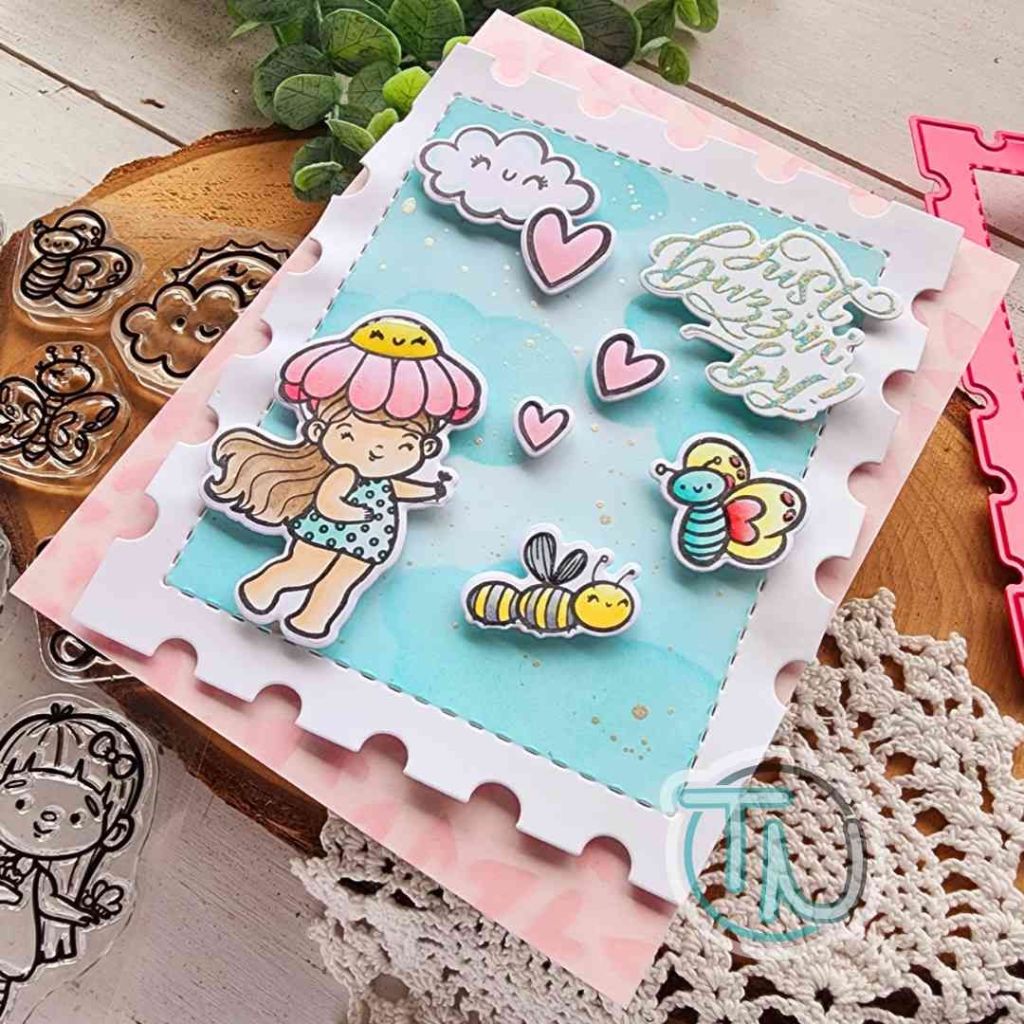
I had to much fun pulling this card together and love the extra element of the inside fun when the recipient opens it.
FYI – that many layers of butterflies in the inside makes it pretty thick so I think I’ll save these cards for hand delivery or those going in a box of other goodies to mail. I don’t think the USPS machines will like it very much.
Products used:
Pretty Pink Posh Butterfly cover plate
Pretty Pink Posh Stitched Butterflies dies
Mama Elephant Banner Greetings dies
Lawn Fawn ink – fish tank, deep sea, forget me not, fresh lavender
Blending brushes
Liquid glue
Foam squares and strips
I appreciate you sharing your time with me. Have a fabulous day!