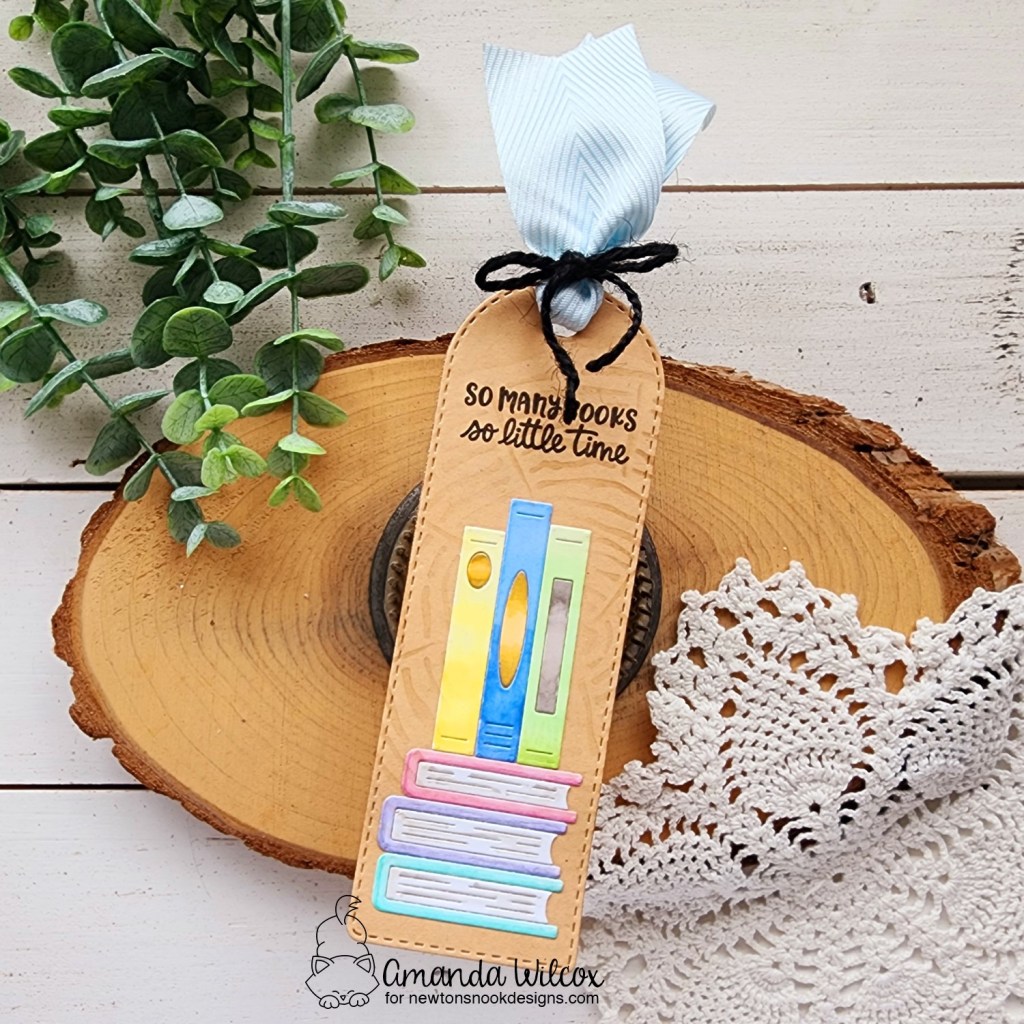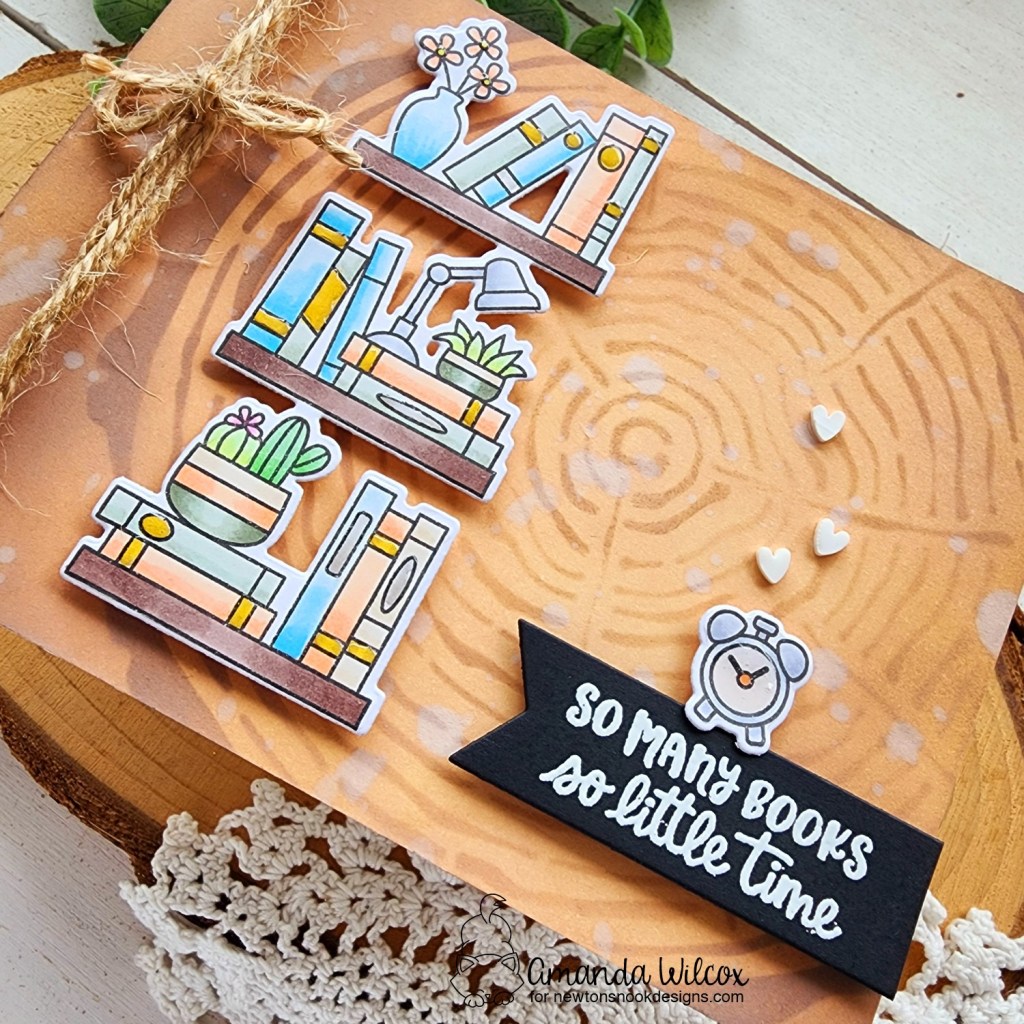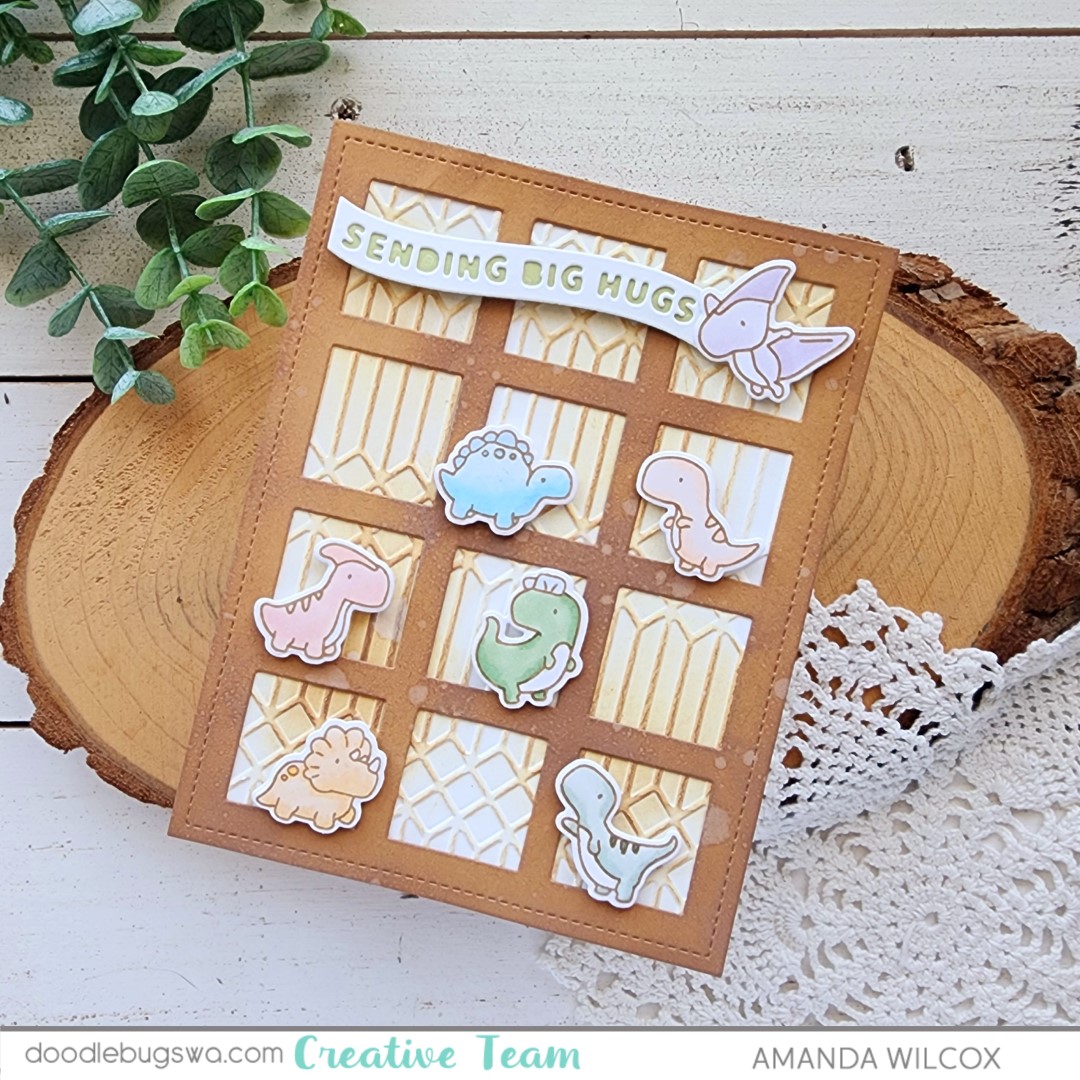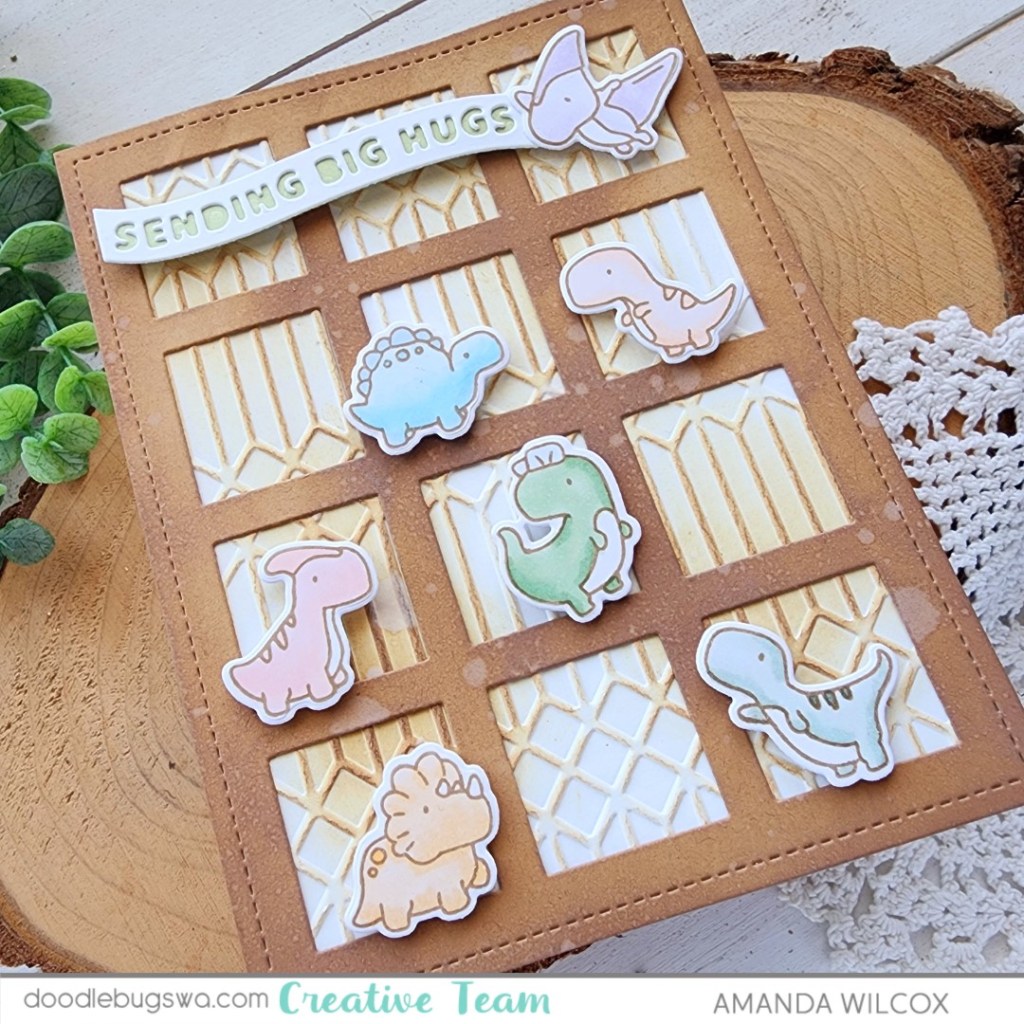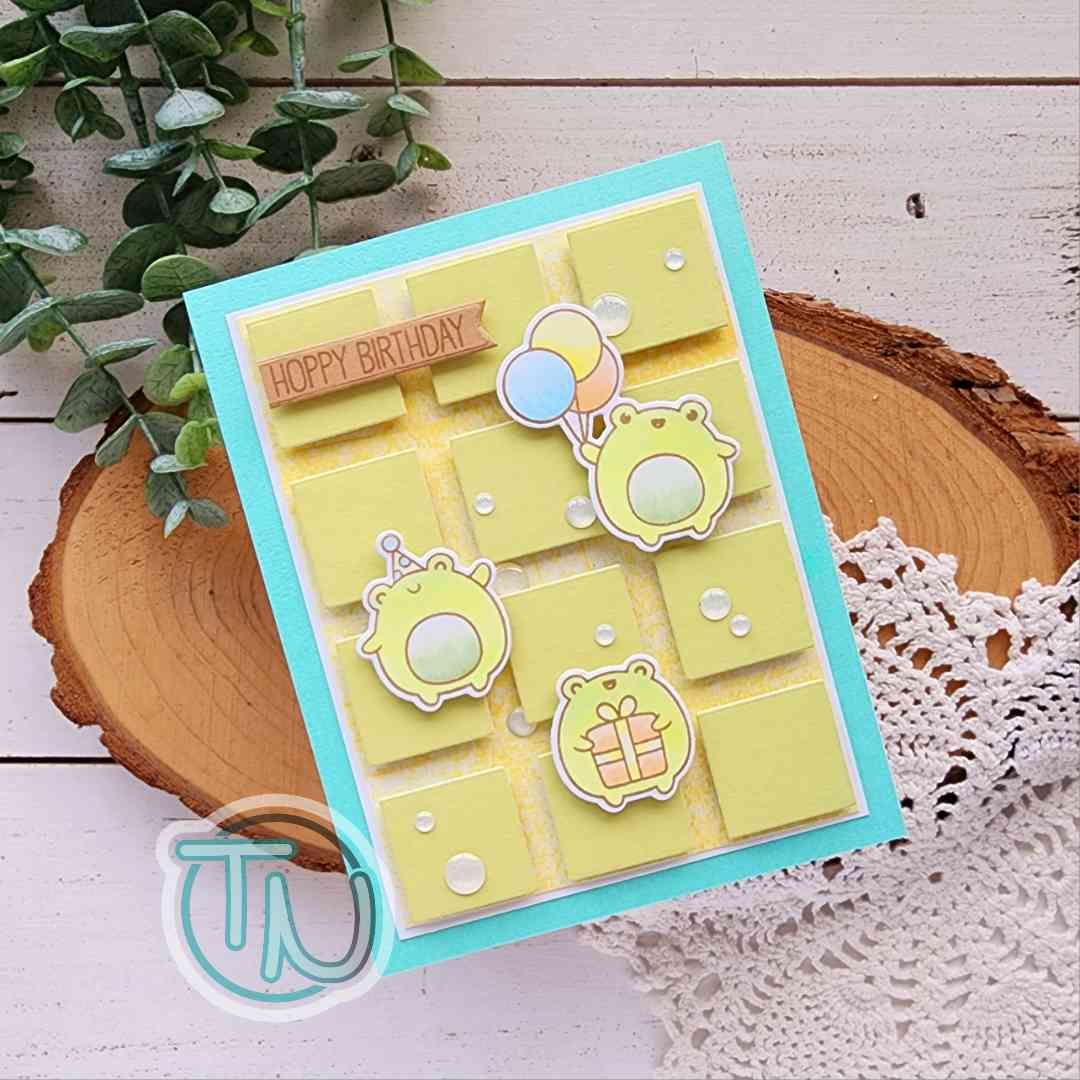
Hello everyone! I’m so excited that my most recent MFT Stamps order came late last week and I was able to play with these adorable frogs straight away! I went with the brown copic-friendly ink again because I just love the soft lines with these colors.

I started by choosing a few of the frogs in the set to stamp and color. Then I used the coordinating dies and cut them out. I had these squares from die cutting a grid backdrop earlier and I just couldn’t part with them because I knew they would make a cool background later on. Which I was right about!
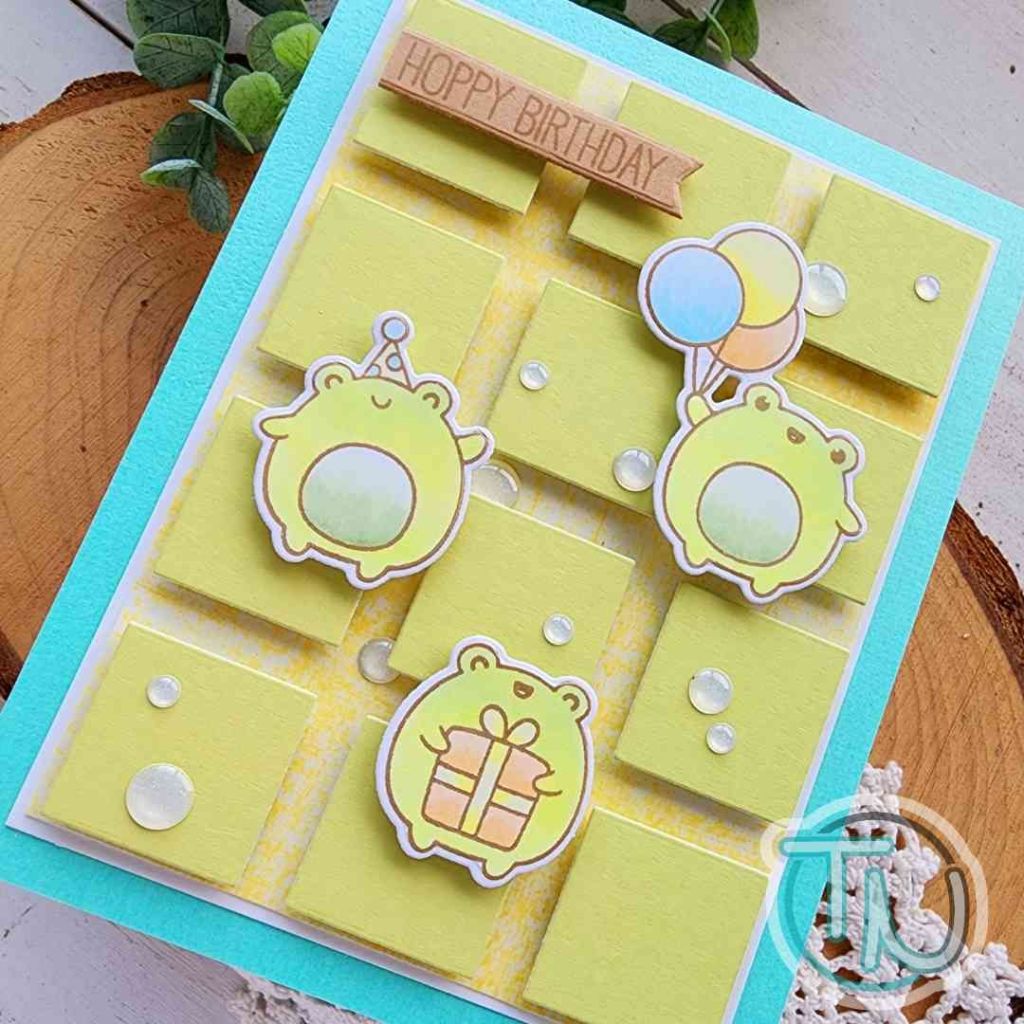
I took a light yellow ink pad direct-to-paper before popping up each grid square with foam. Then I glued that panel to a white one, and finally a teal one. I used foam squares to add each of my frogs, double-stacked if they overhung a gab between the squares so everything laid flat.

Keeping with the softer feel, I stamped my sentiment in the same brown ink on kraft cardstock and cut it out with a banner die. Then I trimmed the left side flat and adhered it to the top row of squares with a foam strip.

For finishing touches I added a scattering of glitter enamel dots across the whole design.
I had so much fun pulling this together and working outside of the box of my normal feeling designs.
Products used:
MFT Hoppin’ Good Time stamps and dies
Mama Elephant Grid Cover die
Lawn Fawn Extra Sentiment Strip dies
Foam squares and strips
Lawn Fawn sunflower ink
Pink & Main enamel glitter dots
Liquid glue
I appreciate you sharing your time with me. Have a fabulous day!