Happy Monday everyone! I’m on the Doodlebugs blog today sharing a fun combo with Spellbinders and Pretty Pink Posh, throwing in one of my favorite Mama Elephant sentiment sets too!

Sometimes it’s crazy making and sometimes it’s fun when you have an idea and the creation of said idea does not turn out how it was going in your head. That’s exactly what happened here but I still love it and really had fun creating this card!
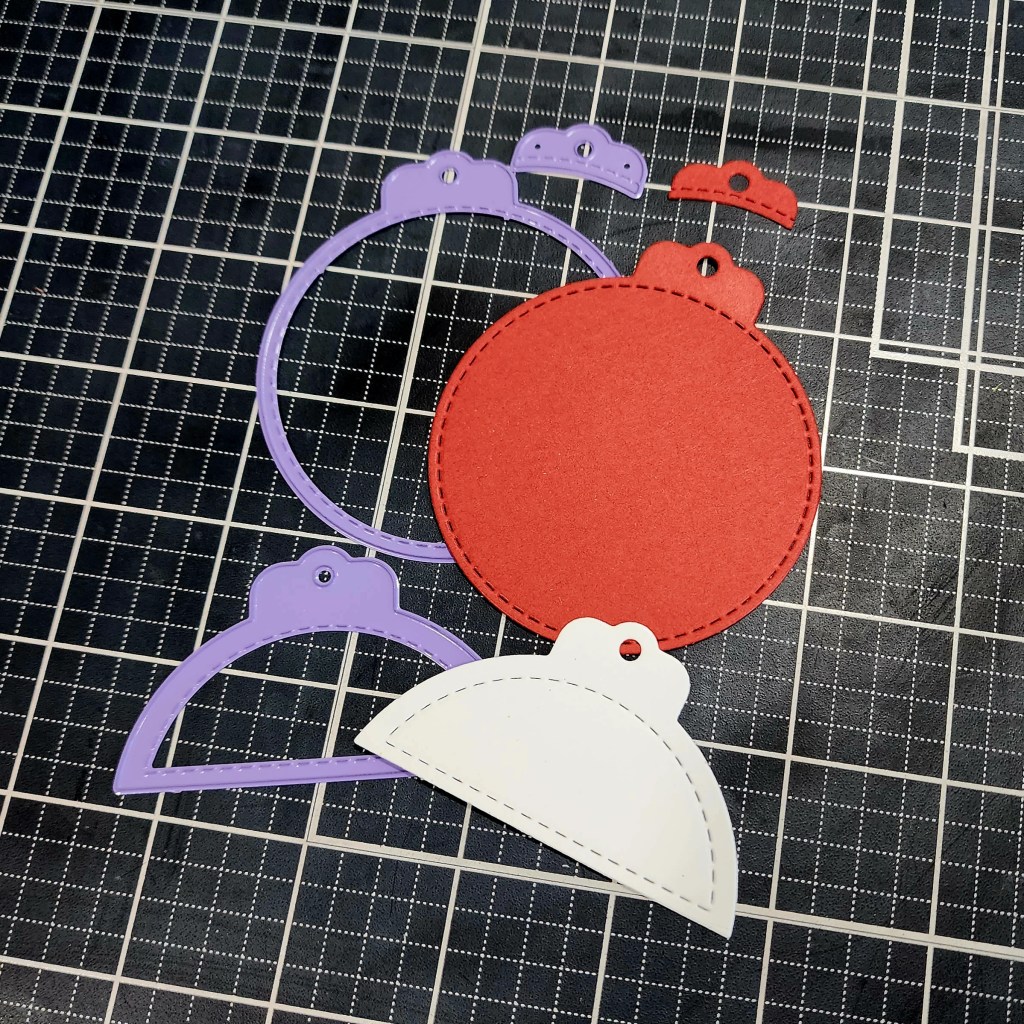
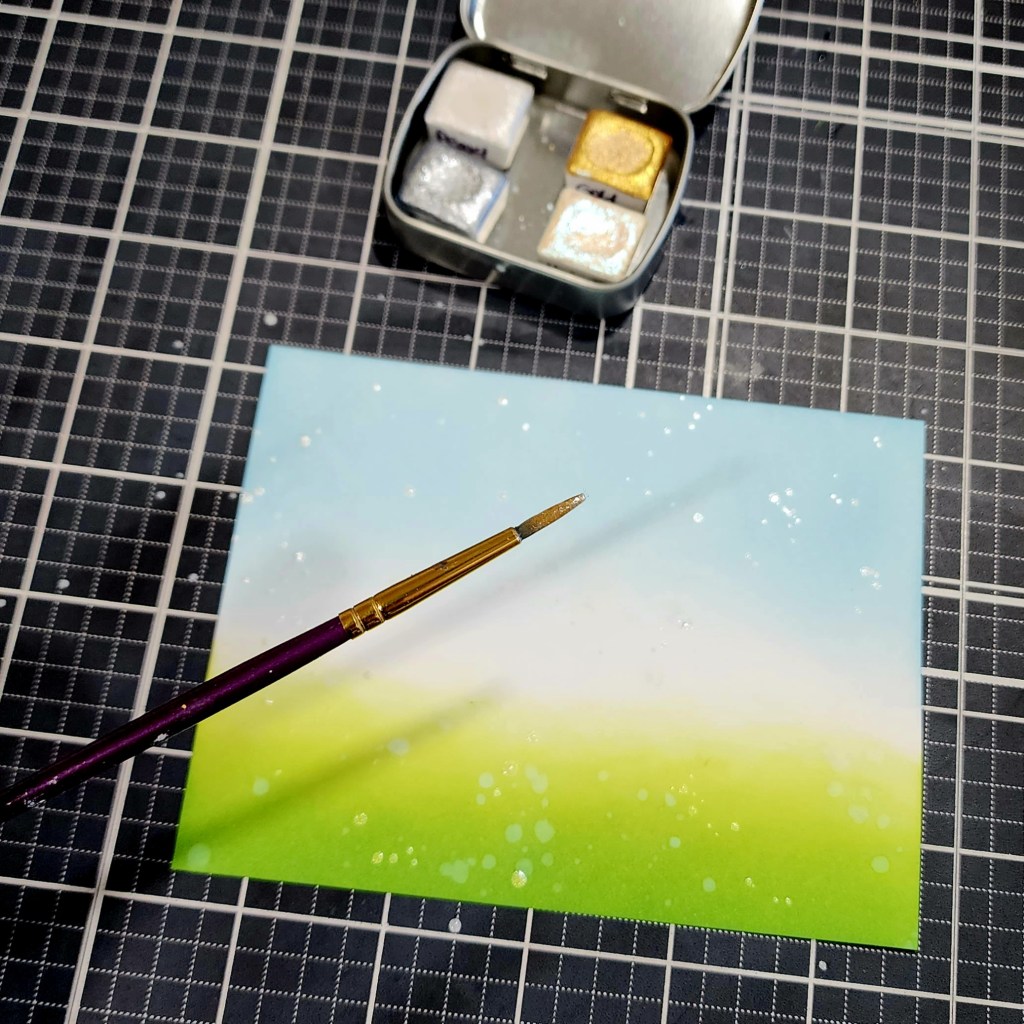
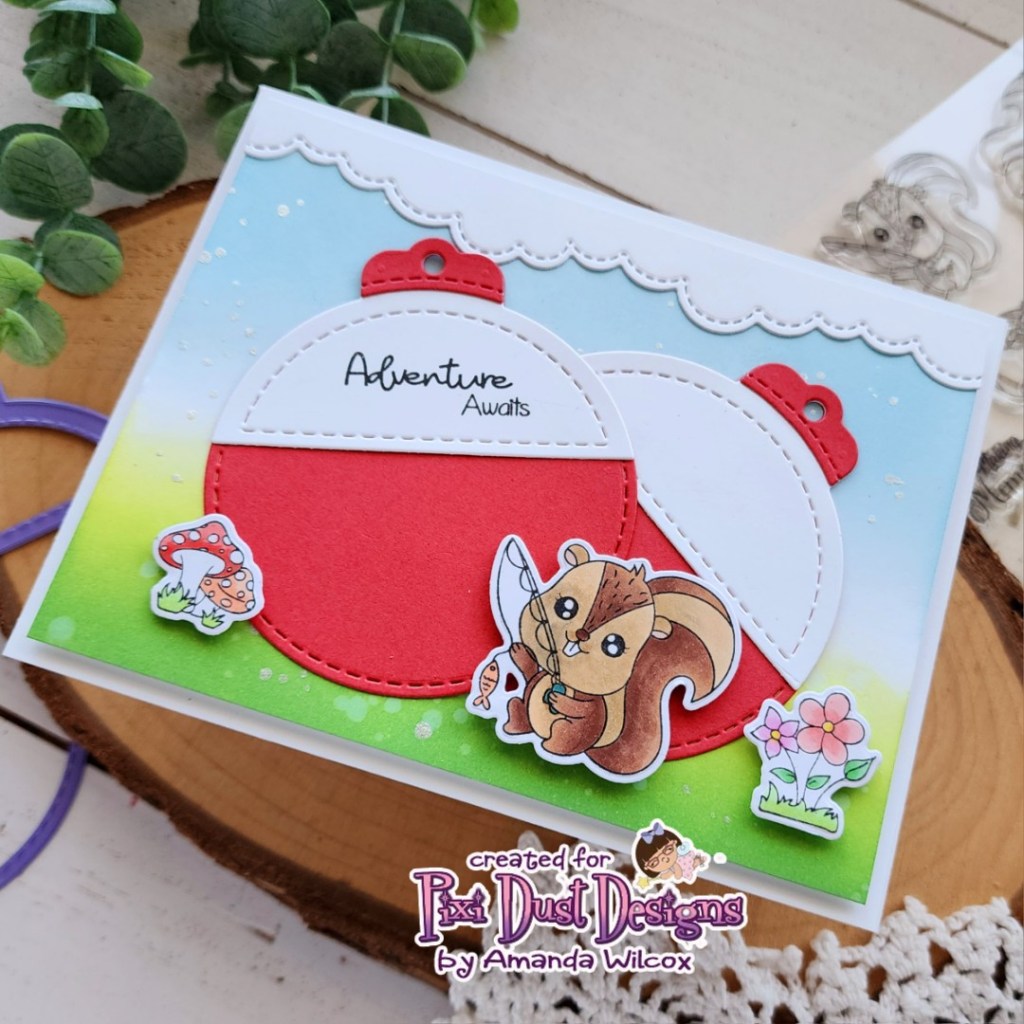
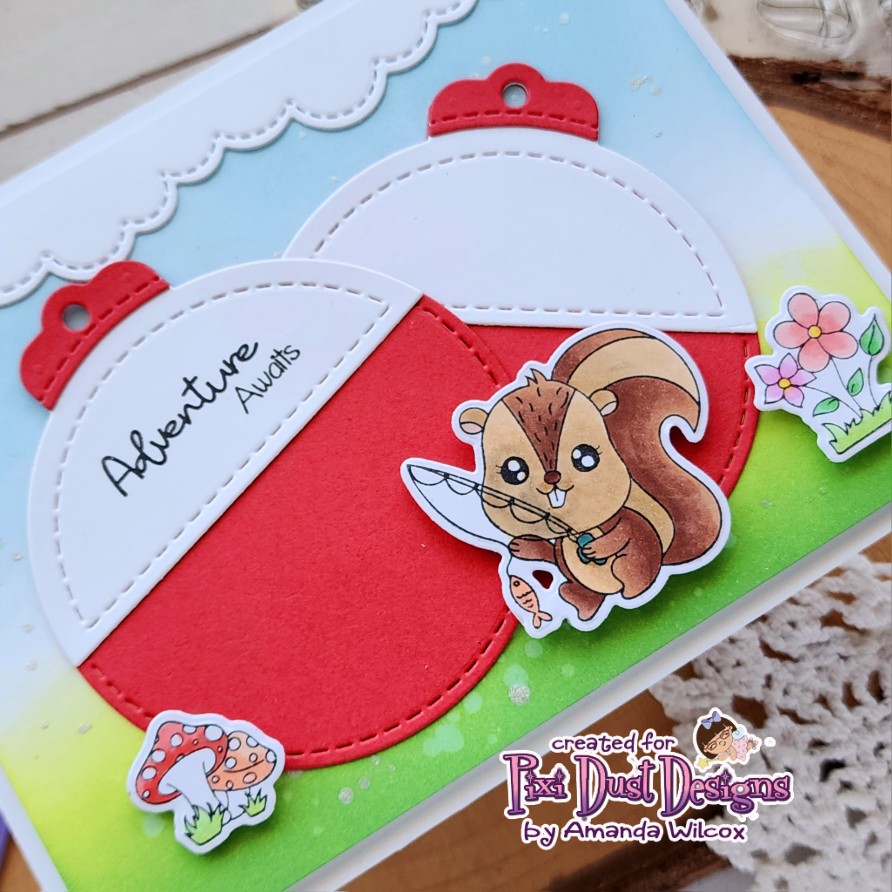
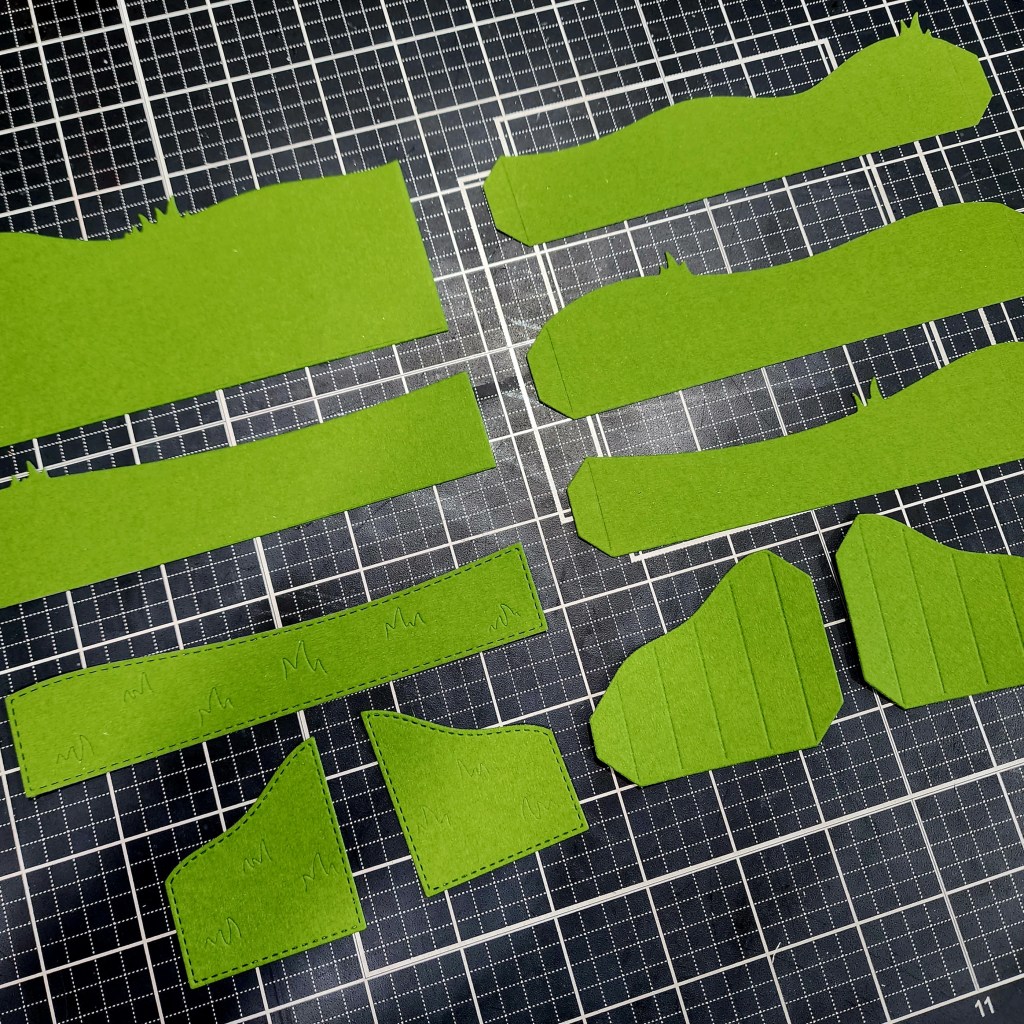
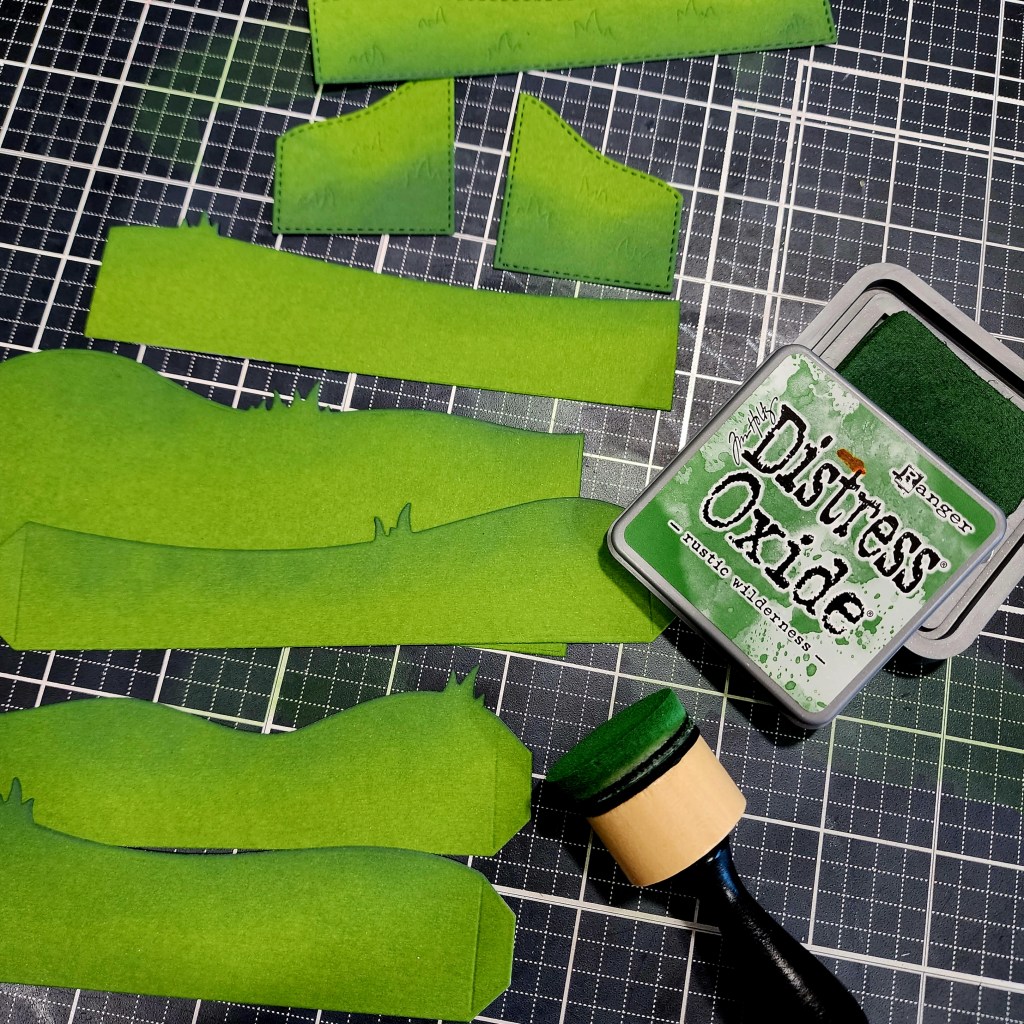
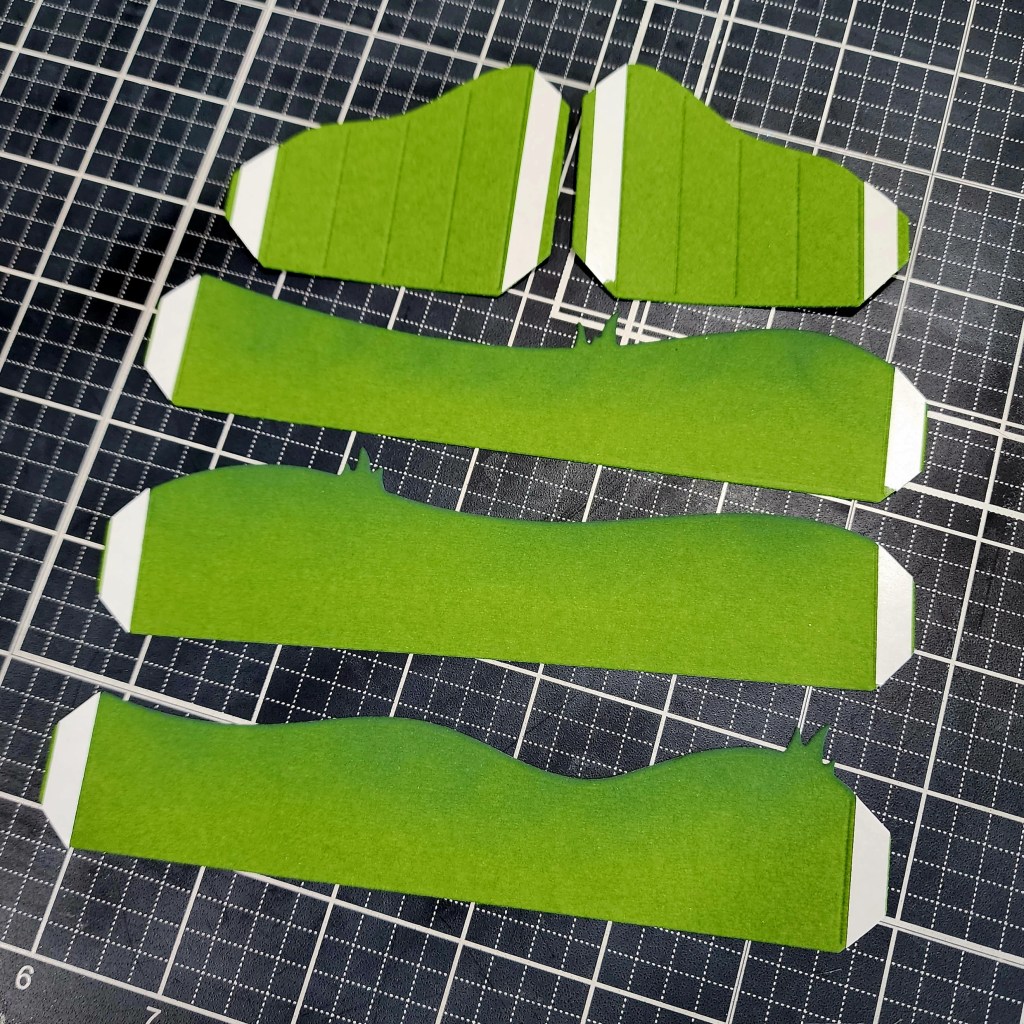
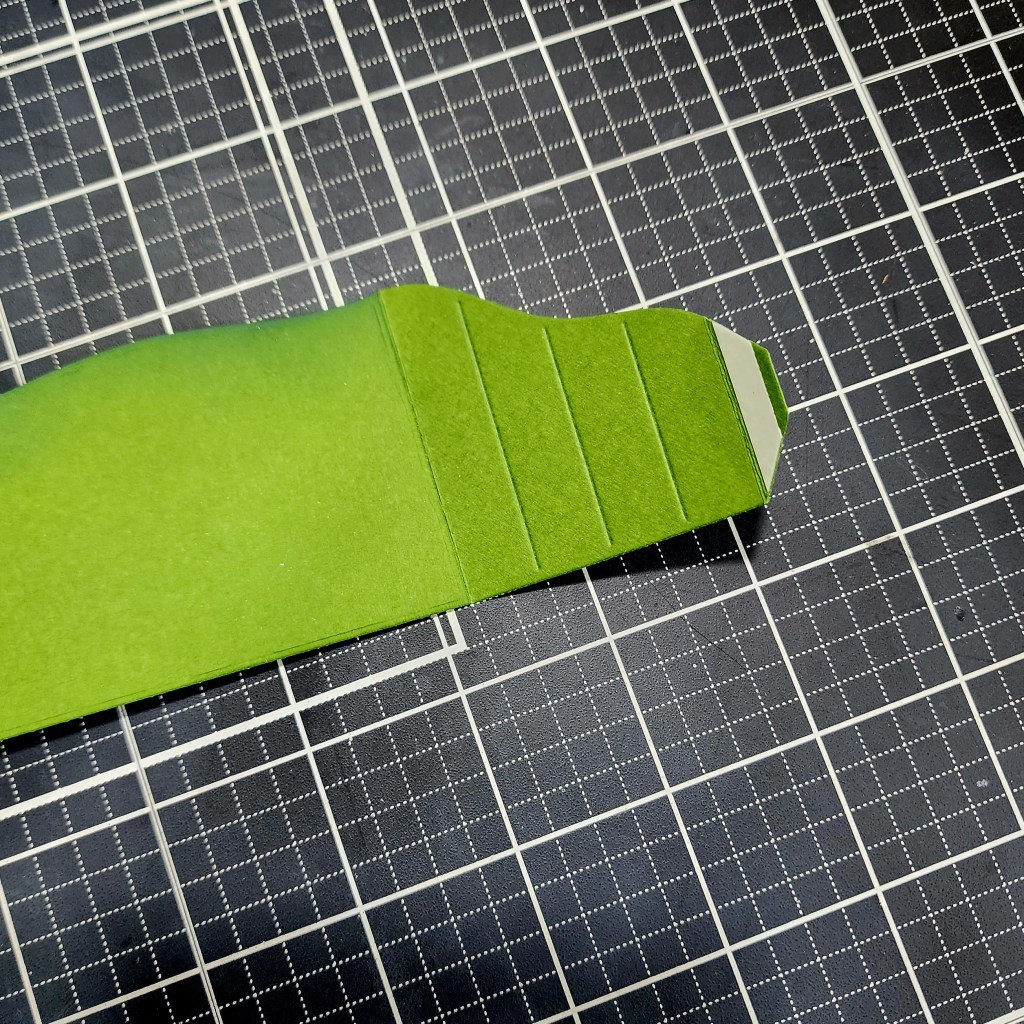
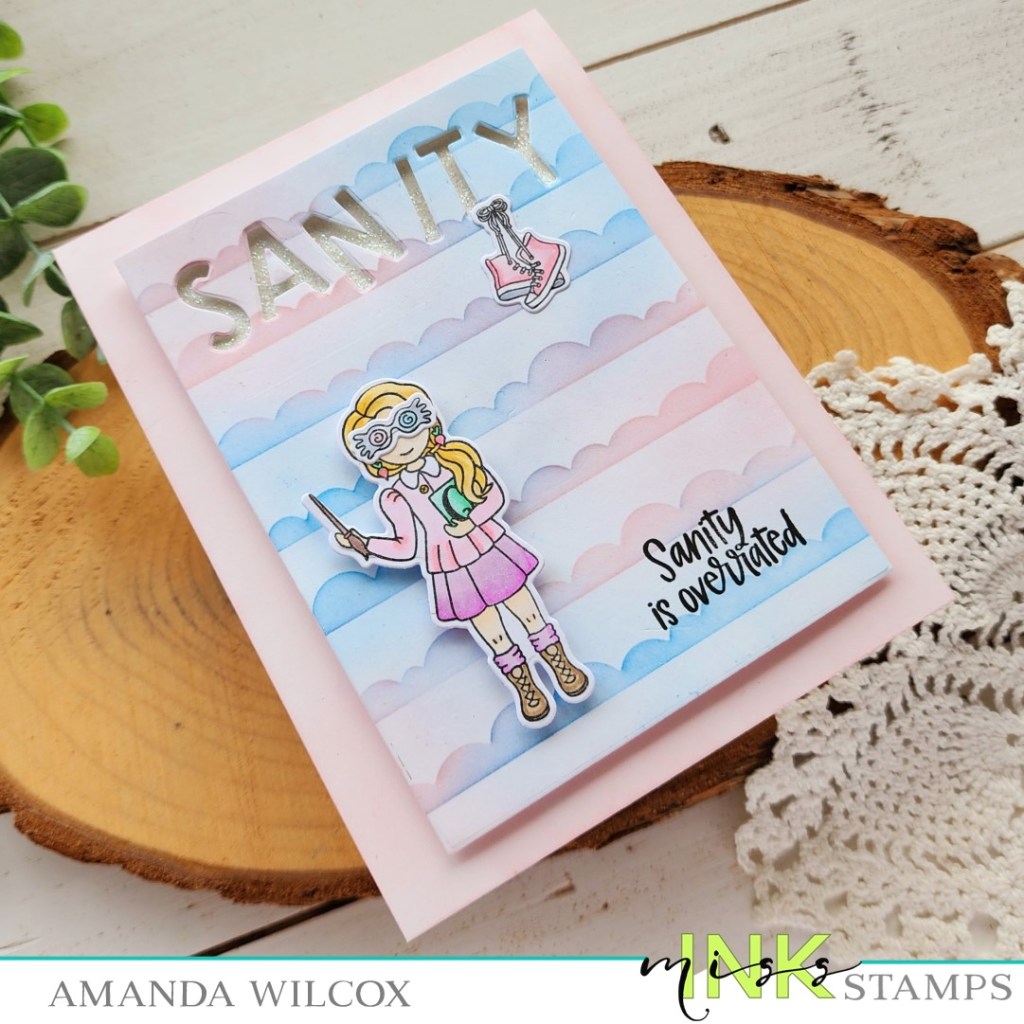
Let’s start by die cutting a bunch of the Spellbinders Modern Ovals – I chose the fourth one in from the smallest. I taped three of them to my work surface and ink blended the Pretty Pink Posh Trellis stencil using Lawn Fawn guava ink and a blending brush.

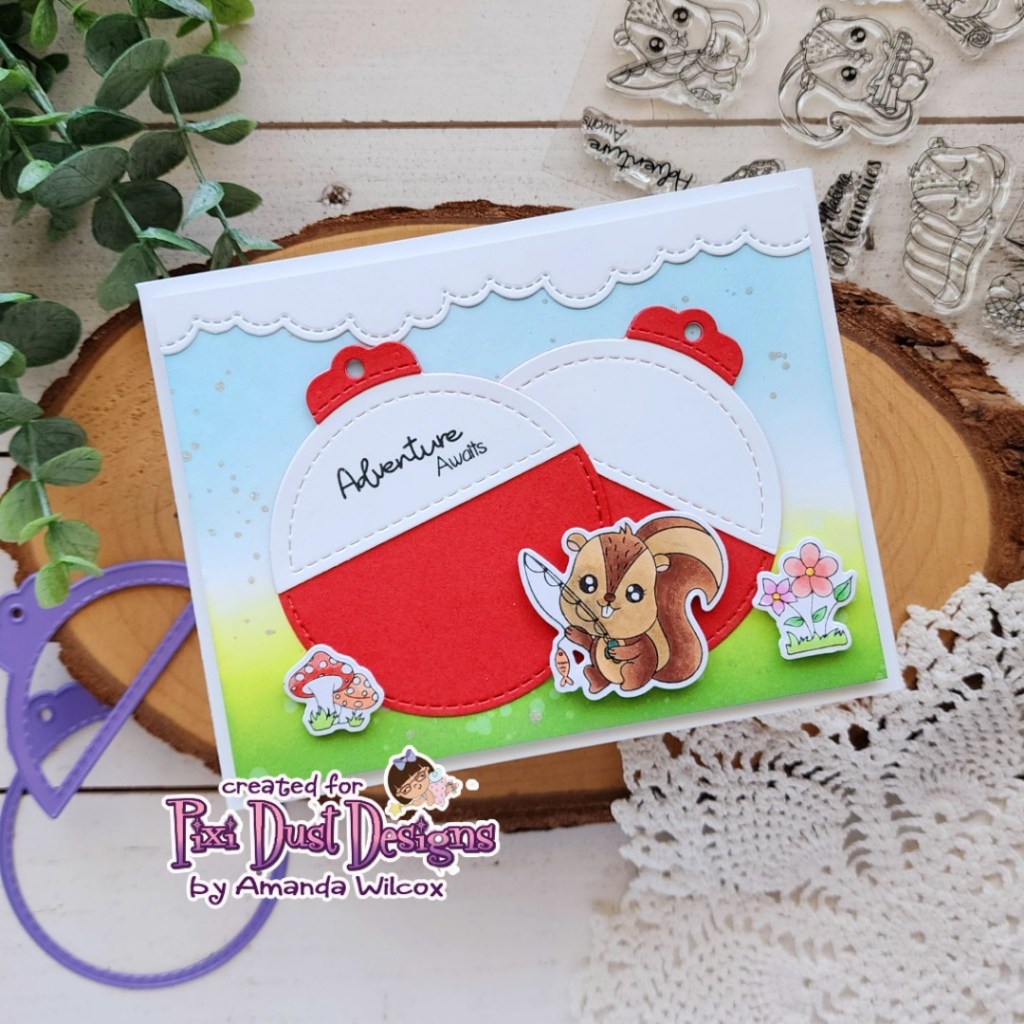
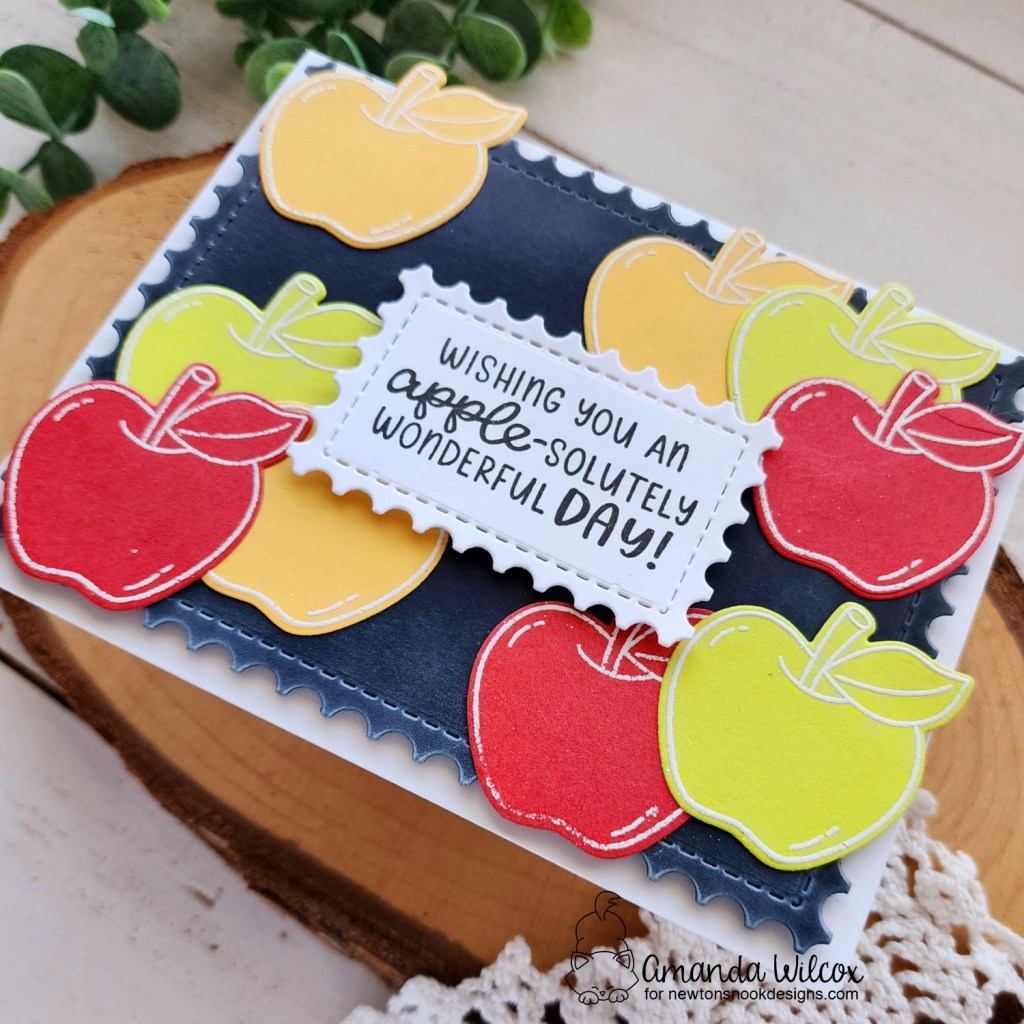
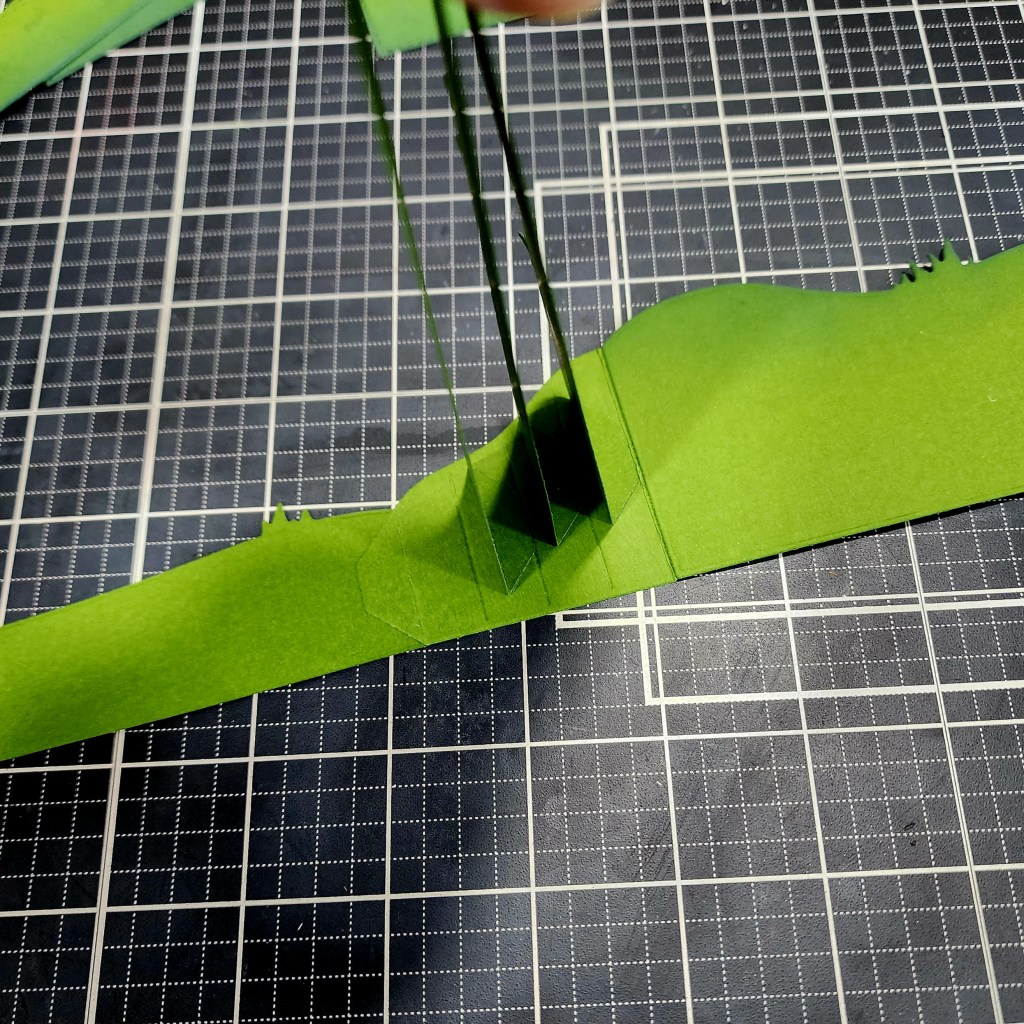
I arranged them on my card front, originally planning to pop them all up, along with die cutting my sentiment. But as I started to play, I liked the idea of the sentiment on one of the ovals – it fits perfectly – and only popping that one up for a little added interest to that specific spot. So I glued everything down and popped that one up. Then I trimmed off the excess with my scissors.

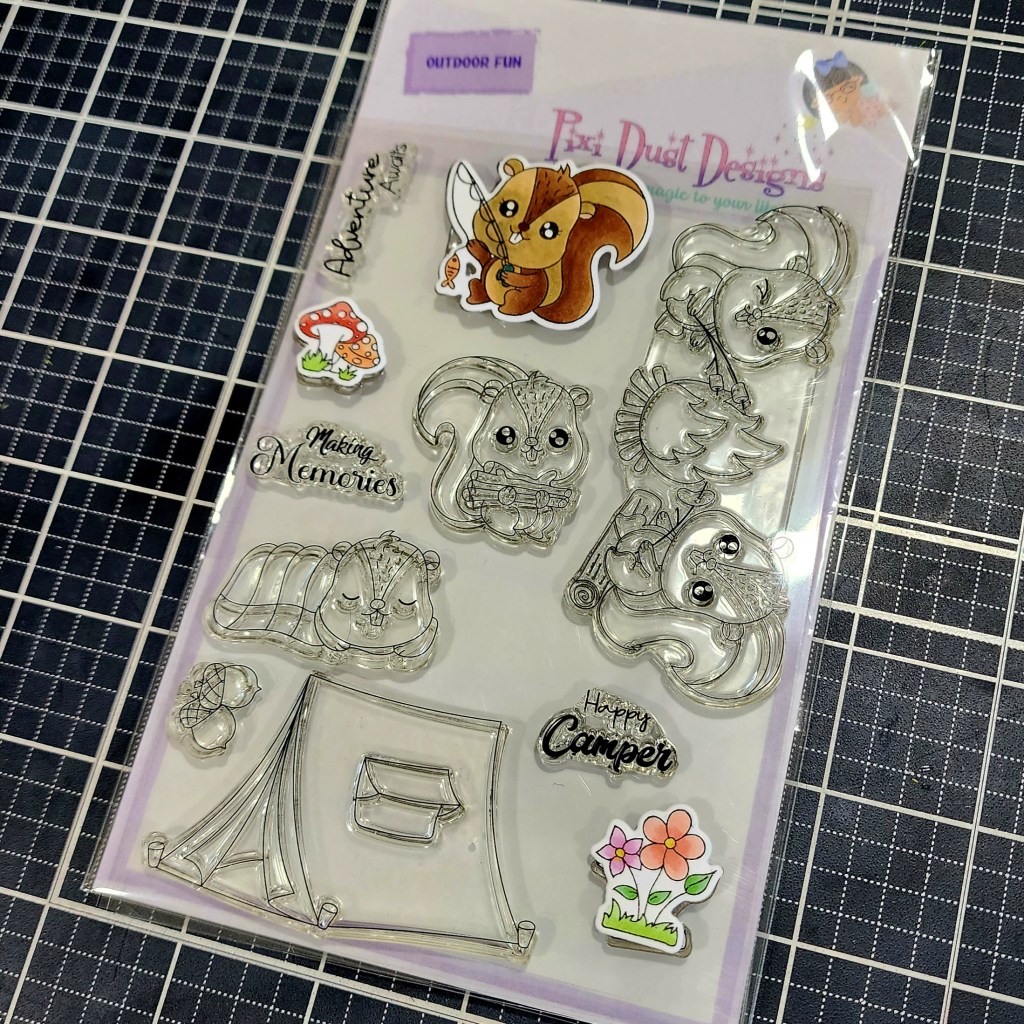
Next, I stamped and colored images from Pretty Pink Posh Crafty Critters with my copic markers. I used the coordinating dies to cut them out and added them above the sentiment with foam squares.

Last, I decided to stamp the mini sentiment intro to the blank oval on the top for fun. I was quite smitten with myself when I thought of that. It’s so fun! And finally, for finishing touches I just added black glaze pen to the mouse’s eyes and glossy accents to his nose and parts of the crafty supplies.
I appreciate you sharing your time with me. Have a fabulous day!