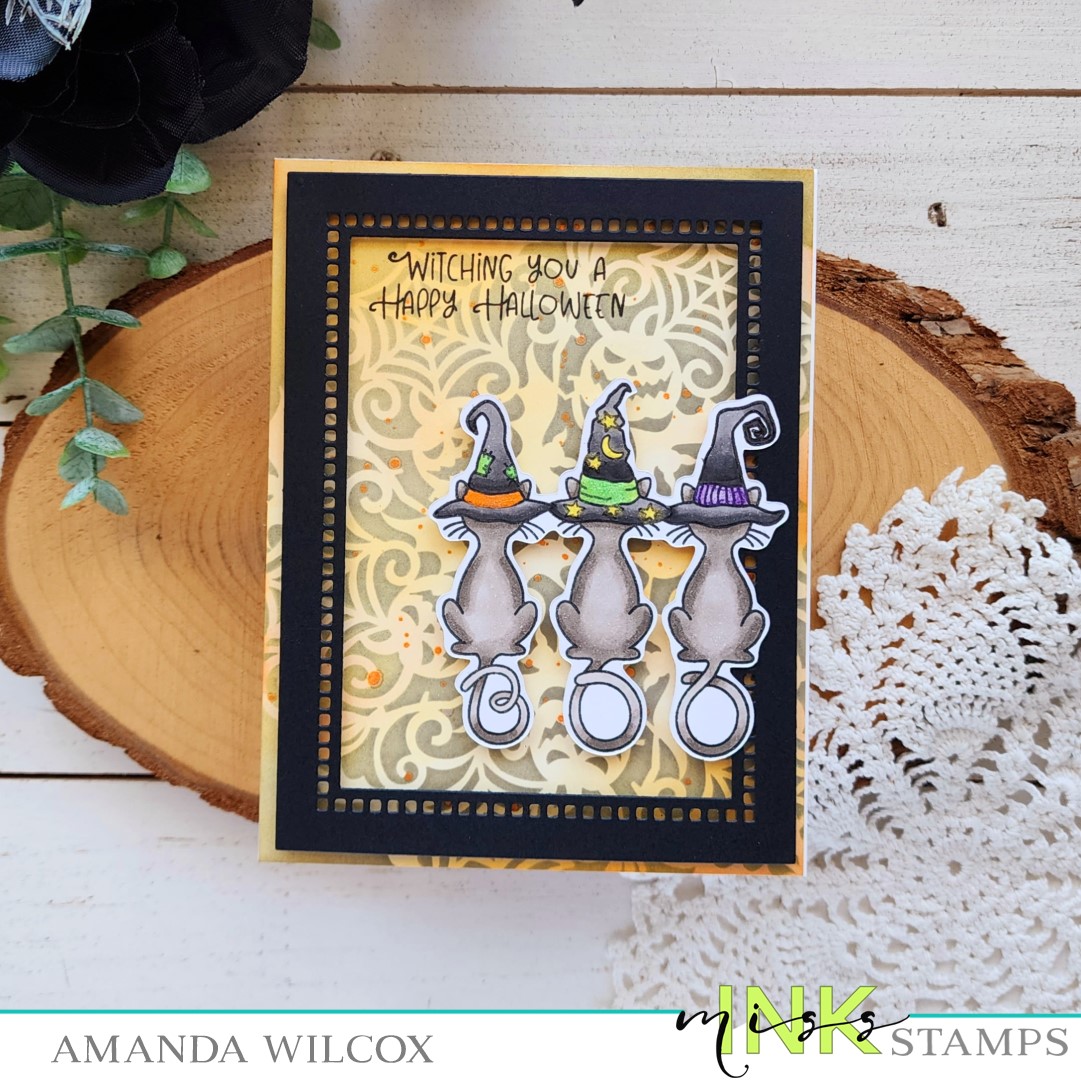
Hey friends! I’m on the Doodlebugs blog today creating a fun spooky scene with Mama Elephant and Pretty Pink Posh stamps and dies. I had so much fun coloring and inking and I just love how this turned out. It’s so fun! Also, fall crafting is my favorite so that might have something to do with it too.
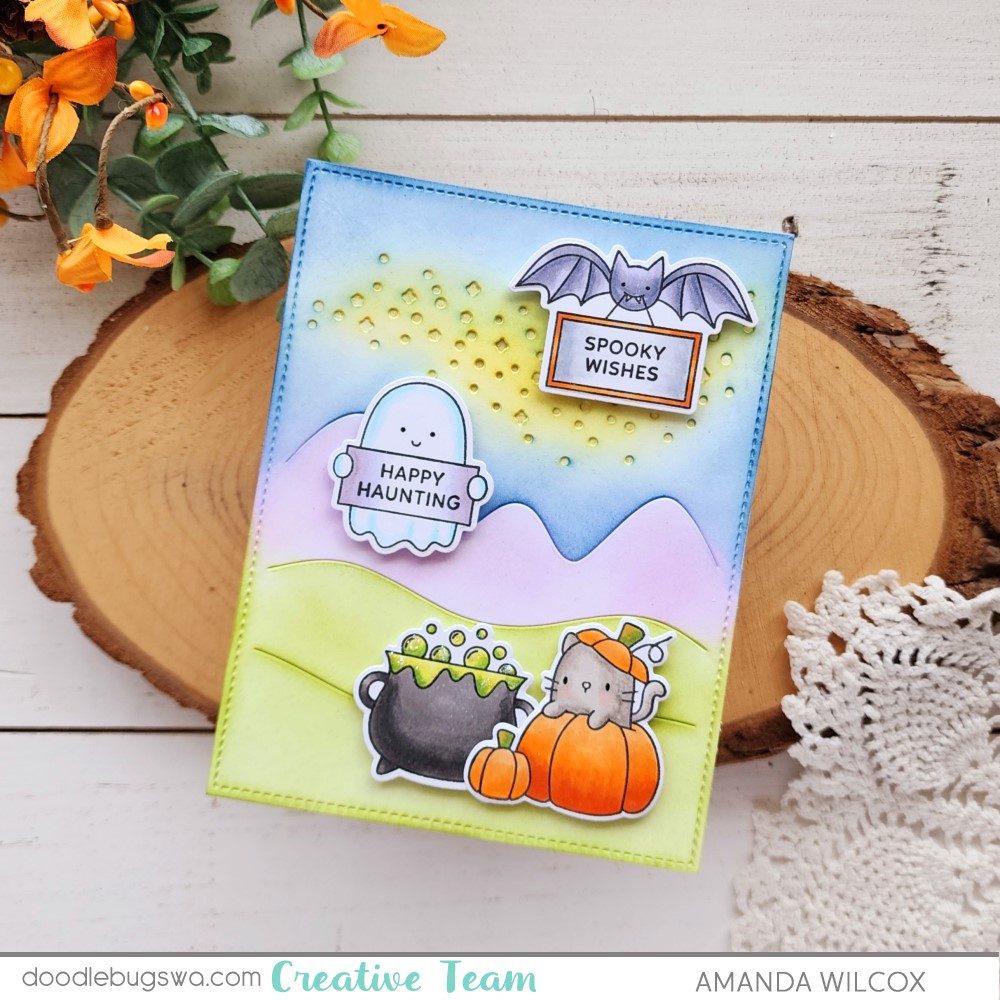
I started this card by deciding my layout on the Mama Elephant Stardust Trail cover plate and then stamped out all the images. I colored them with copic markers and used the coordinating dies to cut them out. The images are from a combo of Mama Elephant Hey Pumpkin and Pretty Pink Posh Halloween Signs.

Then I die cut the Stardust Trail cover plate from white cardstock and used blending brushes with Lawn Fawn dye inks to add my color. Then I used gold watercolor and painted a piece of white cardstock that would show behind the star cutouts. I used liquid glue to adhere them together and then to a card base.
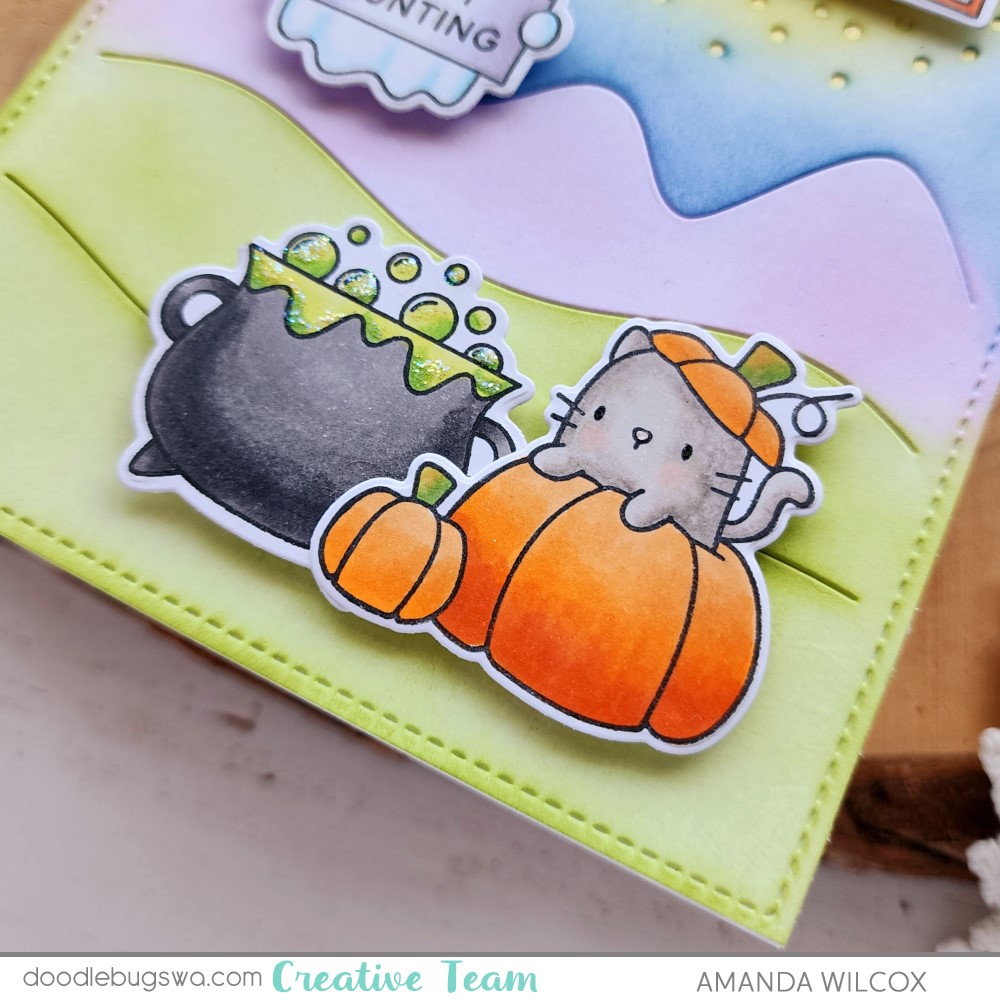
Then I added foam squares to pop all my images up with foam squares. For finishing touches I added glossy accents to the kitty’s nose and black glaze pen to his eyes. I needed more sparkle so I also added stardust Stickles to the bubbling cauldron.

I think these spooky characters are just the cutest and can’t wait for Halloween to come. We’re already decorating at our house because we love it so much! That way we get two months of spooky before things switch to just fall and turkeys. Do you decorate for Halloween?
I appreciate you sharing your time with me. Have a fabulous day!