Hi there crafty friends! I’m always happy to be back on the Newton’s Nook blog sharing adorable and fun inspiration. Today we’re pretending it’s Tuesday and living our best taco life!

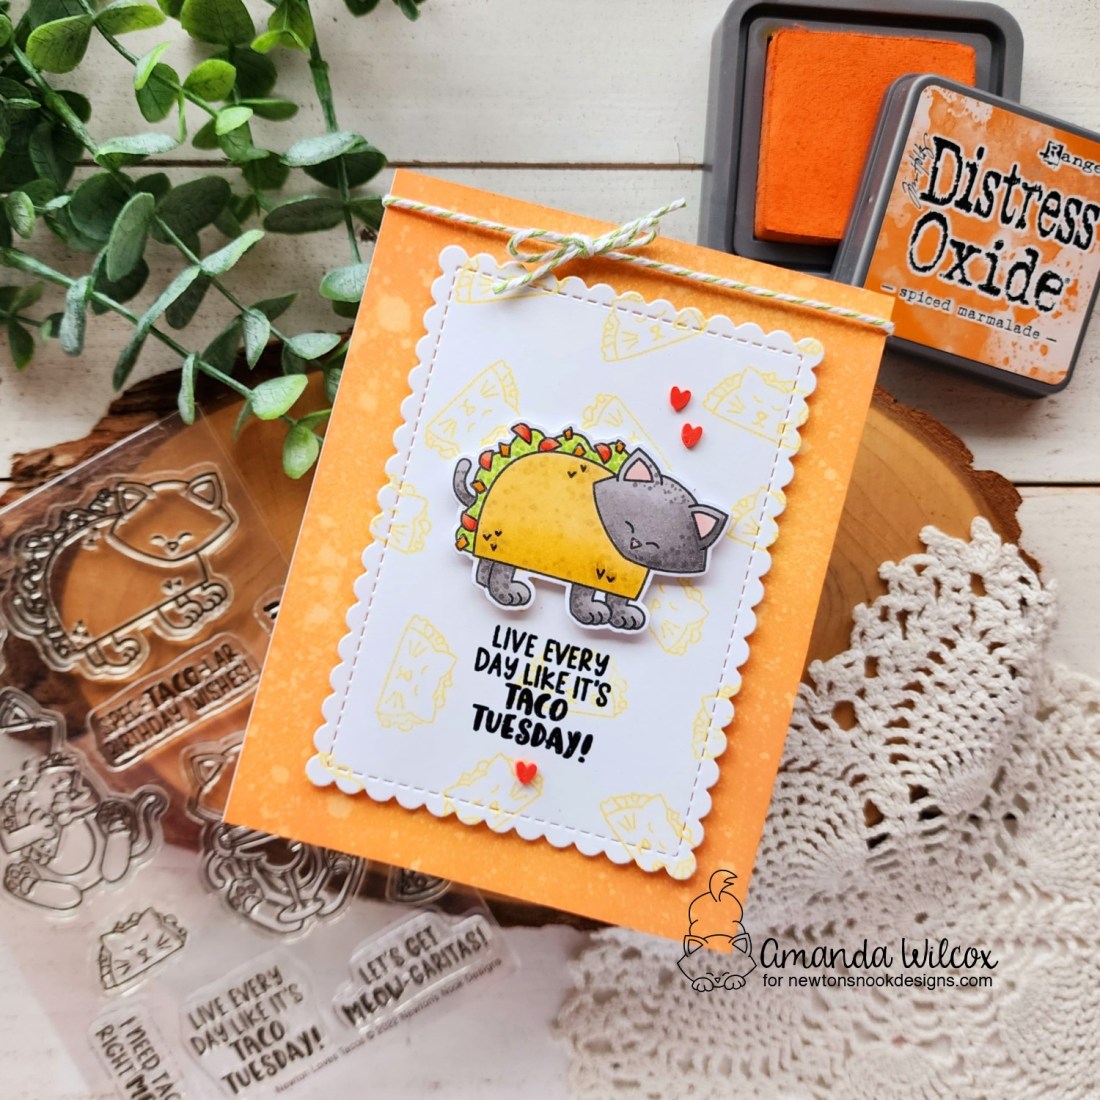
I had a general layout idea in mind so I started by taking an A2 piece of white cardstock and inking up the edges with spiced marmalade distress oxide ink and spritzing it generously with water. I blotted it dry and set it aside. Then, I took a second piece of white cardstock and used the mini taco image in the Newton Loves Tacos stamp set to create a fun background of little yellow tacos. Then I die cut the panel with the second-to-largest die in the Framework die set.

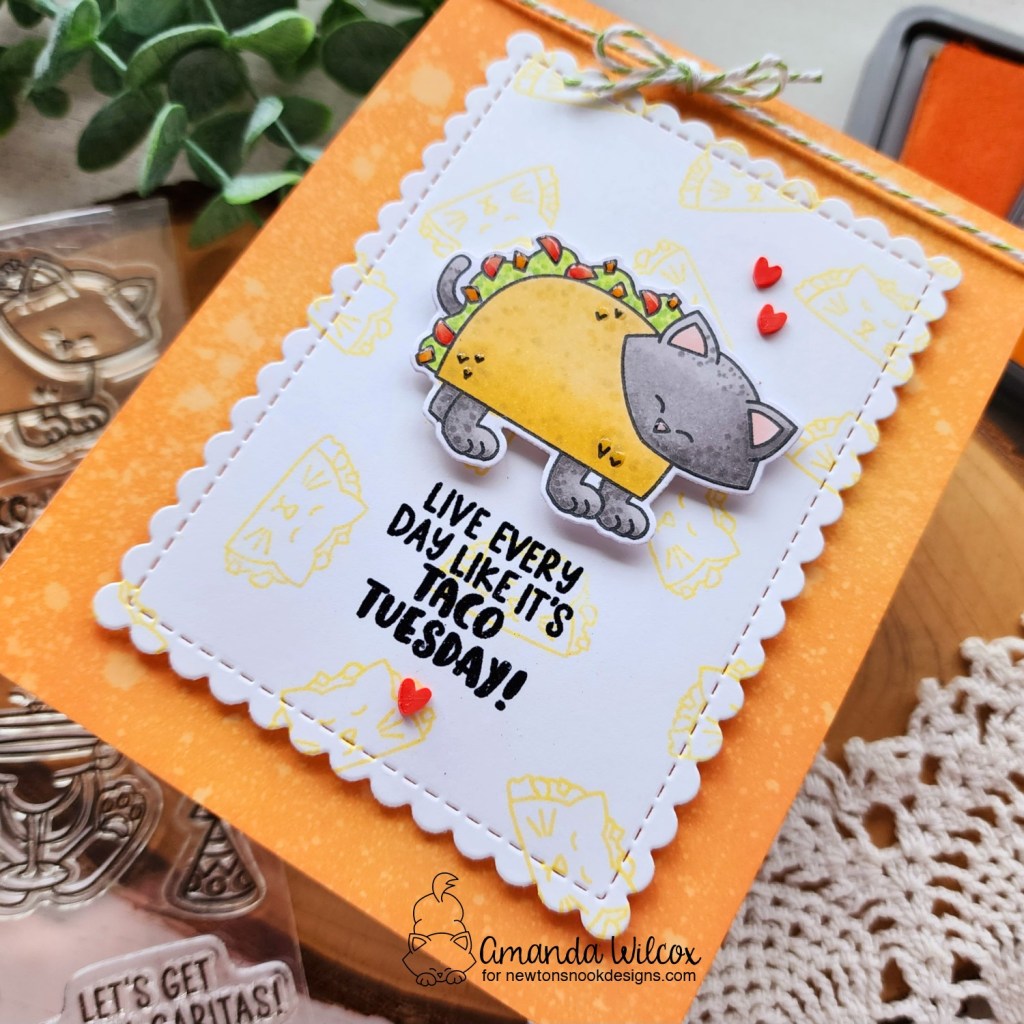
Then, I stamped and colored my sweet taco cat with copic markers before using the coordinating die to cut him out. Using the image as a guide, I stamped and heat embossed my sentiment on the taco panel so it was shiny and stood out a little. I added foam squares to the kitty and popped him up on the panel above that.
For assembly, I added the inked panel to a white card base with liquid glue and then popped the scalloped panel up on that with foam tape.
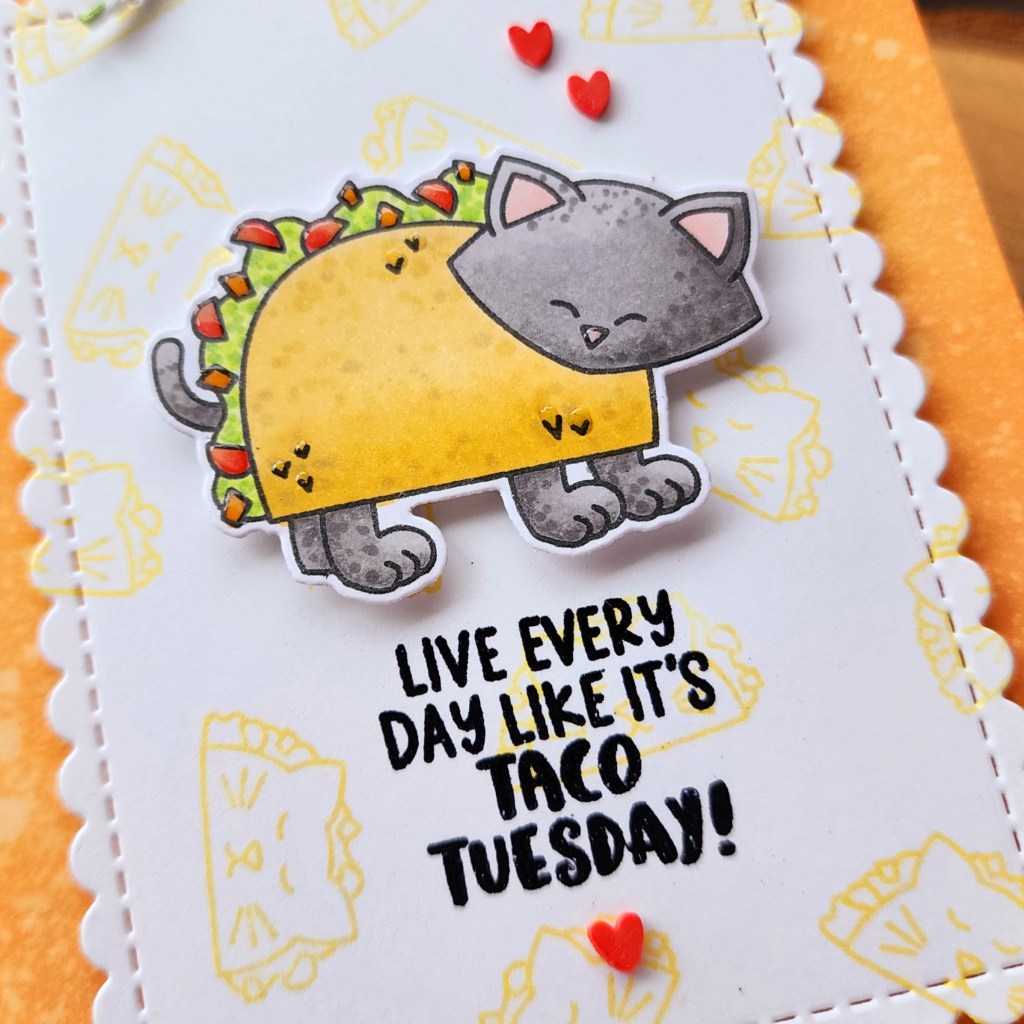
For finishing touches, I added red clay hearts to the design for fun. These come from the Sweethearts clay mix from the Twiddler’s Nook shop. Then I added touch of gloss to the kitty’s nose and parts of the taco.
Products used:
Newton Loves Tacos stamps and dies
Framework dies
Pink & Main embossing ink, powder and anti-static brush
P&M touch of gloss
P&M foam tape
Distress Oxide Ink – spiced marmalade
Twiddler’s Nook Sweethearts embellishments
I appreciate you sharing your time with me. Have a fabulous day!