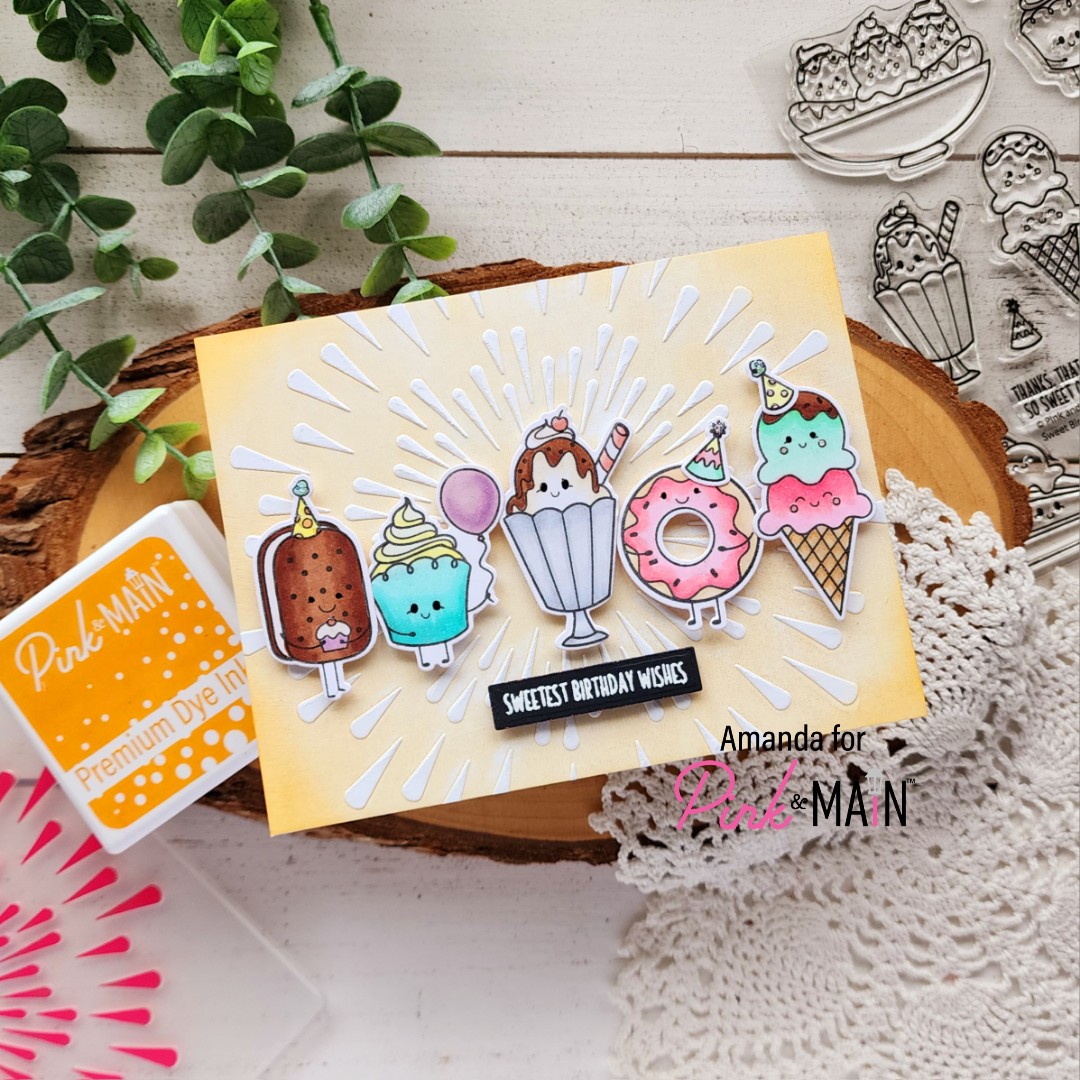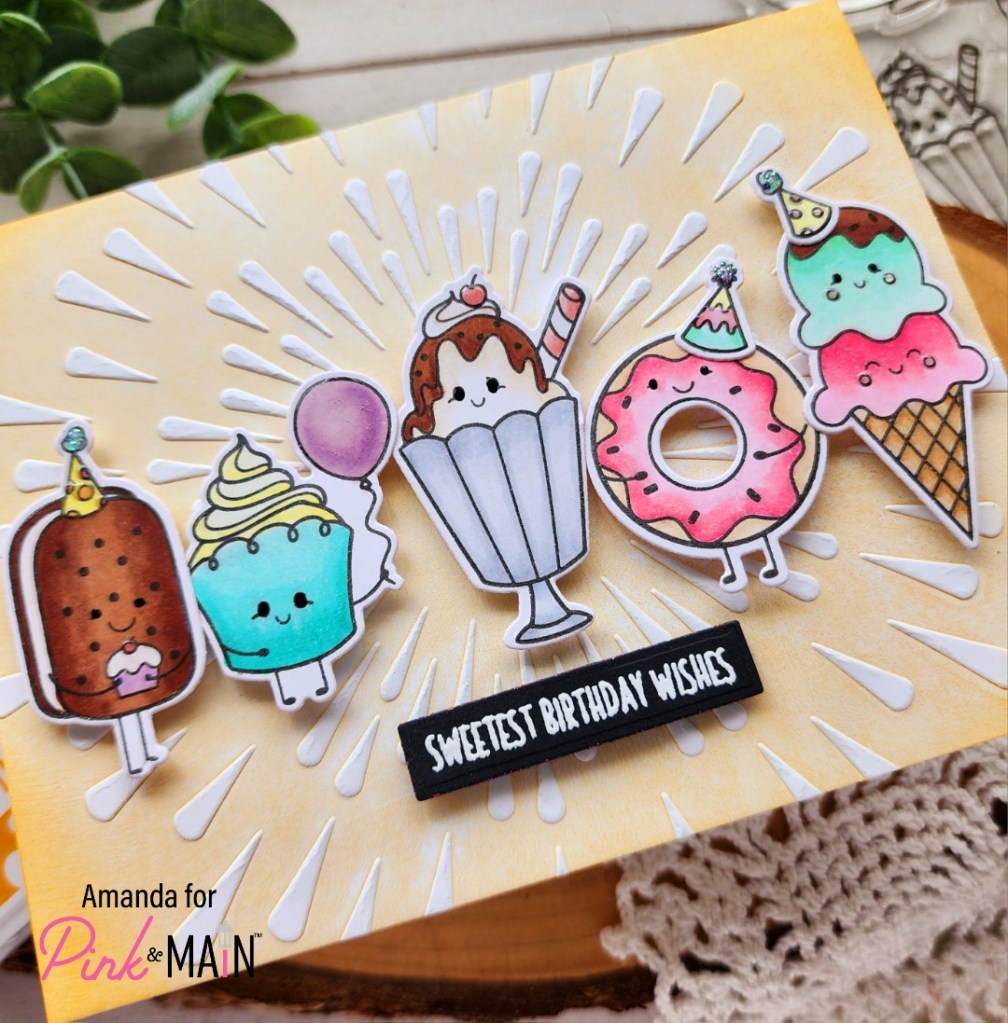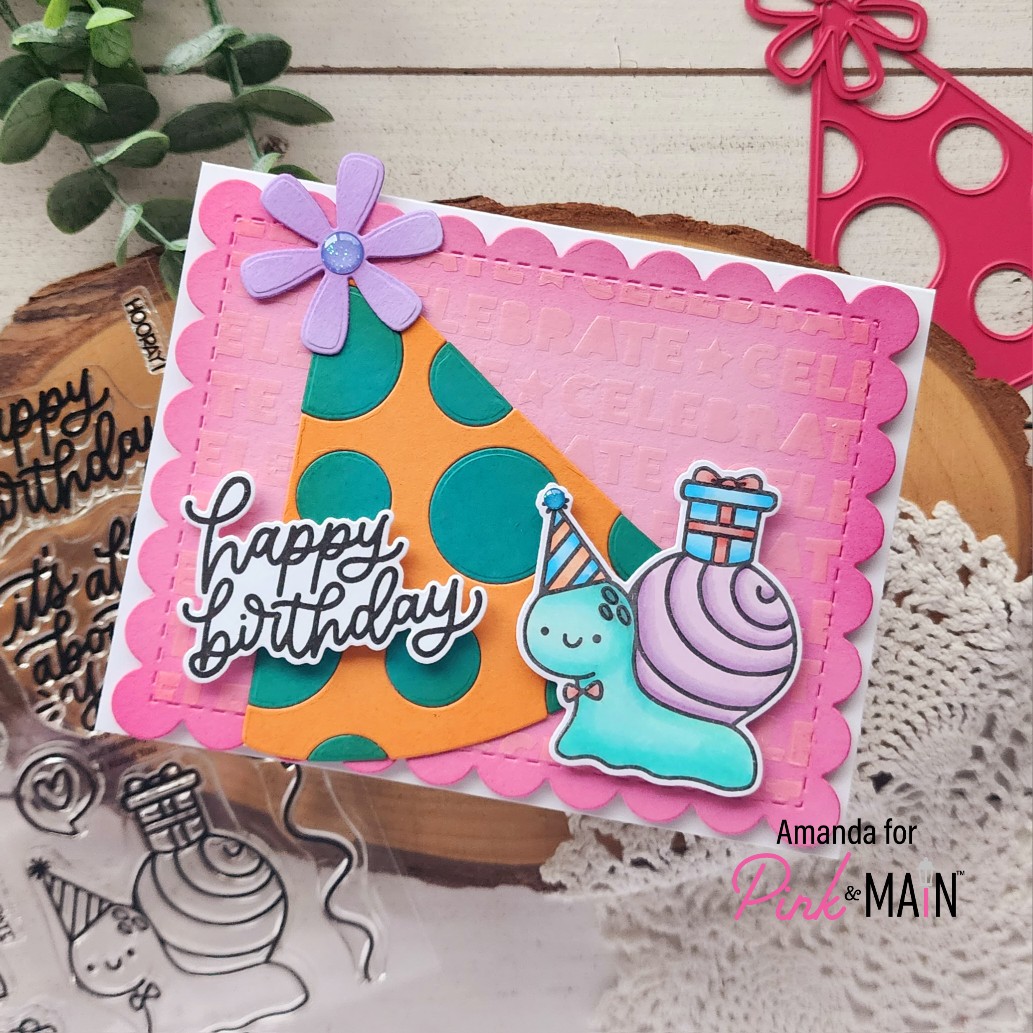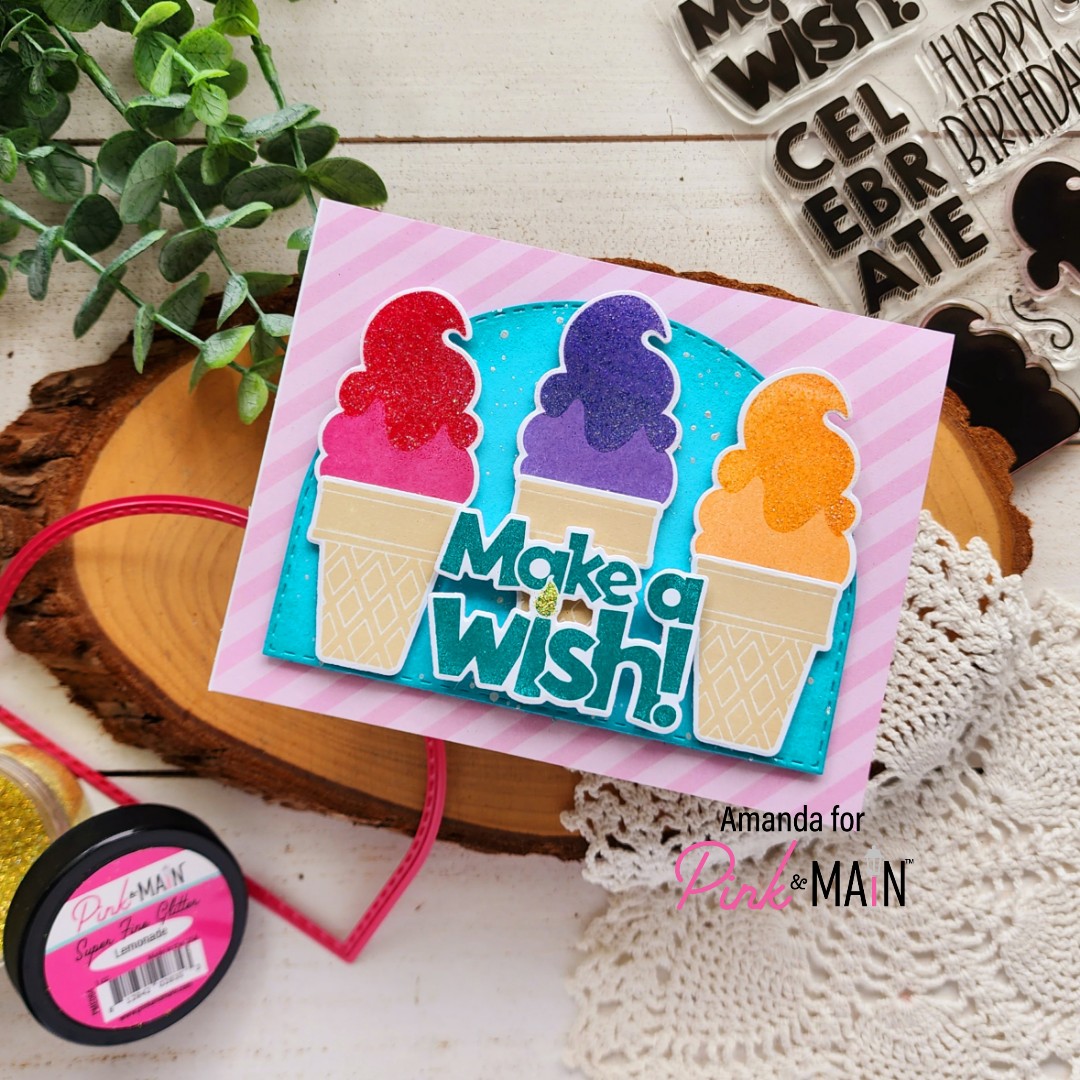
Happy Wednesday everyone! Today is like my Friday since I’m on vacation the rest of the week from my day job so I’m extra chipper! I’m over on the Pink & Main blog sharing a glittery fun birthday card with you featuring the new Make A Wish stamp and die set.

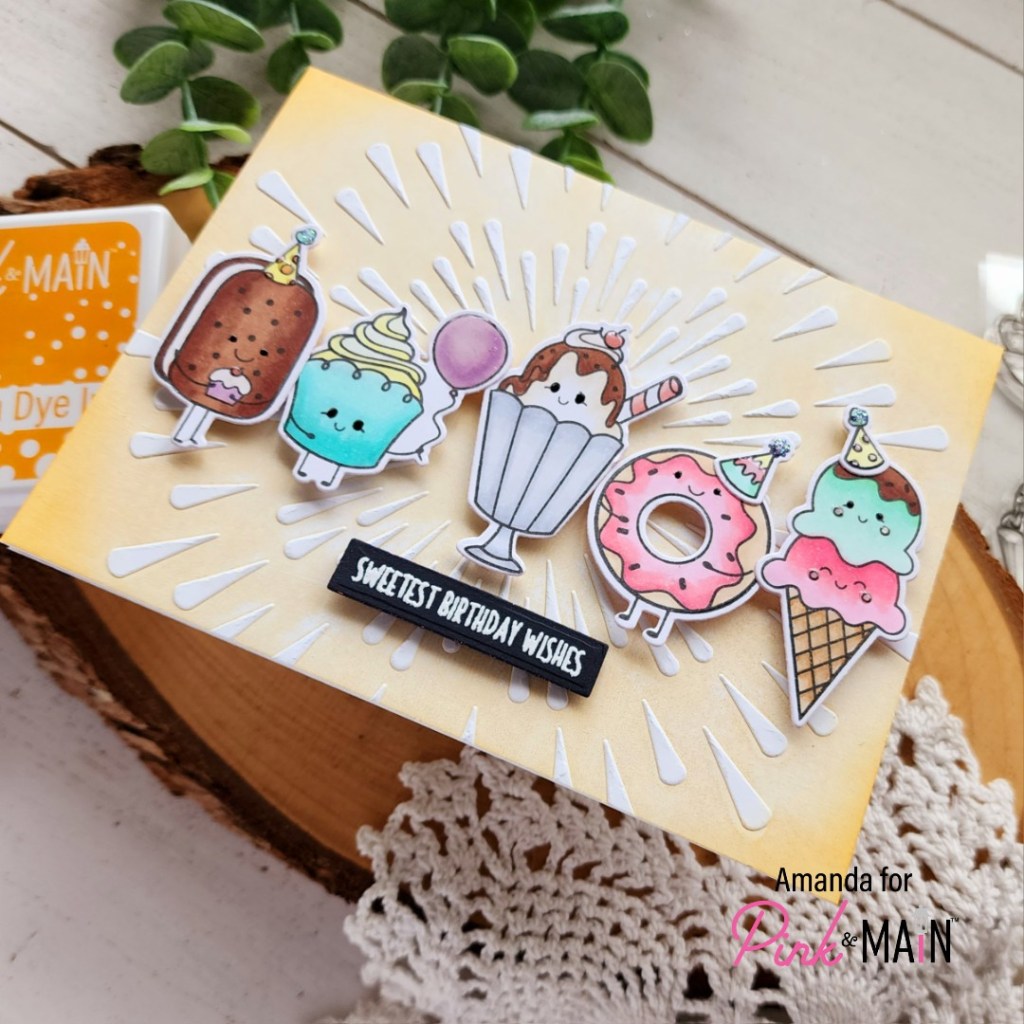
I started by playing around with the fabulous ice cream cone pieces and my dye inks. I used Lawn Fawn pizza crust for the cone which I think is perfect and then Pink & Main construction, dress shop and night sky. I stamped the detail layer with watermark & embossing ink and heat embossed them with icicle embossing powder. Isn’t the sparkly tops on the ice cream cones so fun!?! Next, I used EZ Squeeze liquid glue to adhere the ice cream to the cones and set them aside.

For my background panel, I chose the next-to-largest Wide Stitched Arches die and cut it from river walk cardstock. I splattered it with pearl watercolor and let it dry. Knowing the main colors I was working with, I went digging in my patterned paper and chose the light pink stripes from the year round dots & stripes paper pad for my card front.
After adhering the pink background to a card base, I popped the wide arch panel up with foam tape. Then I added the ice cream cones with foam squares. *Note that I added double foam squares where they hang over the arches so they still lay nice and flat.*
Finally I stamped a sentiment from the Make A Wish stamp set with lakeside ink and die cut it out. Next, I added Touch of Gloss to the flame and sprinkled lemonade super fine glitter on it to give the candle flame a little extra. Once that was dry, I added foam squares to the back and popped it up on the ice cream cones.
Products used today:
Make a Wish stamps and dies
Wide Stitched Arches dies
Year Round Dots & Stripes paper pad
River Walk cardstock
Premium Dye Ink – construction, dress shop, night sky and lakeside
Watermark & Embossing Ink
Magic Anti-static Brush
Icicle embossing powder
EZ Squeeze liquid glue
Touch of Gloss
Super Fine Glitter – lemonade
Foam tape and squares
LH Colors watercolor – pearl
I appreciate you sharing your time with me. Have a fabulous day!