Welcome everyone! Today I’ve got a couple of cards to share for inspiration with the November Hero Arts Hero Studio subscription – specifically the layering stencil and die of the month. My second passion to cardmaking is reading so this month just grabbed me by the heart immediately!

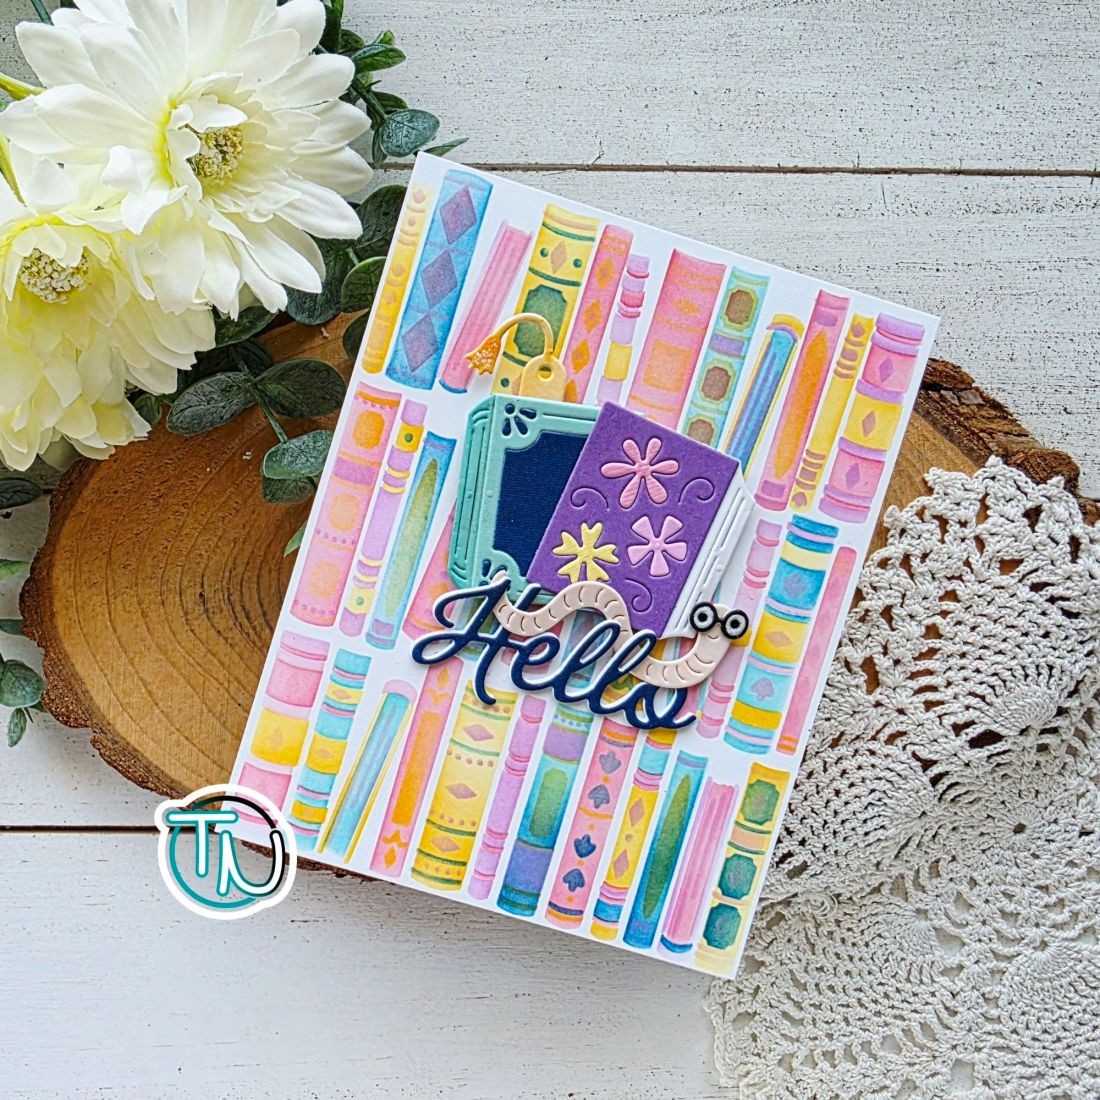
My first try at the layering stencil, I went with a ton of bright, happy colors just to play with it. It was so fun and I love how it turned out! Then I grabbed the die of the month set and couldn’t wait to build the sweet book worm, along with both styles of books included.
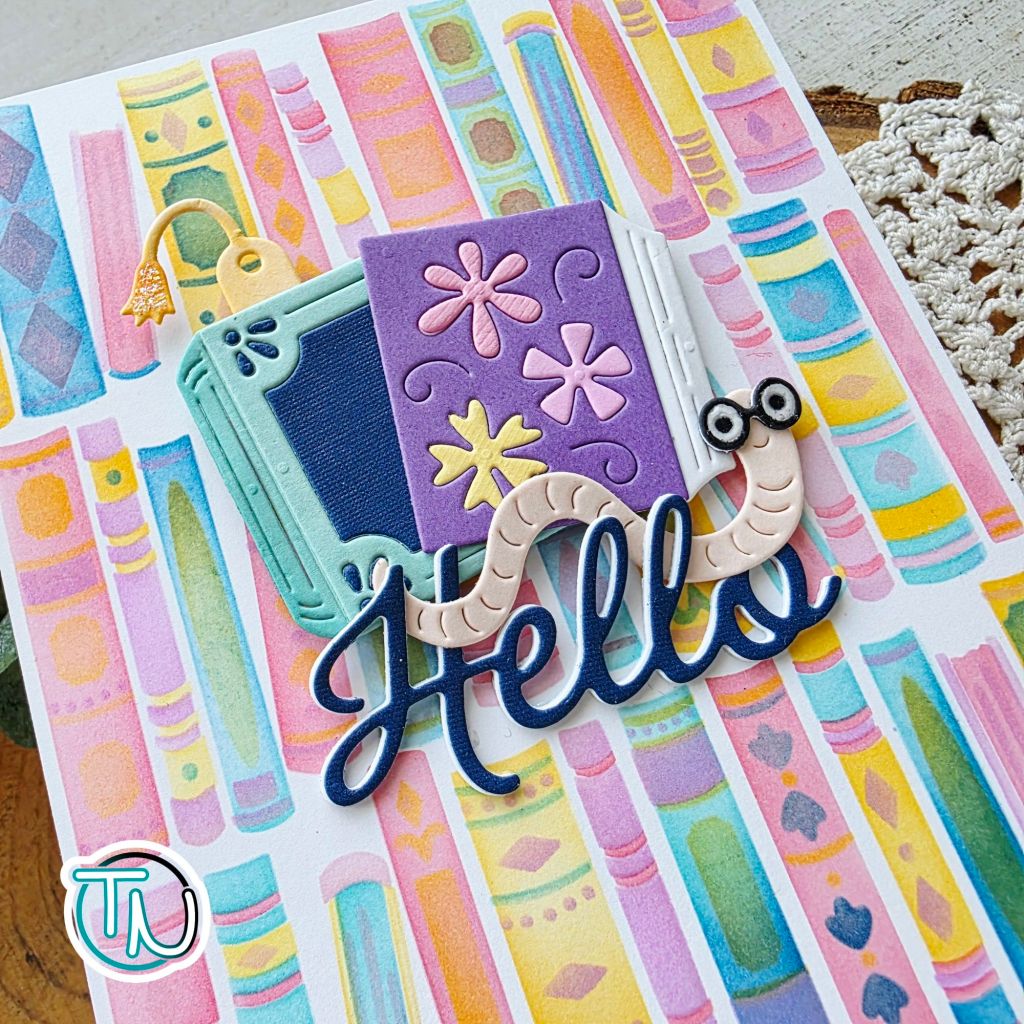
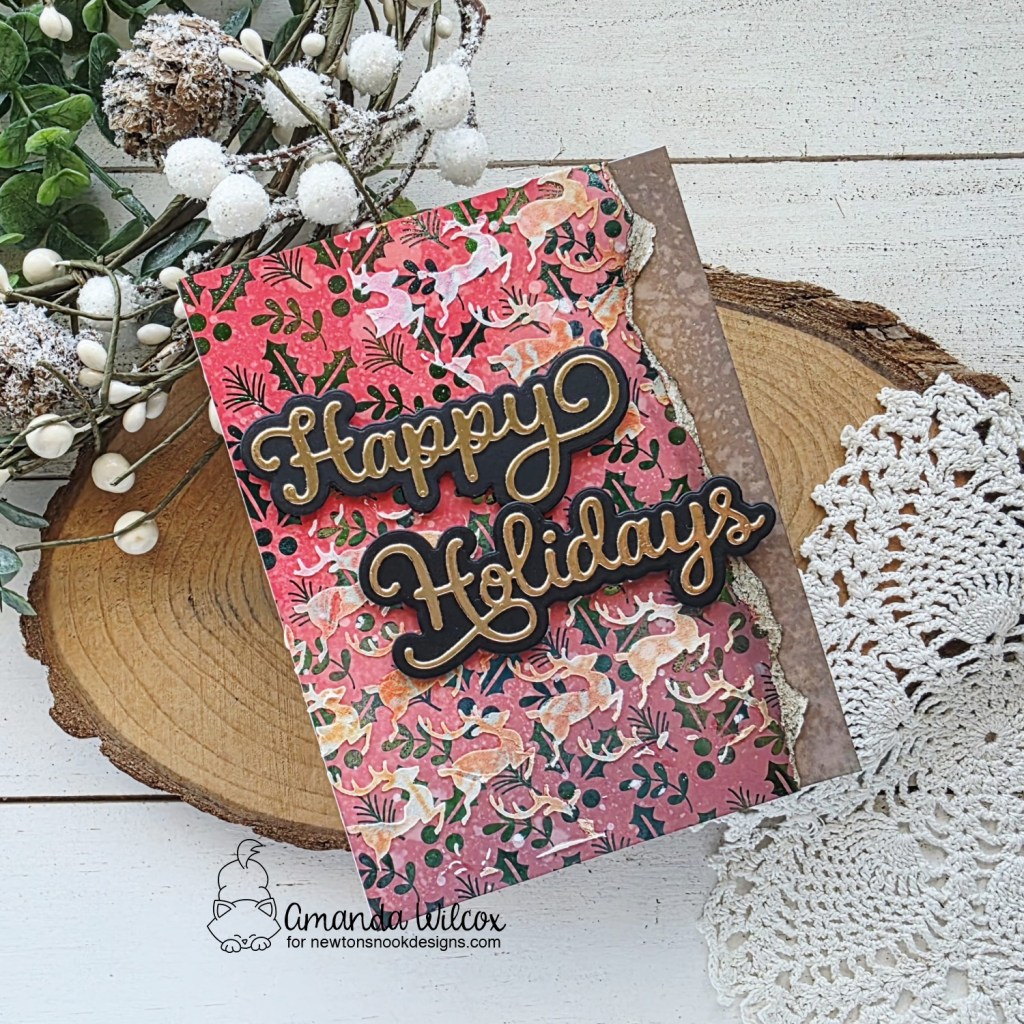
After creating my images, I took one of the sentiments in the die set and cut it 3 times to layer together, plus a dark blue layer for the top. These are adhered by liquid glue. Then I wove my book worm through the letters, adhering him with liquid glue here and there as well.
I added the books with foam squares, then the worm and sentiment below it with liquid glue and a foam square where needed. I finished things off here with glossy accents on the worm’s glasses because, who can resist that?!? Not me.
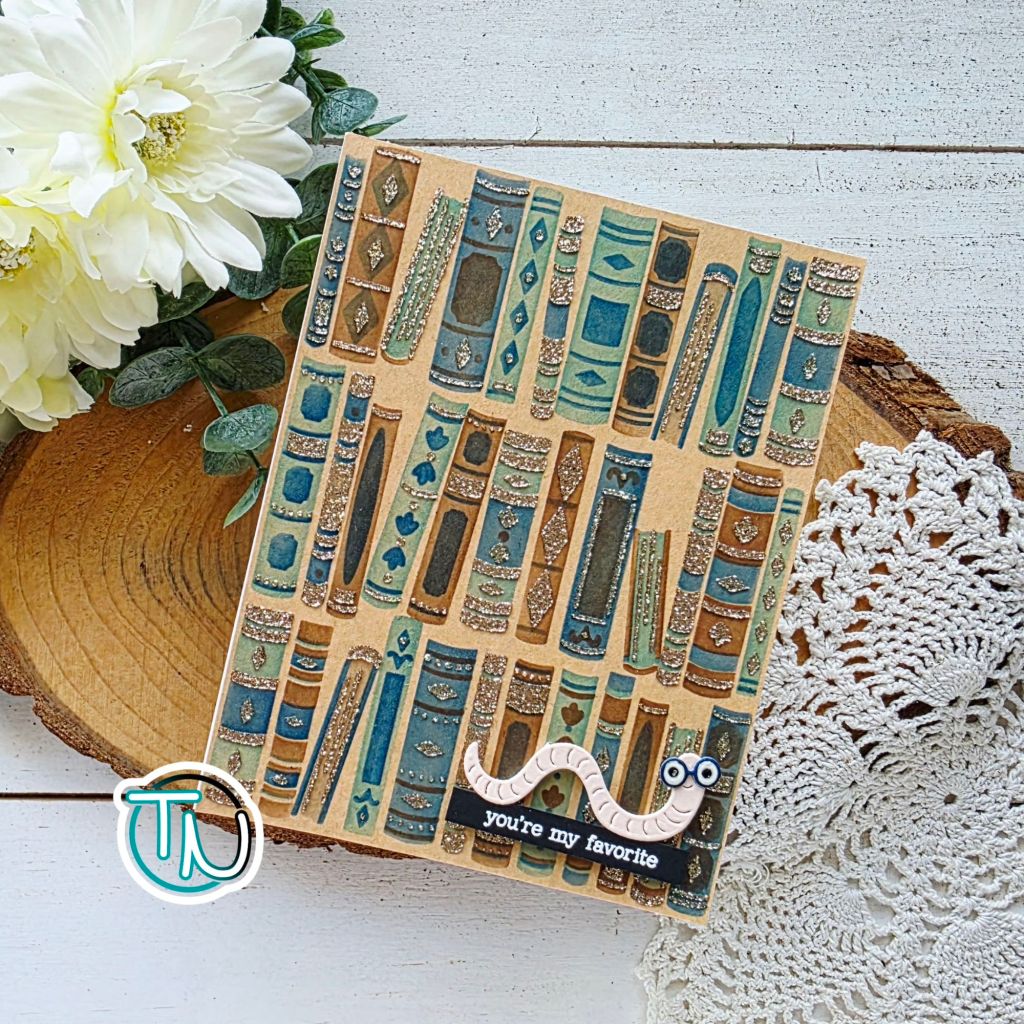
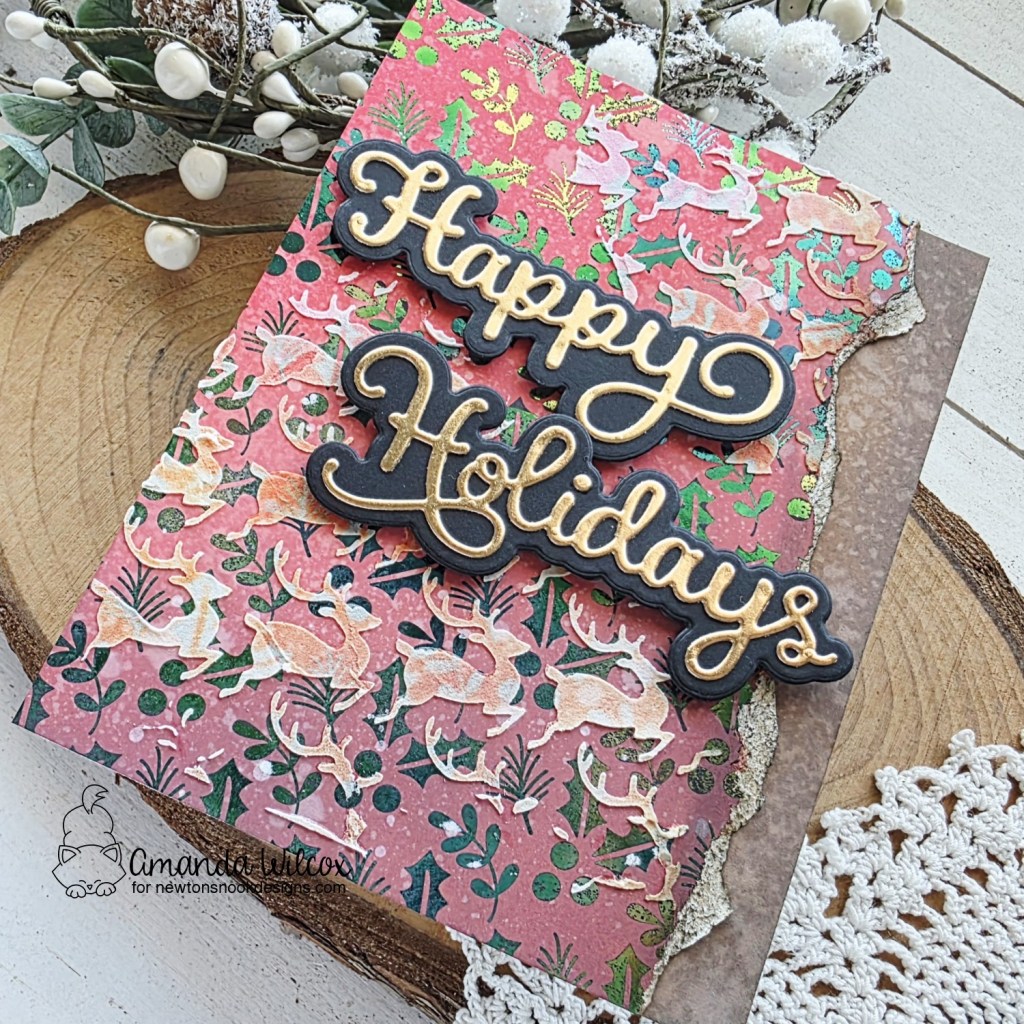
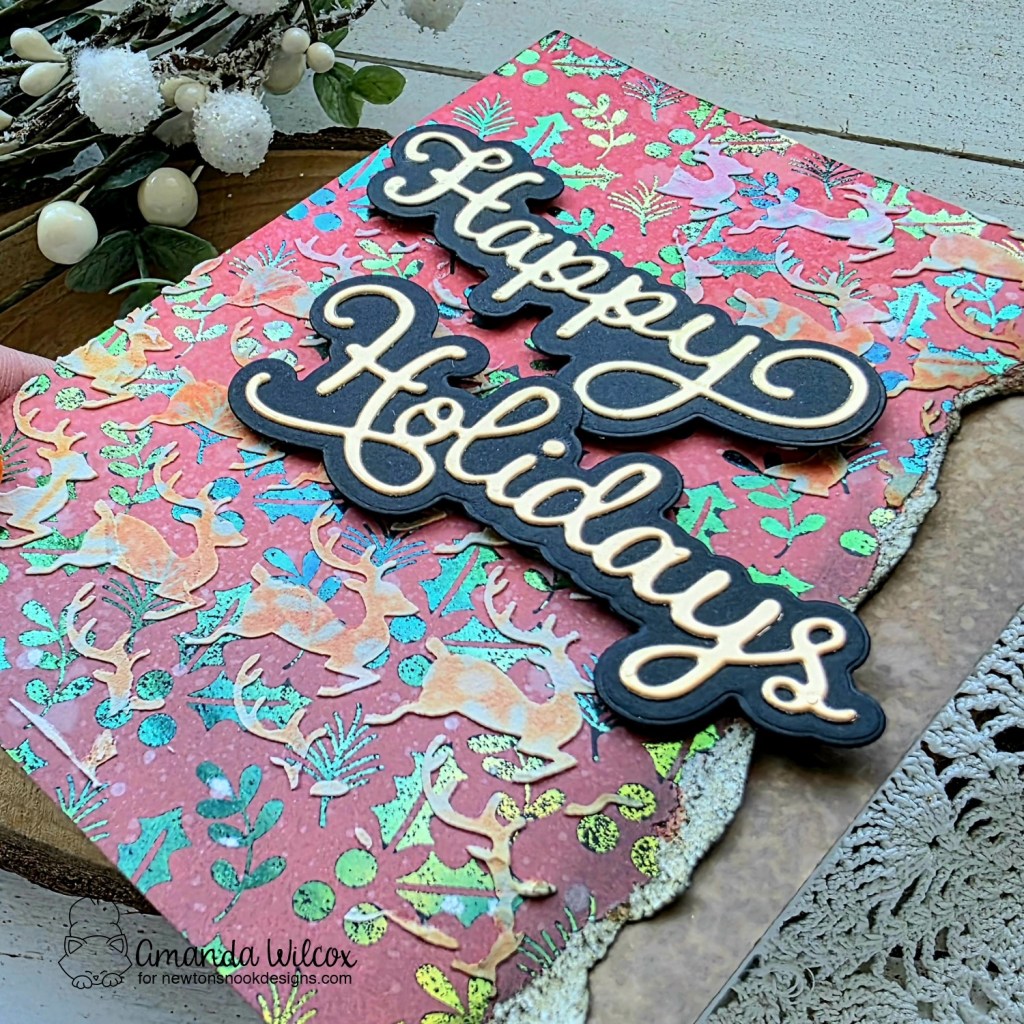
For my second card, I went darker on my color palette and finished things off with some Astro Paste for the beautiful gold glitter. This library belongs in a castle somewhere, I’m sure of it!
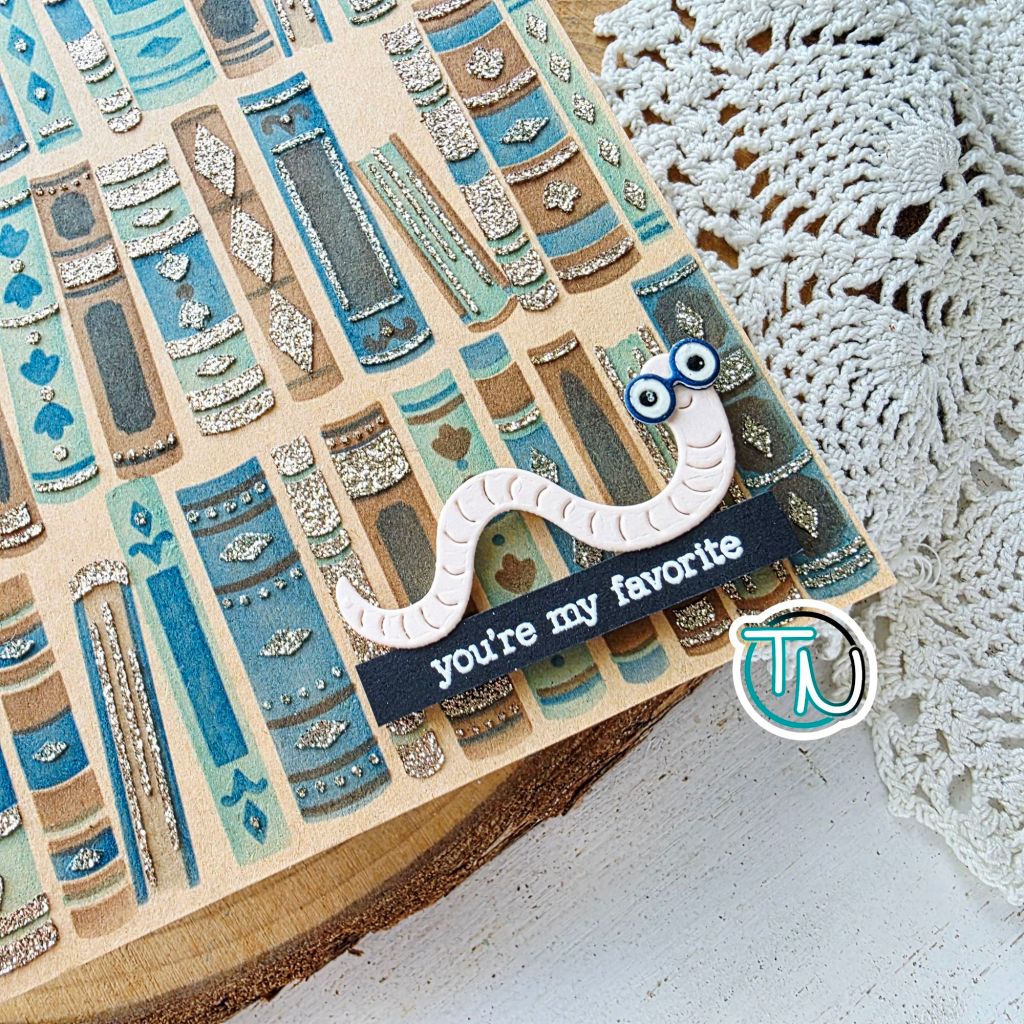
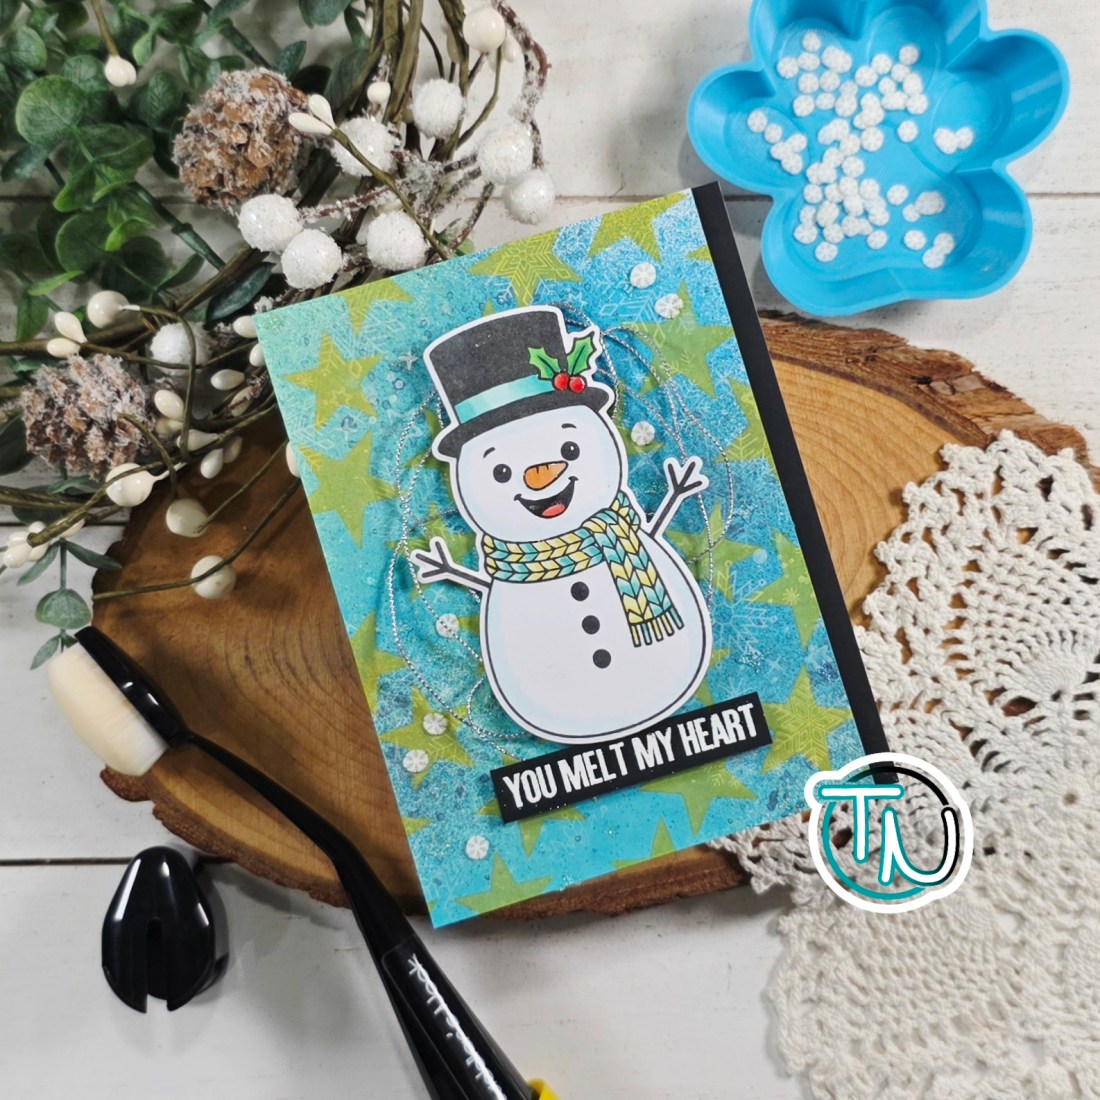
I went back and forth on what images to add but in reality, this little worm is too adorable not to add to everything for the foreseeable future. So he won and so did this simple little sentiment from the What’s Cookin’? stamp set. They are both popped up with foam strips and his glasses are also finished off with glossy accents.
If you haven’t thought about the Hero Studio subscriptions from Hero Arts, I highly recommend. The themes are so fun each month and you know it’s so fun to have something new to create with regularly! It’s also a steal of a deal compared to retail prices.
Click HERE to learn more.
I appreciate you sharing your time with me. Have a fabulous day!