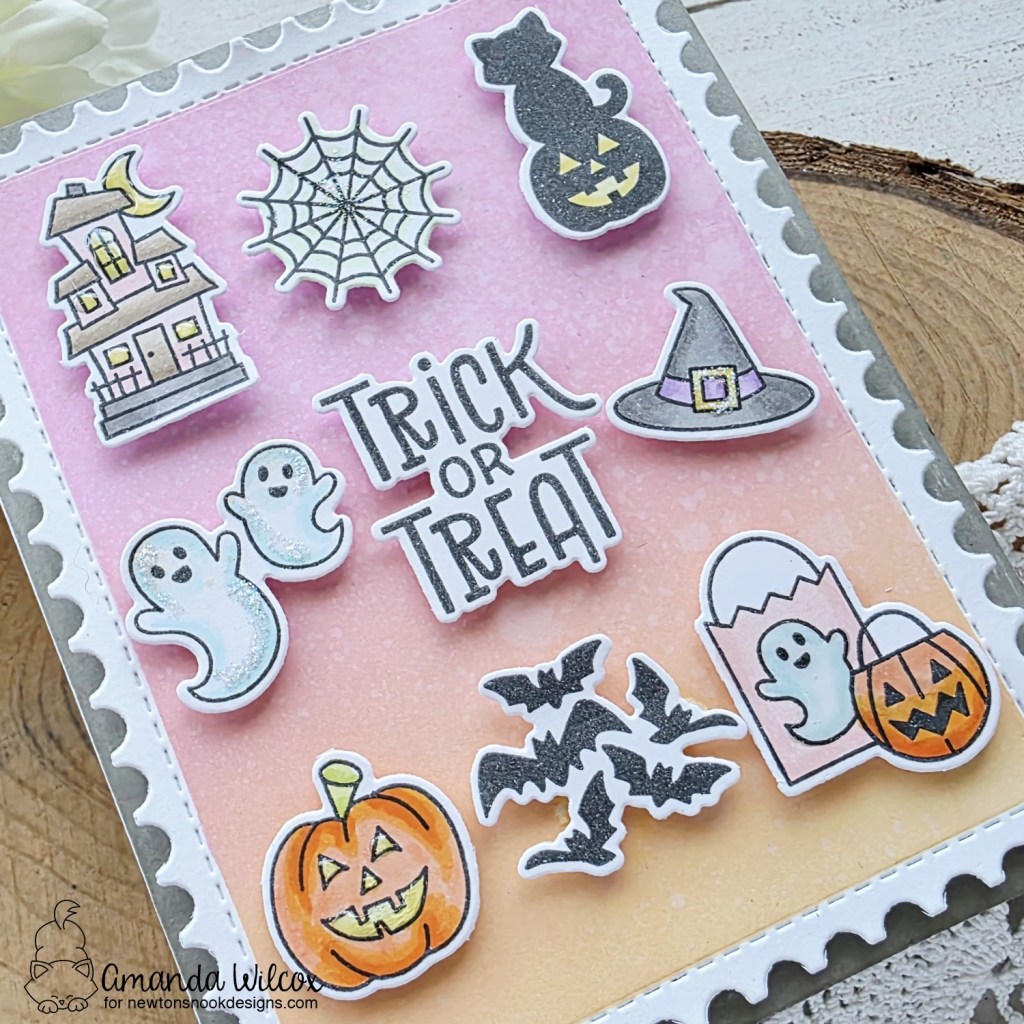
Hello again. I’m back with day 2 of release reveals for the Newton’s Nook October release. Today we have a couple of die sets to share and I made a card with each one for inspiration.
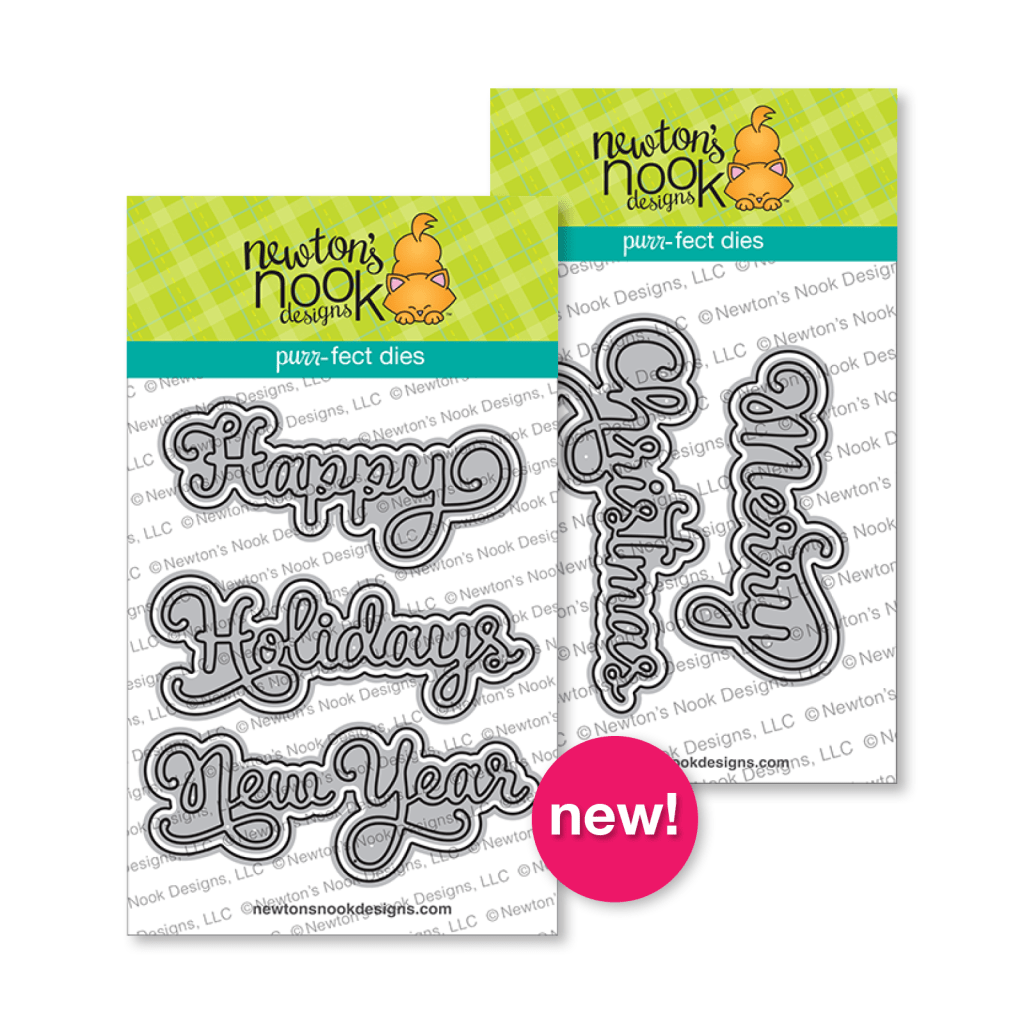
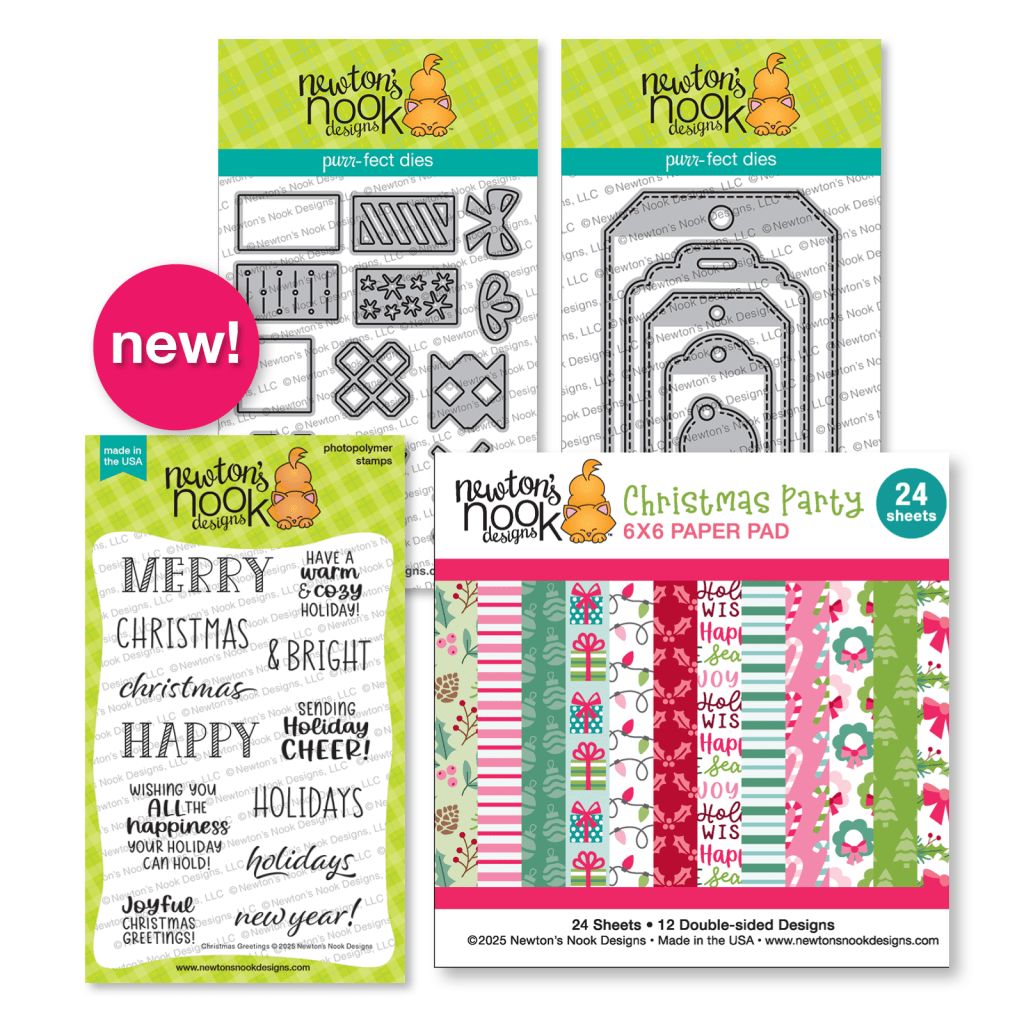
These new sets are called Merriest Christmas and Happiest Holidays. They’ll be a great addition to your holiday crafting stash. They have a beautiful script and a perfect shadow die included.
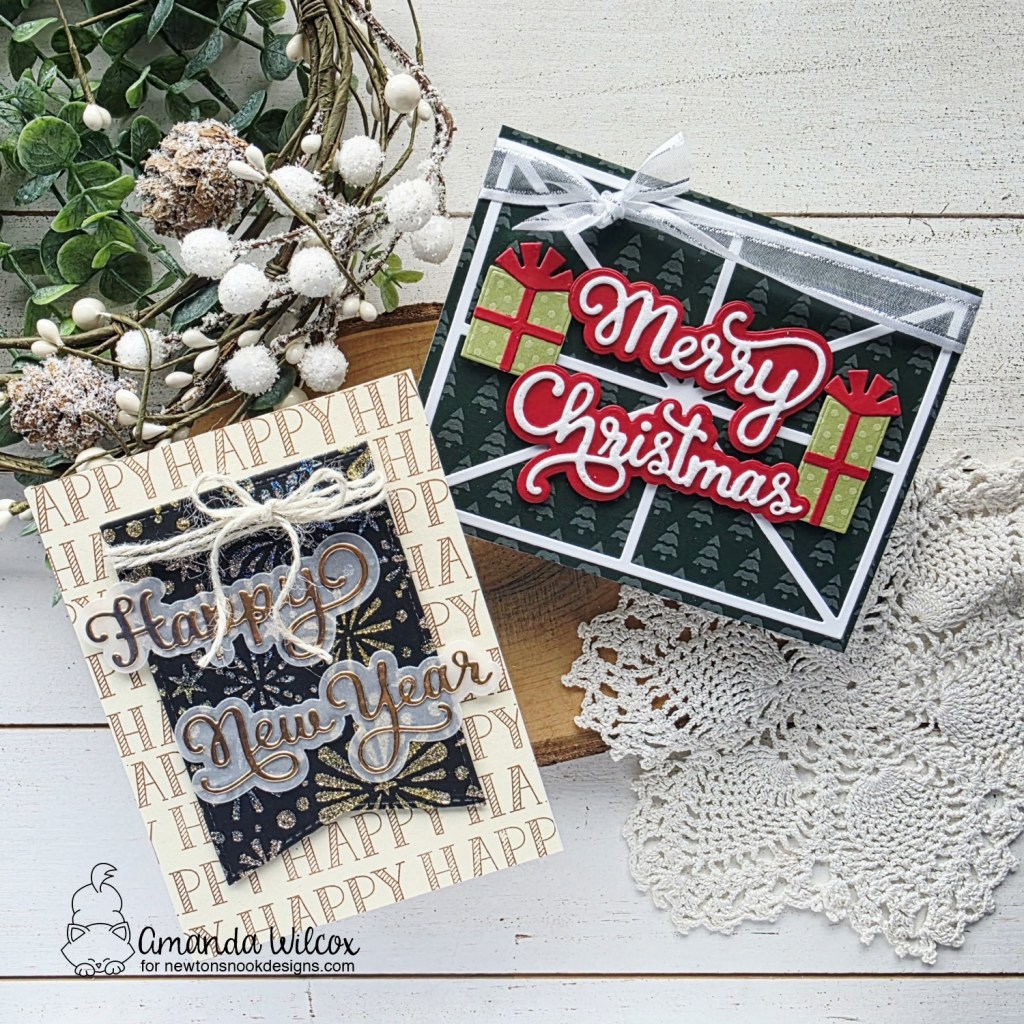
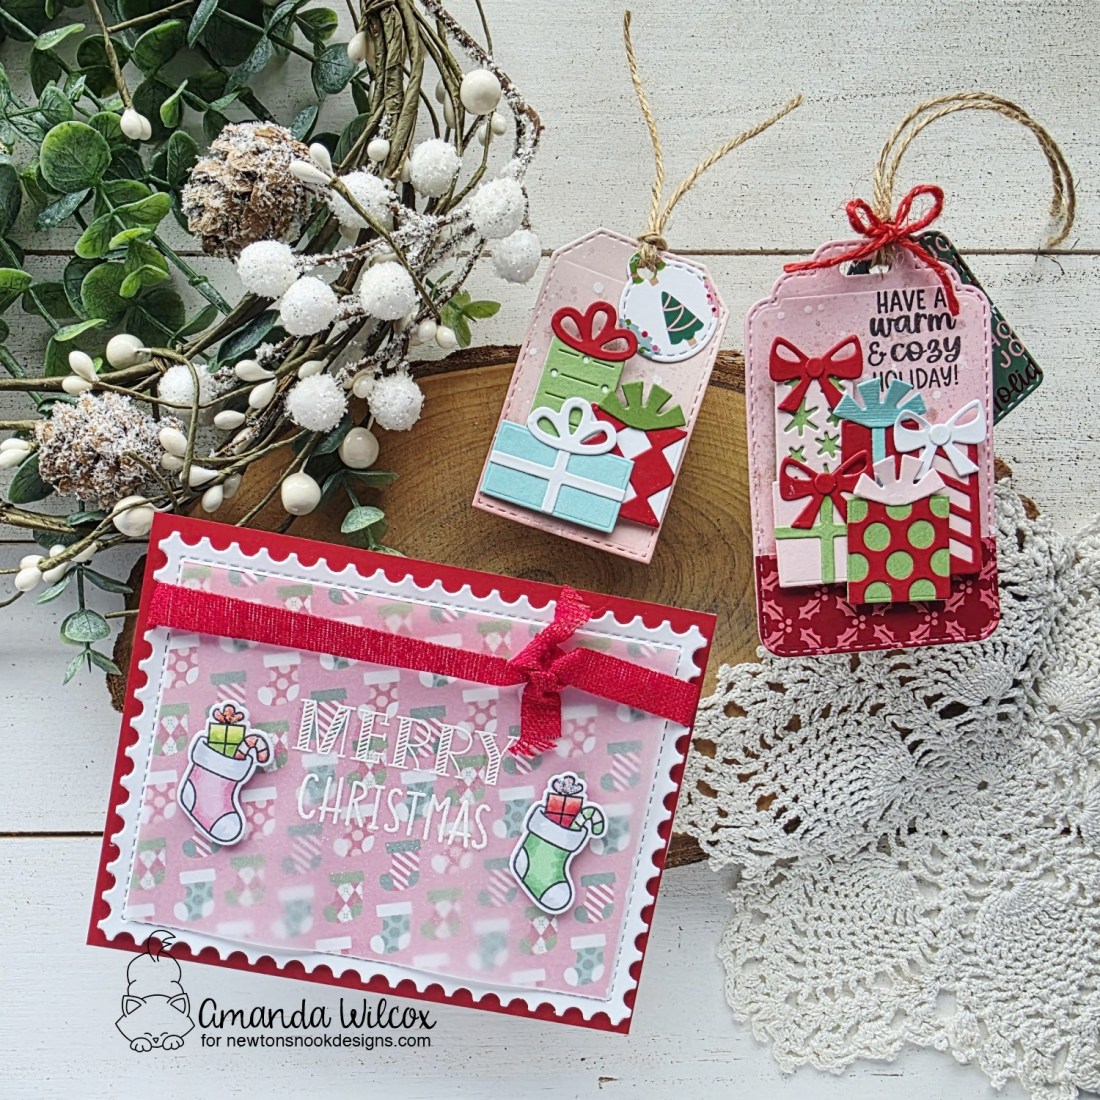
I used a couple of goodies we revealed yesterday to go with these awesome new word dies and created a Christmas and New Years card to share.
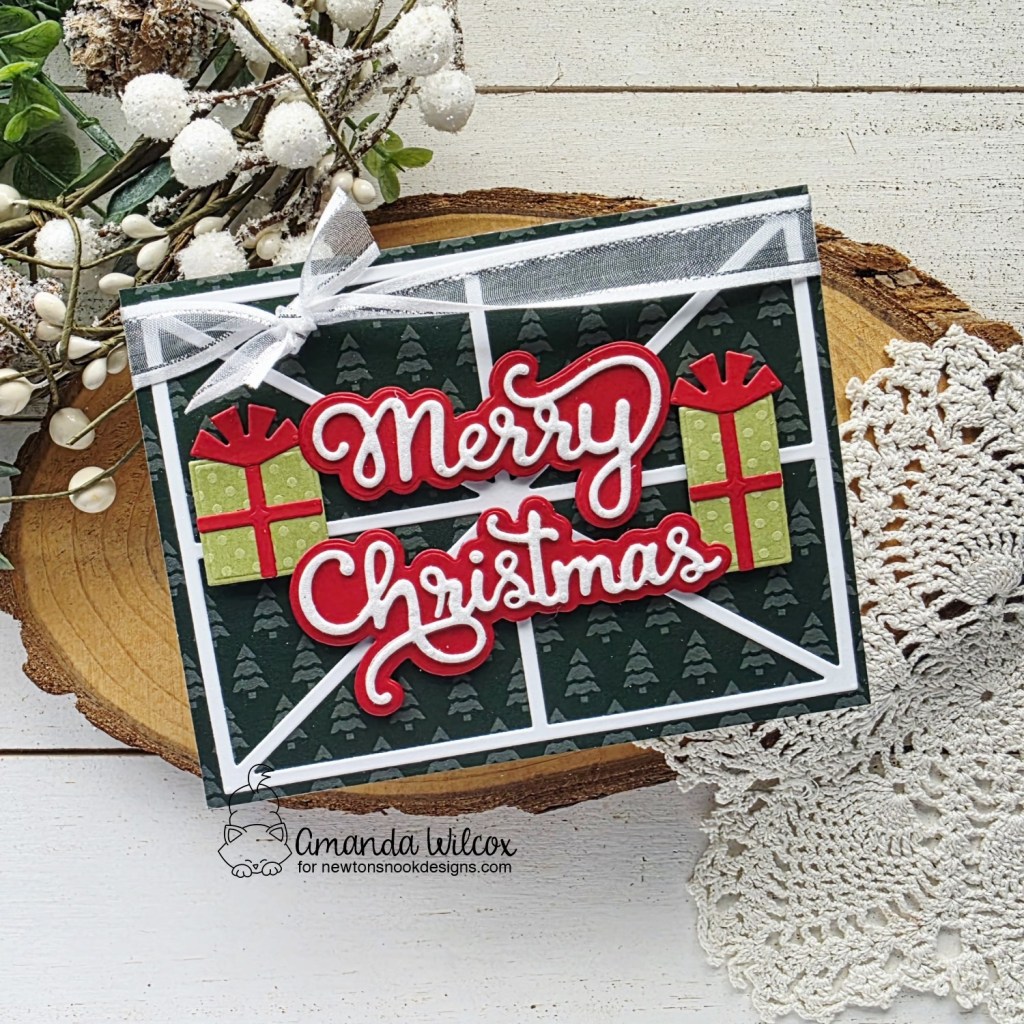
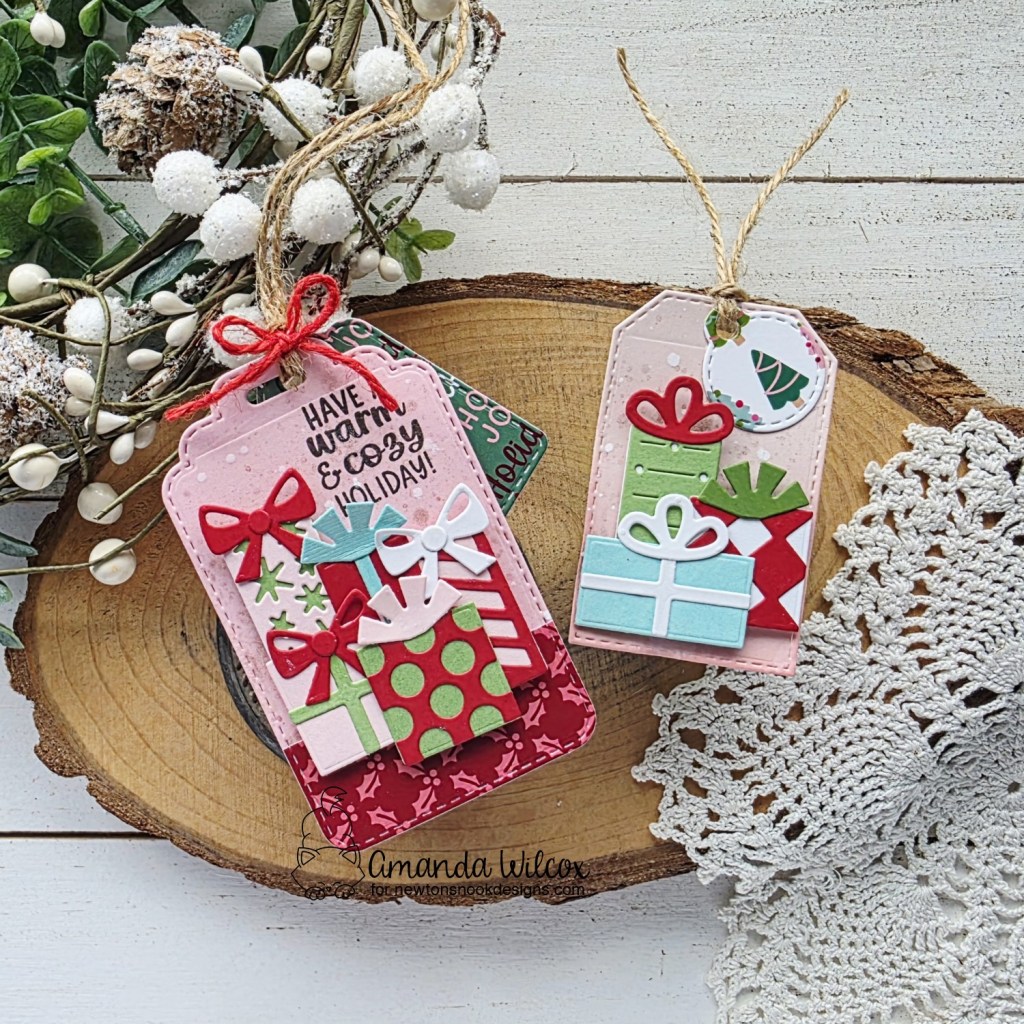
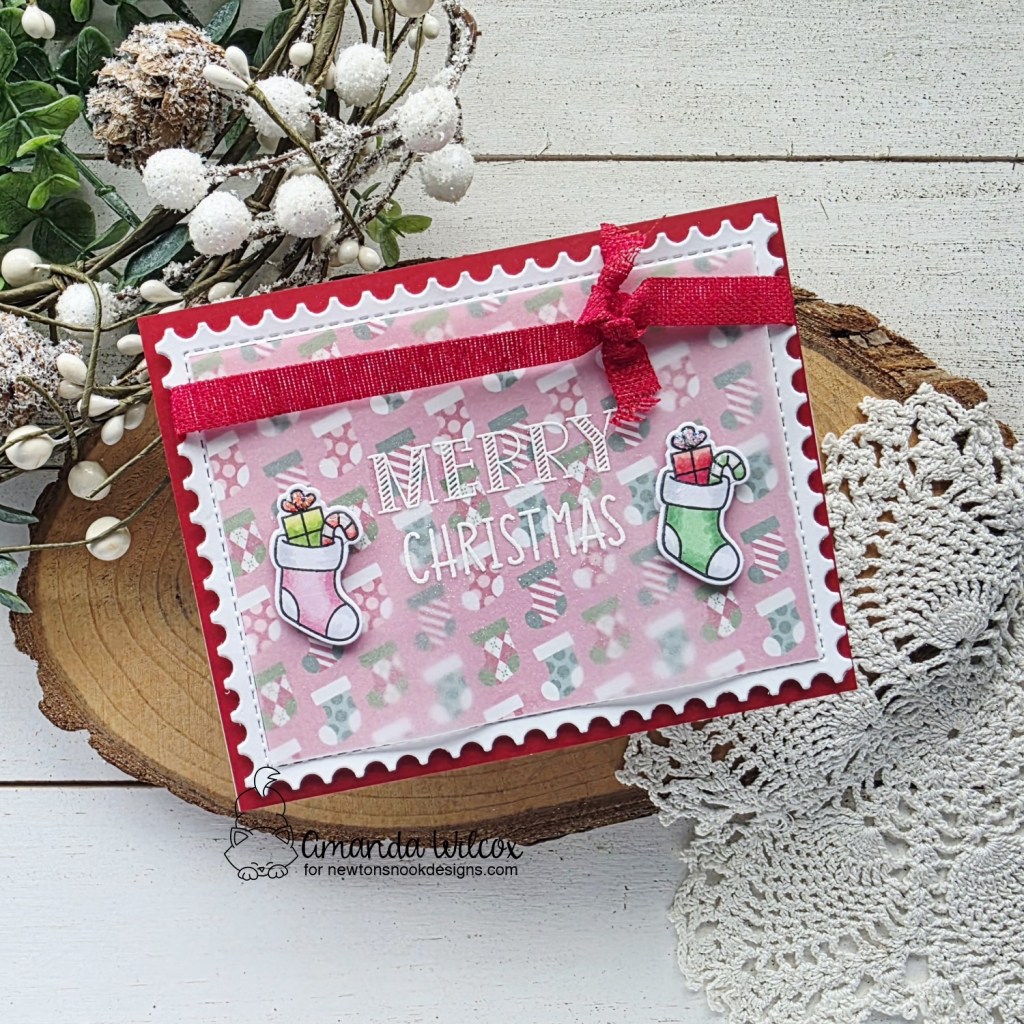
First up I used the frame from the Card Layout 5 die with some of the Christma Party paper pad to create a background for the Merriest Christmas sentiment. Then I added a few gifts using the Gift Builder set to frame the words. My sentiment is cut from white glitter foam so I just finished the design with some ribbon around the top instead my usual gloss and sparkle.
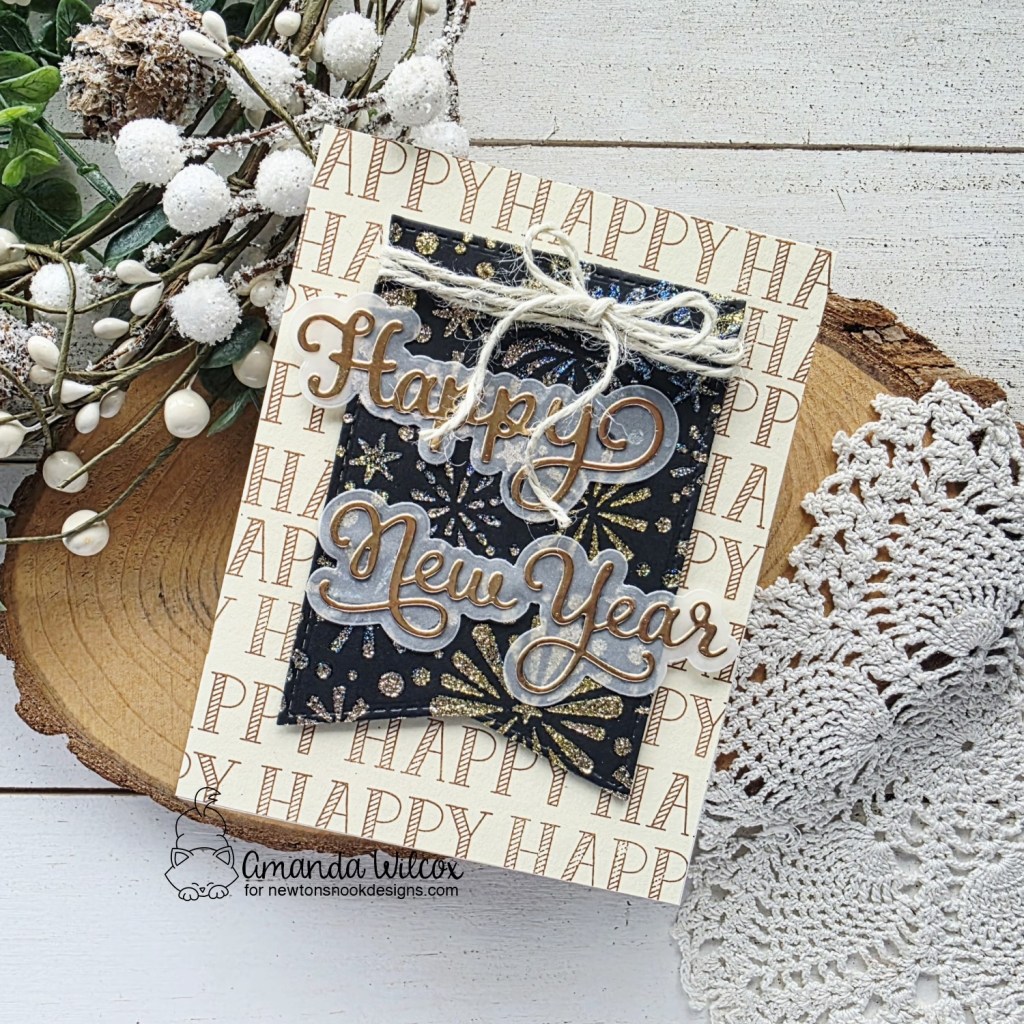
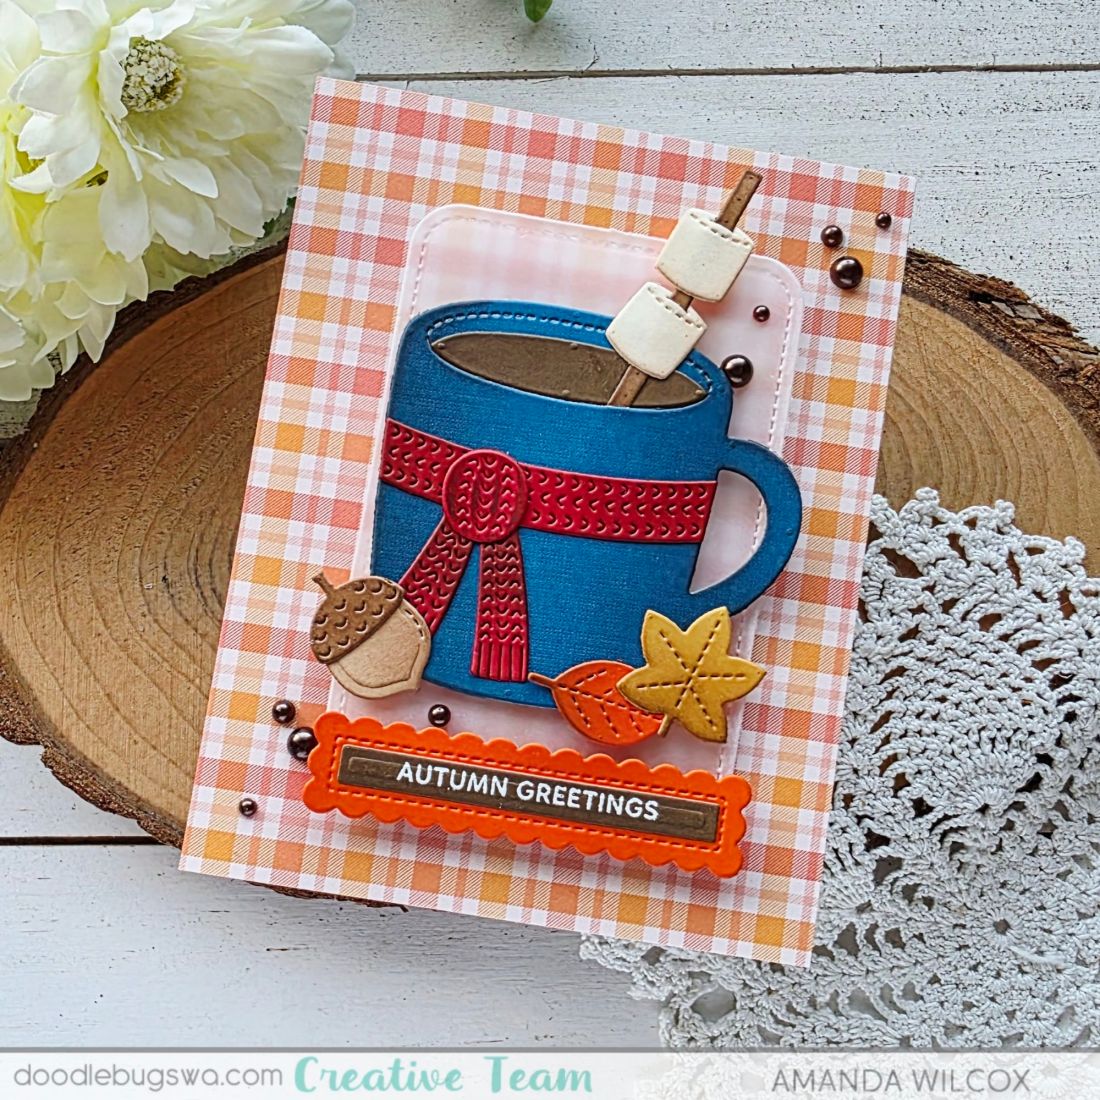
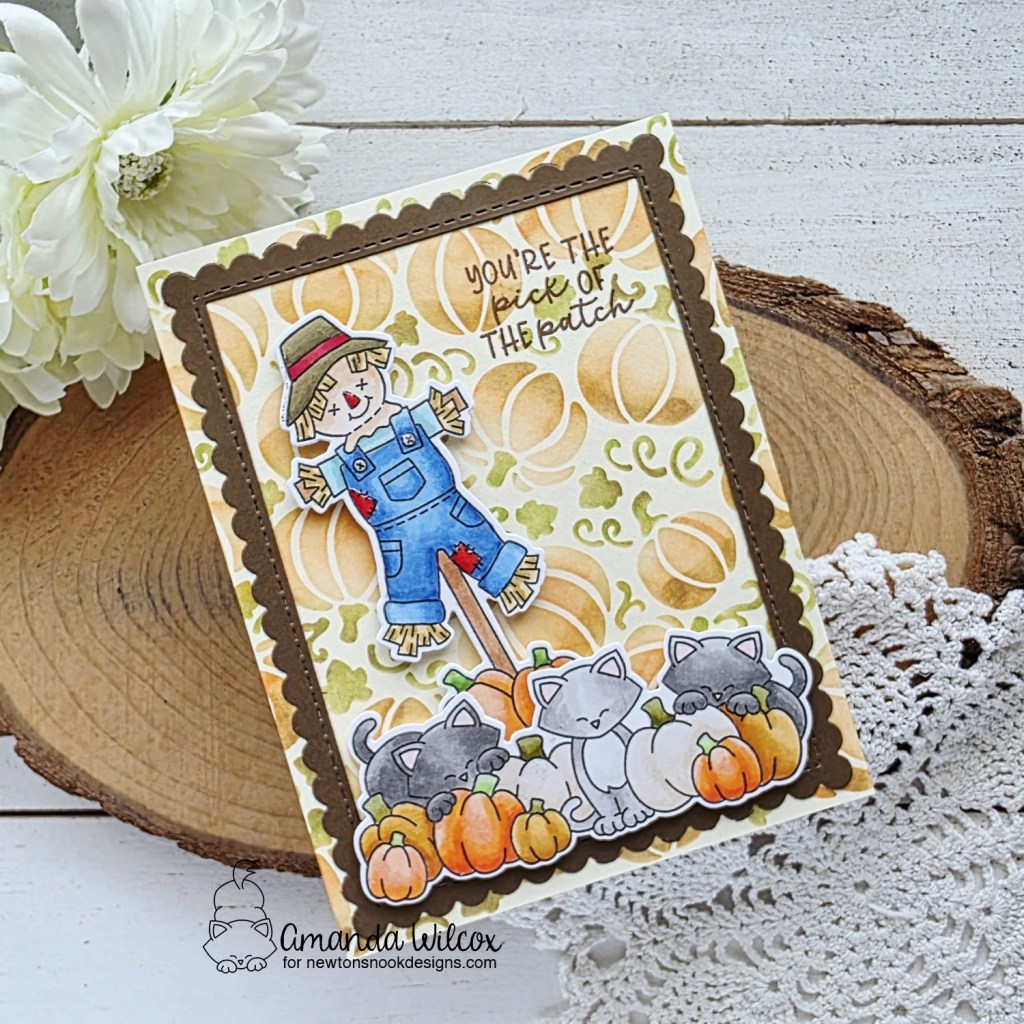
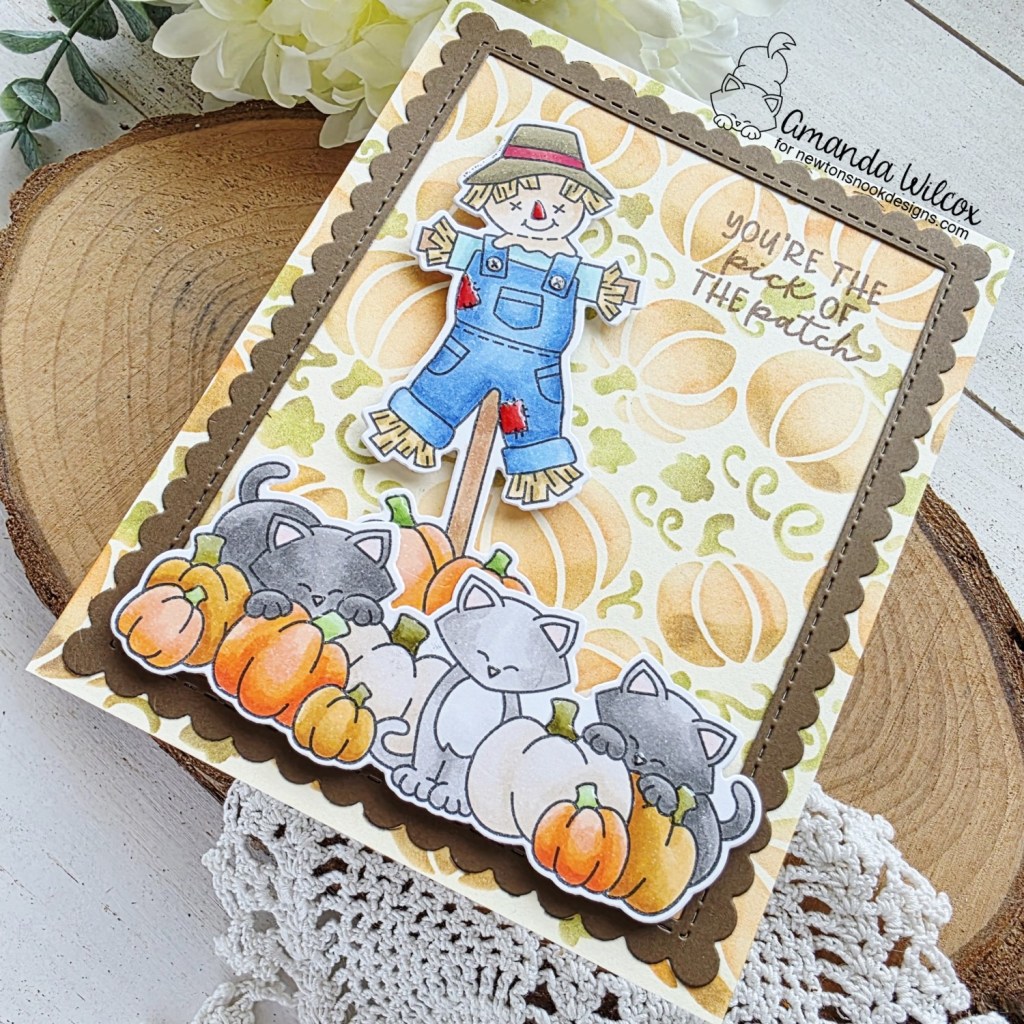
For new Happiest Holidays card, I used a stamp from the Christmas Greetings stamp set to repeat across a cream panel creating my background. Then I got messy with Ranger Astro Pastes and the Fireworks stencil to create a booming background for my sentiment. That panel is cut from the banner die in the Basic Frames set.
I tied some twine around the top and popped it up on the stamped background panel. Then I added my sentiment with liquid glue and added the whole panel to a white card base.
Enter to Win a $25 Prize!
One lucky winner will receive a $25 prize to spend at Newton’s Nook Designs online shop! The winner will be chosen at random from the collective blog posts featuring our new products this week. For a chance to win, leave comments on the Design Team Member Blog Posts (see list below) from Tuesday October 14 through Thursday October 16th. You will not know which blog has been chosen so the more you comment on the better your chances are of winning! You have until Thursday, October 16th at 9 pm ET to comment — winners will be announced on the NND blog on Friday, October 17th.
Want another chance to win? We will be having an Instagram hop on Friday with a second prize! Please join me on Instagram on Friday, October 17th for details!
Check out all the awesome Design Team Blogs below to enter:
Newton’s Nook Designs
Donna Idlet
Samantha Mann
Diane Morales
Farhana Sarker
Amanda Wilcox