Welcome to day 2 of reveals for the amazing Newton’s Nook August release! Today we have even more super fun Halloween goodies in store for you!
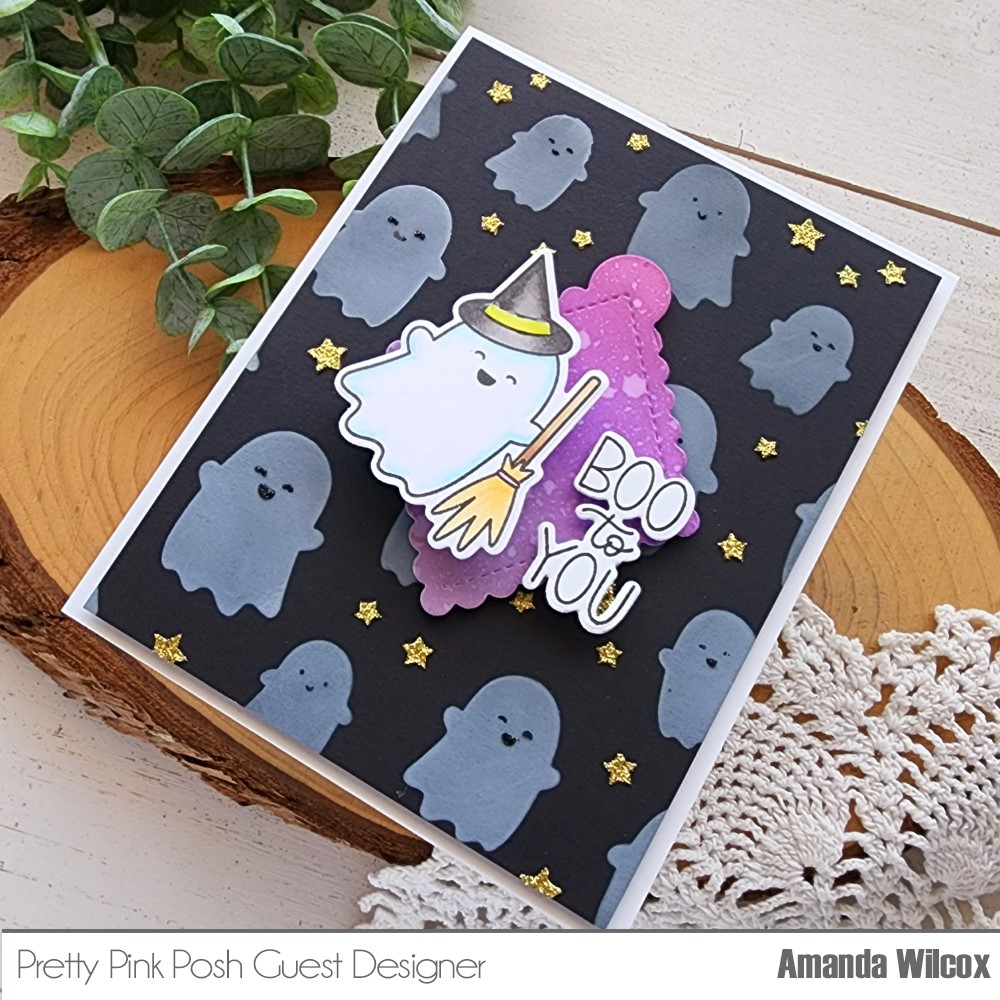
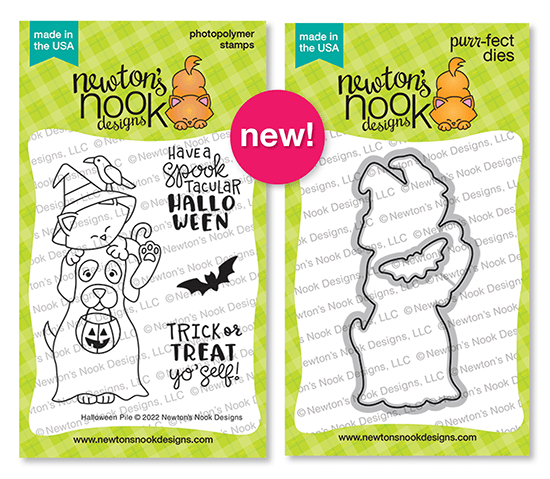
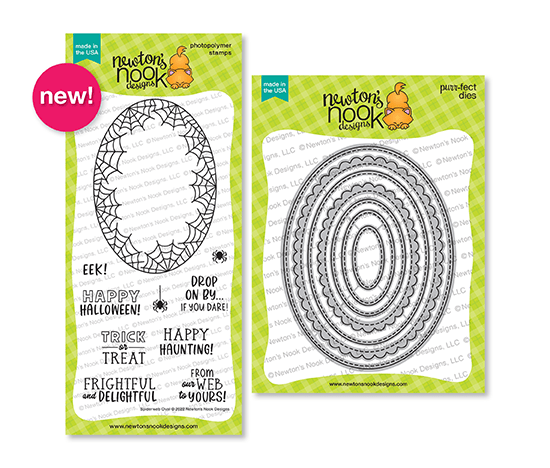
Halloween Pile stamps and dies
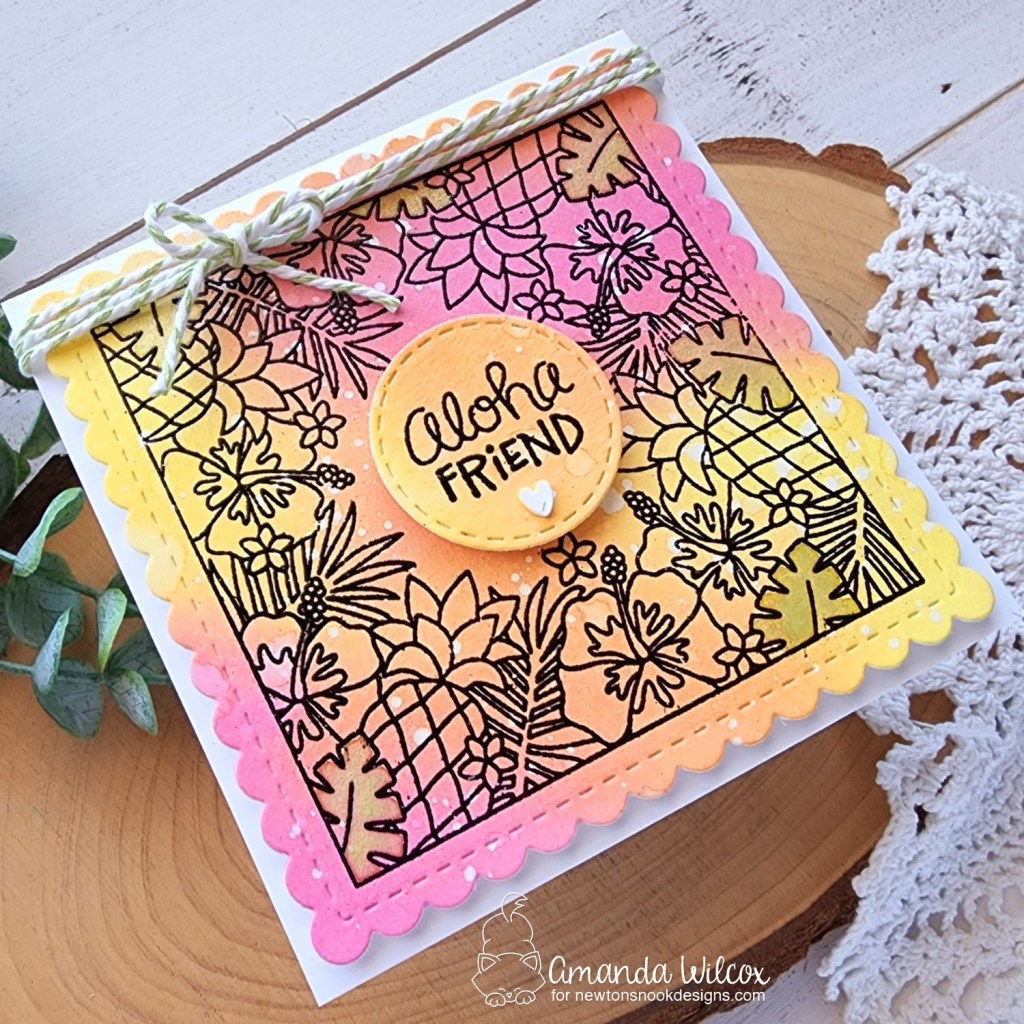
Spiderweb Oval stamps (coordinates with Oval Frames dies)
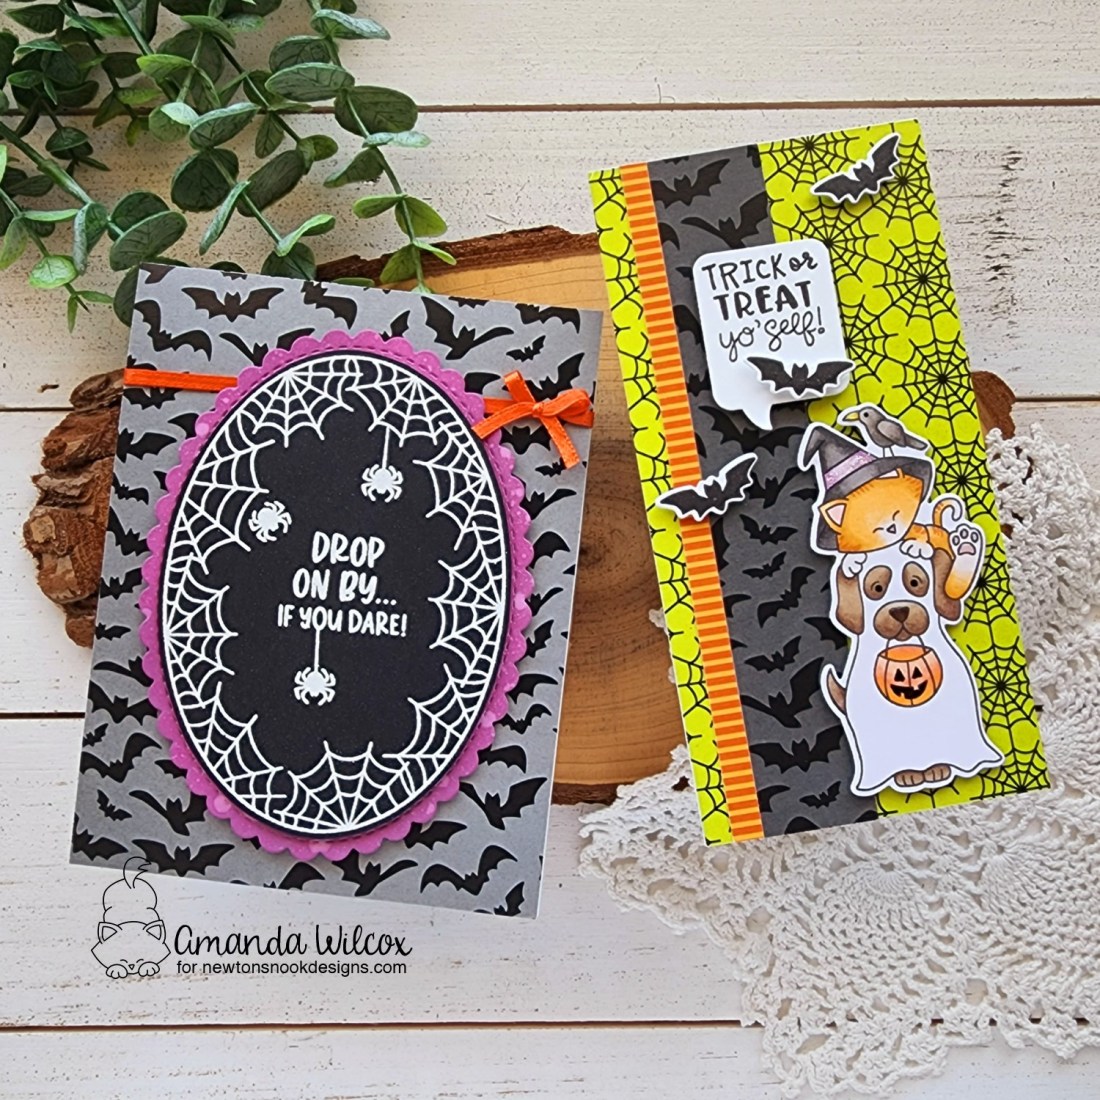
I have two very fun cards to share with you today, featuring these new stamps! I had so much fun creating these. I hope you love them too!

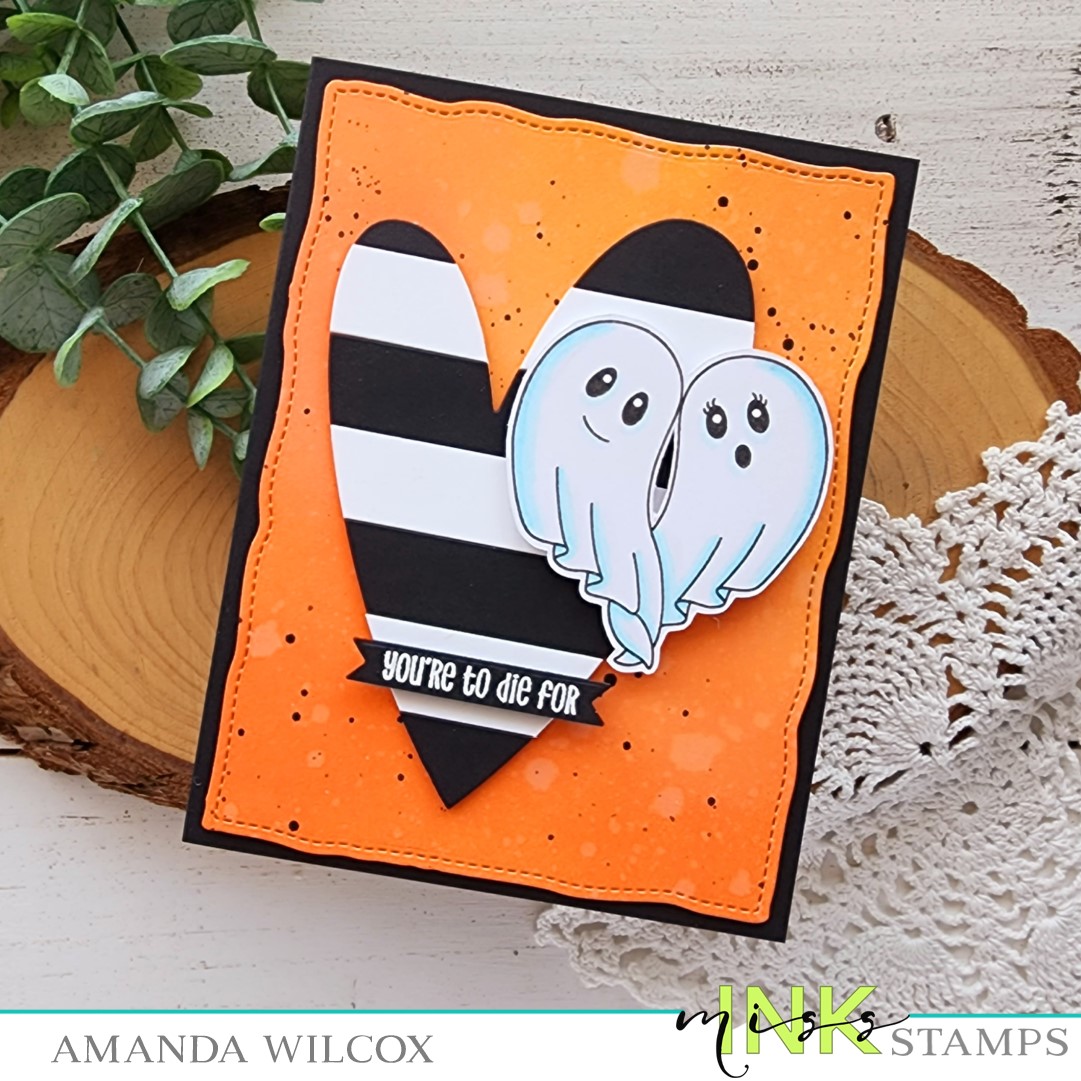
First up, I had some embossing fun with the new Spiderweb Oval stamps. I had fun adding the extra spiders to my oval and sentiment to add to the creepy factor. Then I fussy cut it out and set it aside. I inked up a piece of white cardstock with seedless preserves distress oxide ink and spritzed it with water before die cutting the panel with the largest scalloped oval die.

To assemble my card, I cut a piece of patterned paper from Halloween Meows and adhered it to a white card base. Then I popped up both ovals with foam tape. For a little splash of extra color, I tied orange ribbon around the top third of the card front.
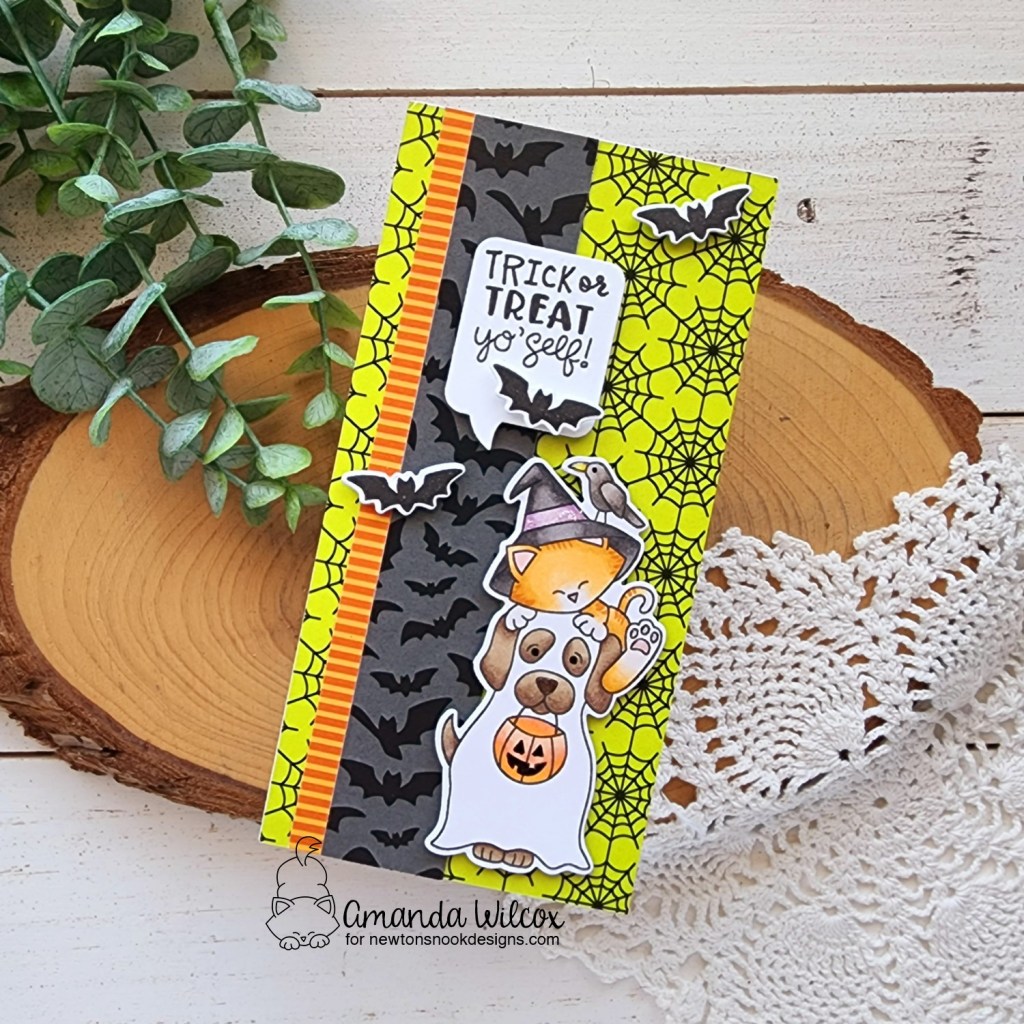
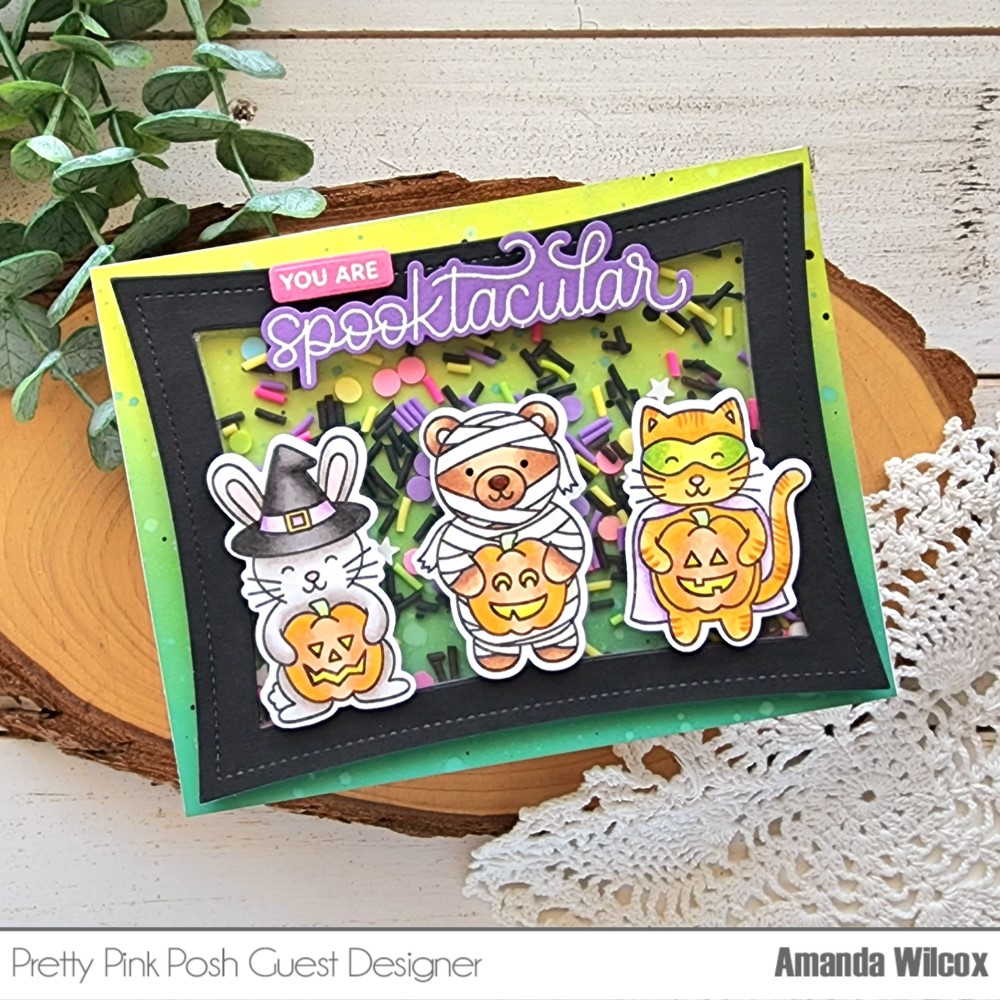
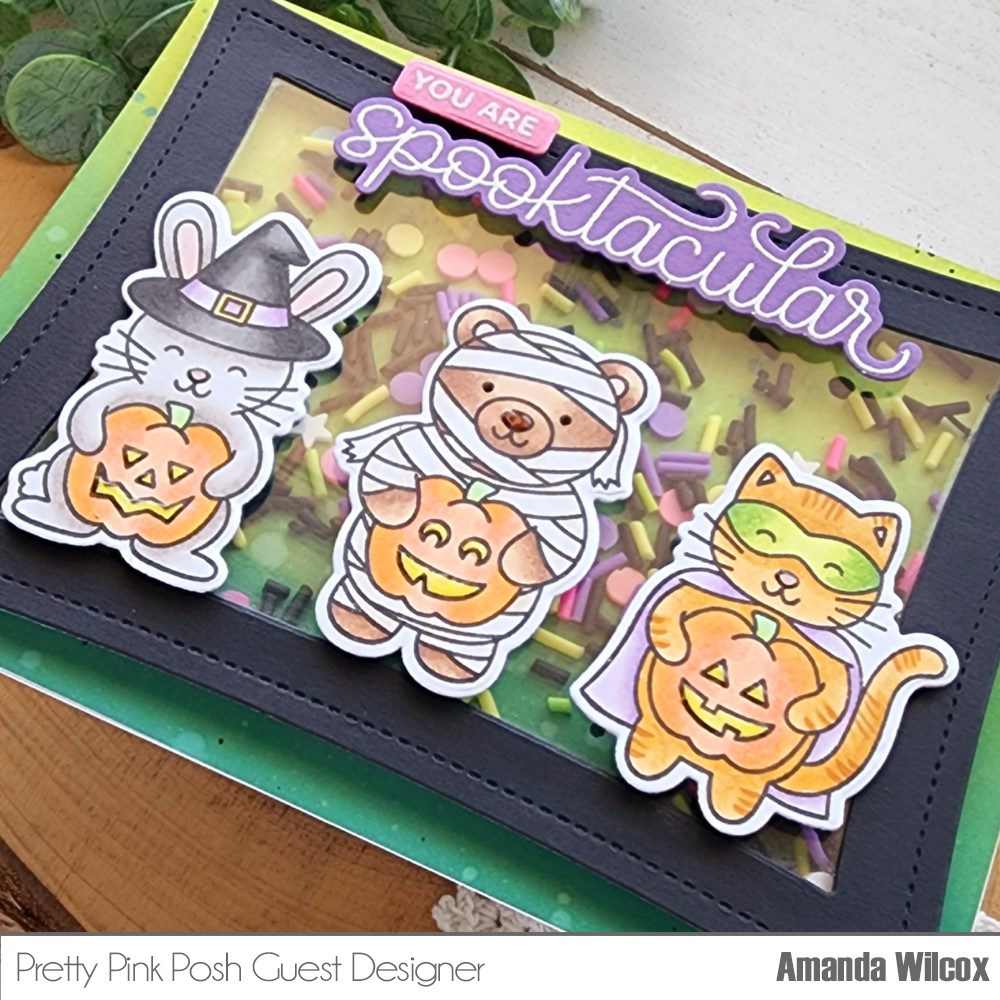
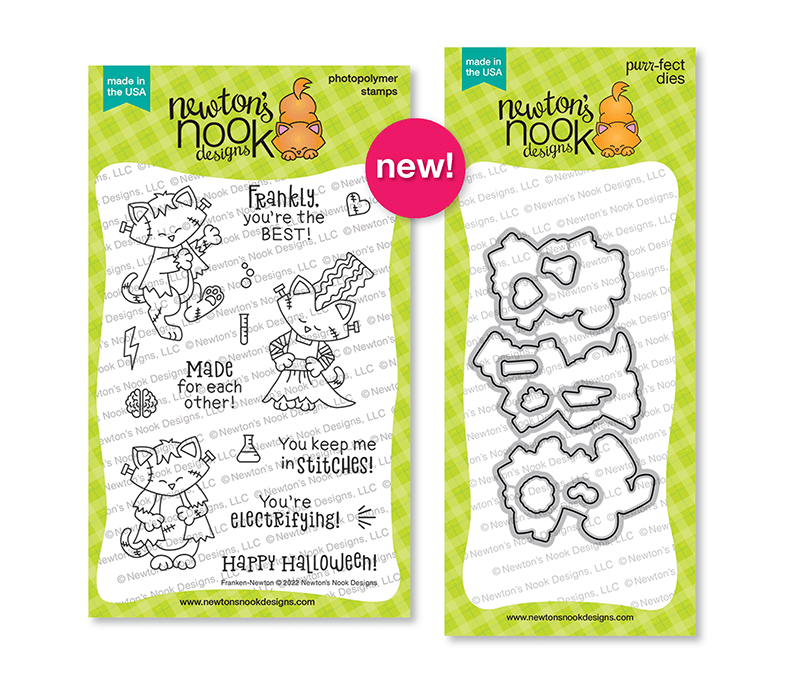
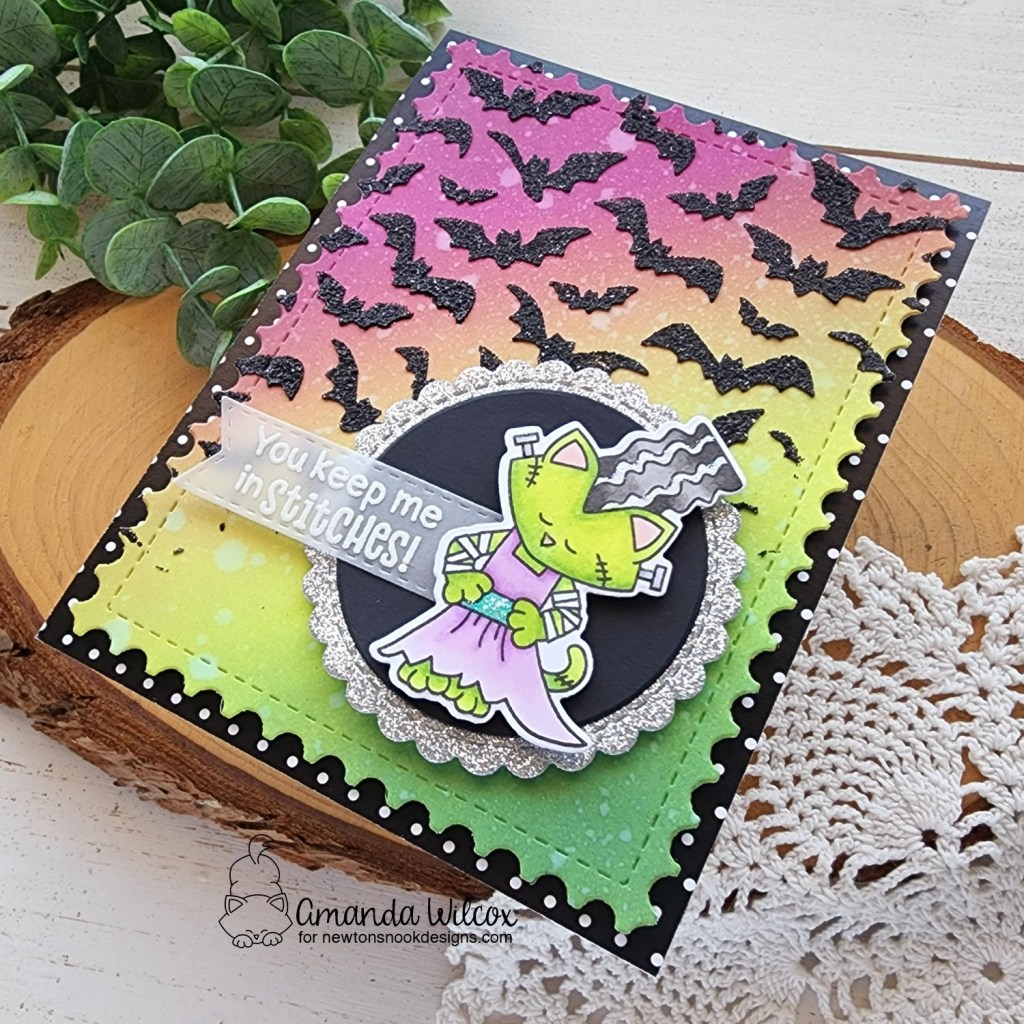
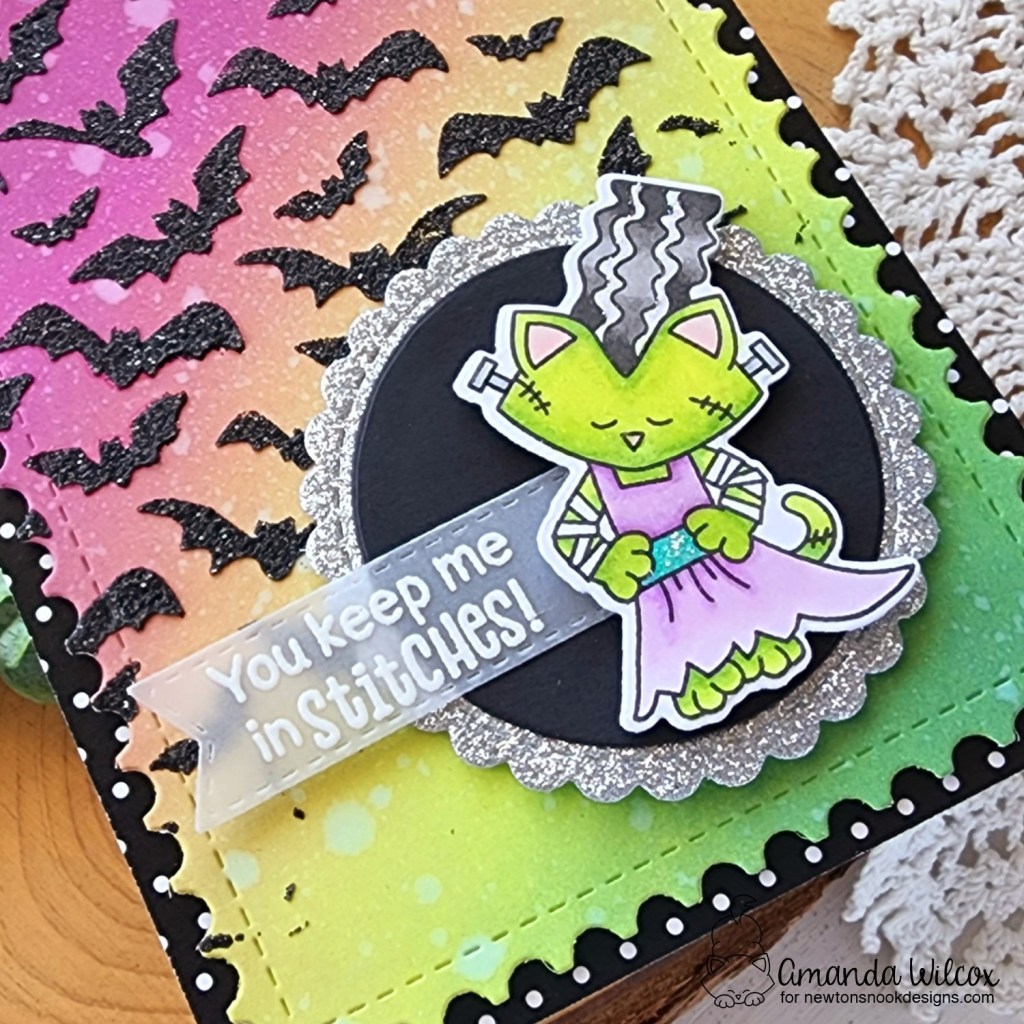
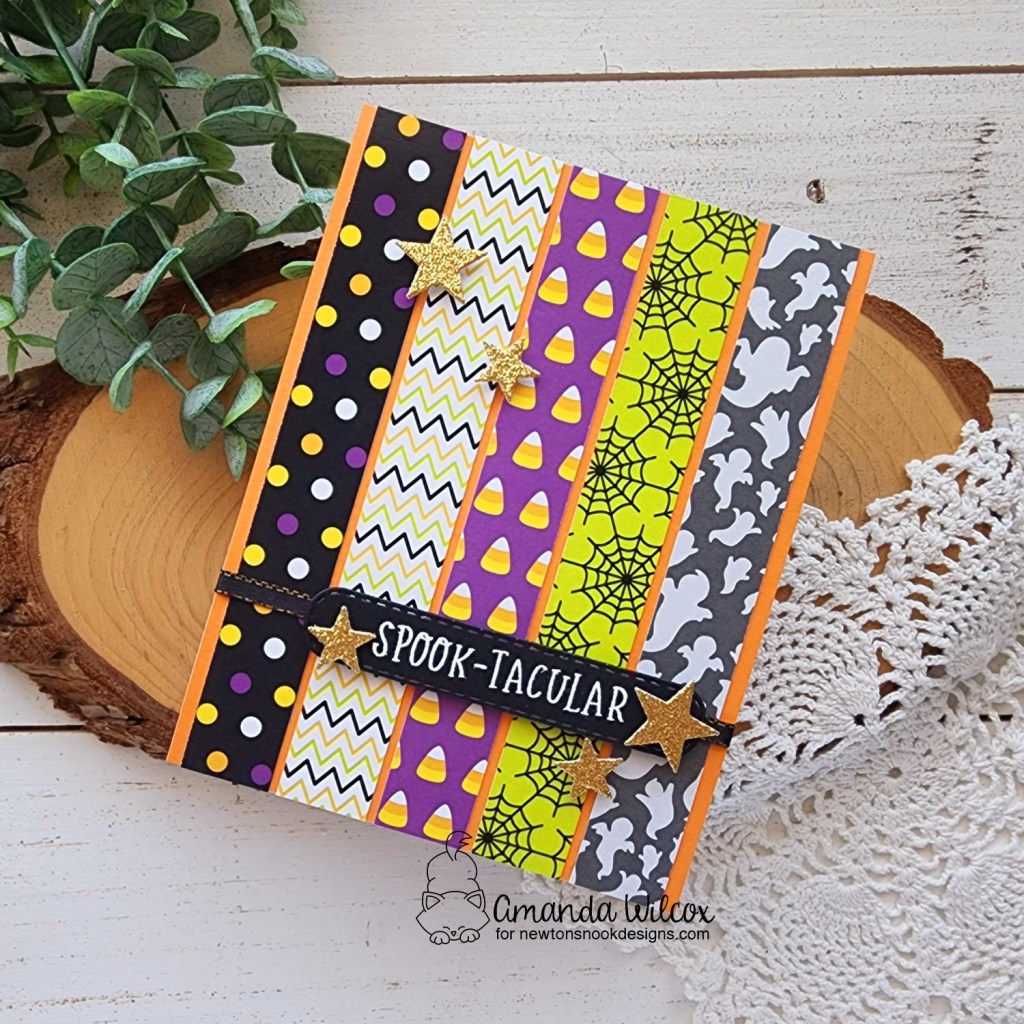
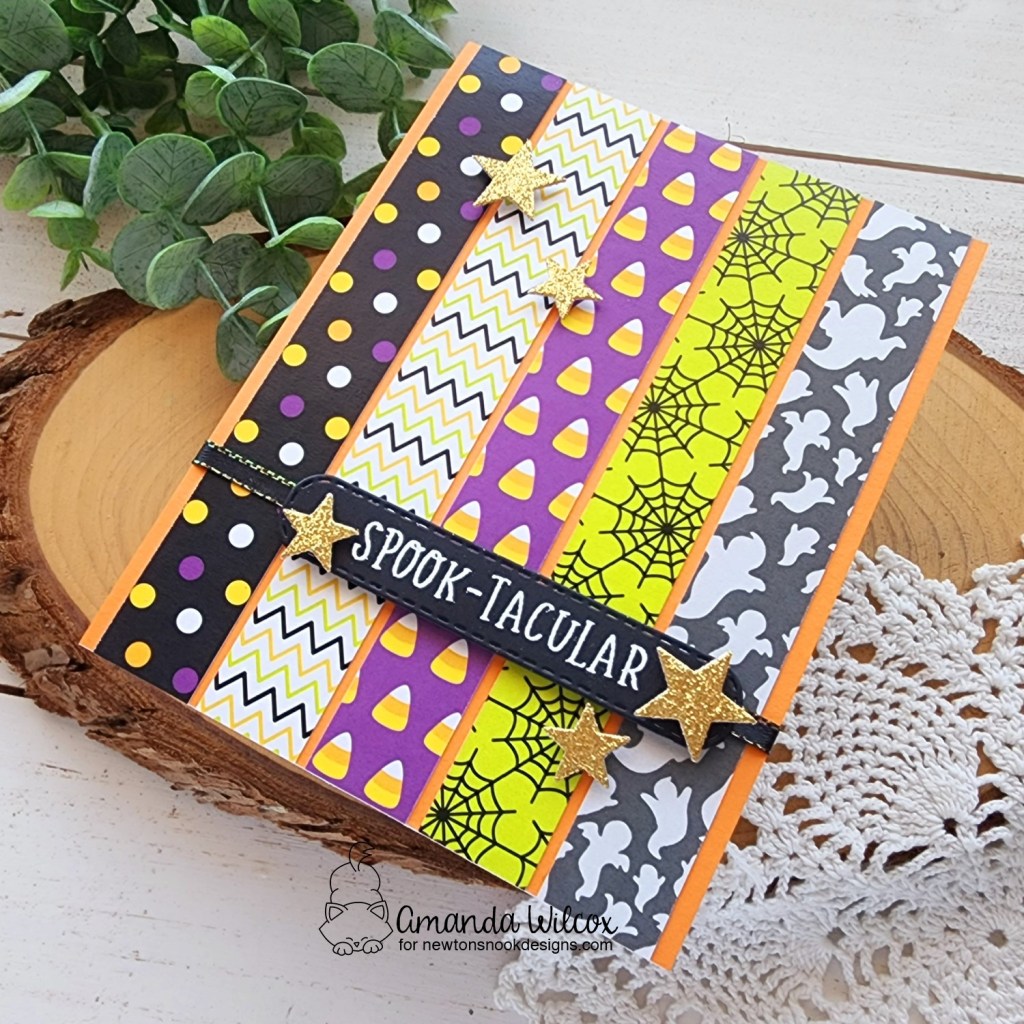
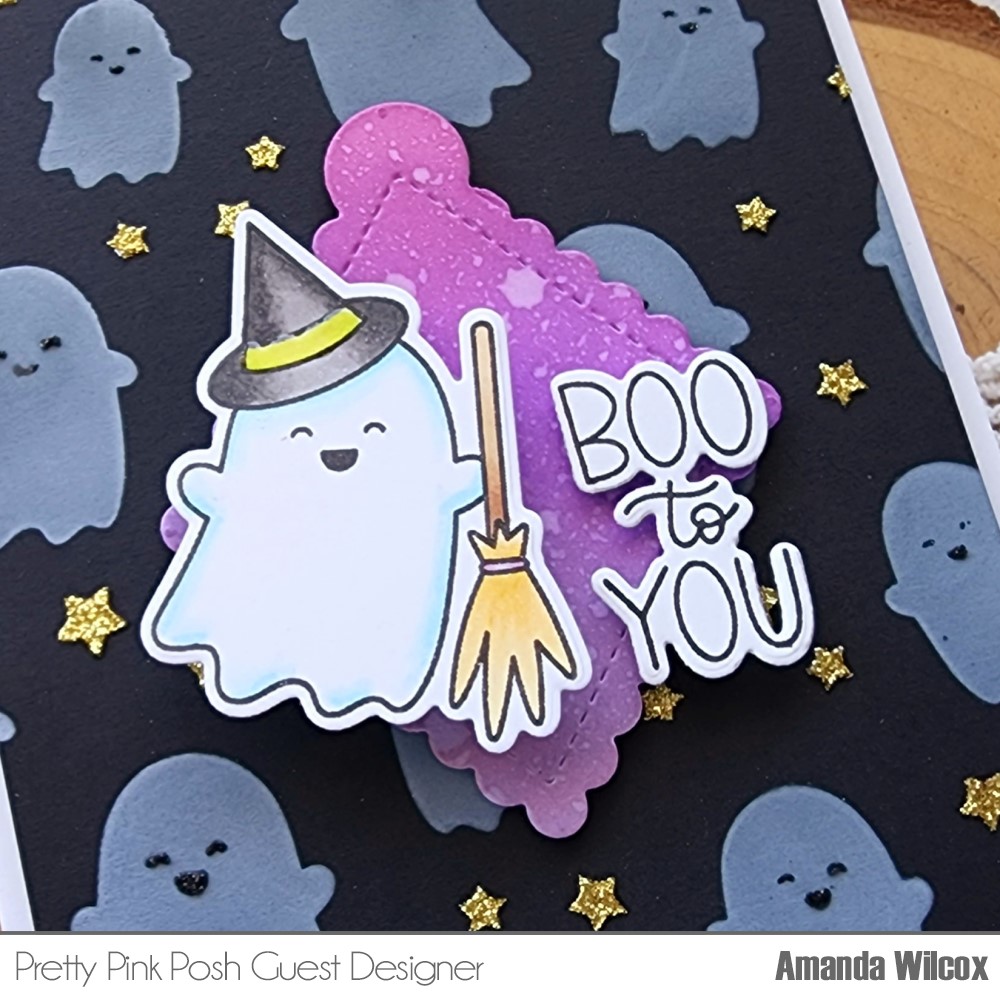
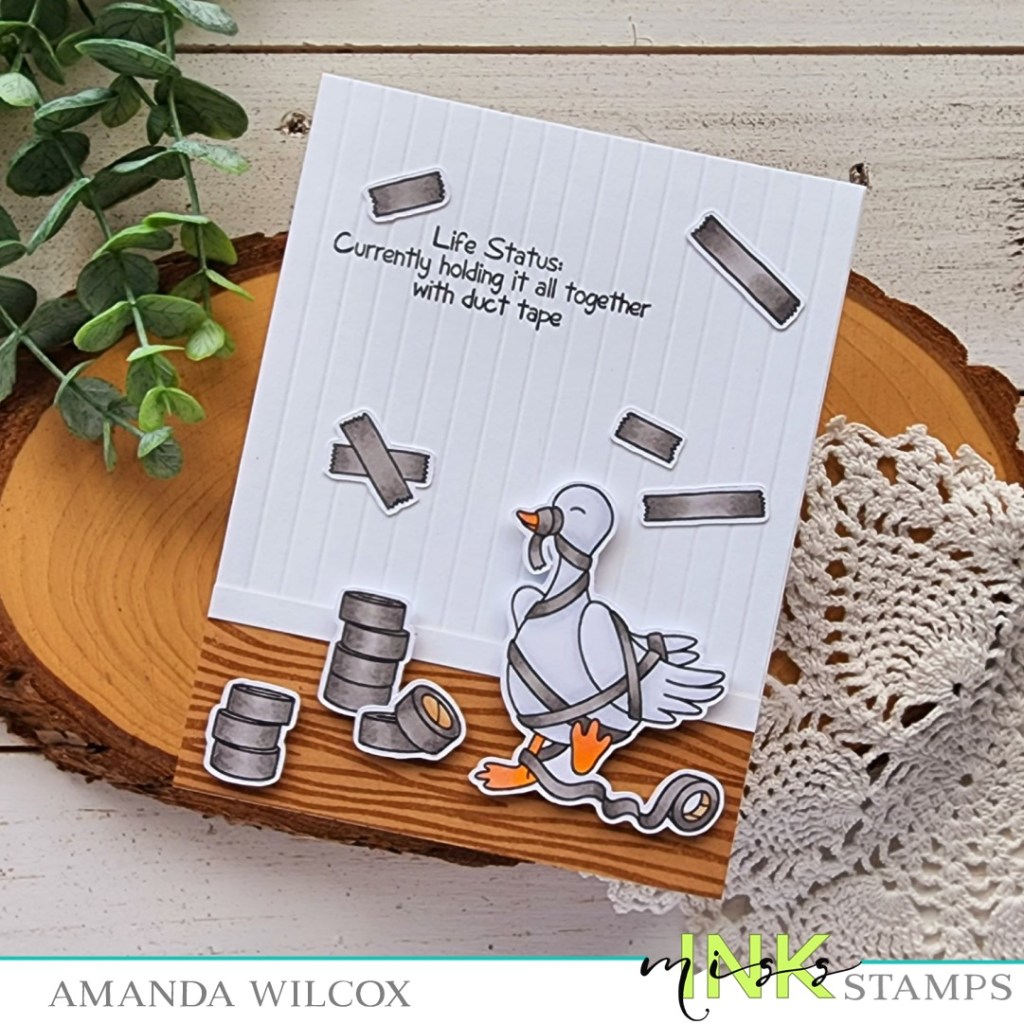
For my card featuring the adorable Halloween Pile stamp set, I thought it fit perfectly on a mini slimline, so that’s what I did. I stamped and colored those adorable critters with copic markers, plus a few extra bats and used coordinating dies to cut it all out. For the sentiment, I thought it would be fun if these cuties were talking to the recipient so I die cut a speech bubble and stamped my sentiment on that.

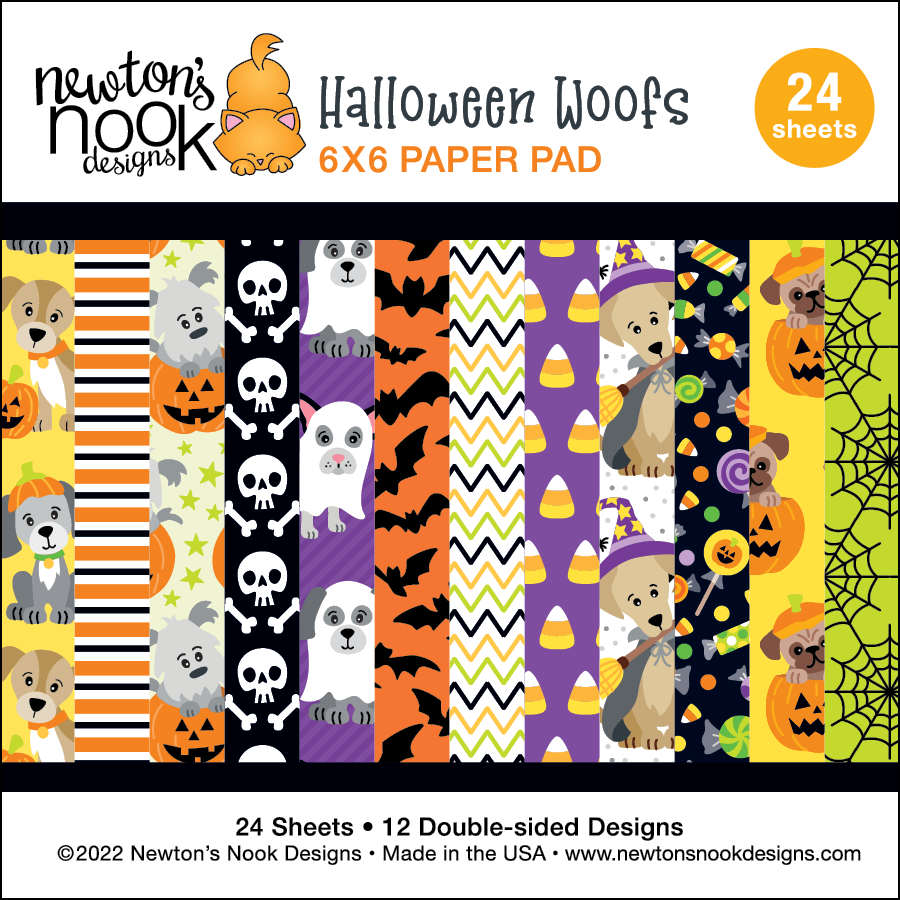
For the front of my card, I cut strips from the Halloween Woofs paper pad and adhered them to a mini slimline card base. These measure 3×6 inches and can mail with a regular stamp! Isn’t that fun!?!
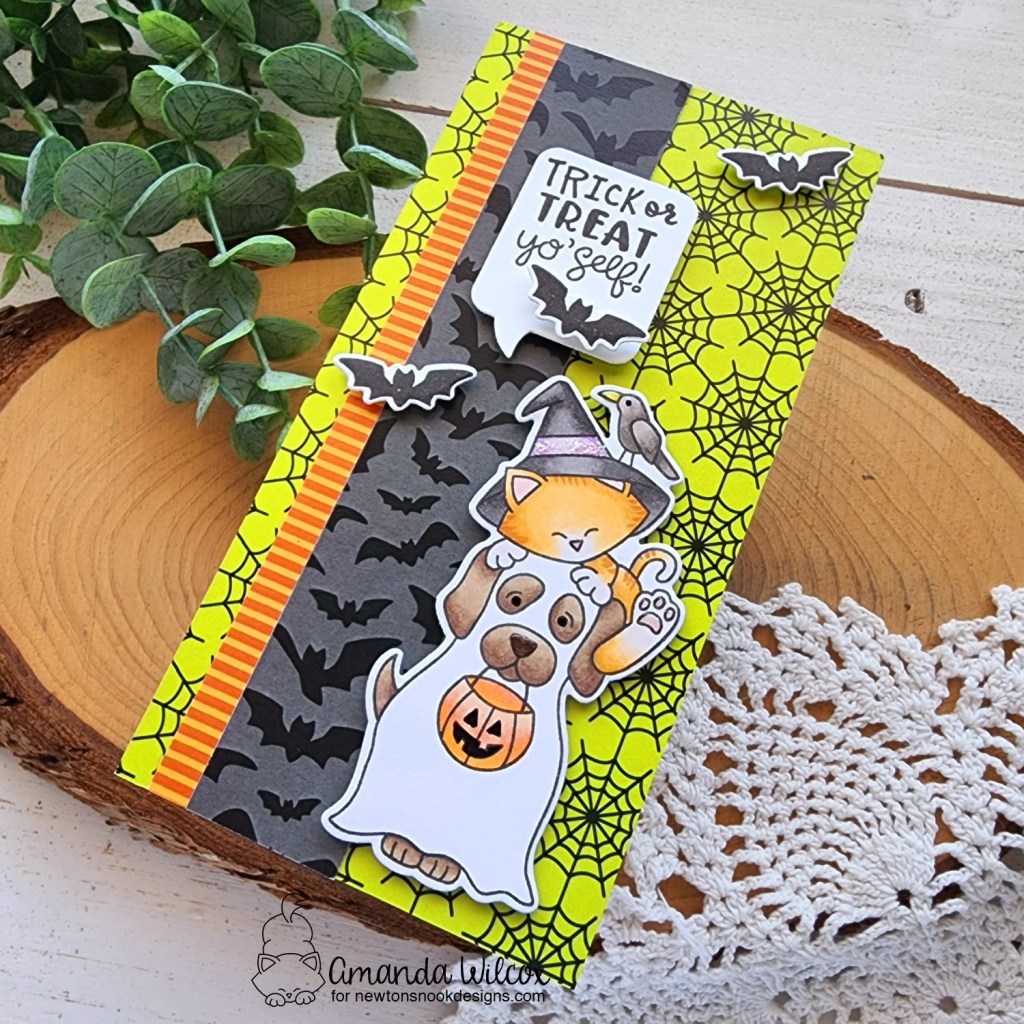
Finally, I added my images and sentiment with foam squares and then came in for some simple finishing touches. A little glossy accents on toe beans and noses, then stardust Stickles on the witch hat for good measure.
Would you like to win the “Halloween Pile” or the “Spiderweb Oval” Stamp Set? We will choose ONE lucky winner for each stamp set!
Here’s how to win: Comment on the NND blog and Design Team blogs (see list below)! Thewinner will be chosen at random from the collective reveal posts. Make sure to check out each of their blogs and comment for your chance to win. You will not know which blog has been chosen so the more you comment on the better your chances are of winning! You have until Thursday August 18th at 9pm ET to comment — winners will be announced on the blog post on Friday August 19th.
Check out all the awesome Design Team Blogs below to enter:
Newton’s Nook Designs
Donna Idlet
Ellen Haxelmans
Tina Herbeck
Larissa Heskett
Samantha Mann
Zsofia Molnar
Maria Russell
Farhana Sarker
Tatiana Trafimovich
Amanda Wilcox