Welcome everyone. I hope your week is going well. I just received my first order from the new Avery Elle release and couldn’t barely get in the house before I was opening this cute bear to stamp and color him! Needless to say I immediately transitioned and made a card that I’m super excited to share!

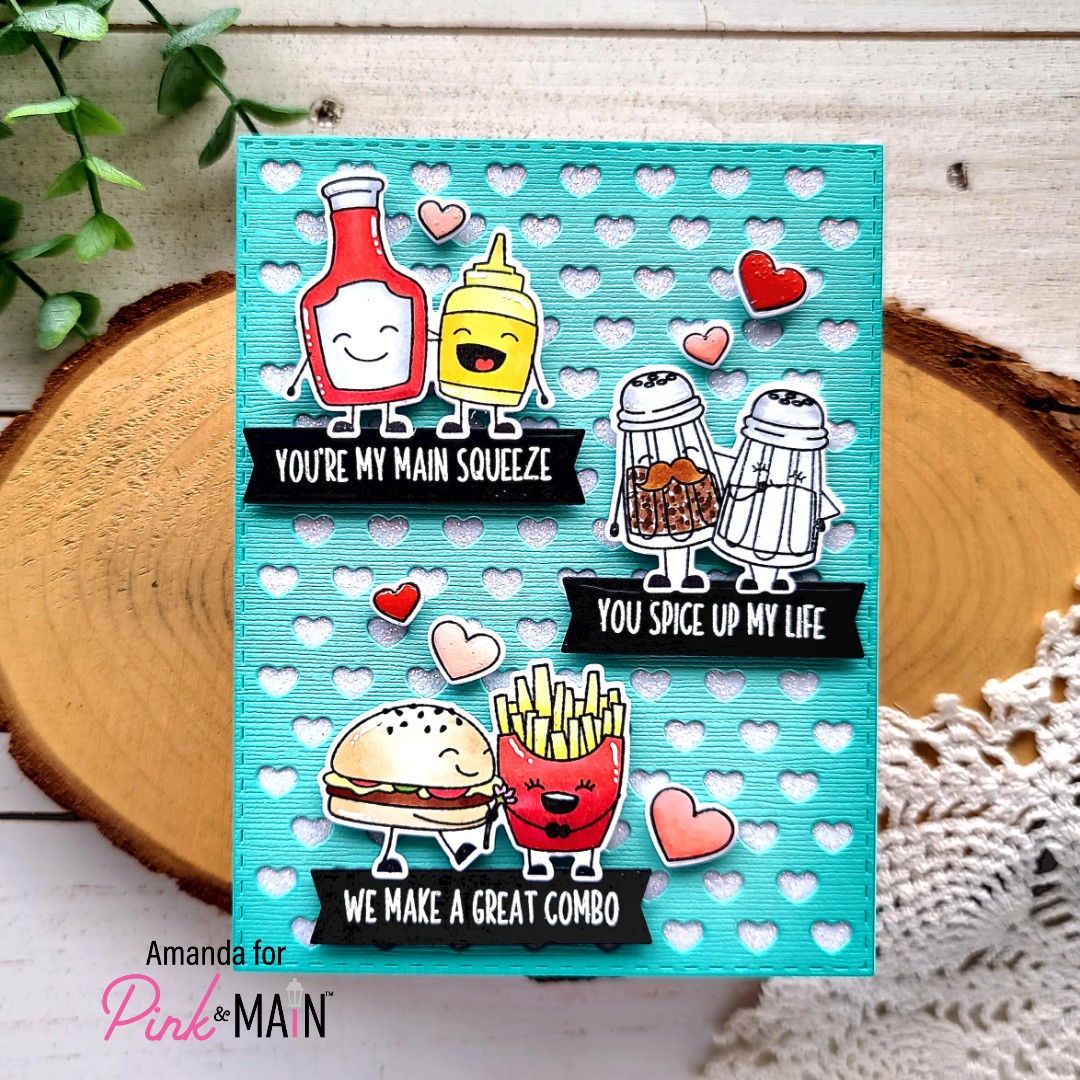
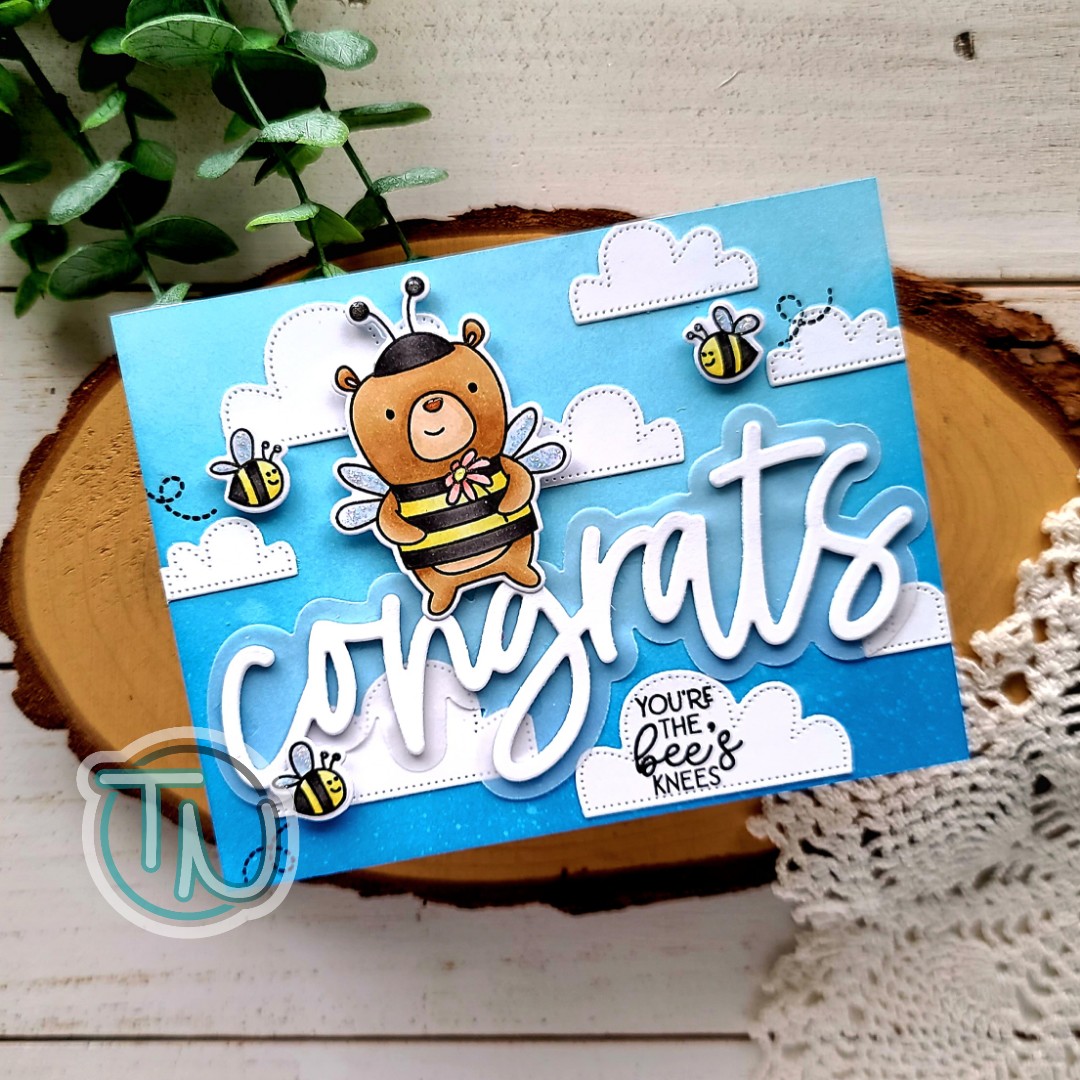
Isn’t this just too fun!?! I’m quite tickled with the whole thing personally.
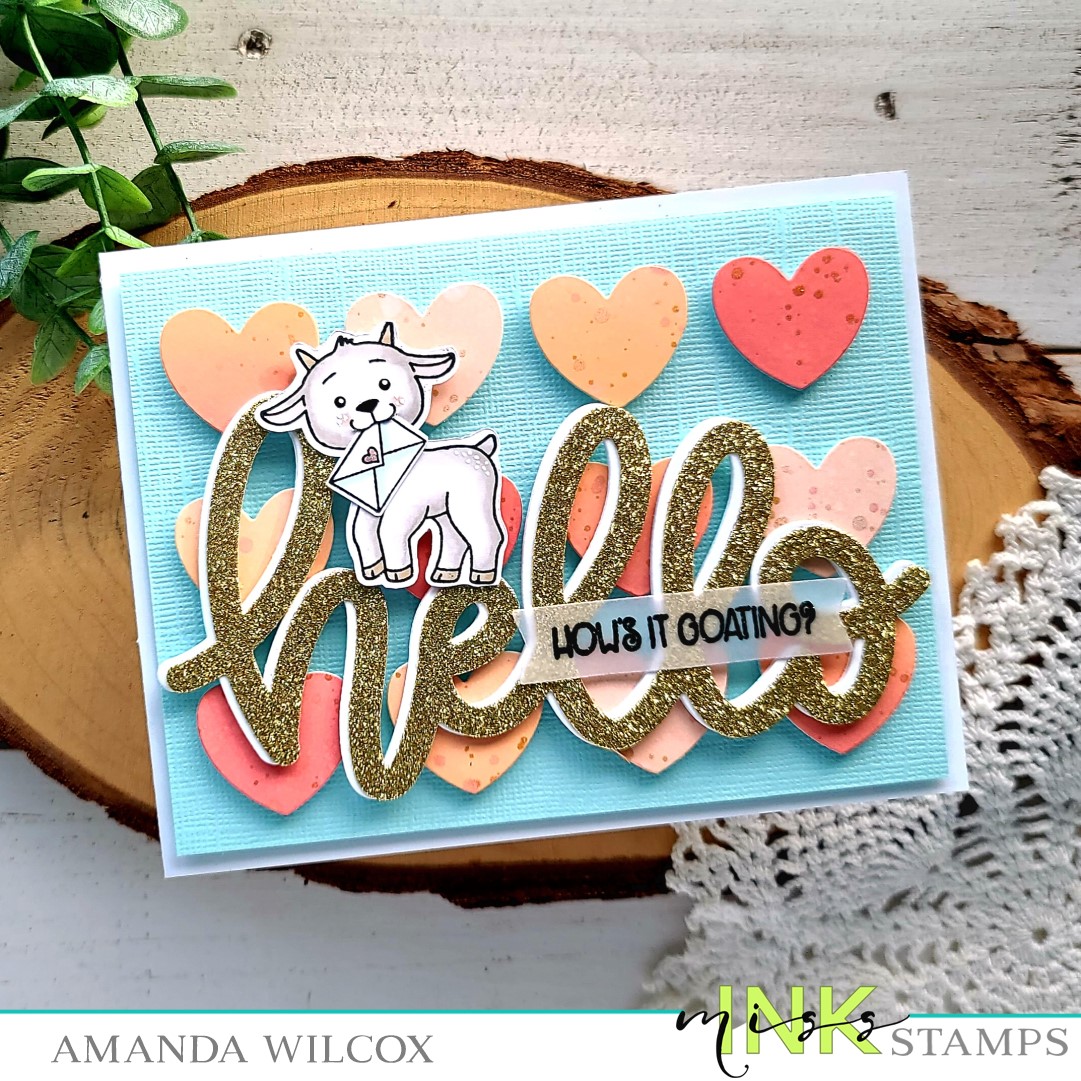
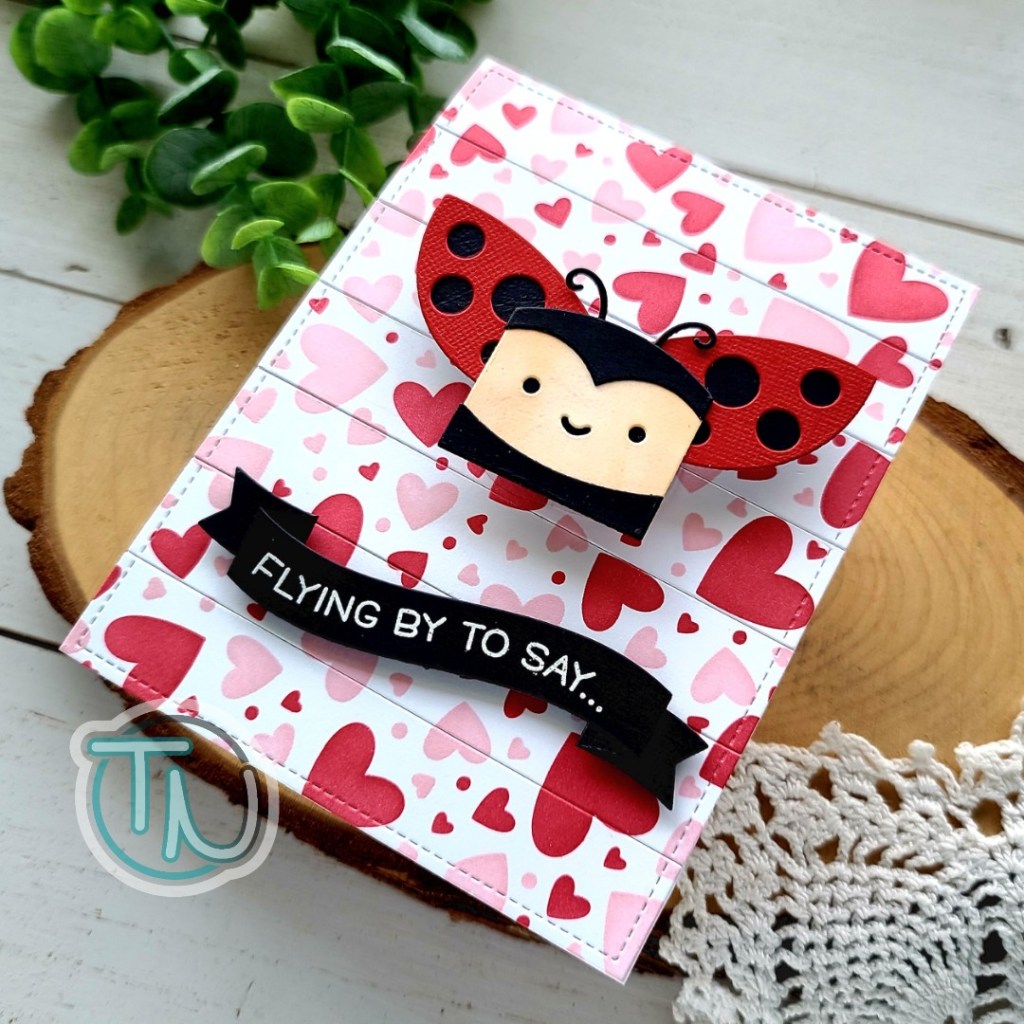
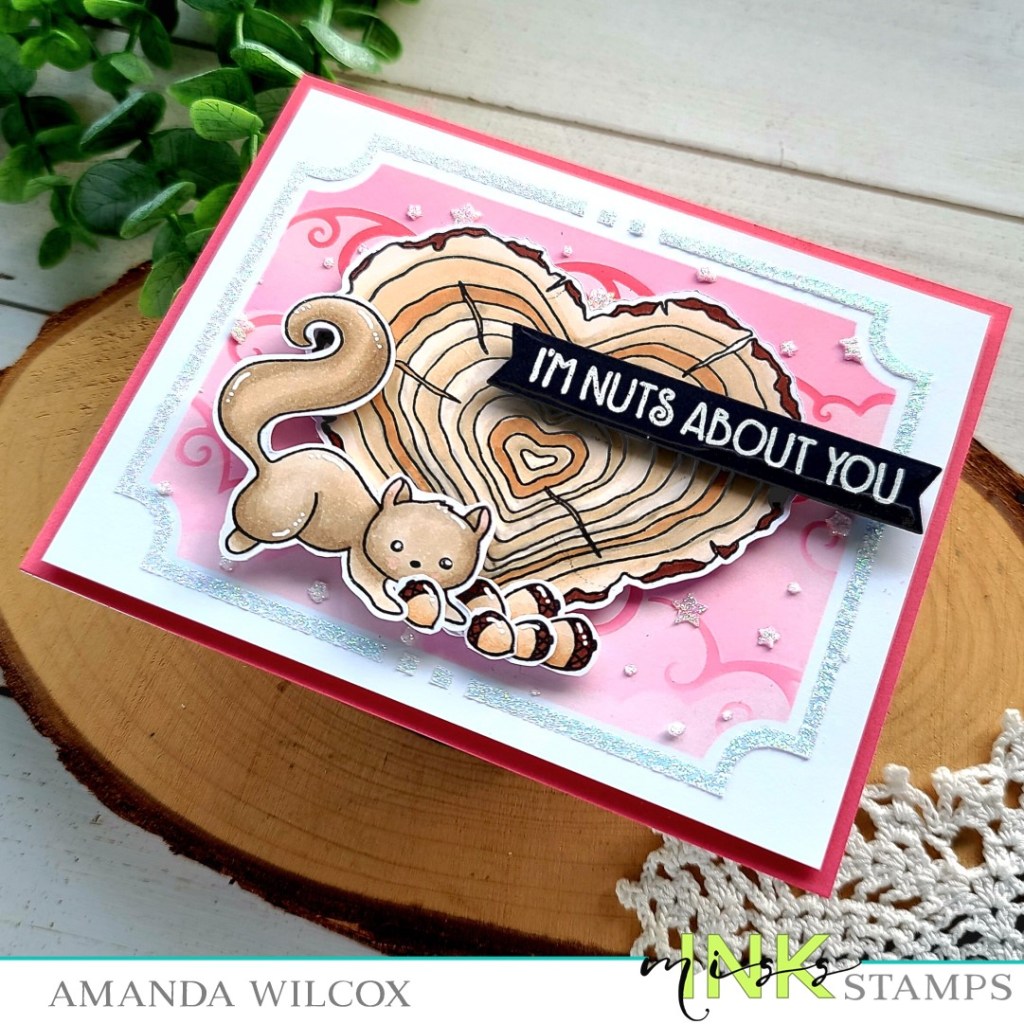
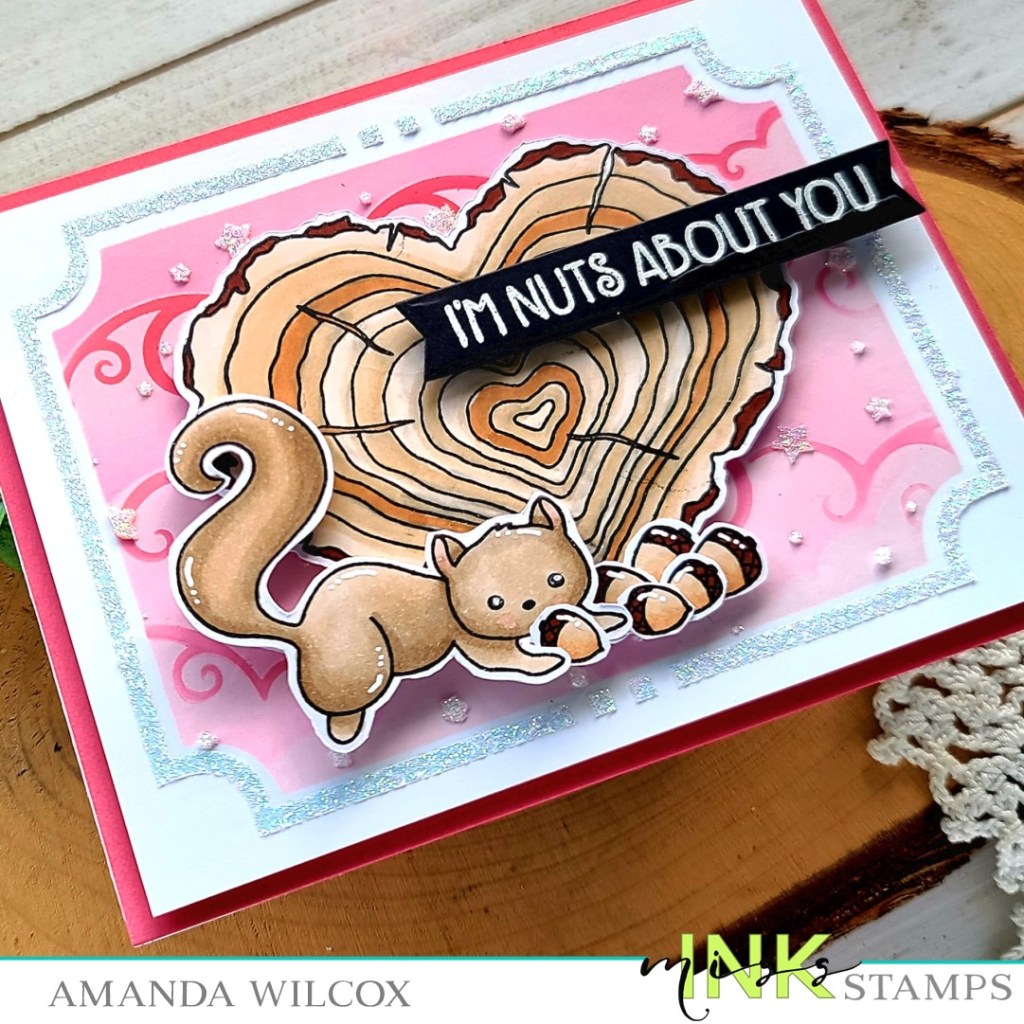
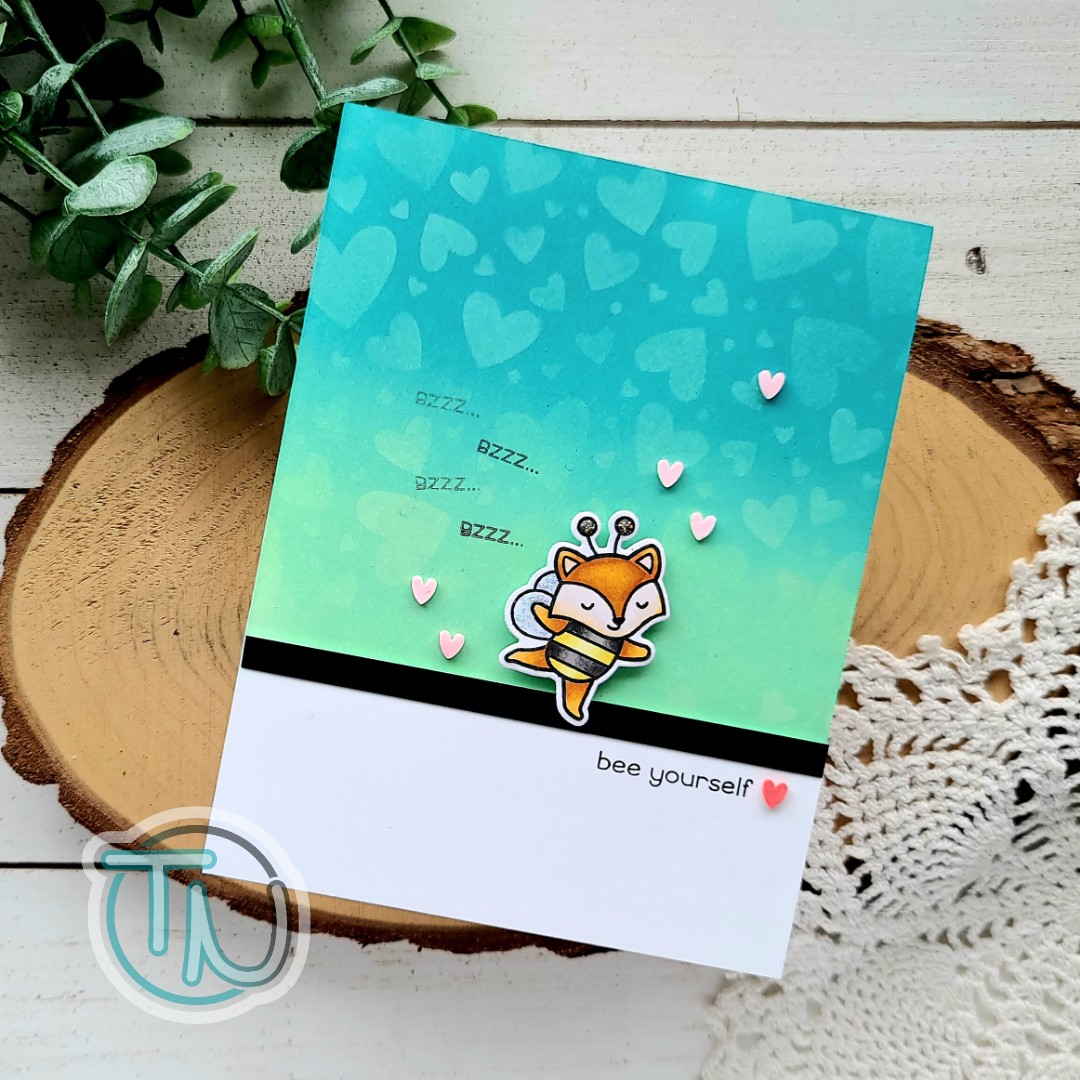
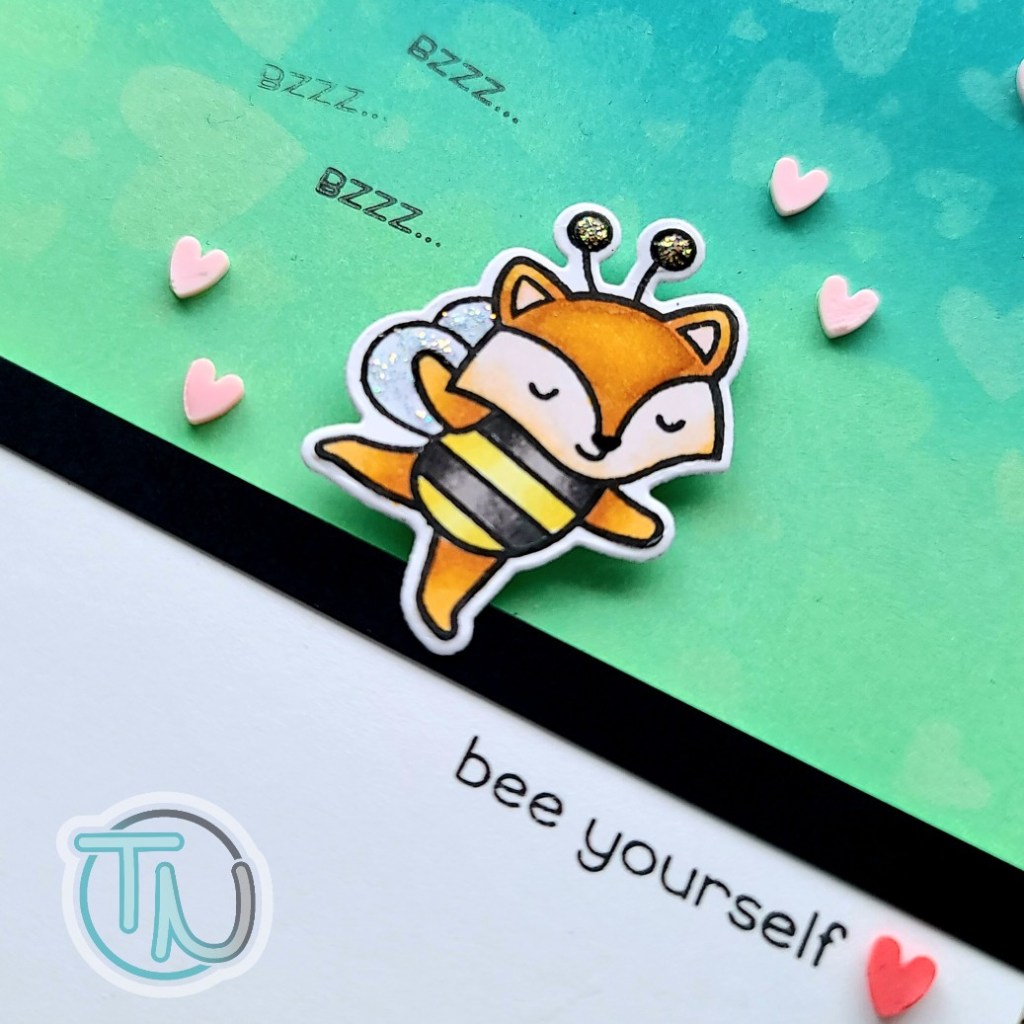
I stamped and colored the images from Bee a Keeper with my copic markers and used the coordinating dies to cut them out. I took an A2 panel and the Big Congrats die to see if I could fit everything that I wanted. Once I decided it would work, I inked up a piece of white cardstock with tumbled glass and salty ocean distress oxide inks. I spritzed the panel with water and set it aside.
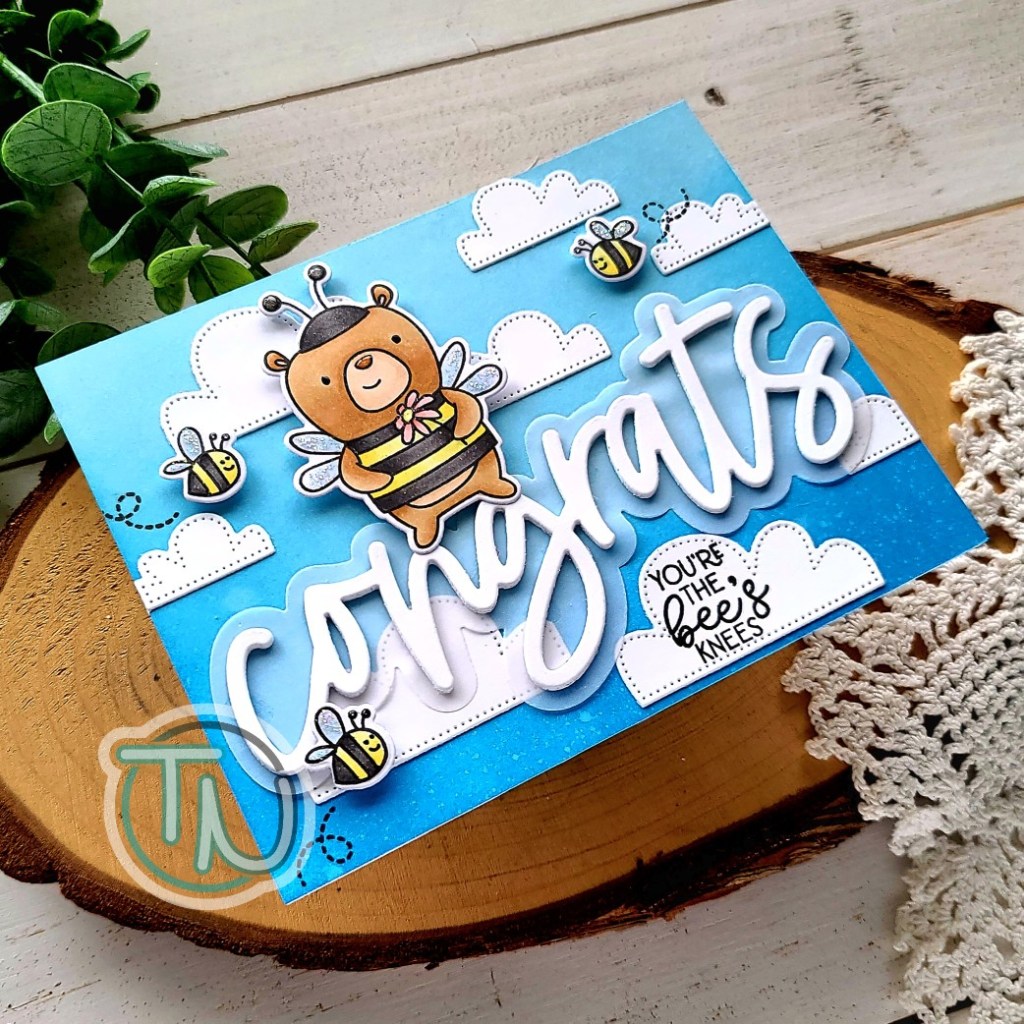
Next, I cut the Big Congrats shadow from vellum and the word from white cardstock 3 times. I used liquid glue to adhere the layers together. When I laid everything out again the background seemed lacking, so I went digging. I found the Cloud Mat die and cut it from white cardstock just keeping the clouds. I arranged them in the background and adhered them with liquid glue once I decided their final placement.
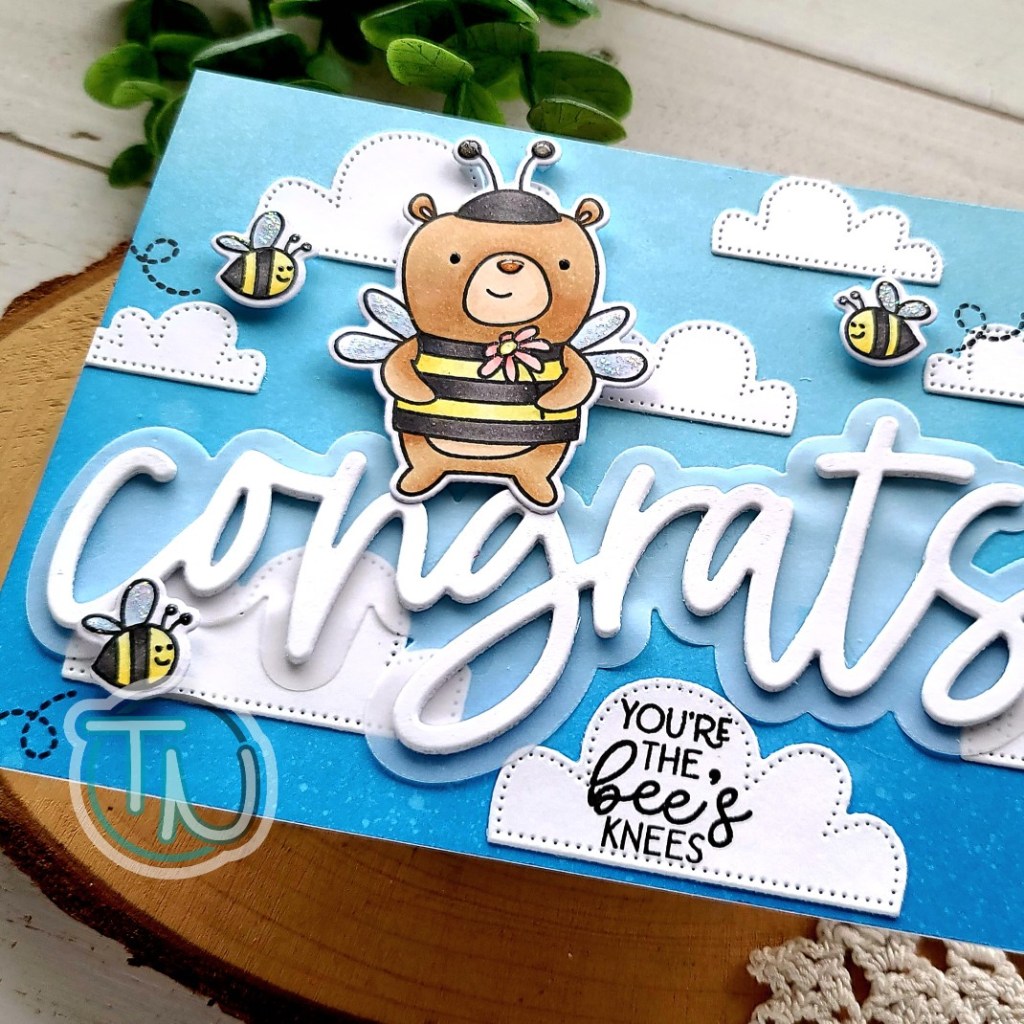
I added the Big Congrats with tape runner hidden behind the letters and the images with foam squares. Then I placed the panel in my MISTI and stamped a sentiment on one of the big clouds and the bee trails too.
For finishing touches I added black glaze pen the the eyes, glossy accents to antennae, the bear’s nose and flower center. Then I added unicorn Stickles to all of the wings for some fun shimmer.
Isn’t this so much fun!?! I can’t wait to create more punny goodness using some of the other sentiments in the set.
Products used today:
Avery Elle Bee a Keeper stamps and dies
Avery Elle Big Congrats dies
Avery Elle Cloud Mat die
Foam squares
Glossy accents
Stickles – unicorn
Distress Oxide – salty ocean, tumbled glass
Copic markers
I appreciate you sharing your time with me. Have a fabulous day!